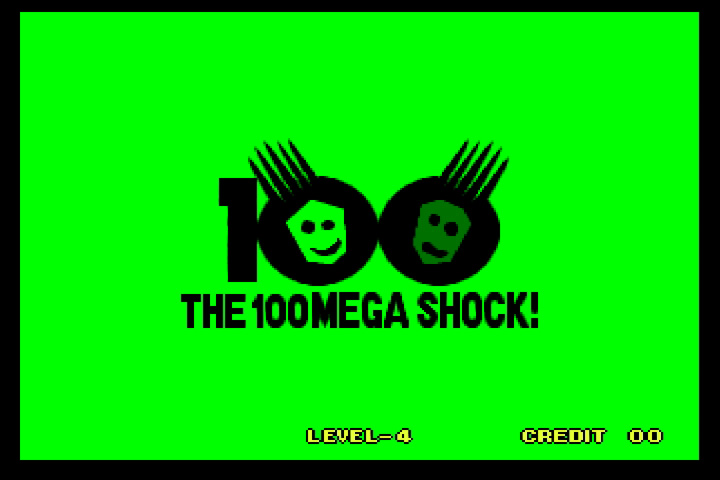
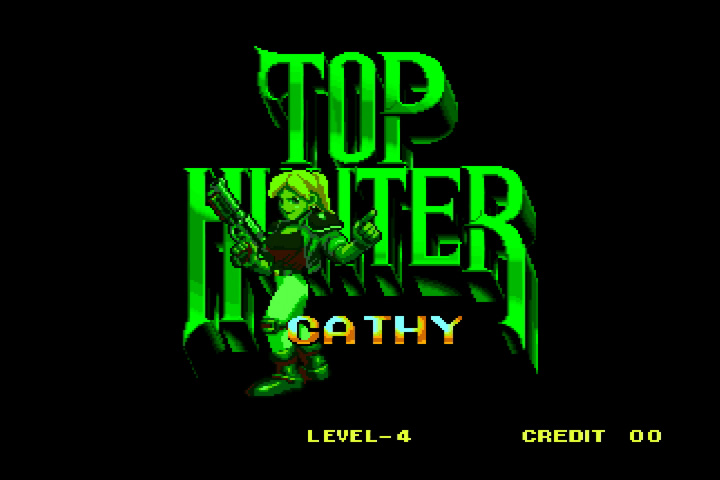
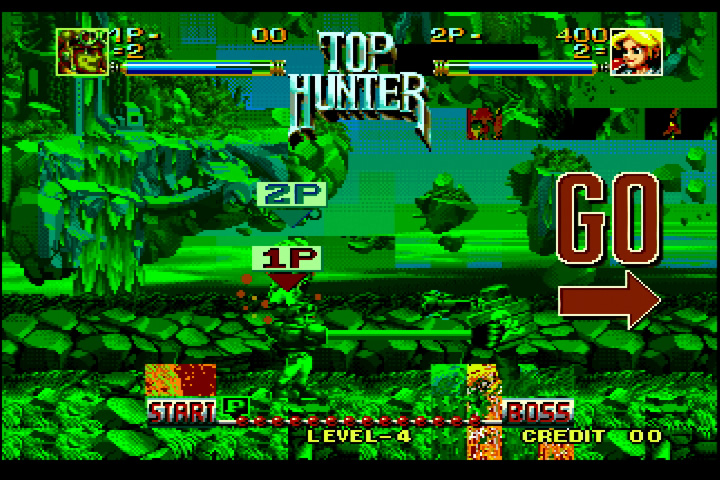
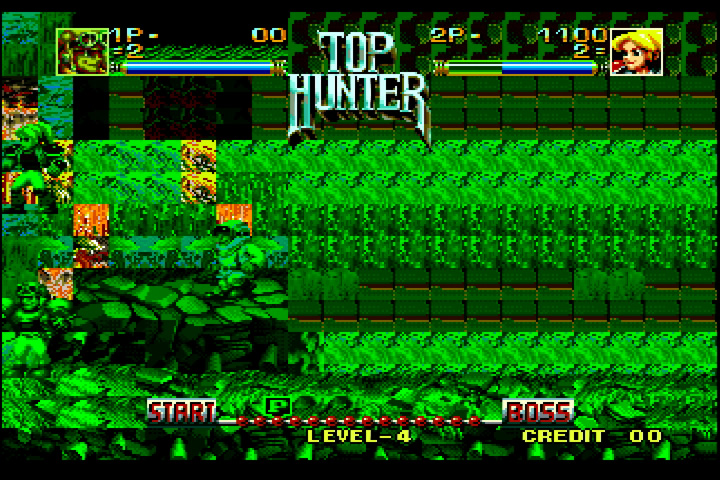
I recently acquired a cheap Top Hunter MVS cartridge with graphic glitches for repair. When I plugged it into my Neo Geo MV2FS, it had the mentioned graphic glitches and a mostly green-tinted image.
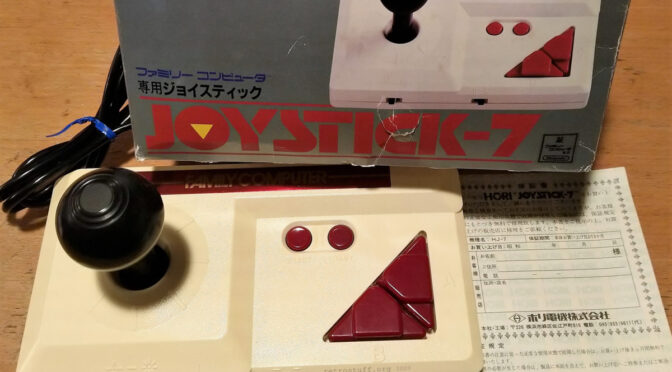
Hori Joystick-7 for Famicom Repair
This Hori Joystick-7 (HJ-7) for the Nintendo Famicom has been sitting on my shelf for many years. When I finally took it out to use it for the first time, I noticed that the stick got stuck when moving it all the way to the left or right. In this article, I will open it up and fix that issue.

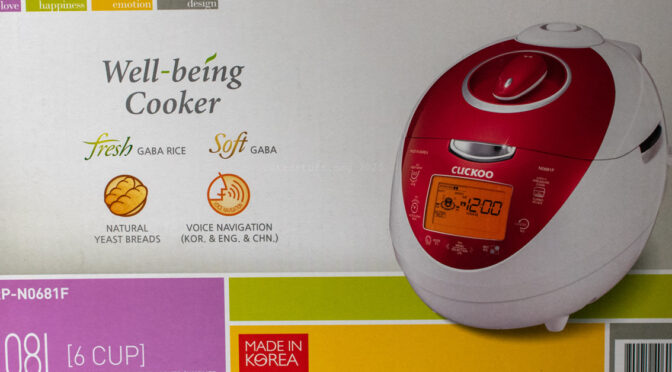
Cuckoo CRP-N0681F Battery Replacement
The Cuckoo CRP-N0681F rice cooker doesn’t run Doom (yet; see below), but it can talk, sing and chuff like a steam locomotive. It also prepares all kinds of rice. One day, the display went blank. The next time I plugged it back in, it greeted me in Korean and wanted me to set the clock. It seemed that the internal battery had died and the user manual agreed with that:
About Lithium battery
– This product contains lithium battery for improving blackout
compensation and time. Lithium battery lasts 3 years.
– When current time is not displayed on the screen, it means the battery is exhausted. It should be replaced.
Unfortunately, that’s all what the manual had to say about this topic. A quick search on the internet didn’t reveal any clues about the battery replacement, so I opened it up to have a look inside.
Continue reading Cuckoo CRP-N0681F Battery Replacement
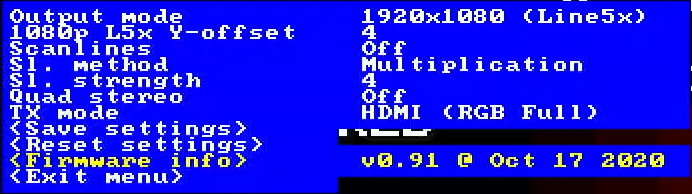
Capcom CPS2 Digital AV Interface Firmware v0.91
Last weekend, marqs released firmware v0.91 for the CPS2 Digital AV Interface. The new firmware finally has an OSD implemented and brings back the scanlines. Further features include TX mode, quad stereo output and two additional VESA resolutions (1280×1024 and 1600×1200). You can find all functions and some explanations among the OSD menu structure and the sample pictures below.
Updating the firmware takes less than a minute and is basically the same procedure as updating an OSSC via JTAG. I’ve explained the procedure in this article.
Continue reading Capcom CPS2 Digital AV Interface Firmware v0.91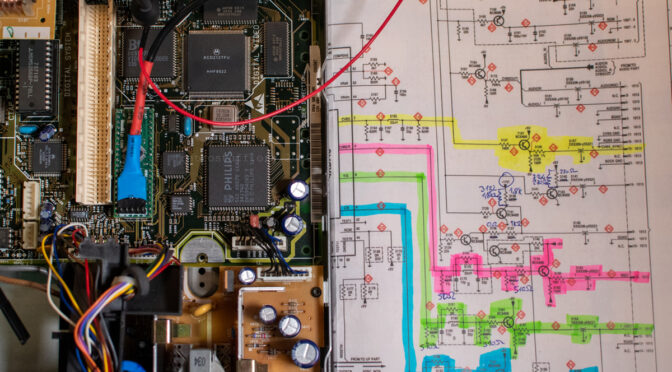
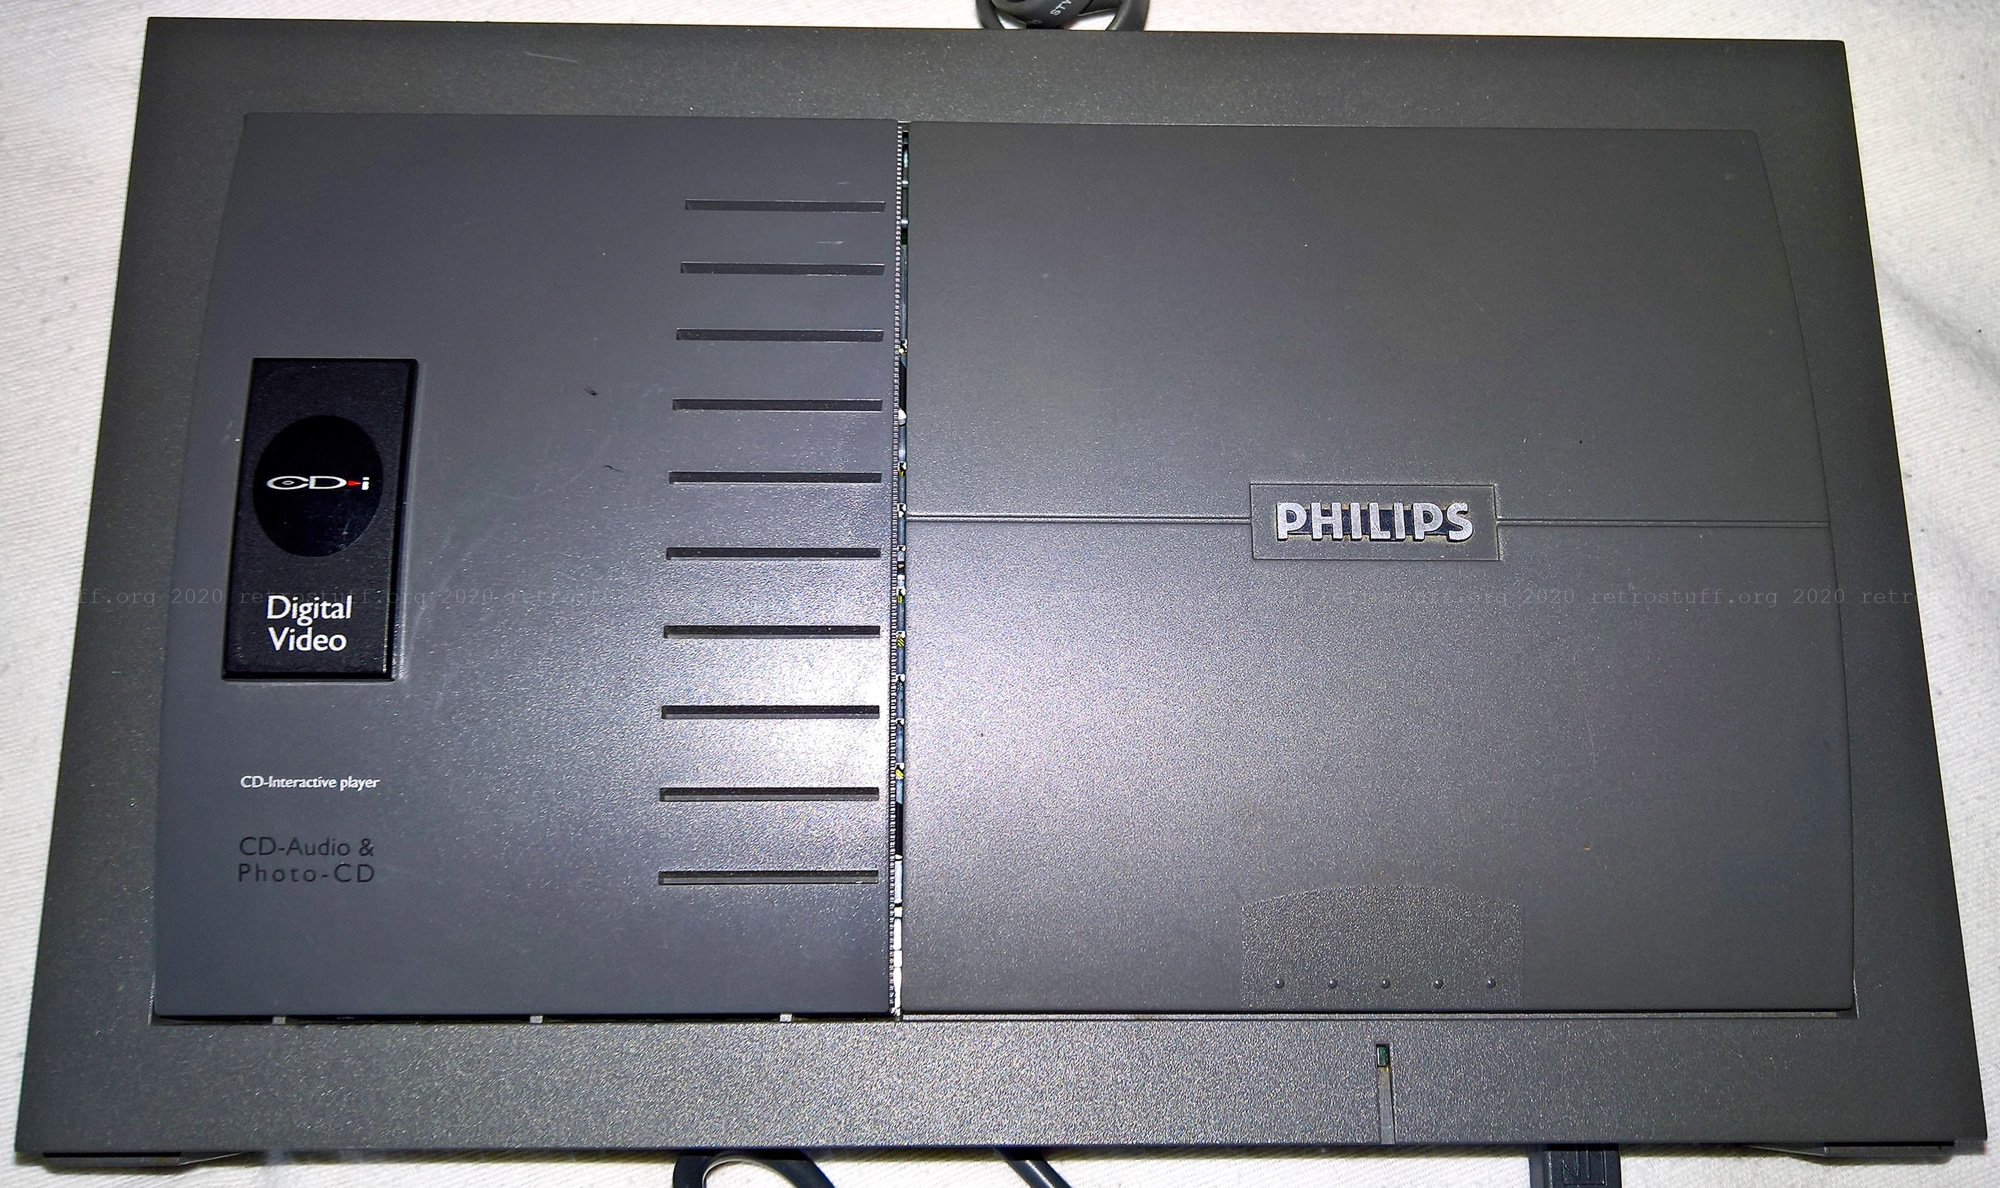
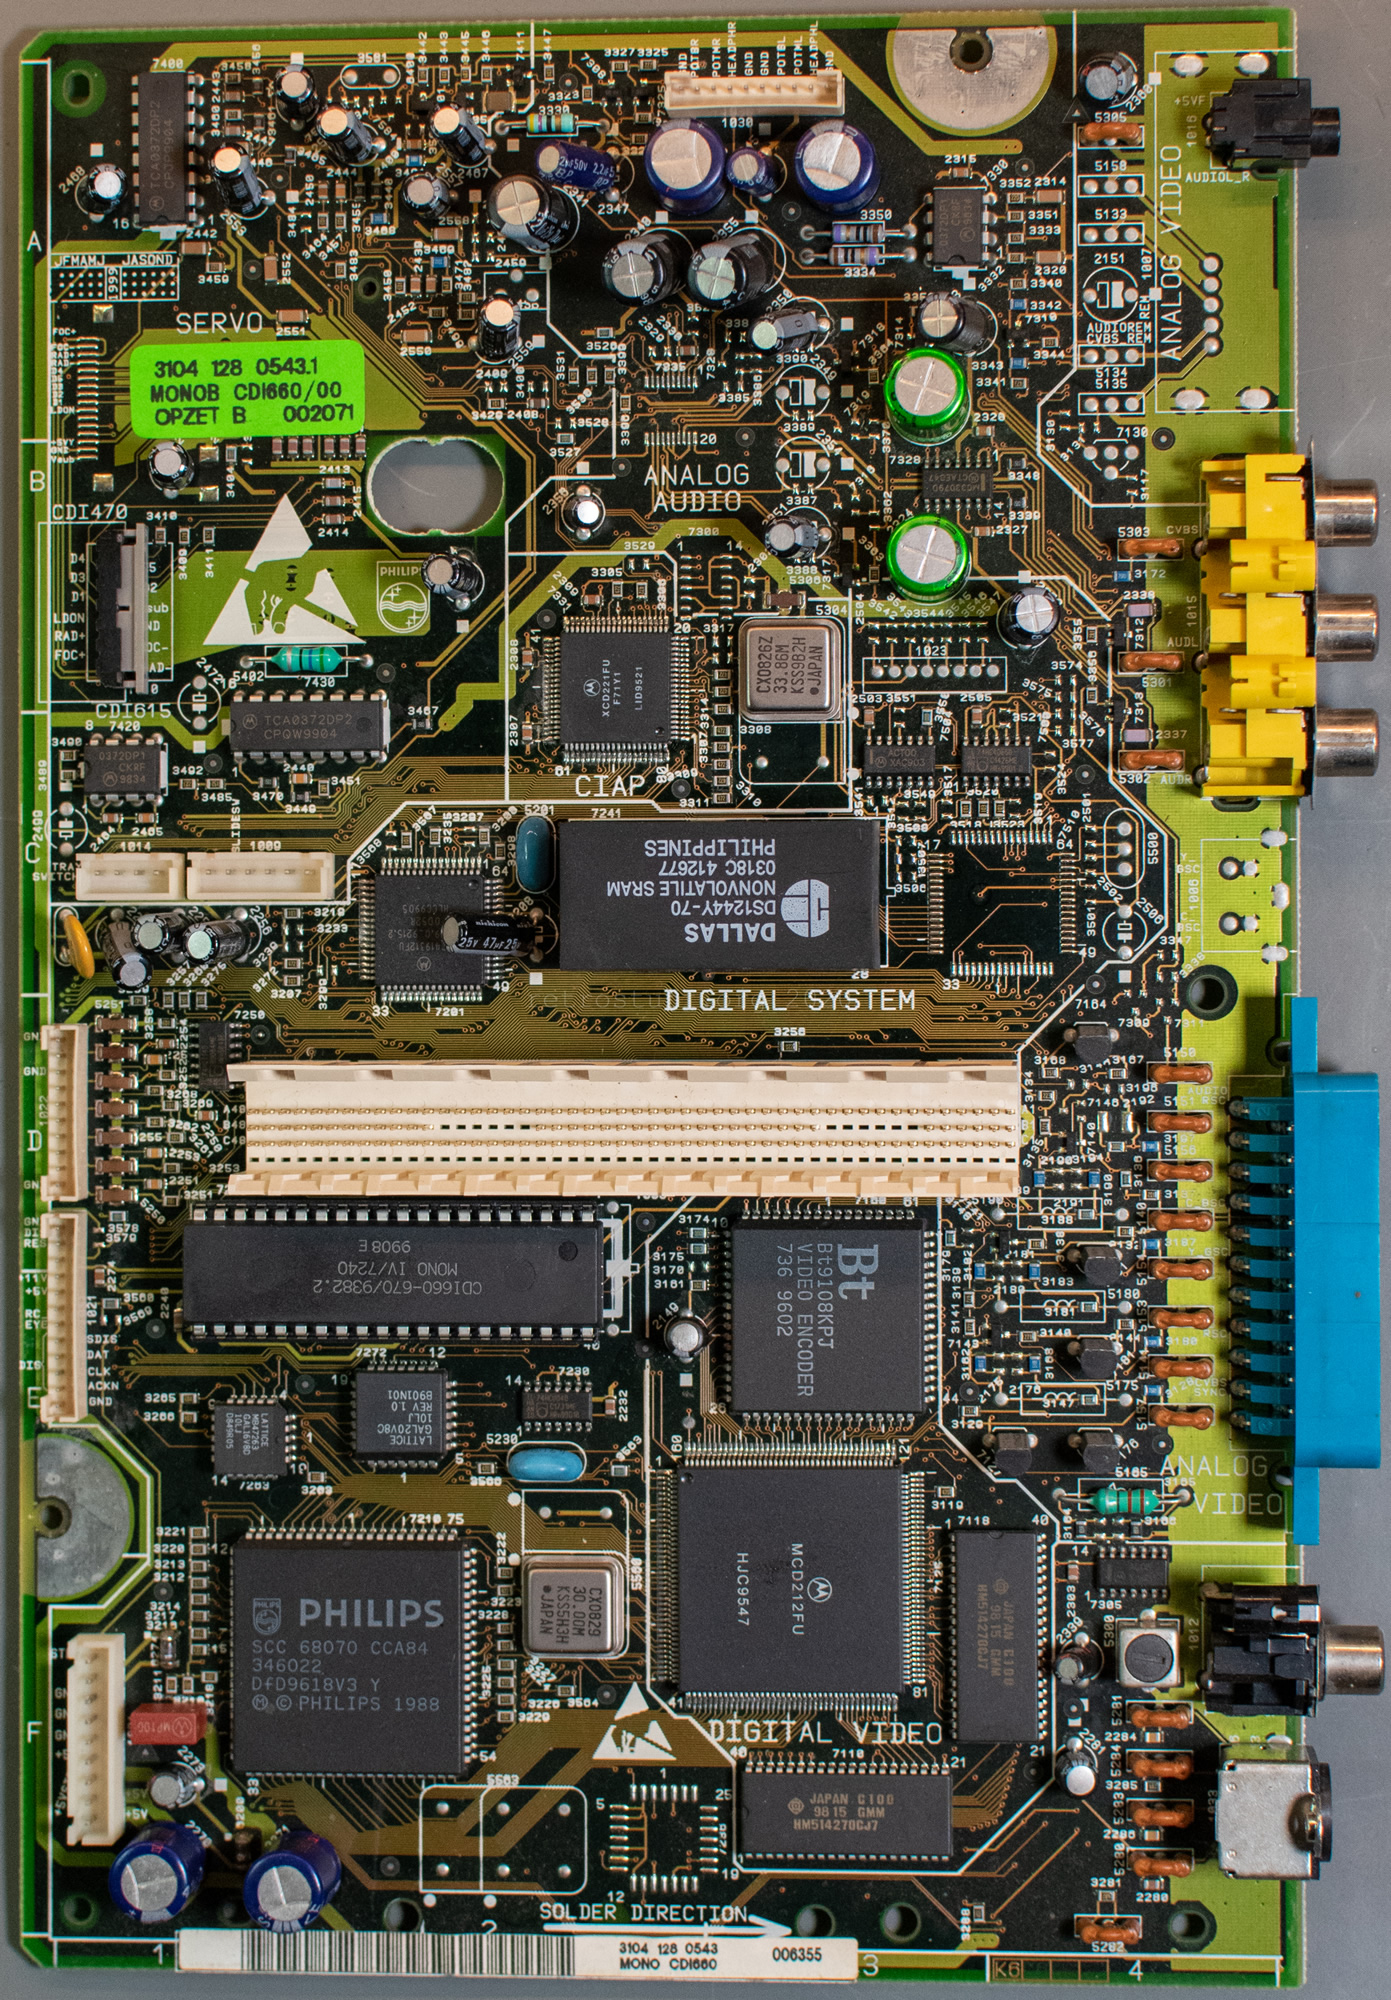
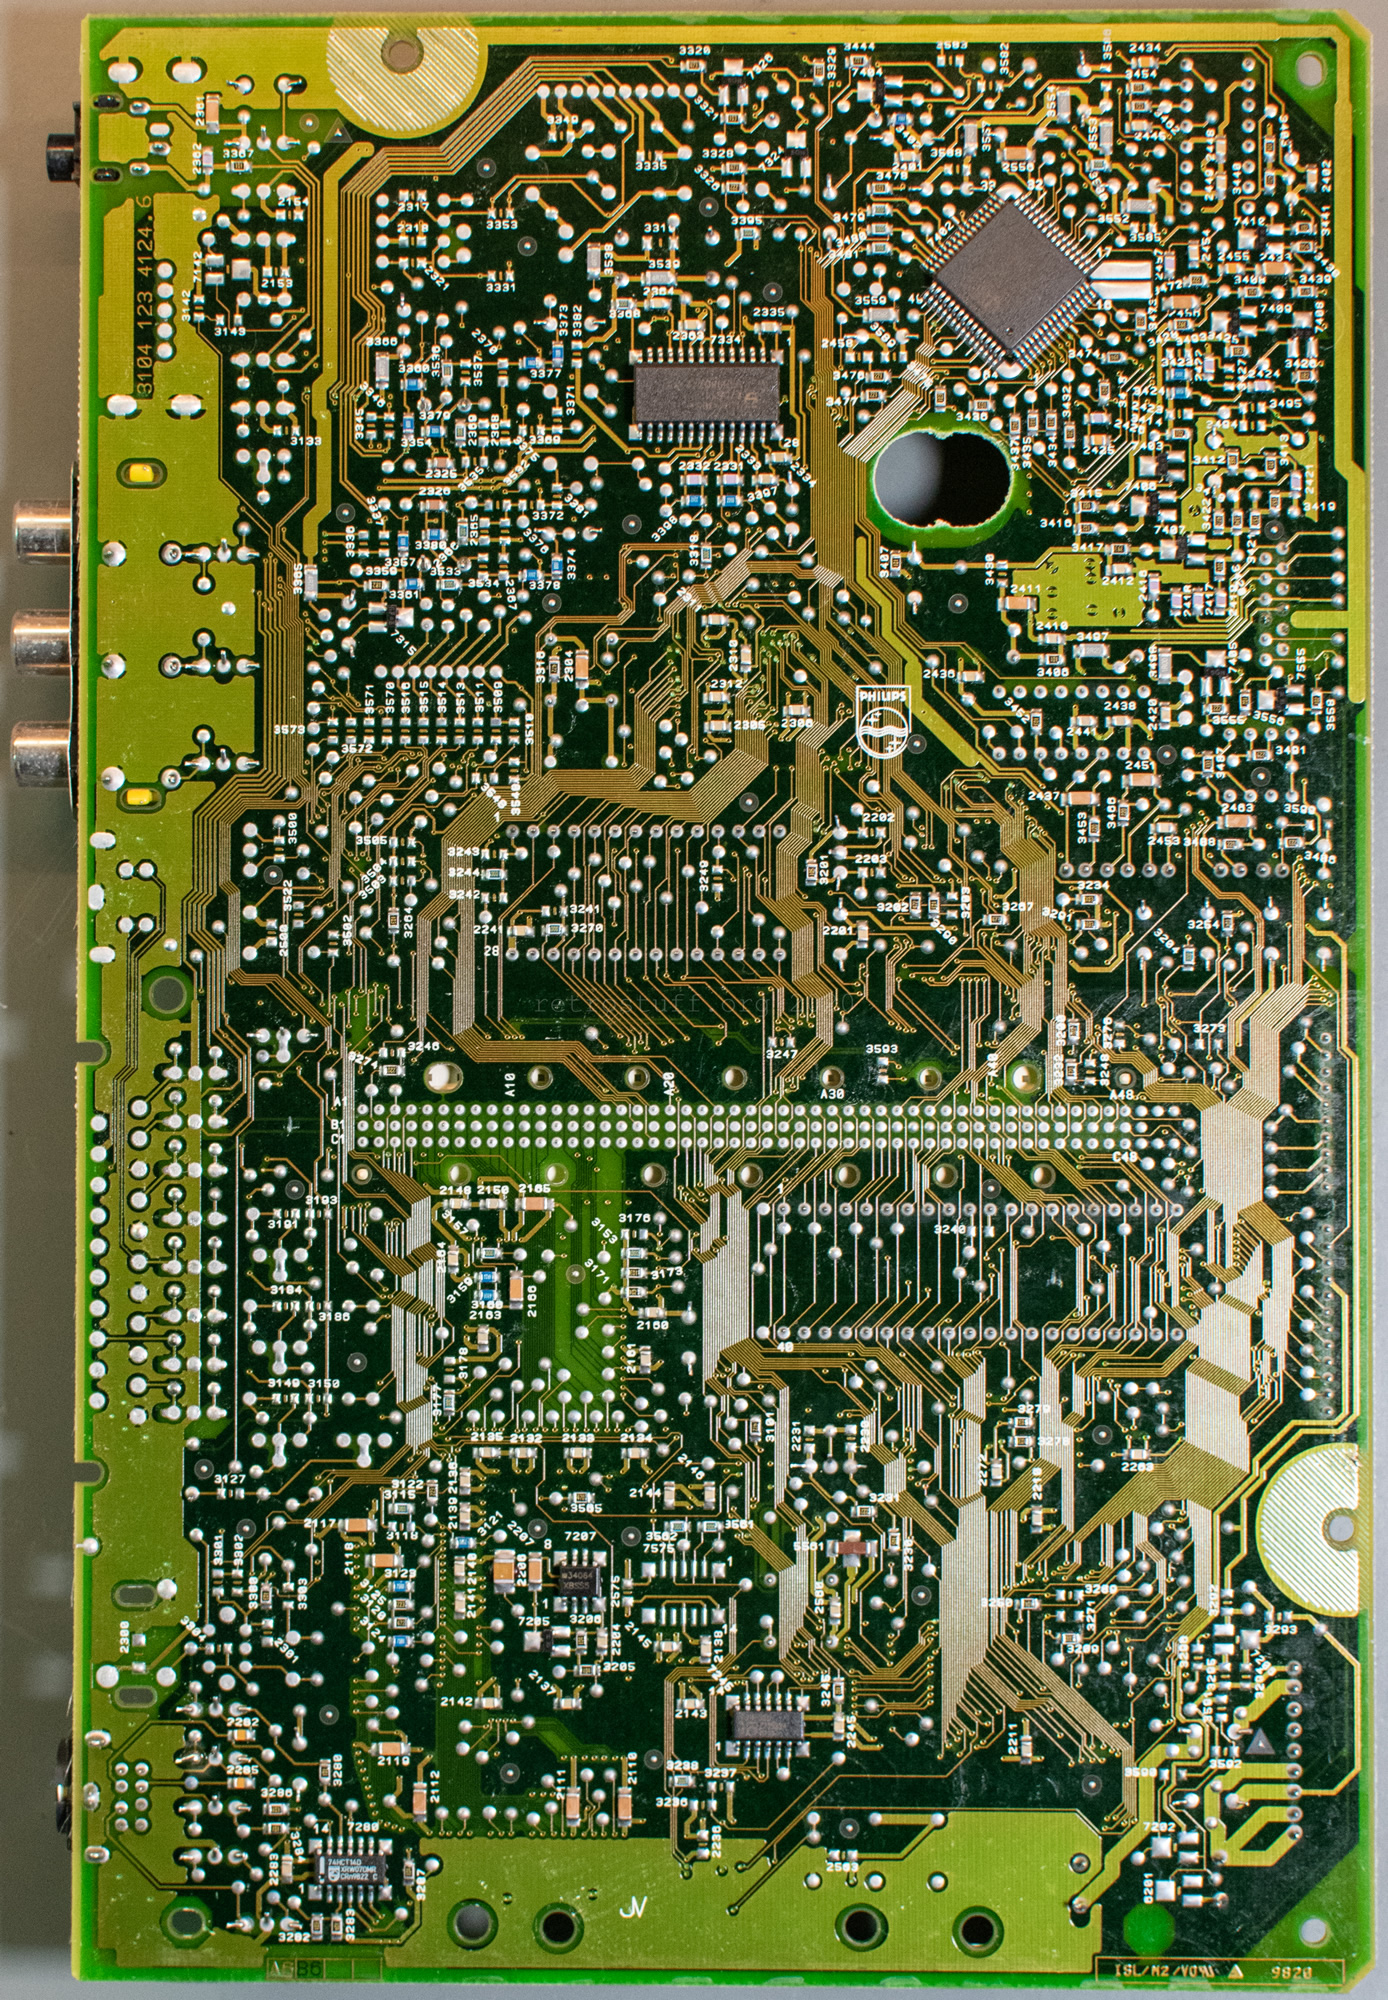
Philips CDI490 RGB SCART Modification
It has been on my table for a while to figure out a working Philips CDI490 RGB SCART modification. The topic caught my interest when it came up in the community on The world of CD-i last year. Back then, I thought it would be quite easy because the small 470 and 490 CD-i players share a certain mainboard (Mono IV) with their big brothers 660/00, 220/80 and 210/60. There are only some components missing that could be figured out by looking at the service manuals.
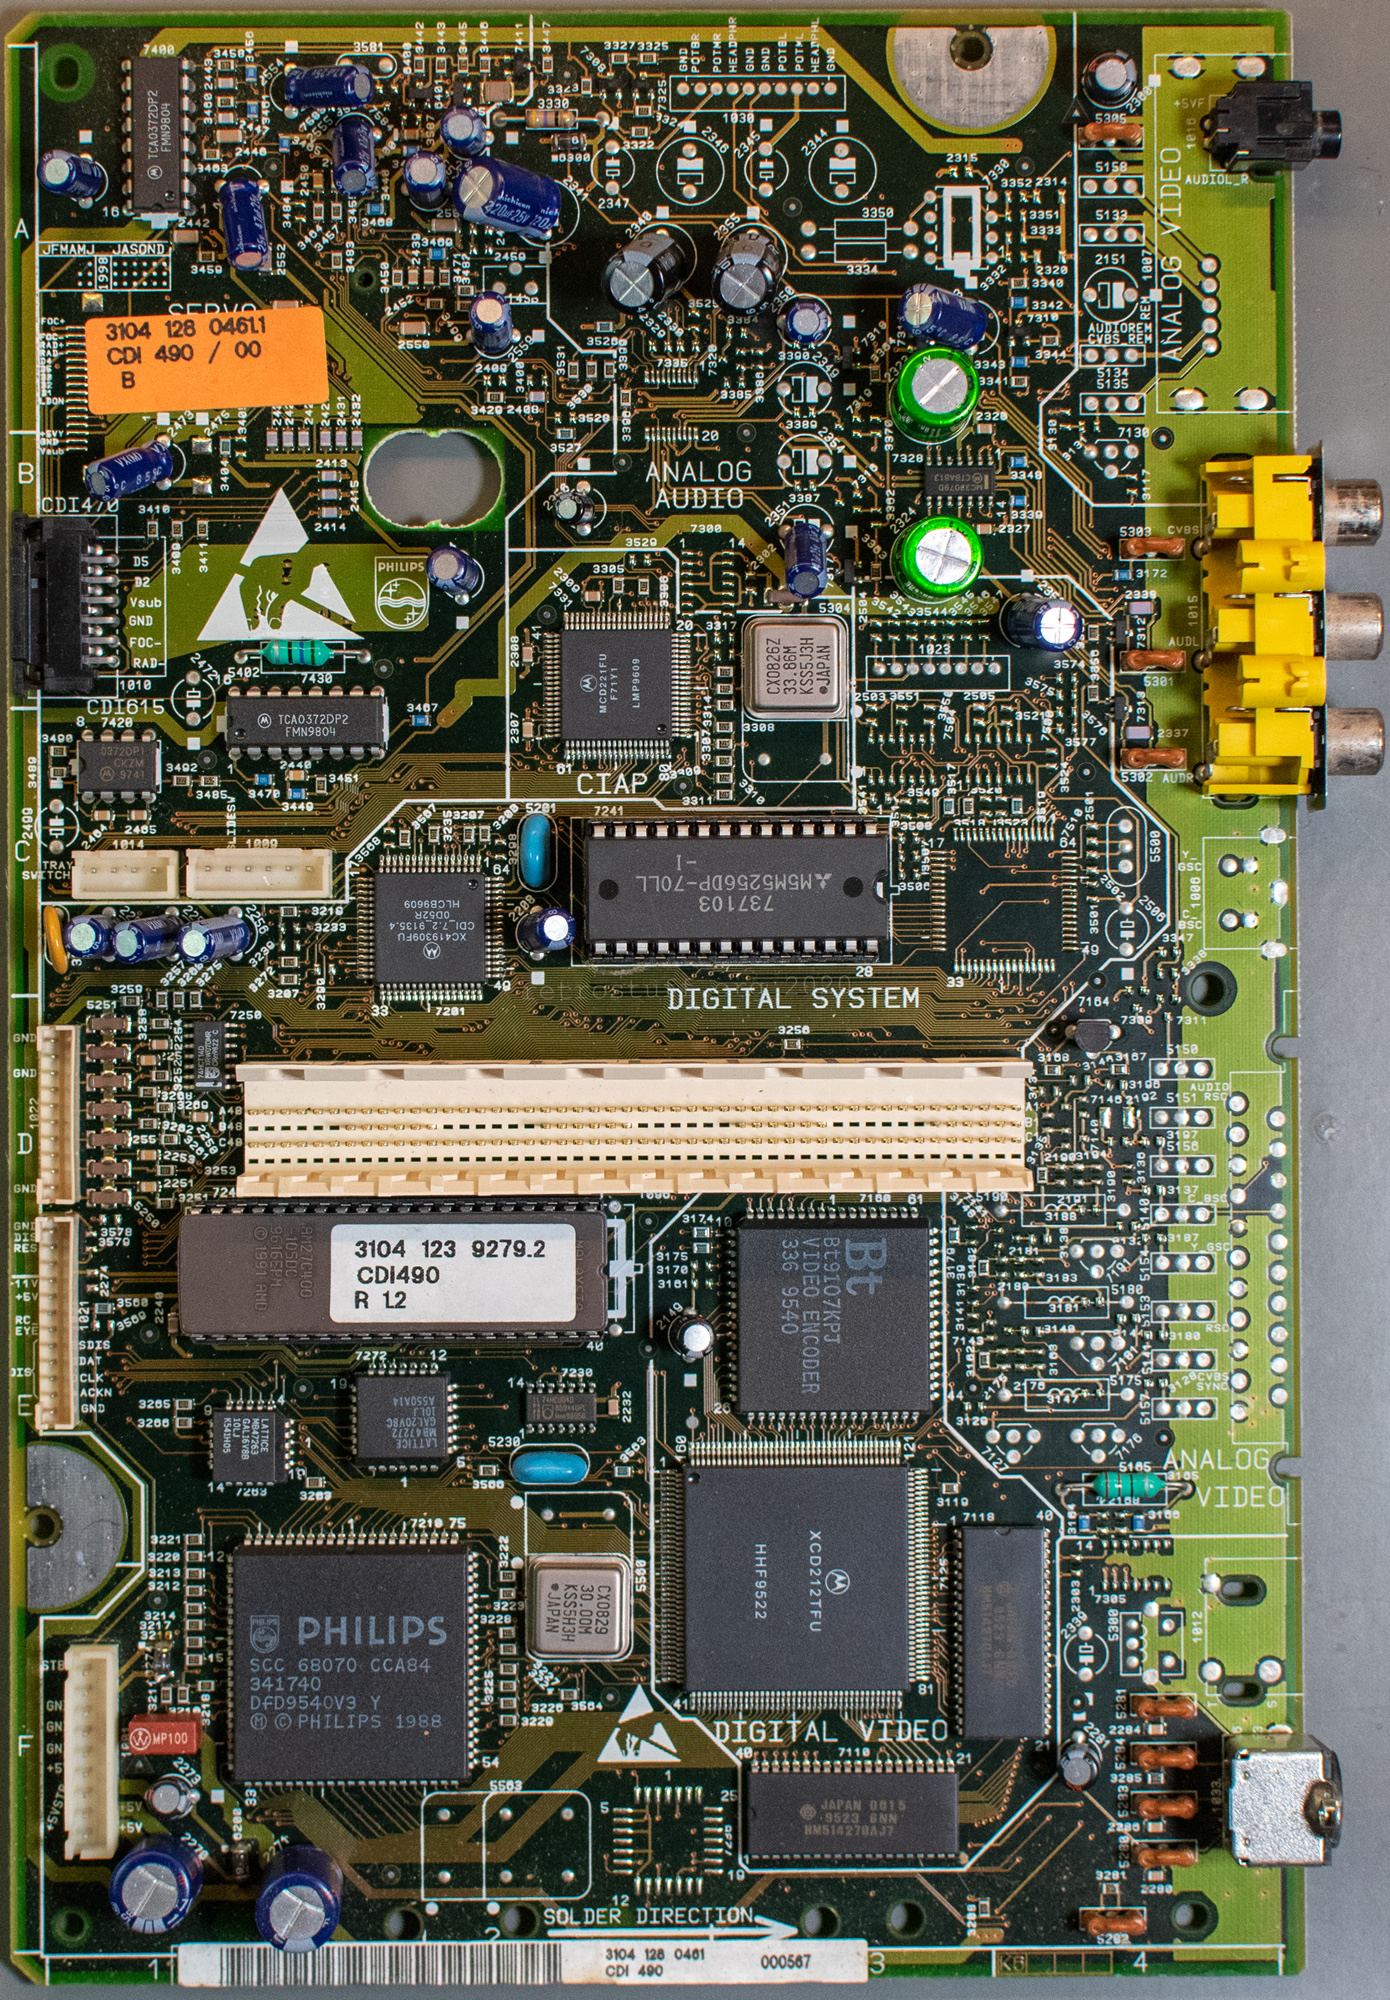
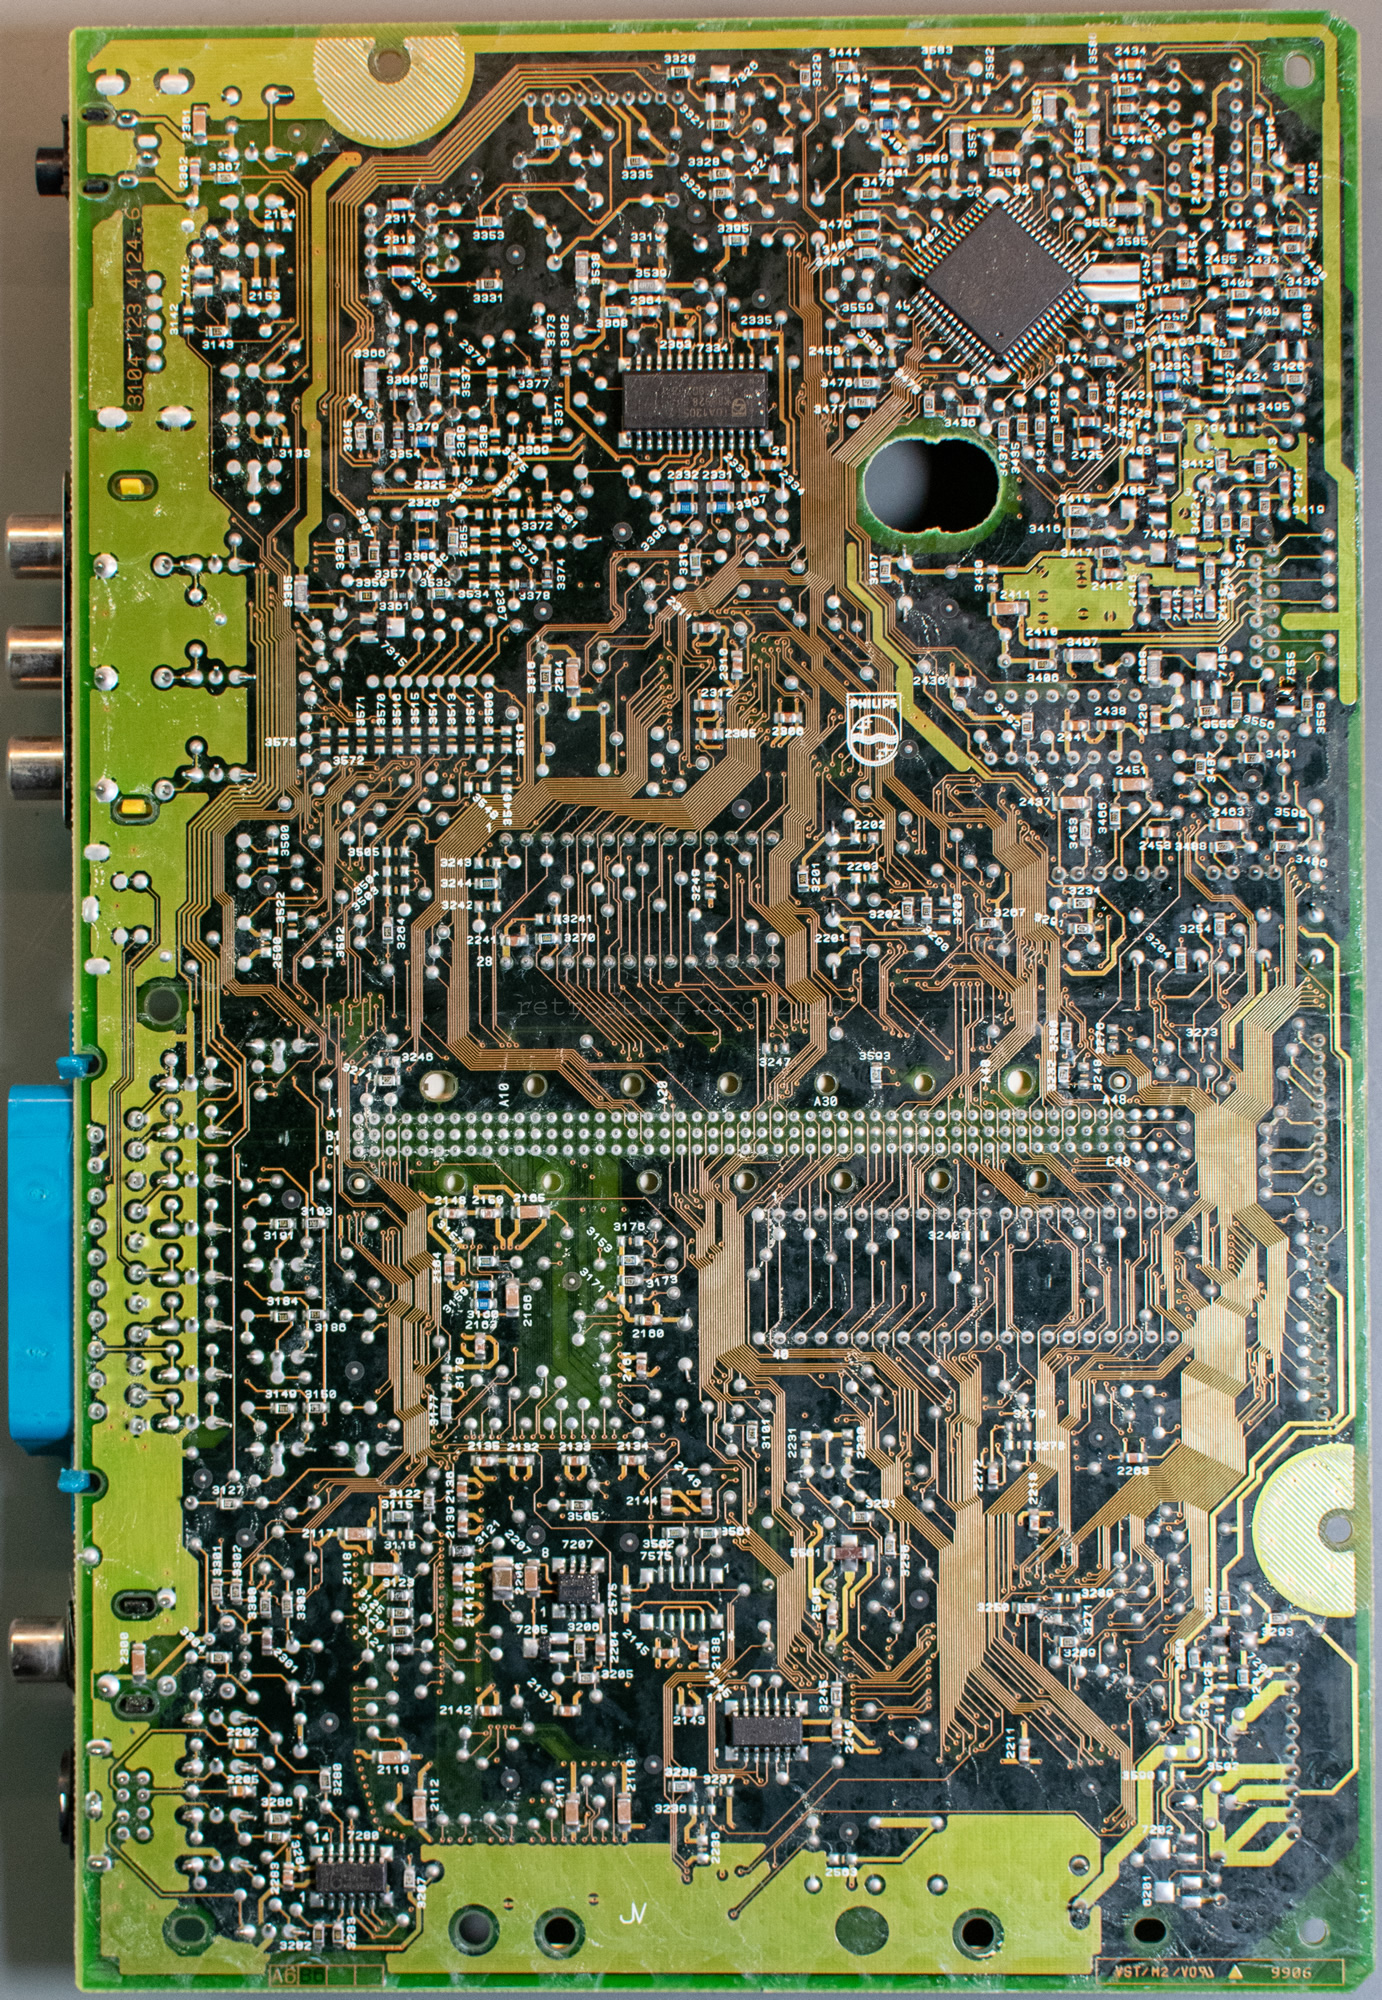
However, I couldn’t try it out back then because I didn’t have a working 470 or 490. I focused on repairing my 470 first and then adding a PAL/NTSC switch. Eventually, I bought the needed components and two broken 490s to experiment with.
Continue reading Philips CDI490 RGB SCART Modification
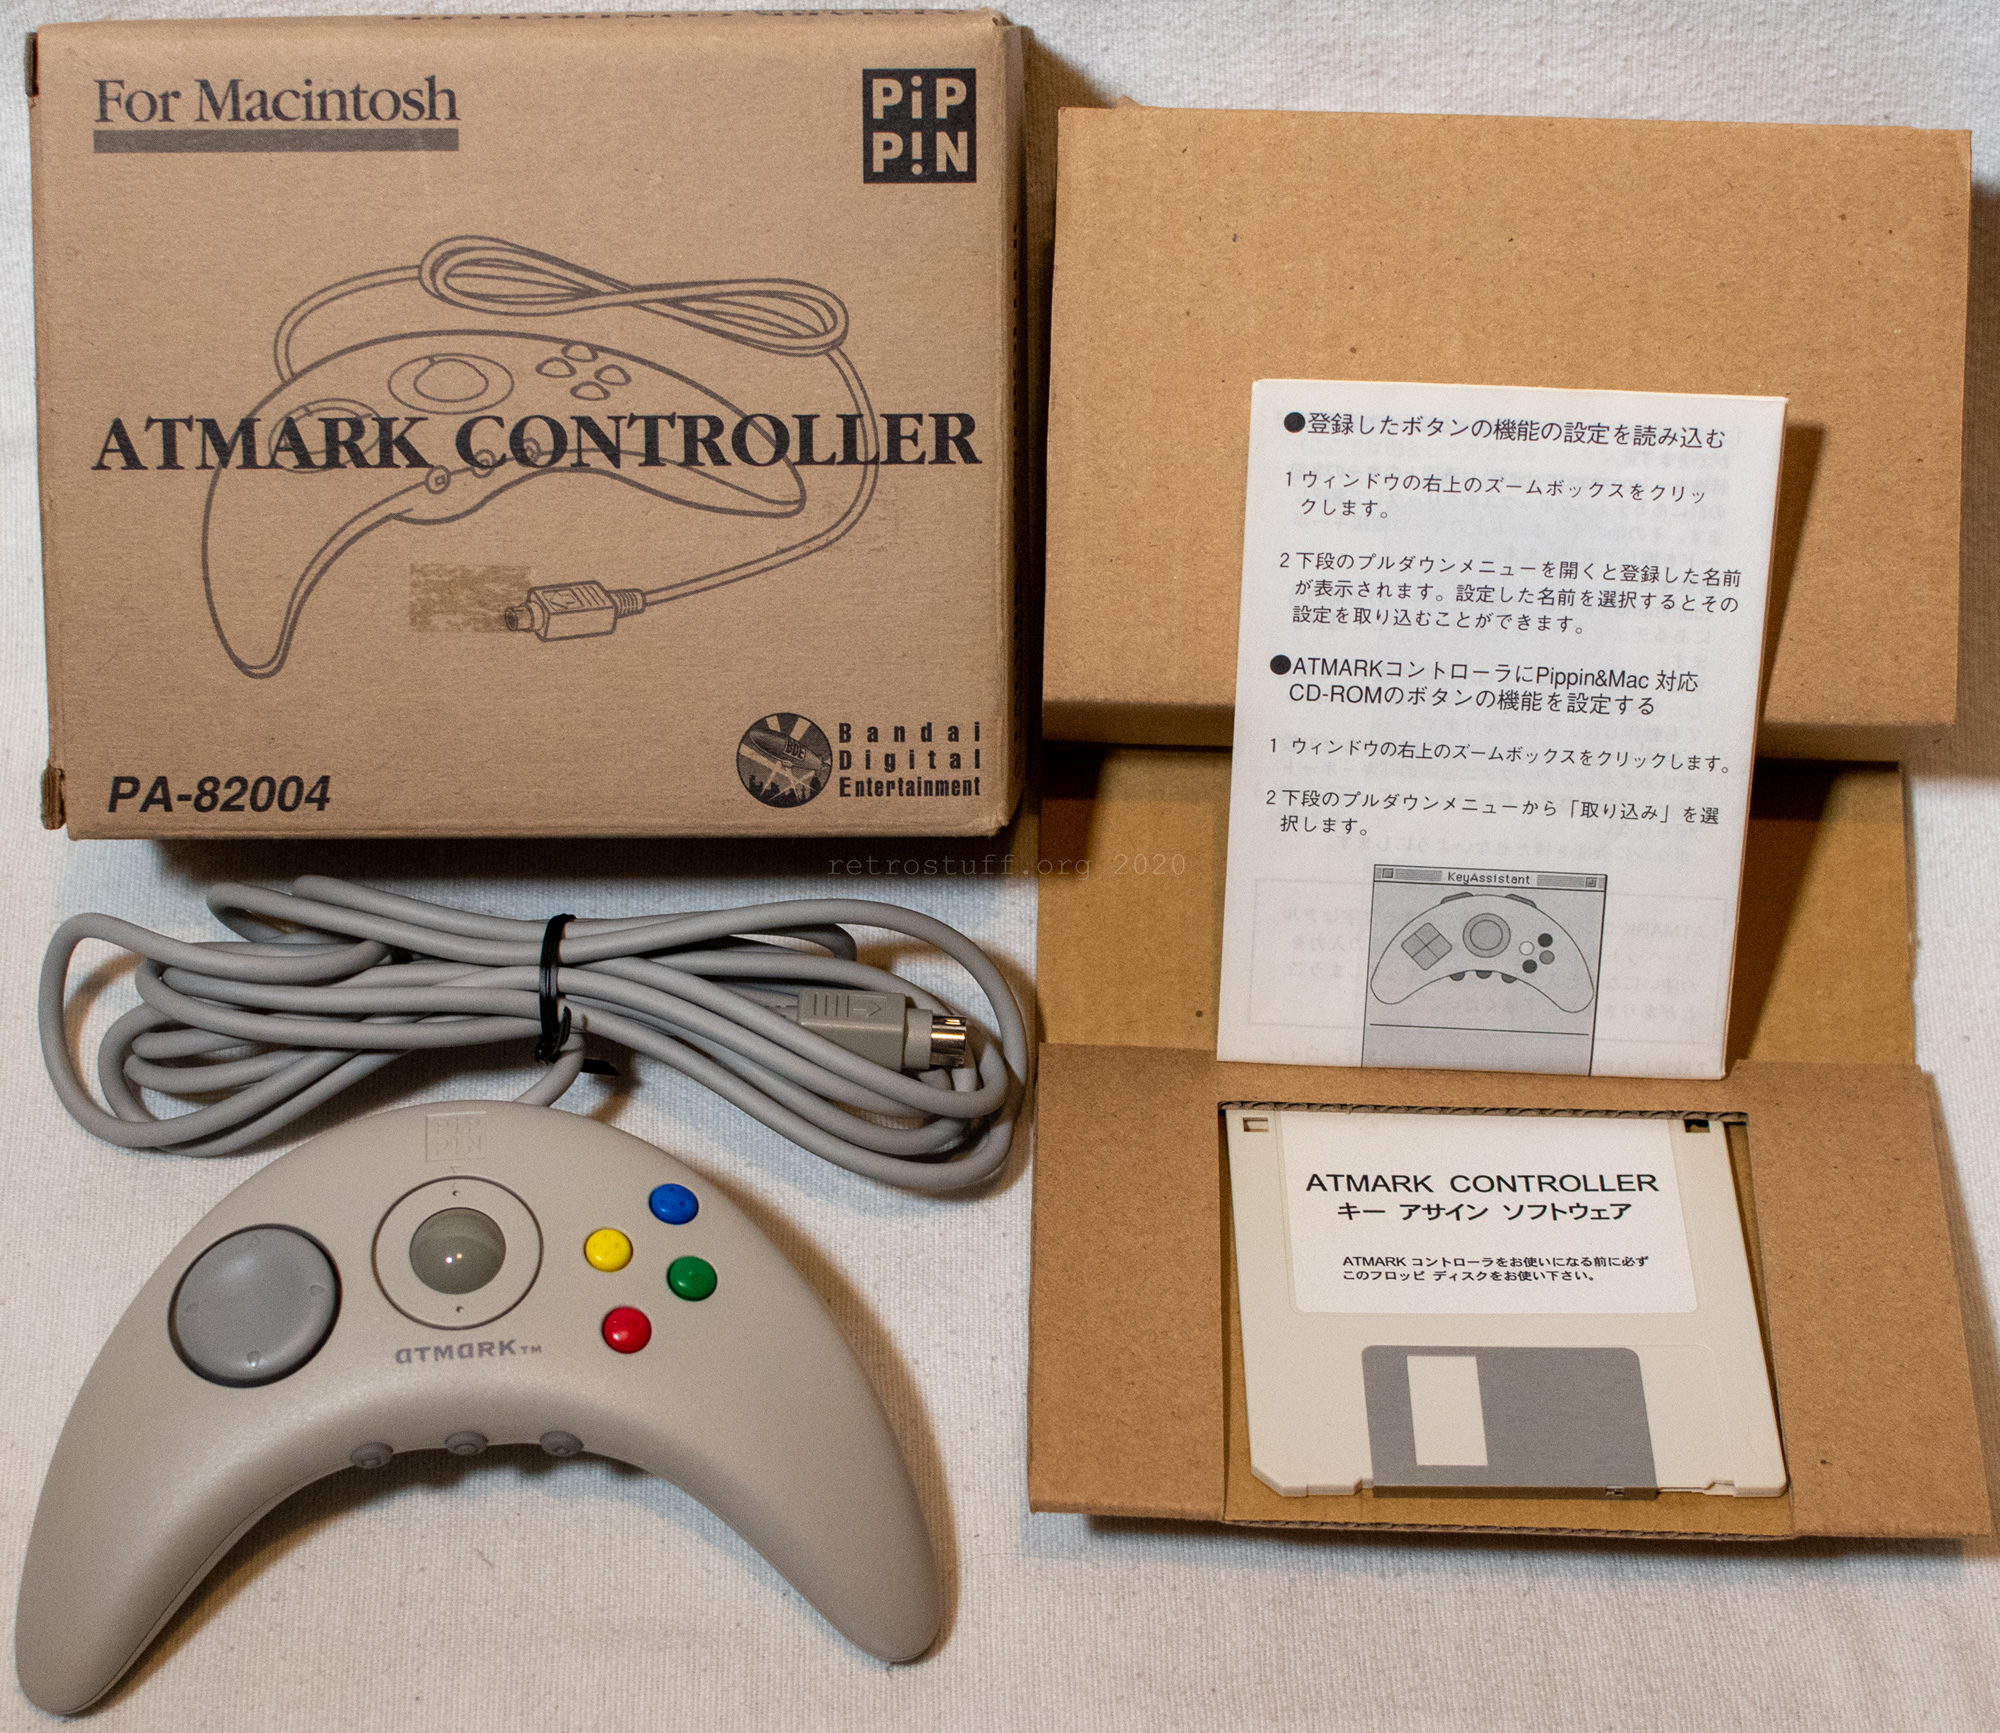
Pippin Atmark Controller for Macintosh
I’ve recently acquired the Bandai Pippin Atmark Controller for Macintosh (PA-82004) and took it apart today to see what’s inside. I didn’t expect a lot of surprises because this is the Apple Desktop Bus (ADB) version of the Pippin Atmark AppleJack Controller (P-ADB).
The small box contains the controller, a driver/software disk and a leaflet with instructions. You will find some more information about the software below.

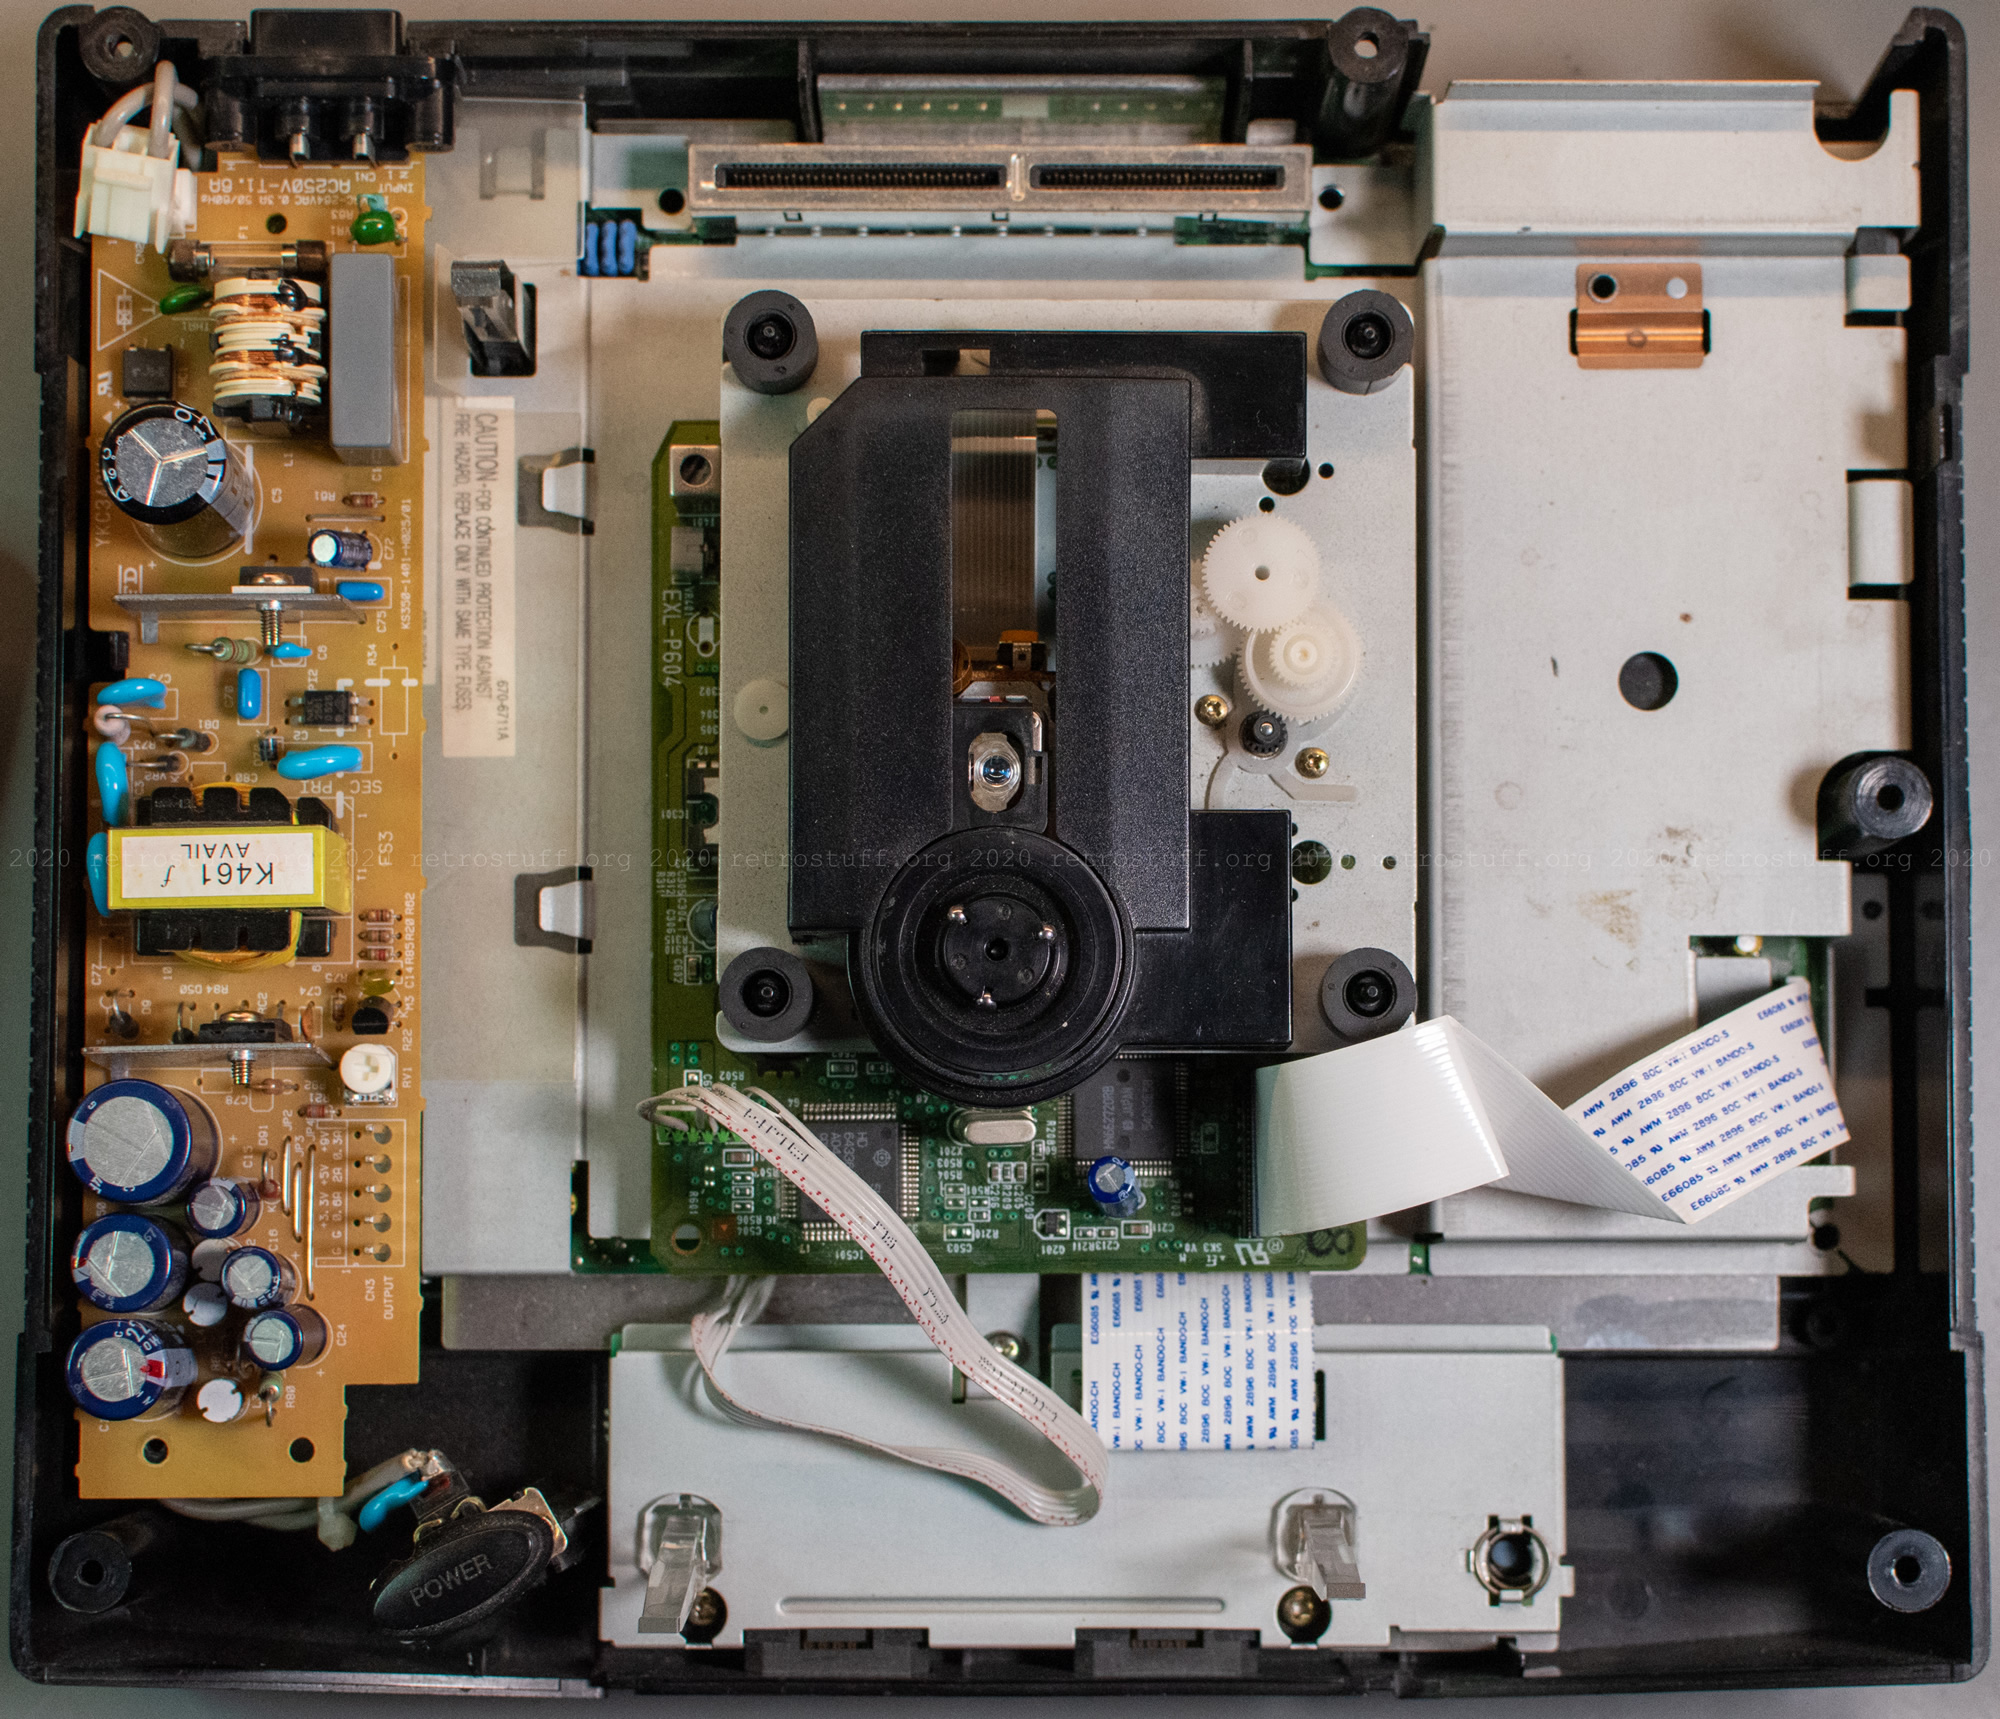
Sega Saturn (PAL VA3) Modifications
This is a follow-up to the modifications I did to a NTSC VA15 Saturn. In this article, I will implement the following Sega Saturn (PAL VA3) modifications: Region-free BIOS, FRAM, and a 50/60 Hz switch (SW4).
After finishing the last article, I took three broken PAL Saturns that I had lying around apart to see what I could repair and modify next: A Model 1 with VA1 mainboard, a Model 1 with VA3 (aka “PAL VA SD”) mainboard and an almost identical Model 2 (VA5, also “PAL VA SD”). I had only one working Type-B power supply, so I had to make a choice. I went with the VA3 Model 1 because the mainboard was in the best condition and only needed a working disc drive and power cable, reset button stick, power suppy and some cleaning. This is how is looked before:
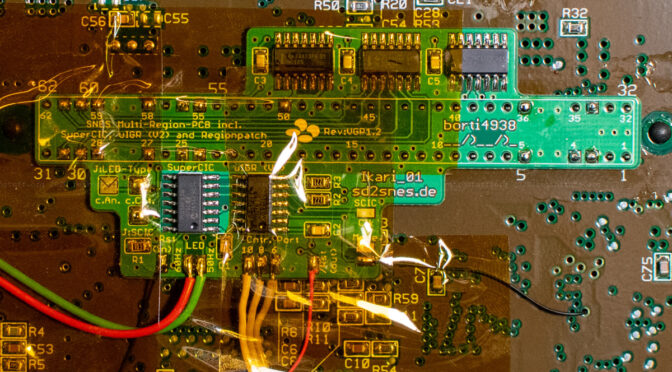
SD2SNES Pro SuperCIC Compatibility
Today, I wanted to try out the pre-release sgb06 firmware. It is a fork of the original SD2SNES (aka FXPAK) firmware and implements support for the Nintendo Super Game Boy 2. After I had set everything up, I was wondering why the SuperCIC was disabled. I remembered then that I had bought a SD2SNES Pro last year, but never used it because of this:
Continue reading SD2SNES Pro SuperCIC CompatibilityRight now, it seems to have a bug when used in combination with a SuperCIC. As soon as the SuperCIC is enabled in the configuration, there is no picture and sync is lost (also, weird readings on the OSSC display). Upon switching the frequency, the LED of the console turns red and is stuck in that status. According to this thread, a firmware update is needed for one of the SuperCIC chips. I’m looking forward to see if this can be resolved through a SD2SNES firmware update. Otherwise, I’ll have to desolder and flash one of the SuperCIC chips.
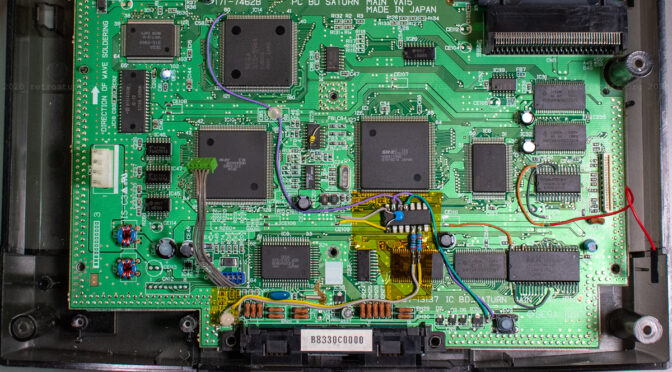
Sega Saturn Modifications
This article is about implementing the following Sega Saturn modifications: Region-free BIOS, FRAM, and switchless 50/60 Hz.
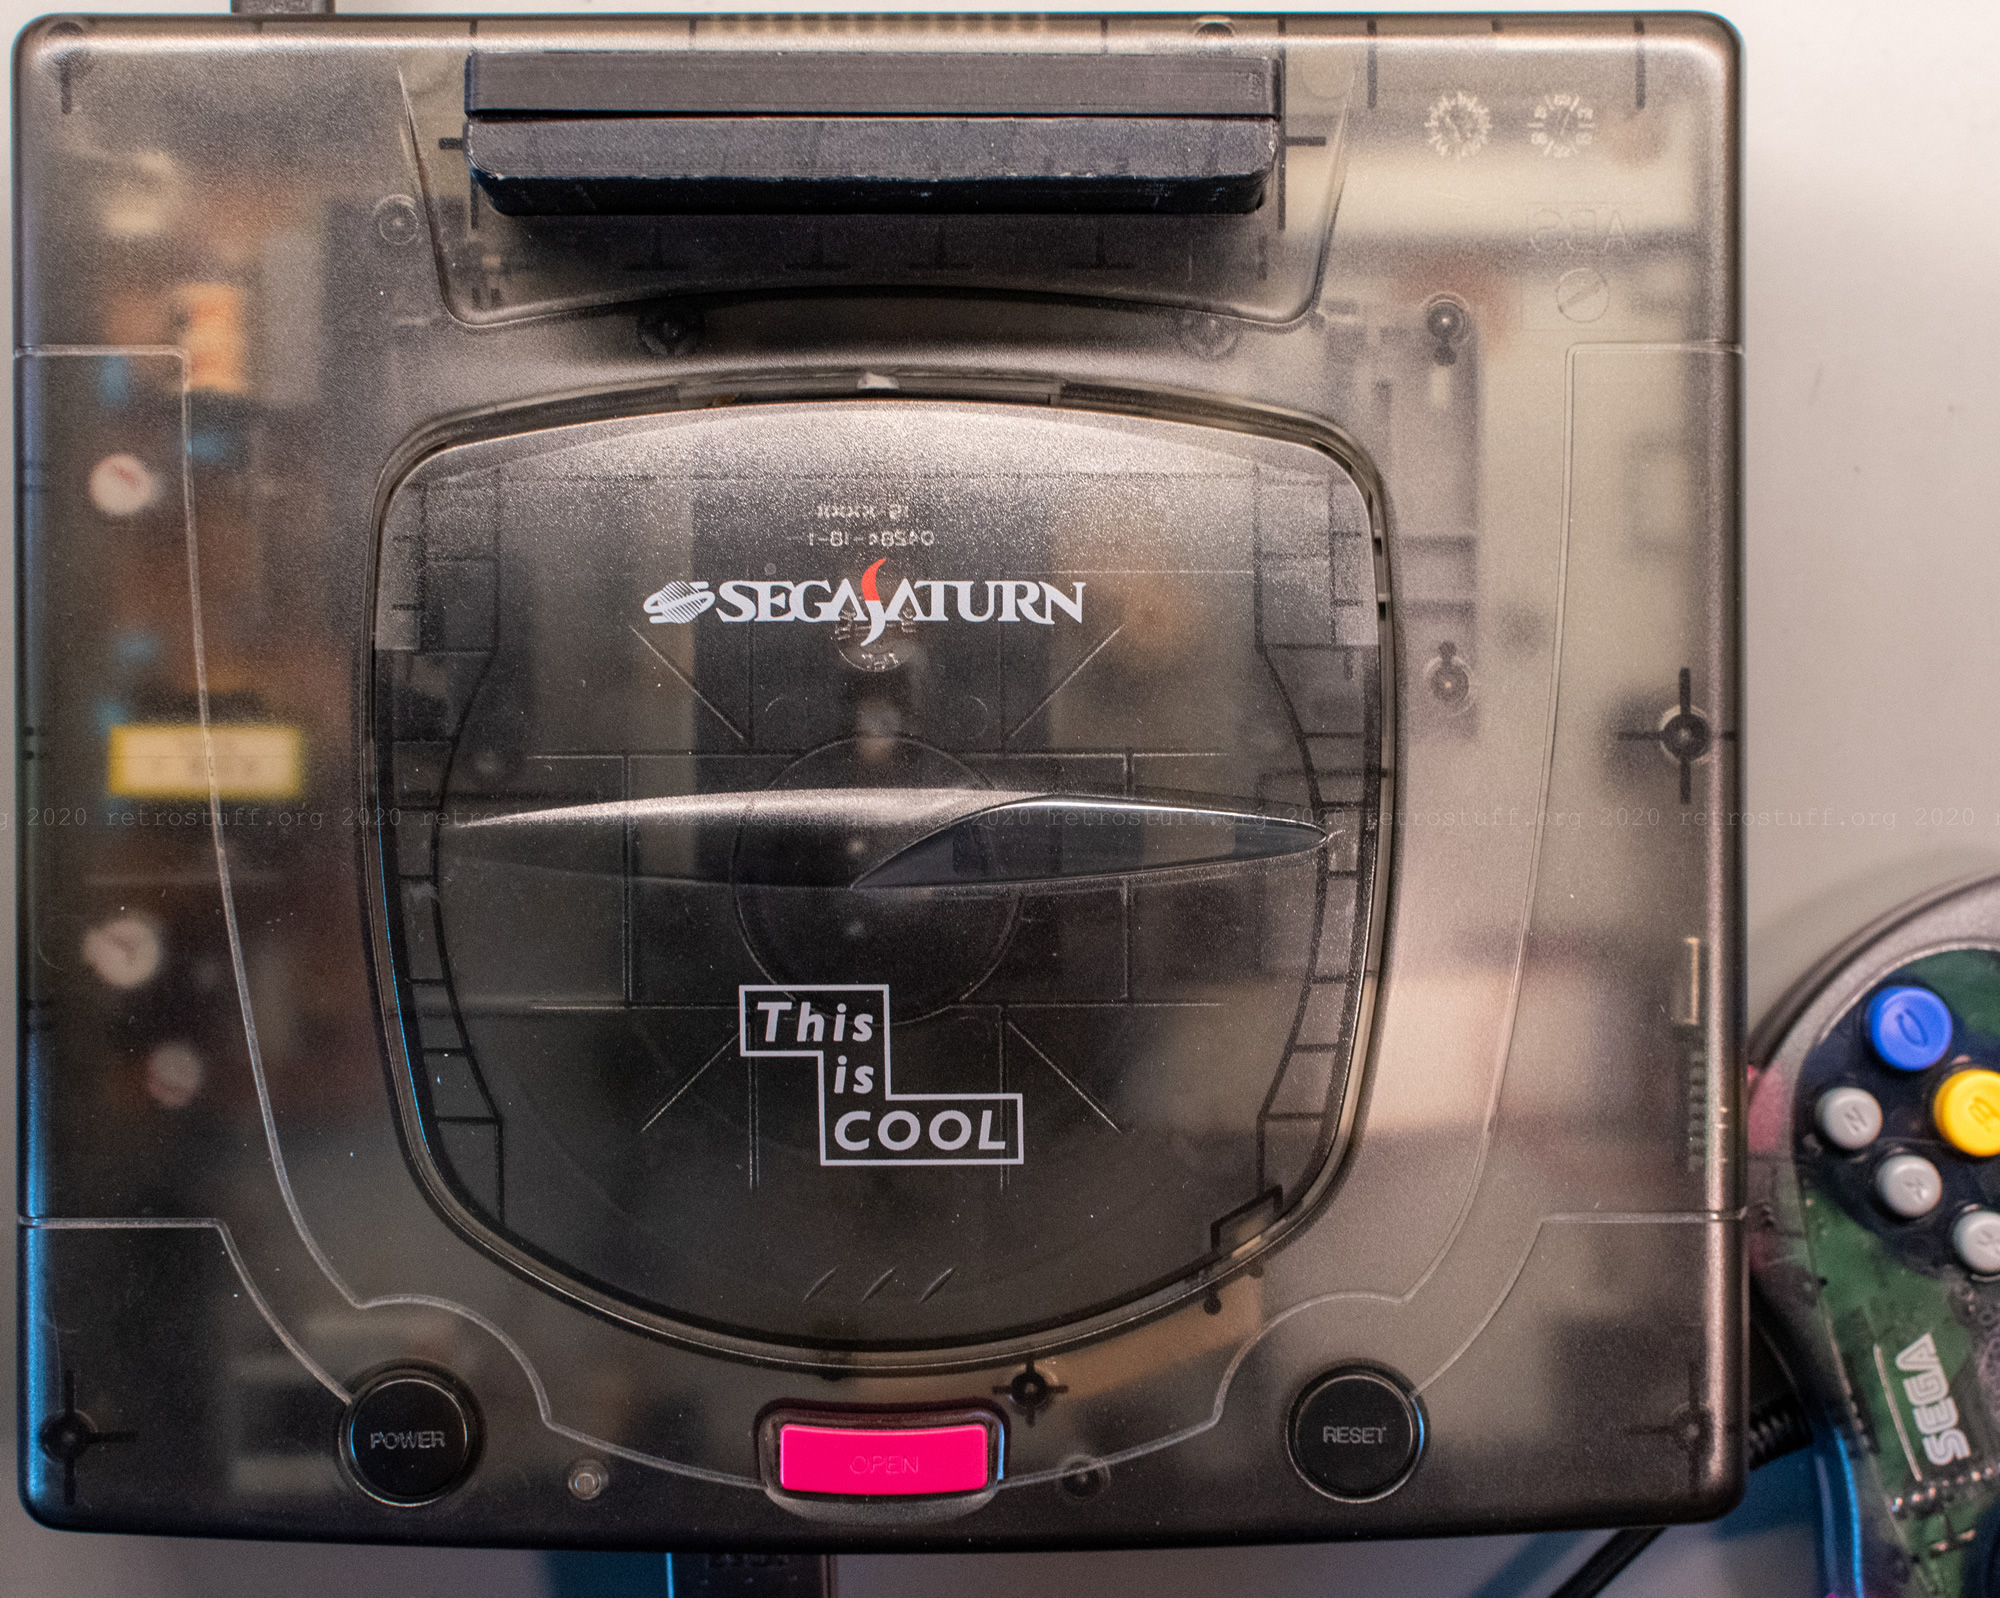
But first, we’ll need to go back in time a decade or so. Back then, I was modifying my “This is COOL” skeleton SegaSaturn (HST-0021/HST-3220) like crazy, stuffing everything inside that I could find:
- V2 modchip
- The ultimate Sega Saturn Switchless Mod
- A/V out mod for EU SCART cables
- EU Type-C PSU to supply 9V for the A/V out mod
- Region-free BIOS chip
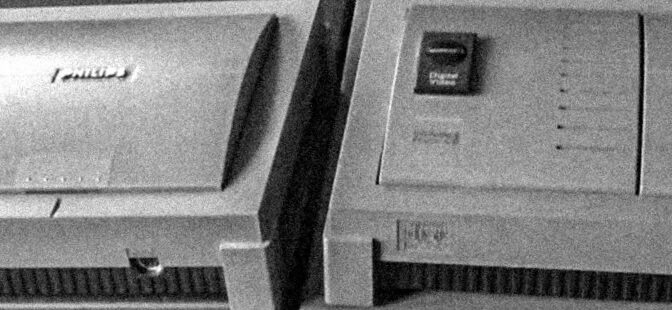
Philips CDI550 and CDI450
In 2014, I bought two top-loading CD-i players, the Philips CDI550 and CDI450. While the Magnavox CDI550 pops up every now and then in the U.S., the Philips CDI550 is quite rare in Europe and I’ve only seen a single one in all these years.