
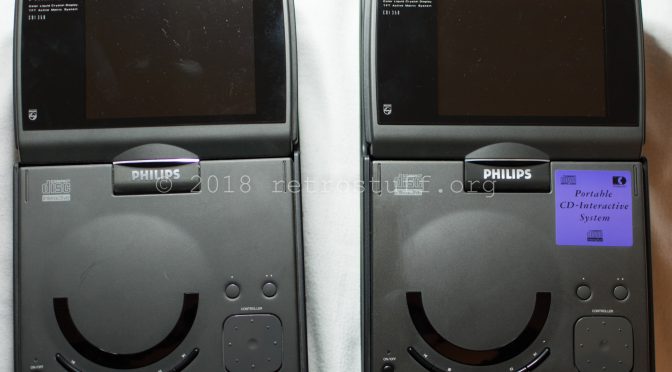
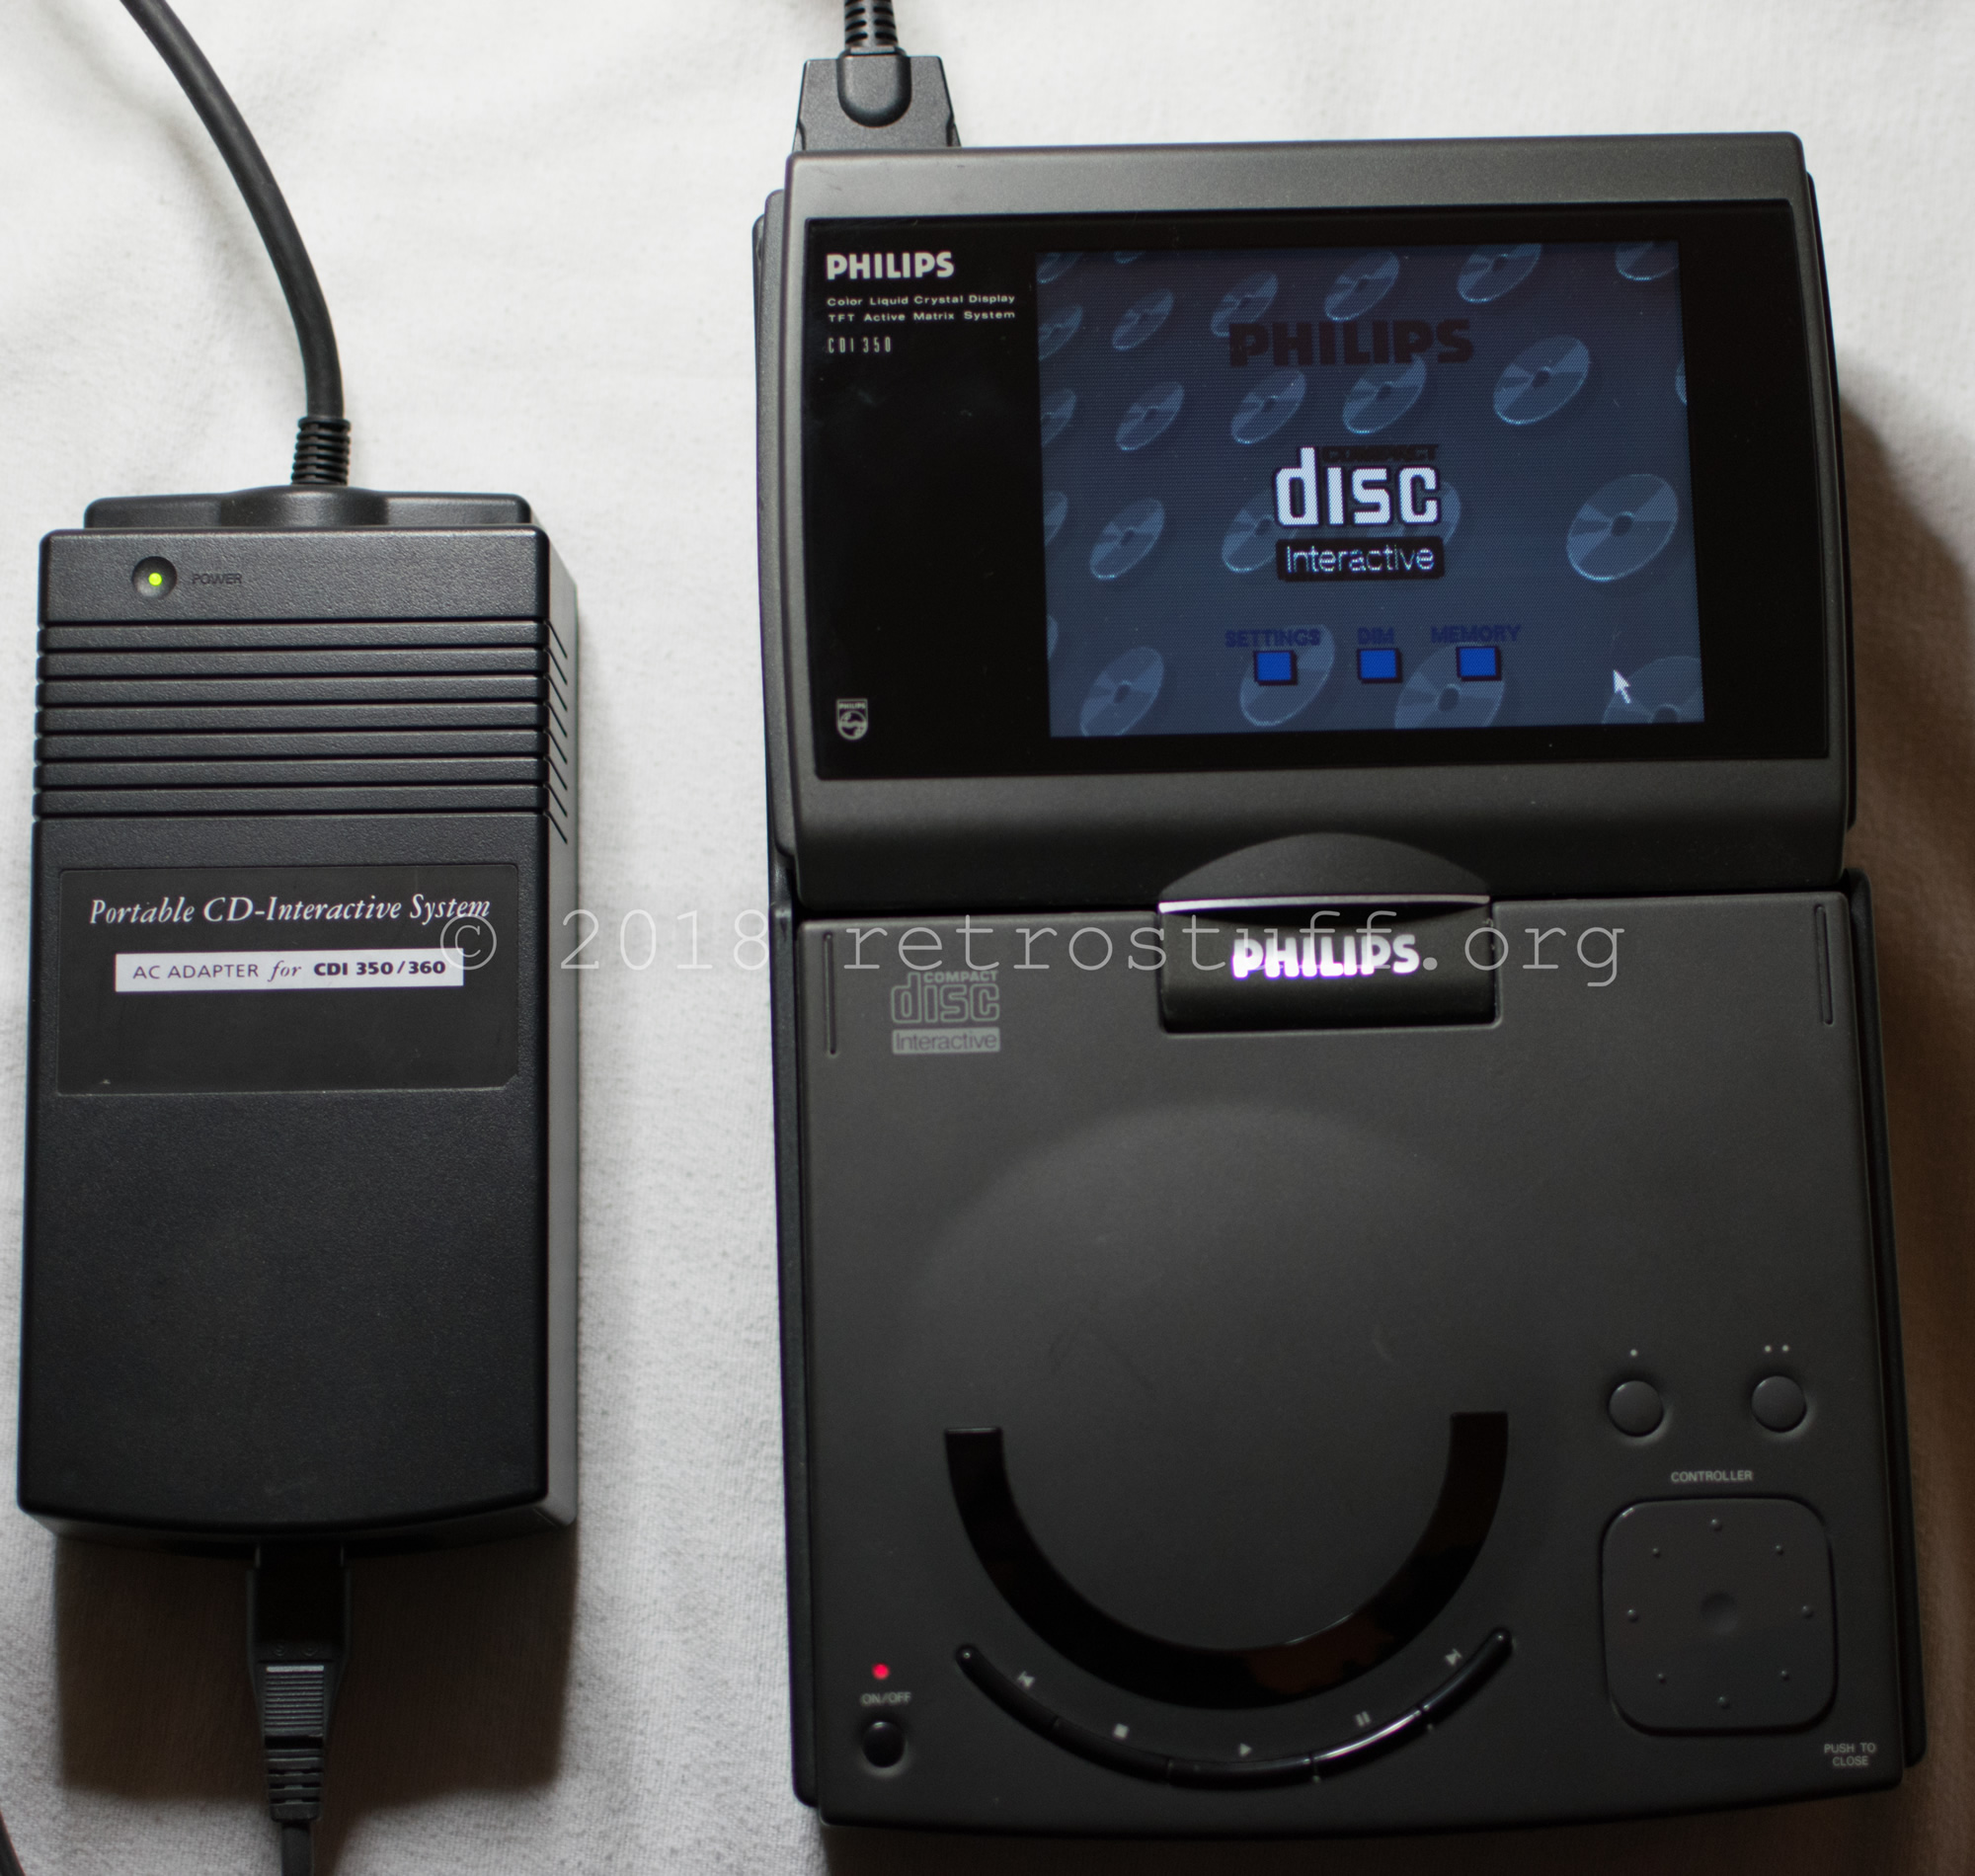
Two portable Philips CD-i players (CDI350) came into my care last month. They show common errors, such as not loading any CDs and not storing any settings, and also flickering screens. Let’s have a look inside and repair them.
The screen becomes normal after a while so that I can navigate.
The settings have been reset to the default values every time after I switched the player off. This indicates a broken Timekeeper chip.

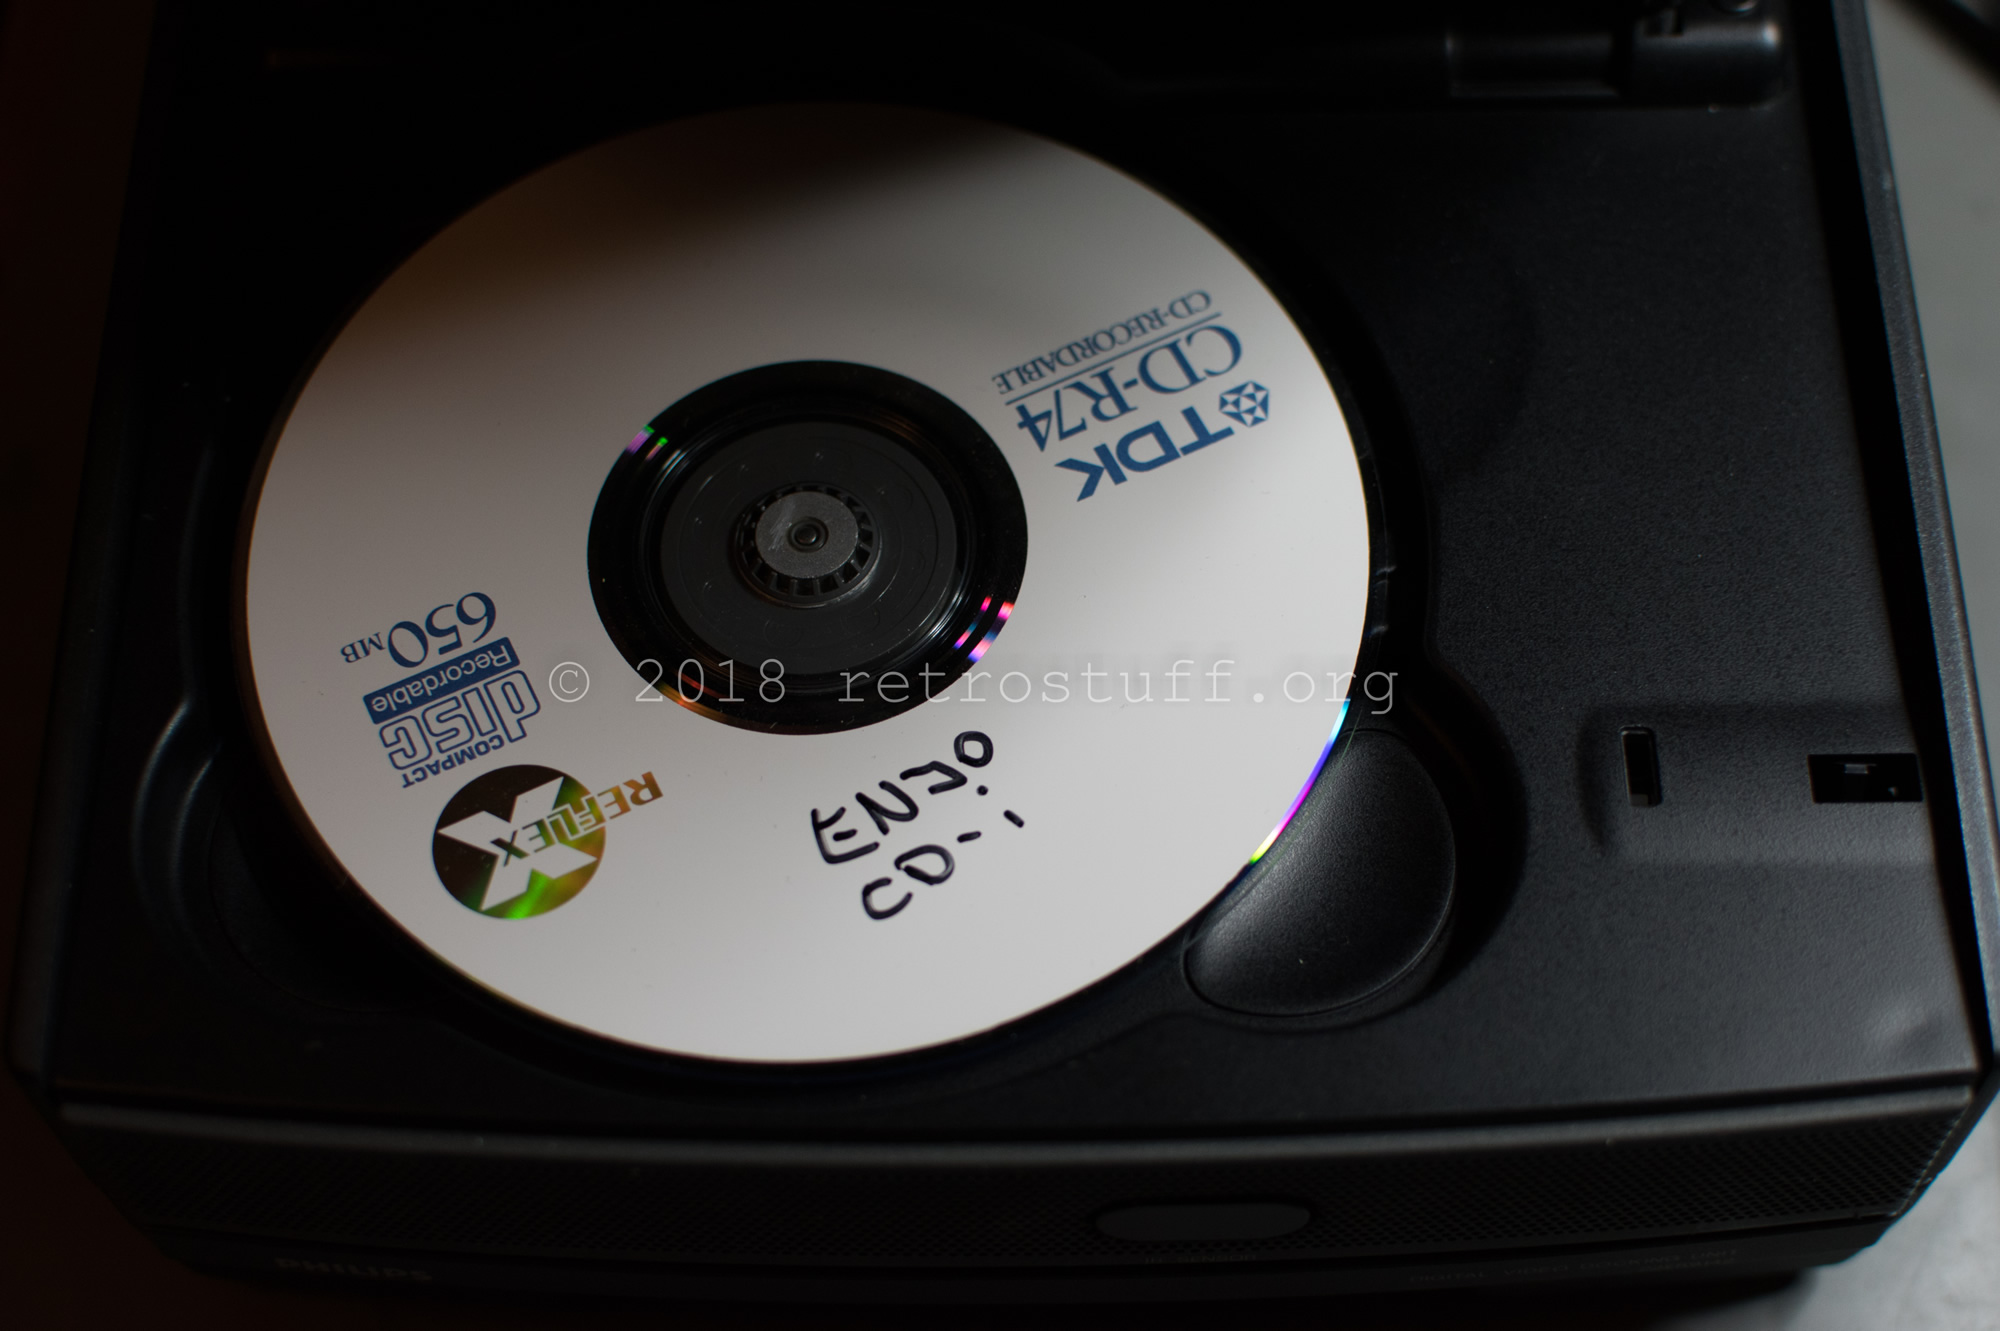
Player #1 has a nice bonus, a CD-R labelled ‘ENJO CD-i’, a commercial presentation of the company ENJO. This presentation isn’t listed anywhere nor has been dumped before, however, the company is noted in the CD-i FAQ 2000 Edition.
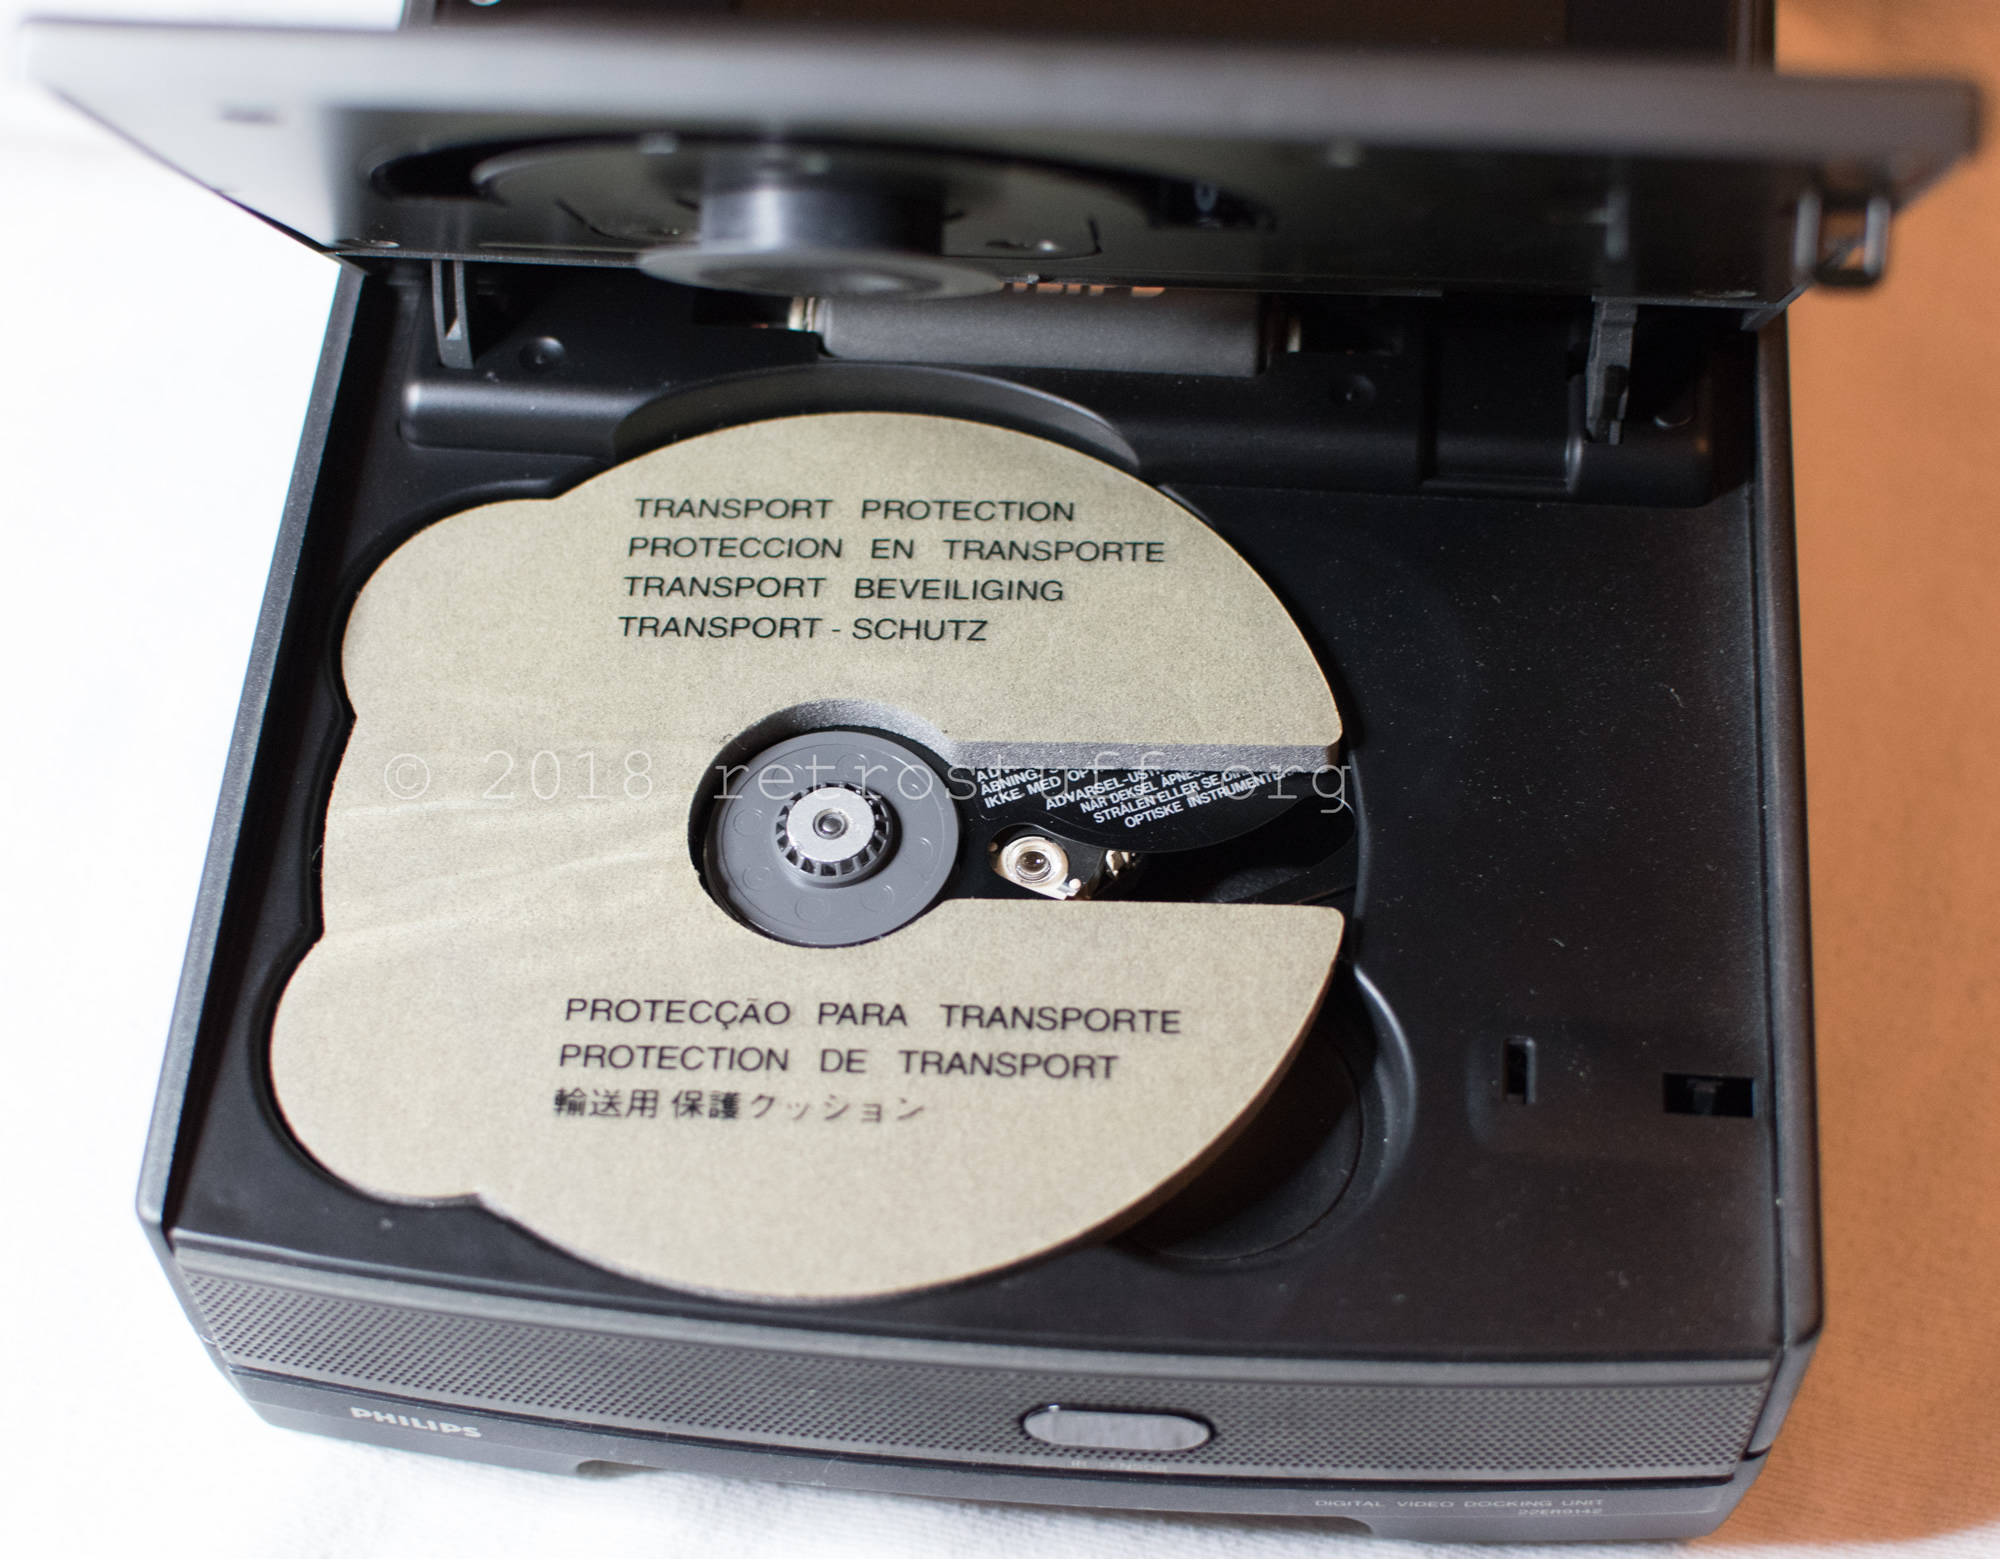
Underneath the CD lid of player #2 is a transport protection card:
This will be all of player #2 for the time being.
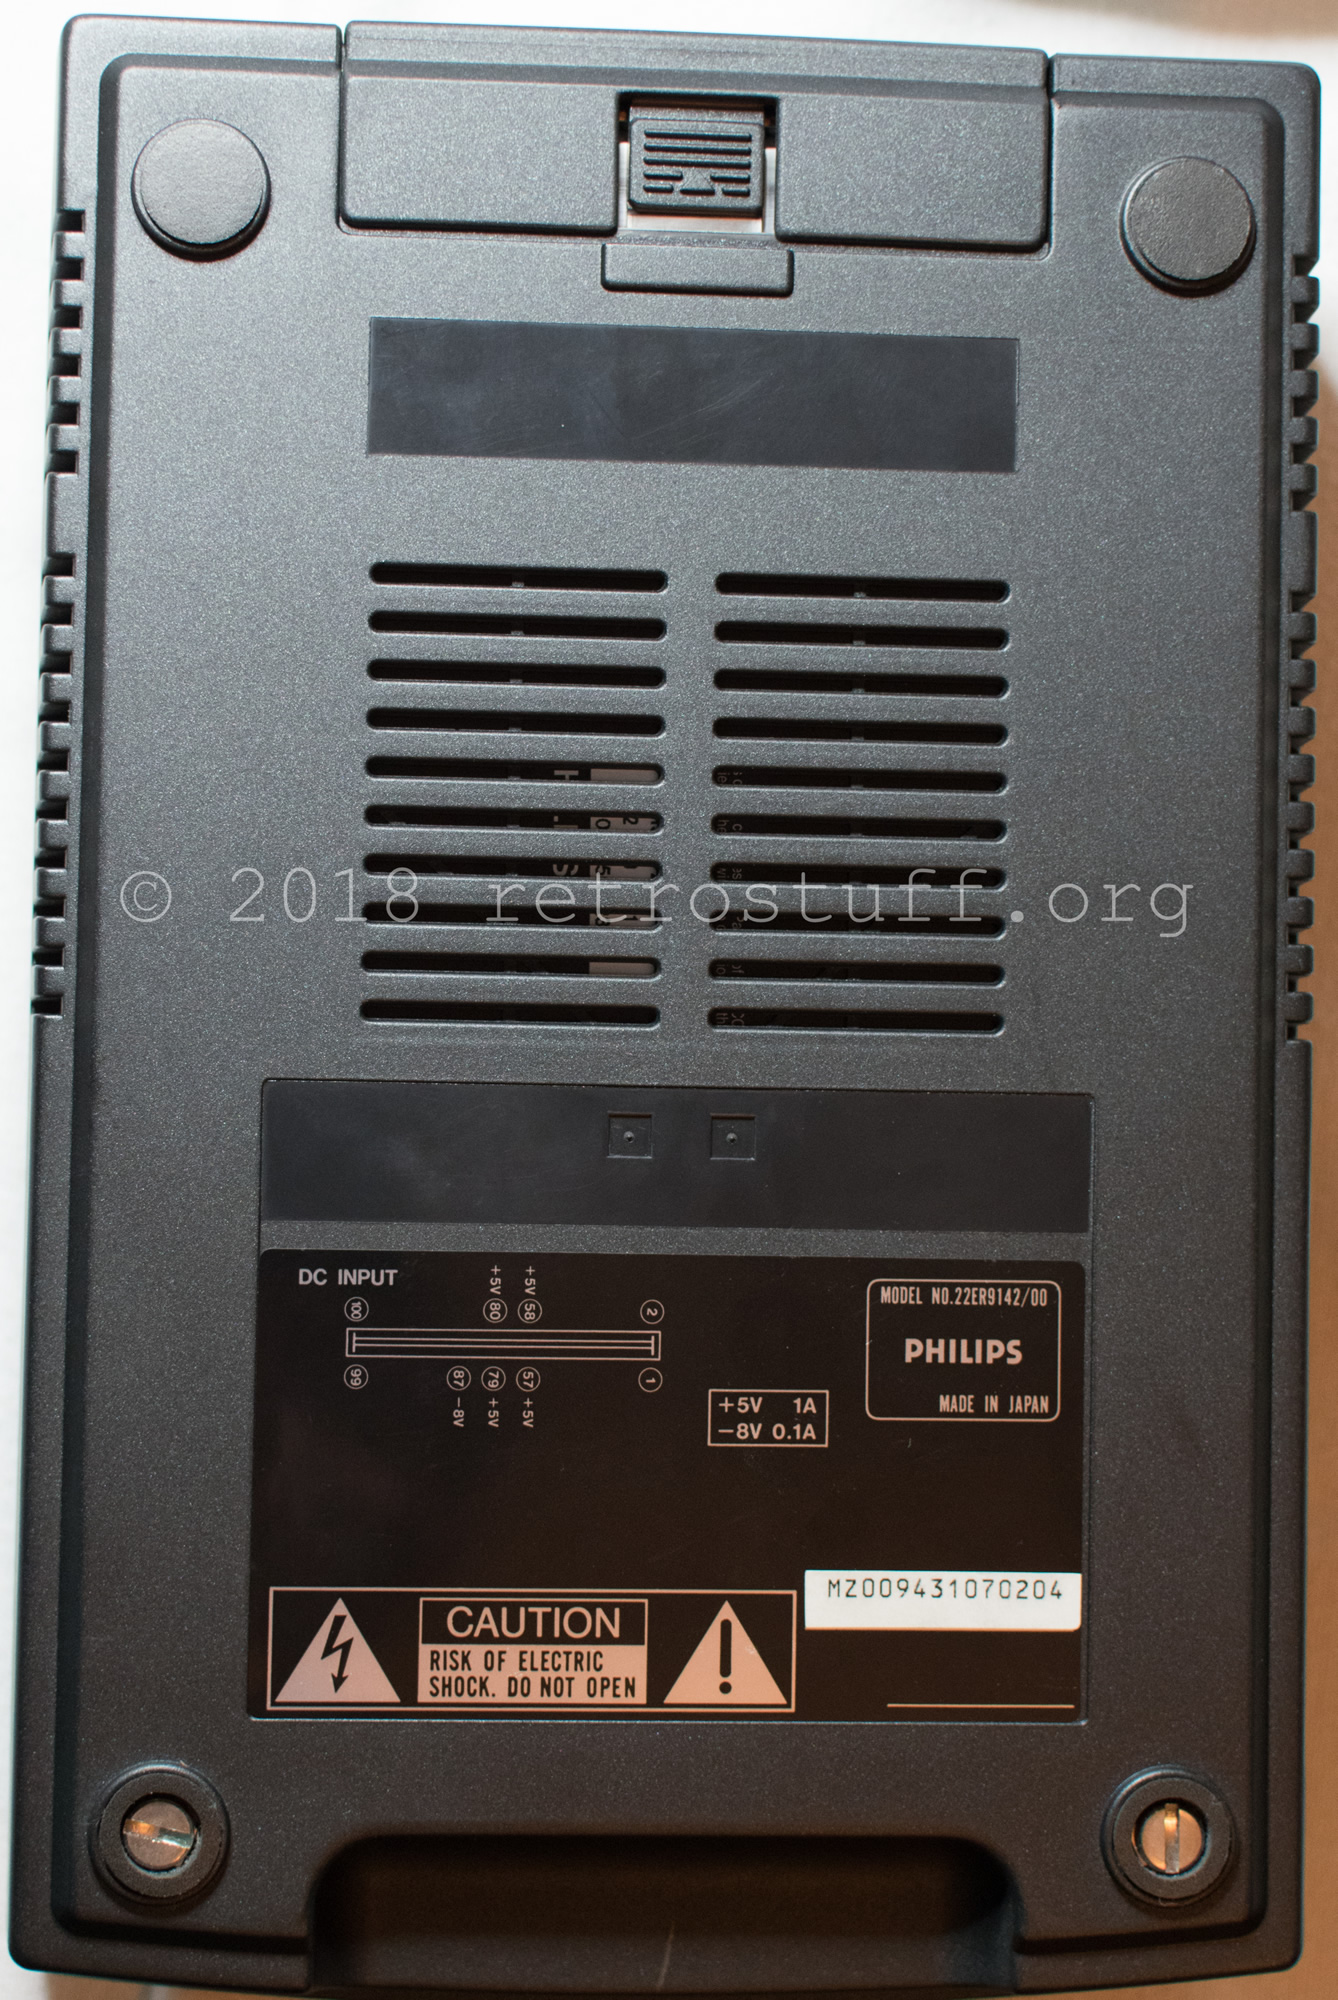
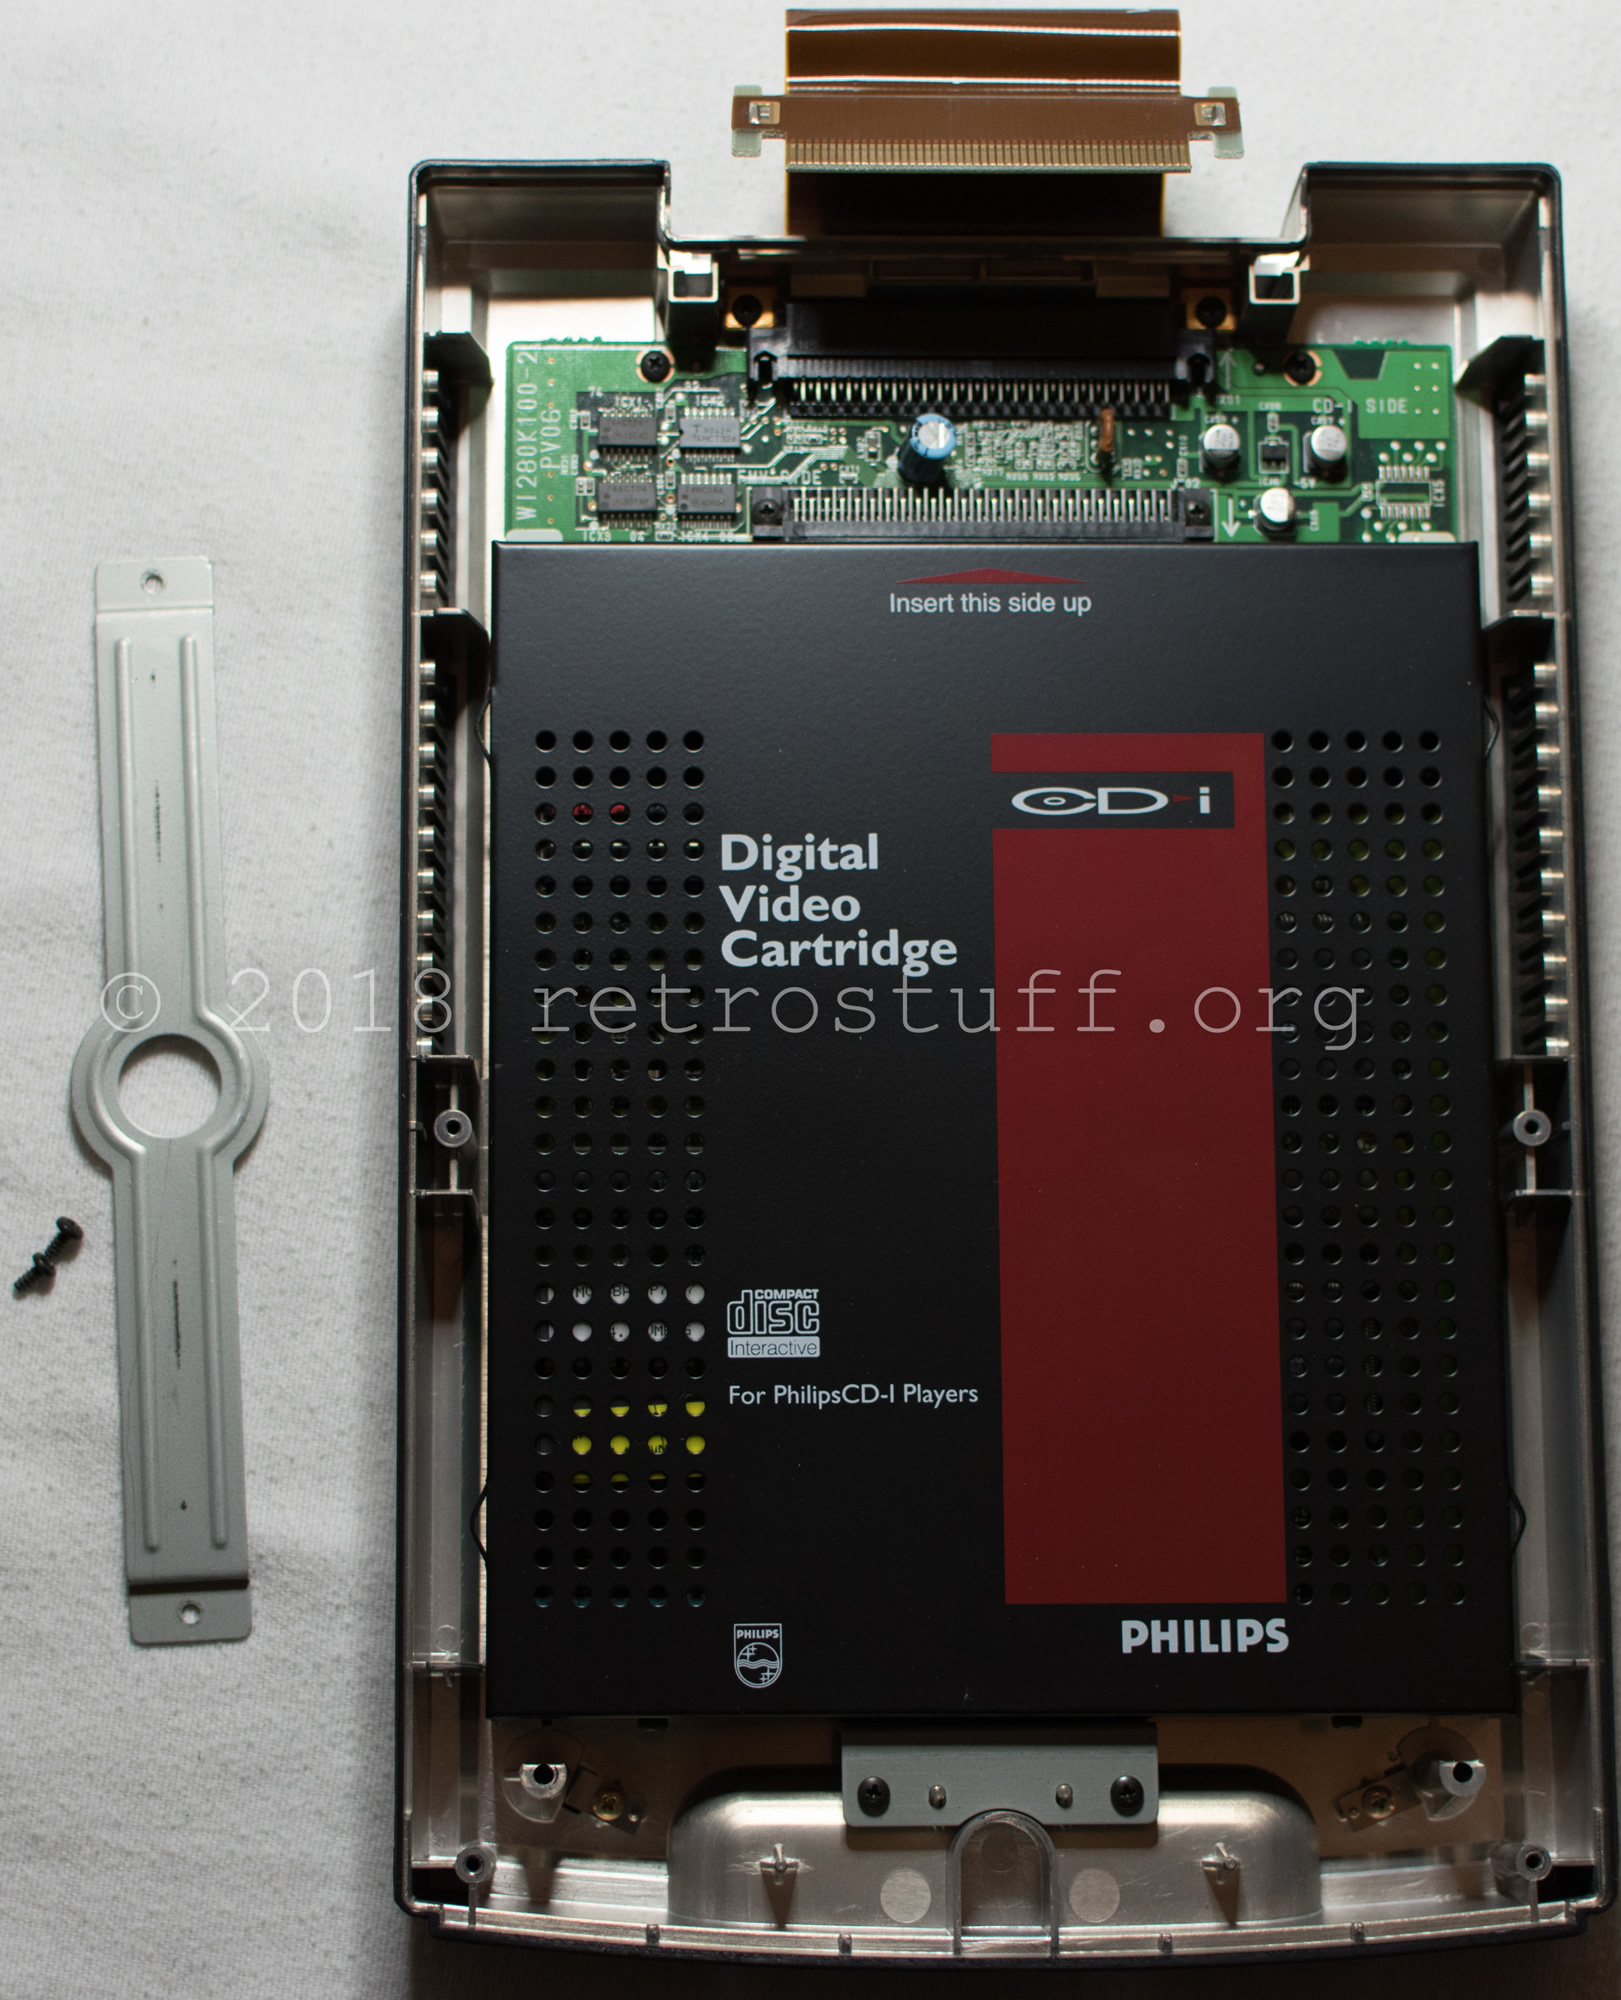
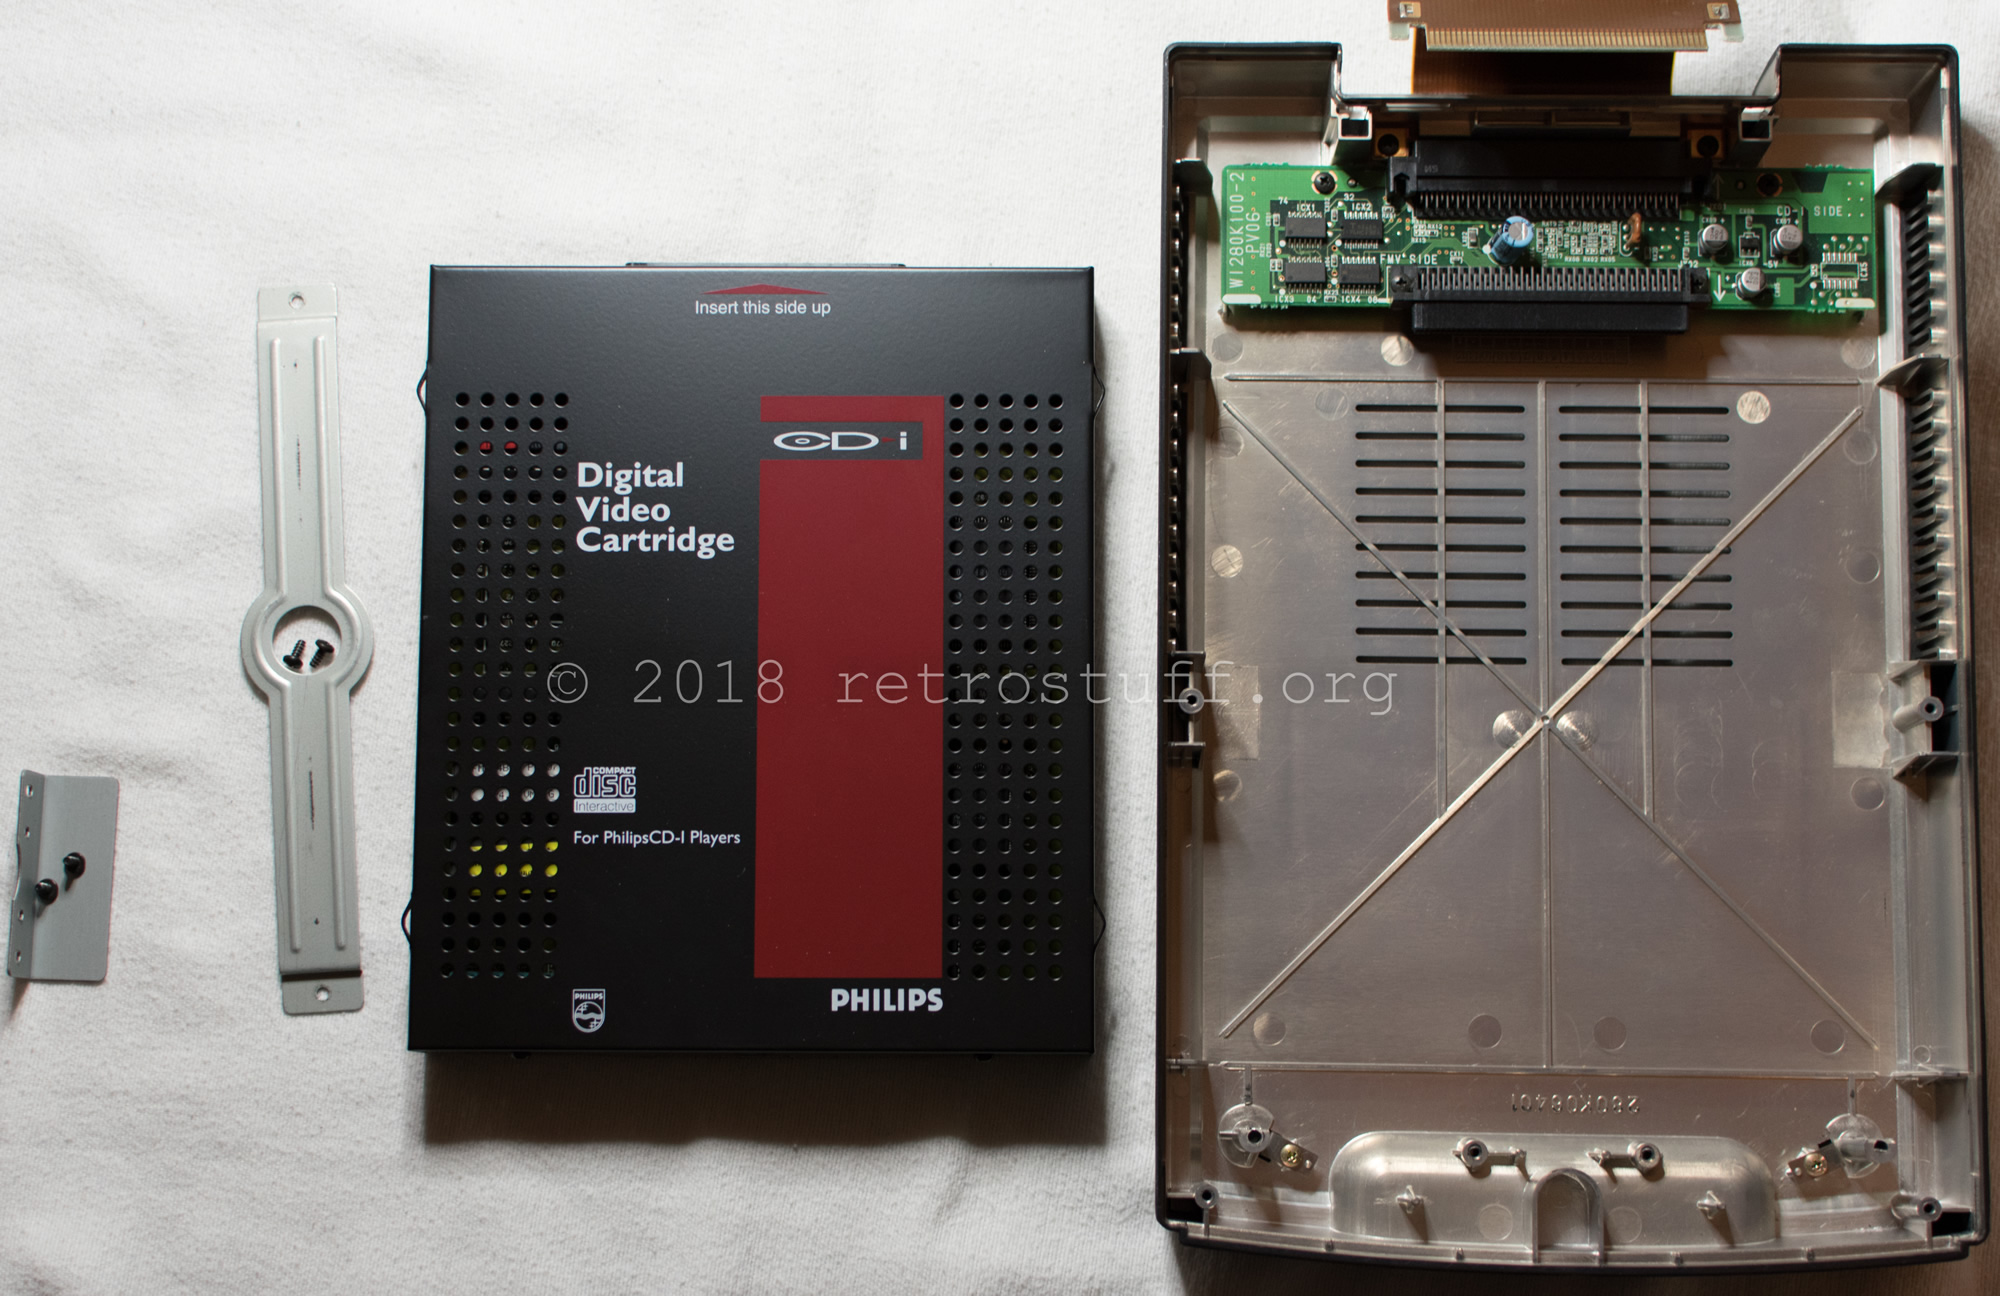
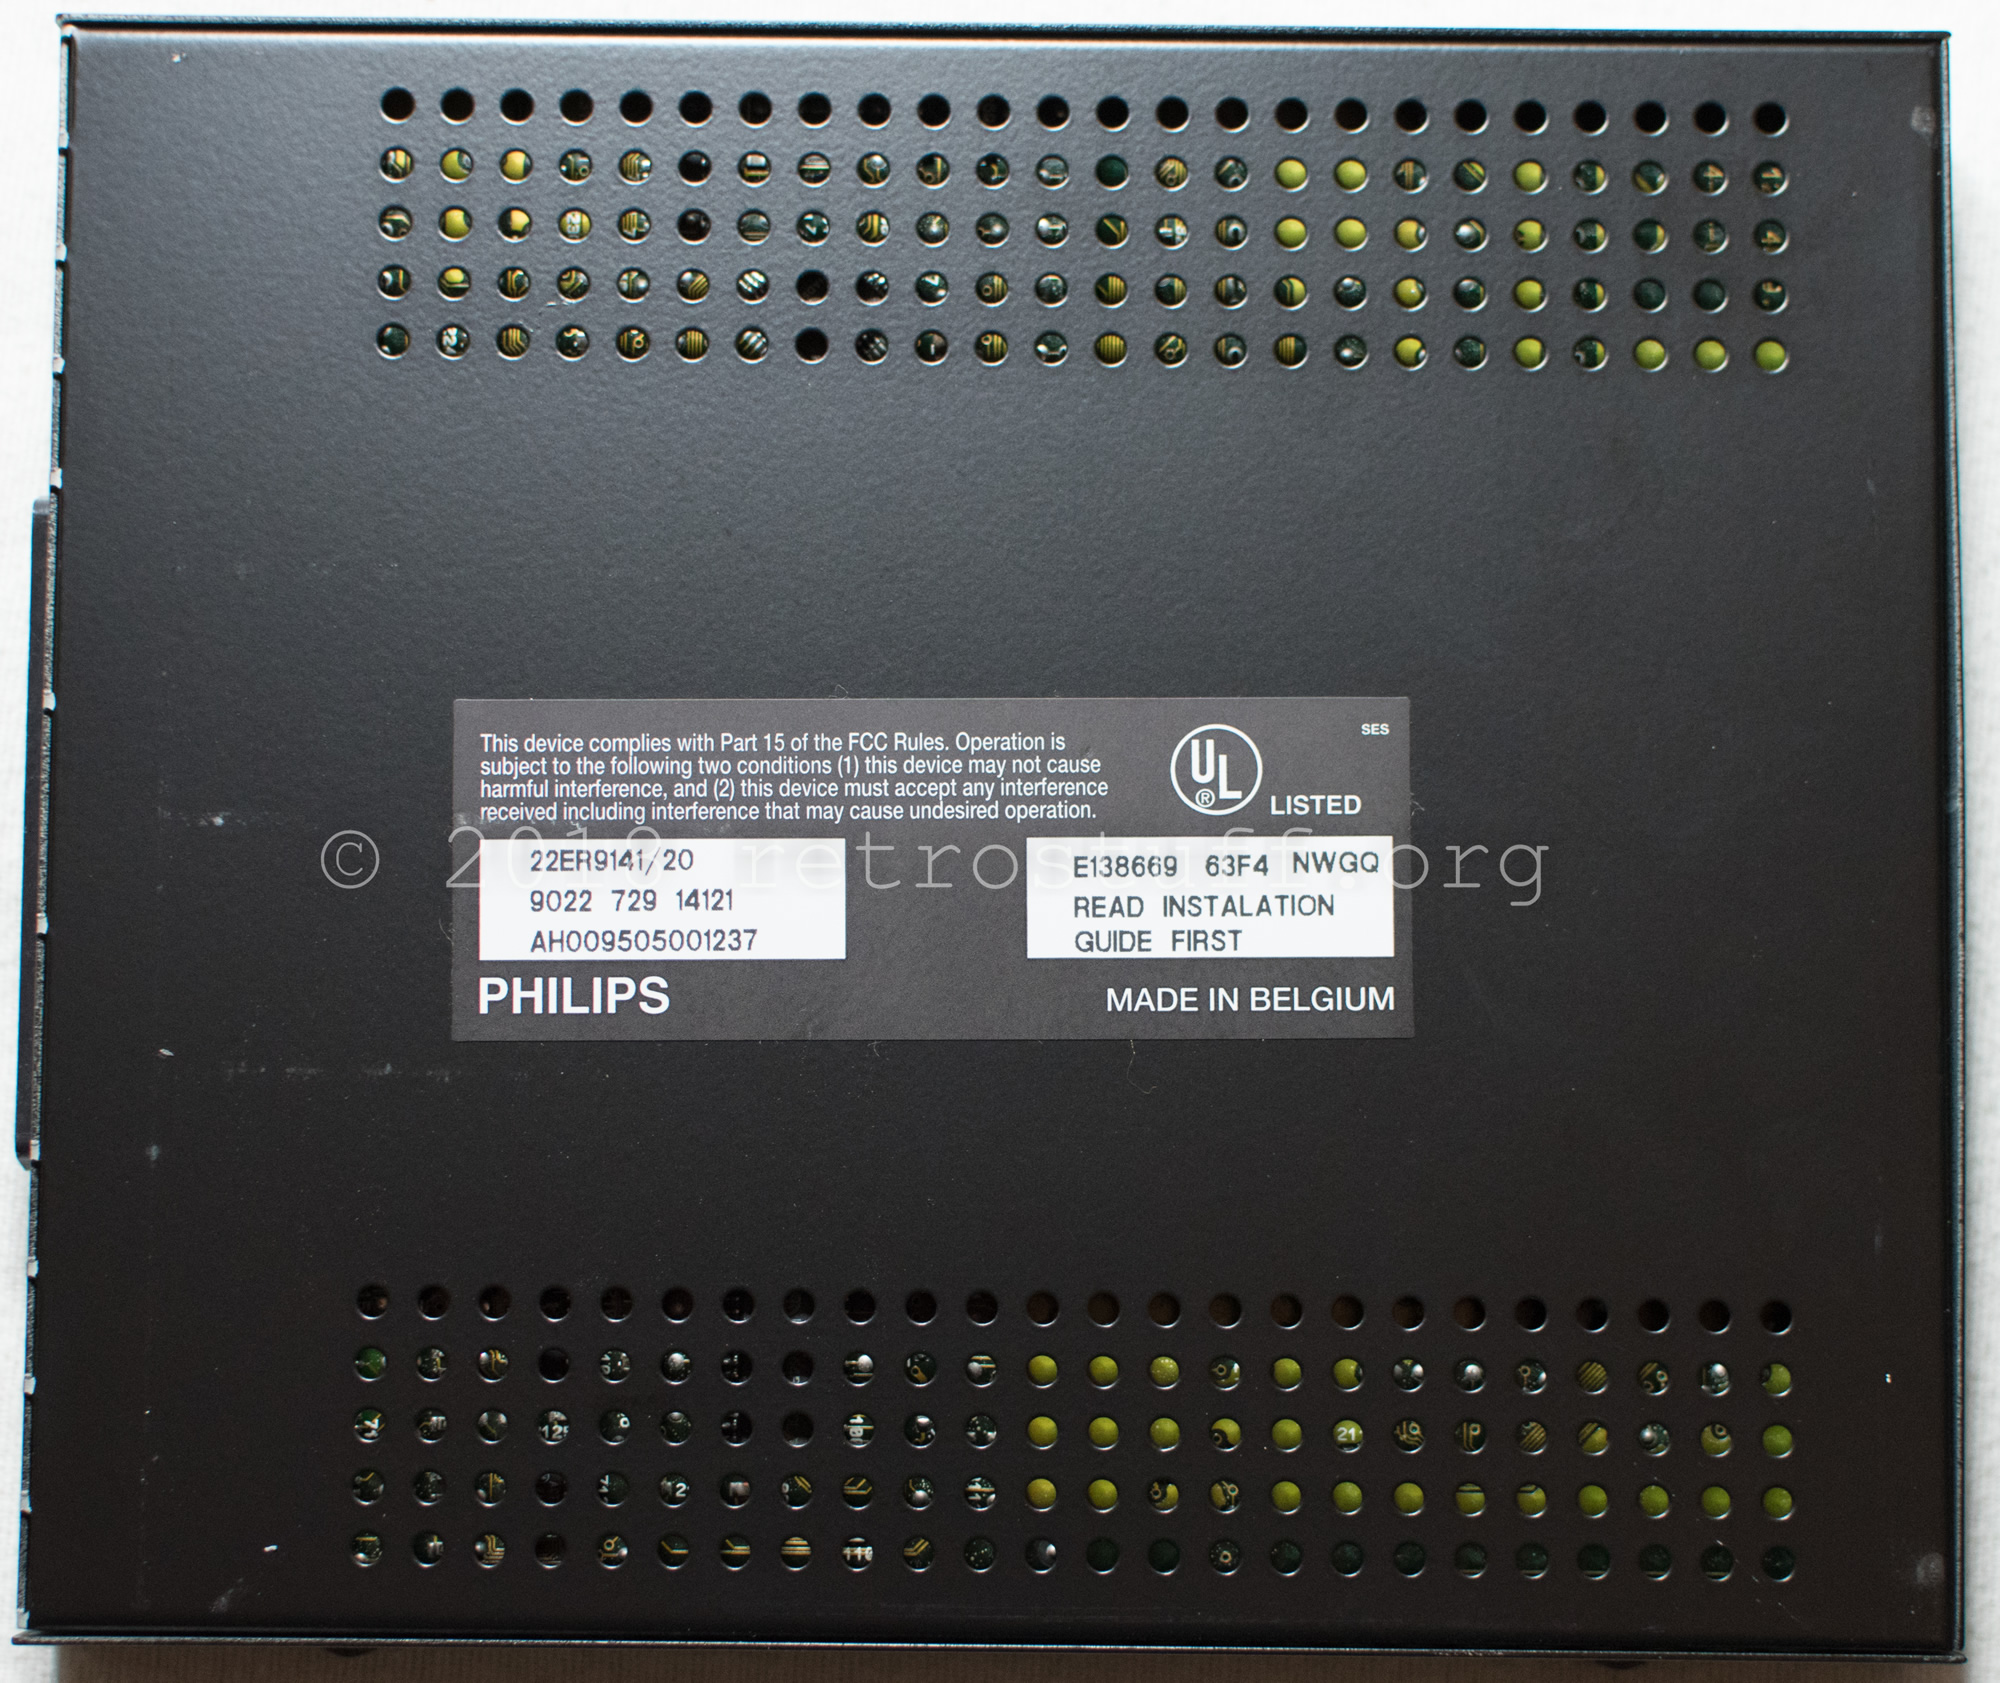
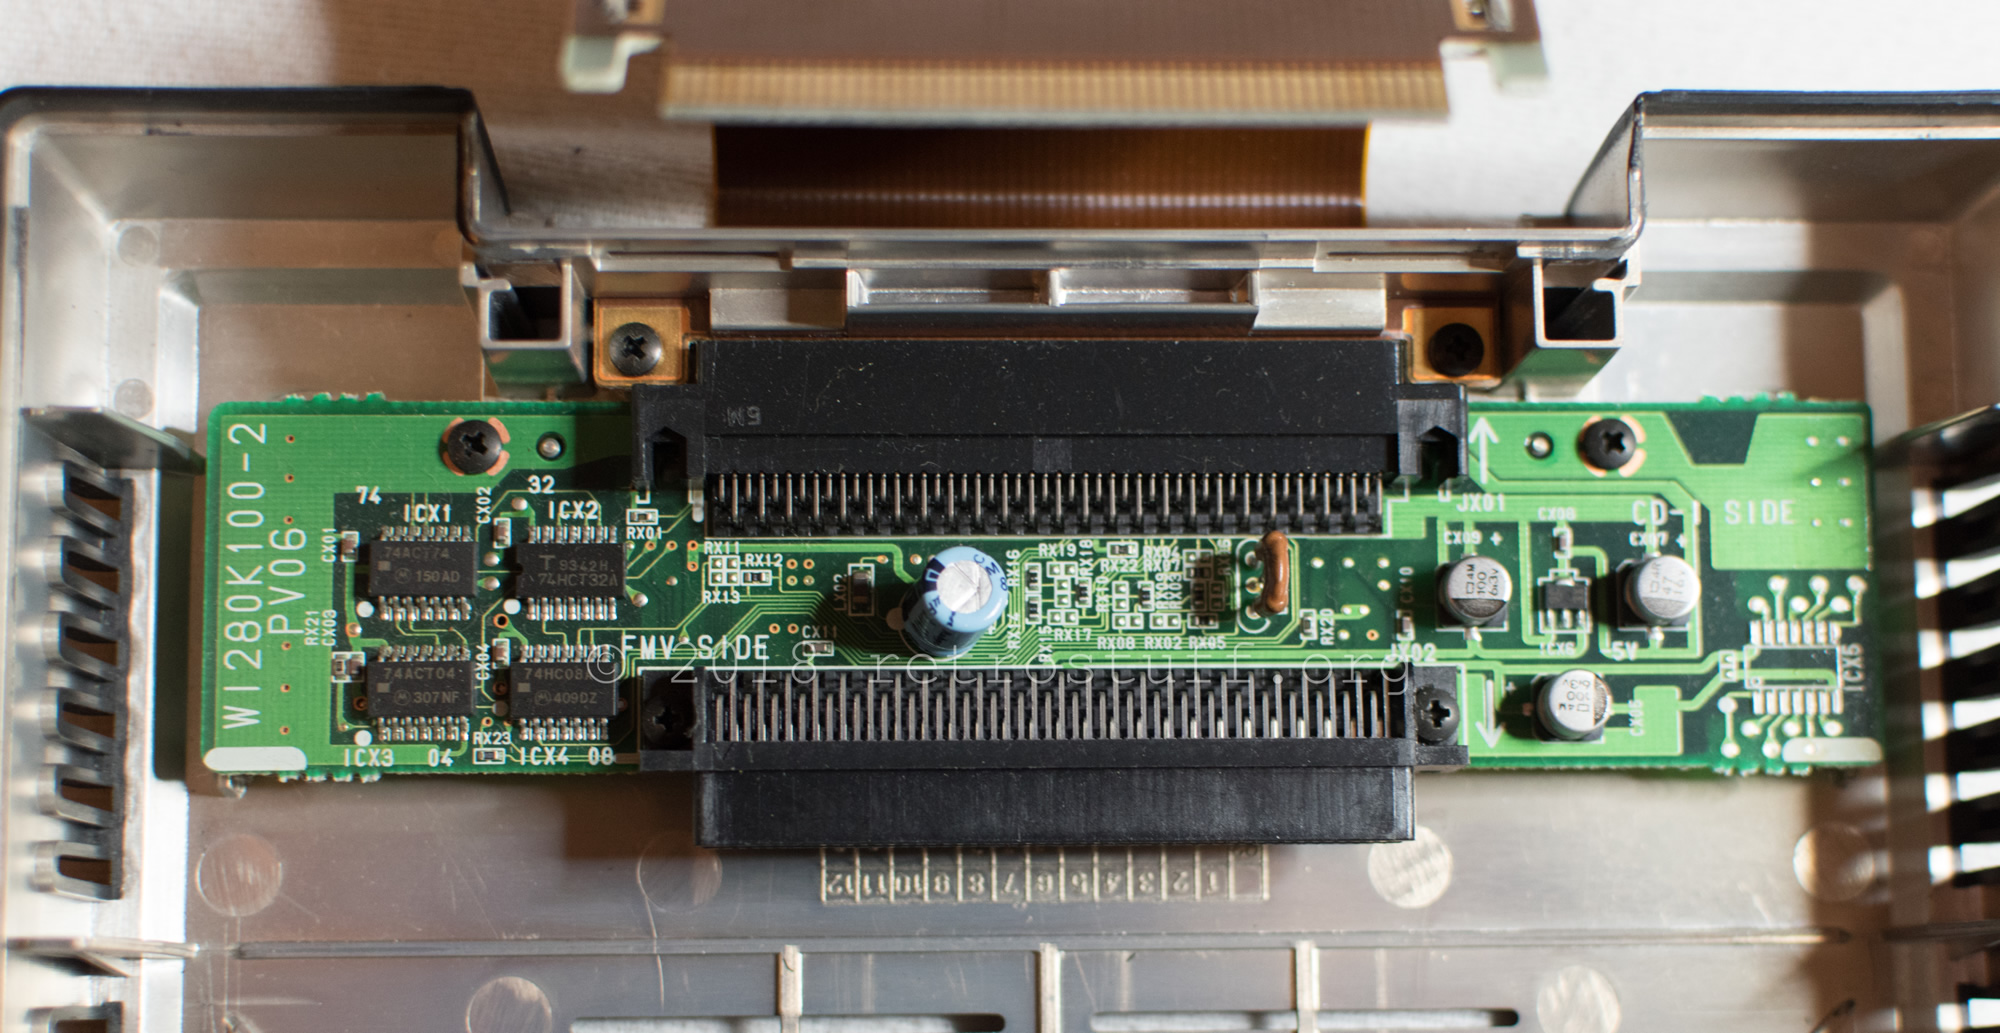
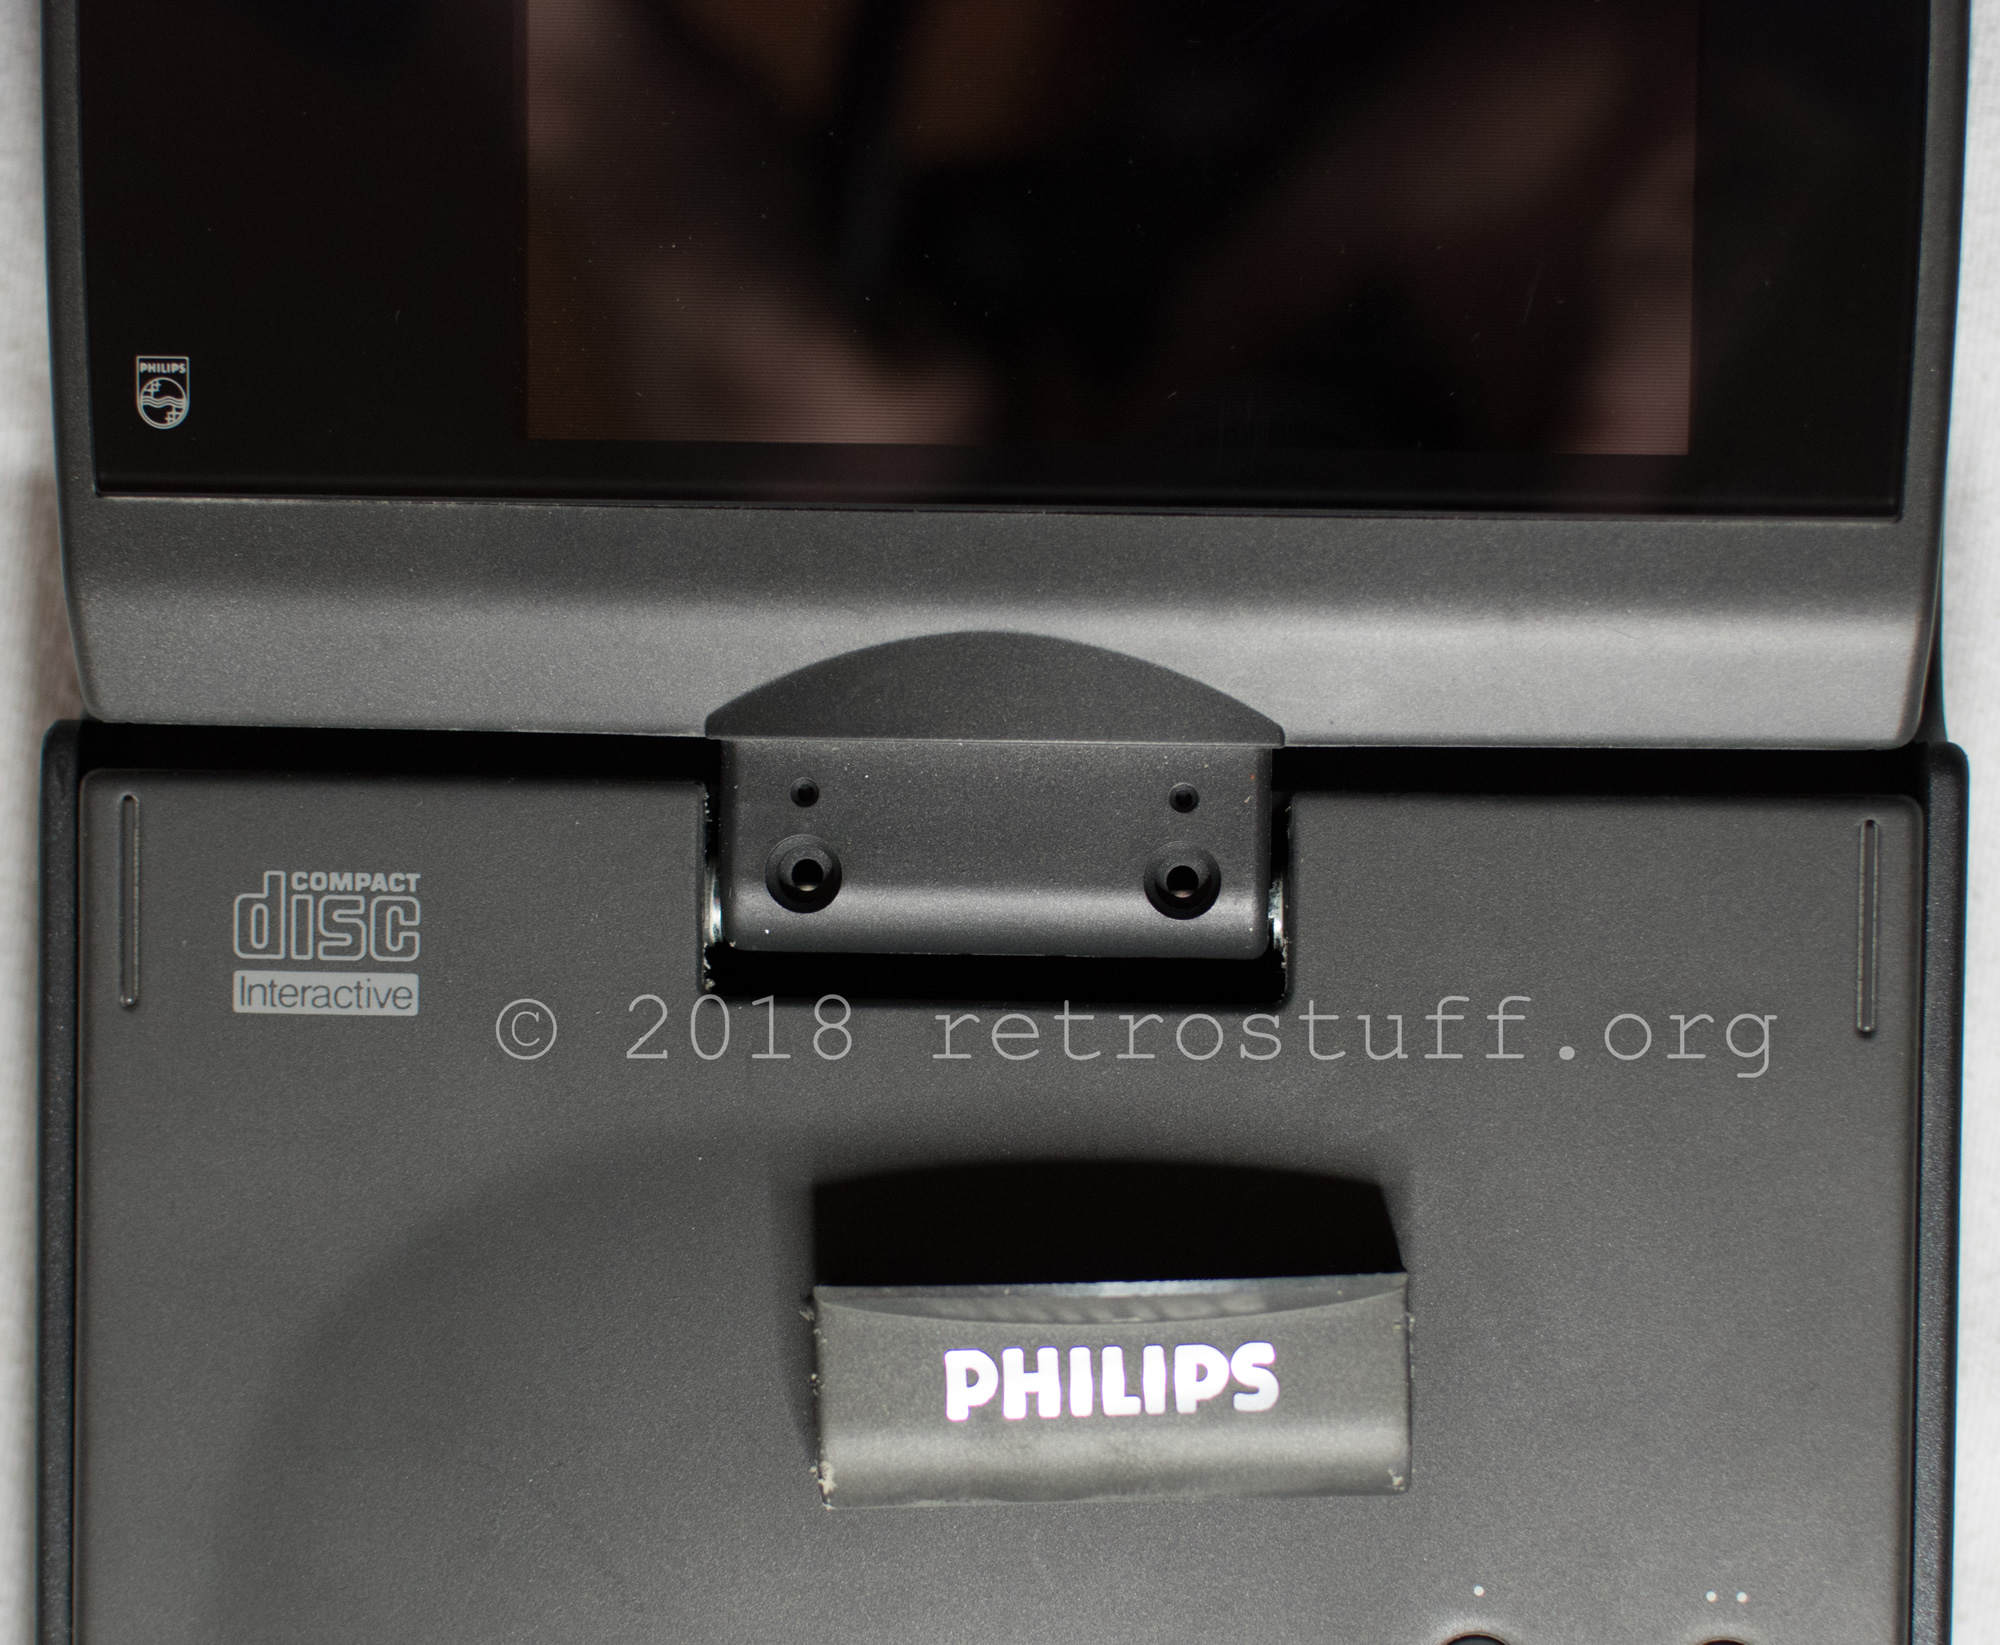
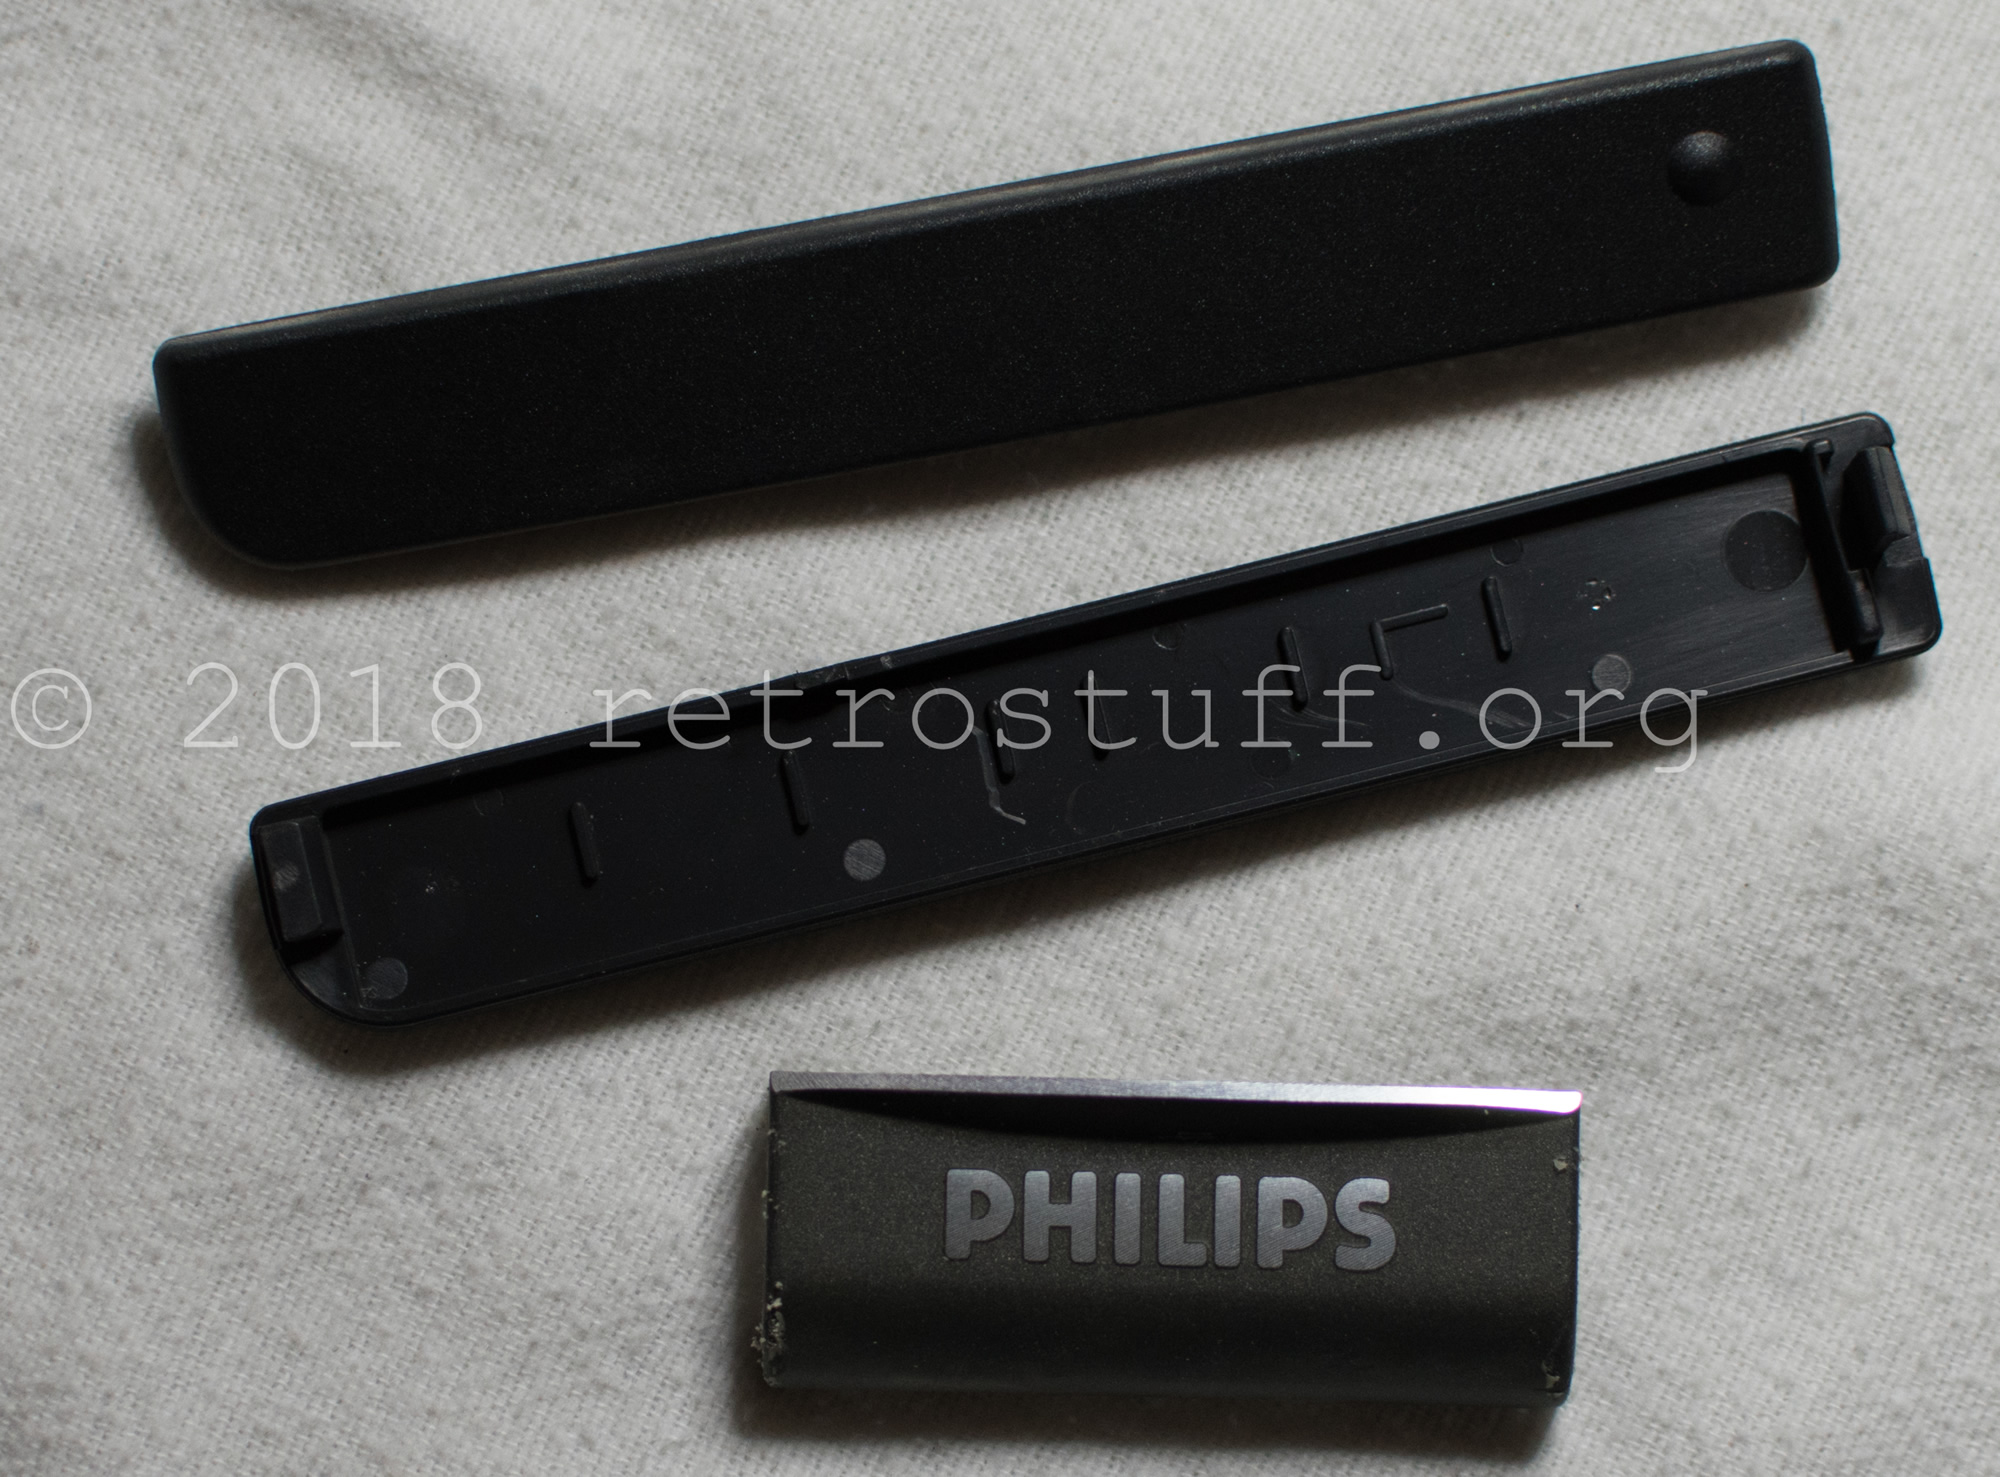
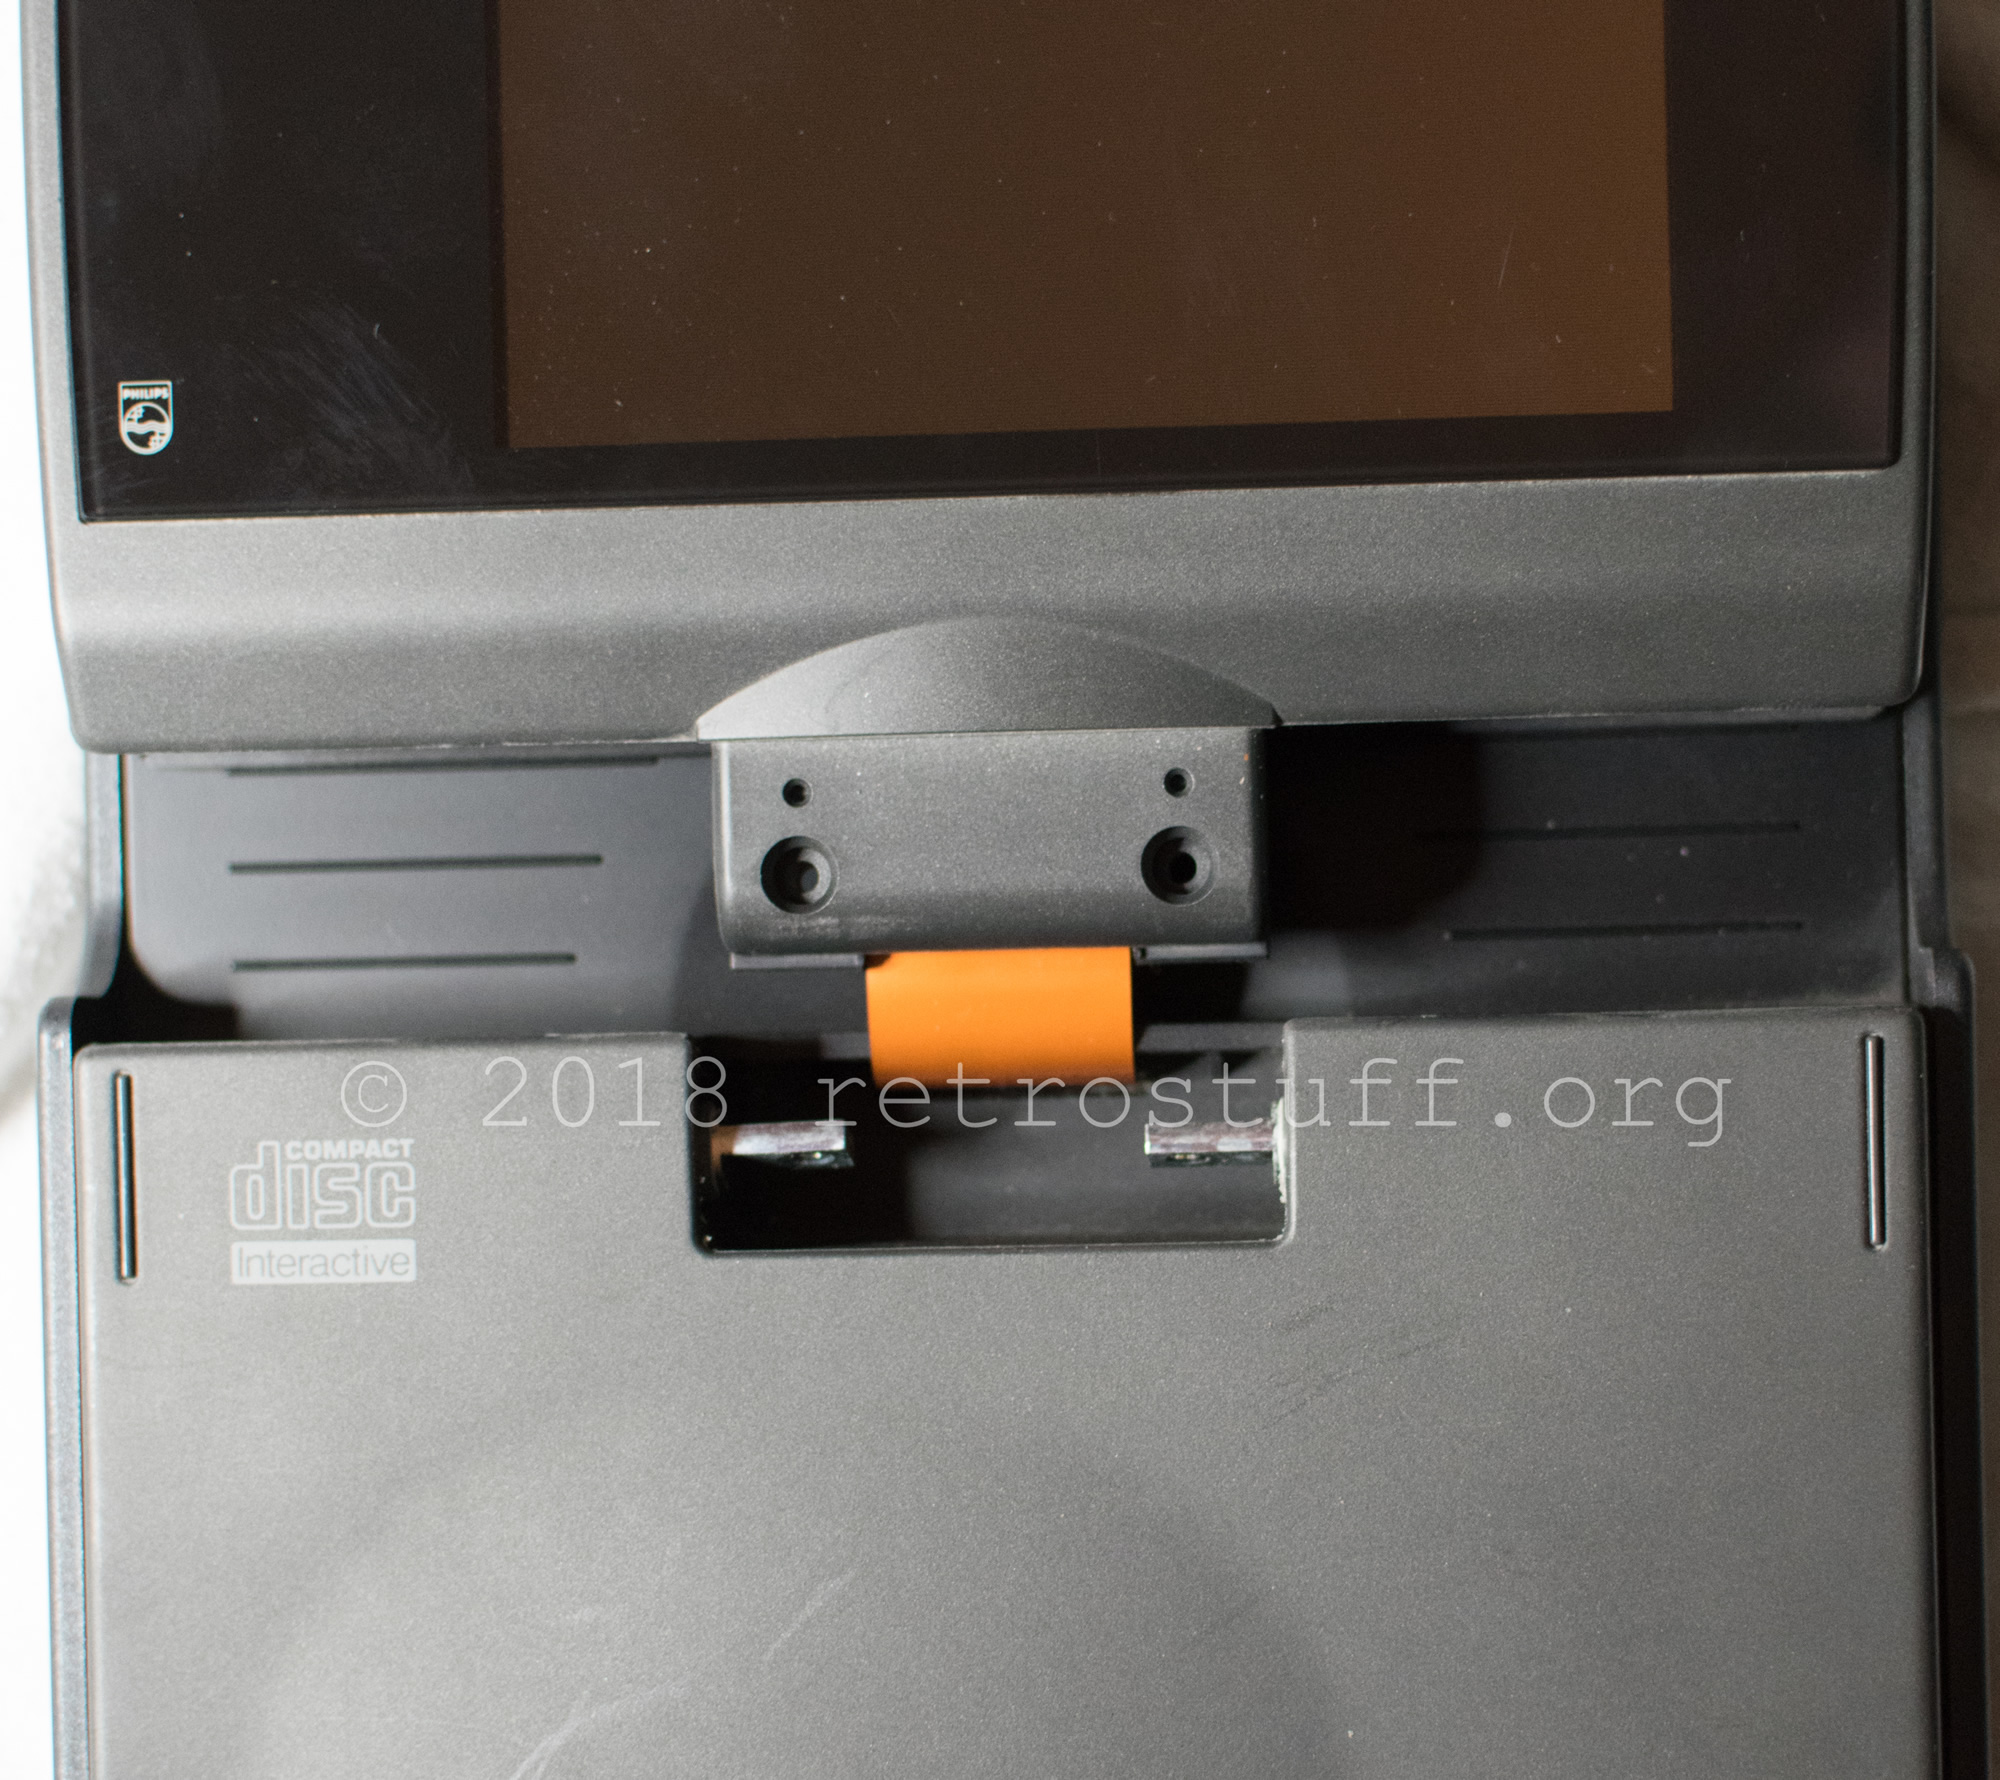
The 9142 extension module
An extension module is attached, the Philips 9142 (22ER9142/00), which houses a 9141 Digital Video Cartridge.
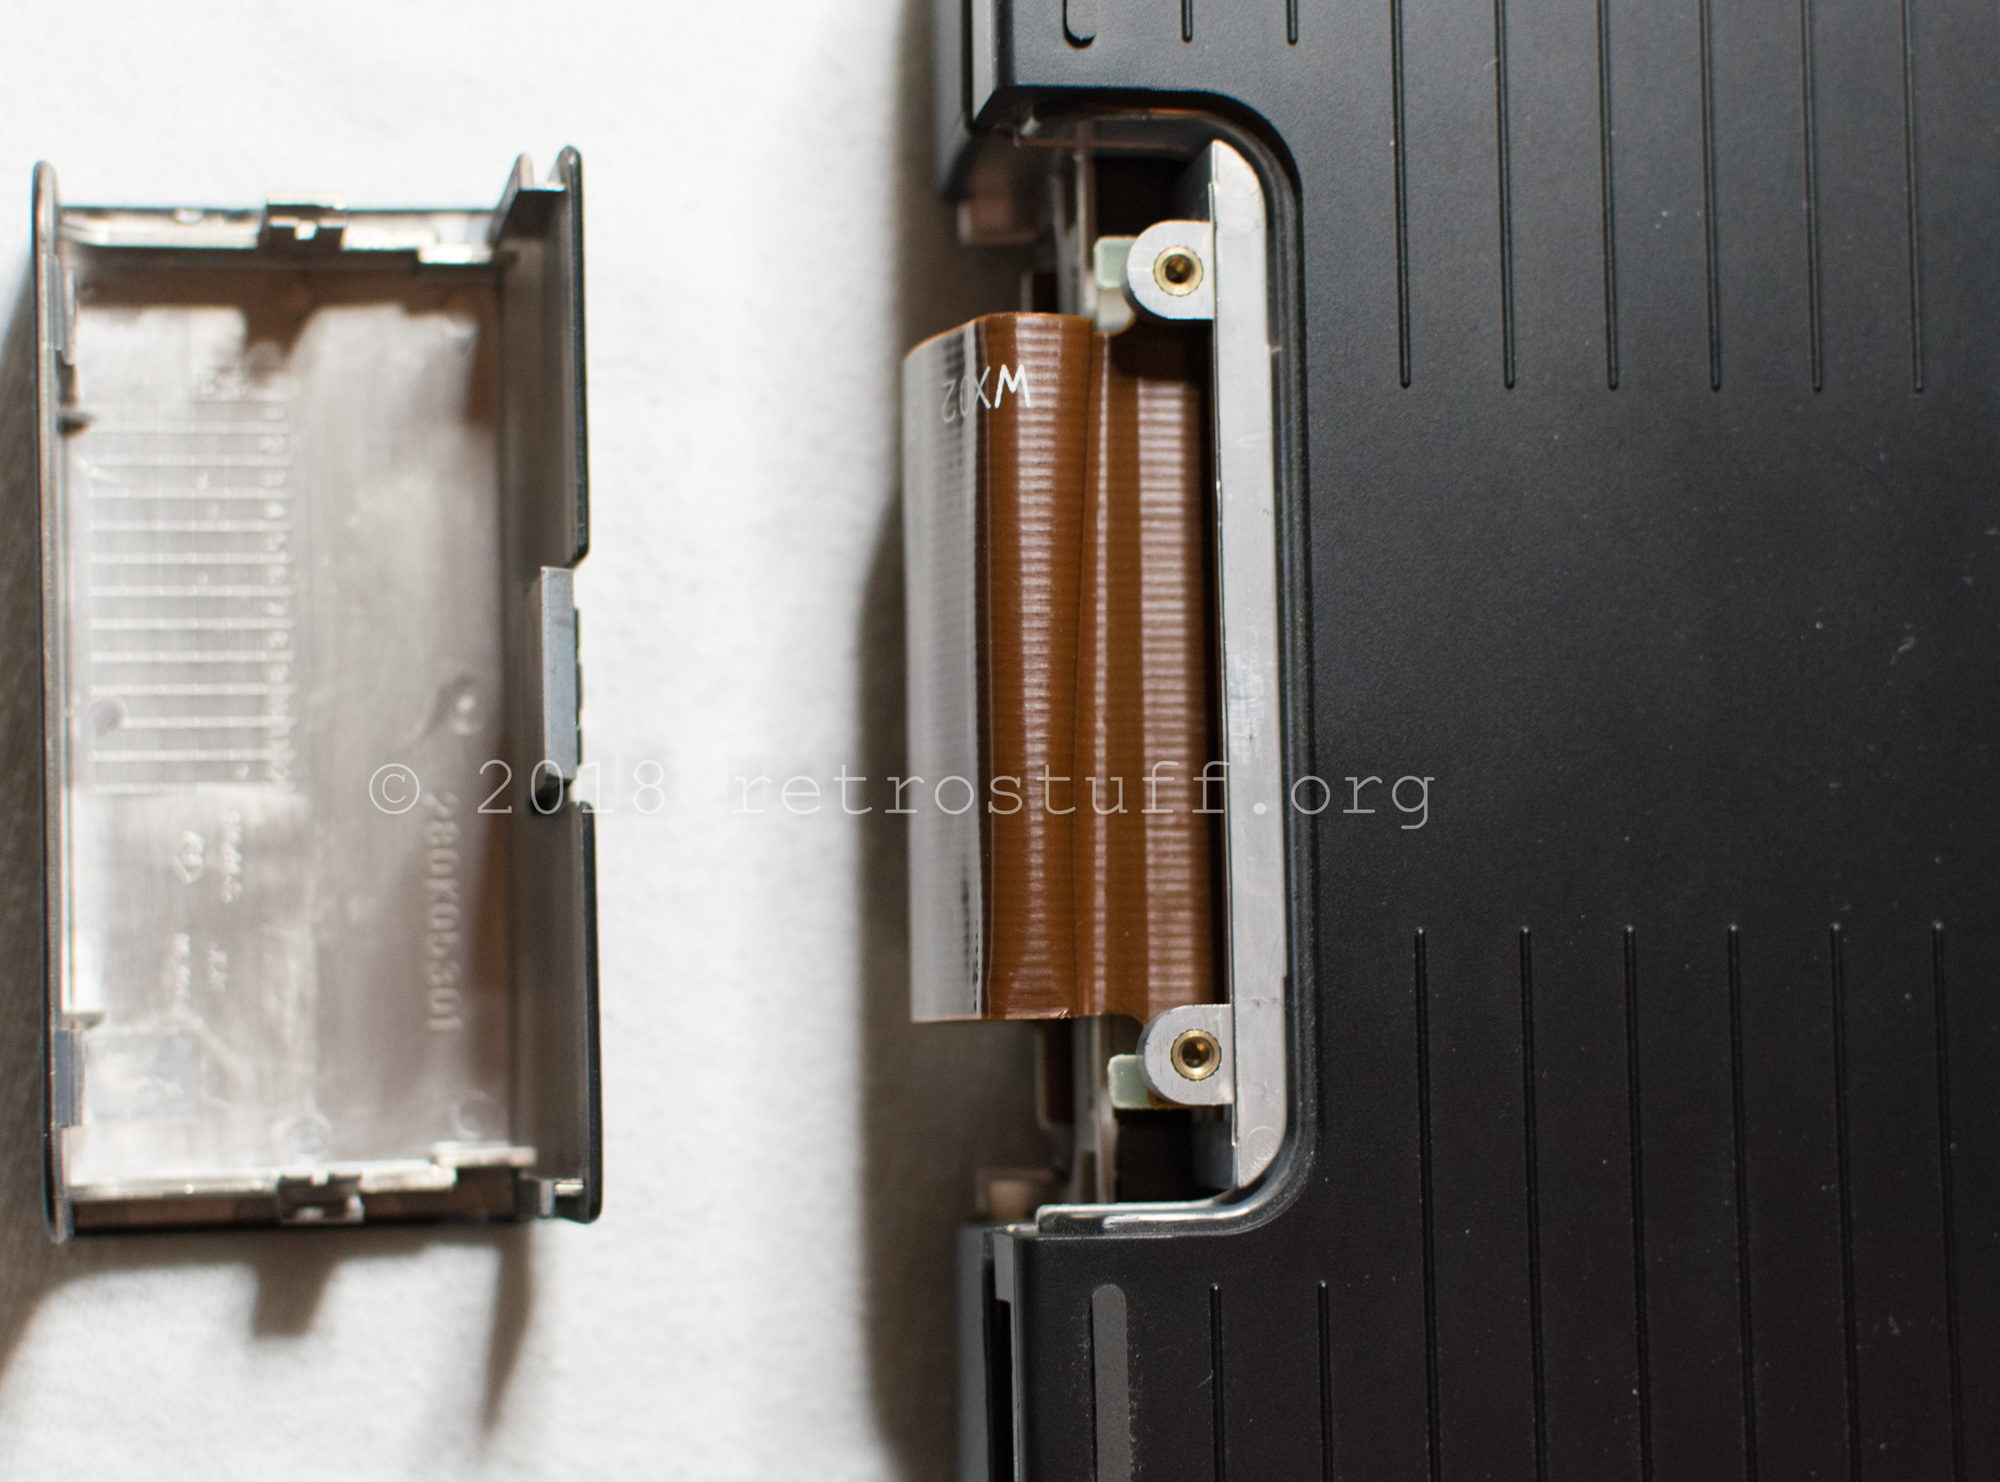
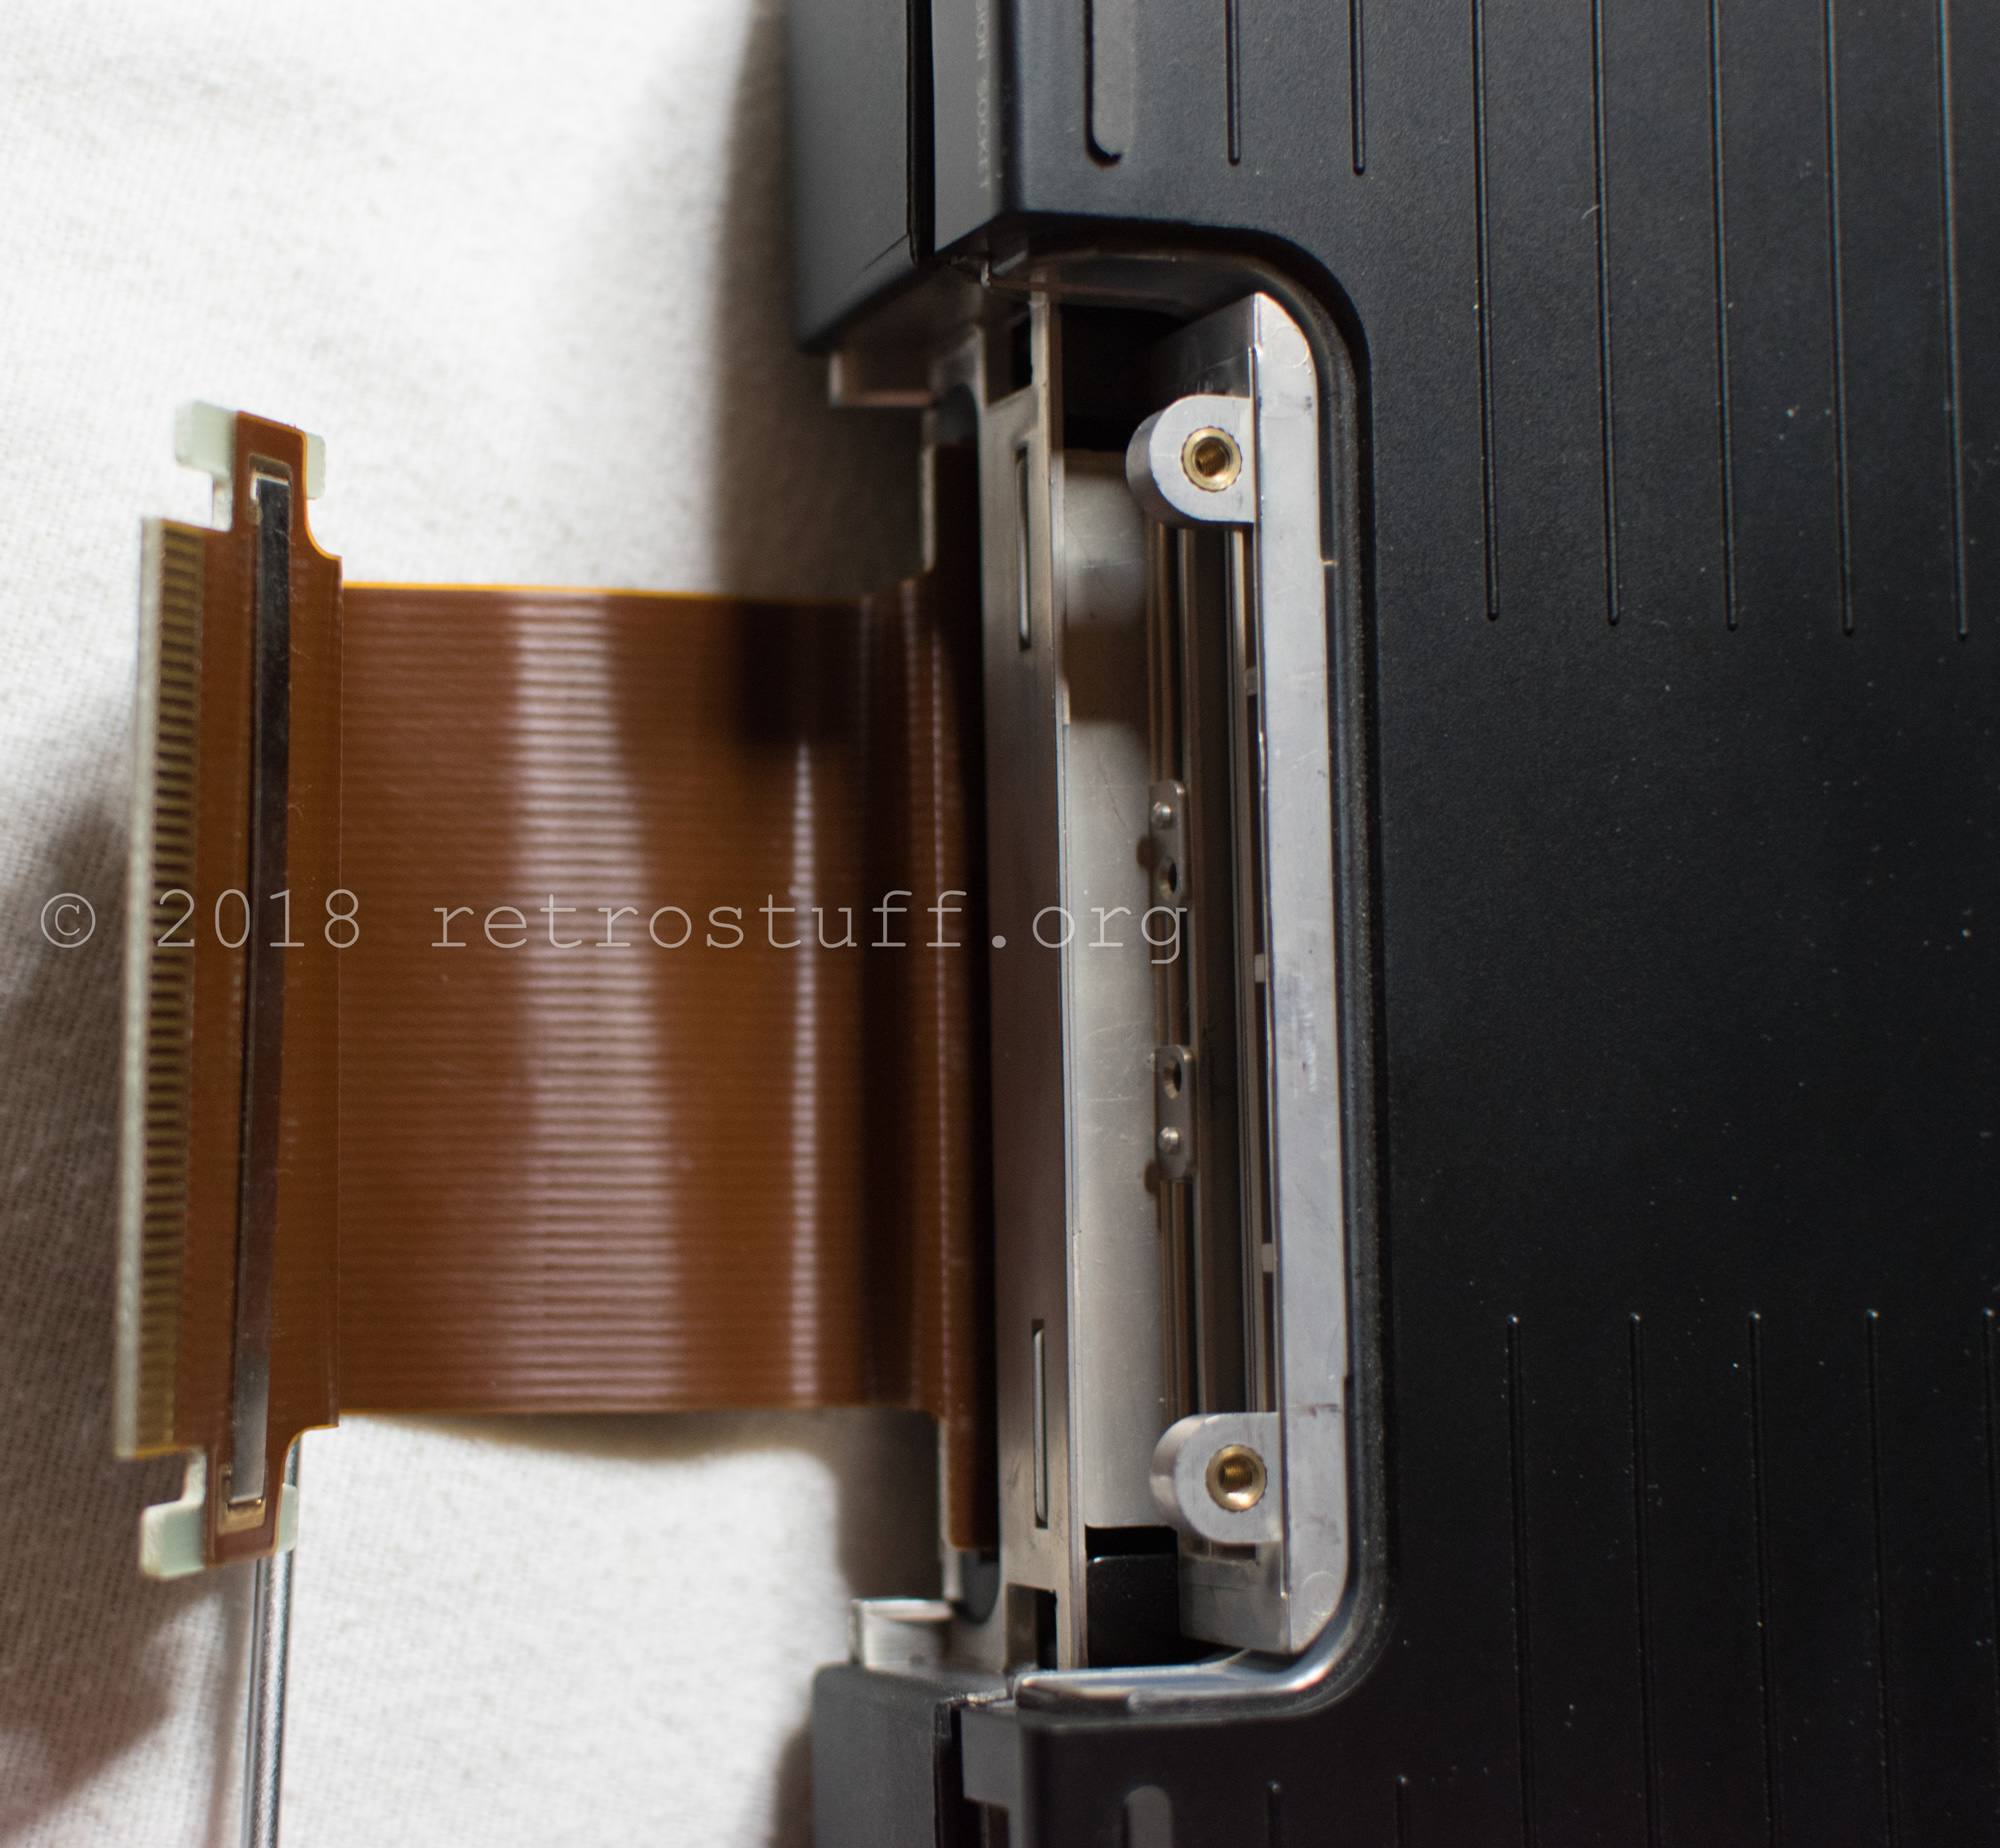
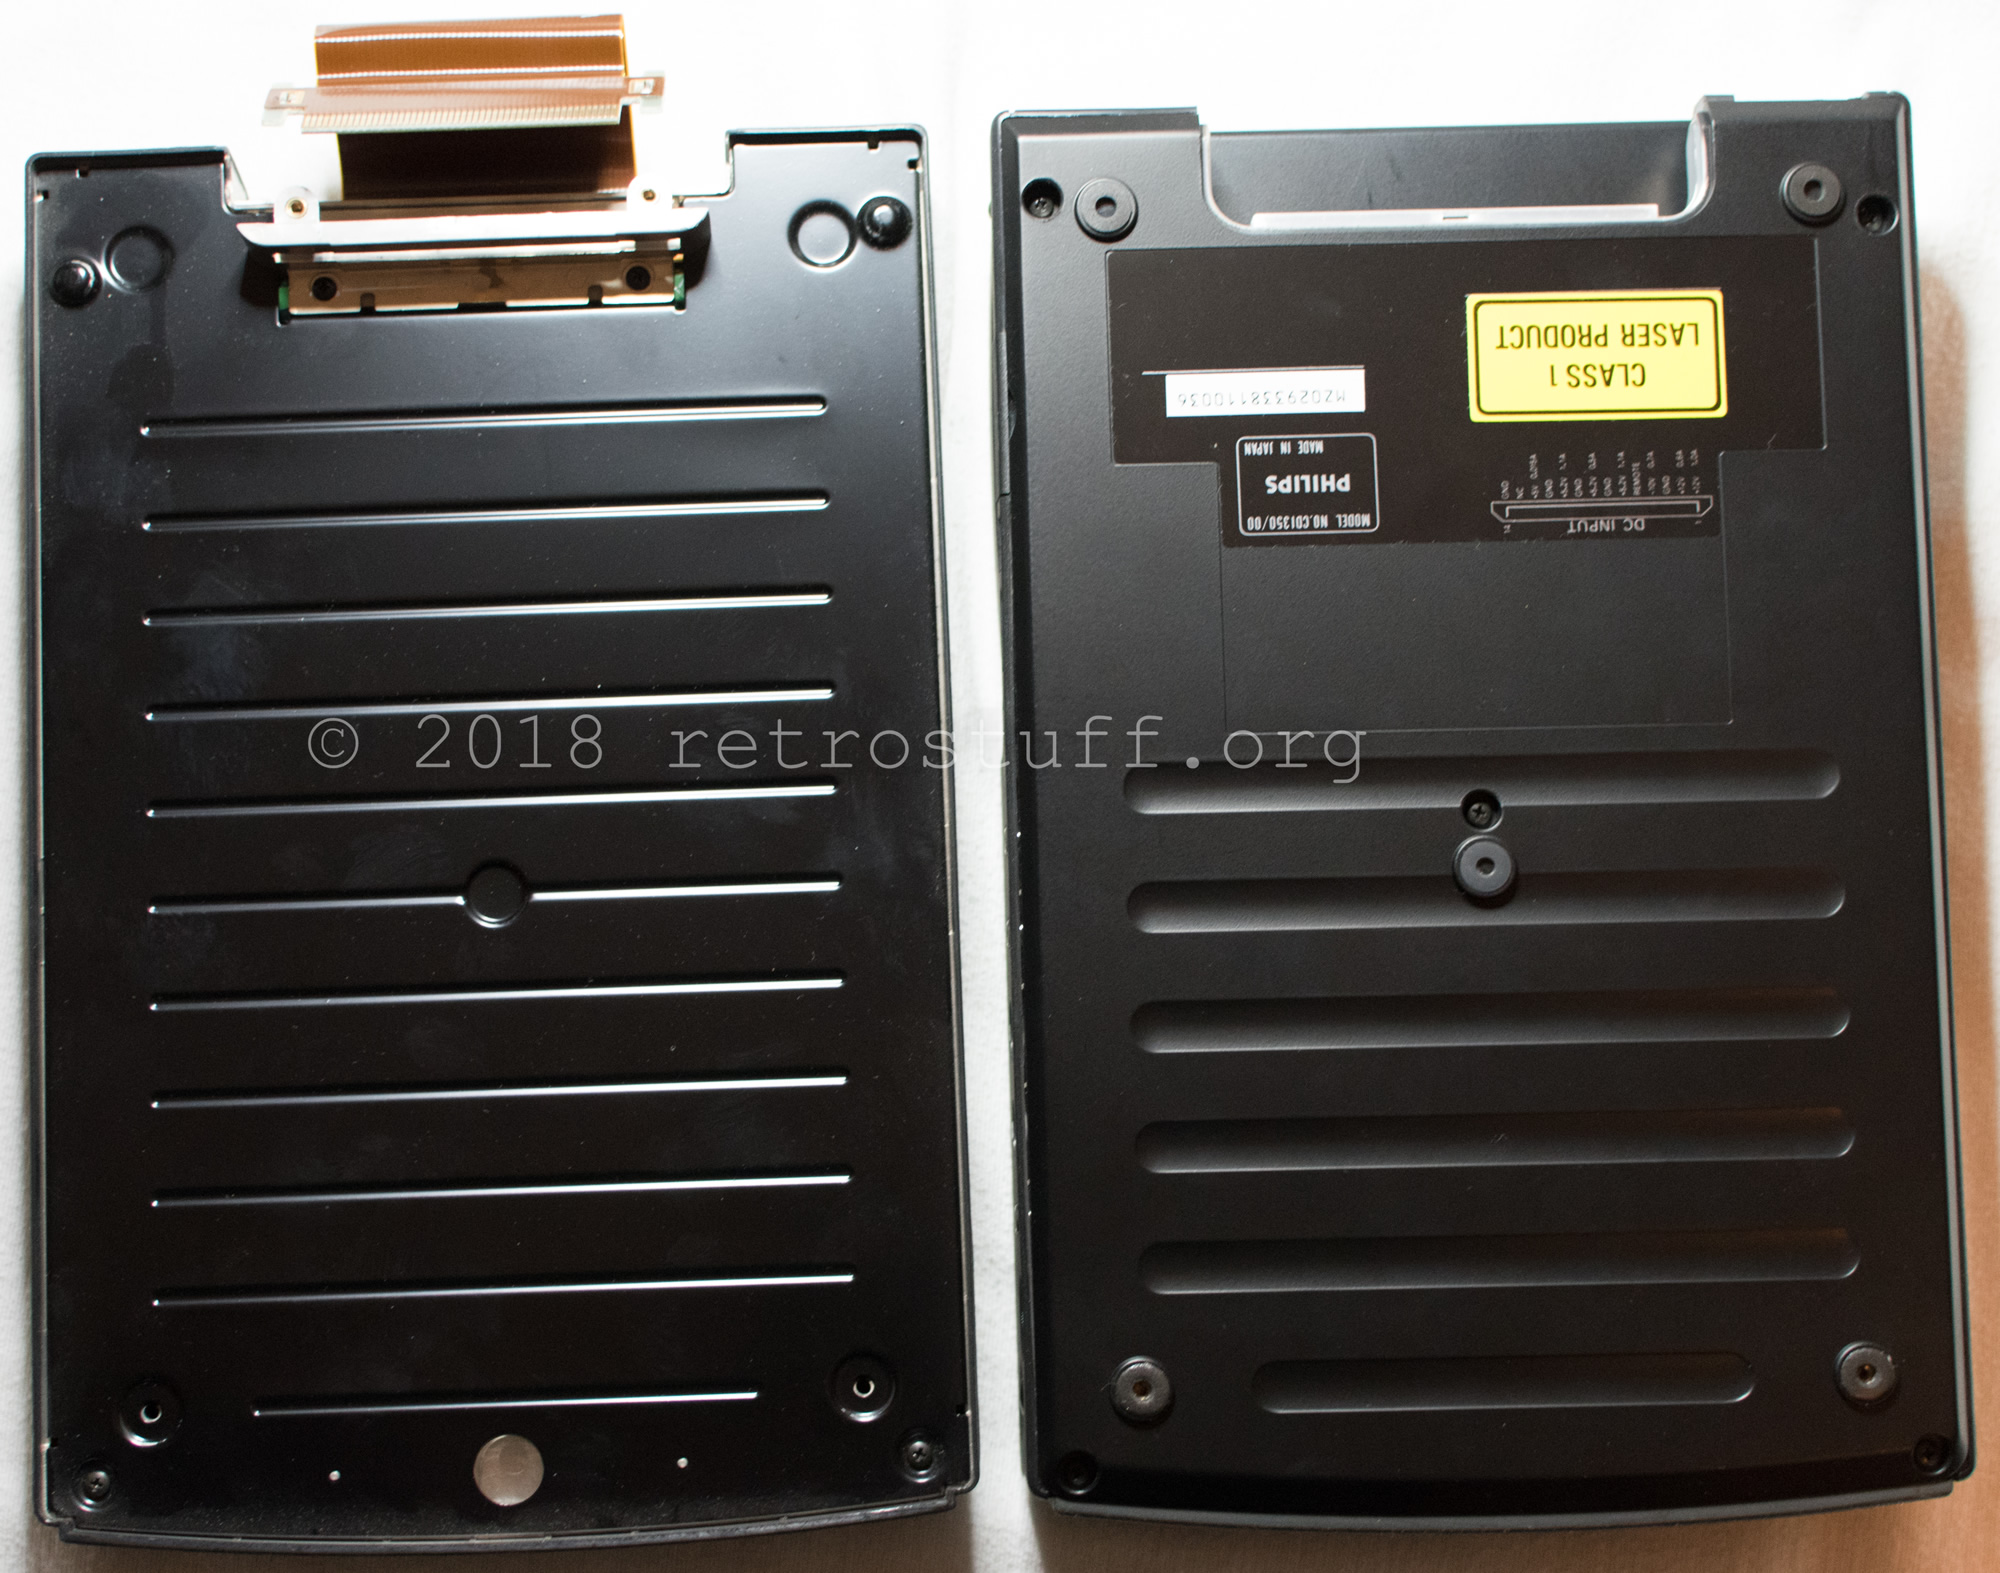

Removing the screen
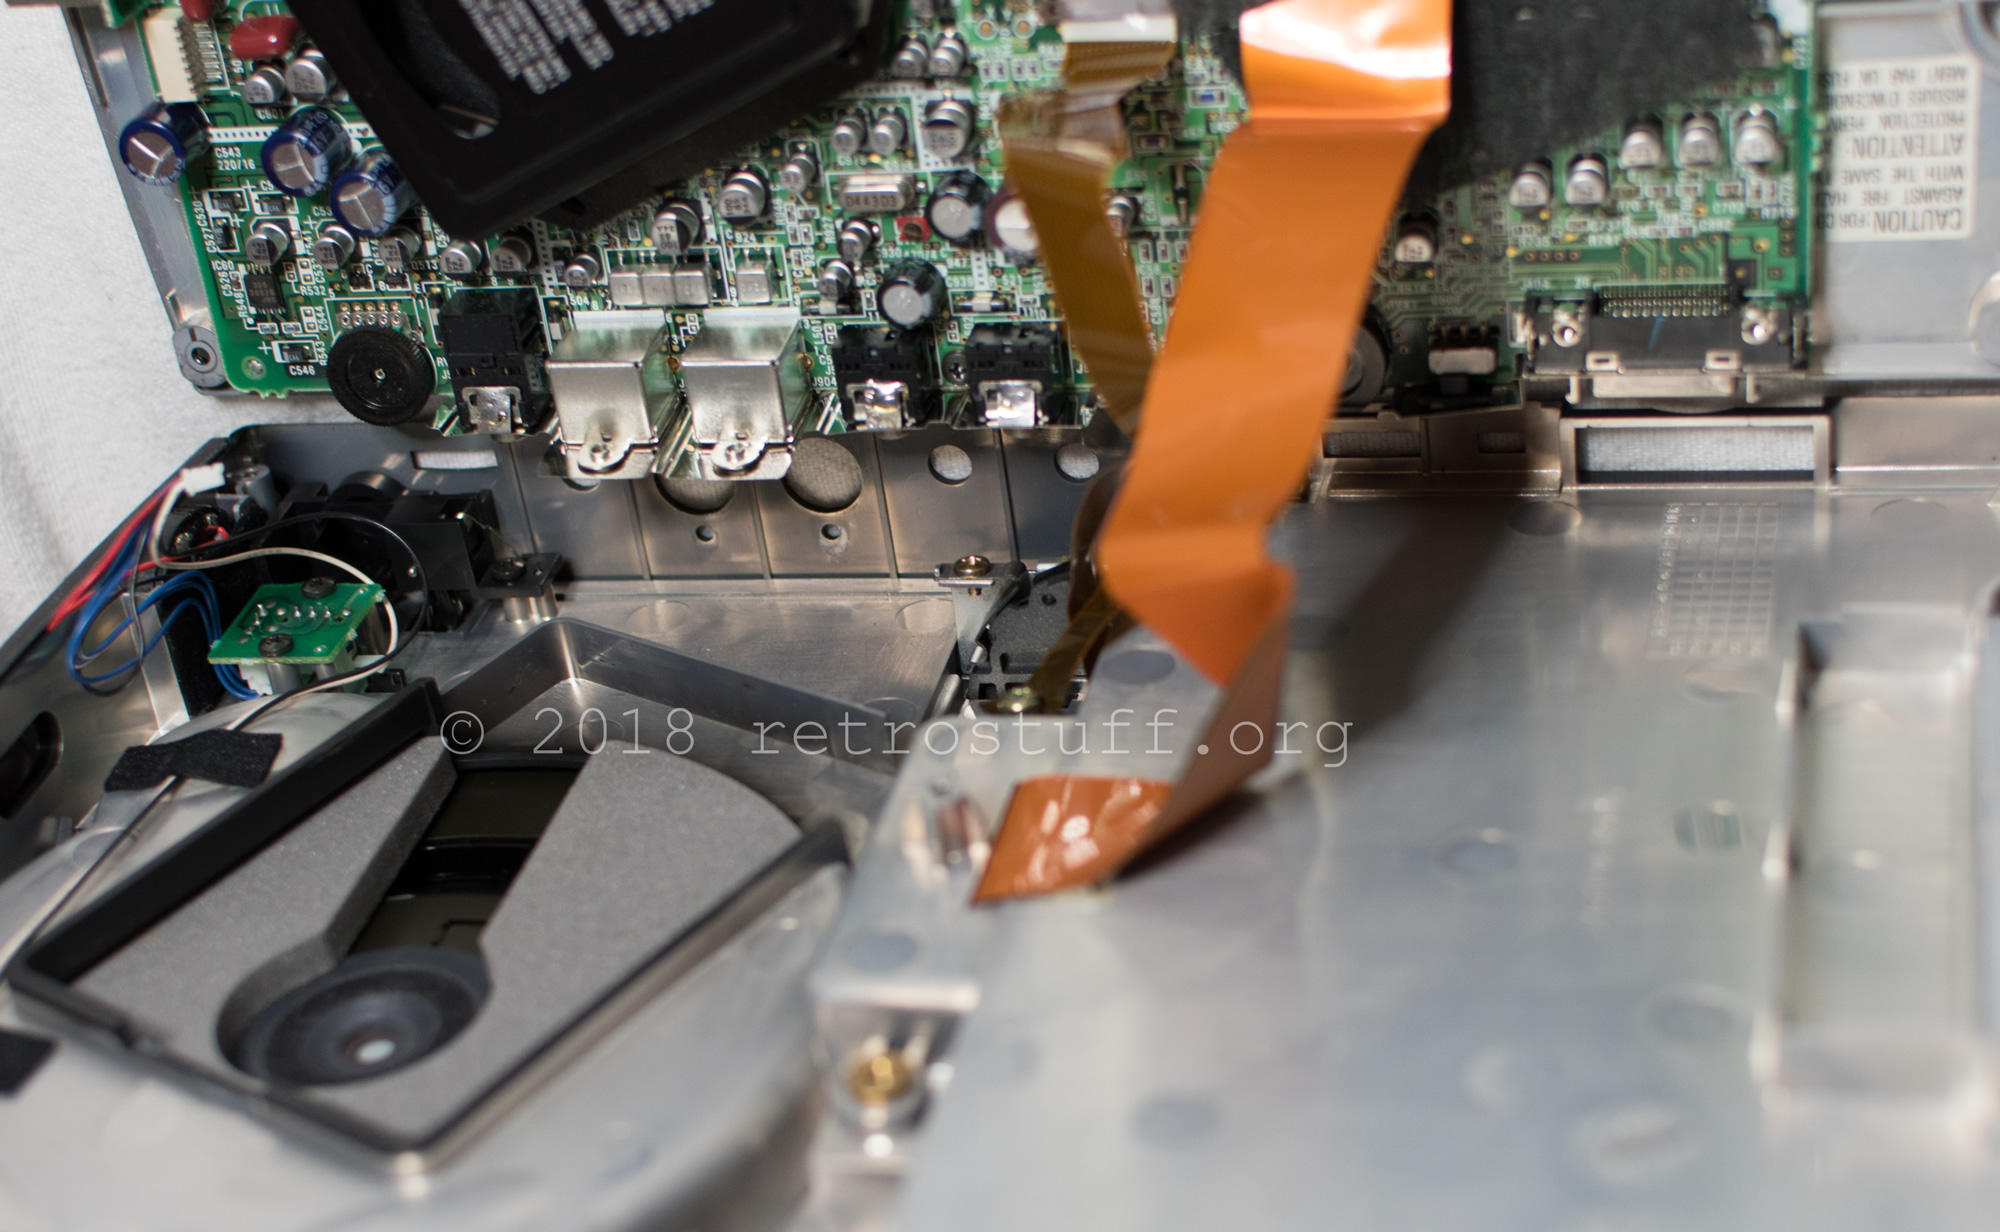
Next, I opened the player. I strongly recommend to follow the service manual that can be found at ICDIA. I did not follow the manual because I also wanted to take apart the screen – you do not need to do this if you want to repair the mainboard only.


Accessing the mainboard
Back on track to do the Philips CDI350 repair following the service manual: The player is designed in the way, that you can take it apart and it will still function. You need a magnetic weight (clamper) to keep a CD in place. You can obtain this easily from an old CD-ROM drive (not pictured).

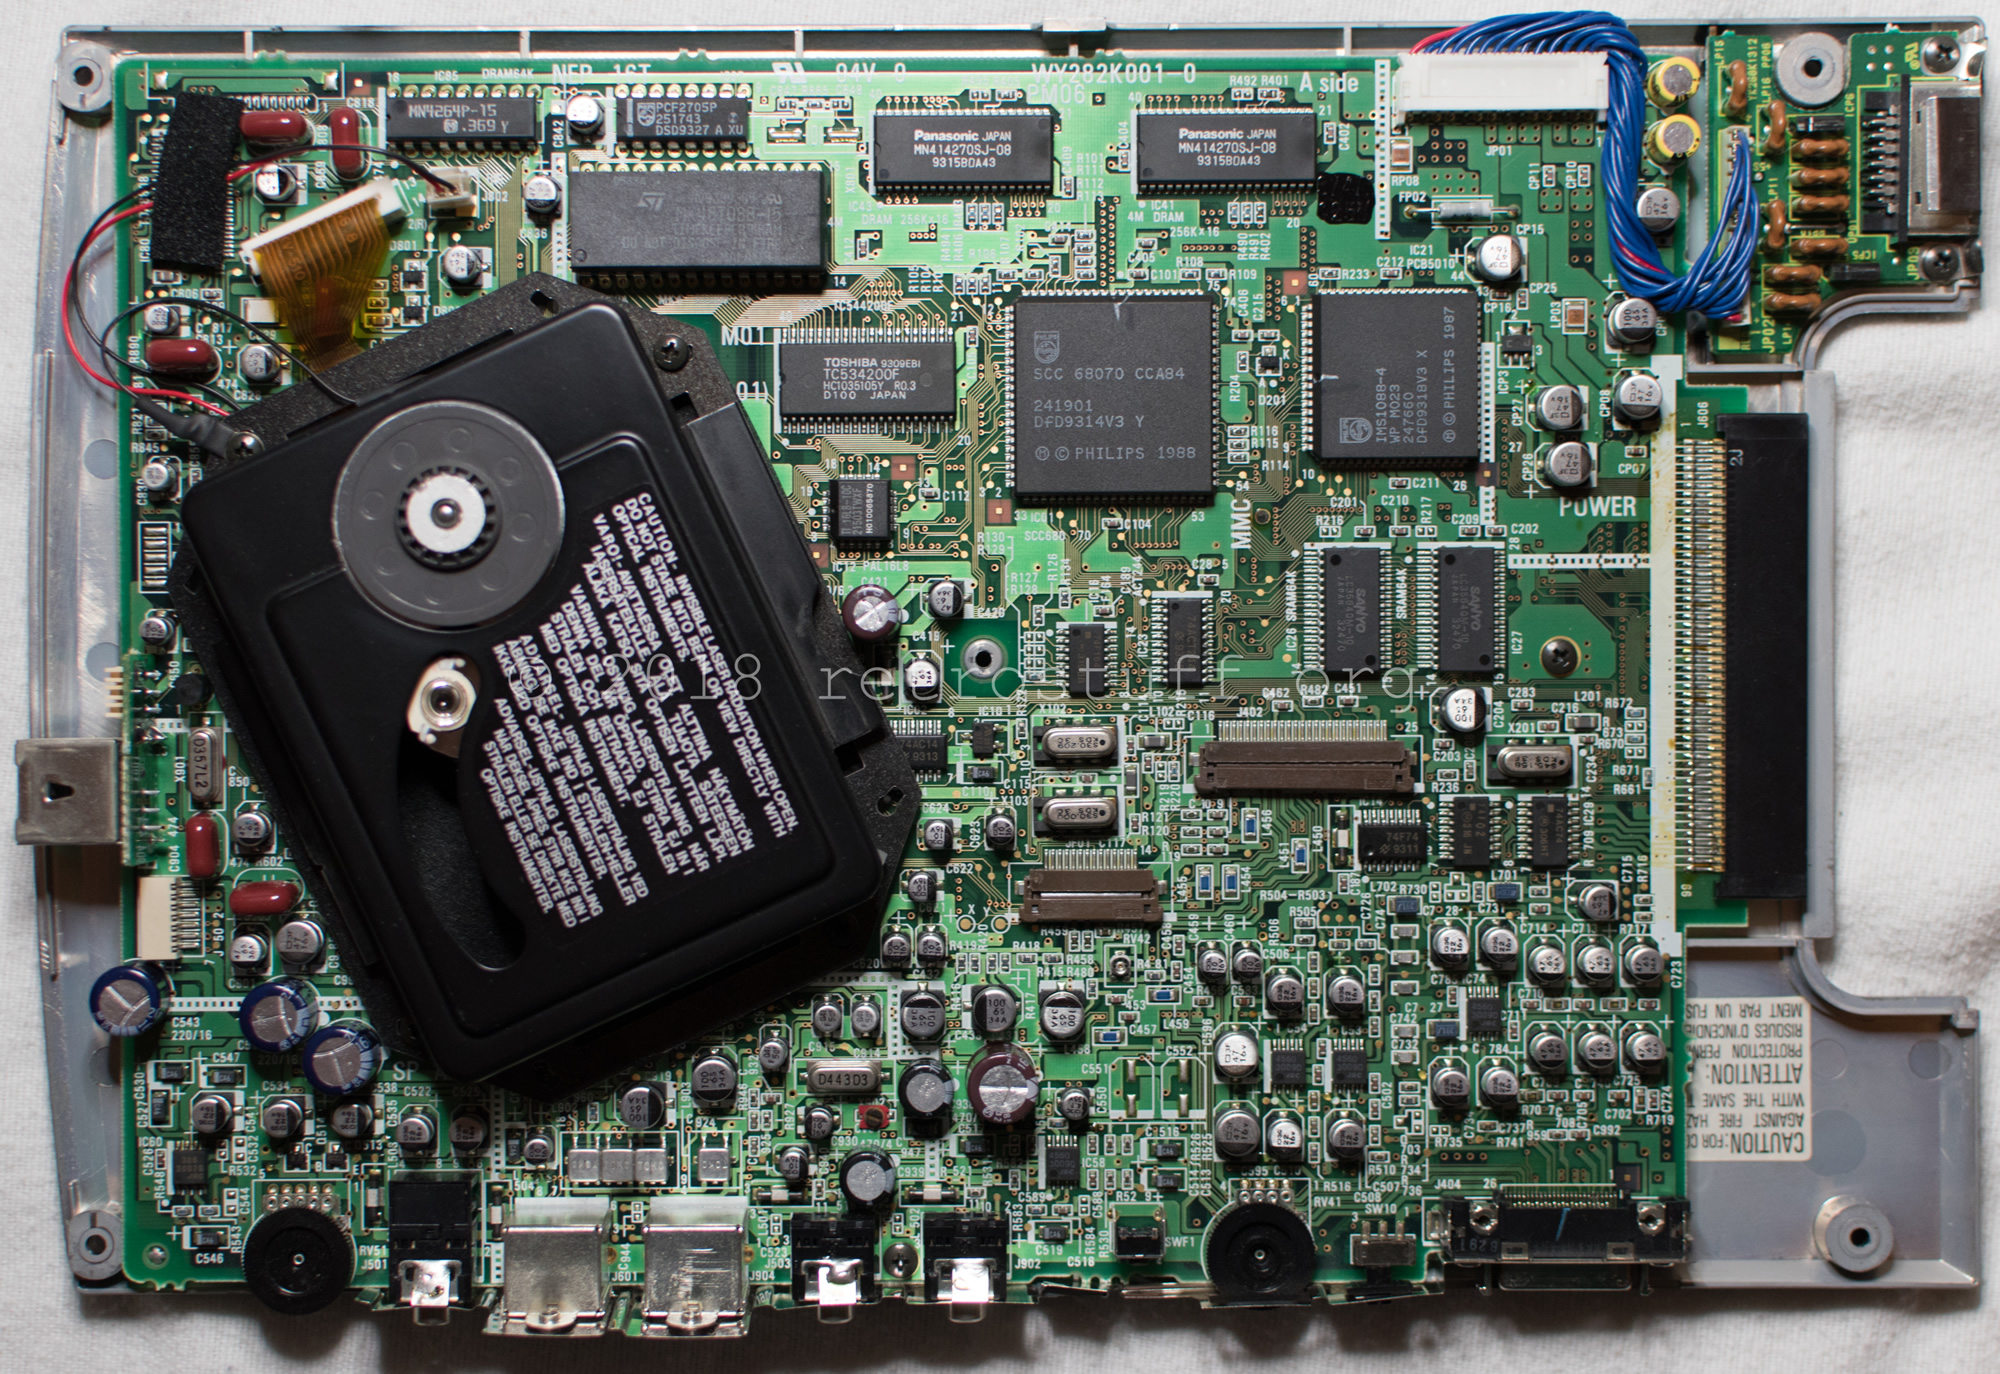
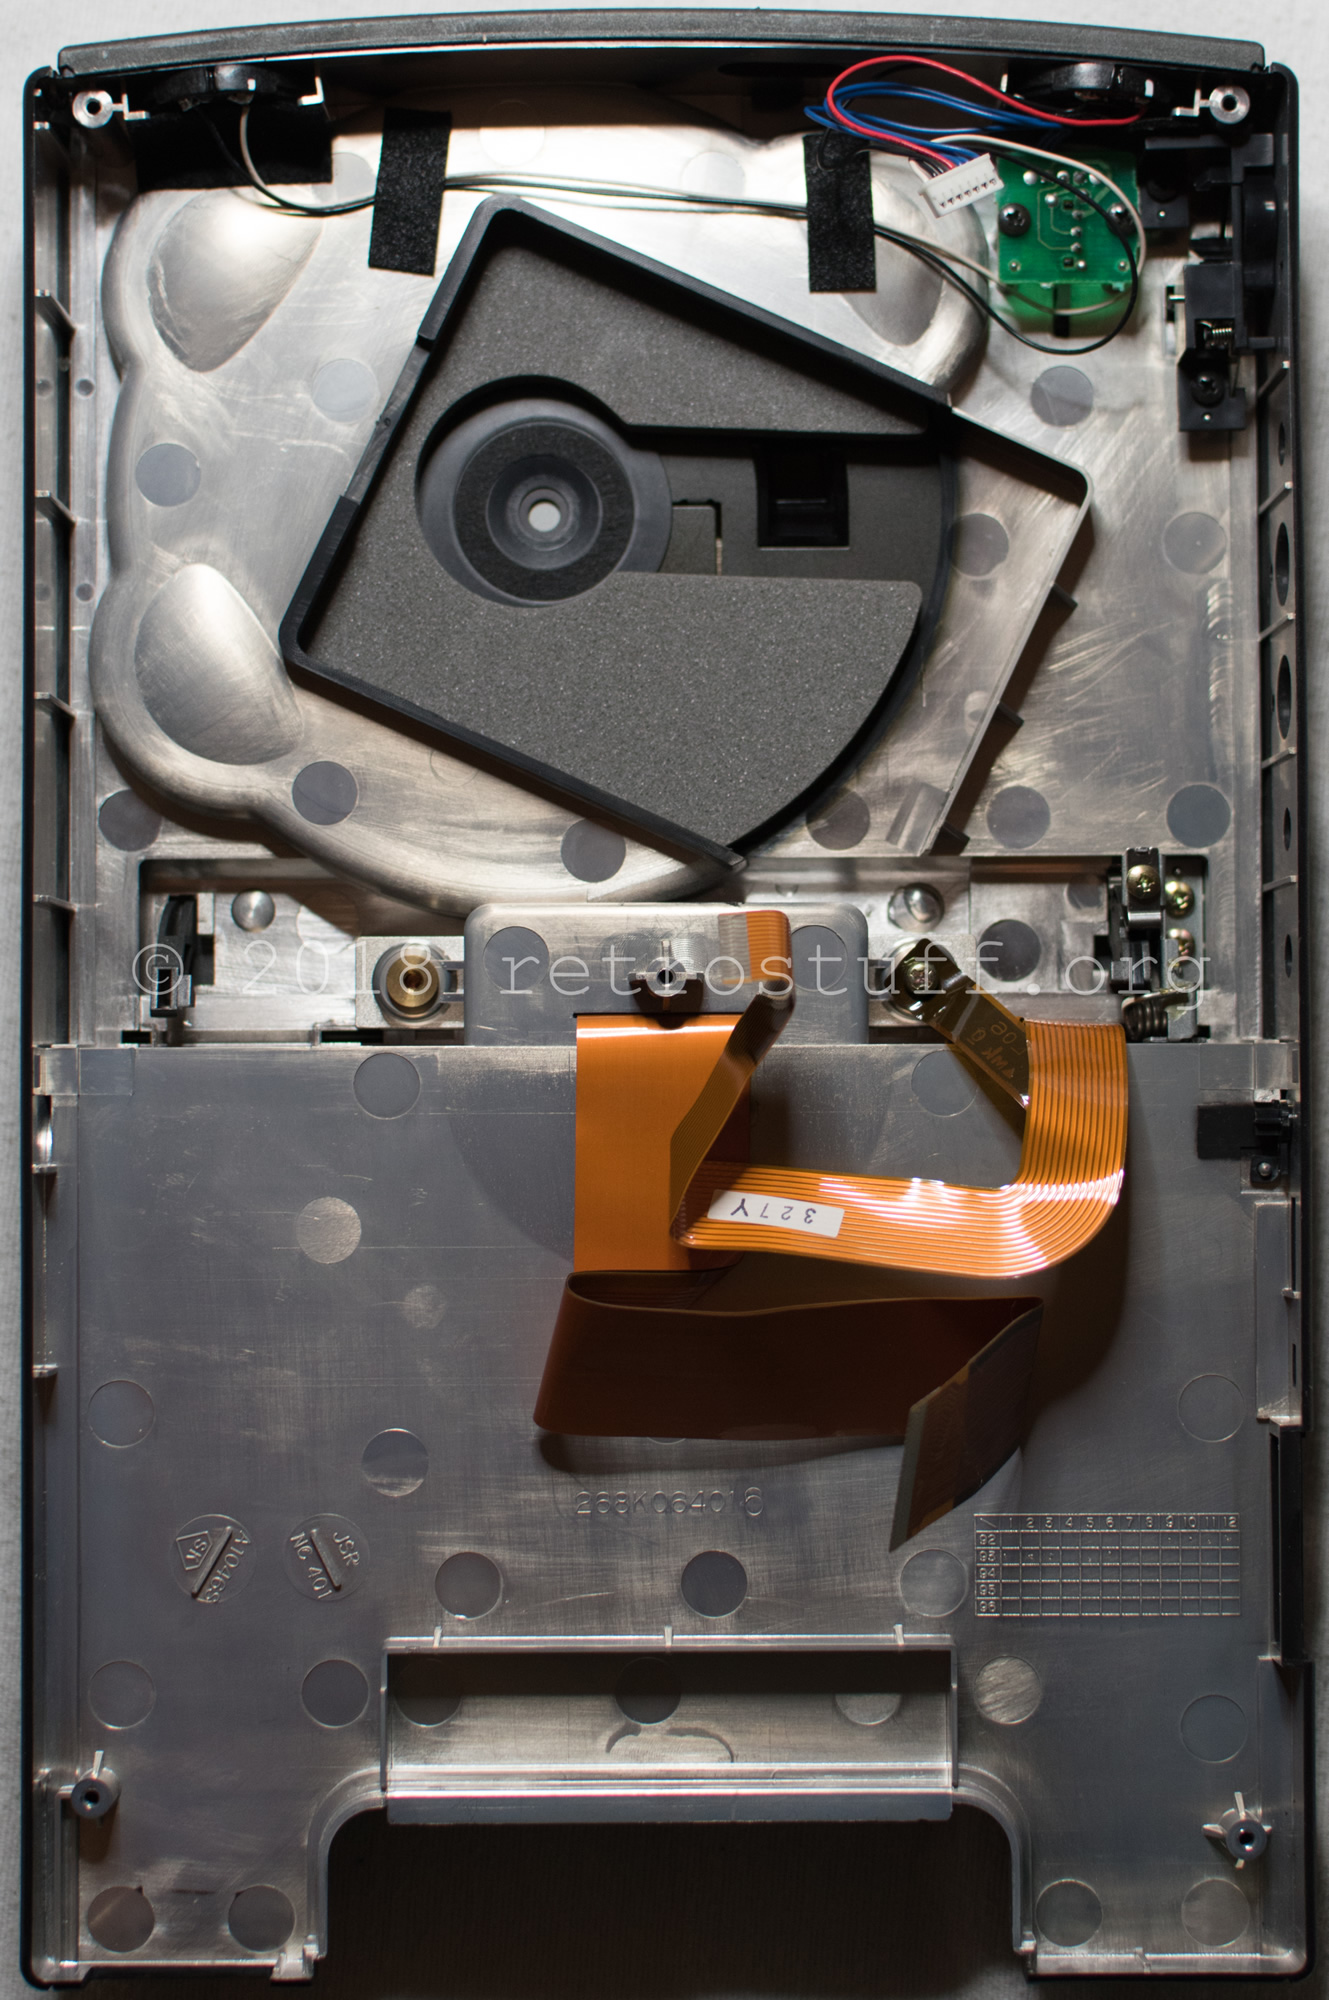
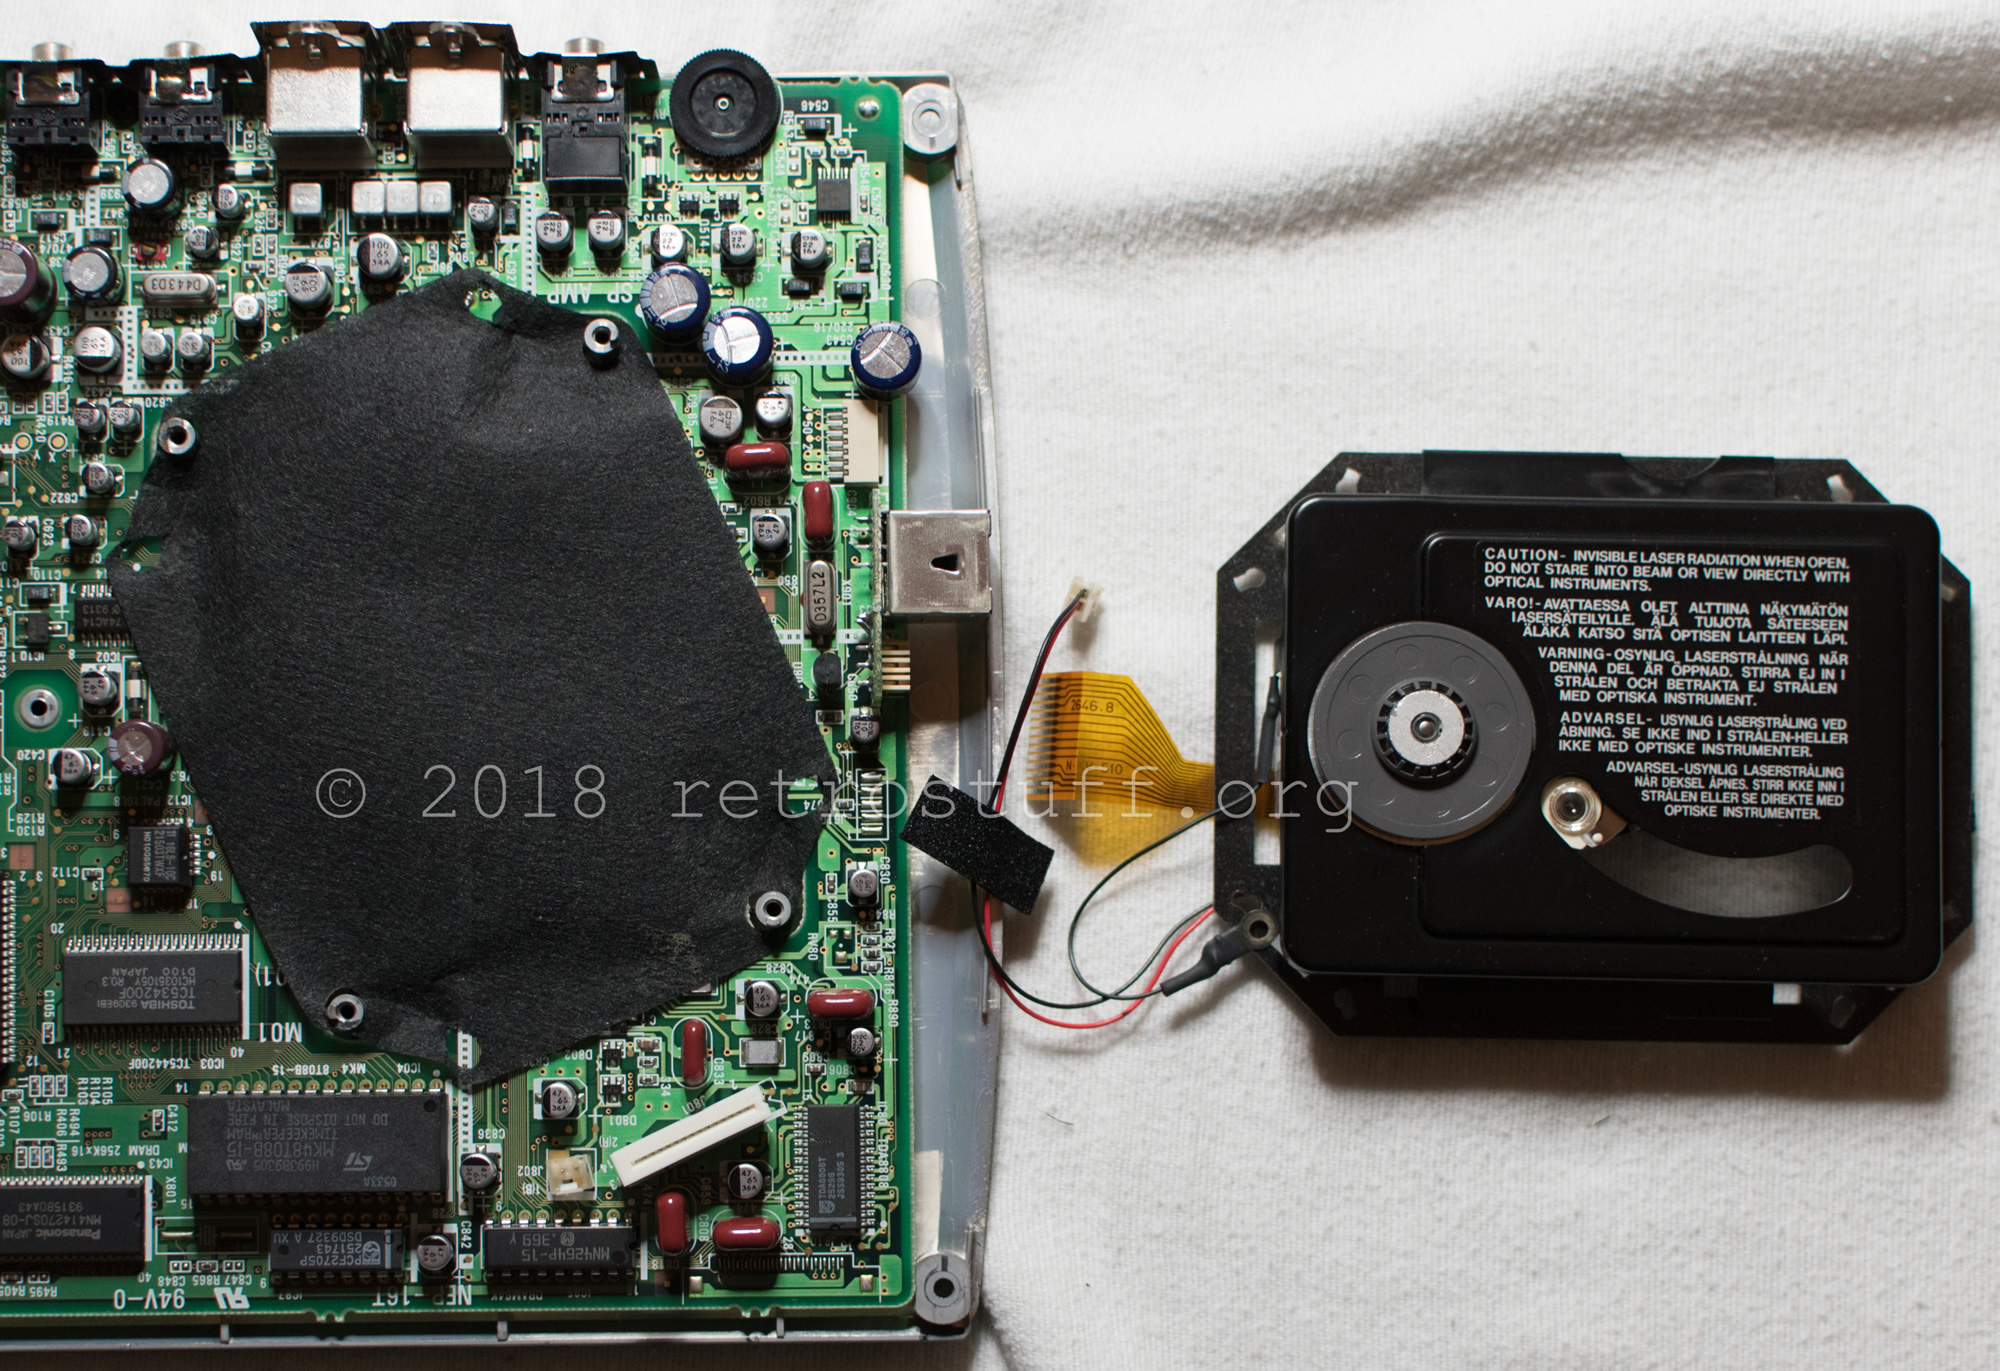
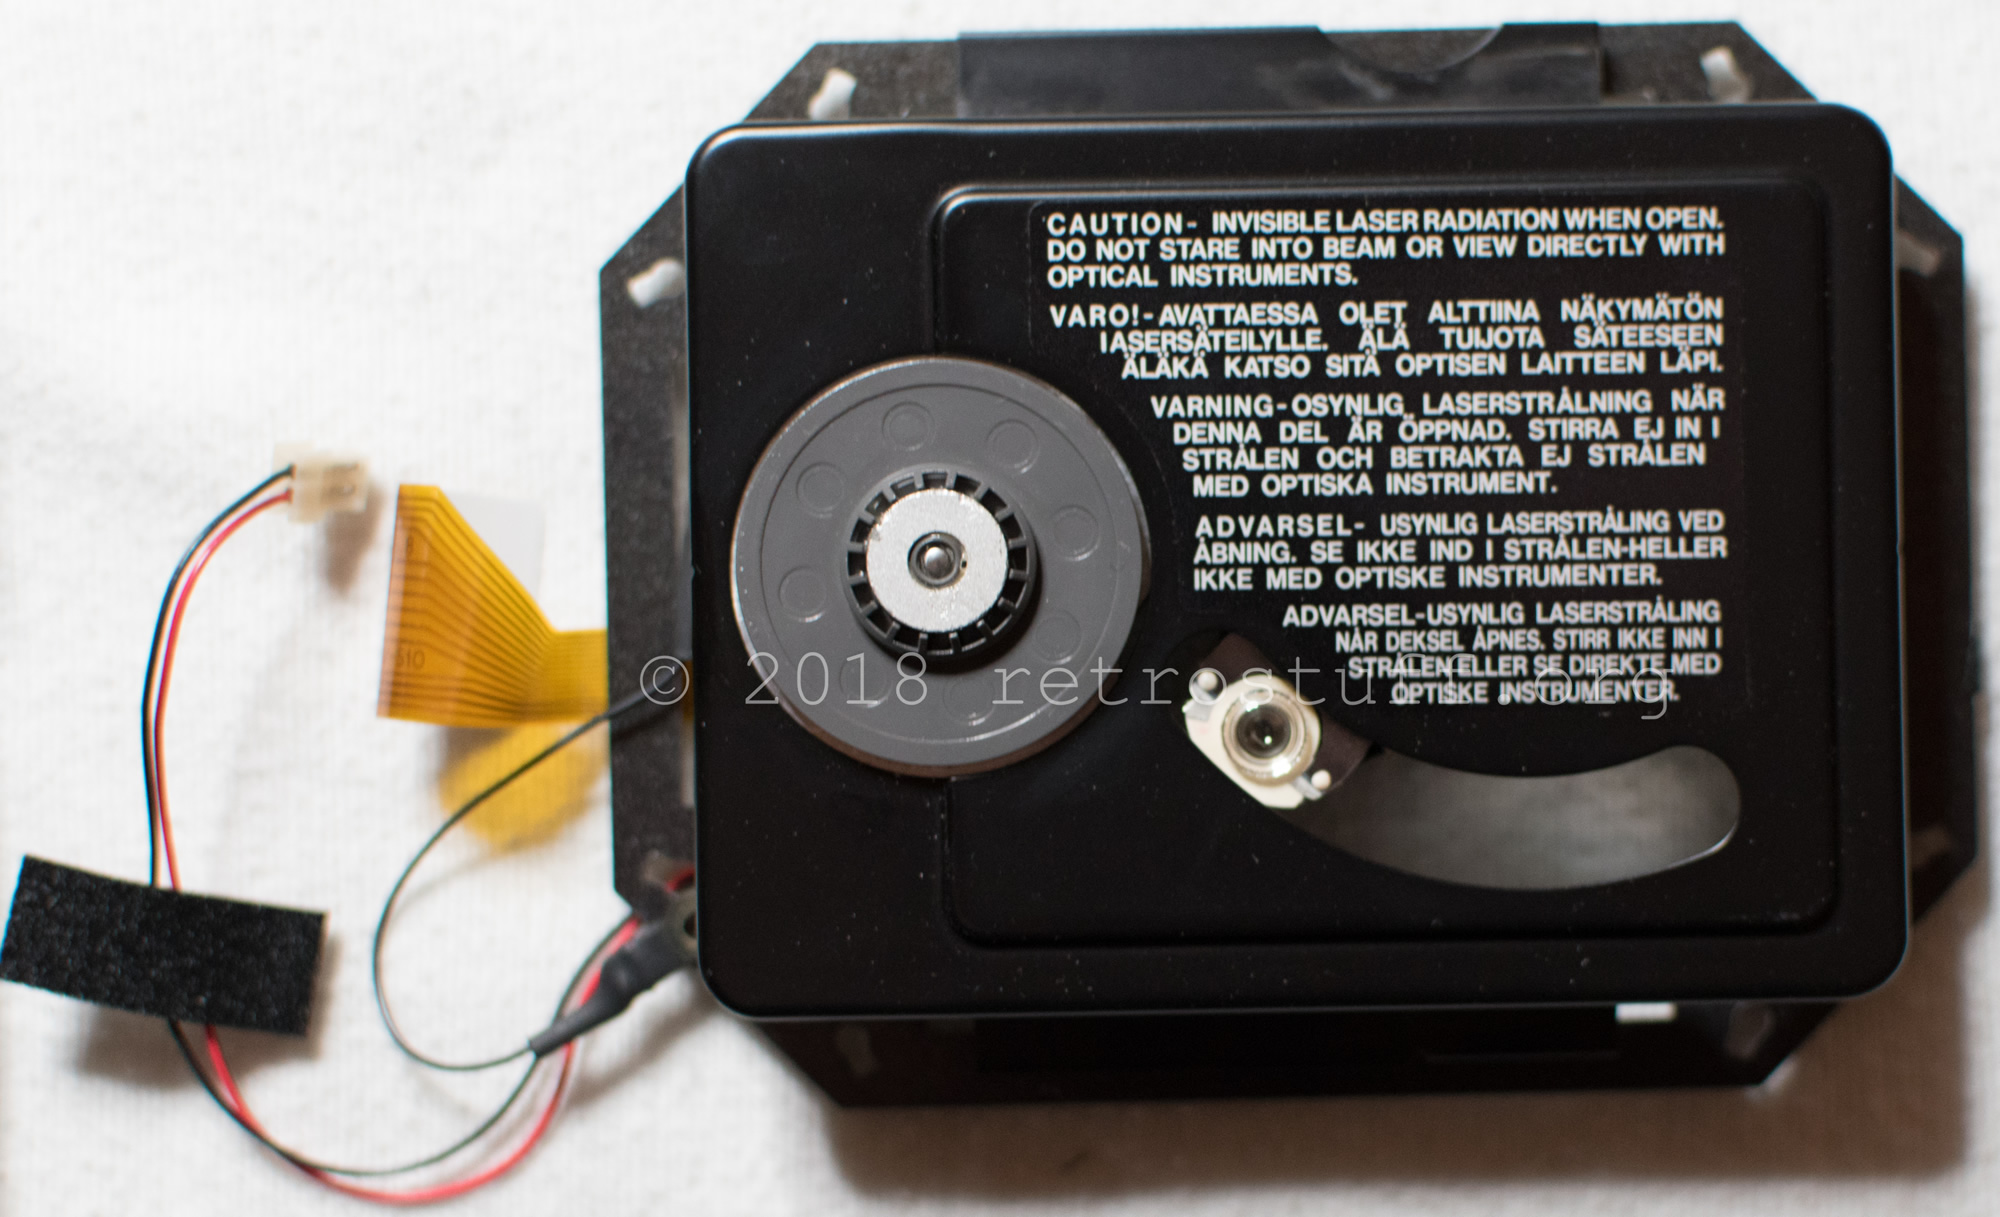
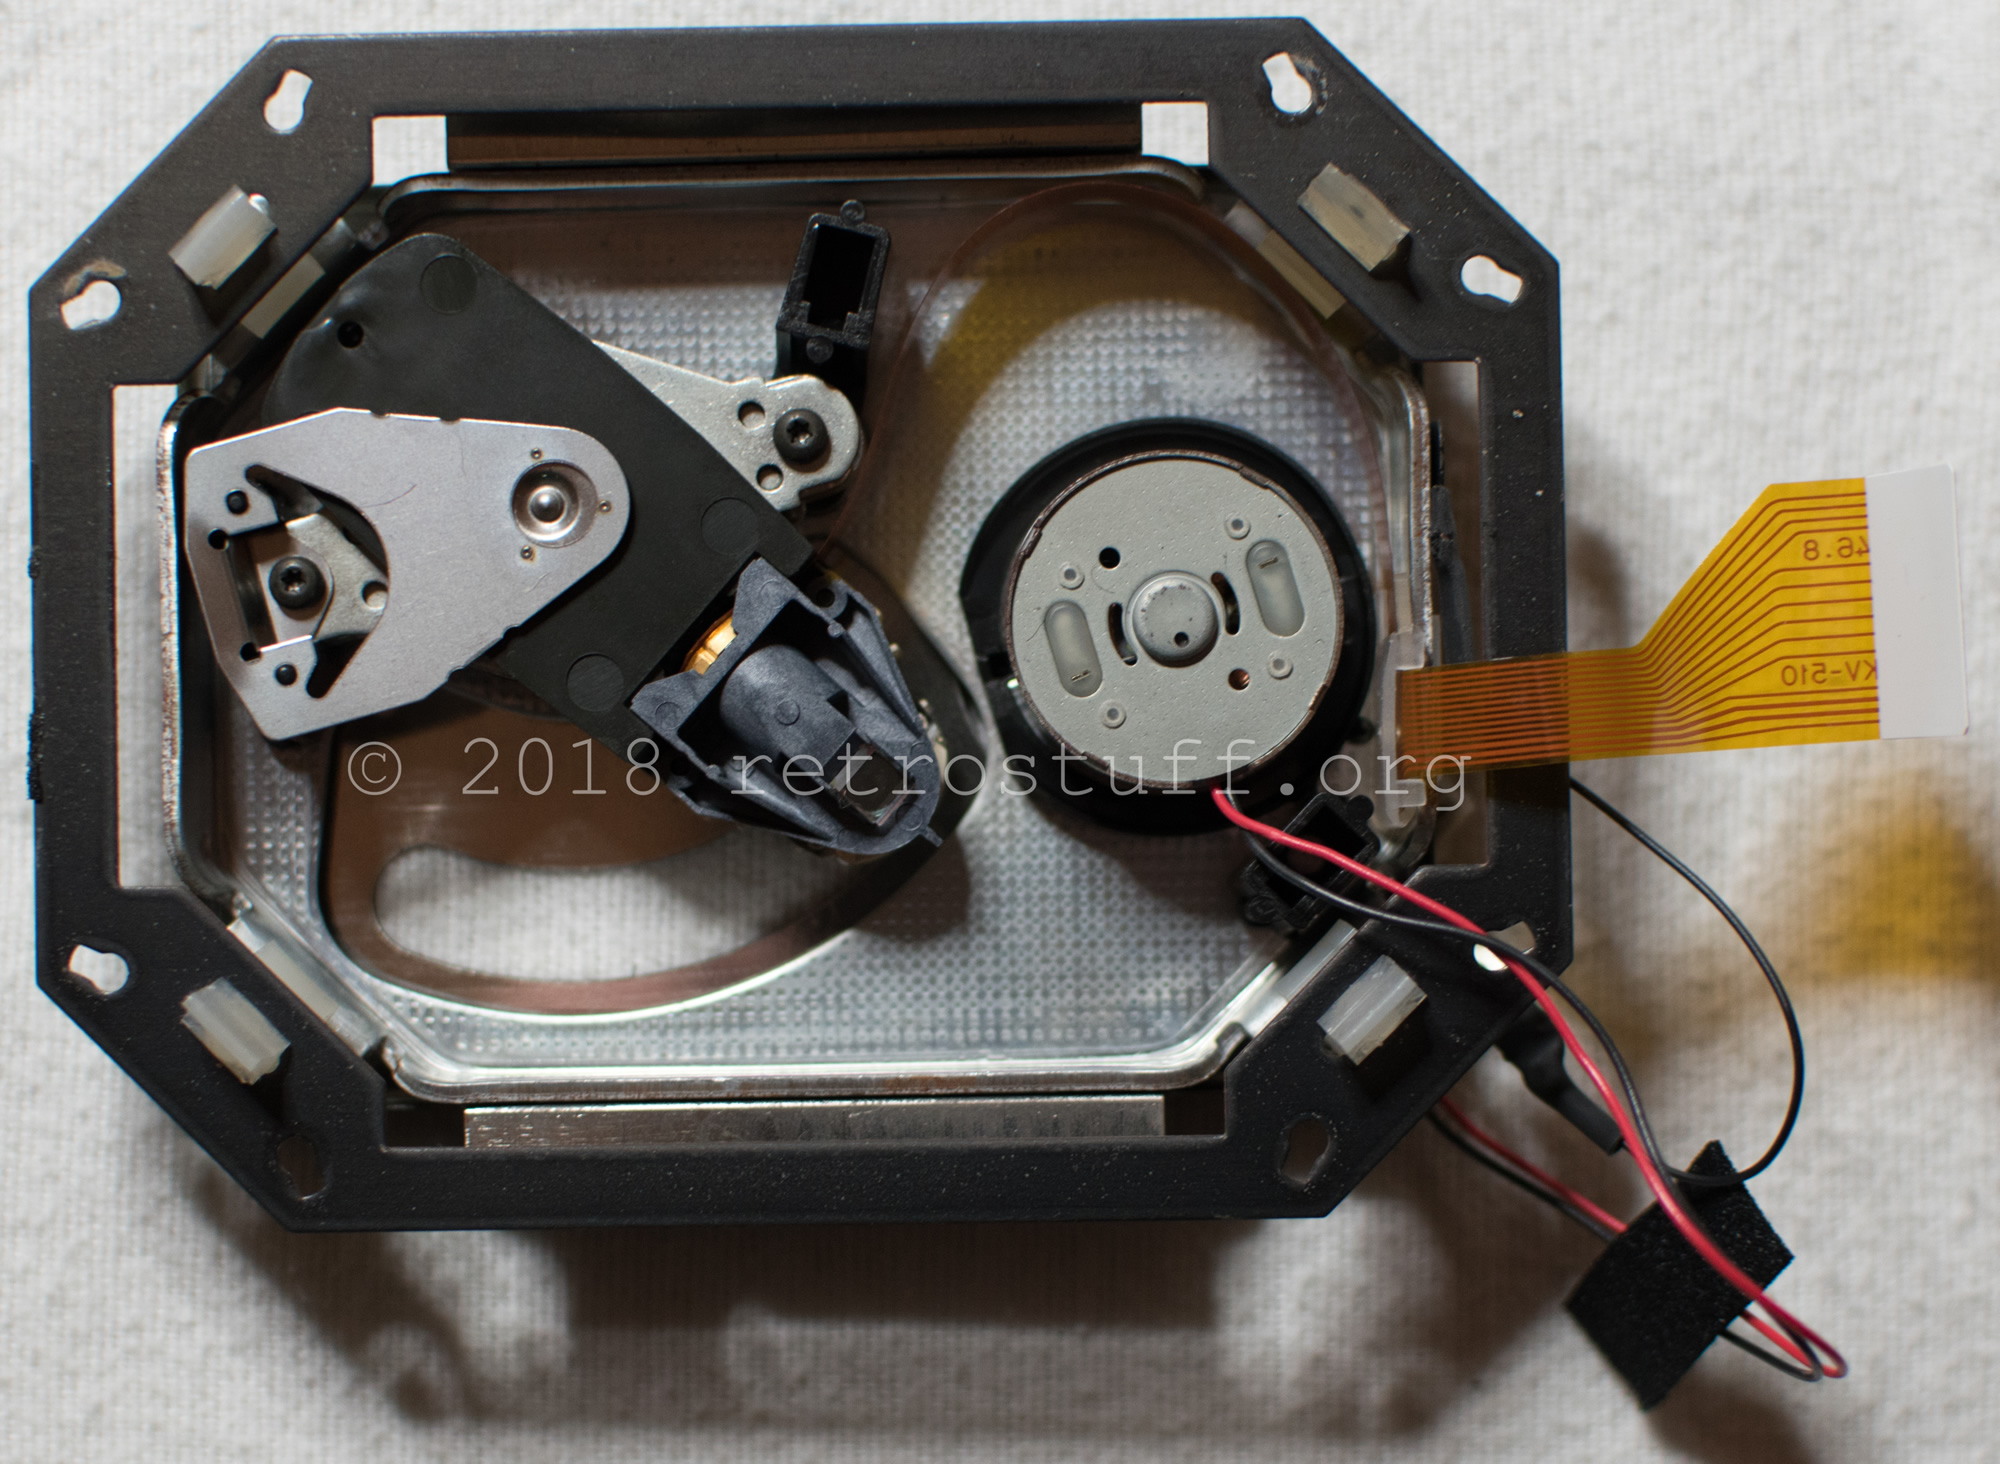
Before you can access the mainboard, the CDM 9 swing-arm pickup needs to be removed.
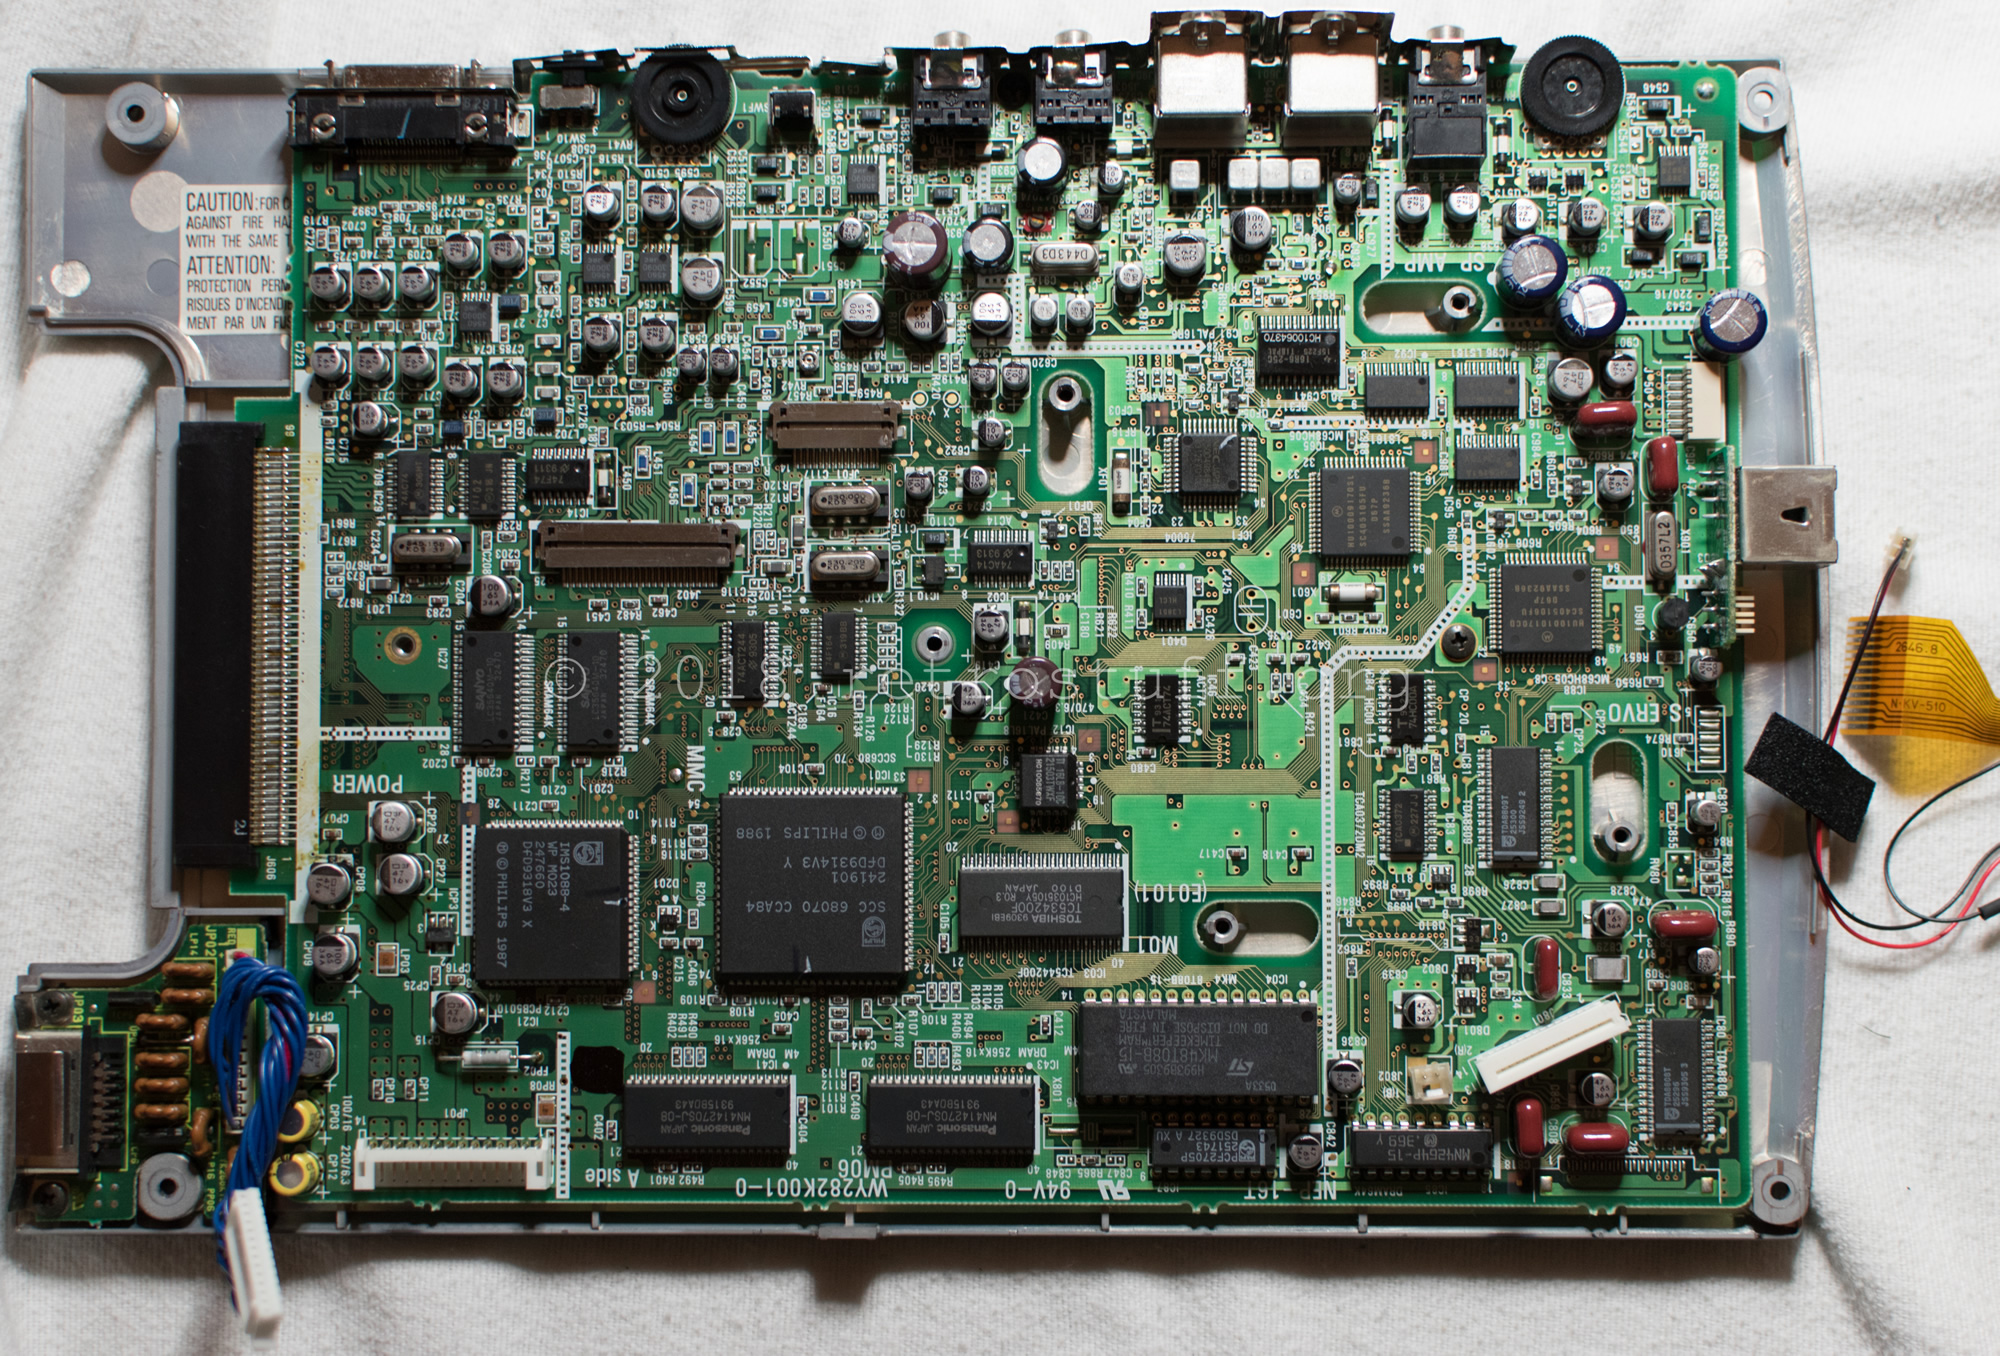
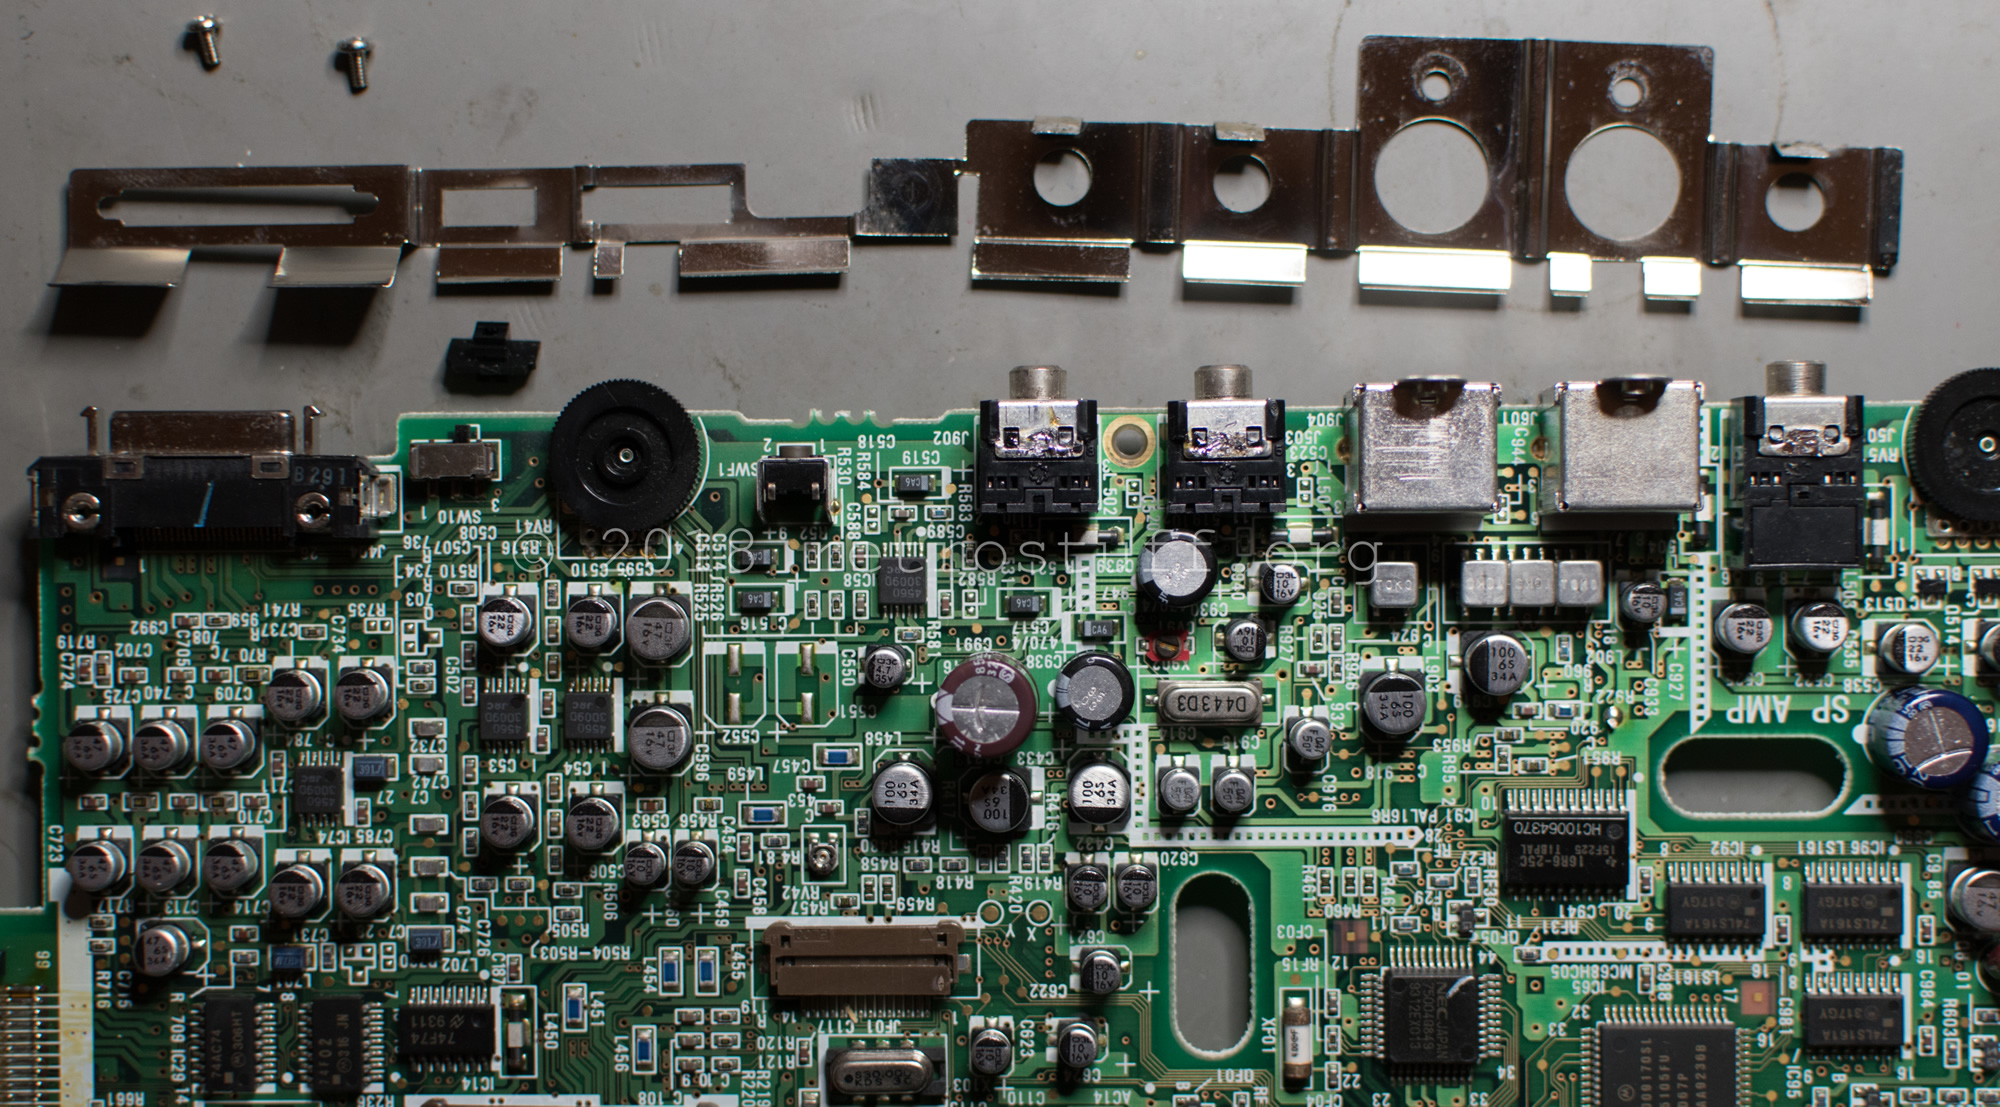
I also unscrewed and desoldered the metal shield:
Fixing the Timekeeper
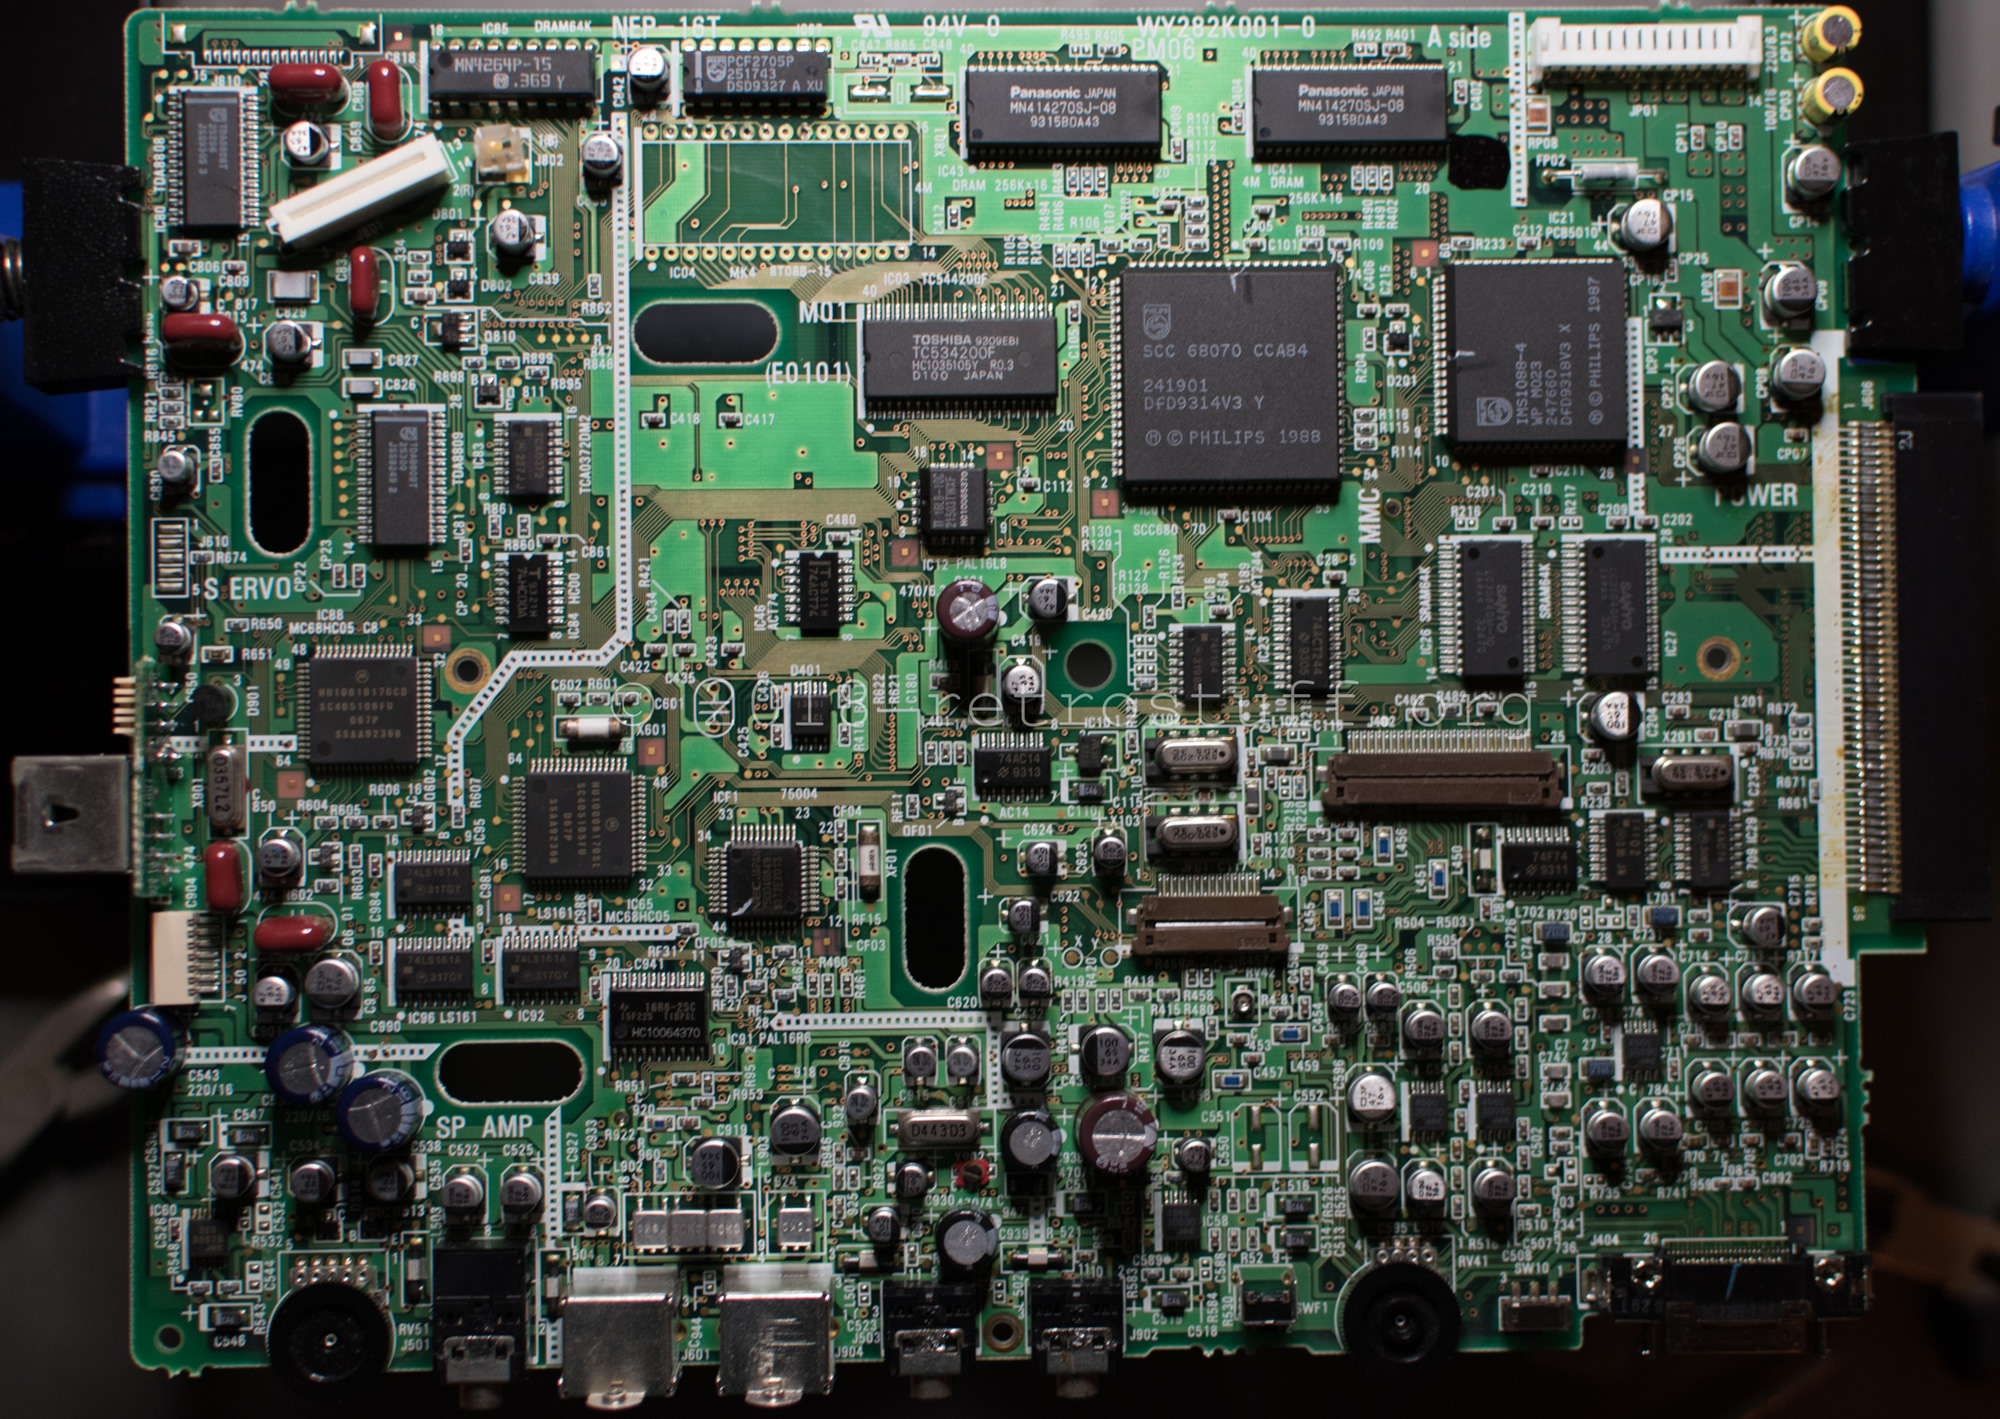
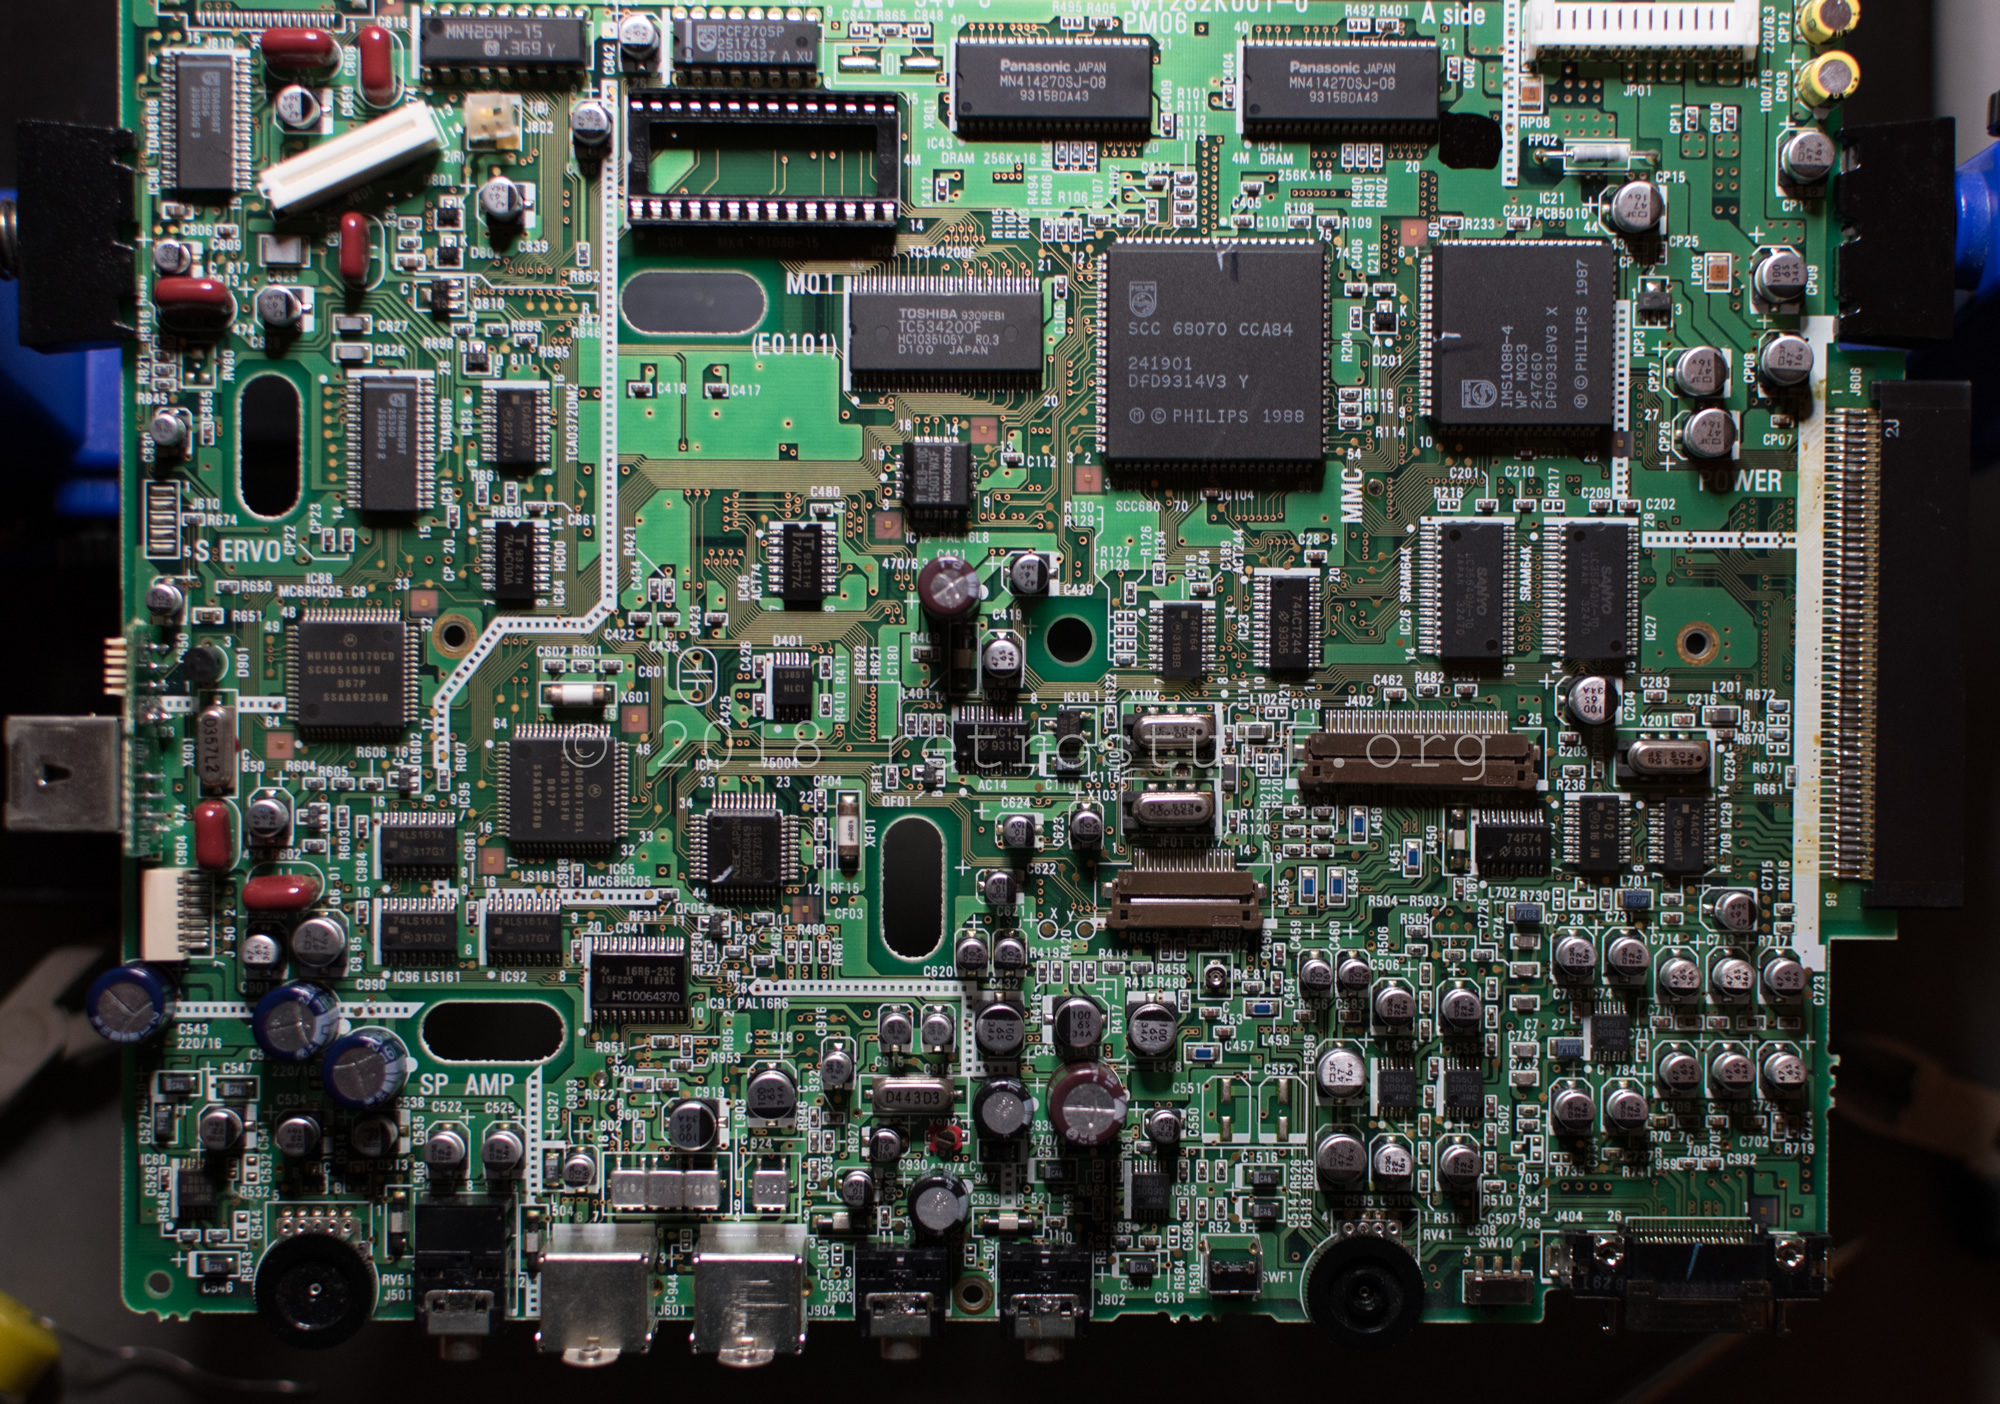
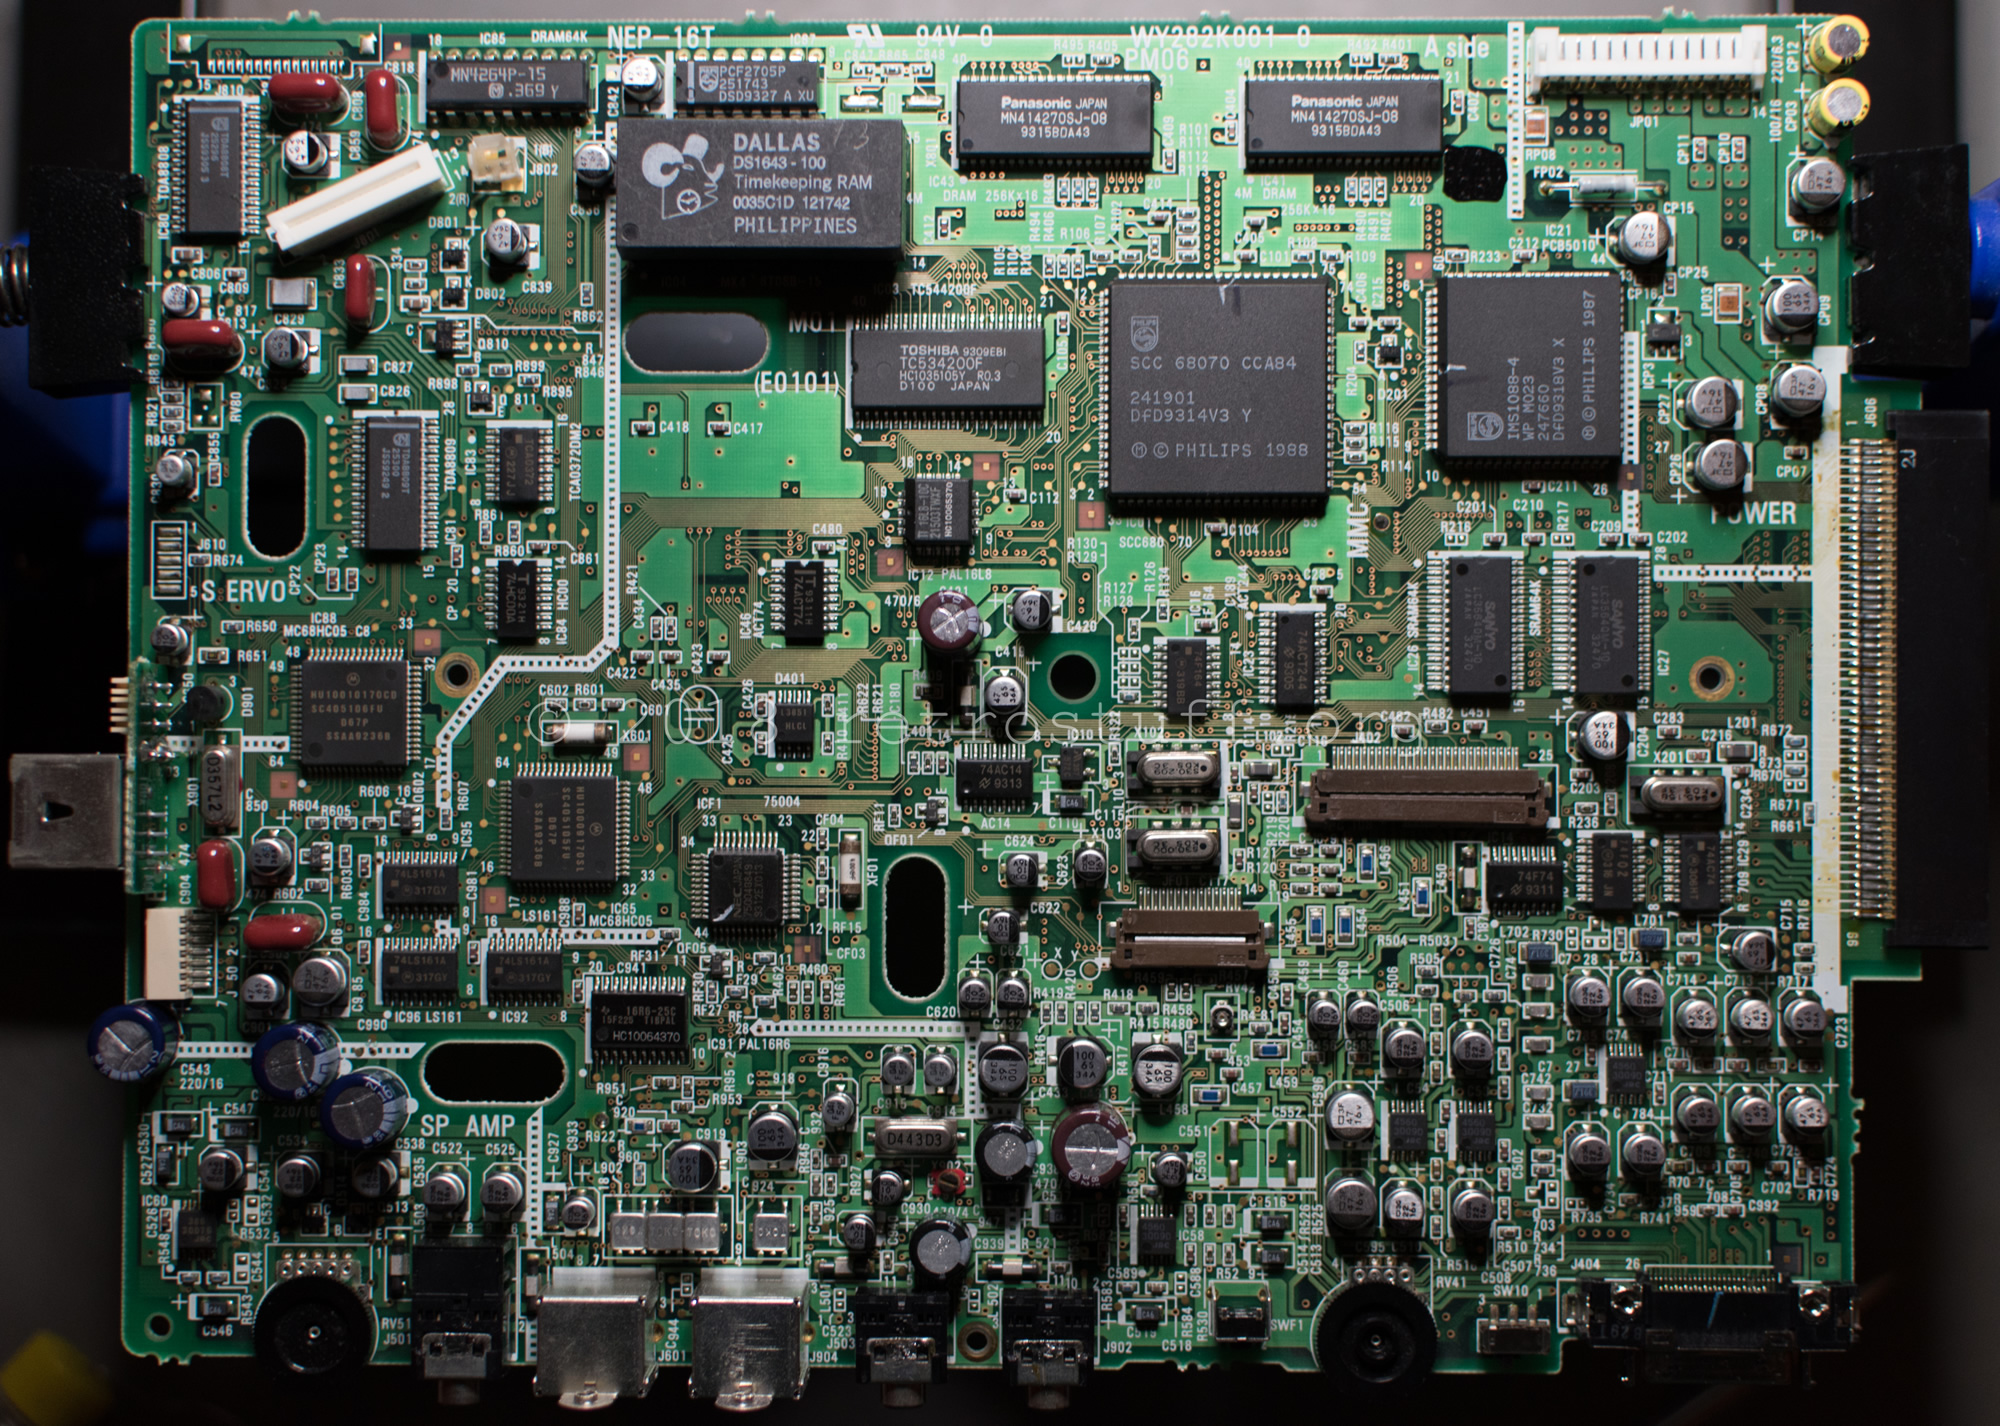
This is the most important fix for almost all CD-i players: Remove the broken Timekeeper and replace it with a socket and a new(er) Timekeeper or a Dallas RTC chip. The Timekeeper is often soldered from both sides, so therefore it needs a powerful desoldering gun and/or a lot of patience.
Replacing the capacitors
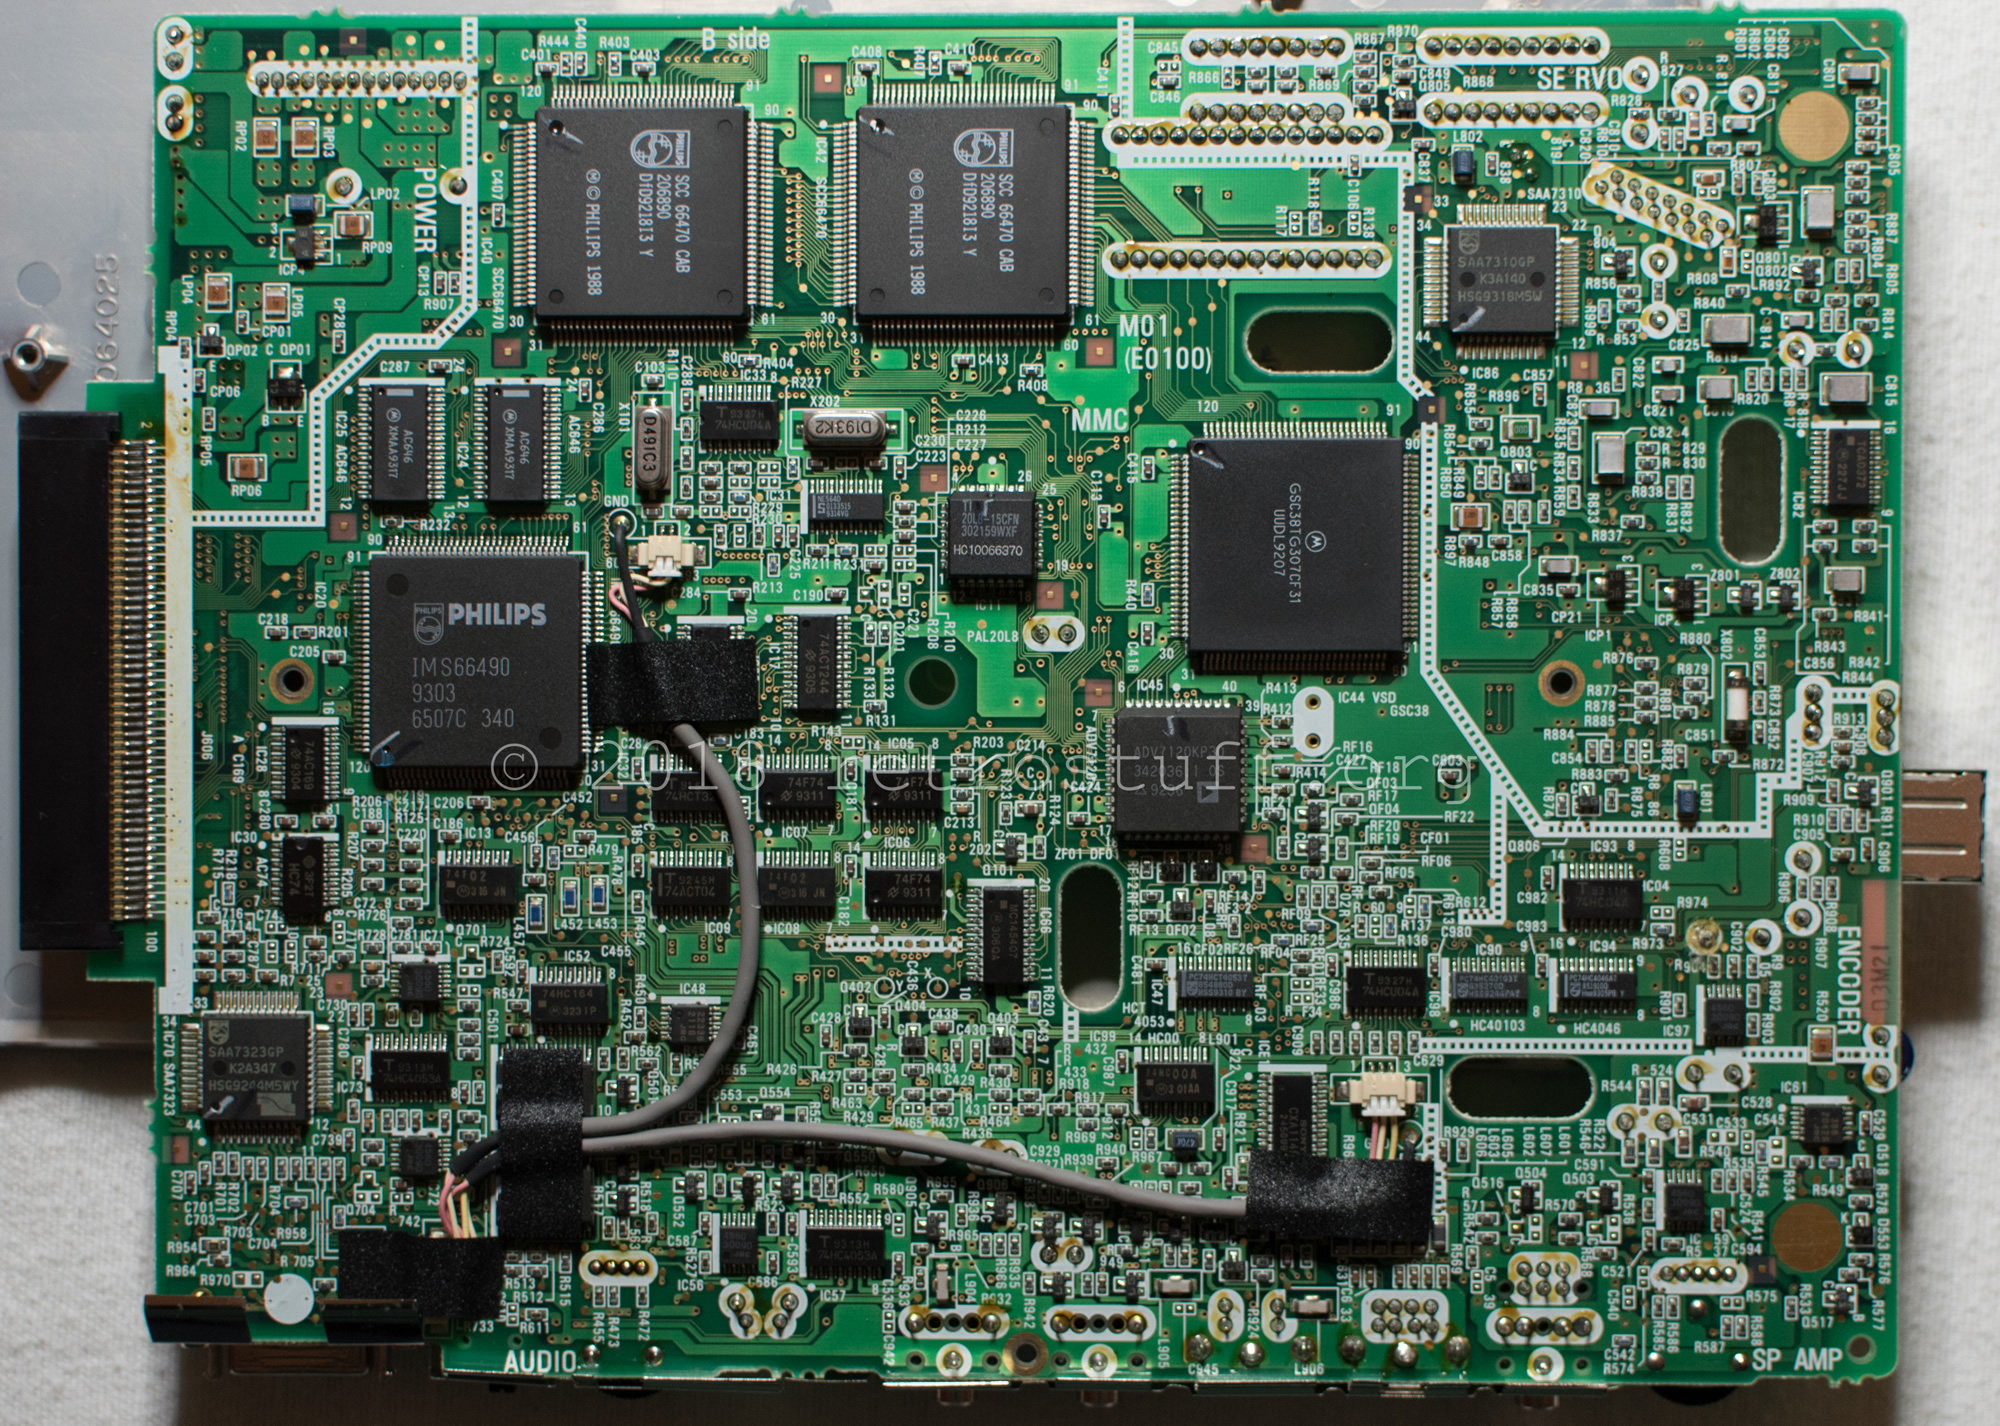
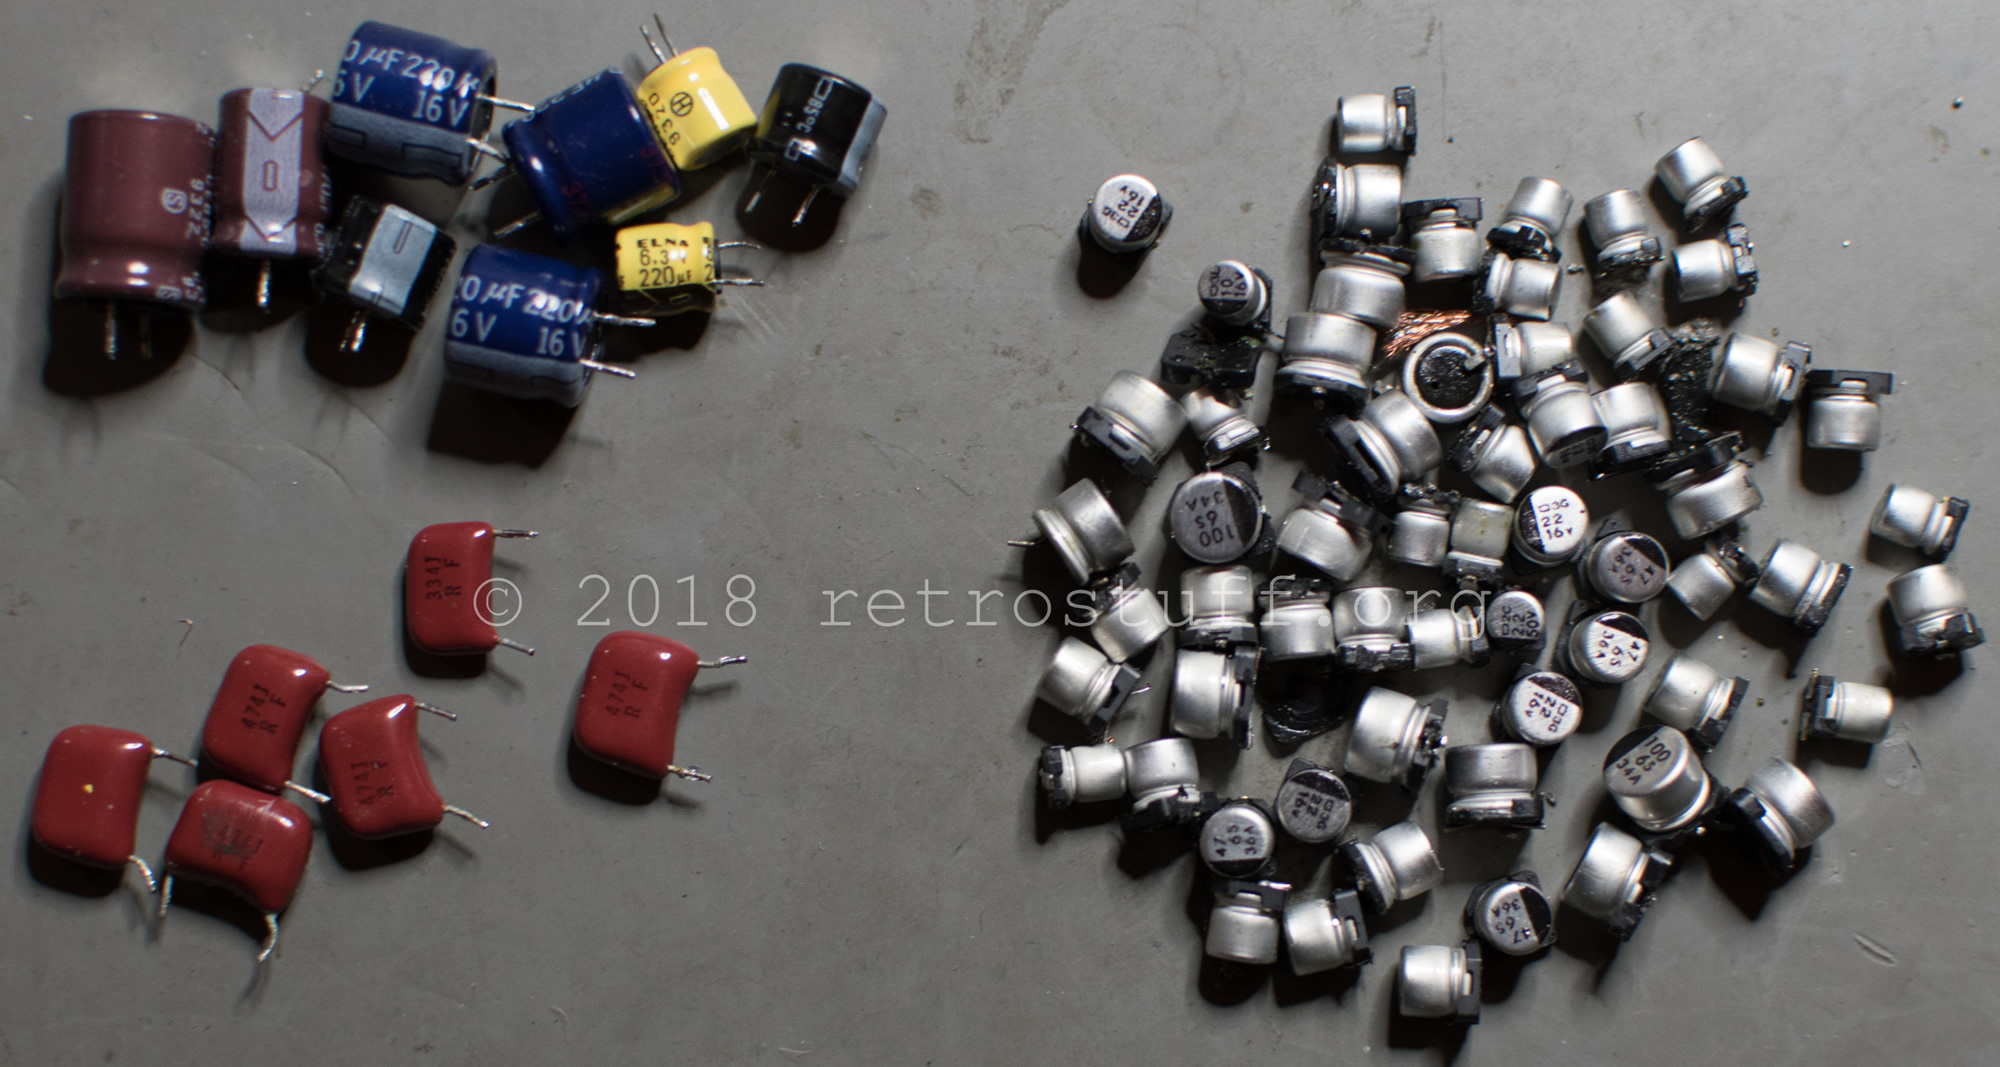
A new clock chip fixed all the problems with the settings, but apart from that, the player was not working. Neither did the discs spin, nor did the input port work (for diagnostics), and the screen was still unreliable. Upon opening the player for the first time, an unpleasant smell of electrolyte hit me. None of the electrolytic capacitors showed any signs of decay, but there were some tiny drops of liquid next to them that also found their way to the back of the PCB through the via holes. Also, one of the film capacitors was visibly leaking. All in all there are 76 capacitors on the mainboard – the damage was only visible after I removed them all.
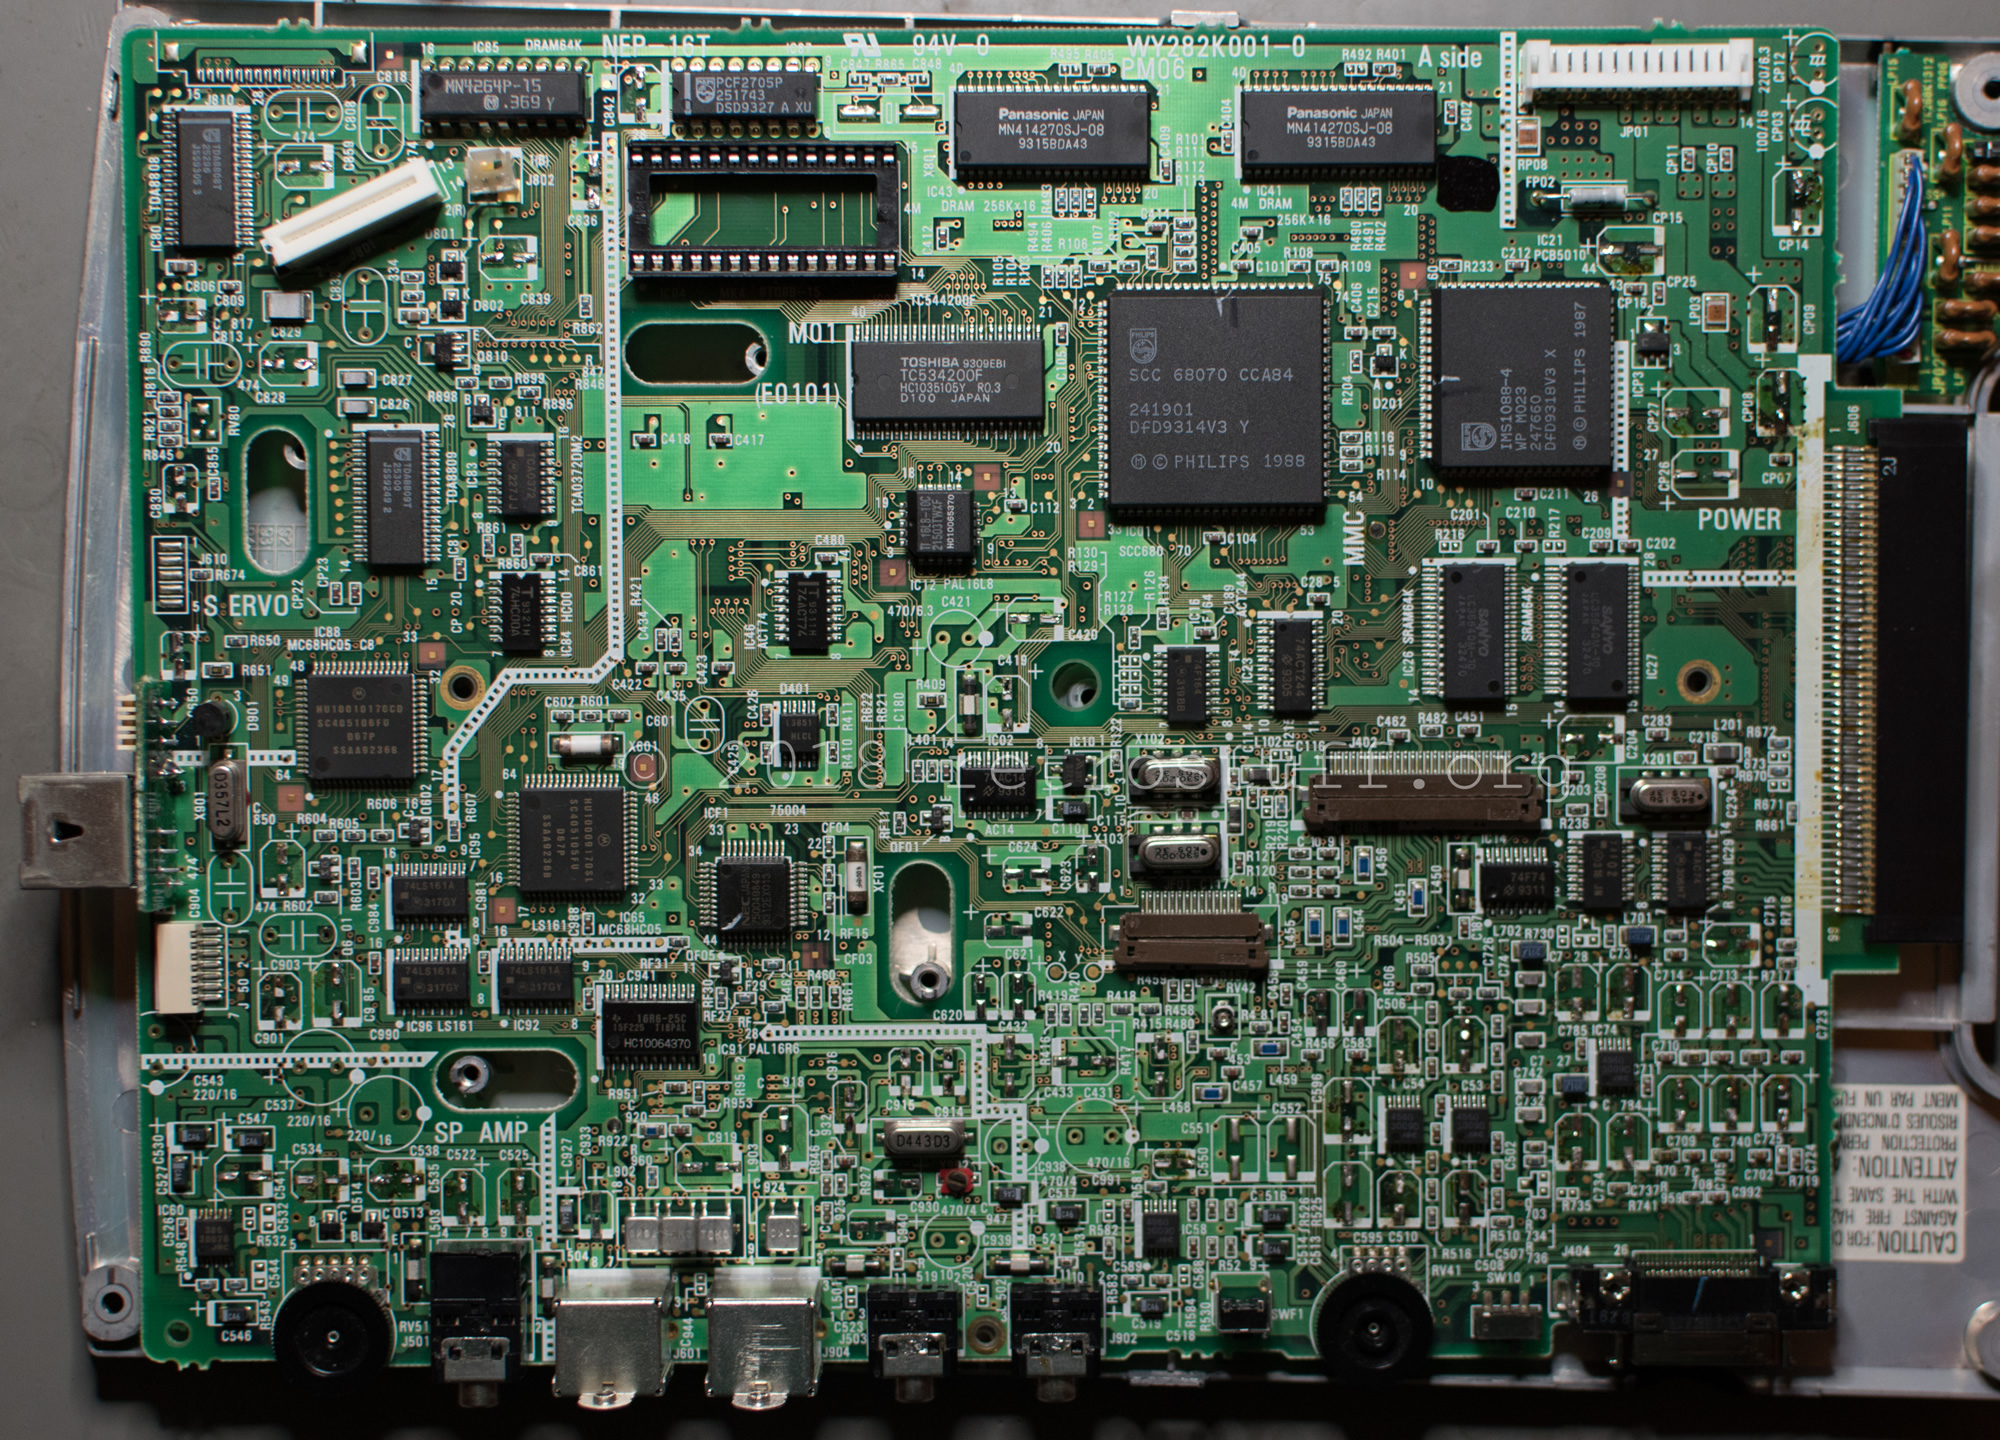
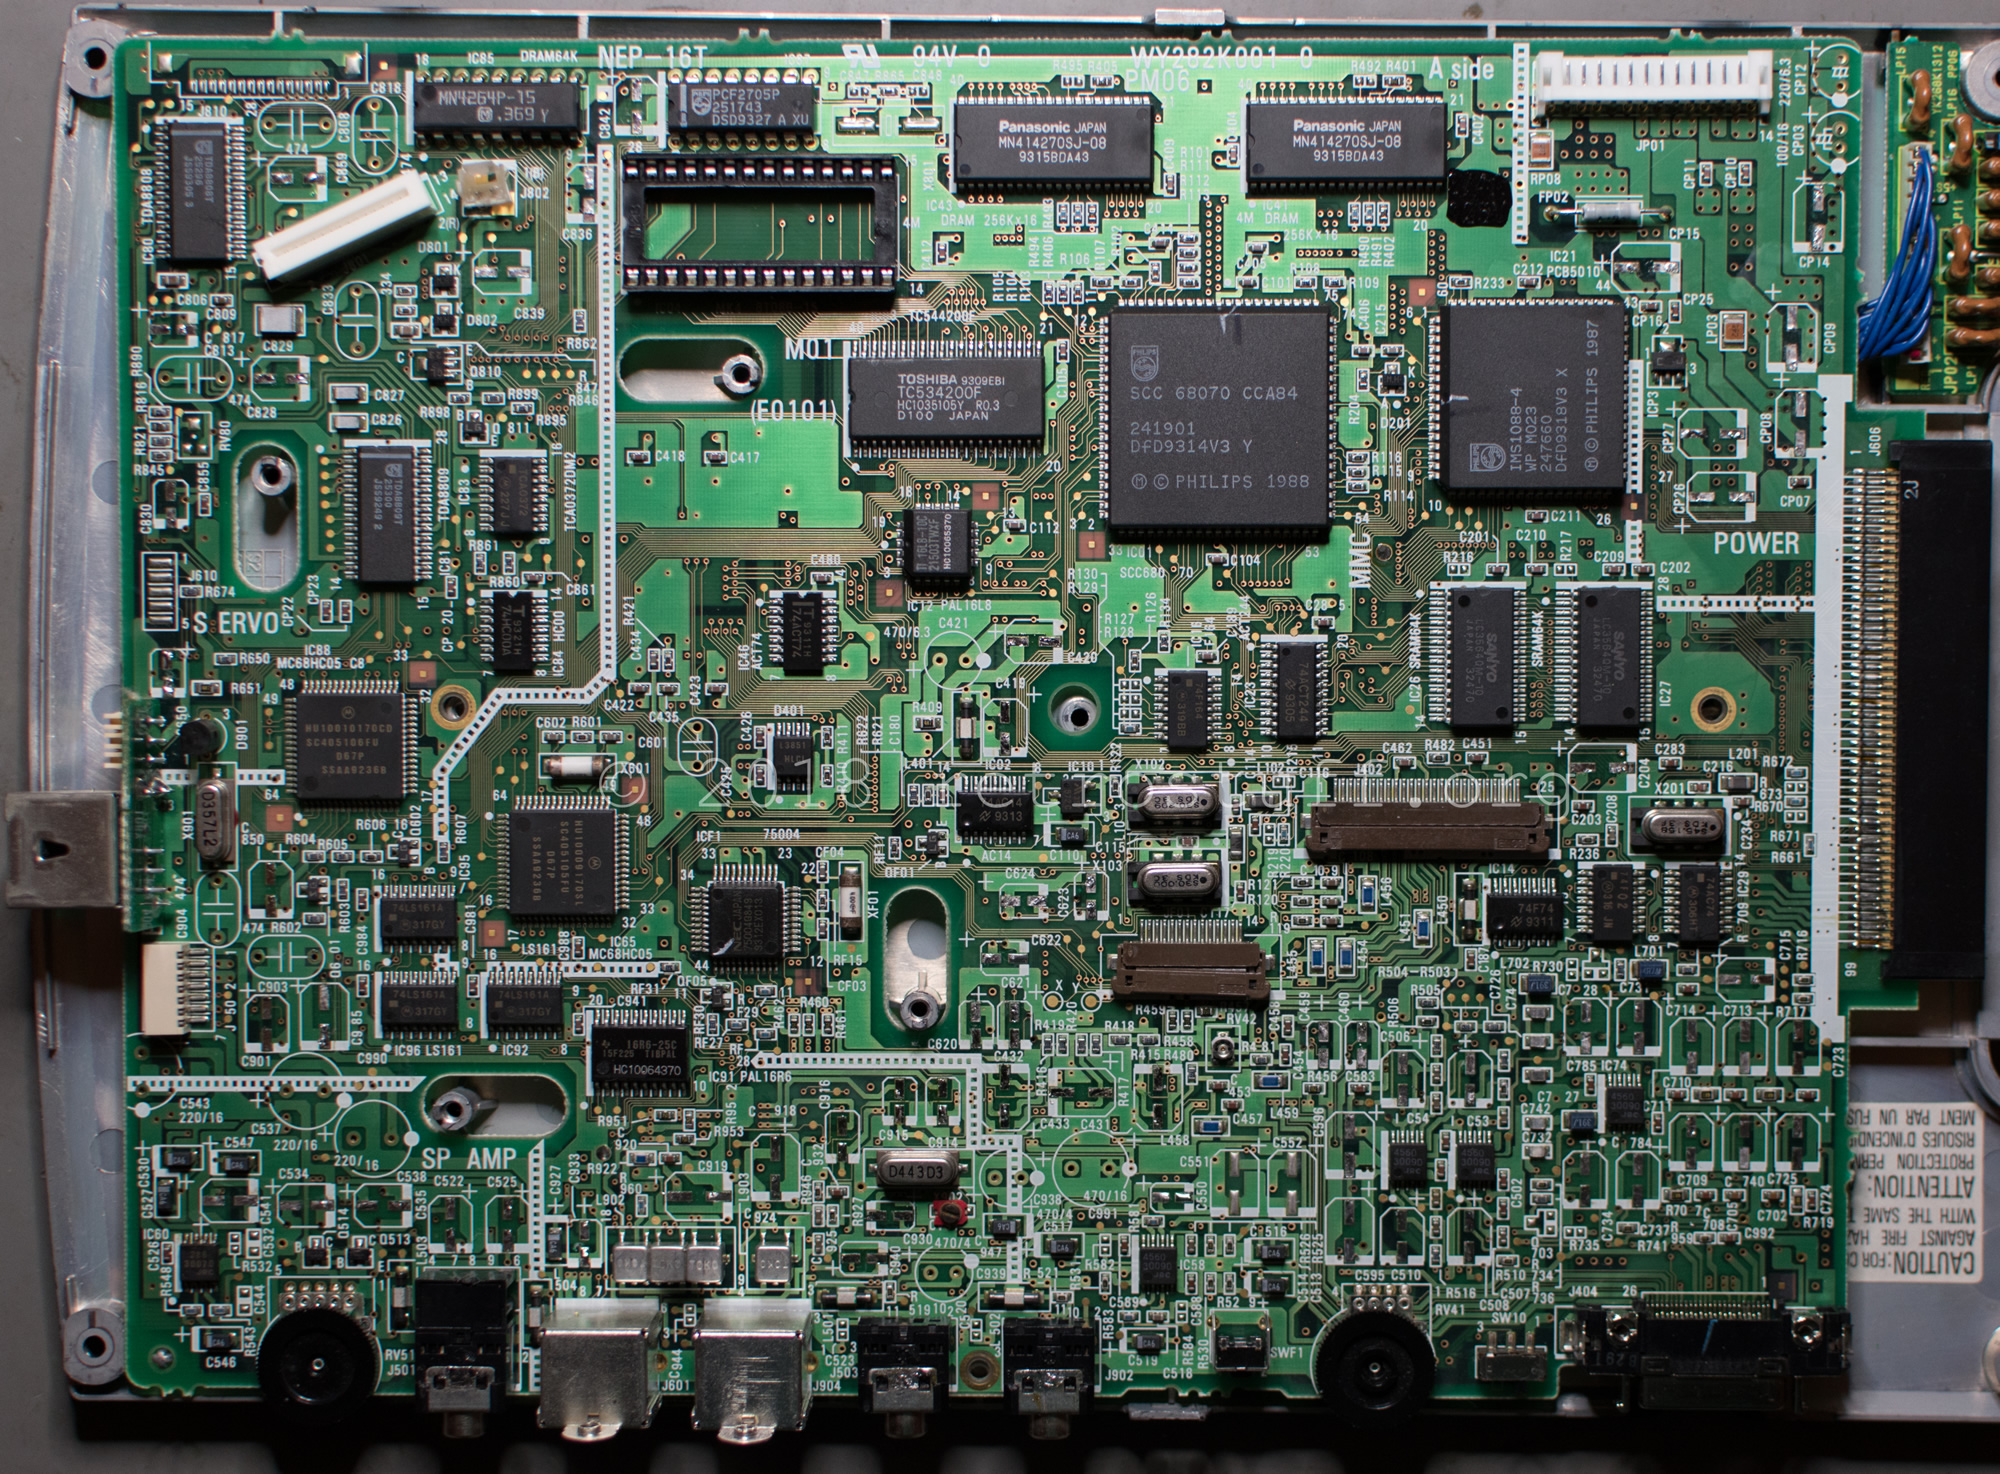
The mainboard has been cleaned and is now waiting for the new capacitors to arrive.
I have a cd-I 350 that I just got, it was sold as screen working but when I got it the screen is either blank or white if I jiggle the power cable. Any starting points to check?
Even if it was sold as working, it was only a matter of time before it suddenly failed. I’m afraid you will have to do the complete disassembly, cleaning and replacement of the capacitors as described in my articles.