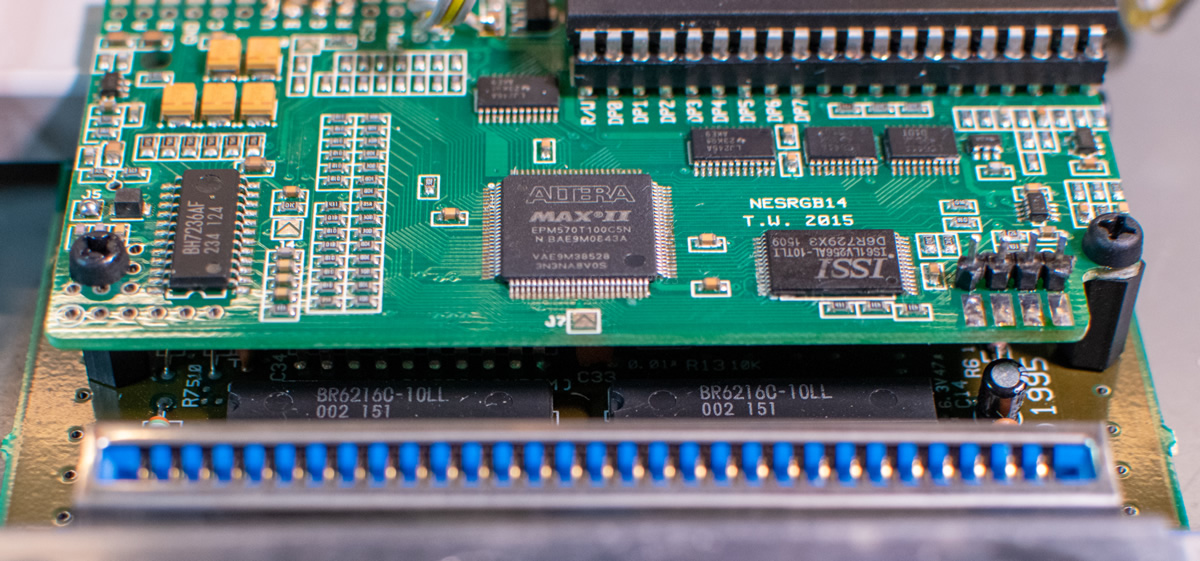
My Nintendo AV Famicom that I equipped with a switchless NESRGB solution in 2016 is spending most of its days on a shelf as a backup console. It still needs some maintenance, which I will cover in this article: cleaning, securing the NESRGB, placing the LED and repairing the expansion port cover.
Last week, I just wanted to quickly test some Famicom carts and realised that the console wasn’t outputting any picture or sound. There was still a reaction on the TV though: black picture and a crackling sound when I switched it off. Fearing the worst, I opened it up and saw my favourite insulation tape. However, as I’ve learned in the past, this stuff disintegrates over the years and sticks to everything, so now I was apparently in for not only a repair but also a clean. I opened the console and plugged it in again. When I removed some of the insulating tape, graphics rubbish suddenly appeared on the TV. On closer inspection, I realised that the NESRGB board was tilted slightly backwards. It must have come loose at some point.
Cleaning
I started by removing the rest of the black insulating tape that I had stuck in all places where something needed to be held and/or insulated: between the NESRGB and IGR board, on the underside of the AV Famicom mainboard and to attach the LED to the base of the power switch. I gave it several baths with Kimwipes soaked in IPA to loosen the partially sticky and dried residue and manually cleaned it afterwards.
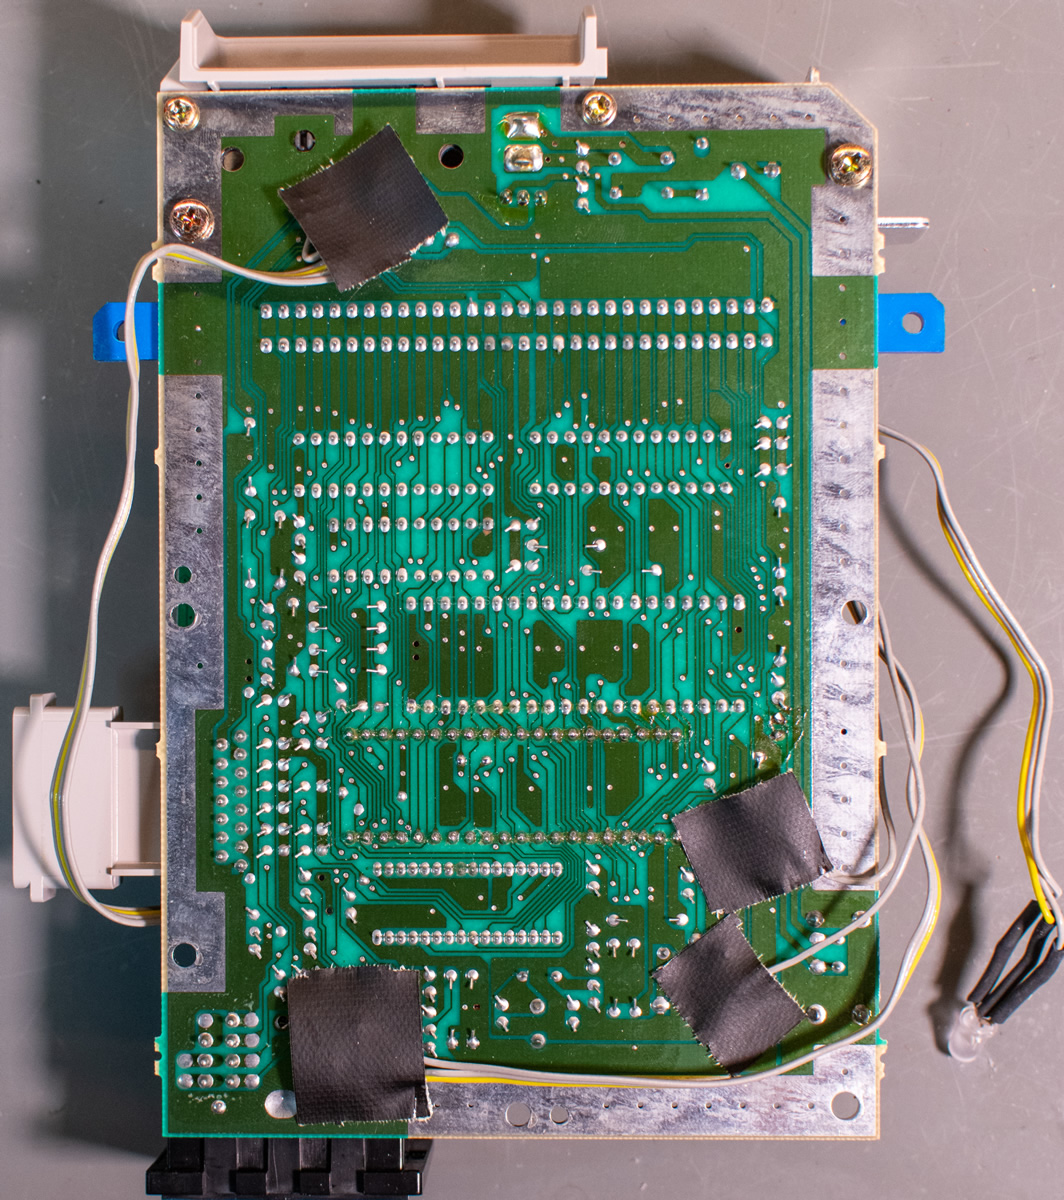
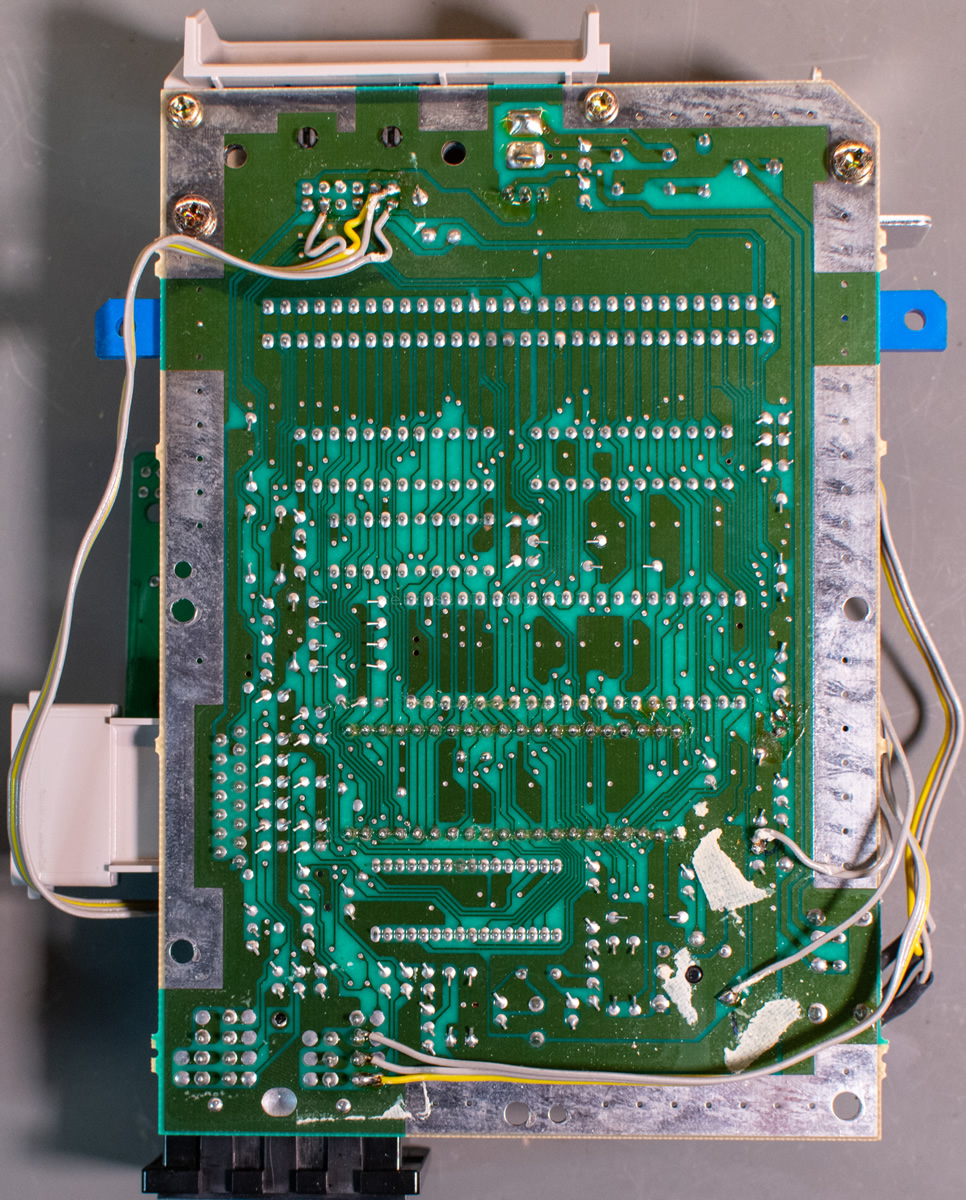
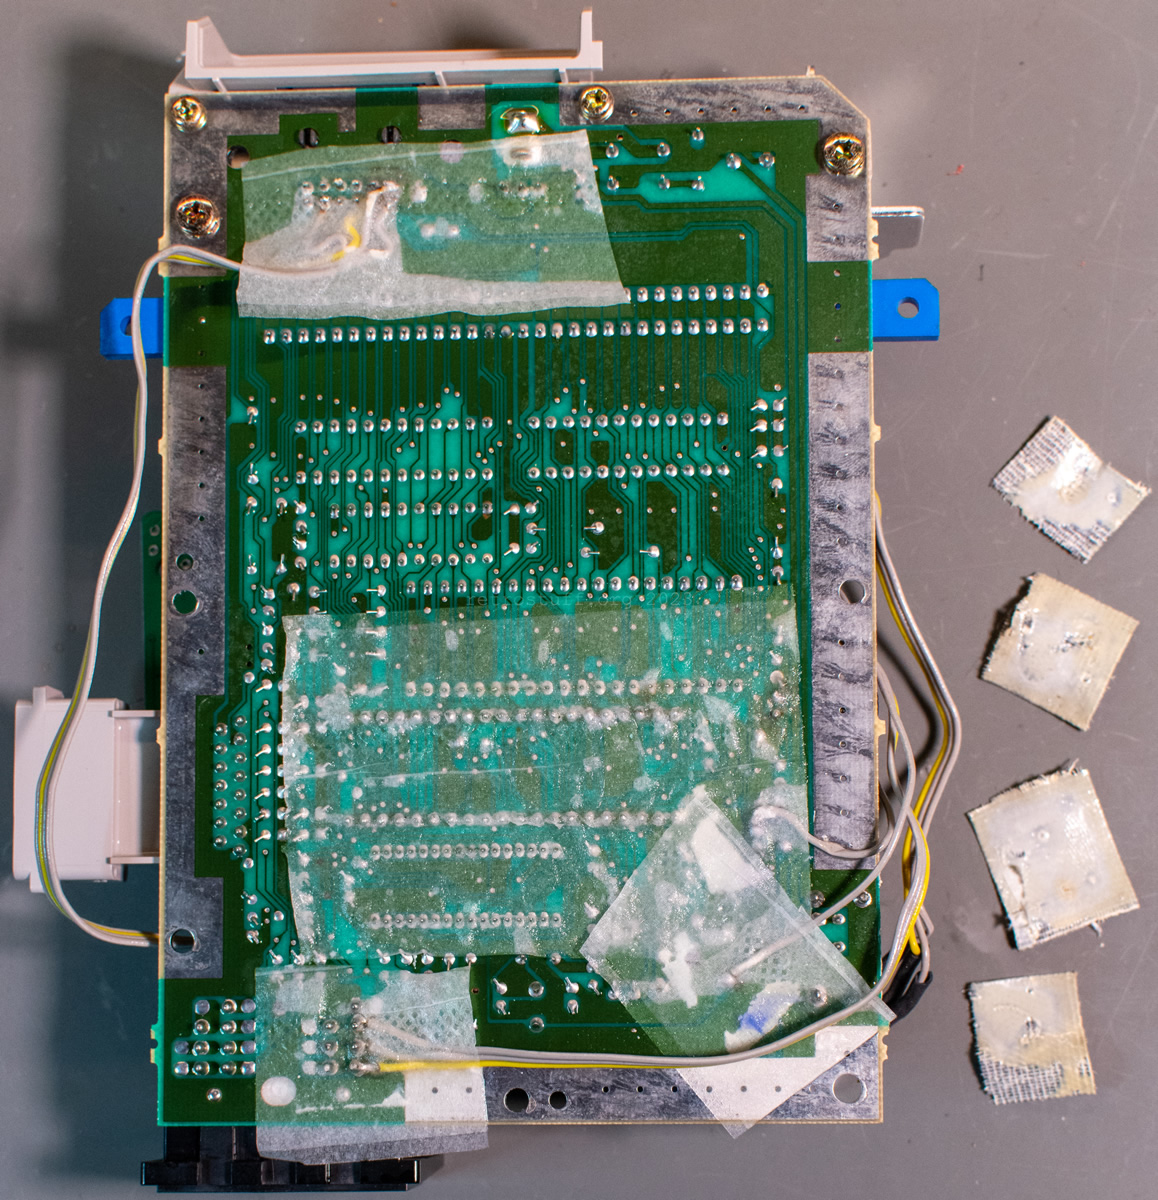
In addition, I was not too impressed with my soldering and lack of cleaning from back then. I reworked this too, but kept the wiring as it still worked well despite being ugly.
Securing the NESRGB
I suspect that I dropped the boxed console at some point and that the IGR board on the back with all the cables contributed to the NESRGB board tilting backwards. To prevent it from tilting again, I initially wanted to put a sponge under the back. But then I realised that the 11 mm nylon spacers I had bought for my Retro Chip Tester Pro earlier this year were a good fit.
After I had reassembled and reconnected everything, there was a small scare: no more signs of life from the console. Thankfully, it turned out that it was just the fuse of my step-down converter in the lab that had blown.
LED holder
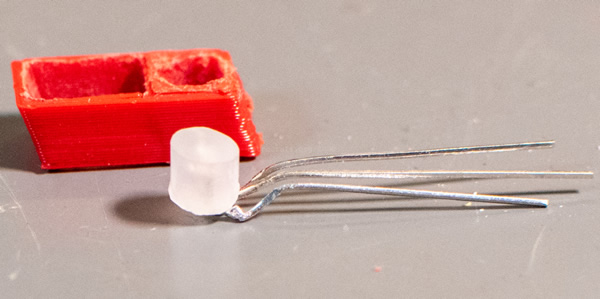
Even though the insulating tape held the LED well in position next to the power switch, its faint glow wasn’t enough for me. I looked for available holders that I could print myself and considered these three options:
- NES-101 LED Housing by Fragol_Roc – probably the cleanest and best looking solution, but I didn’t want to drill a hole in my AV Famicom.
- NES-101 & AV Famicom No Cut LED Housing by Fragol_Roc – this is the option I ultimately decided on. However, it does have some limitations.
- AV Famicom/NES Top Loader – No-cut LED Mount by grbolivar – an interesting approach that I might try out in the future.
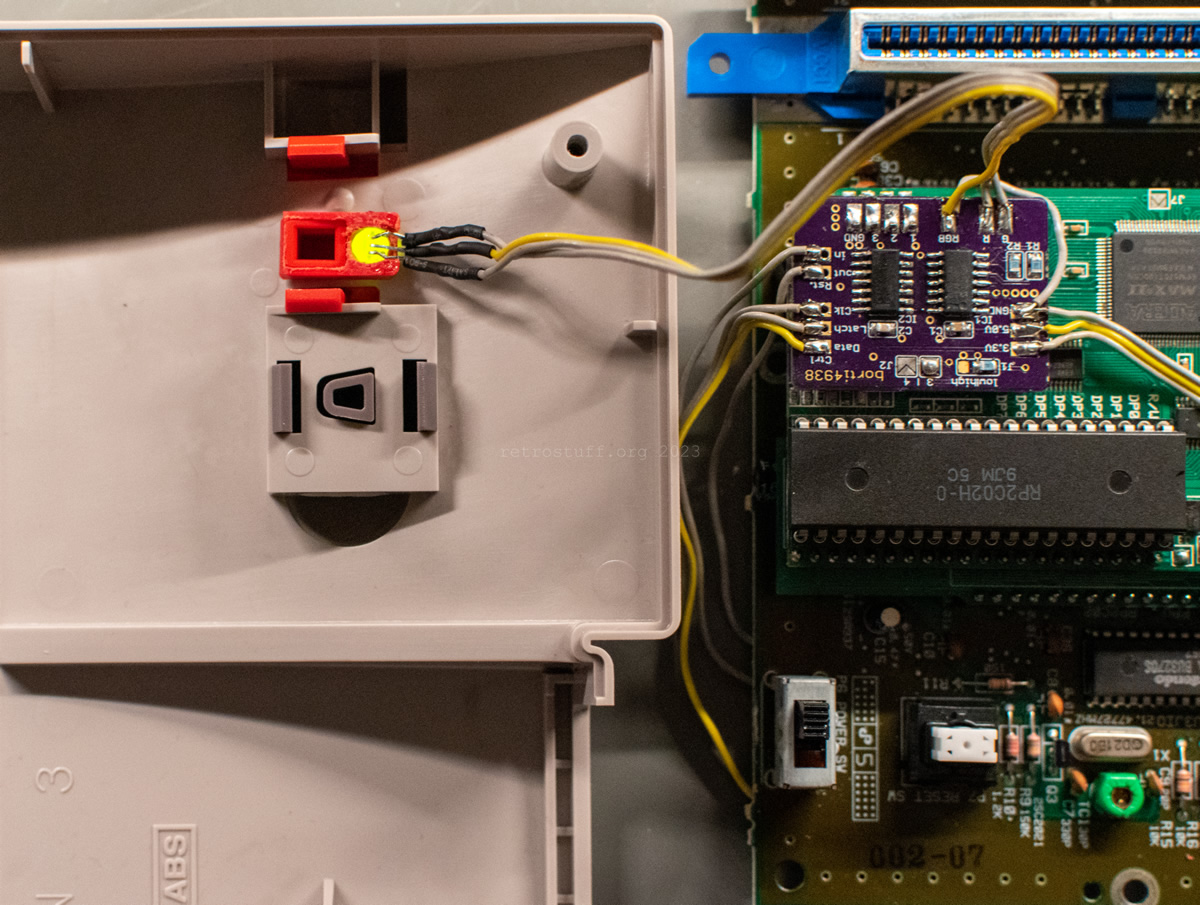
Fragol Roc‘s no-cut approach is tailored to regular 3 mm LEDs. However, I wanted to use a 5 mm bi-colour LED to display the chosen palette. After some drilling of the holder and filing of the LED, they fit perfectly under the switch.
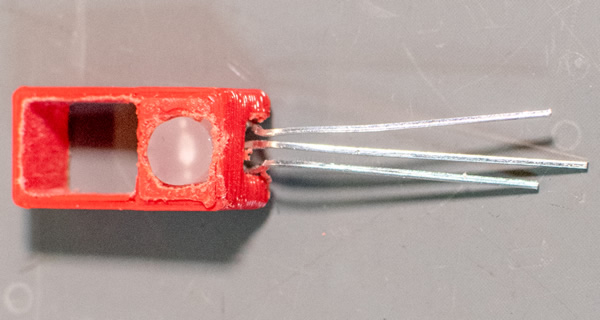

The limitations: Take a look at the image on top of this article. You can’t see green shining through red plastic and distinguish between red and yellow.
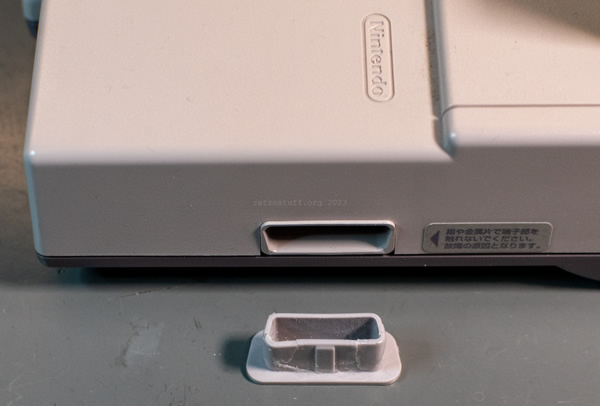
Expansion port cover
Another thing to do is repair/replace the expansion port cover. I accidentally bent and broke it a few years ago and printed this replacement cover. However, the replacement cover sits too loosely in the AV Famicom and falls out easily (but it sits firmly in my Turbo Twin Famicom).
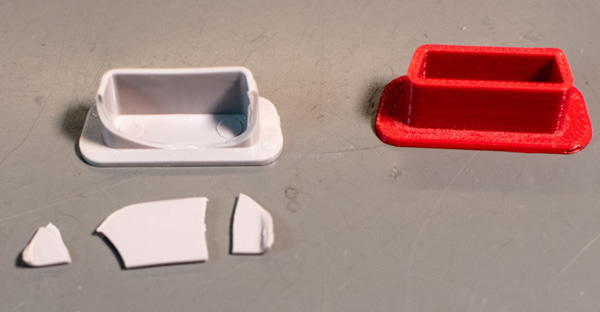
I never bothered to print it again at a slightly larger size and just left it in the box with the AV Famicom. Looking at the issue again, I came across Jeff Chen’s design, which has two of the protrusions that the original cover has. It’ll be the next thing I print when the original cover, which I quickly glued together, breaks again.