
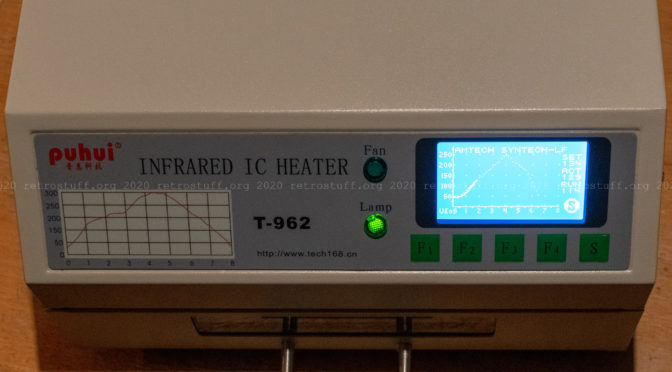
The Puhui T-962 is a cheap IR reflow oven that has been around for many years (the earliest occurrence that I’ve found is from 2007). It has some serious and not so serious flaws that many blogs have already addressed. Known modifications include: Proper grounding, replacing the insulation tape, custom firmware and additional temperature sensors. Some people go even further and replace the system fan and controller board, add more powerful infrared heating elements or an additional fan for better heat distribution. I have included links to all of these modifications at the end of the article.
I bought the T-962 last November to have some support when soldering SMD components. But before I could use it for the first time, I had to take care of the most critical flaws.
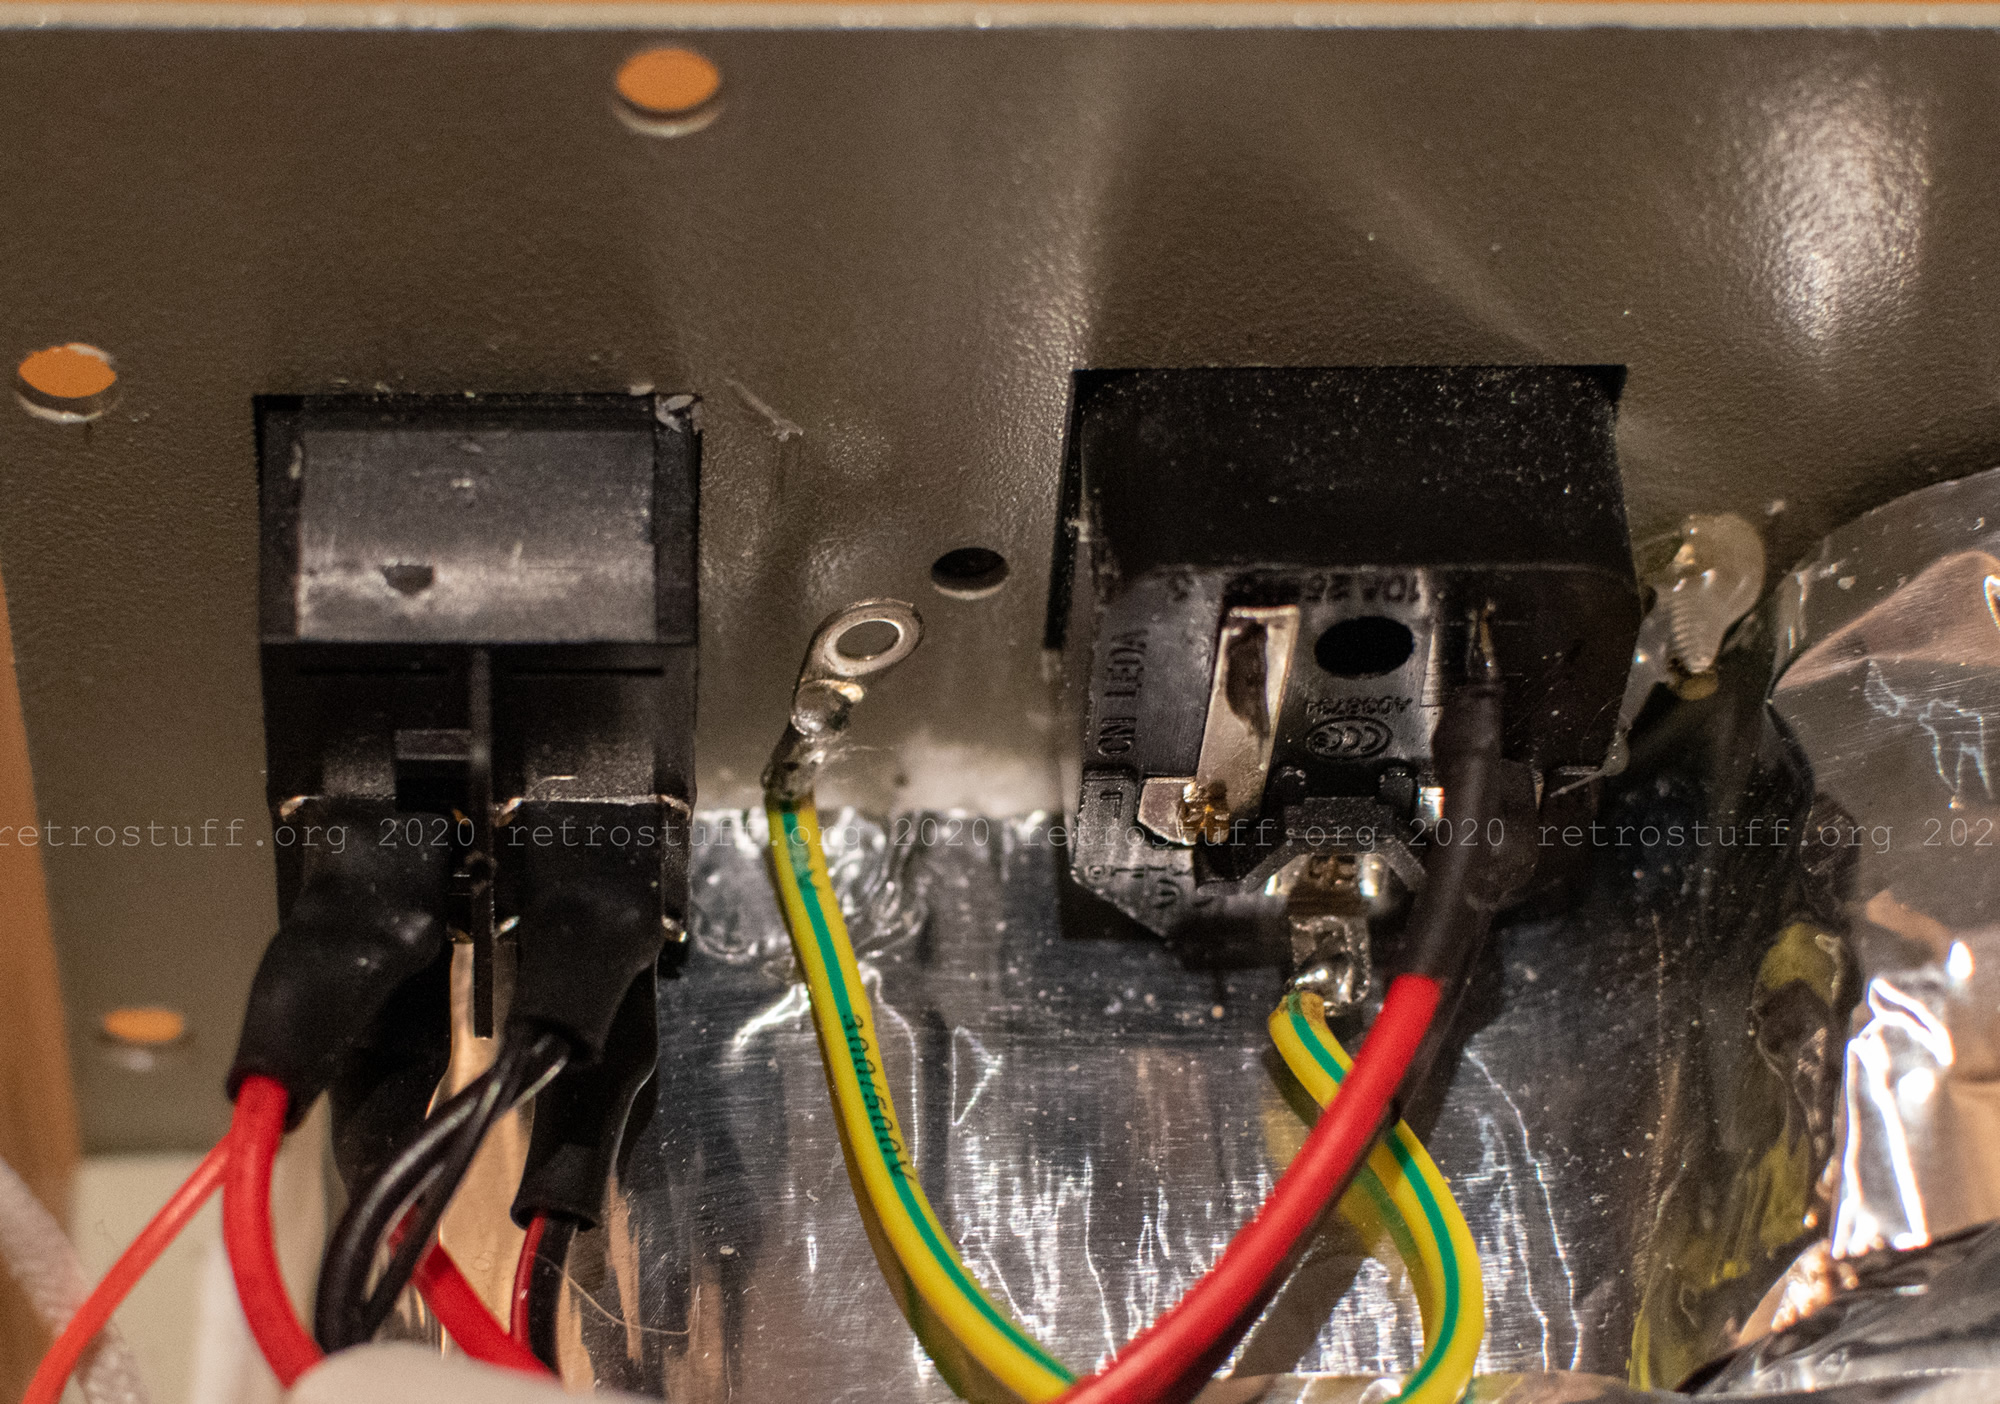
Proper grounding and insulation tape
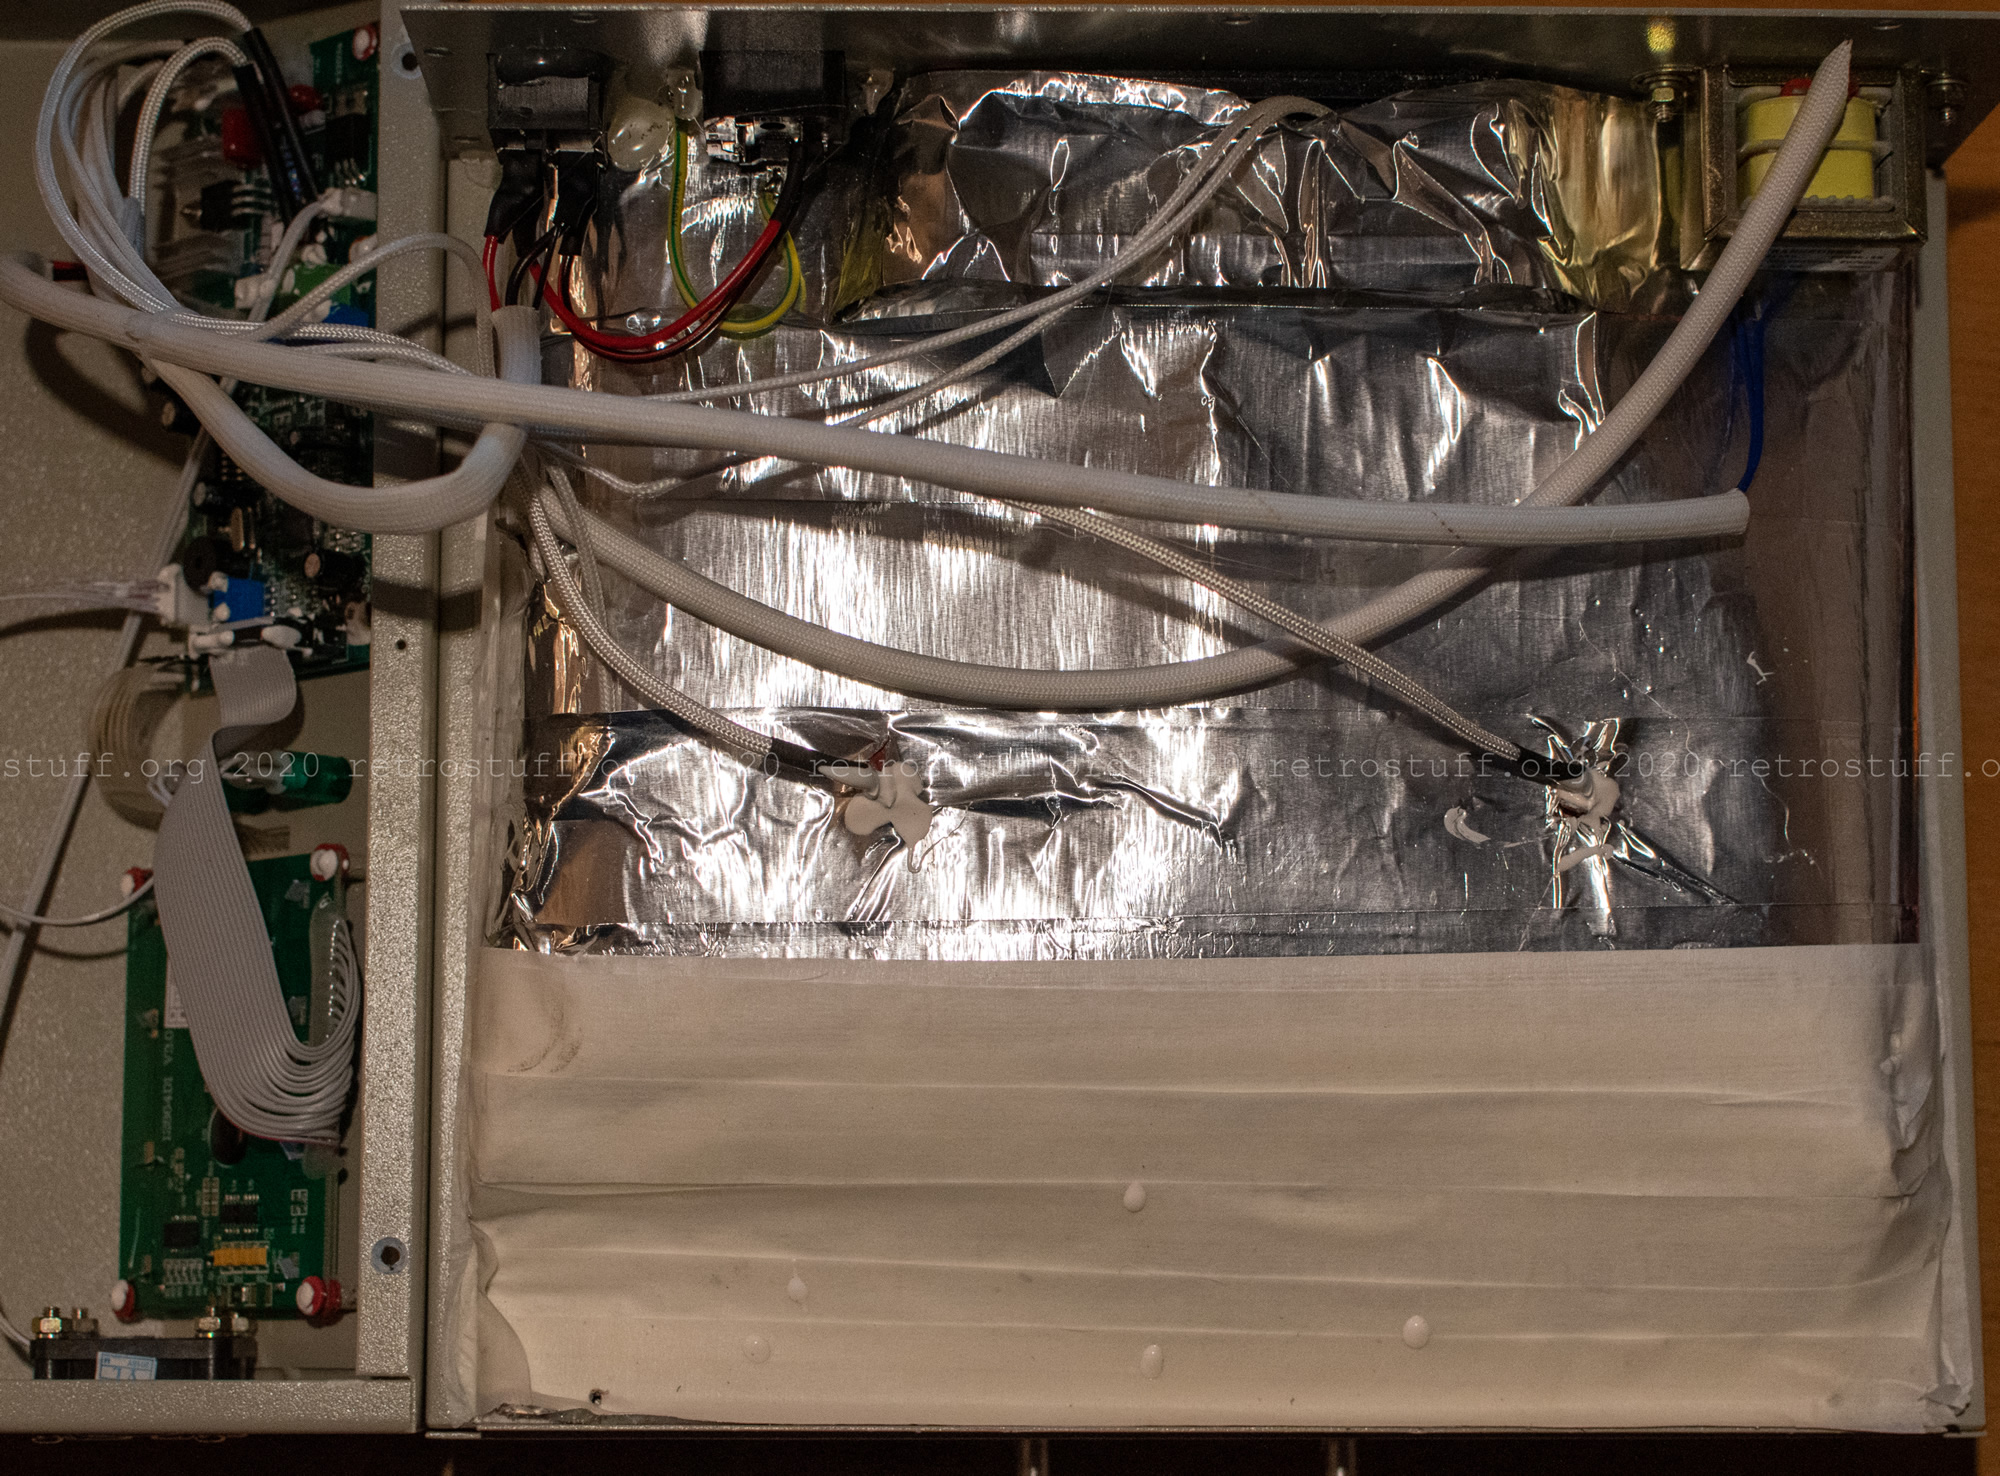
Caution: The oven has a lot of glass wool for thermal insulation inside. Most of it covered, but there are always little pieces (f)lying around. Make sure to protect yourself and clean up every time you open up the oven!
By default, the ground wire is screwed to the painted chassis and has no contact. I scraped off some of the paint and also added a second ground wire to connect the top of the chassis (see system fan replacement).
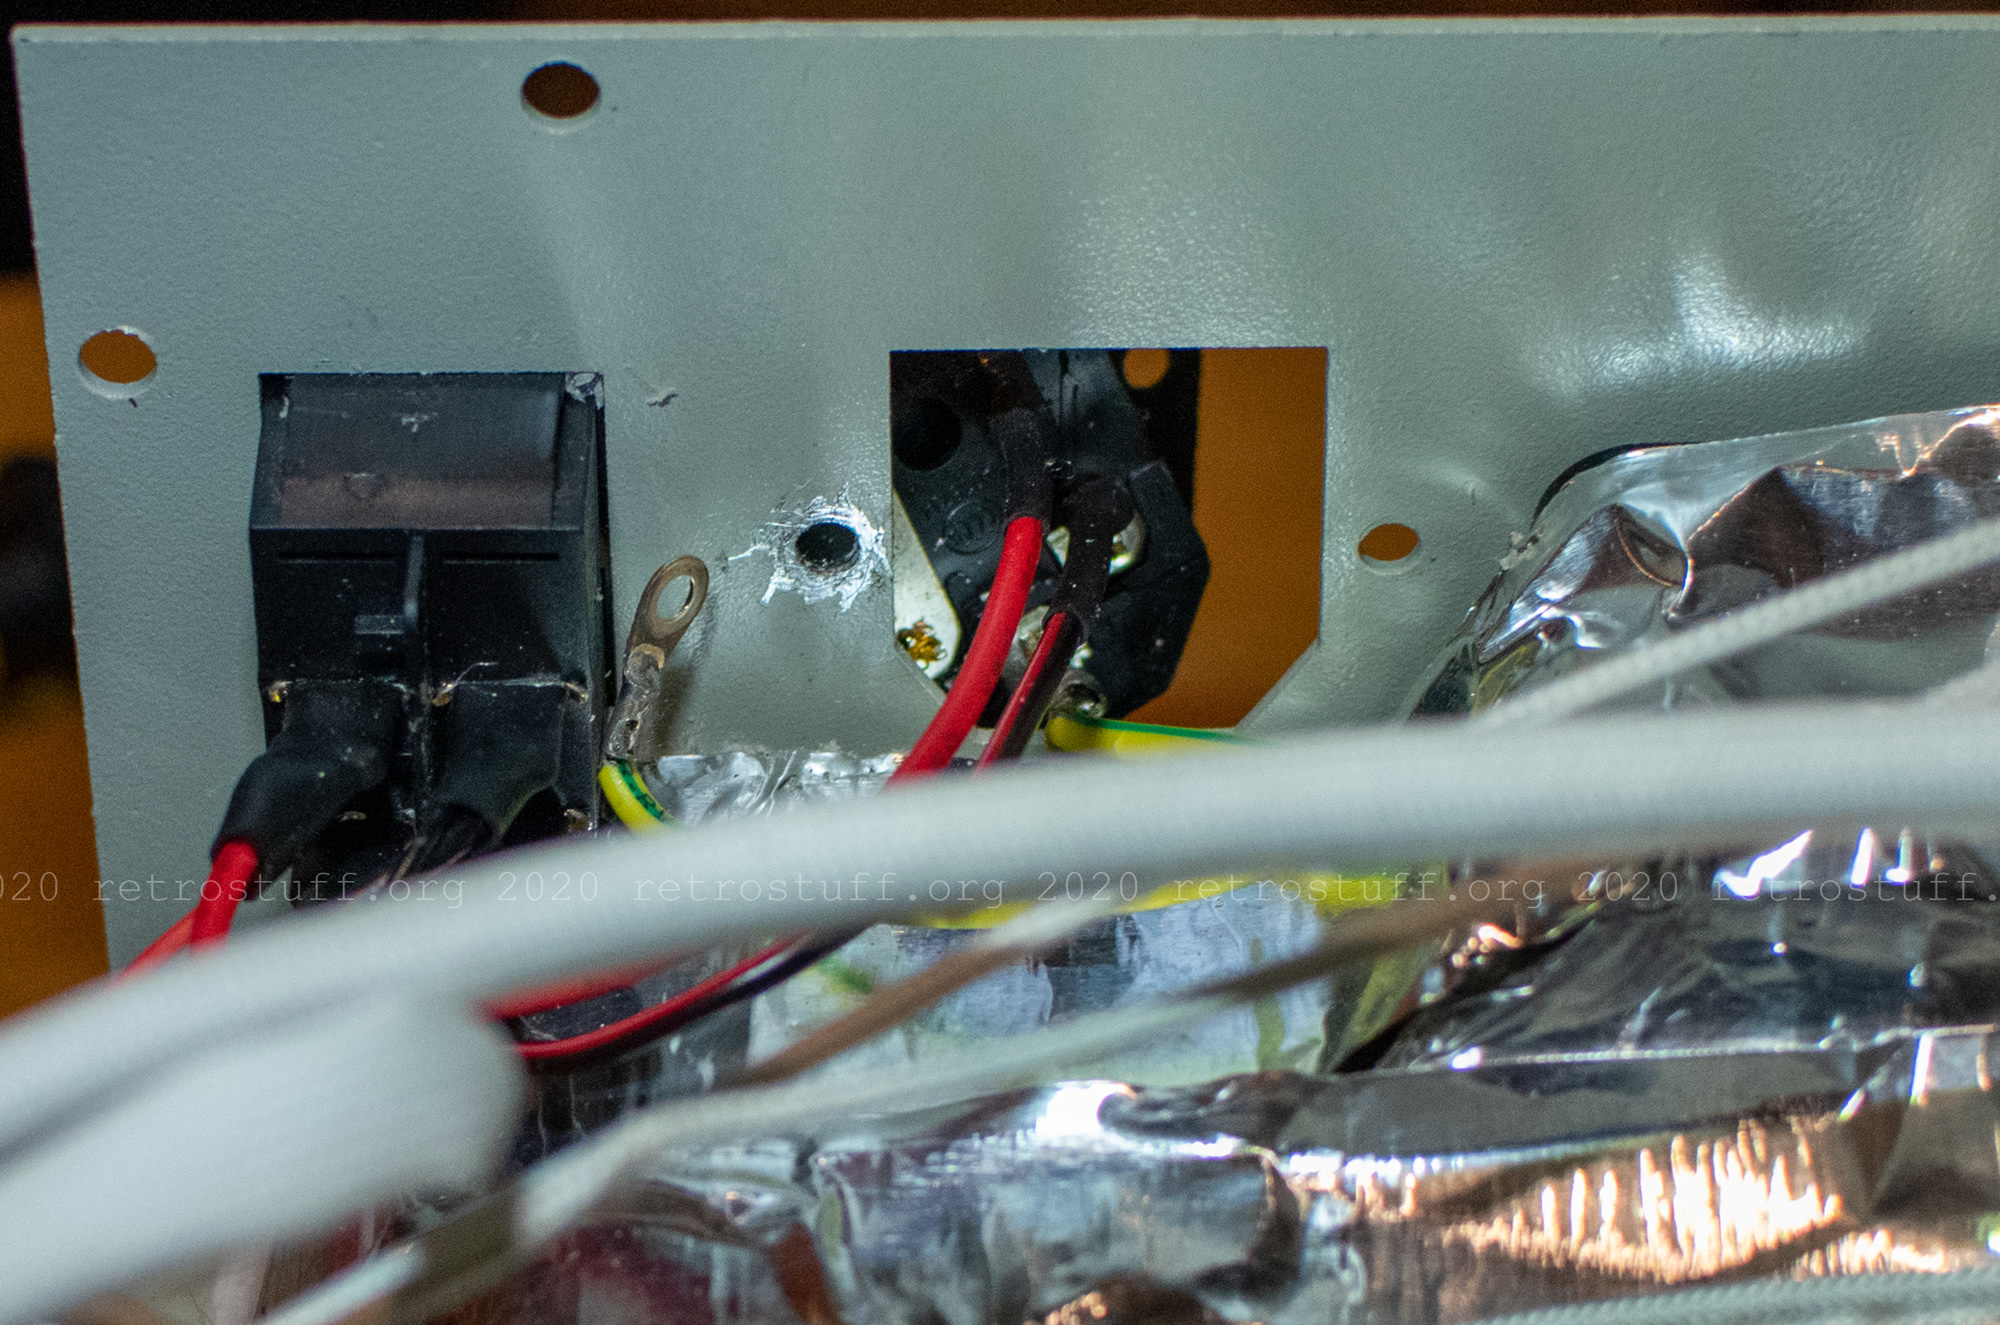
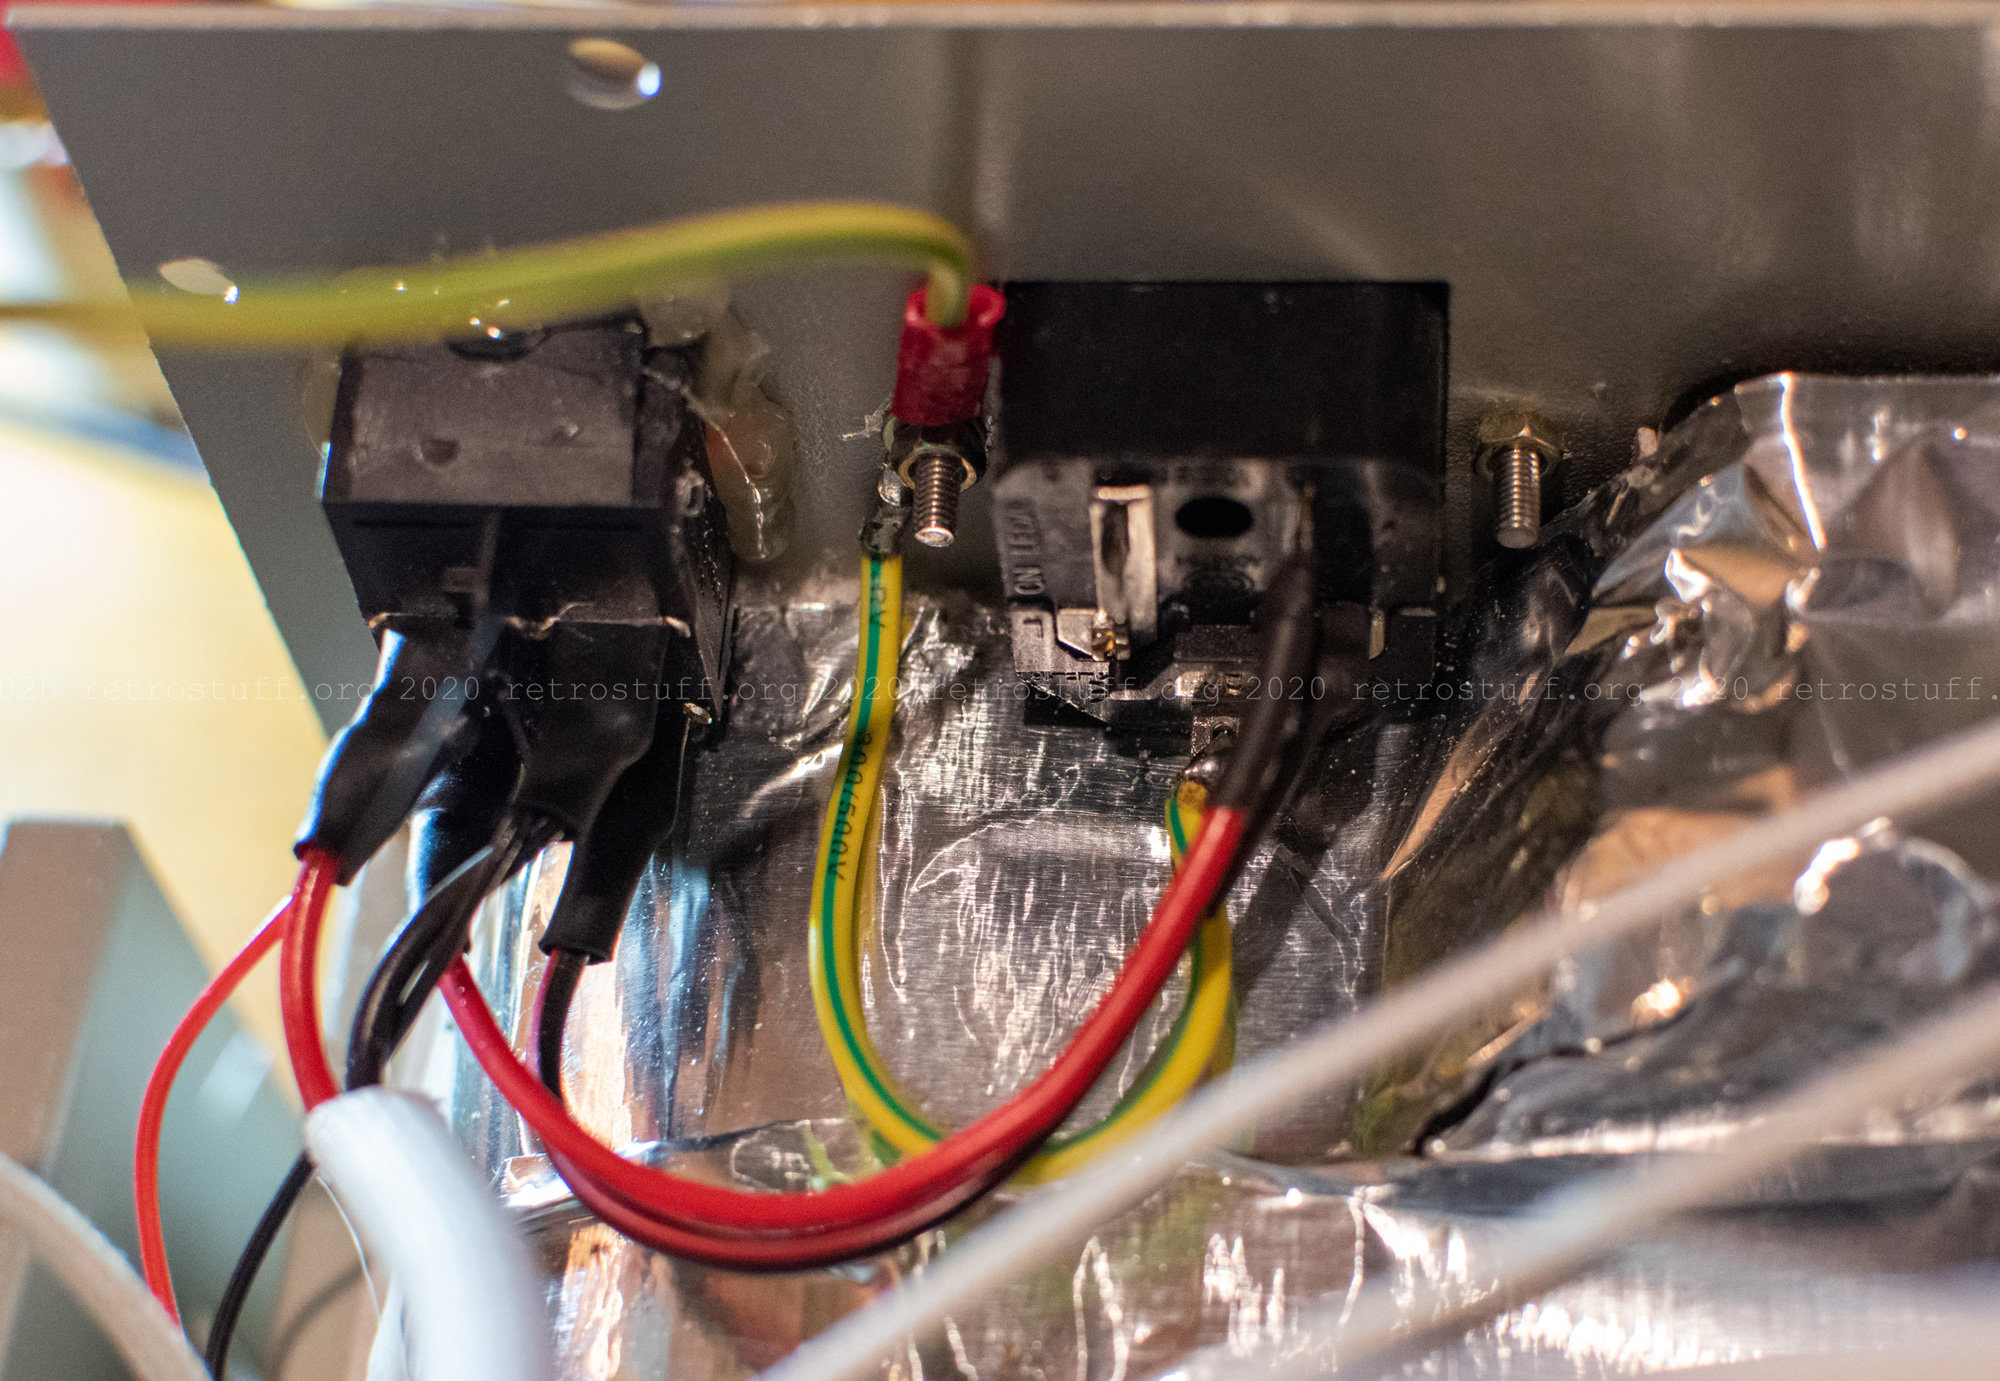
The next flaw is the white insulation tape that will produce an awful smell when heated. I removed all of the tape from the top and then lifted the glass wool mat. Underneath is a board with some more tape. I replaced all of it with Kapton tape. Then, I added some more Kapton tape to the top and cable ties to reorganize the cables.

With these most critical flaws taken care of, the oven was ready to use. I’ve baked the first couple of PCBs, including the DFOs for my CDI470 PAL/NTSC modification. Meanwhile, I was busy figuring out what to modify next and ordering the needed parts. That took me until February/March.
Custom firmware
Flashing the custom firmware to the LPC21xx controller is not too hard: Just connect an FT232RL USB to serial adapter to the ISP port of the controller board, enter bootloader mode and then flash the firmware with Flash Magic. Important: Set the adapter to 3,3 V.
Some adapters have the required ISP and RESET pins to activate the bootloader mode automatically, some don’t. My adapter did not have these pins, so I connected it as follows:
| ISP header (left to right) | FT232RL adapter |
|---|---|
| n_ISP | – |
| n_RESET | – |
| TXD0 | RXD |
| RXD0 | TXD |
| GND | GND |
Caution: The heating elements and fan will run at 100 % when the controller is in bootloader mode!
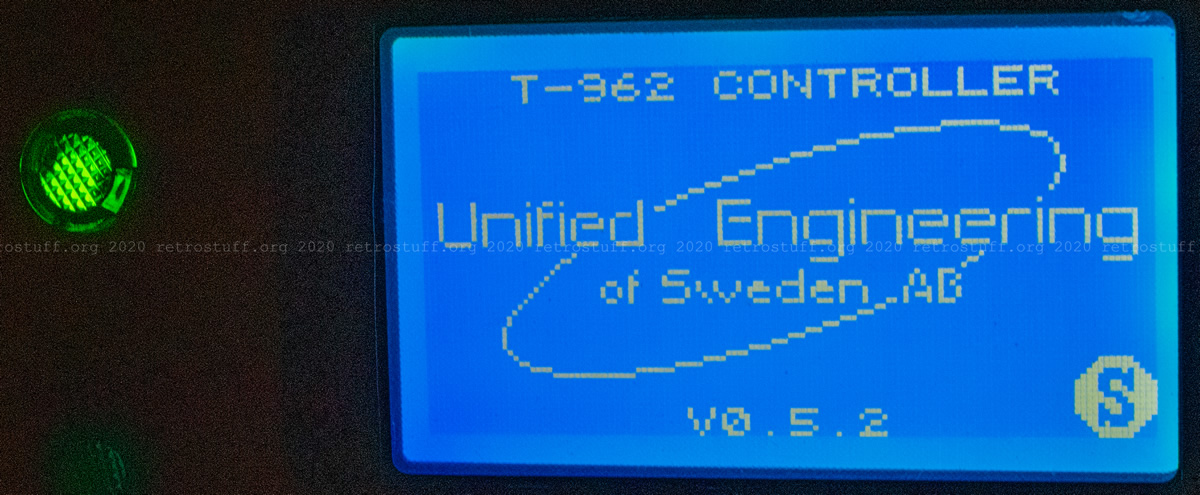
To enter the bootloader mode, I connected n_ISP to GND and turned the unit on. Next, I connected n_RESET to GND and released it again. Finally, I released n_ISP. In Flash Magic, I selected the device LPC2134 (LPC2000) and was able to flash the custom firmware right away without any problems. On the next start of the unit, I was greeted by the Unified Engineering logo.


Cold junction compensation
For more accuracy, it is necessary to measure the temperature at the connector block of the thermocouples. The temperature sensor DS18B20 comes in various flavours; this makes finding the correct part and the installation not as easy as it seems. Reading this topic first would have saved me a lot of time.
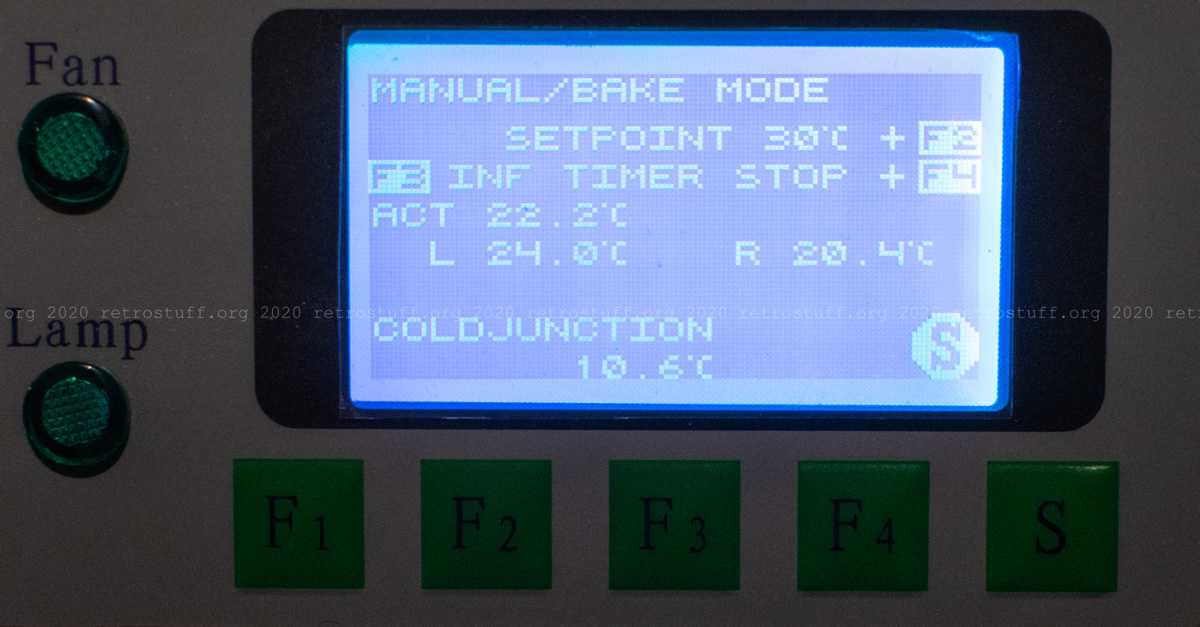
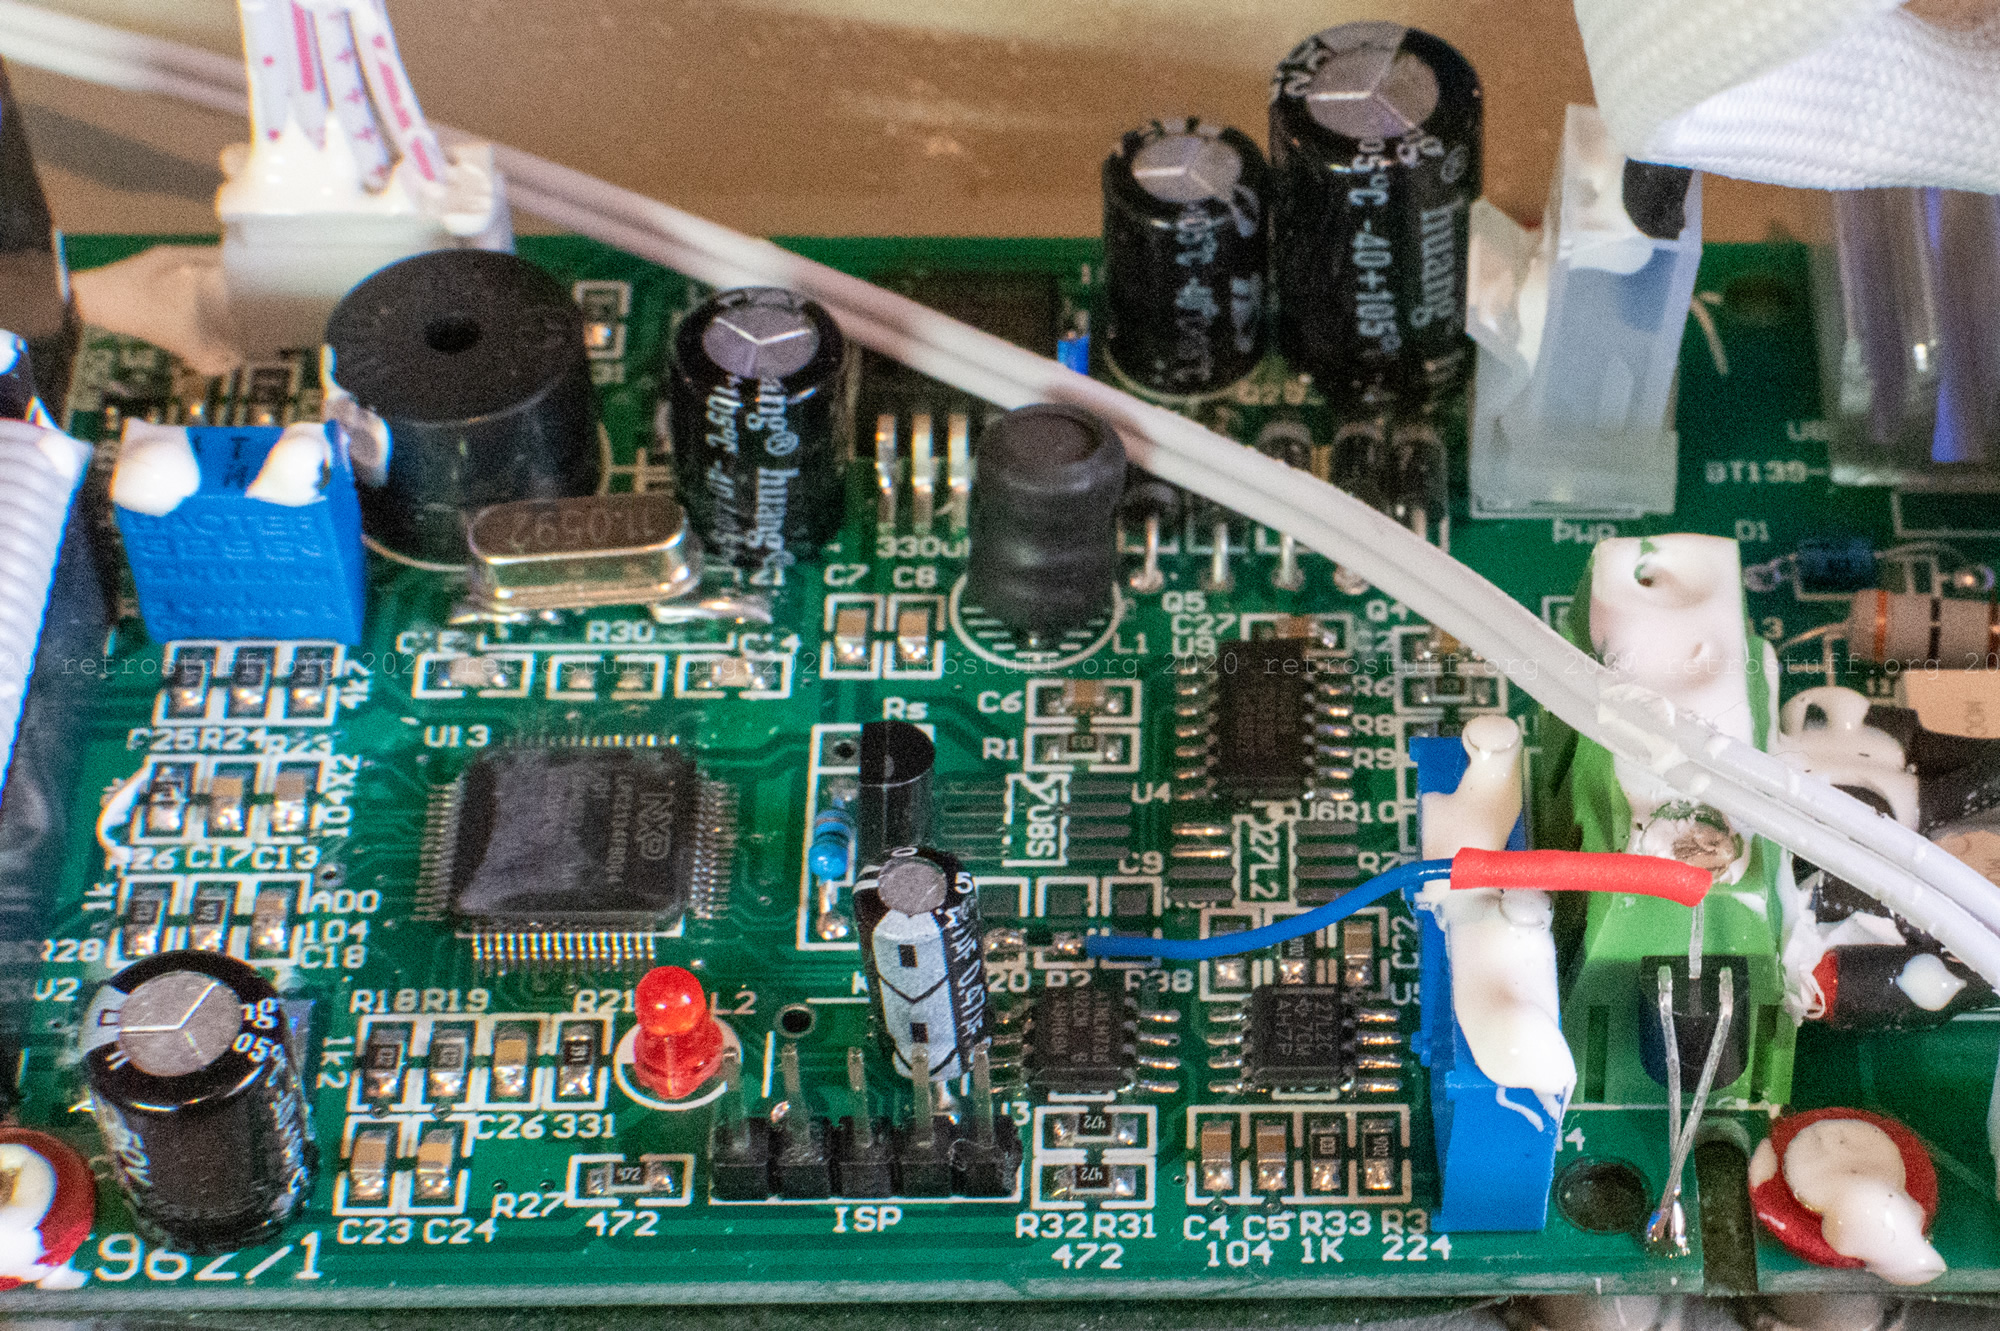
First, I added a regular 4,7 kΩ resistor to the indicated pads and connected the centre pin of a DS18B20 to it. Its outer pins were connected to GND, to enable the “parasite power” 1-wire operation. This led to a constant reading of 10,6 °C. Next, I tried this workaround, without success.
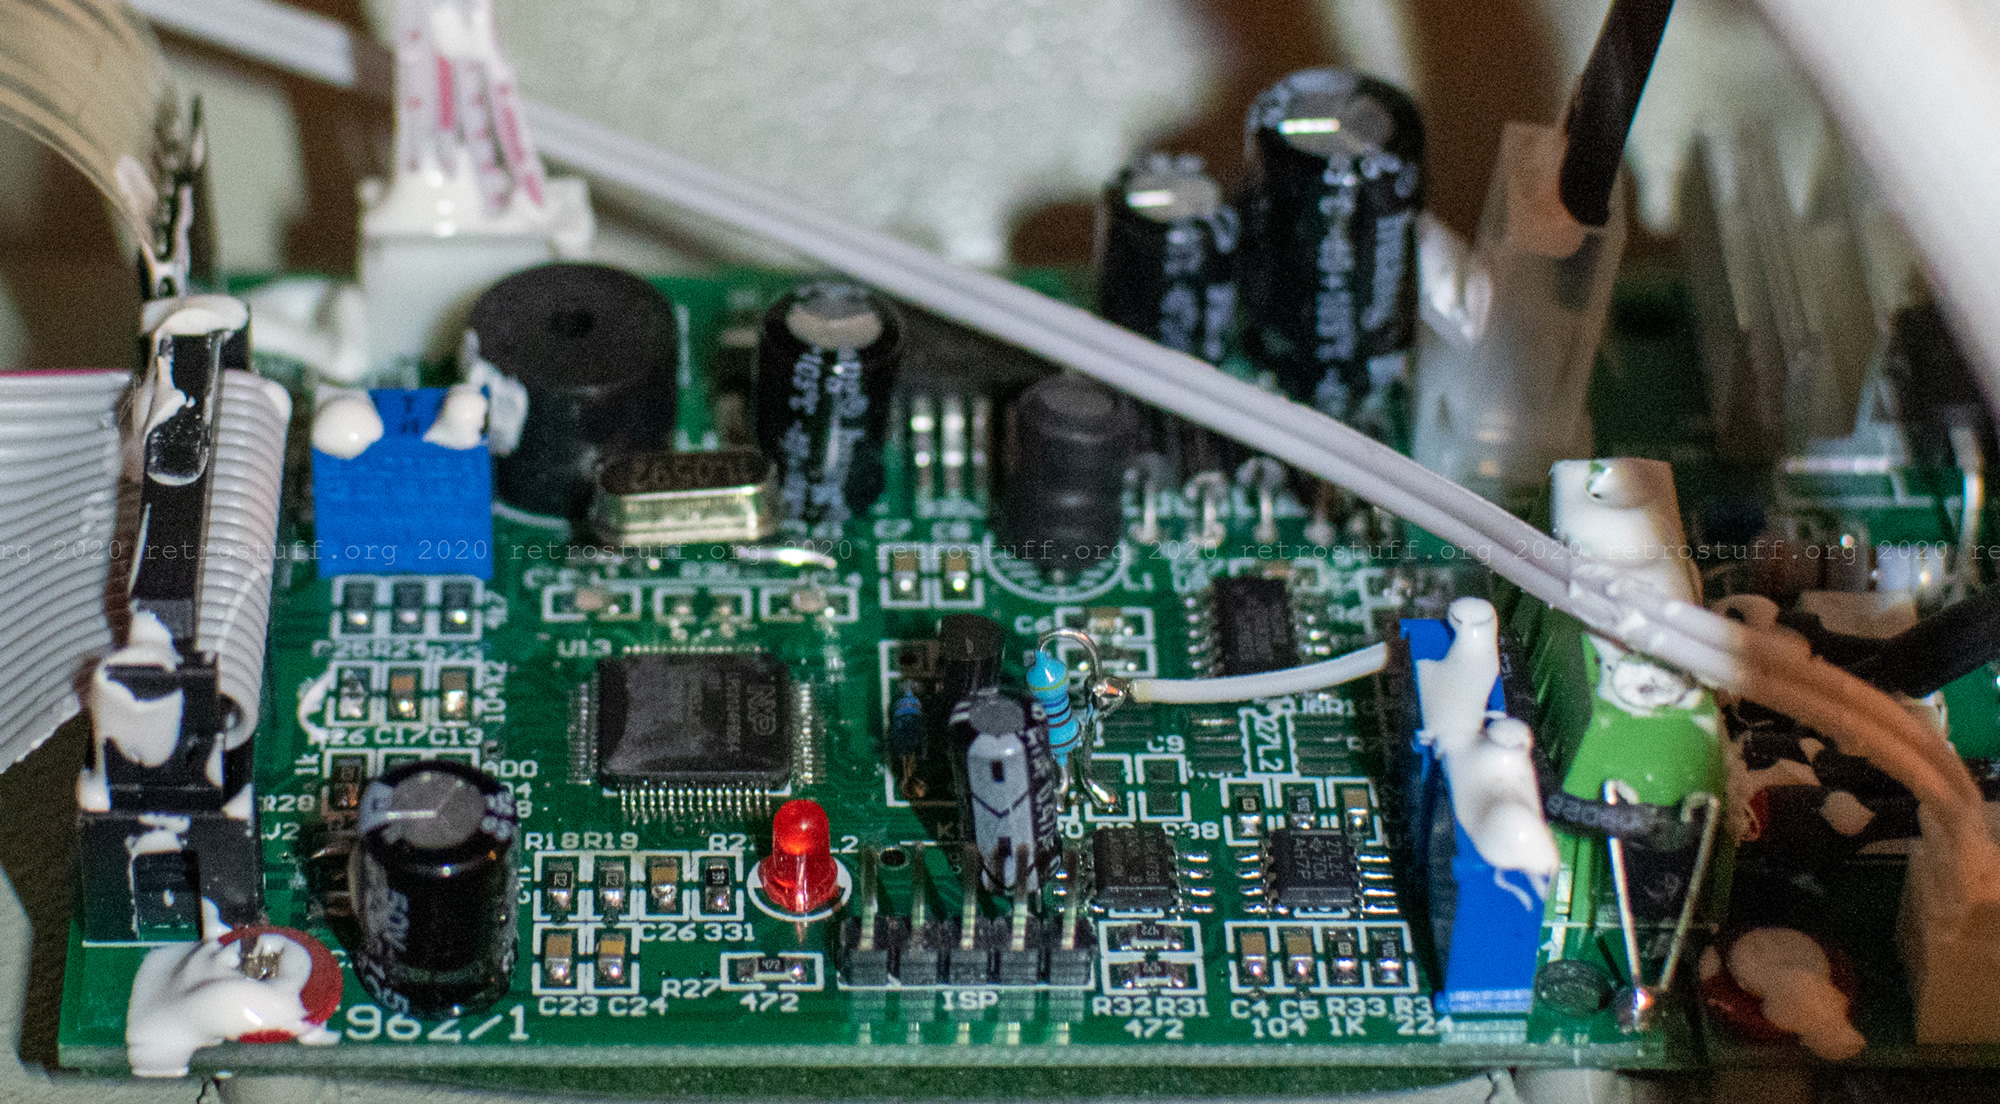
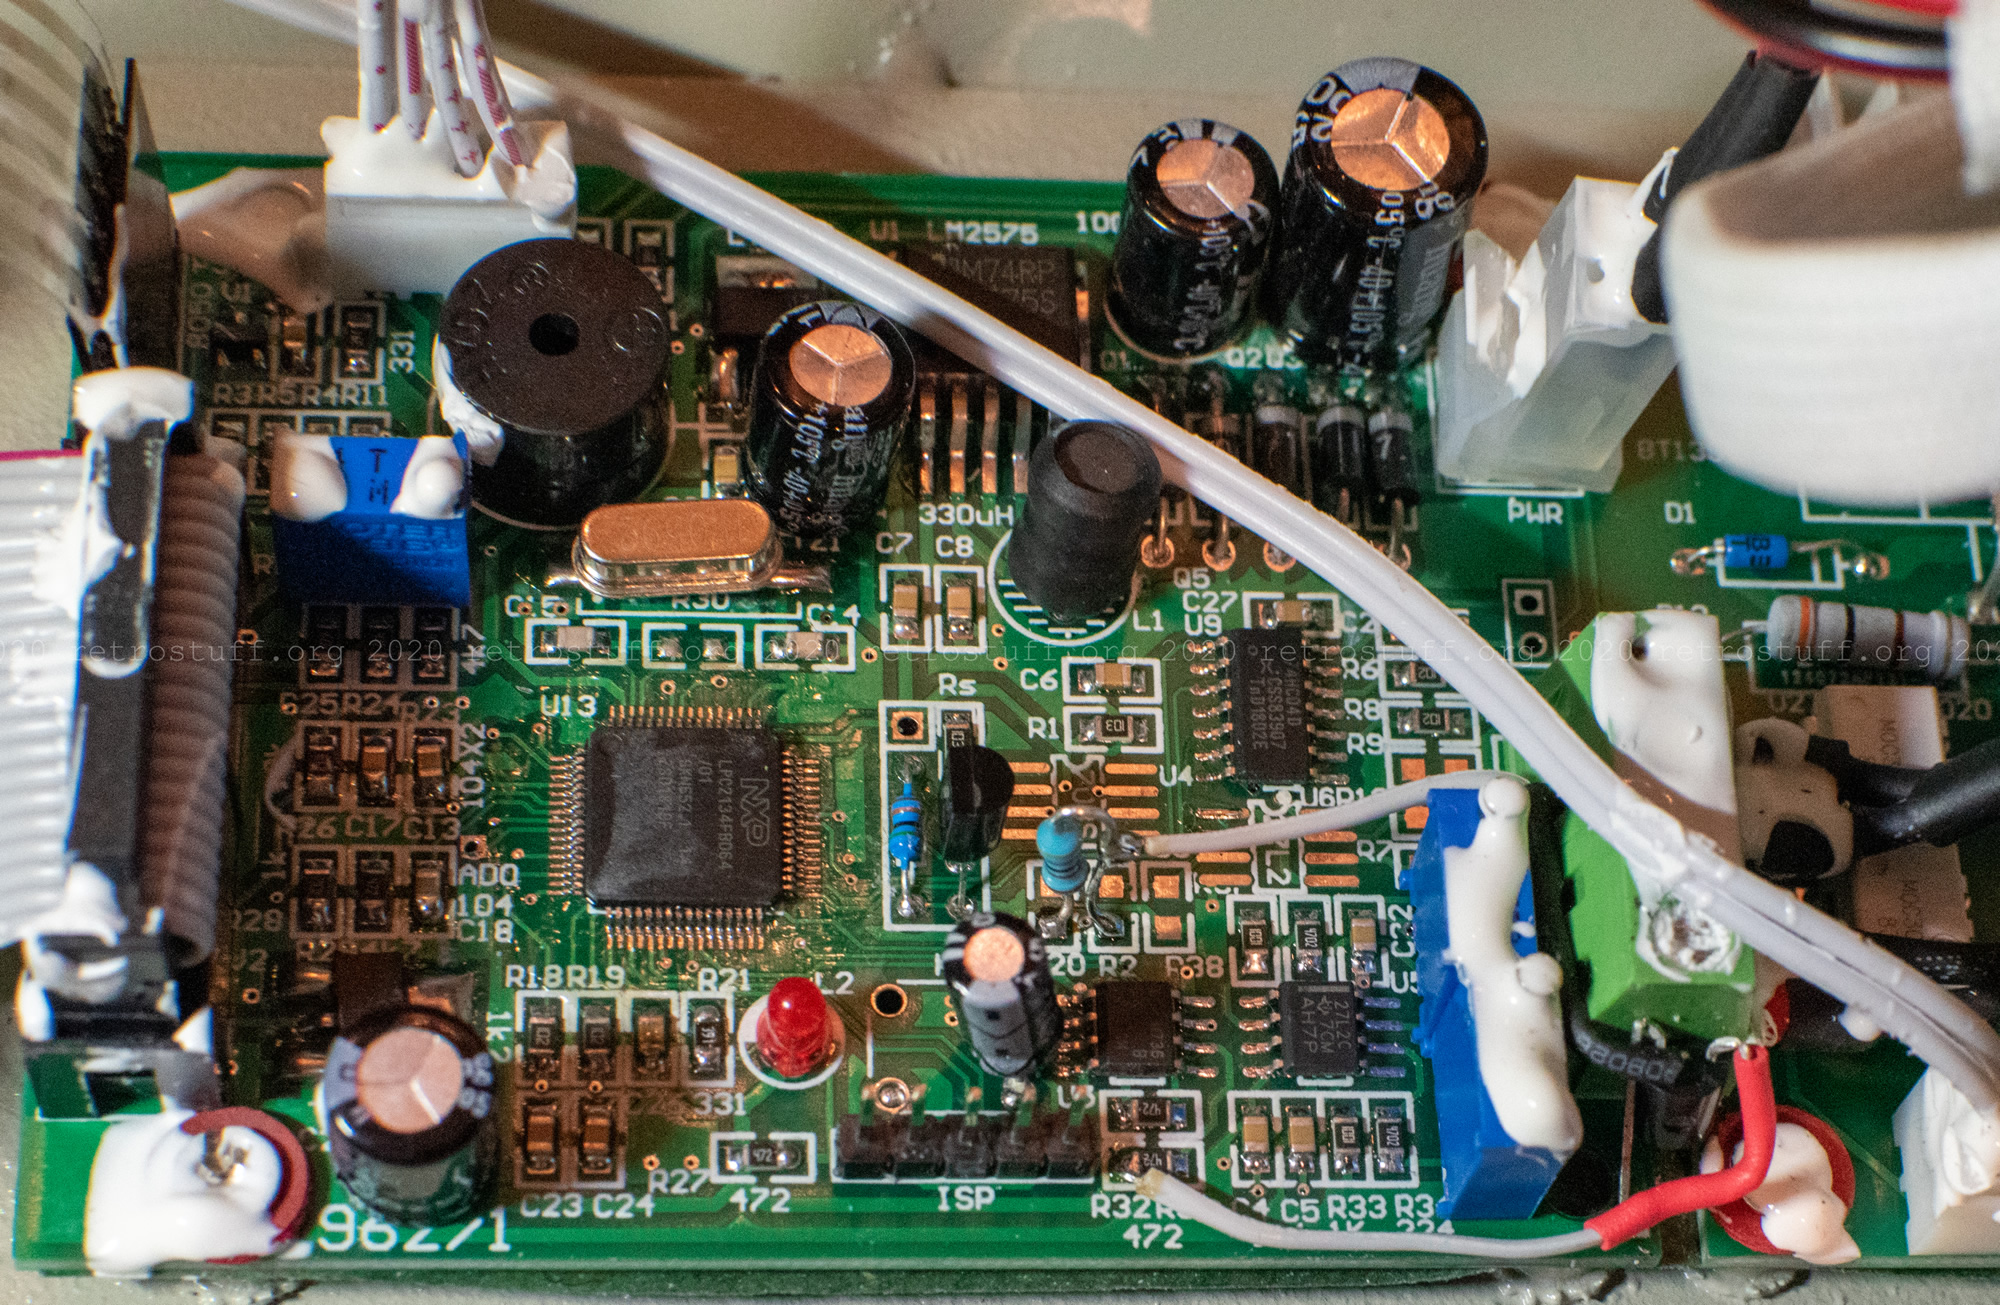
Finally, I followed the recommendation at the end of the workaround page and bought a DS18B20+PAR from Mouser. This component worked right away and gave accurate results. I also replaced the 4,7 kΩ resistor with a 0603 SMD component (there is enough space for a 0805 package).
System fan replacement
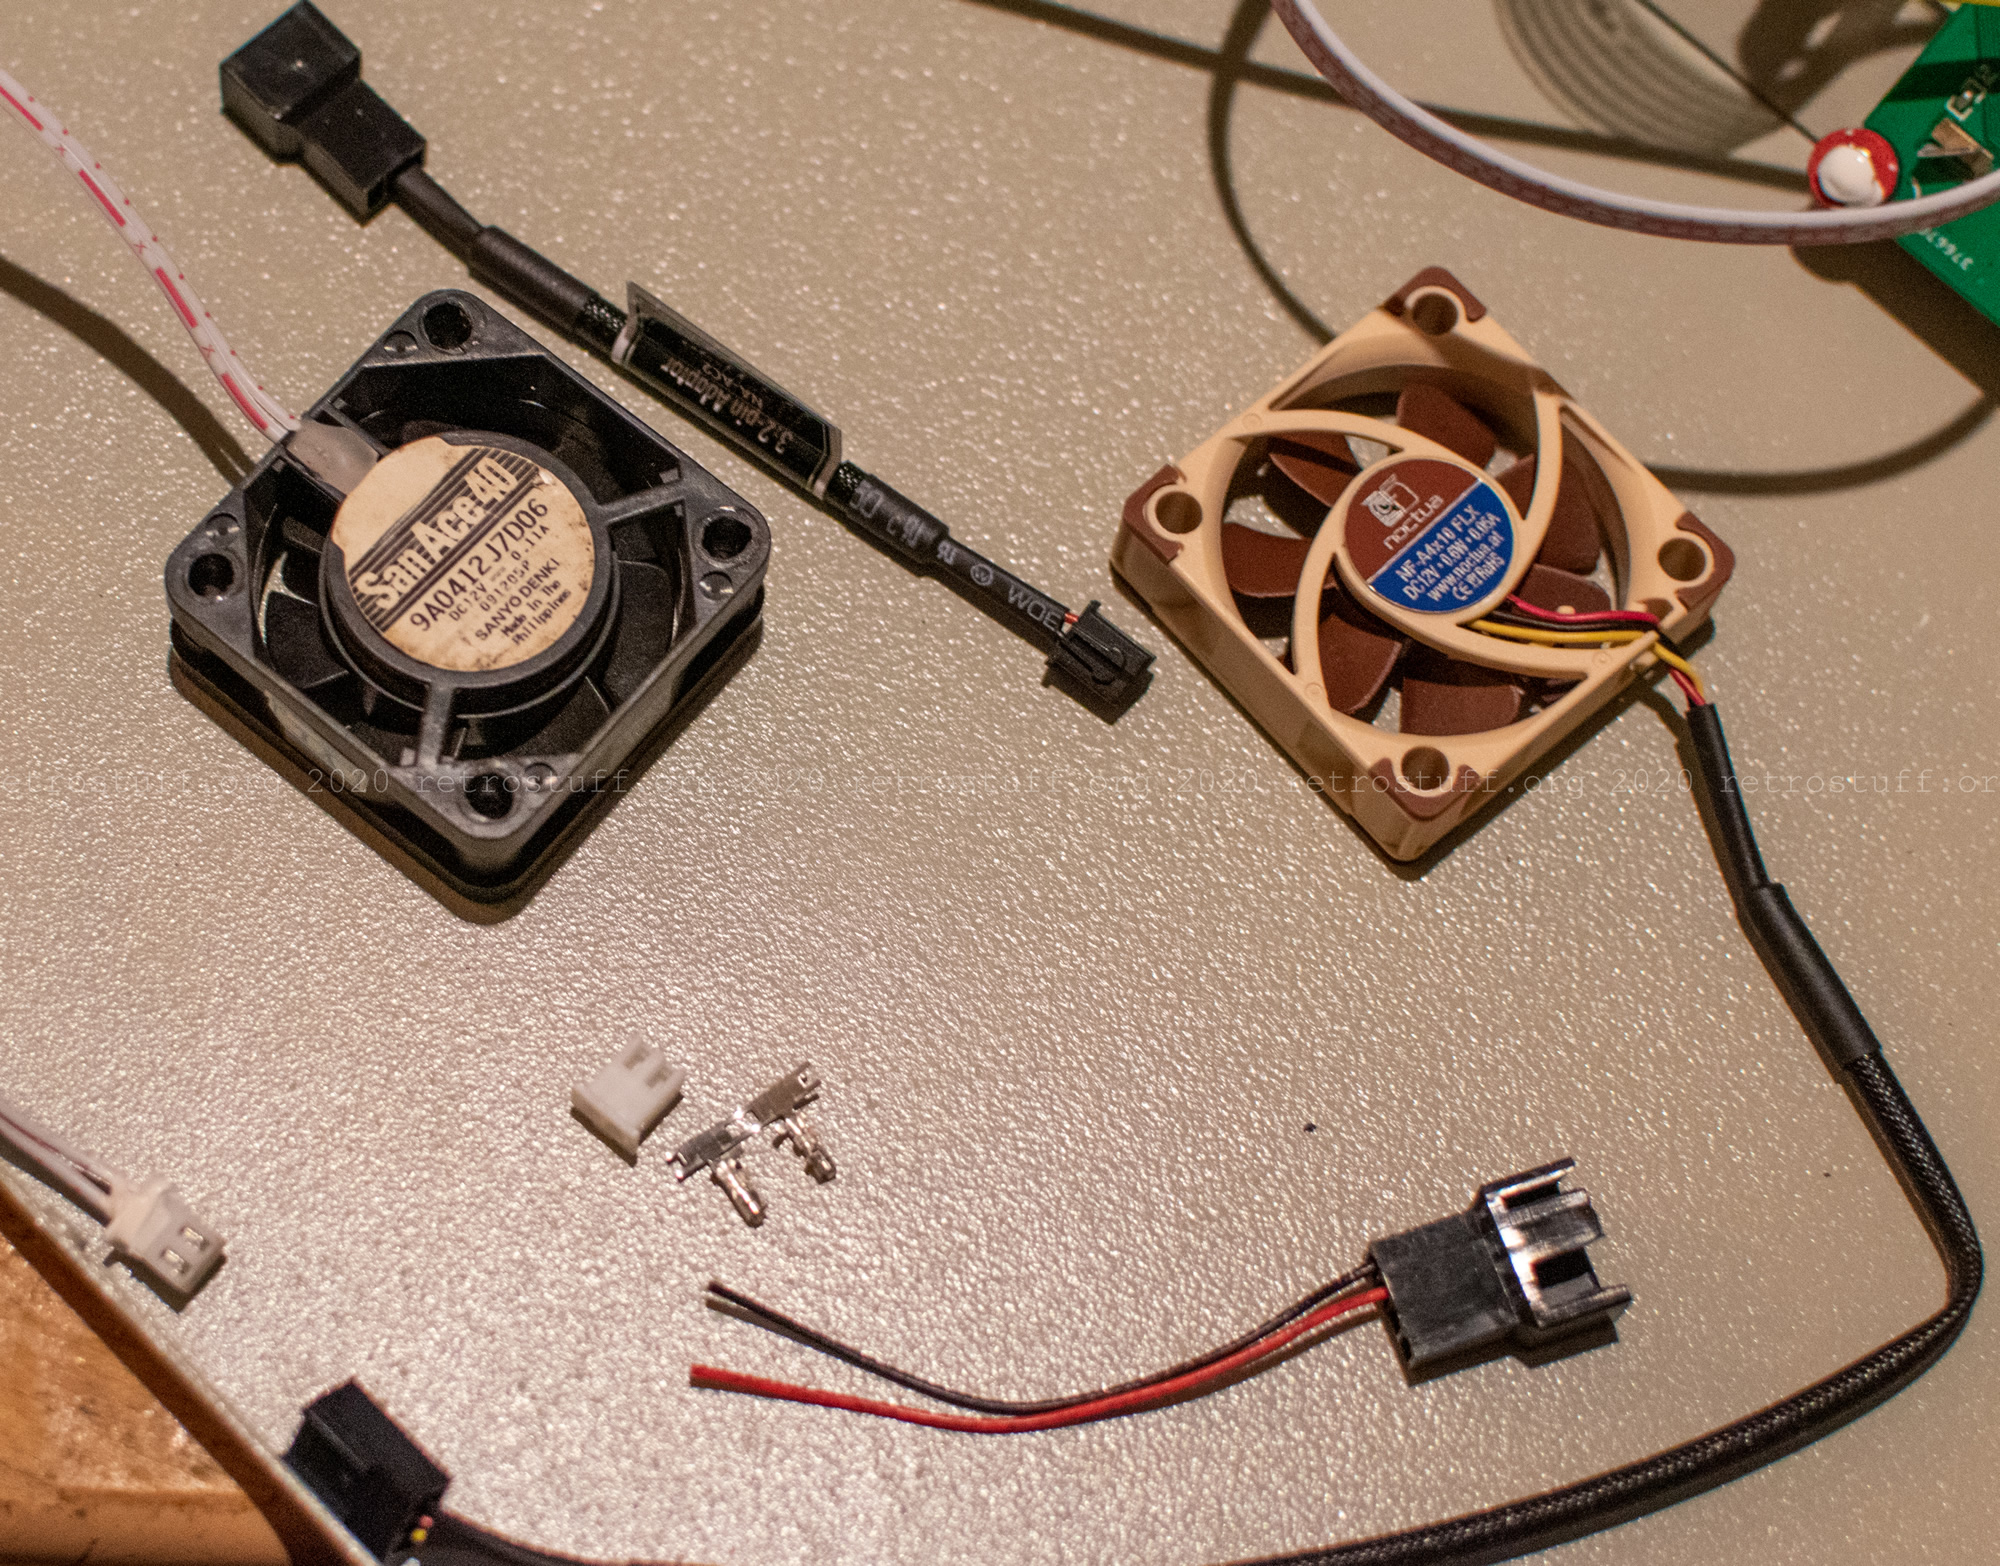
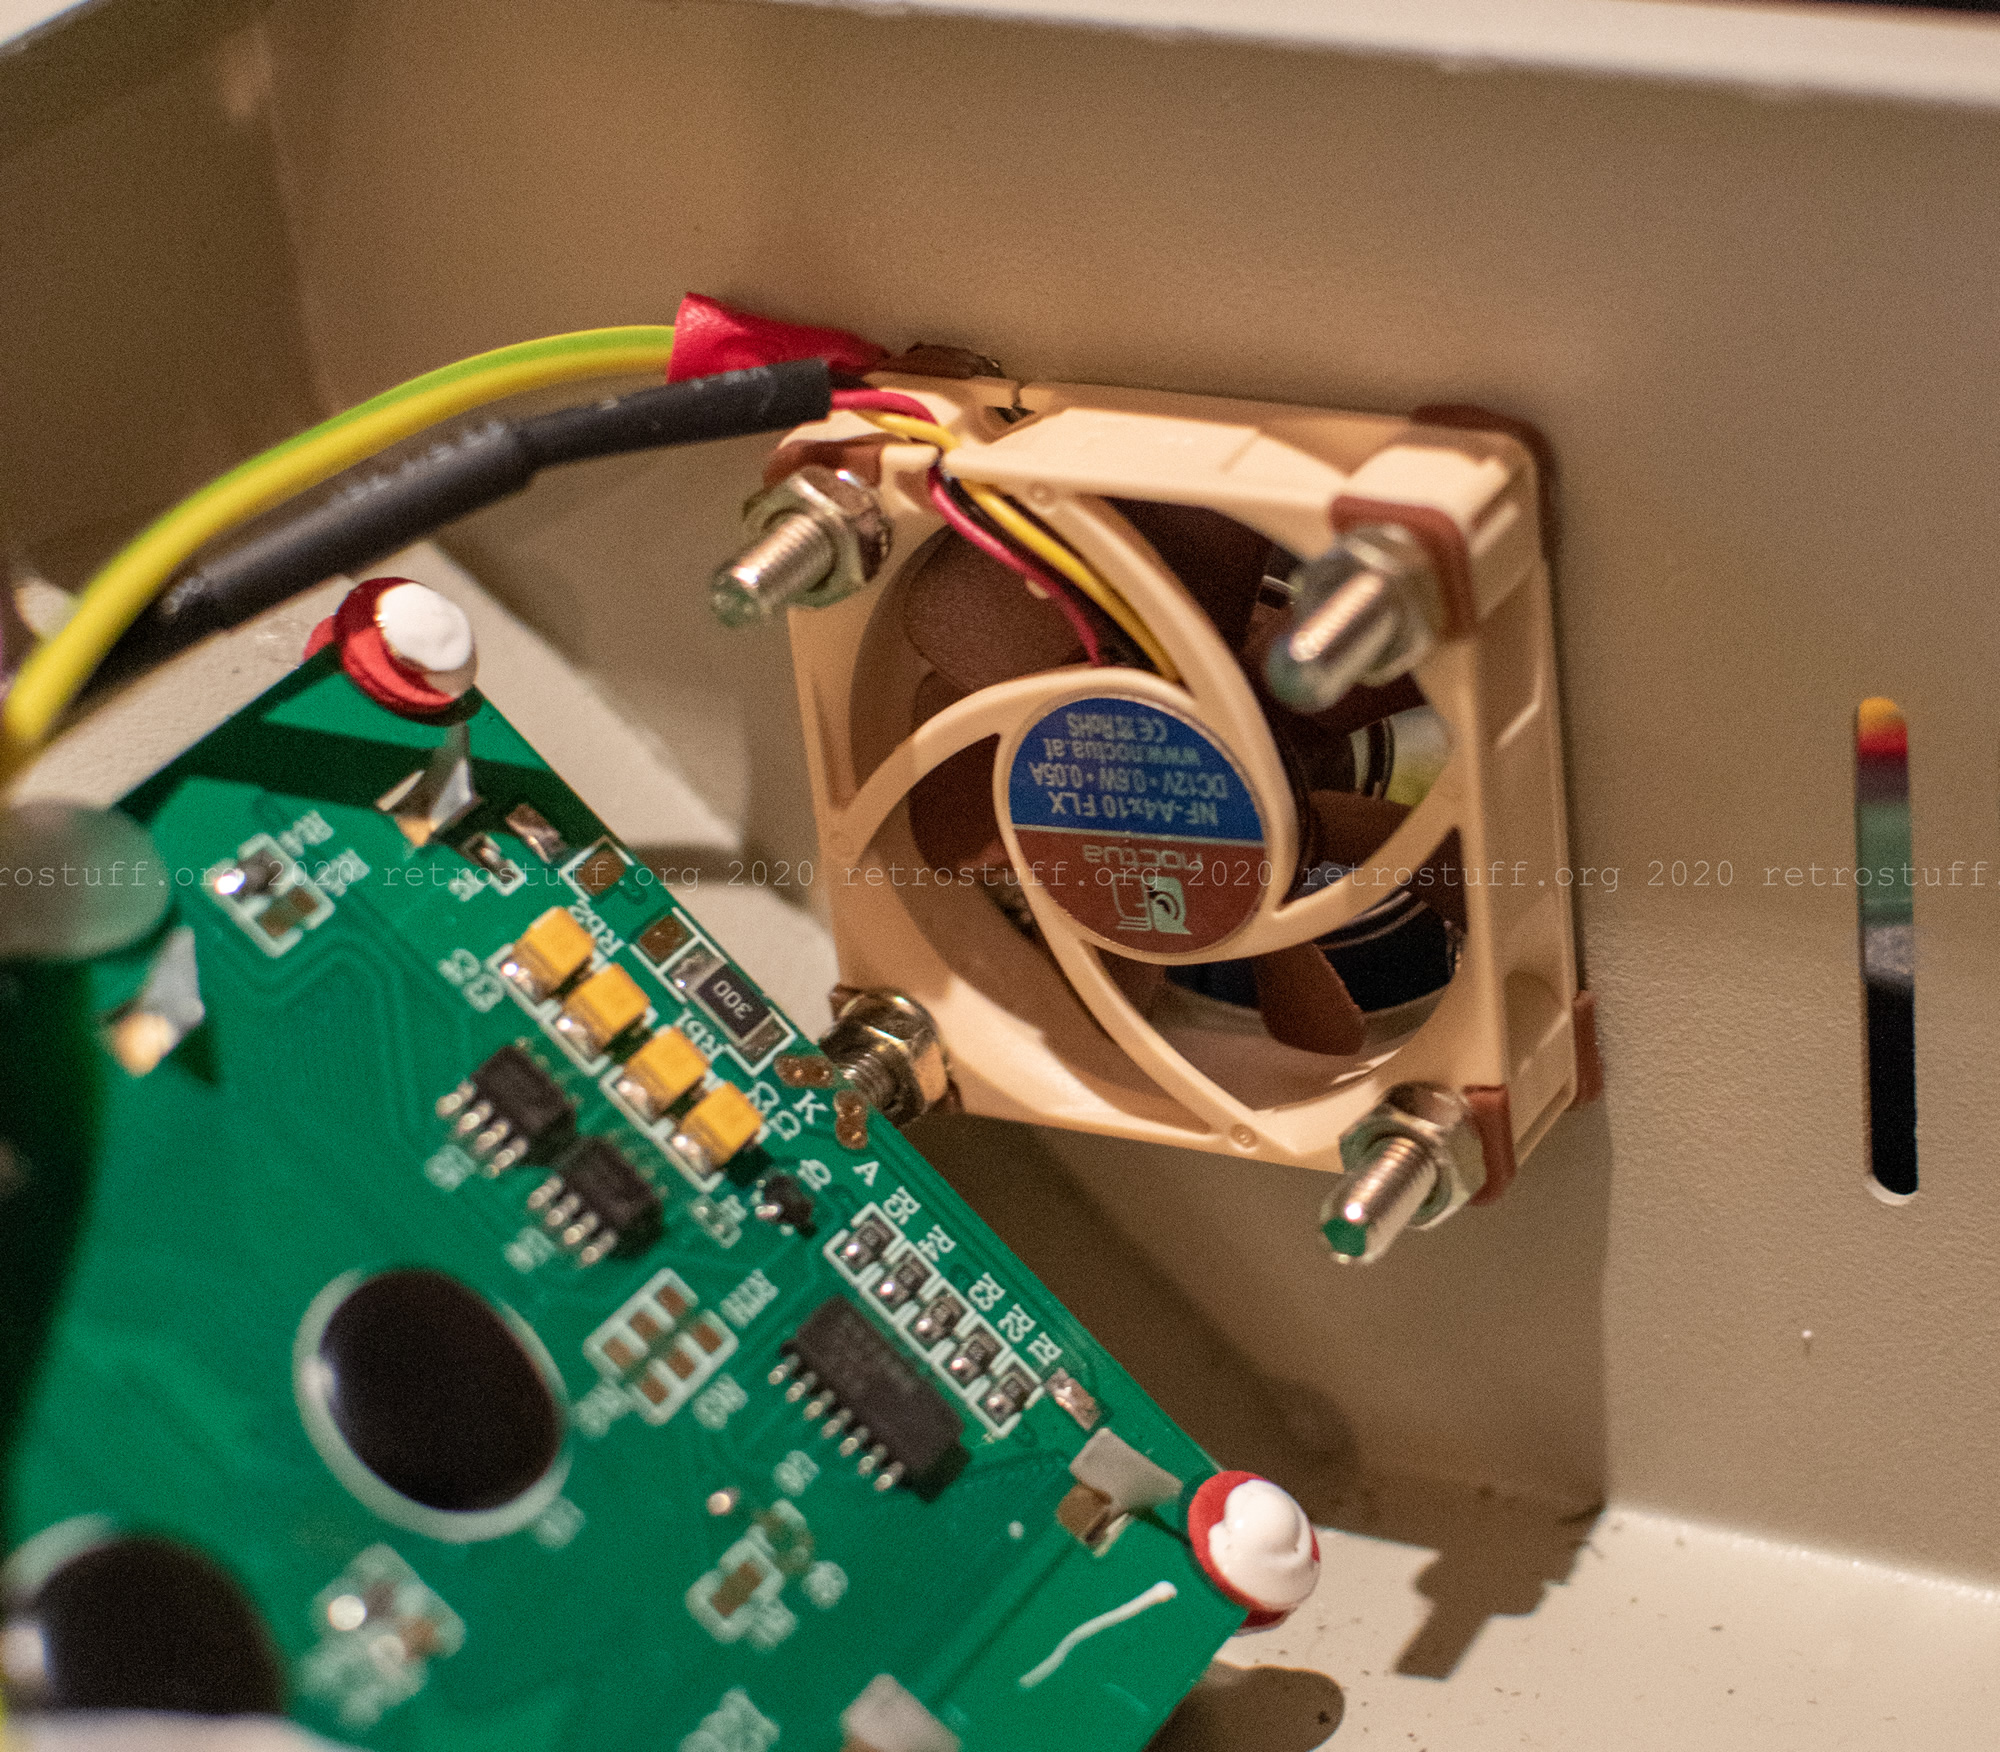
After a few baking sessions, I couldn’t stand the always running noisy system fan anymore. There are some tutorials for the T-962A to have the fan speed controlled by the firmware, but that is not recommended for the T-962. I looked for a replacement for the 40x40x20 mm Sanyo fan instead and found the Noctua NF-A4x20 FLX. Accidentally, I bought the NF-A4x10 FLX which has a lower airflow than the 20 mm version. I installed it anyways and will monitor if it leads to any problems. The installation procedure is the same for both Noctua fans.
The new fan comes with various adapter cables. Unfortunately, the NA-AC2 3:2 pin adapter has the right connector but with the wrong polarity (it won’t hurt the fan because it is protected). I used the NA-JC2 OmniJoin cable instead and crimped a JST-XH 2 pin connector, as shown below.

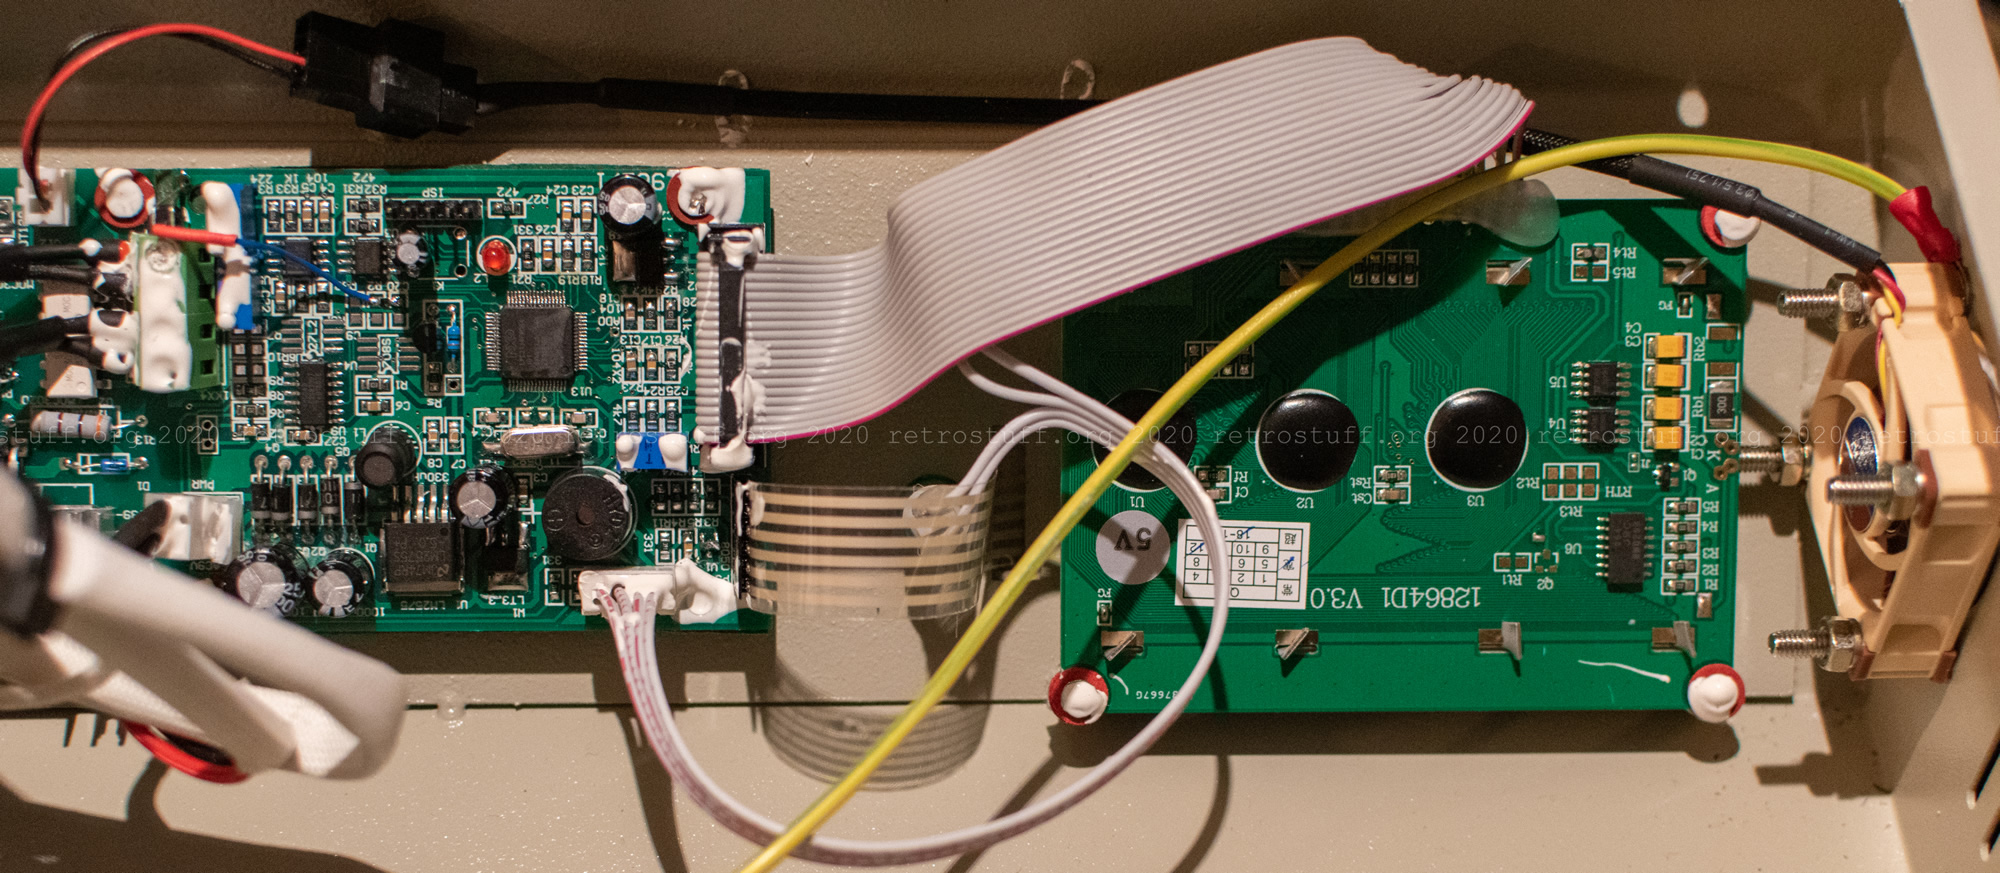
I routed the cable as shown below and plugged it into the controller board. Finally, the oven bakes in silence.
Also shown: The ground wire attached between fan grill and chassis.
Links for Puhui T-962 IR reflow oven modifications
Here are some links to websites with more information and/or additional modifications:
- Manufacturer product pages: here and here
- Unified Engineering custom firmware and Wiki
- T-962 Reflow Profile Calculator
- T-962A Infrared reflow oven
- T962 IR reflow oven rework
- Improving The T-962 Reflow Oven
- T-962 kein schlechter SMD-Reflow-Ofen – zumindest nach Hack
- T-962 reflow oven 20 – Tape and fan replacement
- Modification of T-962 Reflow Oven
- [MOD] Puhui T-962A Infrared reflow oven
- T-962/T-962A reflow oven – Controller Upgrade
Hi, I have T-962C solder machine(large machine). During winter, it is giving me the hard time to solder the SMD components. I was looking for the modifications that I can do with machine. So, I came across your page. Can you please tell me the specifications for Kapton tape and thermocouples I can go with T-962C? I will be really thankful for you.
Hi, I’m not familiar with the T-962C model and don’t know if the same modifications can be applied. Maybe you can find information on the Github page of the custom firmware.
Kapton is the (brand) name of a heat-resistant insulation film. Larger rolls can be found in shops that carry accessories for 3D printers.
Could this oven be modified to reach as fast as possible 160C, do that for a minute and stop then sound?
Probably. Check the Wiki of the custom firmware on how to create a temperature profile.
Yes, the custom firmware has a baking feature that allows this specifically.
Hello ,
Great Info here on this site. I’m looking to add an N2 forming gas circuit. Any thoughts on this kind of modification?
Thanks! This is an interesting topic and I have read some discussions here and there. But I will not go down this rabbit hole, also because the cost-benefit ratio is too low for my projects .