
Before messing with the Timekeeper chip or exchanging the battery, it is very important to back up game saves you don’t want to lose from the NVRAM. With a null-modem cable hooked up to a PC, there are two options to communicate with the CD-i player:
- CD-i’nterlink disc and a terminal program
- CD-i Stub (optional) and the CD-i Link program
To build a cable, we need a standard serial extension cable and a male 8-pin Mini-DIN connector. Remove the male D-Sub connector and keep it for later (we will need it for the Atari Jaguar mouse adapter).
In the CD-i Link archive are instructions on how to build a null-modem cable with three wires. Unfortunately, it didn’t work with my setup, and I had to rebuild it later with six wires according to the original specifications.


This is the CD-i’nterlink disc menu (it’s also called CD-interlink or CD-Interlink within the program). With it, you can list, view and delete files in the NVRAM. When connected to a PC, you can send/receive them via the X- and Z-Modem protocols or start the host mode (mouse cursor):

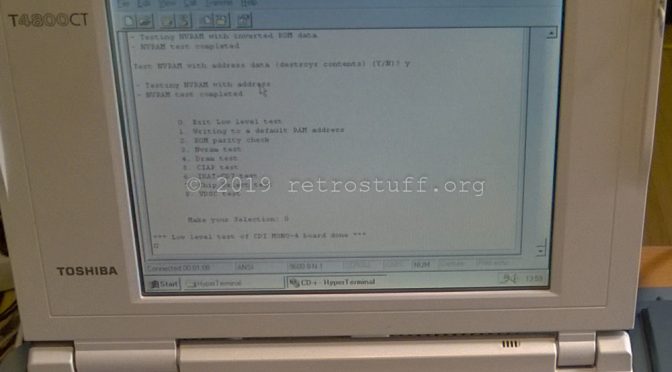
The host mode allows a PC terminal program to manipulate the NVRAM files. This is how it looks in Windows Hyper Terminal:

10 thoughts on “Philips CD-i Player Null-Modem Cable for Data Backup and Restore”