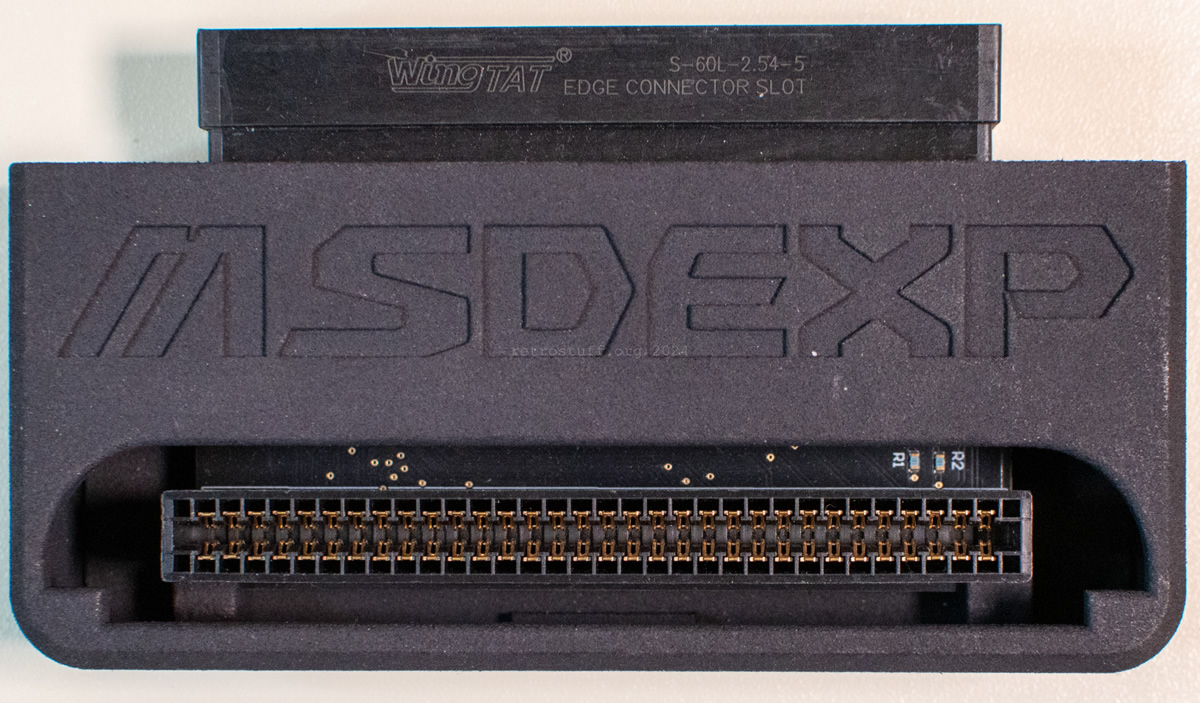
This is a follow-up on the Terraonion MegaSD Cartridge article from 2019. In the past two years, I managed to find an MSDEXP adapter and a clamshell case for my MegaSD cartridge.
MSDEXP
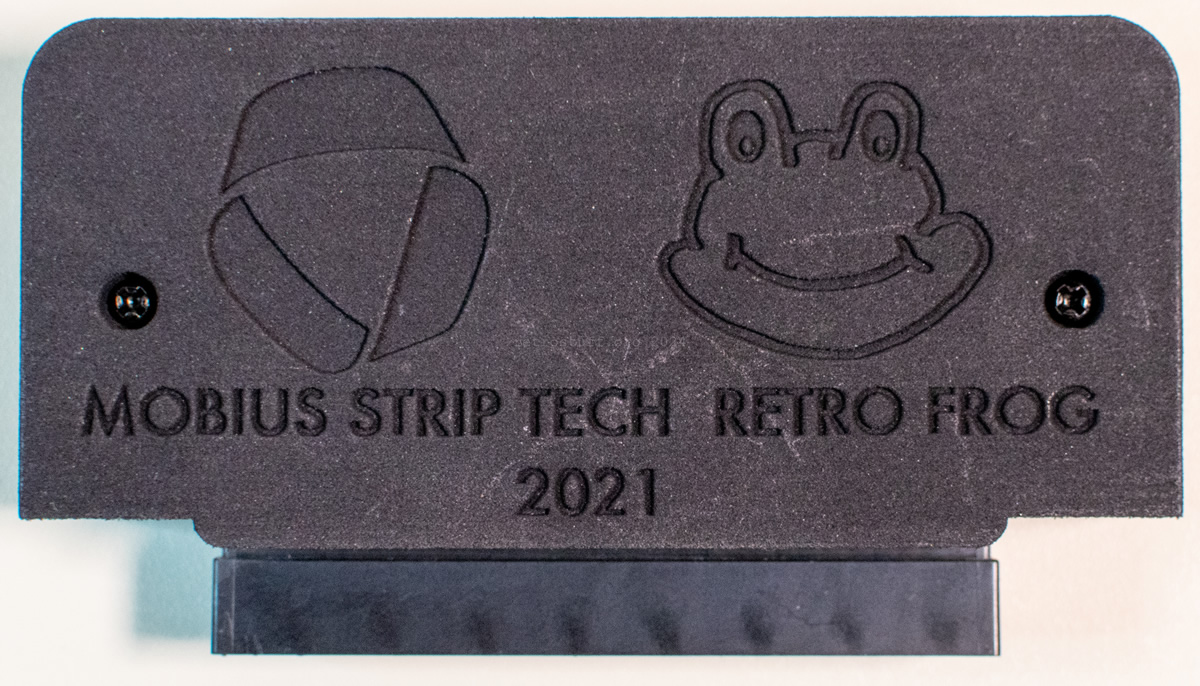
Thanks to Mobius Strip Tech, I was able to source an MSDEXP. I can now finally play Mega-CD 32X games with the MegaSD.
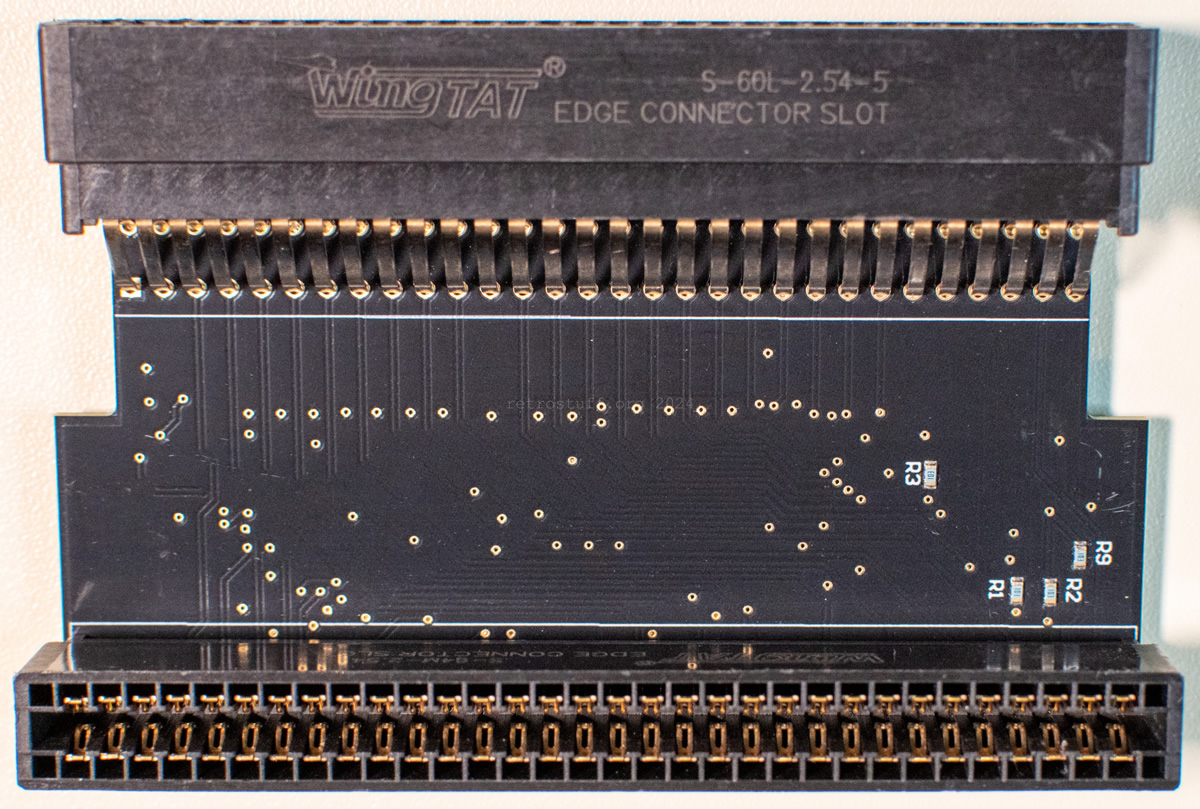
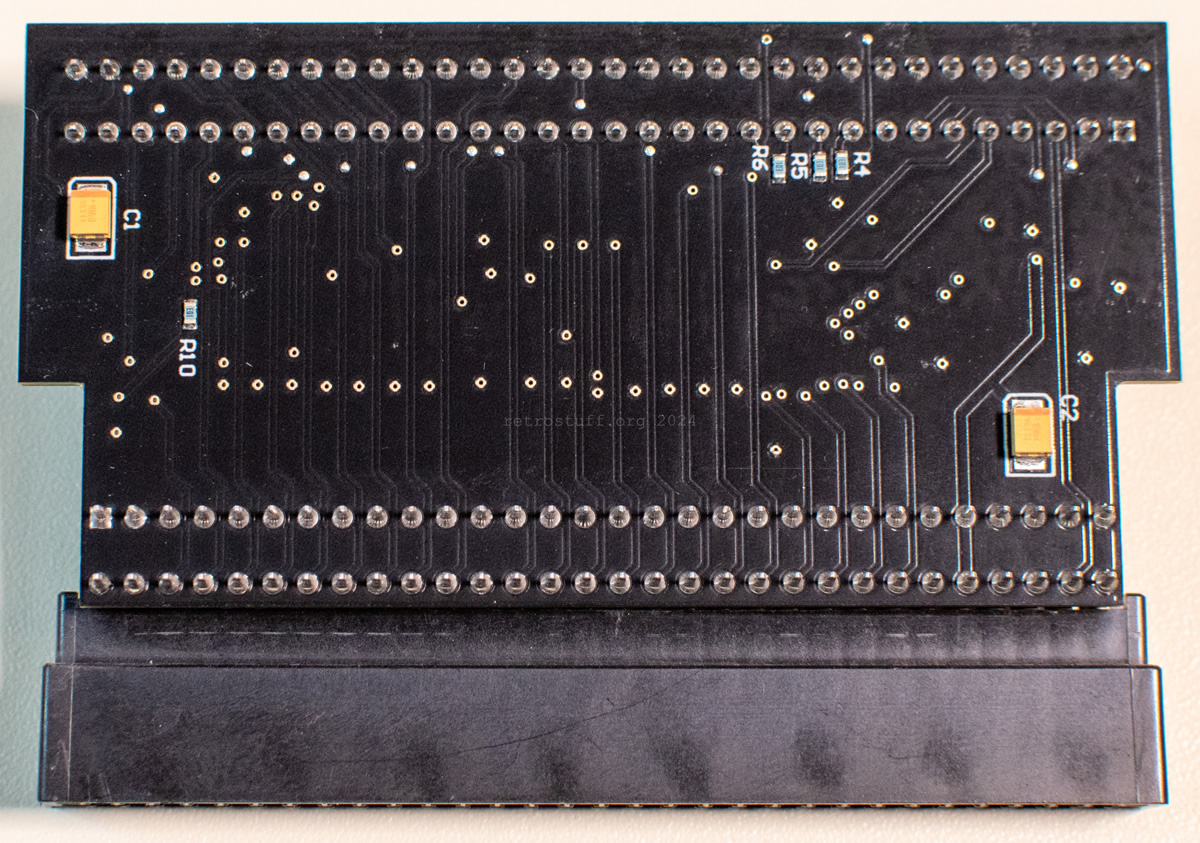
The housing from Retro Frog is a high-quality print with a matte look. Inside there are two connectors, some passive components and a lot of tracks:
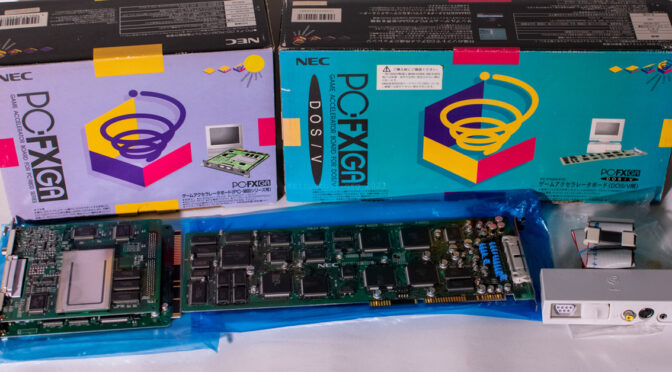
A spontaneous article about the NEC PC-FXGA: The PC-FX Game Accelerator Board for PC-98 and DOS/V. It emerged from the search for a replacement breakout box for the PC-FXGA DOS/V card in the PC-FX Fan Club Discord server. The details of the breakout box are in the second half of the article, and before that some information and photos.
There are already many resources about PC-FX(GA) (see list at the end of this article), so I won’t go into too much detail here. Basically, it’s a PC-FX on a card for your PC, with a special feature. Game Accelerator means that it also contains the 3D chip Huc6273 (Aurora) that is not present in the normal PC-FX. There are two versions of these cards: PC-FXGA, a C-Bus card for use with NEC PC-9800 series computers and PC-FXGA DOS/V, an ISA card for use with IBM PC-compatible computers running DOS/V.
Last week, I just wanted to quickly test some Famicom carts and realised that the console wasn’t outputting any picture or sound. There was still a reaction on the TV though: black picture and a crackling sound when I switched it off. Fearing the worst, I opened it up and saw my favourite insulation tape. However, as I’ve learned in the past, this stuff disintegrates over the years and sticks to everything, so now I was apparently in for not only a repair but also a clean. I opened the console and plugged it in again. When I removed some of the insulating tape, graphics rubbish suddenly appeared on the TV. On closer inspection, I realised that the NESRGB board was tilted slightly backwards. It must have come loose at some point.
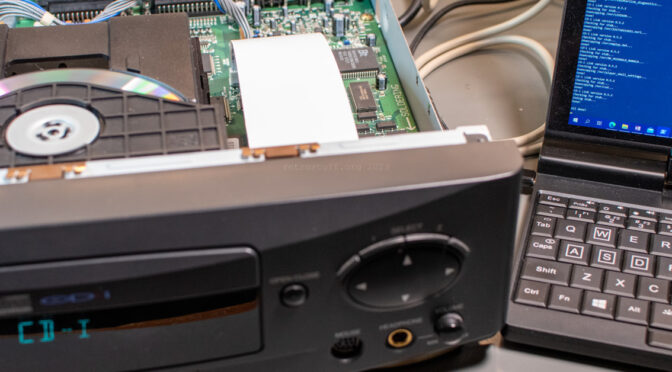
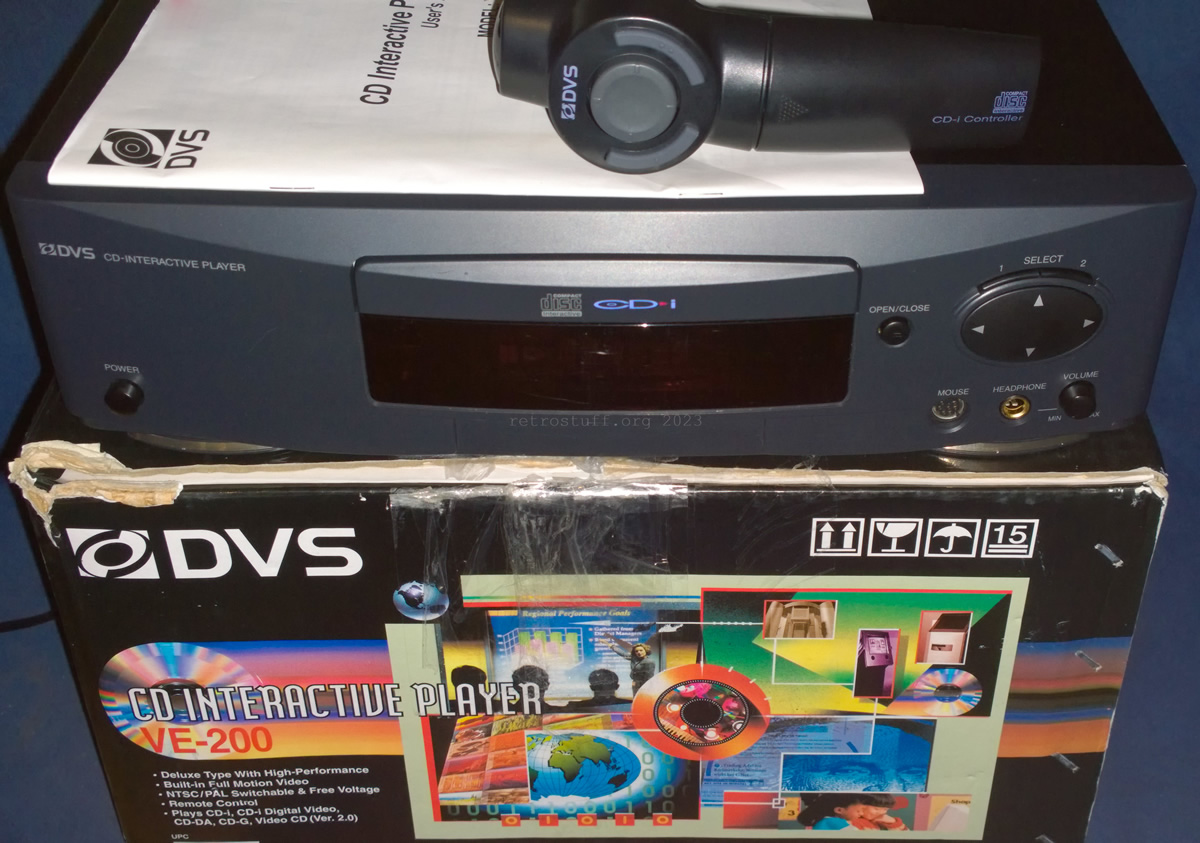
The DVS VE-200 CD-Interactive Player is a CD-i player manufactured by LG. Like other CD-i players, it contains a battery-backed NVRAM and real-time clock. In this article, I will take a look inside and show how the battery can be replaced while making sure that the NVRAM data won’t get lost in the process.
10 years ago, I started this blog retrostuff.org to record what I was tinkering with in my spare time. It was initially meant to be some sort of diary and also include everything that I bought related to retro- and game consoles (see category New Arrival), but that turned out to be way too much work, so I focused on technical articles. Over the years, I had so many projects that not everything could be properly documented and put in an article. The backlog is huge and I’m always trying to review and improve old articles as well.
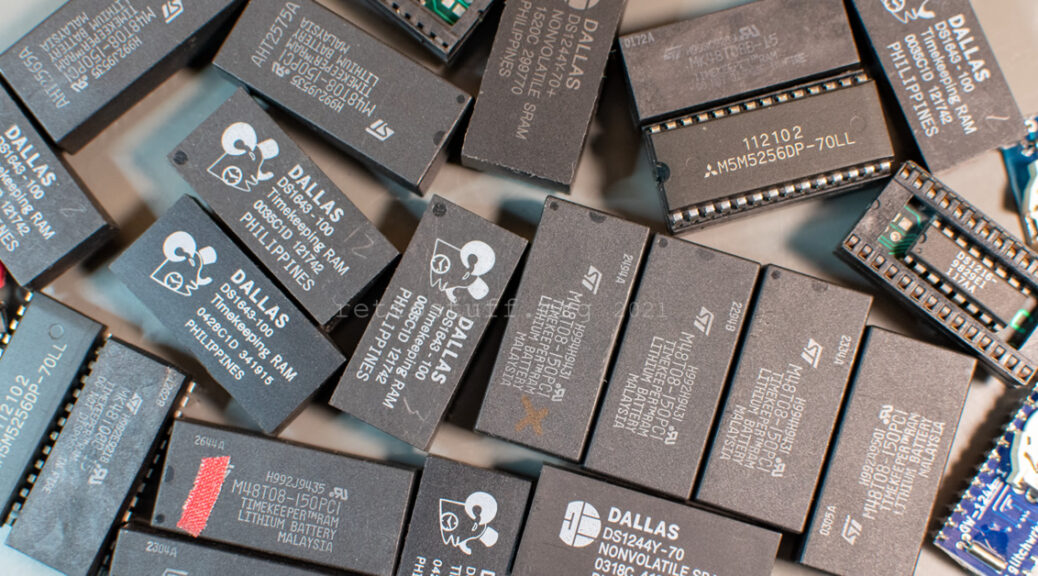
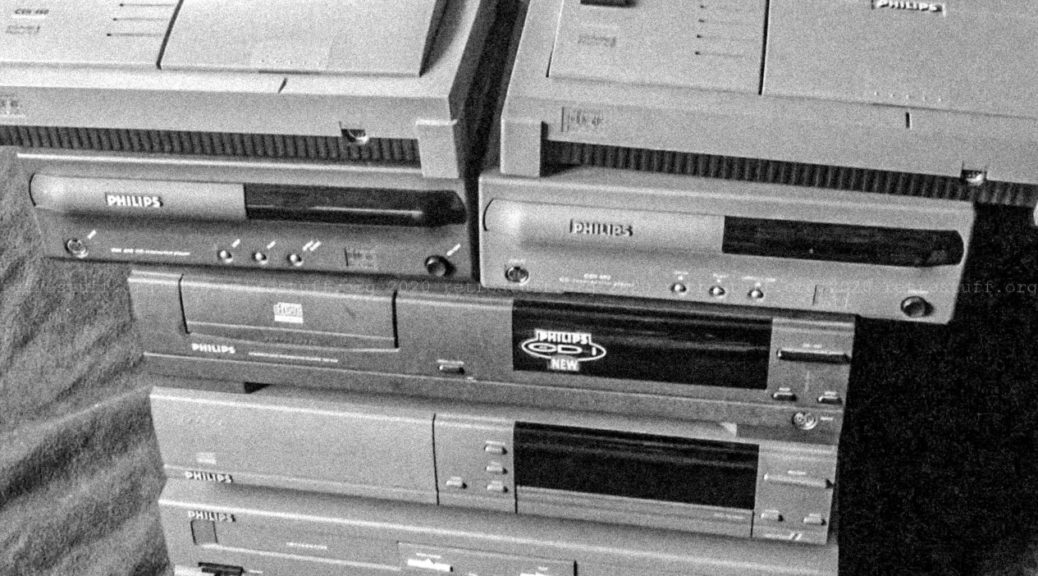
For the 10th anniversary, I took a trip down memory lane and selected one or more articles that were important to me. Be it because they are about a favourite device or an important discovery or milestone in research.
The production number on the label contains the year and calendar week (example: 1A 00 9447). This applies to almost all Philips CD-i players and accessories. So far, only the white mice for the professional players didn’t follow the year code. A full production number has 8 or 9 digits and an additional 5-6-digit serial number at the end. But most accessories are only labelled with simple 8-digit production numbers and that’s why you find so many accessories with the very same data on the labels.
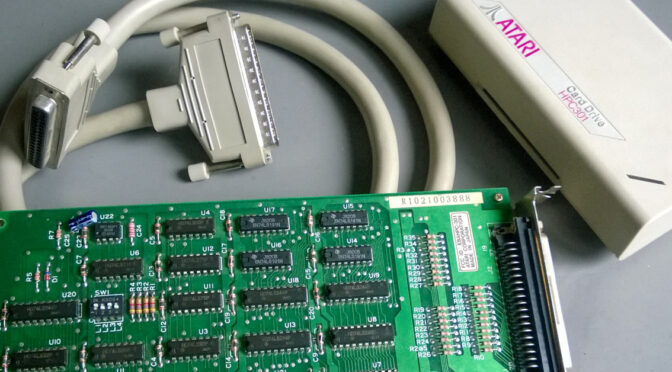
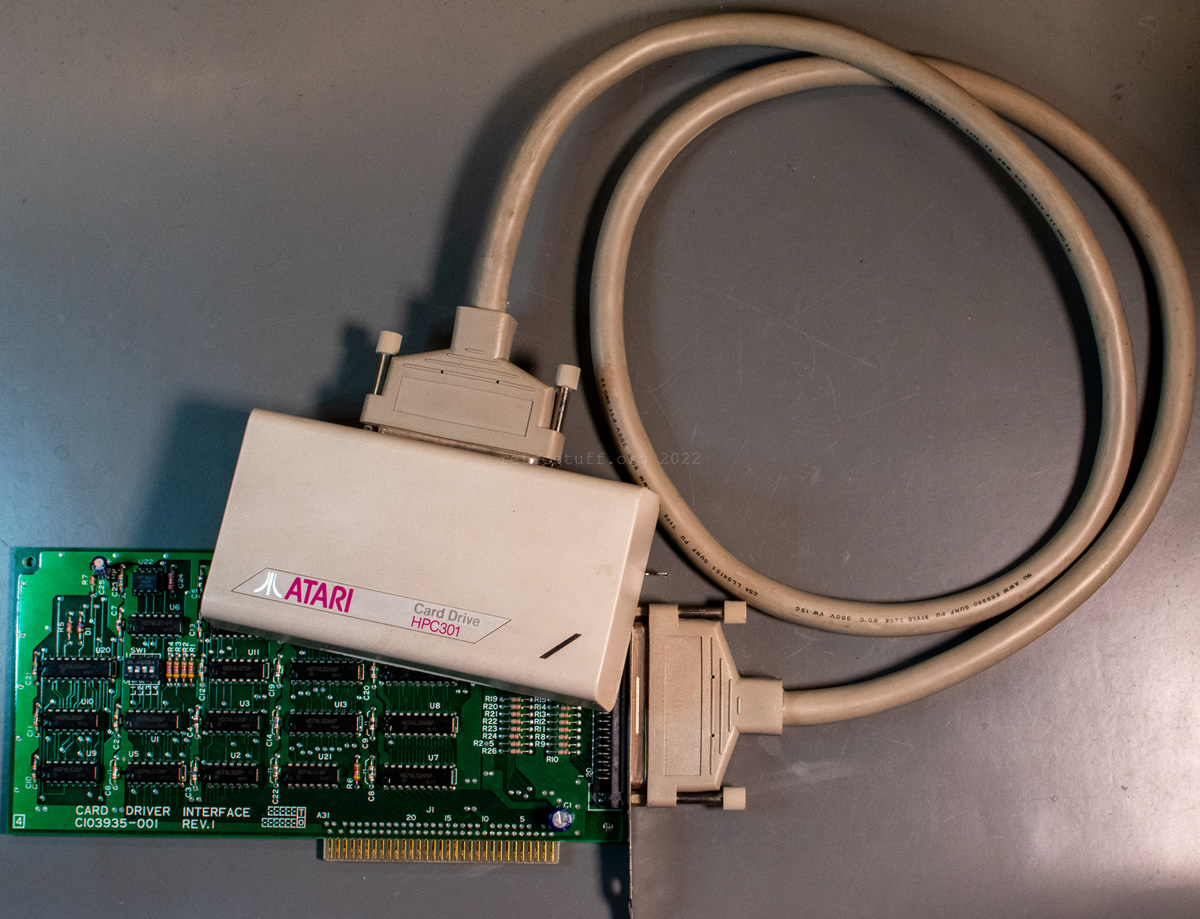
The PC Card Drive HPC-301 is still the only way to read and write Atari Portfolio memory (Bee) cards on a PC. Make that an old PC with an ISA slot for the interface card and DOS. The driver can be found here and here. In the PofoWiki (German), there’s more information about its usage and what needs to be considered when you have Windows 9x. For me, the DOS mode worked fine and I had less trouble accessing the card reader after loading the driver without parameters, e.g. DEVICE=C:\CD.SYS.
There seems to be another way to access the card drive: A software called Portfolio RAM-Card Reader by Digital Data Deicke (now Pentagon GmbH) is mentioned in the Atari-Home.DE forums here and here. It is reported to work even under Windows XP via Direct I/O.
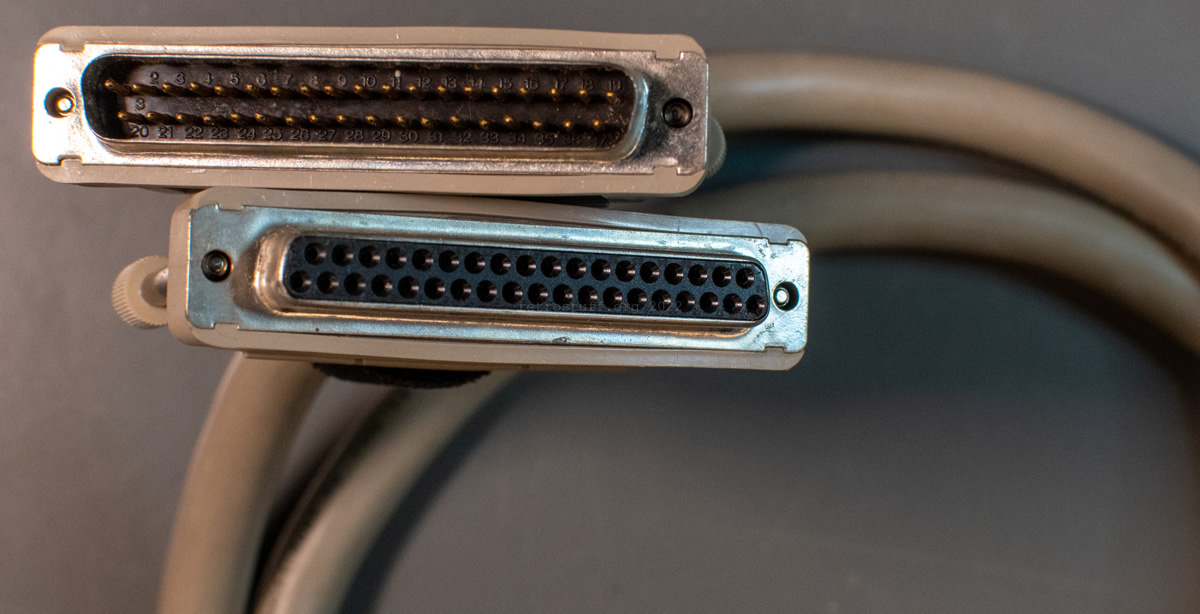
Today, we’re only going to have a look at the hardware. Just look at this massive cable with 37-pin D-sub connectors that connects the card drive with the interface card:
While the Amiga CD³² can play CD-MIDI discs, it lacks a MIDI out port to hand over the data to a MIDI playback device. I’m going to build an adapter with a keyboard pass-through for its AUX port.
CD-MIDI (or CD+MIDI) is an extension of the Red Book Audio CD that allows MIDI data to be stored in the subcode channels, just like CD+G and CD-Text does it with graphics and text data. Only very few devices are known to be able to make use of that information: CD³², CDTV and WonderMega. Even though the Green Book describes a MIDI extension, the Philips CD-i is not among these devices, and so far, no CD-i hardware or software that made use of MIDI has surfaced.
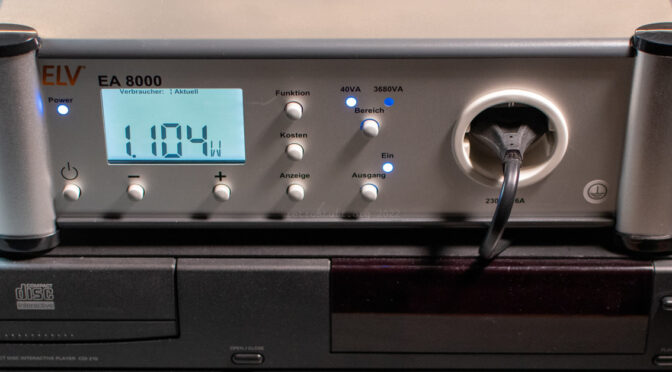
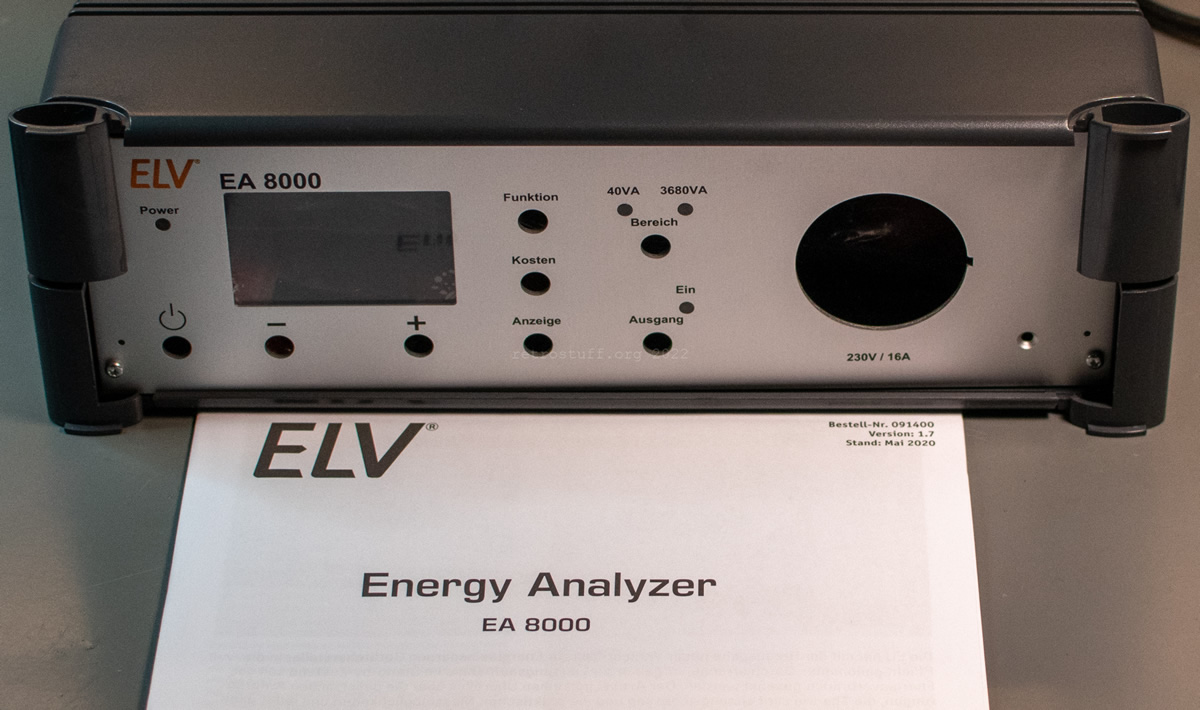
When looking for an affordable and reasonably accurate device to measure the (standby) power consumption of old power supplies, I came across the ELV EA 8000 Energy Analyzer. It’s being sold as complete device or as a kit; I went for the kit to spend some time with it and have a better look inside.
It has two power measuring ranges (40 and 3680 VA), several measuring functions (e.g., active / reactive / complex power, power factor, costs), storage space for 10 devices and up to three different electricity tariffs. Before buying, I was already aware that it has some flaws, but more about that after the assembly.
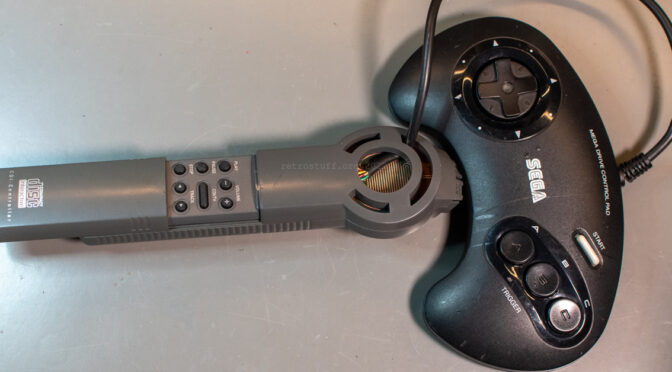
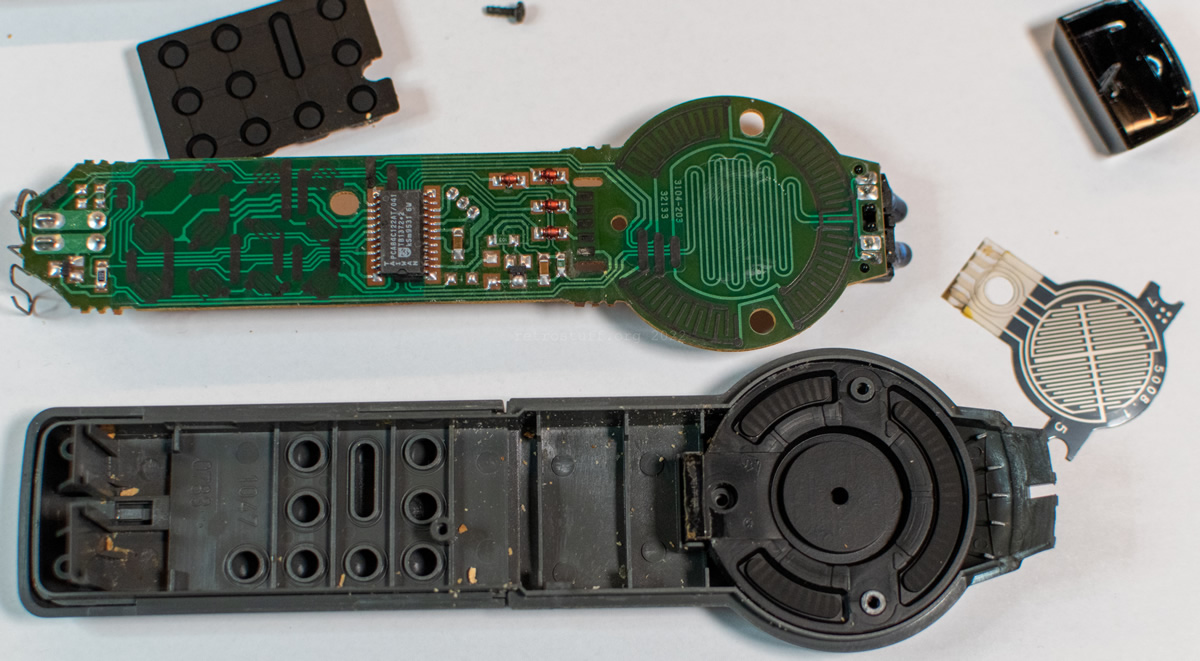
A quick and dirty hack to save a broken Philips CD-i RC6 remote control with a Sega Mega Drive controller.
Most CD-i players come with or are compatible with the 22ER9055 CD-i Commander, an RC6 remote control with a pressure-sensitive thumbpad. There are three known versions of the CD-i Commander:
RV 7701 – standard remote for most CD-i Players.
RV 7704 – with additional stand-by button for CDI660 and 670.
RV 7706 – with additional controls for CDI740.
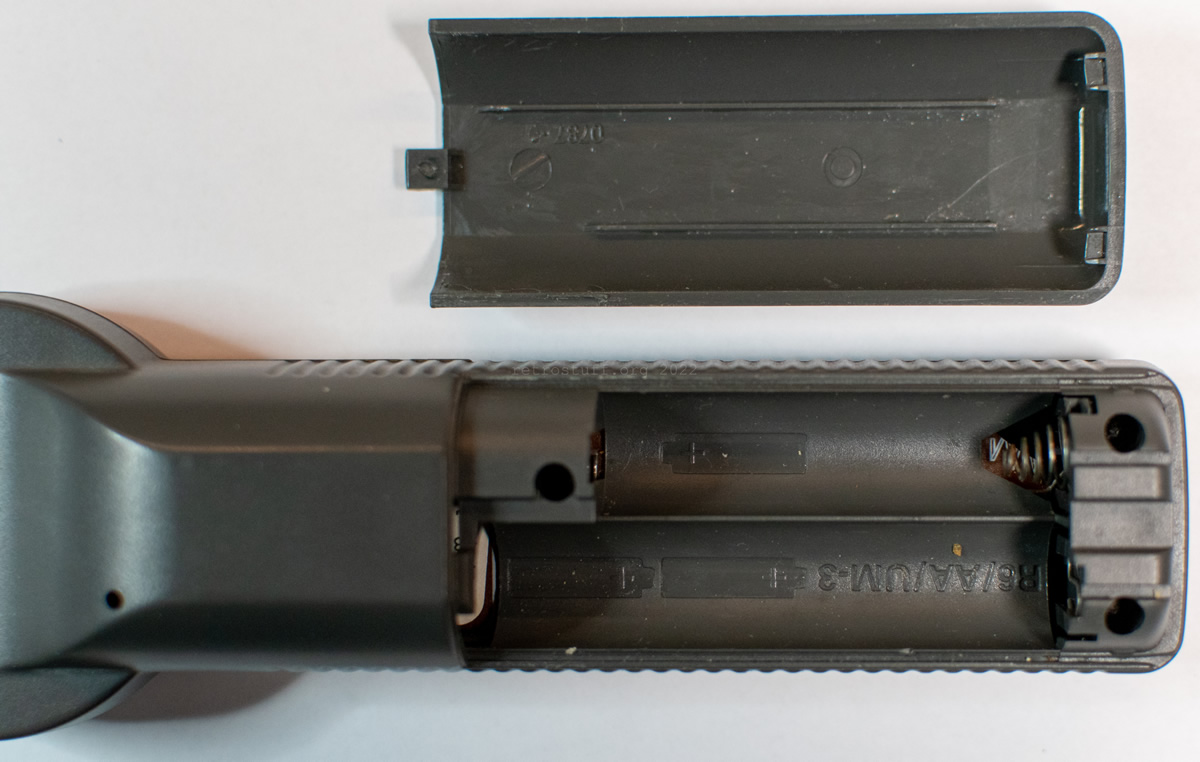
When buying a used remote control, your first action should be to check the battery compartment for obvious leaking damage and also take it apart to find hidden damage. You never know if there were accidents in the past and previous owners just cleaned out the battery compartment without looking further into it.