
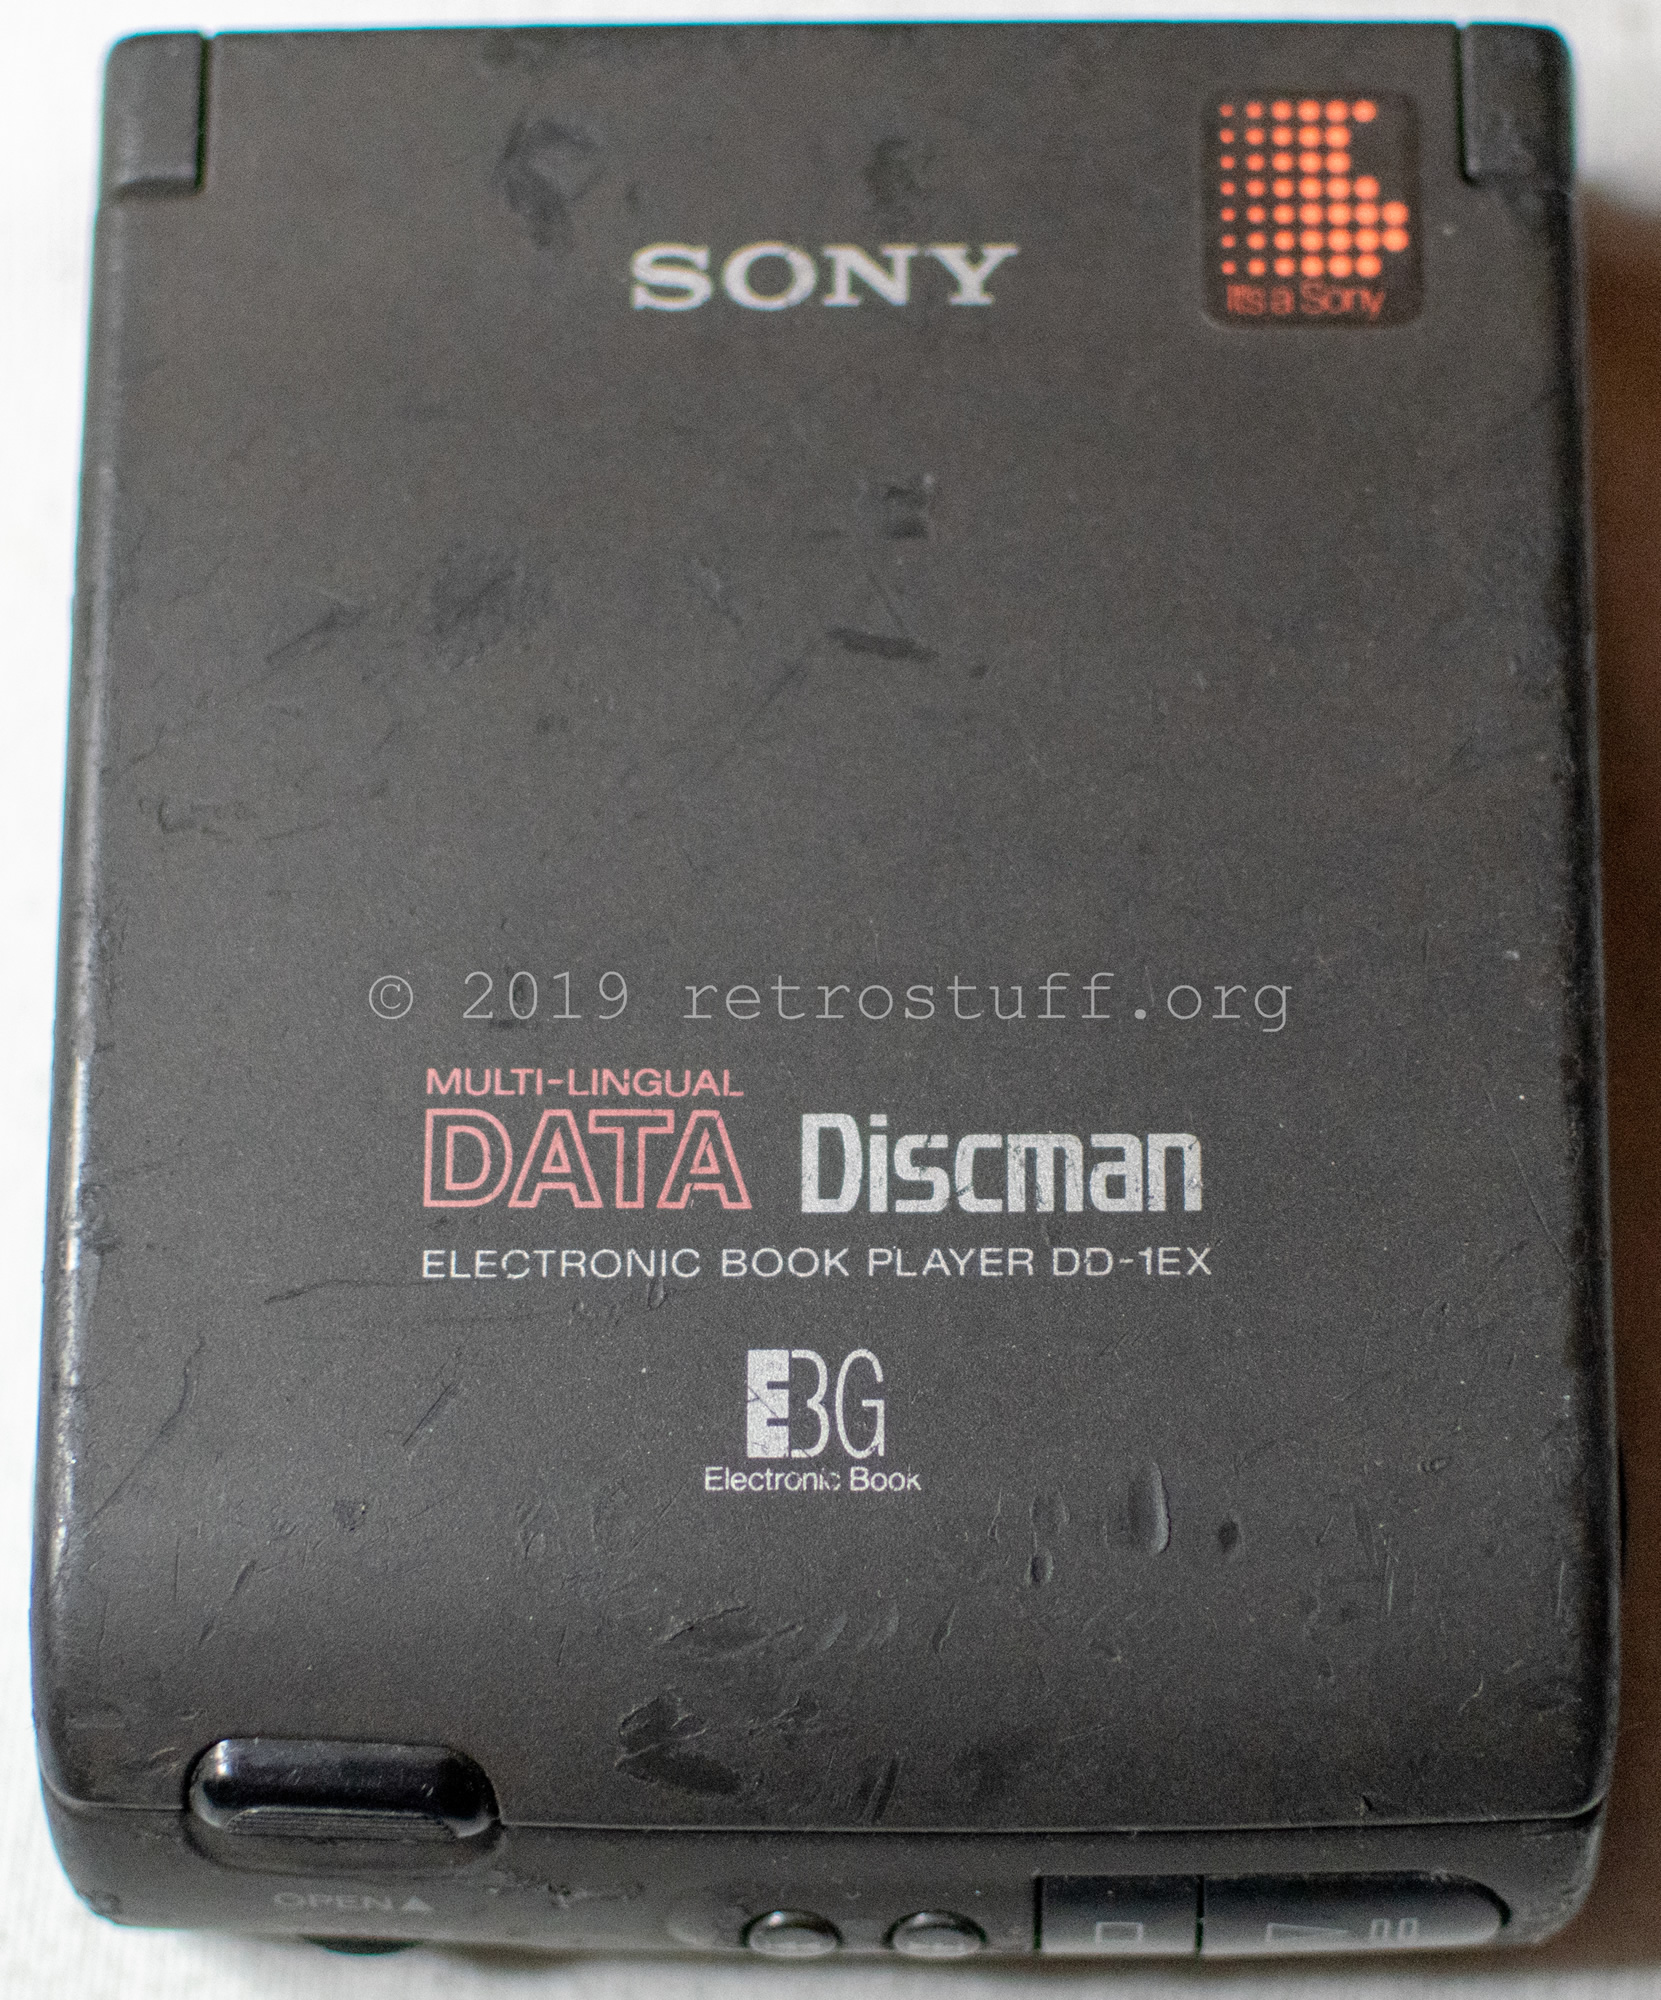
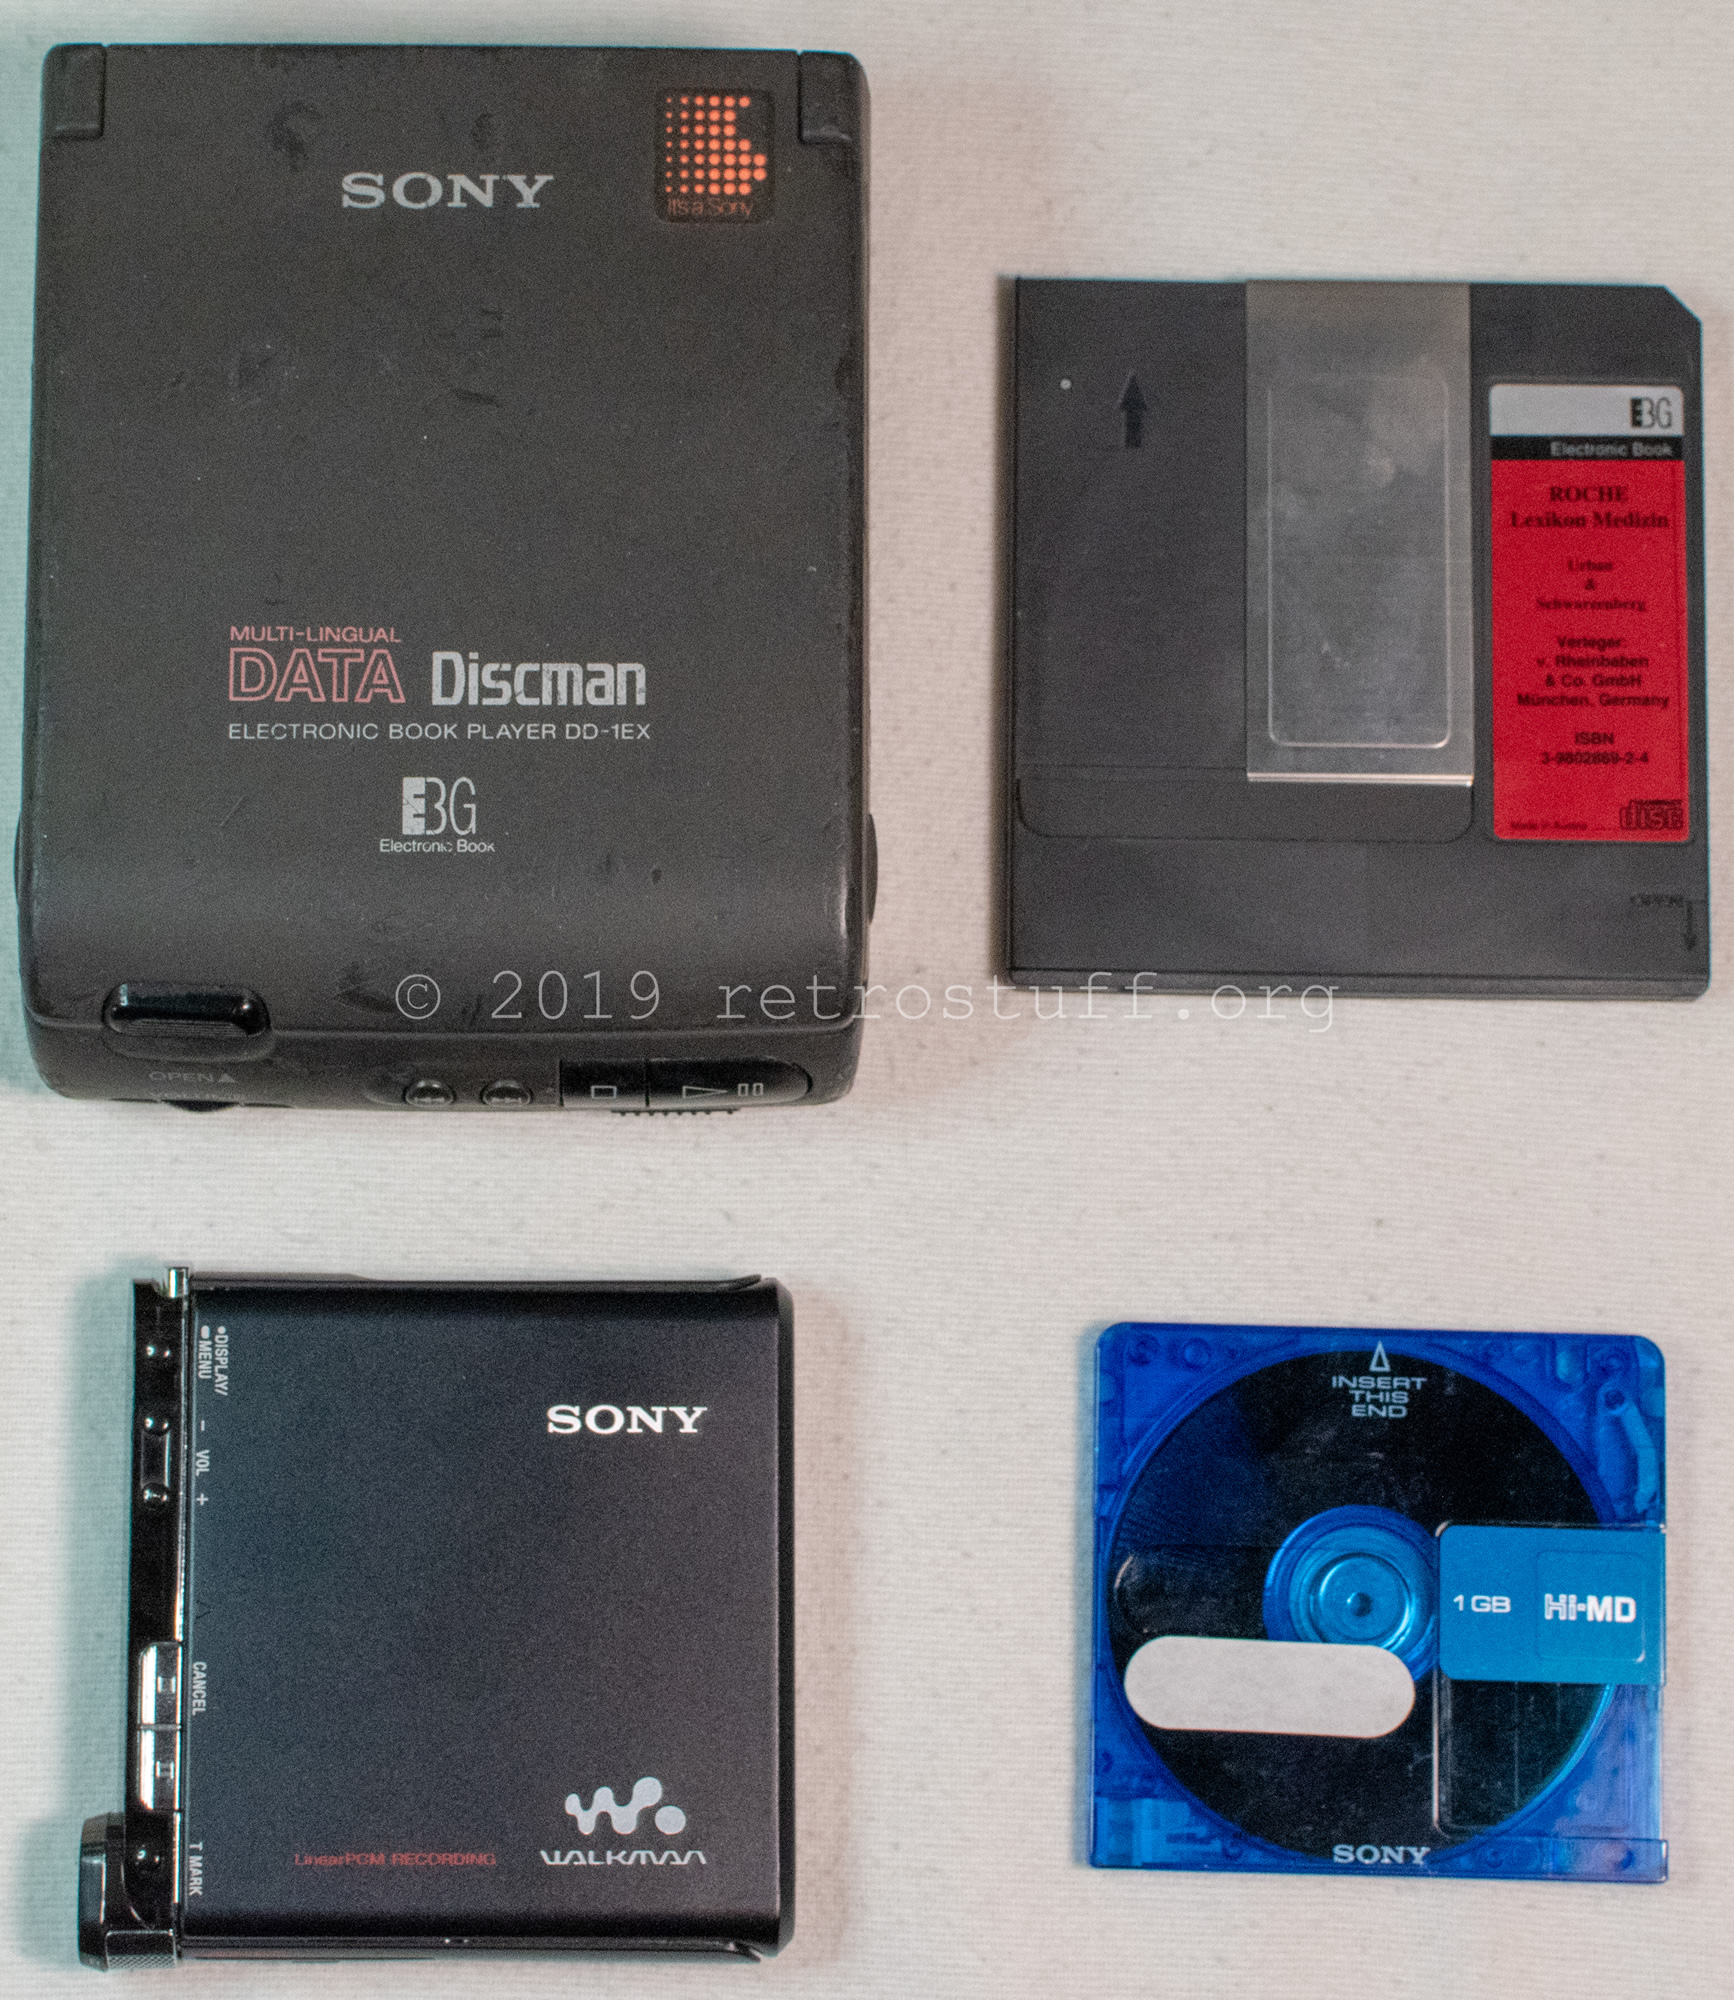
This was an unplanned project. When I bought my first EBG disc for the Sega Saturn Electronic Book Operator, a Sony DD-1EX Data Discman came along with it. As it didn’t turn on, I took a closer look and found leaking capacitors and some stowaways.

This is a size comparison between the Data Discman and the last-generation Hi-MD Walkman (Sony MZ-RH1). I already covered the details of the EBG disc in this article.
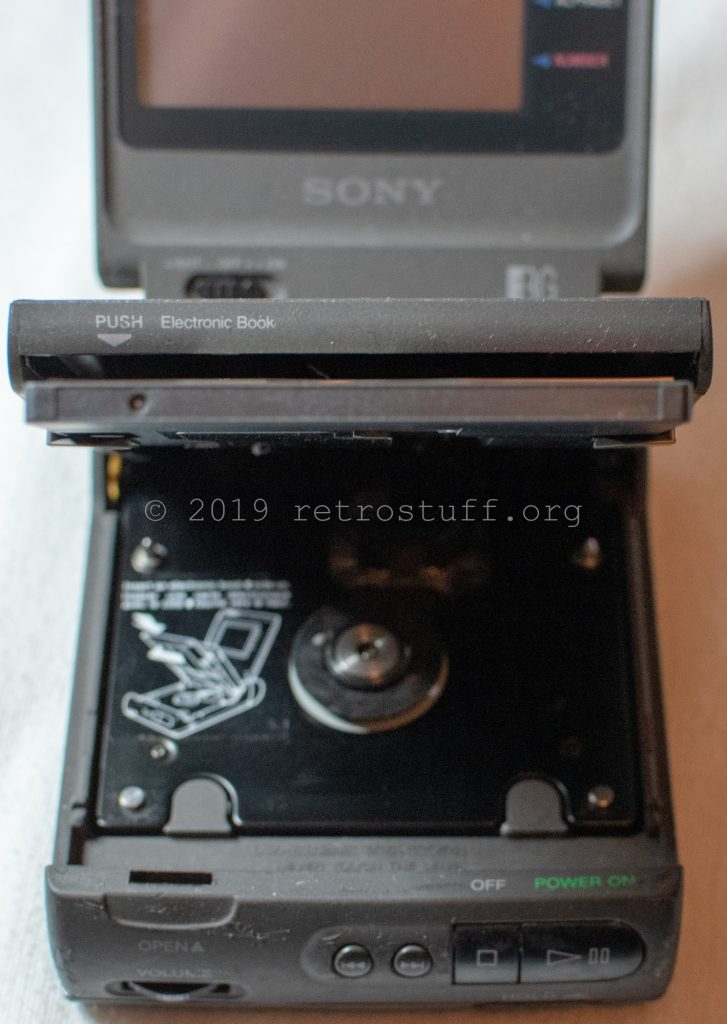
Disassembly
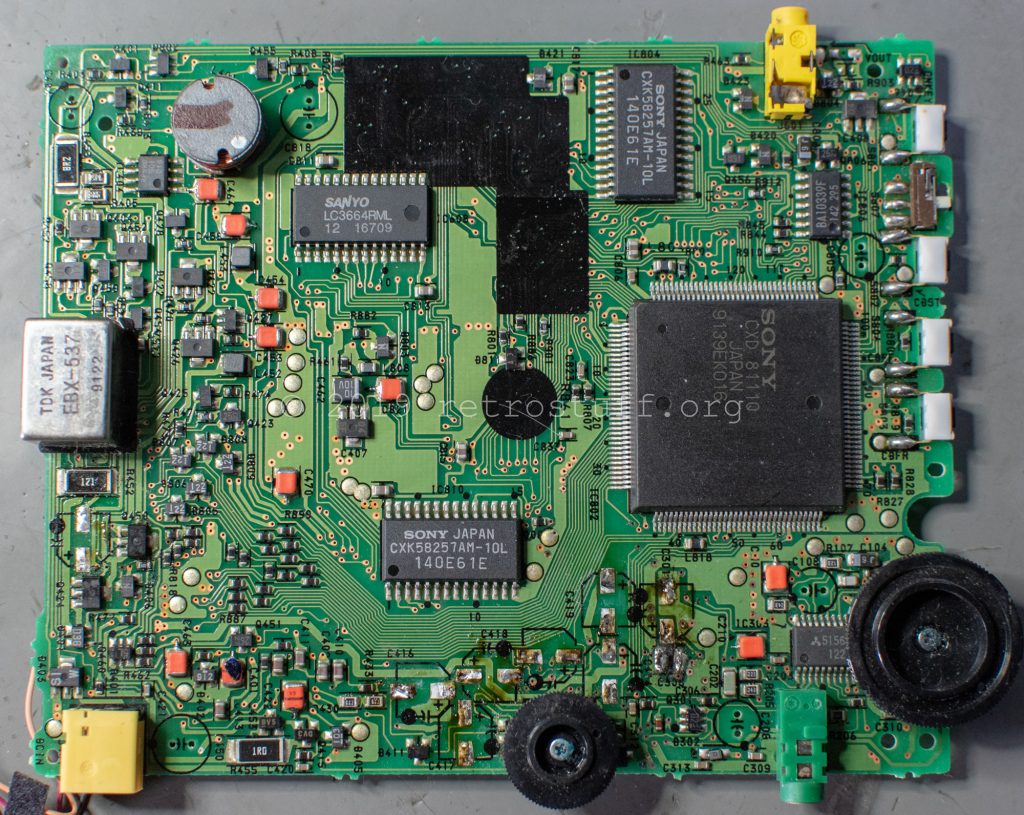
The first inspection of the mainboard shows nothing out of the ordinary. The voltage from the power supply can be measured on the connector, but the unit won’t turn on.
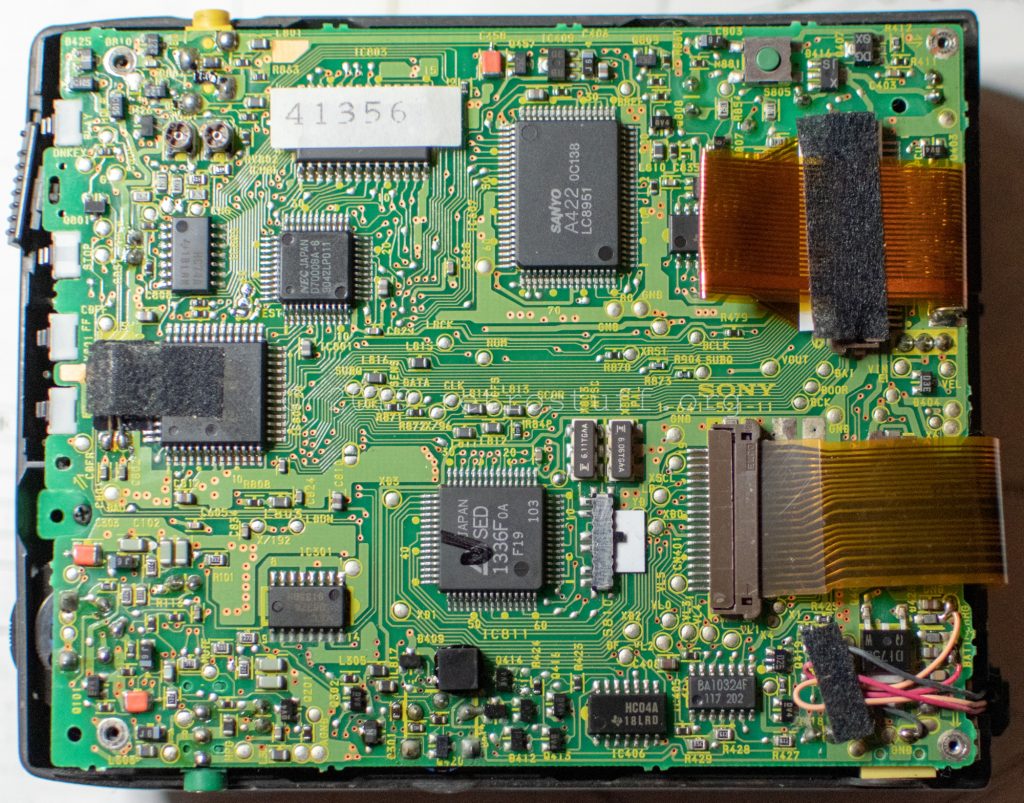
Sony DD-1EX mainboard 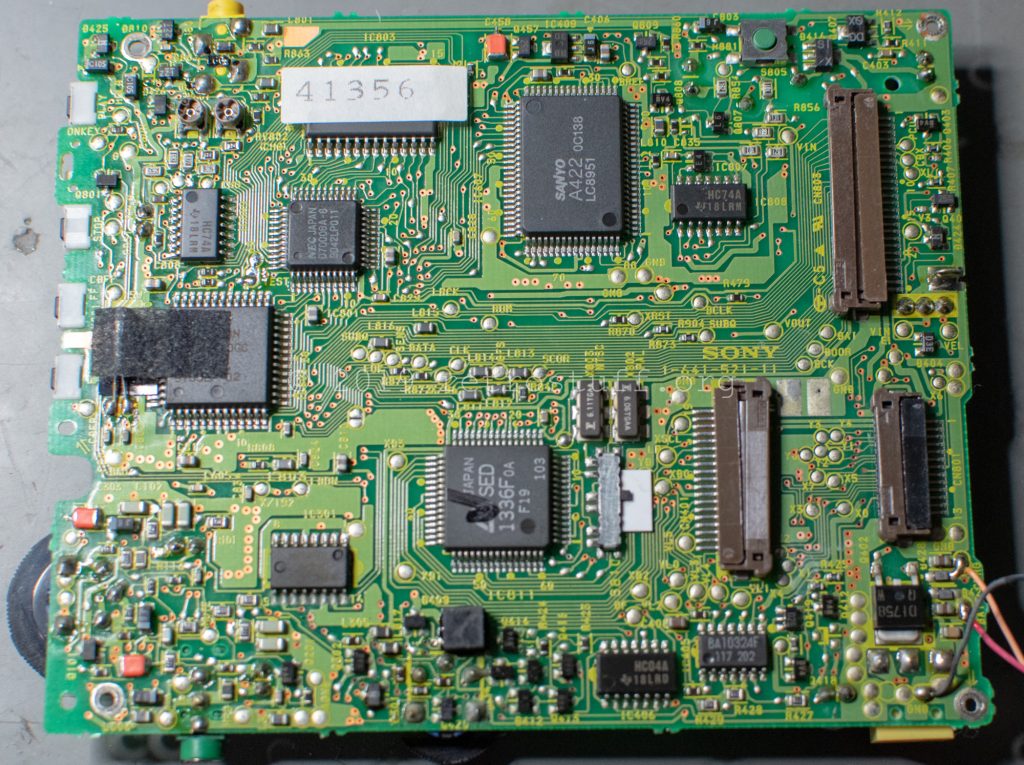
The back of the mainboard shows that all of the electrolytic SMD capacitors have leaked and one tantal capacitor has burst.

Next, the servo board. It doesn’t look suspicious at all.
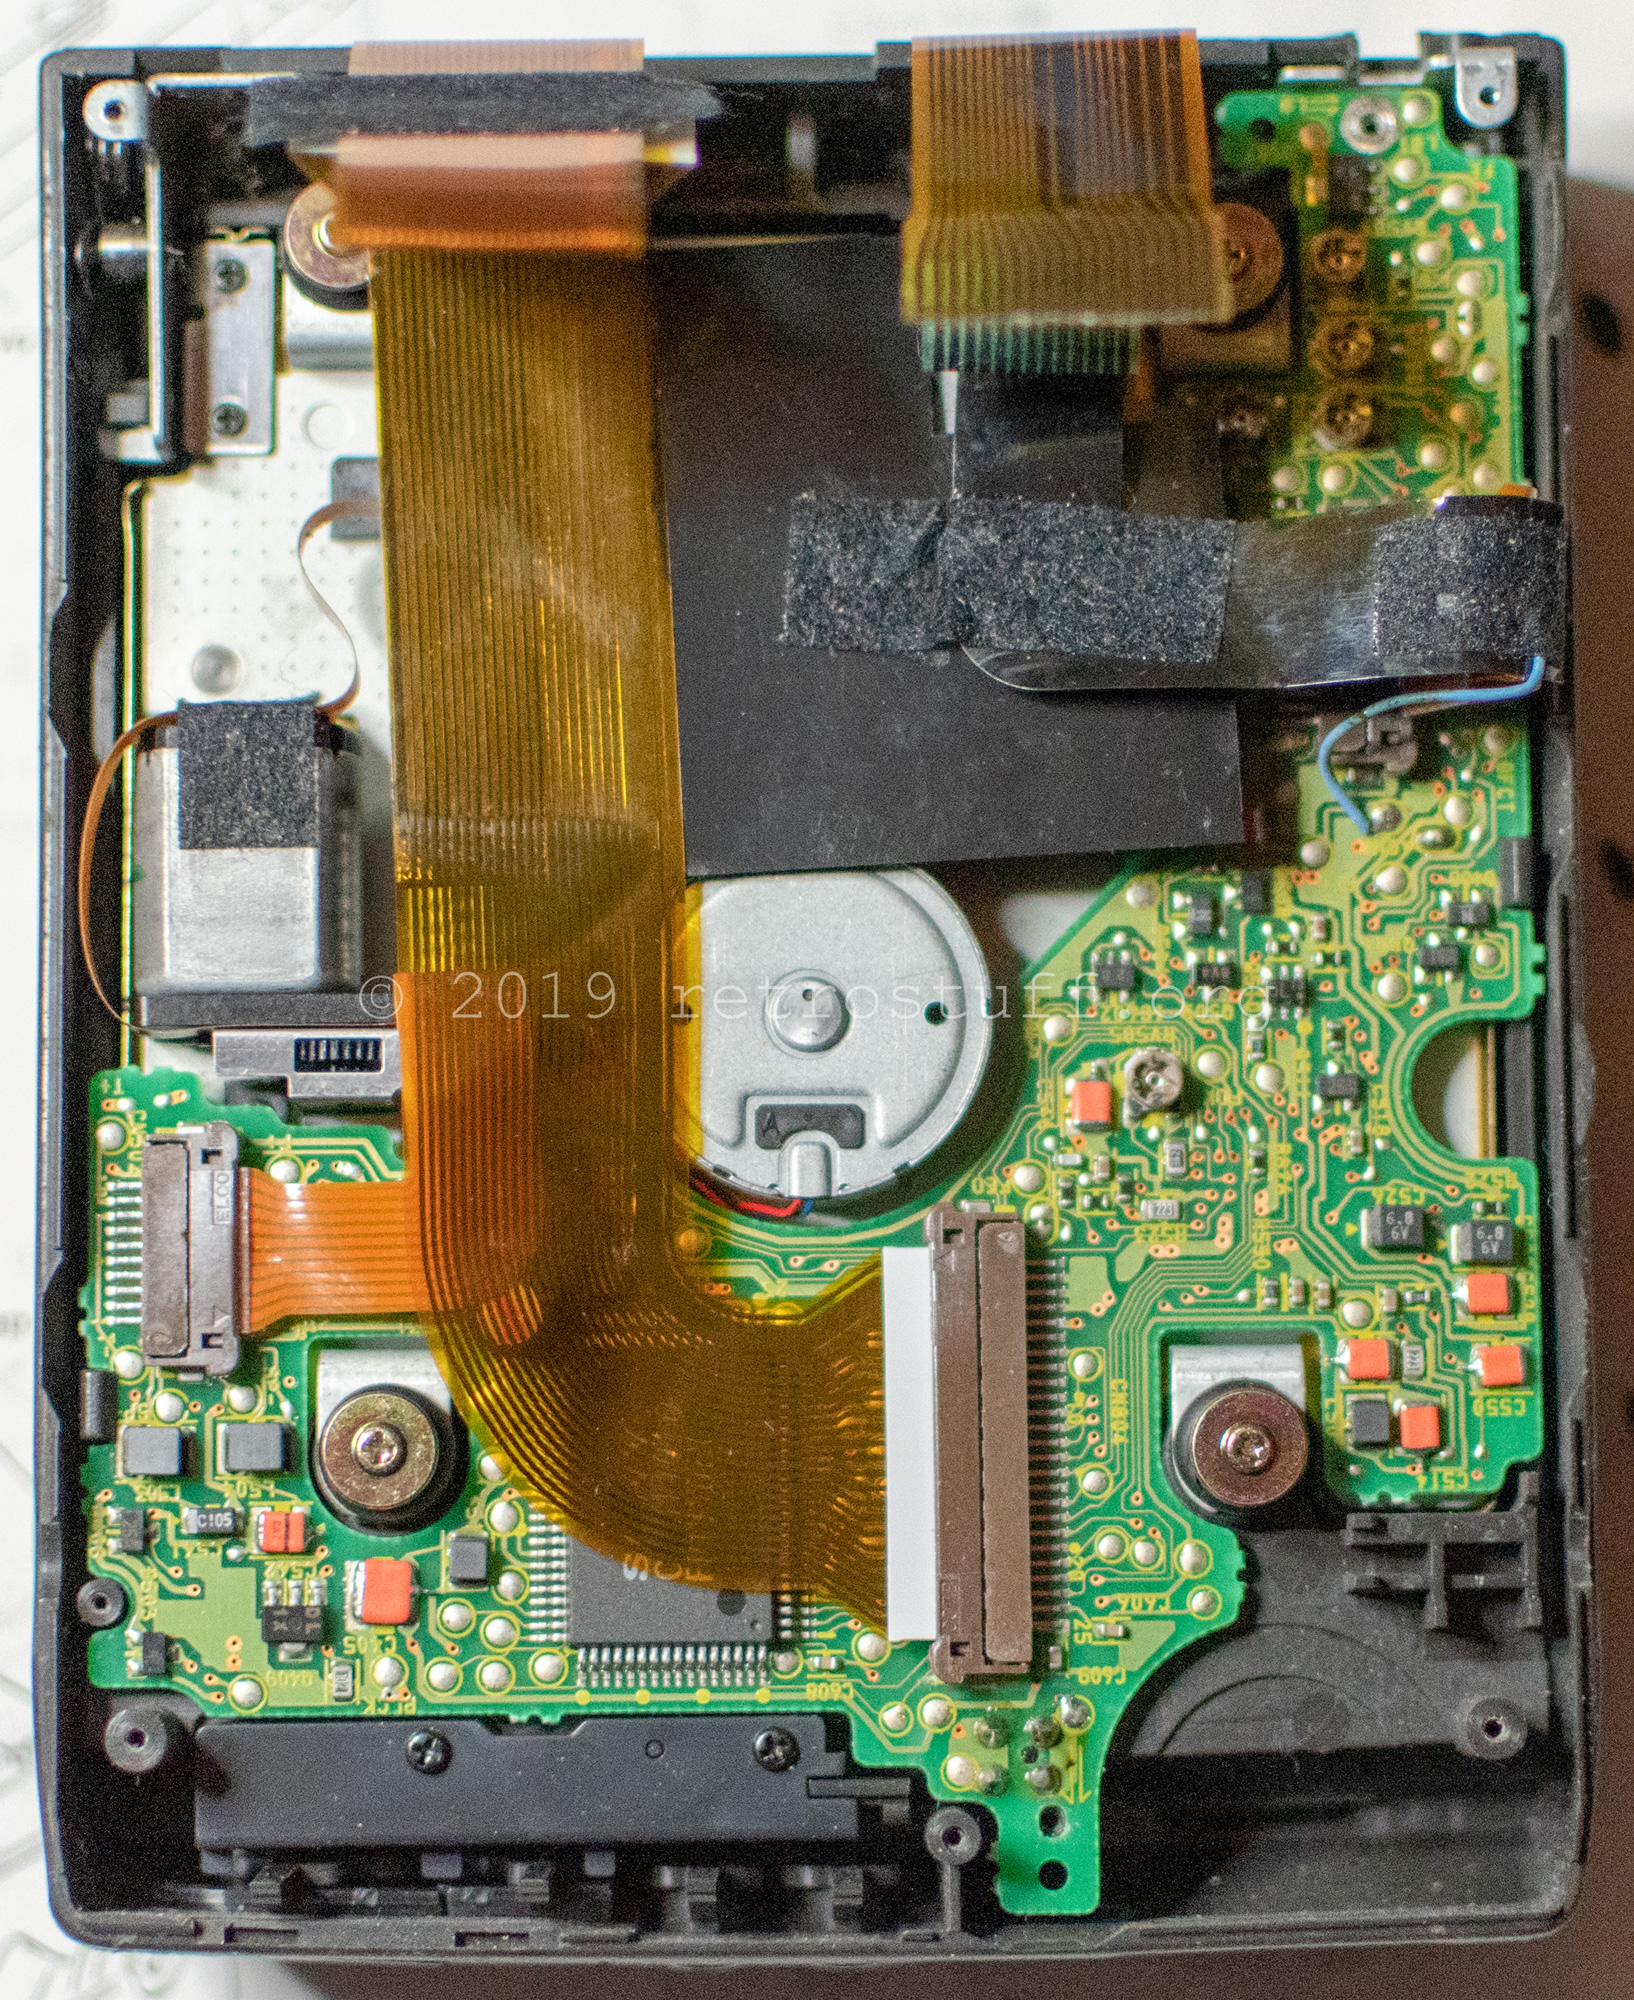
Then, I removed the FFCs and found the first stowaway. It looked like a moth cocoon to me. One more of these was hidden behind the battery connector.
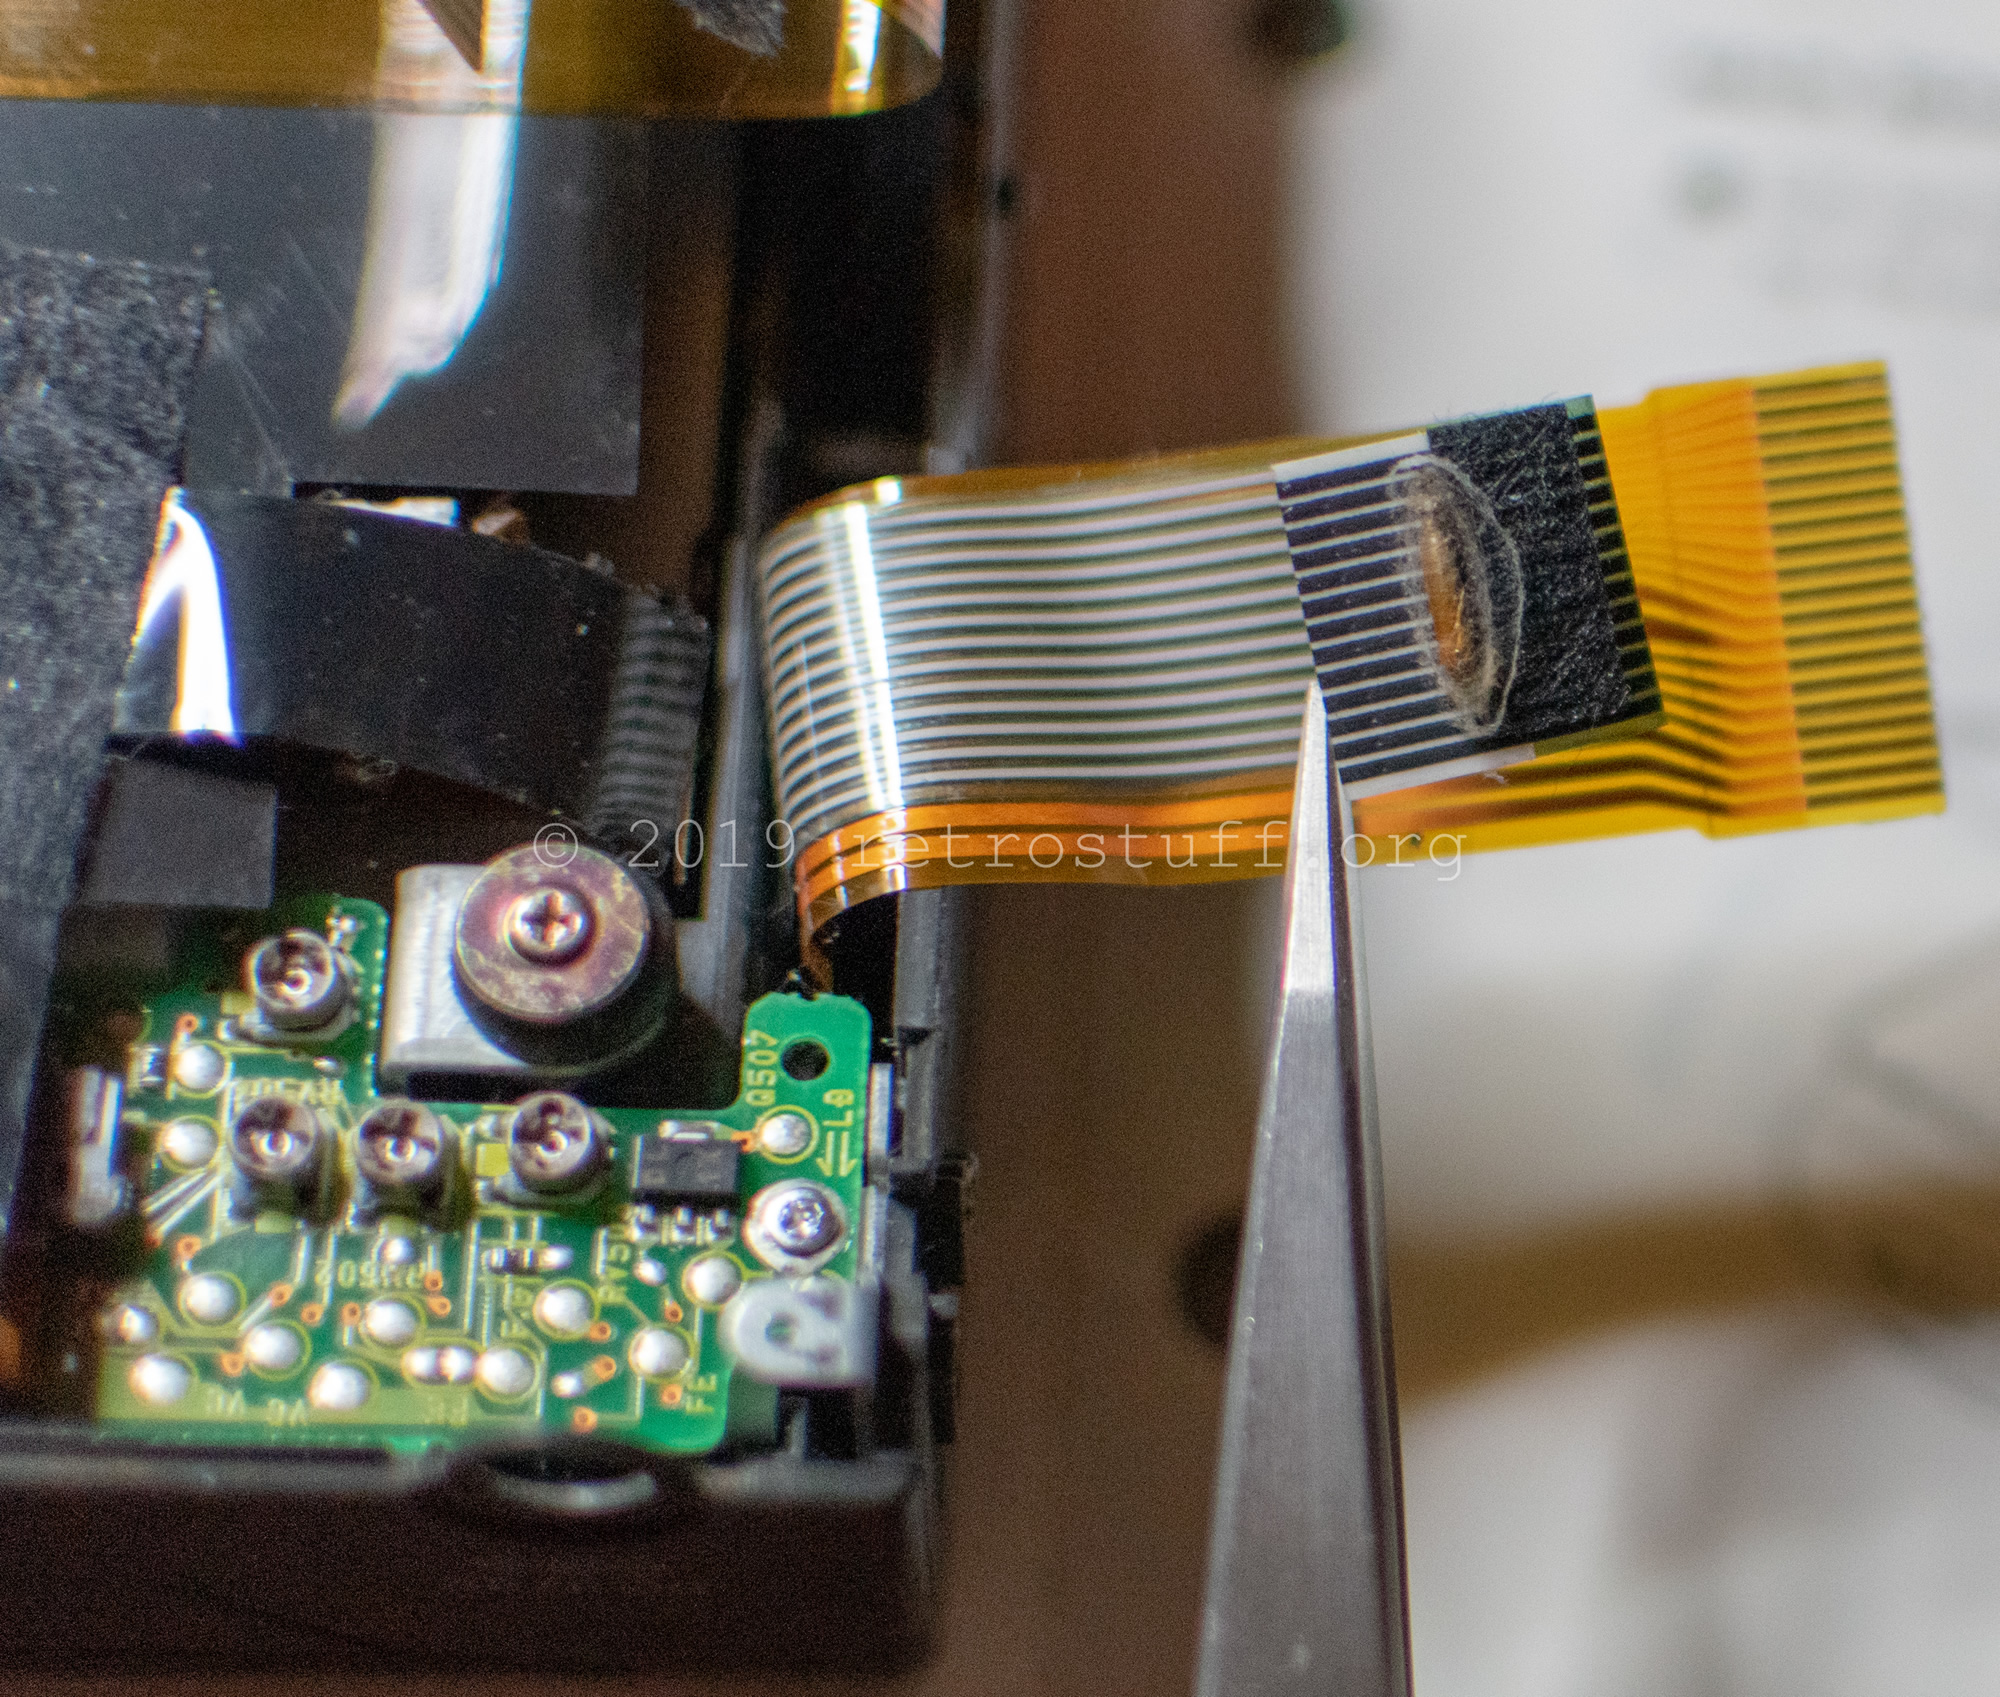
A moth was stuck between the servo board and the protective film.
Fortunately, this was all in regard to animal companions.

Repair
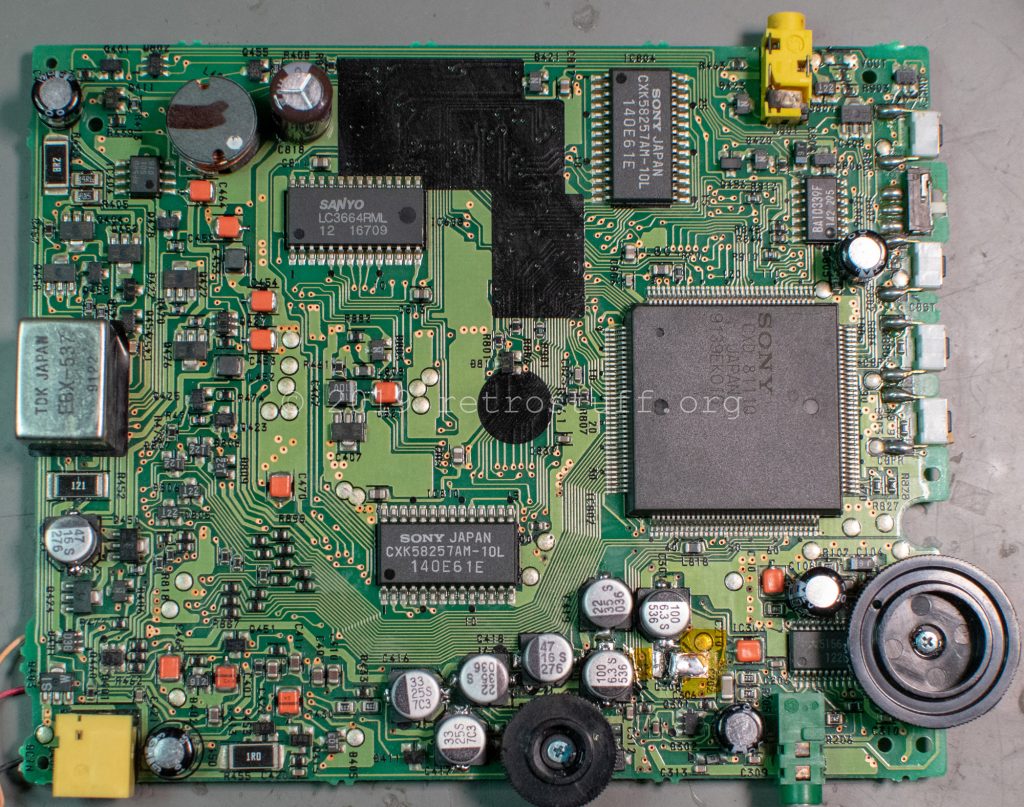
Back to the leaking capacitors. I removed all of the electrolytic capacitors along with the broken tantal capacitor, and cleaned the mainboard thoroughly afterwards.
Sony DD-1EX mainboard (capacitors removed) 
Sony DD-1EX mainboard (cleaned)
I compiled this list with the help of the service manual. The original Sony part numbers are for reference only as they cannot be found anywhere anymore. I chose the cheapest replacement parts with the same/similar specifications. Please pay attention to the foot notes.
DD-1EX capacitors
| ID | F | V | Type | Size mm | Sony Part# | Replacement |
|---|---|---|---|---|---|---|
| C108 | 100 µF | 10 V | e-cap | 6,3 x 5,5; pitch 3 | 1-124-584-00 | Jianghai ECR1AQG101MFF250607 |
| C208 *1) | 100 µF | 10 V | e-cap | 6,3 x 5,5; pitch 3 | 1-124-584-00 | Jianghai ECR1AQG101MFF250607 |
| C301 | 100 µF | 6,3 V | e-cap SMD D | 6,3 x 5,5 | 1-126-206-11 | Yageo CB006M0100RSD-0605 |
| C308 | 22 µF | 6,3 V | tantal e-cap SMD | 3,5 x 2,75 x 1 | 1-135-144-11 | Panasonic 6TPU22MSI |
| C402 *2) | 47 µF | 16 V | e-cap SMD D | 6,3 x 5,5 | 1-126-204-11 | Yageo CB016M0047RSD-0605 |
| C404 | 100 µF | 10 V | e-cap | 6,3 x 5,5; pitch 3 | 1-124-584-00 | Jianghai ECR1AQG101MFF250607 |
| C414 | 100 µF | 6,3 V | e-cap SMD D | 6,3 x 5,5 | 1-126-206-11 | Yageo CB006M0100RSD-0605 |
| C415 *3) | 47 µF | 16 V | e-cap SMD D | 6,3 x 5,5 | 1-126-204-11 | Yageo CB016M0047RSD-0605 |
| C416 | 33 µF | 25 V | e-cap SMD D | 6,3 x 5,5 | 1-126-397-11 | Yageo CB025M0033RSD-0605 |
| C417 | 33 µF | 25 V | e-cap SMD D | 6,3 x 5,5 | 1-126-397-11 | Yageo CB025M0033RSD-0605 |
| C418 | 22 µF | 35 V | e-cap SMD D | 6,3 x 5,5 | 1-126-400-11 | Yageo CB035M0022RSD-0605 |
| C419 | 22 µF | 35 V | e-cap SMD D | 6,3 x 5,5 | 1-126-400-11 | Yageo CB035M0022RSD-0605 |
| C450 | 220 µF | 6,3 V | e-cap | 8 x 5,8; pitch 3 | 1-126-369-11 | Yageo S5006M0220BZF-0605 |
| C805 | 100 µF | 10 V | e-cap | 6,3 x 5,5; pitch 3 | 1-124-584-00 | Jianghai ECR1AQG101MFF250607 |
| C818 | 470 µF | 10 V | e-cap | 8 x 10; pitch 4 | 1-124-472-11 | Europe ChemiCon EKY-100ELL471MHB5D |
*2) unlabelled, the only SMD e-cap on the left side
*3) unlabelled, to the right of C418
The capacitors arrived quickly, but there was a problem with the tantal capacitor. I couldn’t wait any longer and used a larger component instead. It didn’t fit on the solder pads, so I insulated the surrounding area with Kapton tape and made a larger pad out of adhesive copper foil. Also, the capacitor C208 in this area turned out to be too tall, so I had to put it in horizontal position.
Sony DD-1EX mainboard (new capacitors) 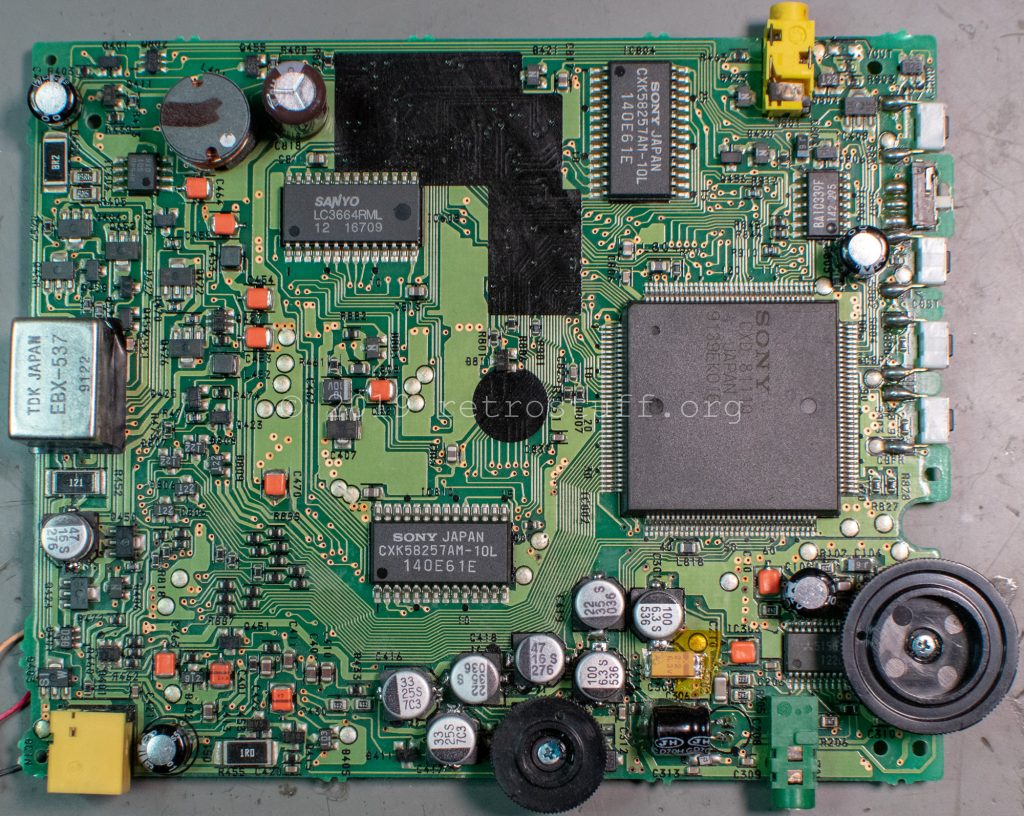
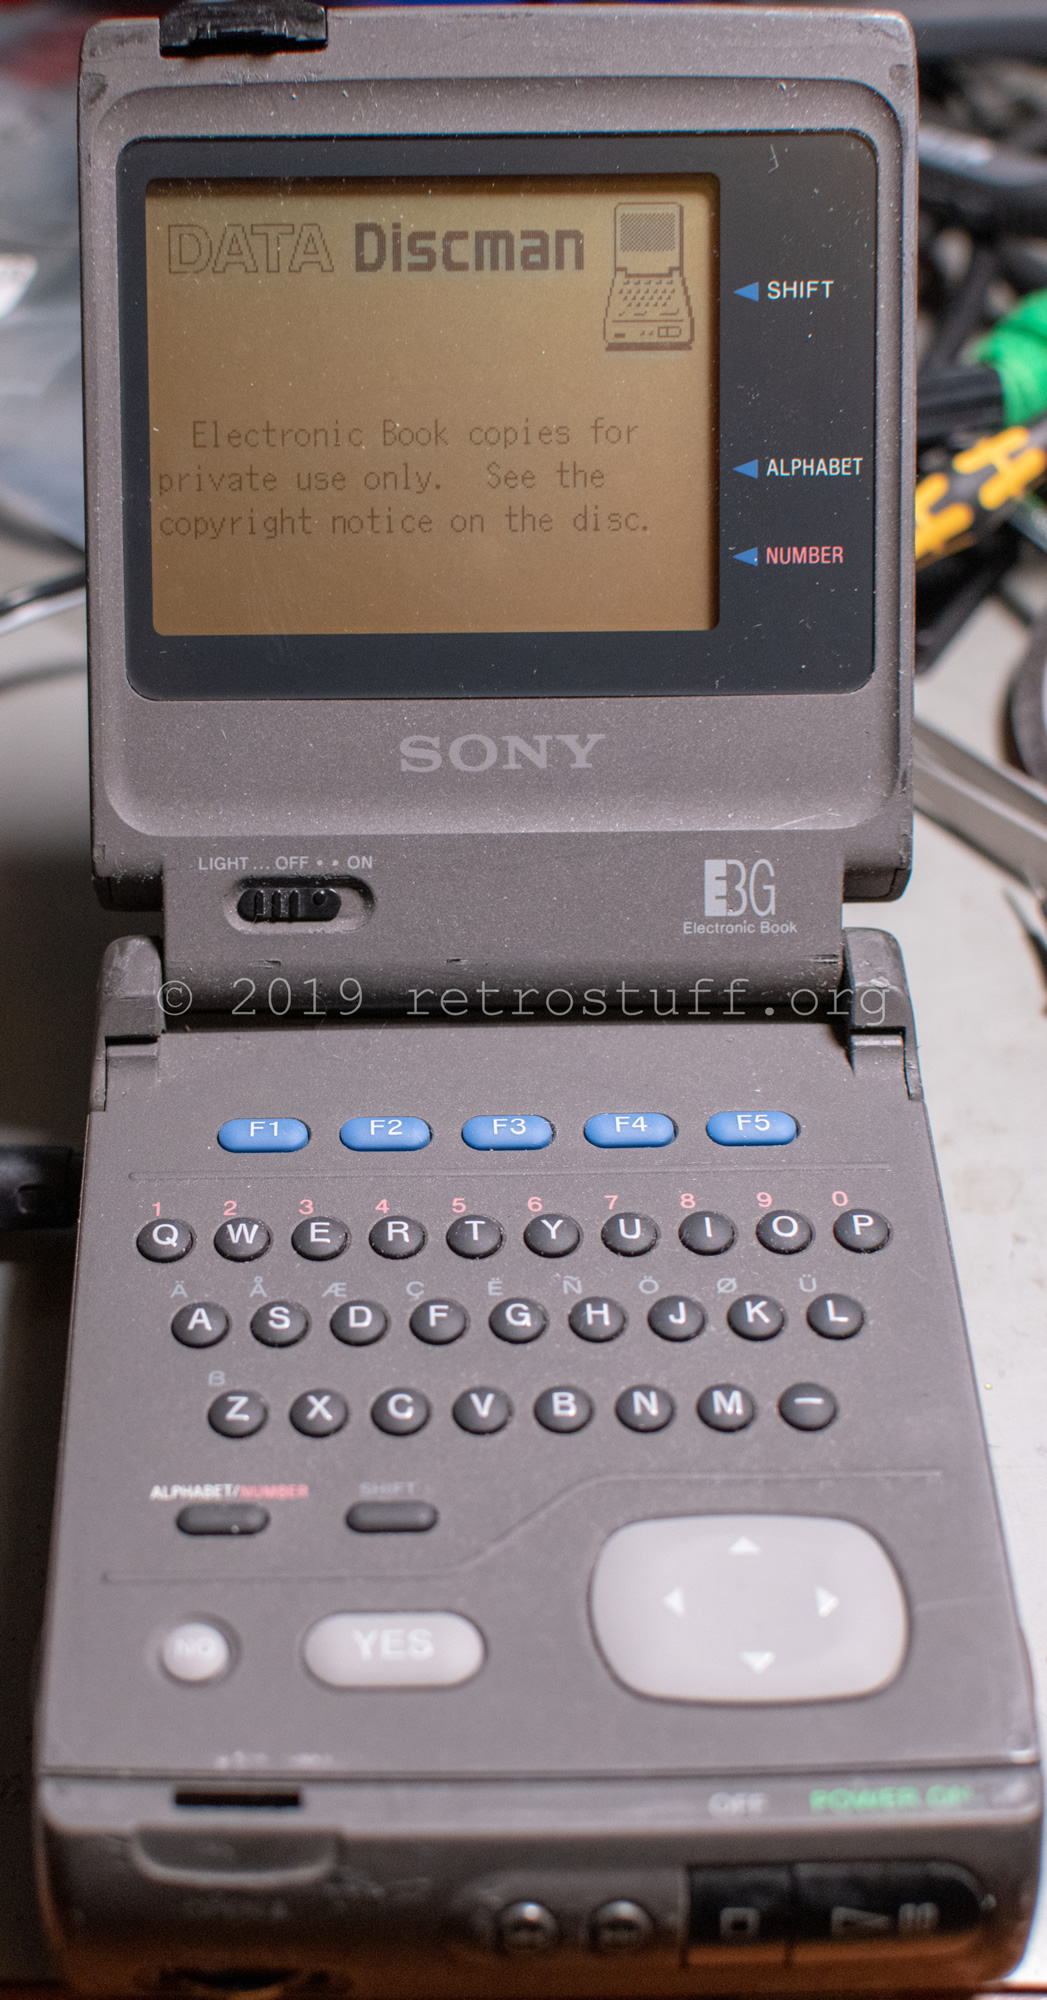
After the repair, the Data Discman shows its first sign of life. Everything works, except the backlight. More about that later.
Service Mode
The DD-1EX has a built-in service mode that lets you perform all kinds of tests. It also lets you move the optical pick-up block around. Make sure that you know what you are doing there.
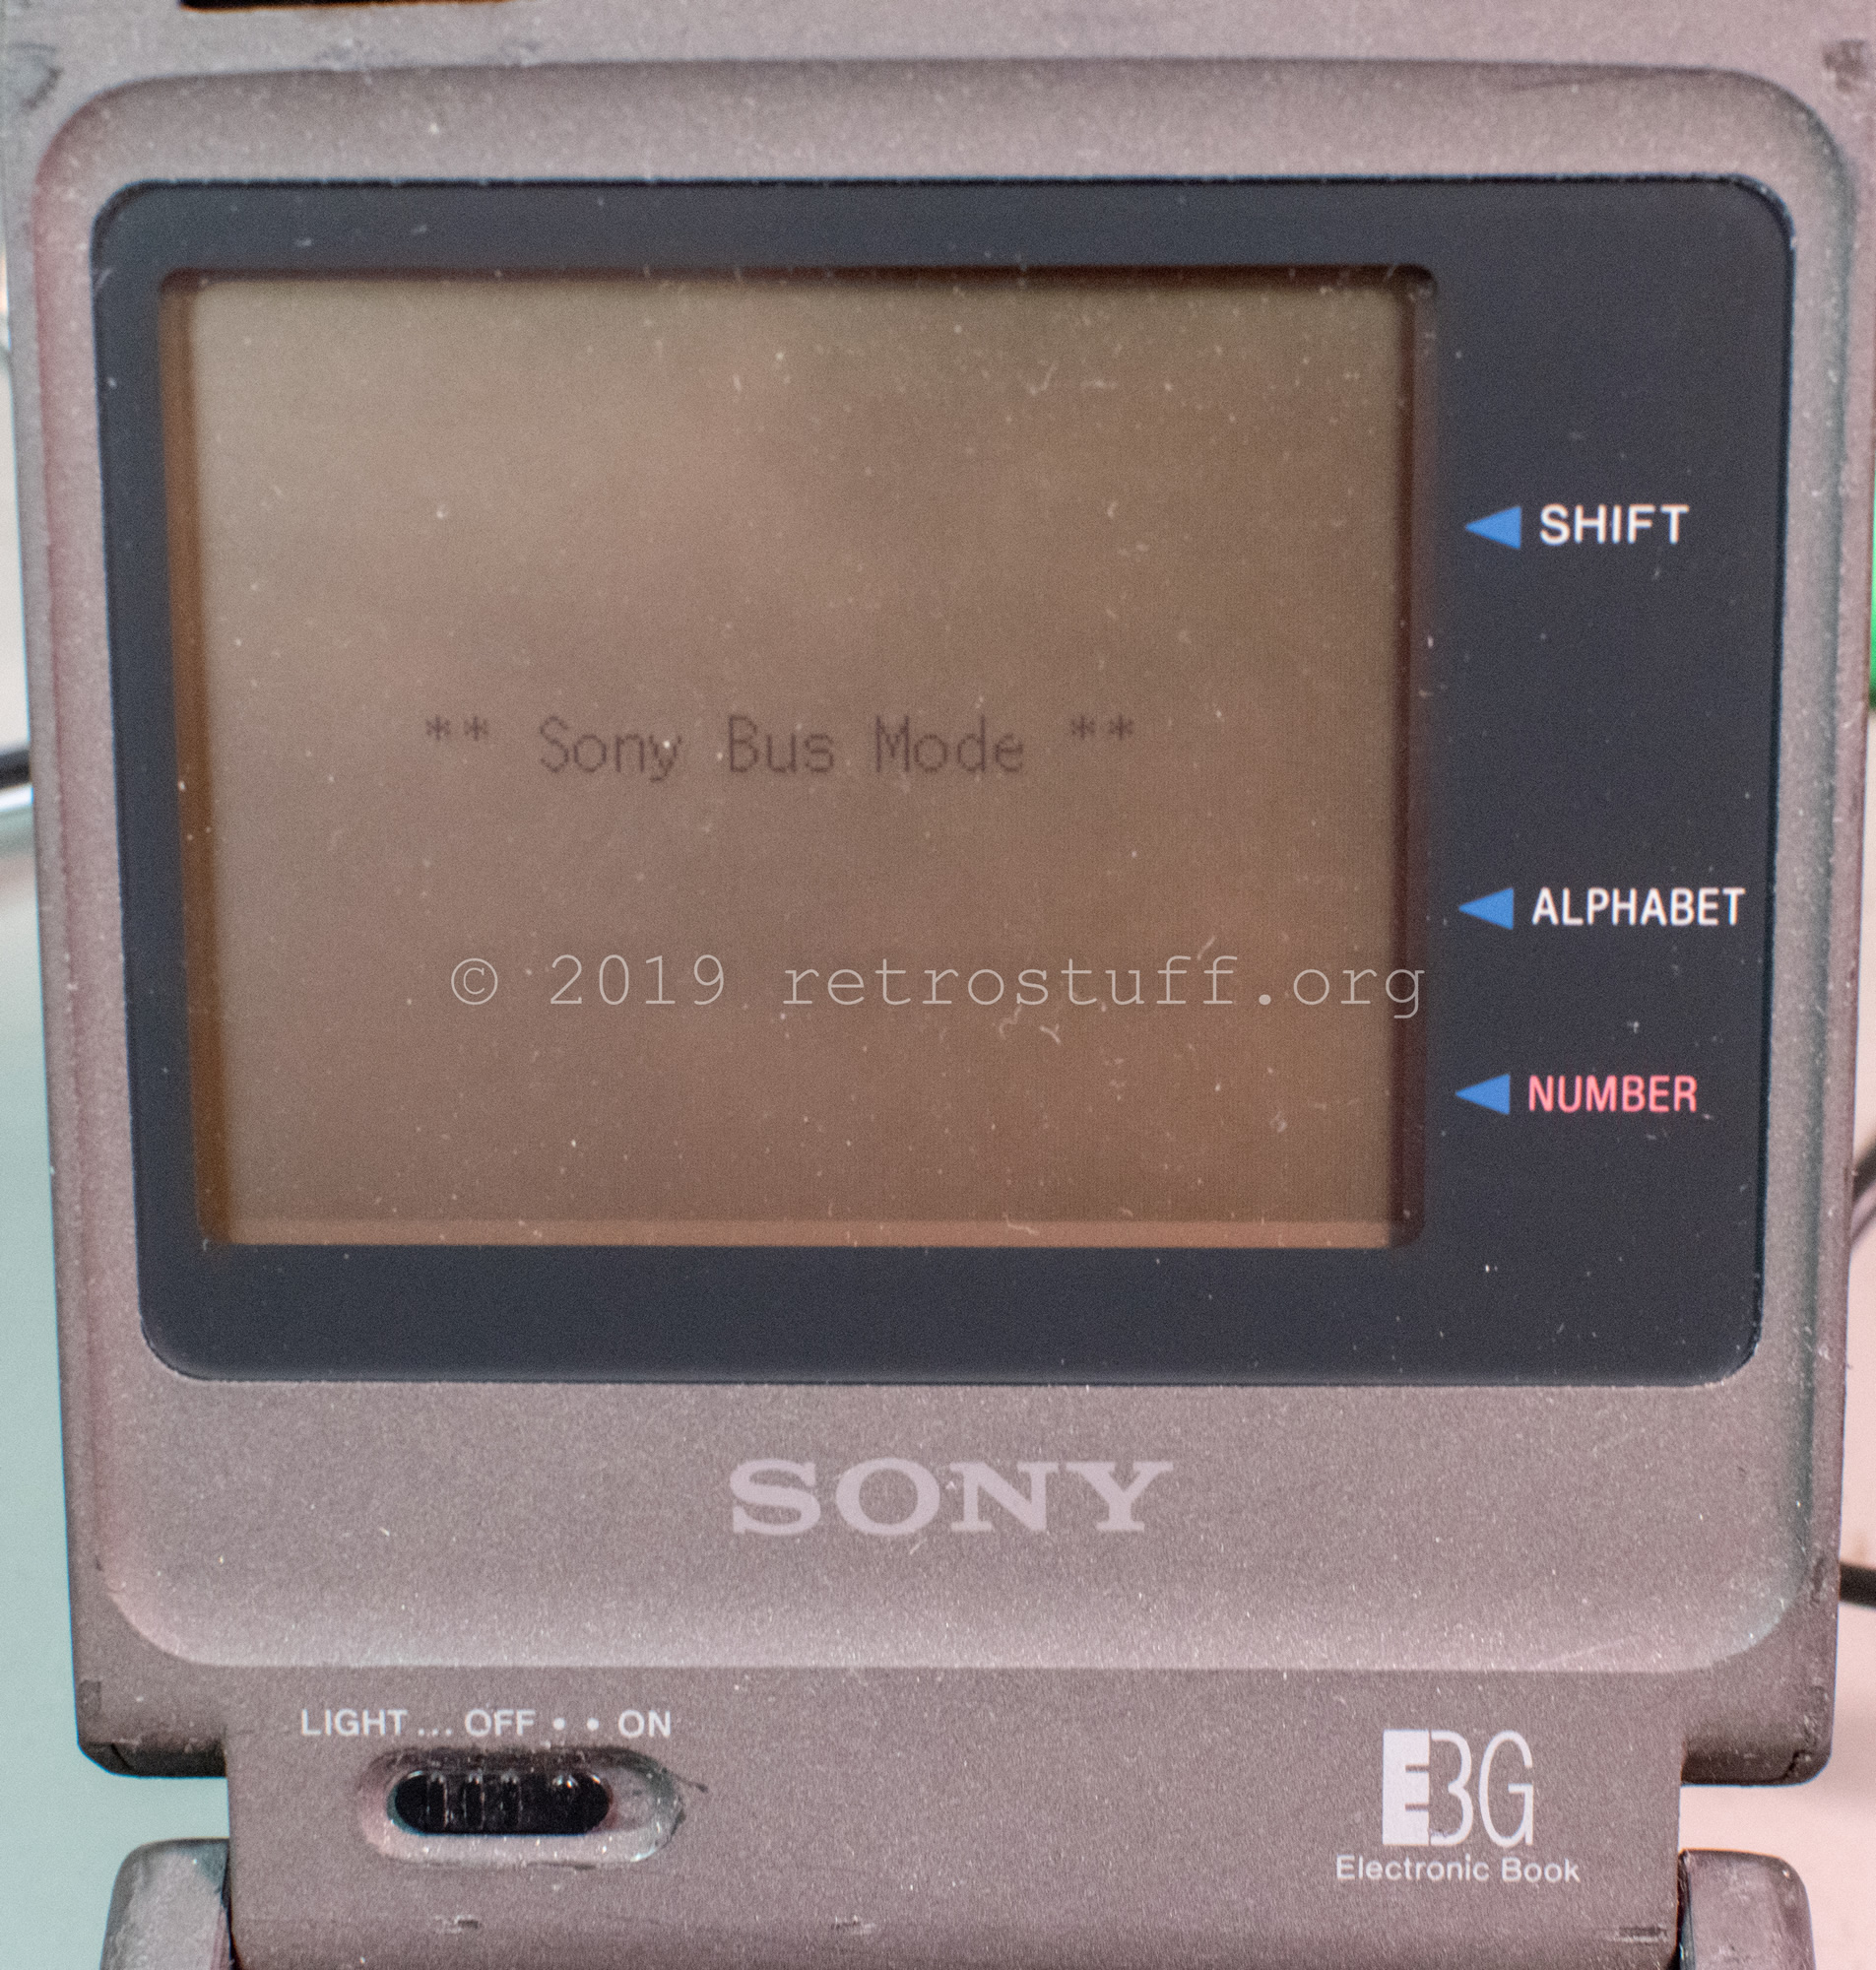
To access the service mode, the unit has to be turned off first by pressing the (STOP) button. Then hold the buttons (|<<) + (ALPHABET/NUMBER) + (F1) simultaneously and press (PLAY/PAUSE) to turn the unit on. When everything is done right, ** Sony Bus Mode ** is displayed on the screen.
These tests can be accessed by pressing the function keys on the keyboard:
(F1) – Displays various patterns and a Japanese character map
(F2) – Sample Disc Access
(F3) – Keyboard Check
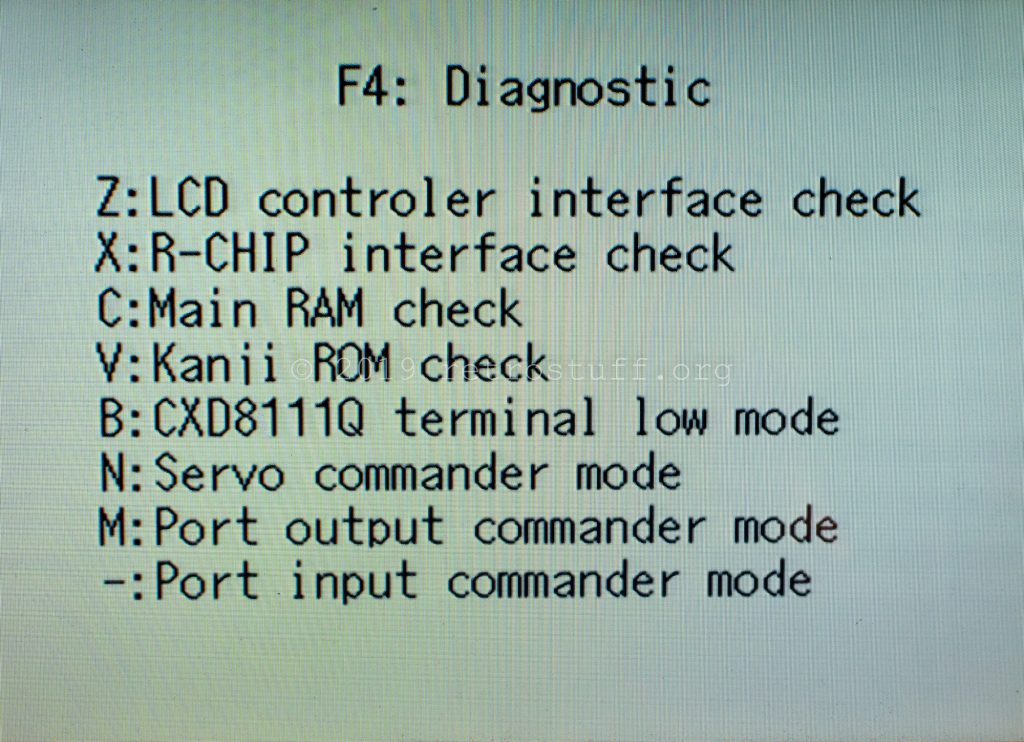
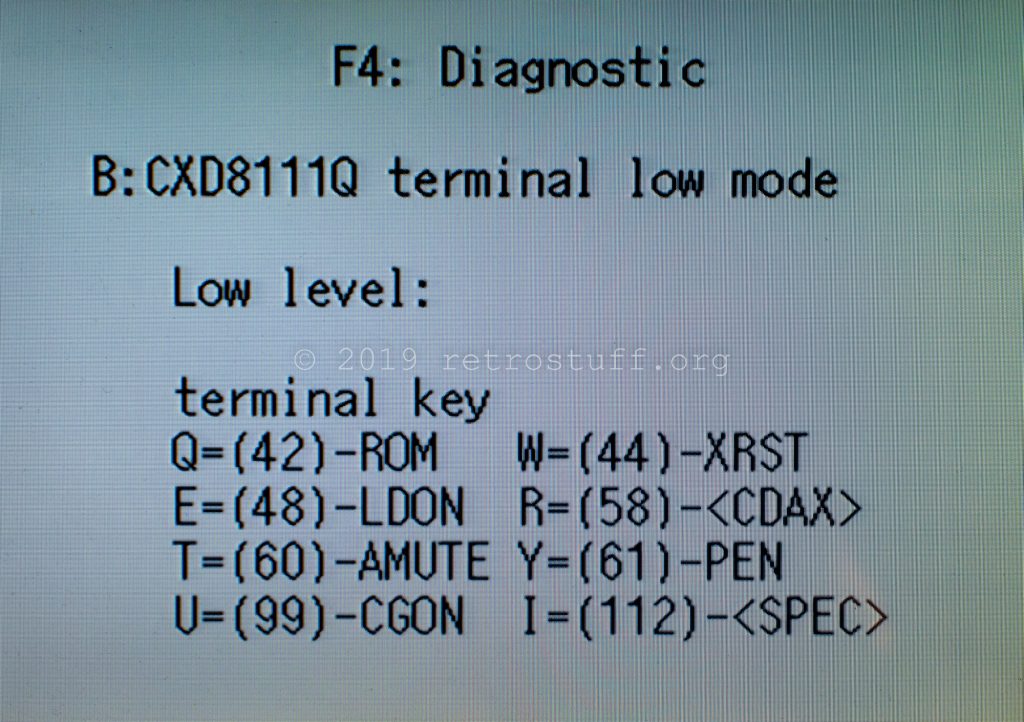
(F4) – Diagnostics
(F5) – Drive Check
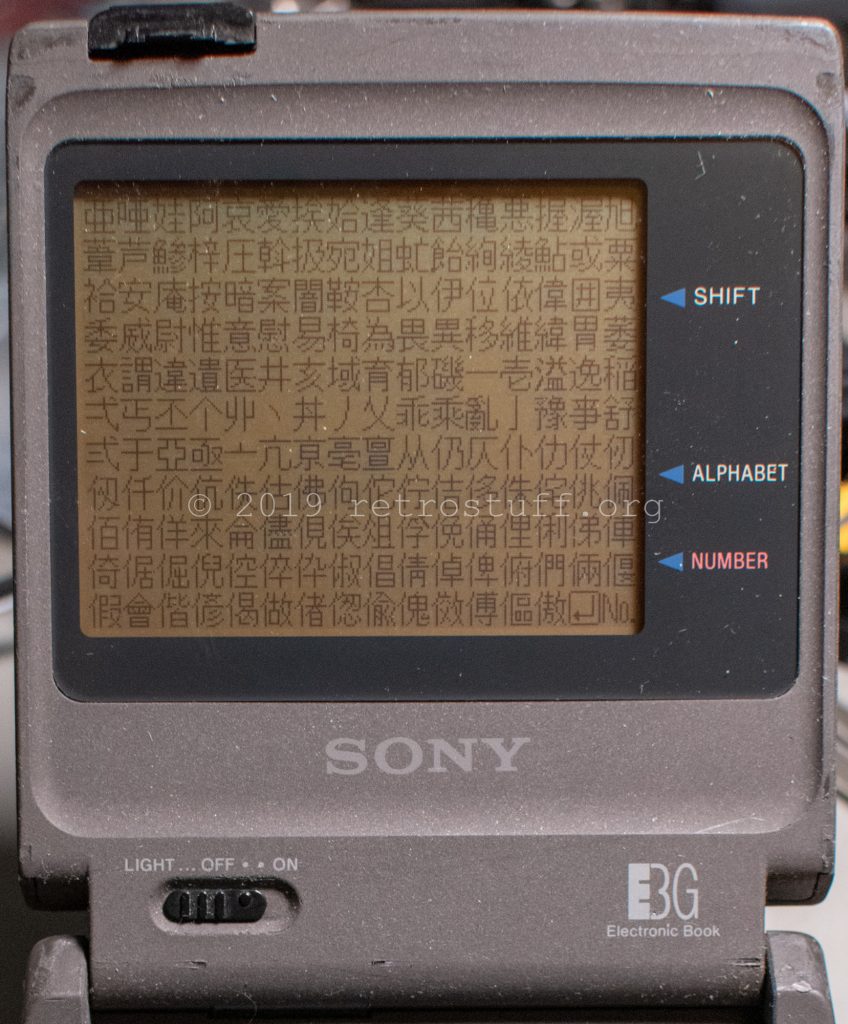
Sony DD-1EX Service Mode F1 
Sony DD-1EX Service Mode F2 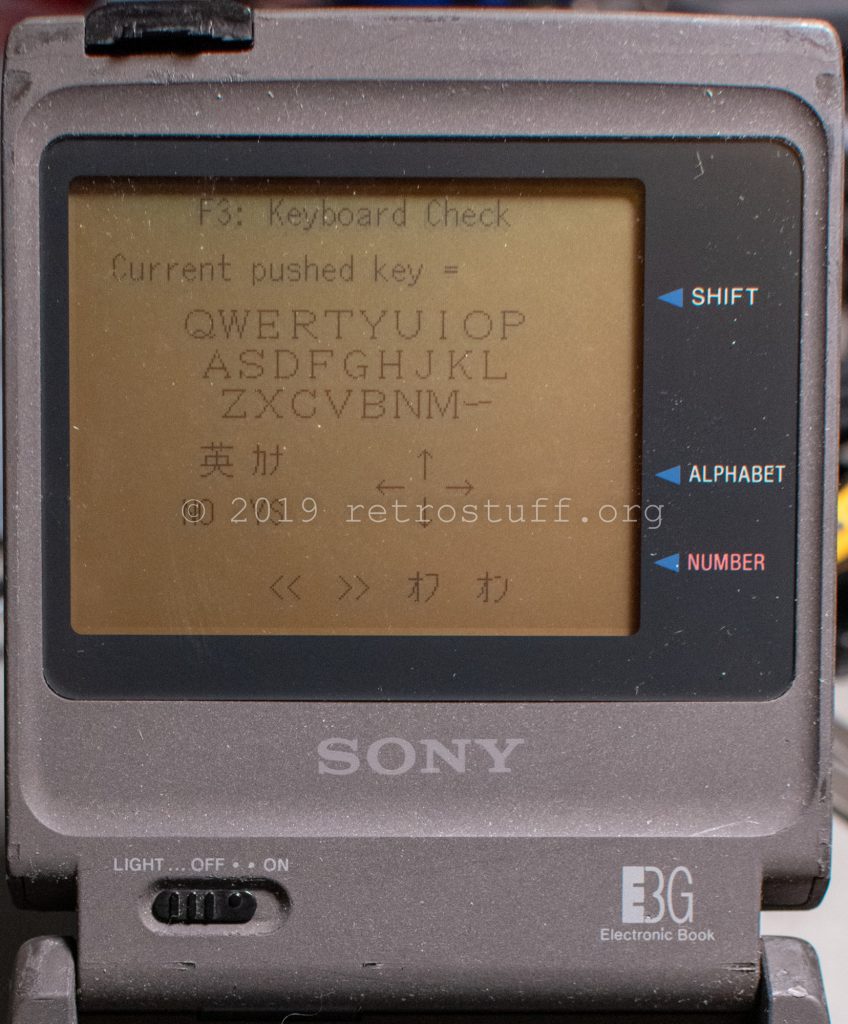
Sony DD-1EX Service Mode F3 
Sony DD-1EX Service Mode F4 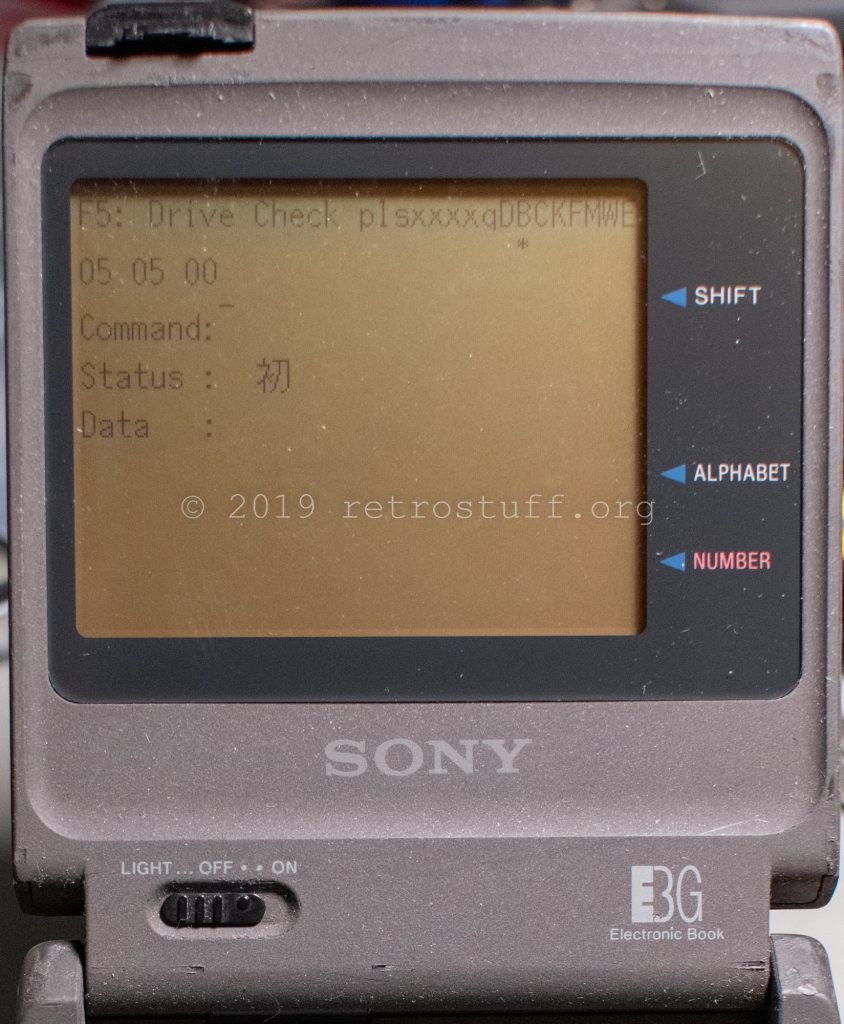
Sony DD-1EX Service Mode F5
To exit the service mode, simply unplug the power supply.
Backlight
As mentioned before, the backlight still doesn’t work. When the unit is switched on, it draws about 50 mA more current from the power supply, but nothing else happens. According to the schematics, the test point VEL should have a voltage of 65 V AC. I checked VEL and every other point in the area between inverter T100 and LCD connector CN401, but couldn’t find any voltage of that magnitude.
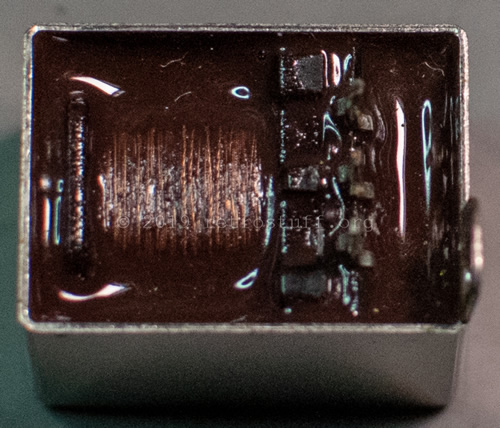
The inverter is the little metal box that you can see on pictures of the mainboard. It is labelled ‘TDK JAPAN EBX-537 9122’ and goes by part number/description ‘1-466-576-11 INVERTER UNIT’ in the service manual. I’m not an expert on inverters, so all I did was to remove it to take a picture from the inside:
Another possibility is a broken backlight element (EL801) that goes by part number/description ‘1-809-436-11 ELEMENT, EL (BACK LIGHT)’ in the service manual. I don’t know what exactly it is, but it can probably be replaced easily with a modern LED backlight. It is not possible to take better pictures without removing the glue strips that hold the LCD assembly in place.

Sony DD-1EX screen 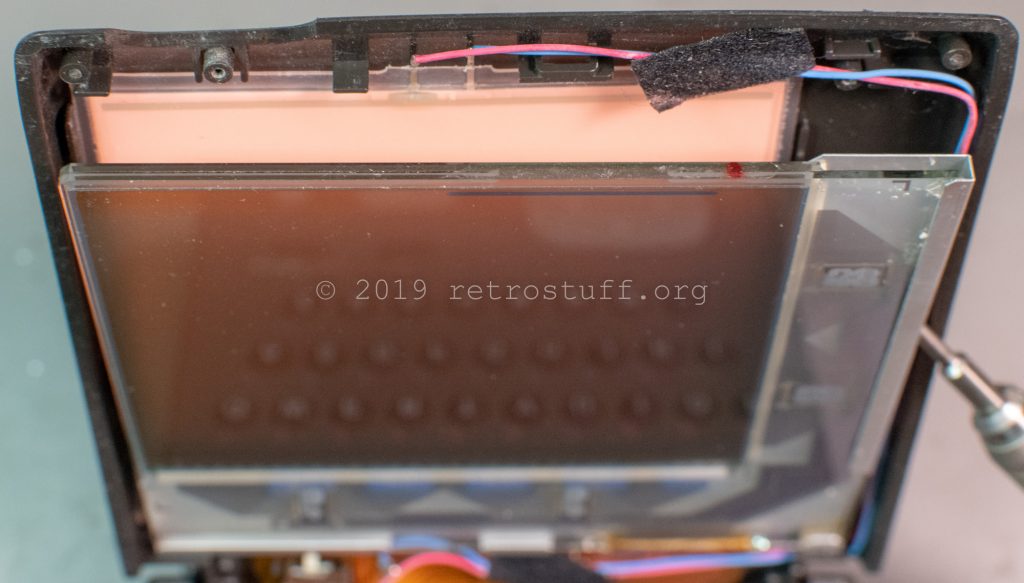
Sony DD-1EX backlight element
As initially said, this was an unplanned project and I didn’t want to spend too much time with it. The video output works fine, so I don’t need a backlit screen. For me, the Sony DD-1EX Data Discman repair is finished.
Sony DD-1EX Service Mode / video out 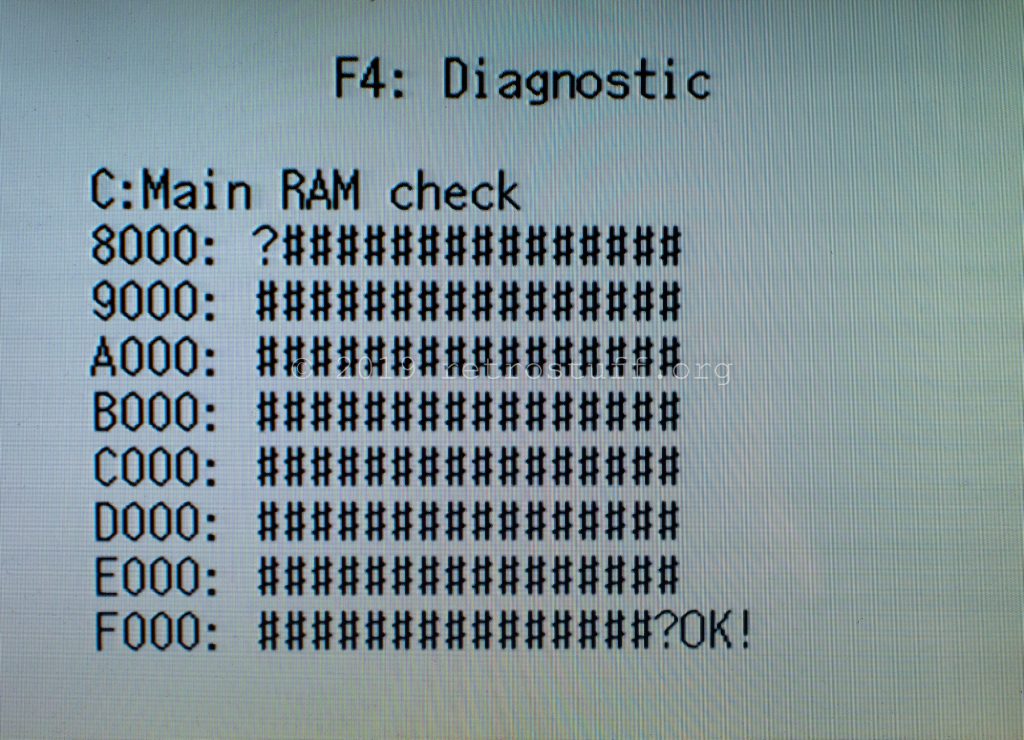
I own one of this model and one DD-20 Data Discman, and both are dead. Would you consider repairing both of them?
Sorry, I don’t offer a repair service.