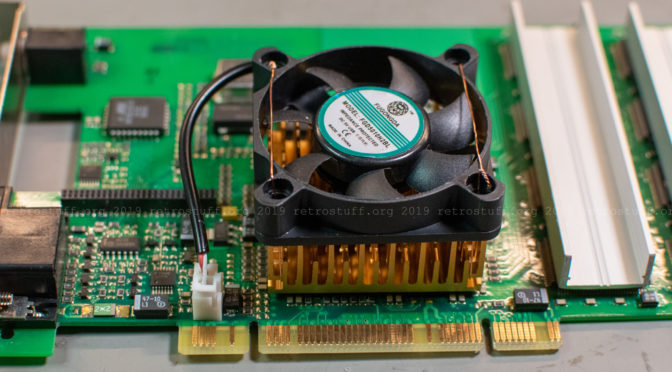
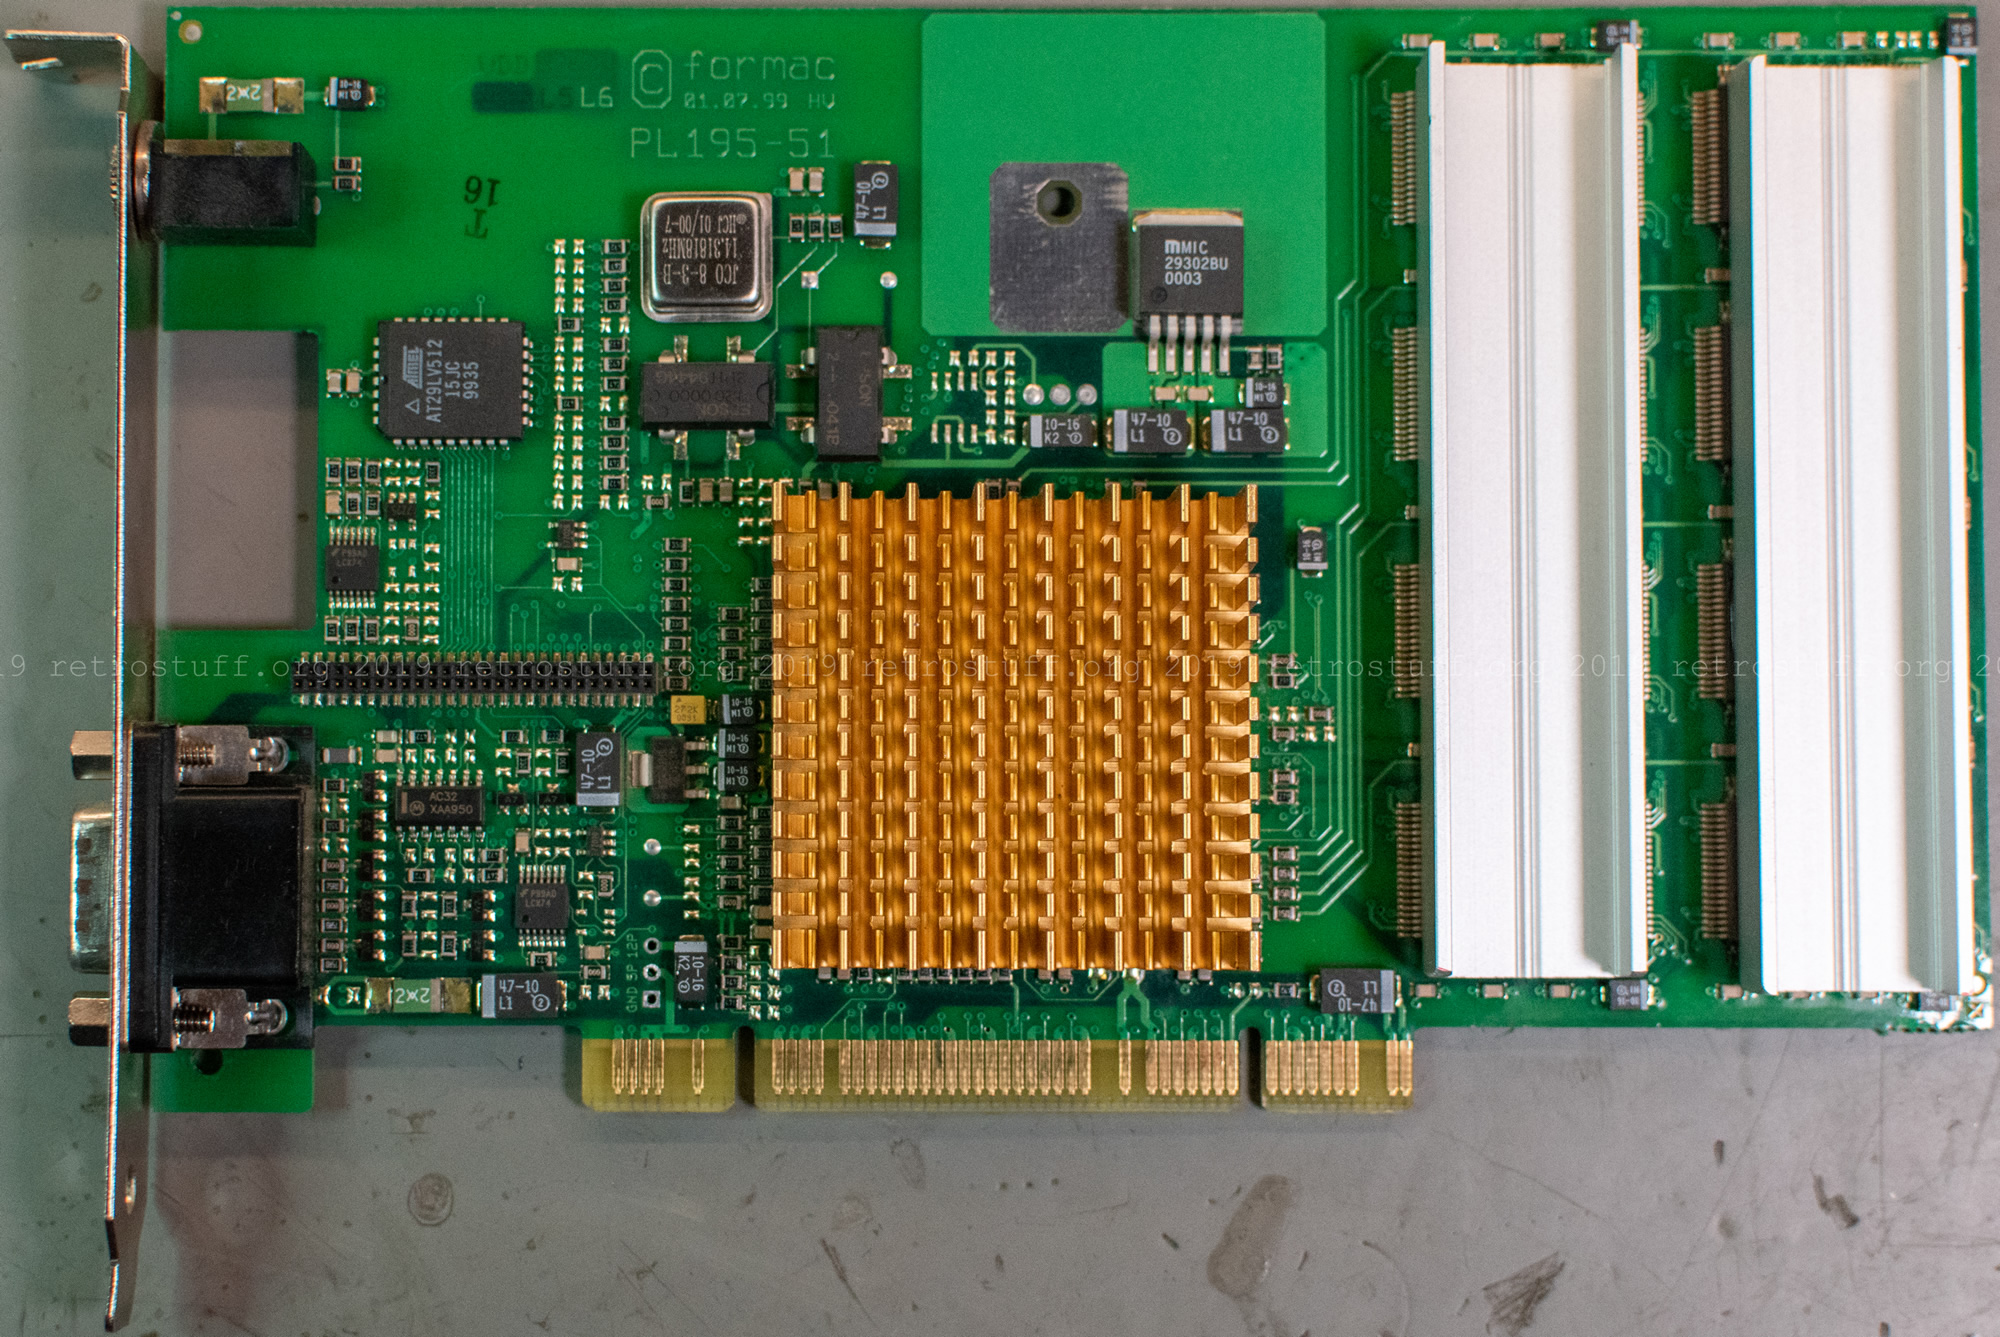
This is a quick fix for my Apple Power Macintosh 7500/100. It doesn’t have its own article yet and has only been mentioned a coupleoftimes. This article also isn’t about the Power Macintosh itself, but about the graphics accelerator that the previous owner had built in. The Formac ProFormance 3 Plus was advertised as “The Fastest Graphics Accelerator for your Mac” in 1999. This is the best version of ProFormance 3 with 300 MHz pixel frequency and 32 MB SGRAM (PNGA94-5).
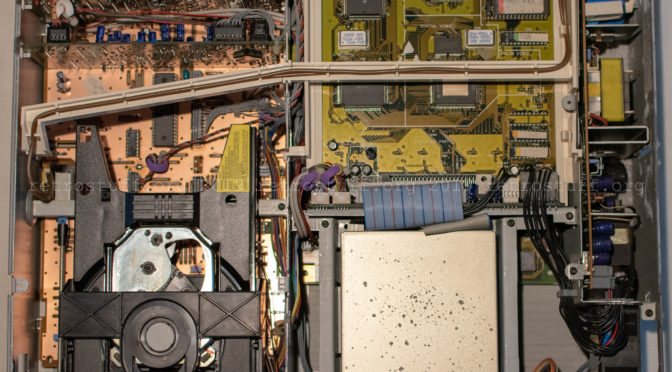
My Philips CDI605T/20 needed repairs before I could use it fully. Some of the repairs were mandatory for operation (Timekeeper), while others were to make it easier on the ears (fan, optical disc drive tray). I already had experience with a Mini MMC chassis on the very similar consumer player CDI220/00 and knew what to expect inside (its service manual helped a bit). It is actually possible to perform these repairs without taking the entire case apart (see the Shortcut sections). I took special precautions and took photos of each step so that I could put everything back together in the end.
I began with removing the case and the bezels of the extension cards on the rear. Make sure to slide out the lower card first, otherwise its metal plate will grind on the solder side of the upper card.
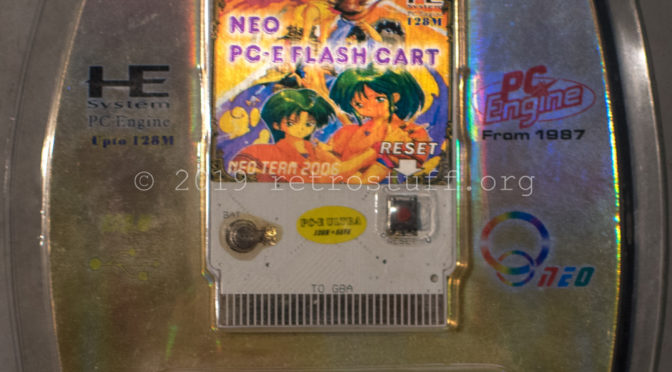
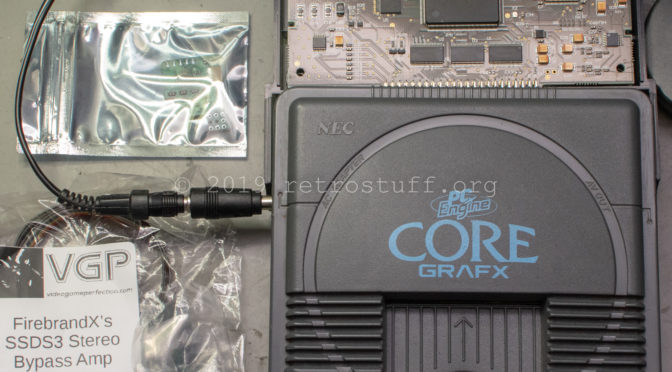
The PC Engine flash cart by Neo Team was first released in 2006, ten years before the Turbo EverDrive was born. In 2009, they added a save feature and released it as the new version V1.1 or ‘128+SAVE’. There is no unique name of this cart because there were usually expressions like ‘power’, ‘super’ or ‘ultra’ added to the name. I bought this cart in 2011 but didn’t use it very often. It just wasn’t as compatible as it claimed to be. With the advent of 64-bit Windows 8, driver troubles limited the usability even further. And I never got the save feature to work. The whole package was sitting on my shelf until last year when I took it out again to compare it with the Super SD System 3.
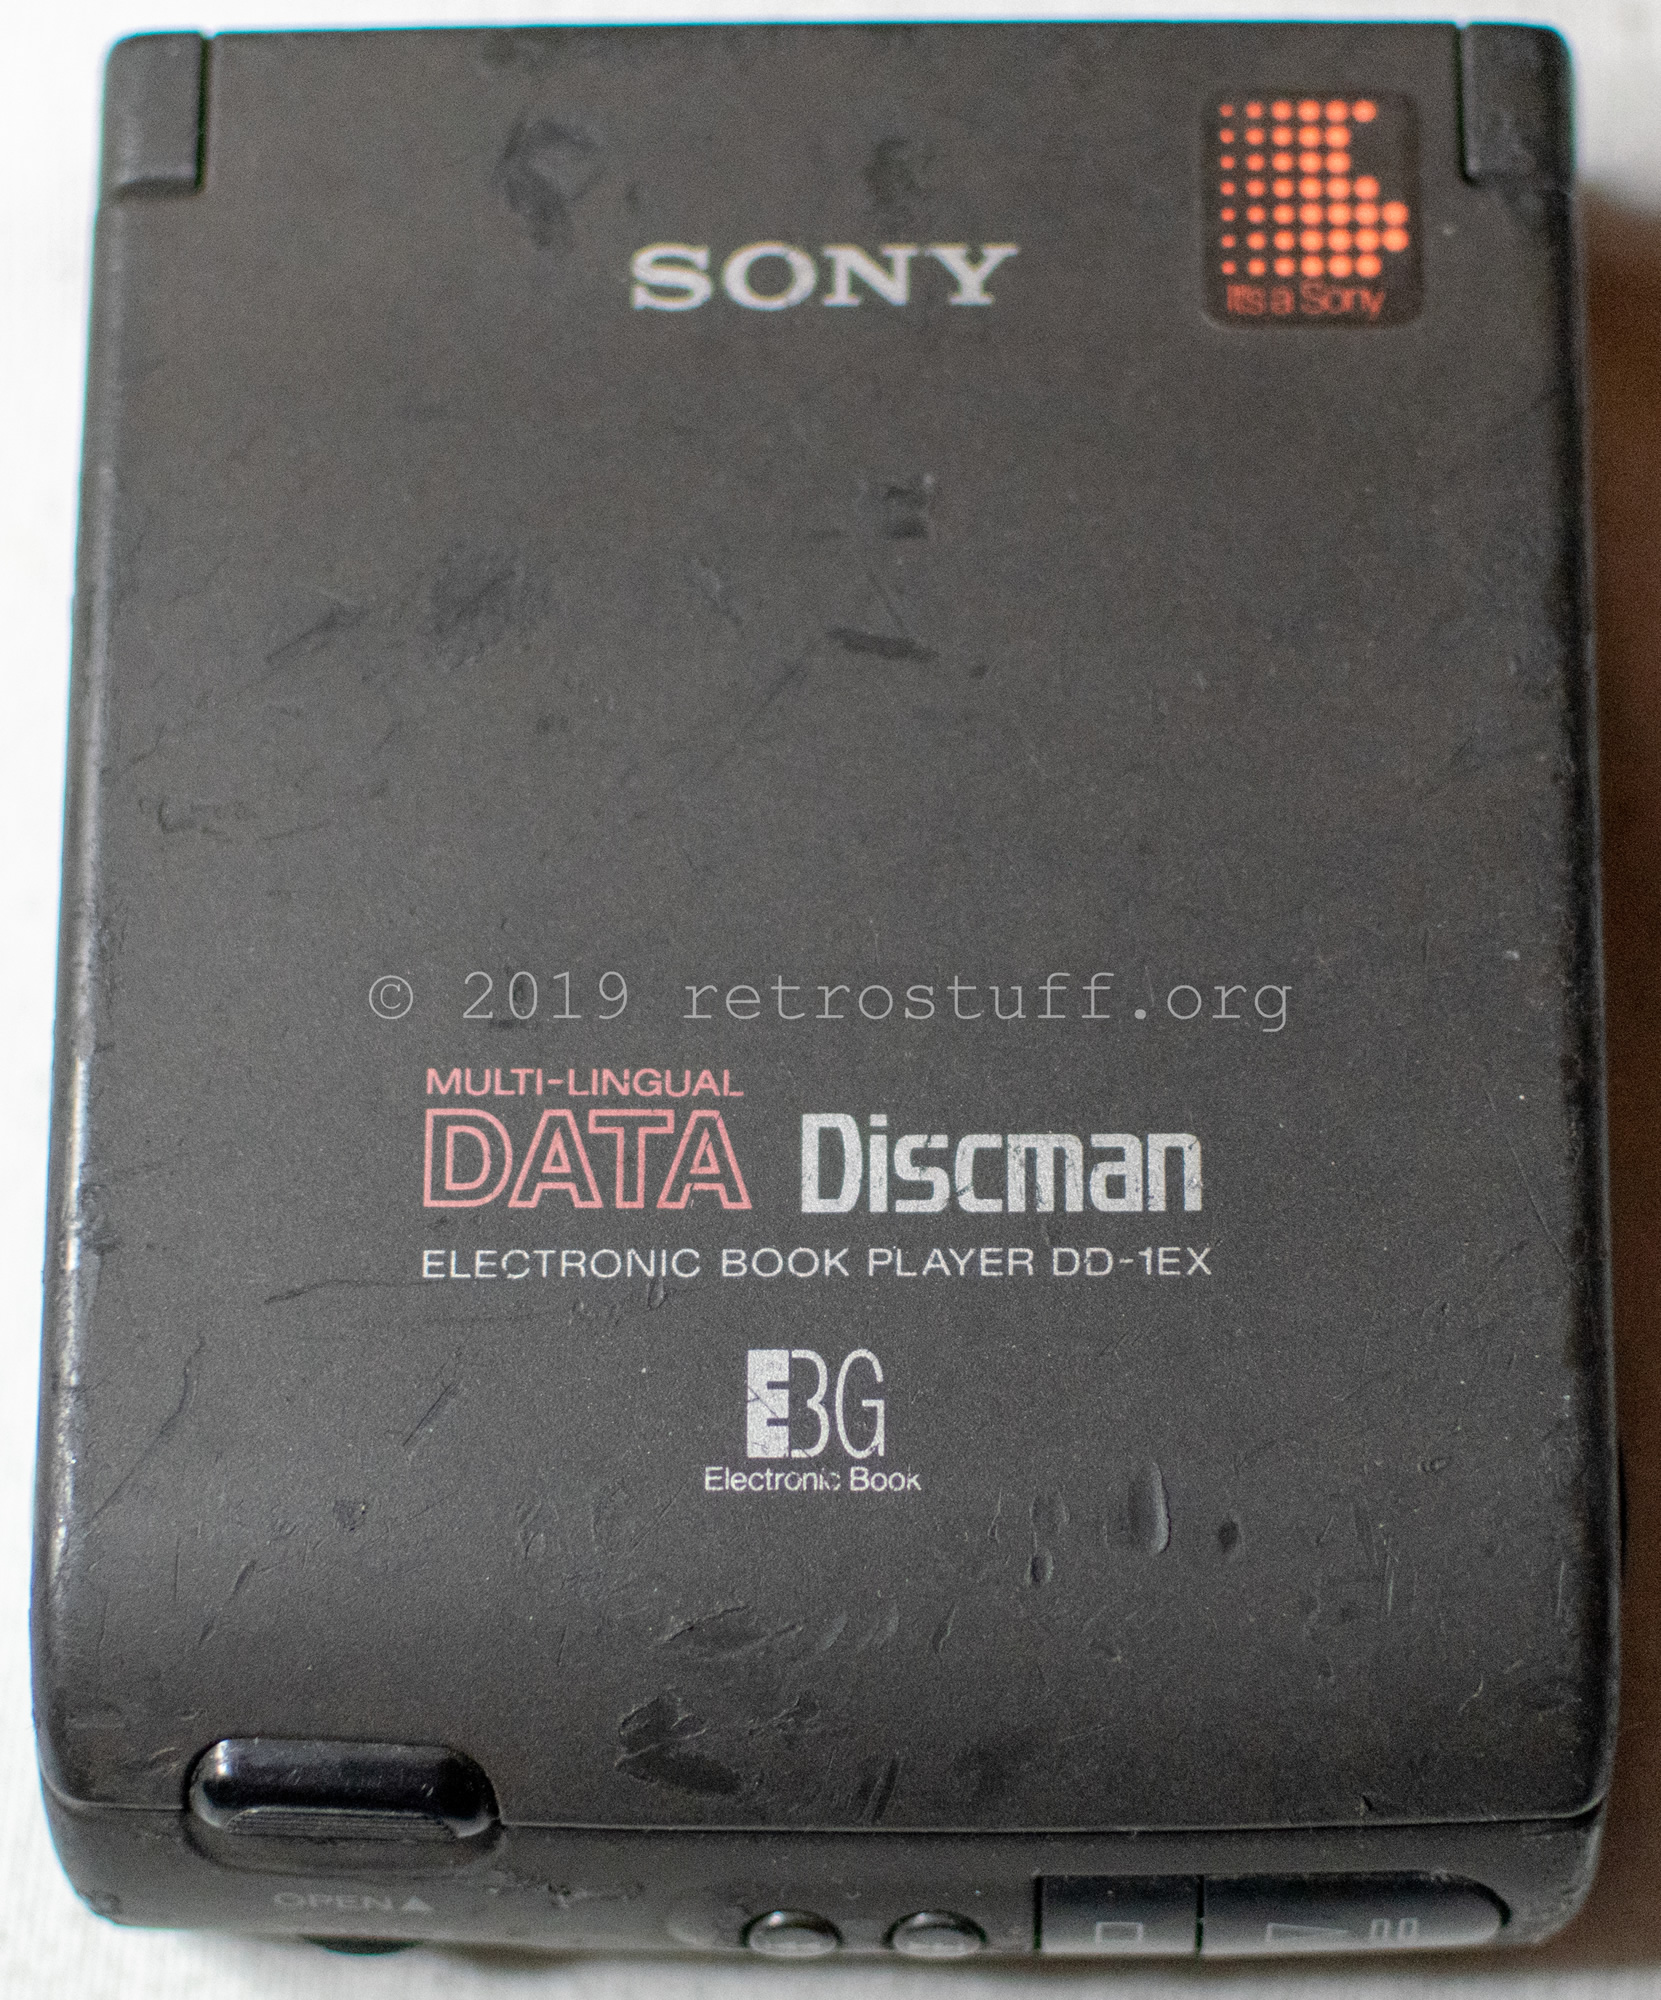
This was an unplanned project. When I bought my first EBG disc for the Sega Saturn Electronic Book Operator, a Sony DD-1EX Data Discman came along with it. As it didn’t turn on, I took a closer look and found leaking capacitors and some stowaways.
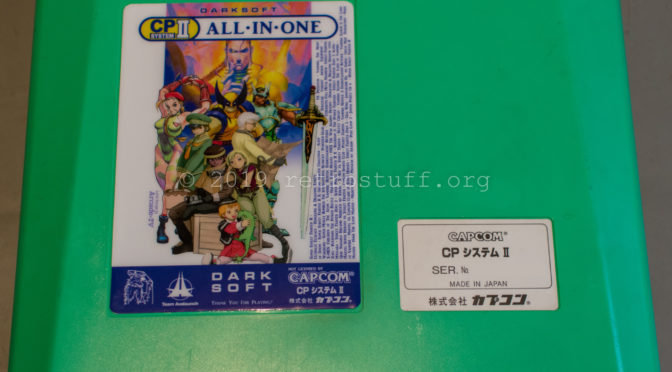
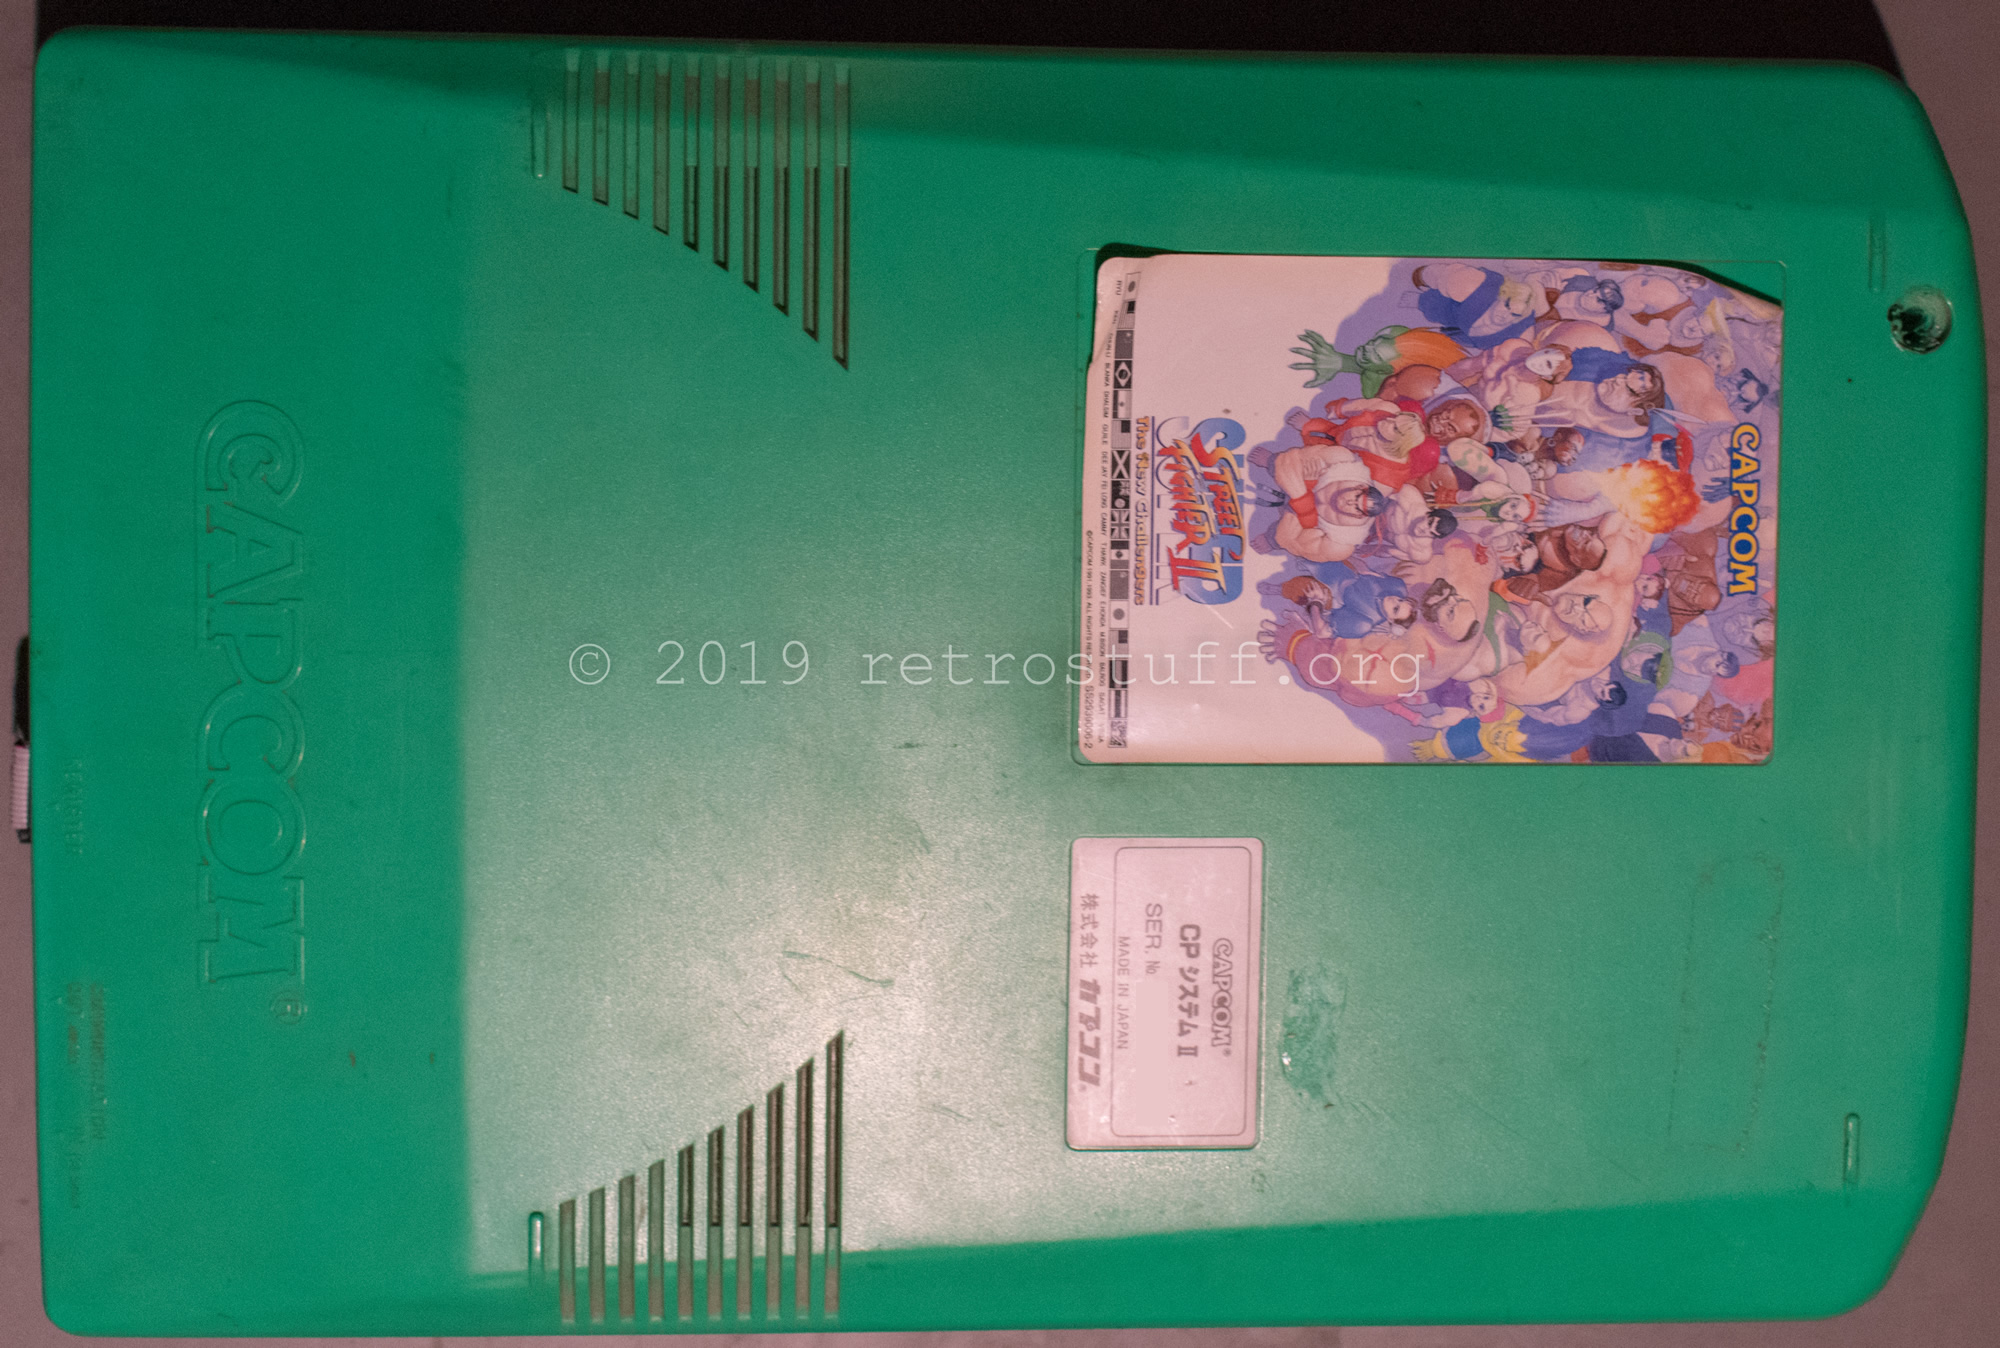
After I had my first MVS at home, it didn’t take long until more arcade hardware followed. For example this CPS2. It looks shabby and needs some work, but it already has a Darksoft CPS2 Multi Kit installed.
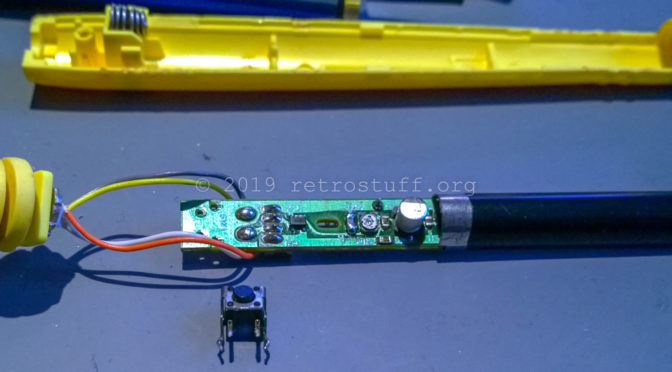
When I bought a second-hand Sega Pico in 2015, I immediatly noticed that something must be wrong with it. I didn’t expect a lot of interactivity or gameplay, but at least it should let me draw something. It turned out that the pen was registering the position/movement and also made a clicking noise when pressed down, but nothing else happened. The error was quickly found and repaired (broken micro switch), but the photos have been waiting on my hard drive ever since. A short repair instruction was posted on the ASSEMblergames board in the following year, so I didn’t see the need to rush out an article. Well, here we go:
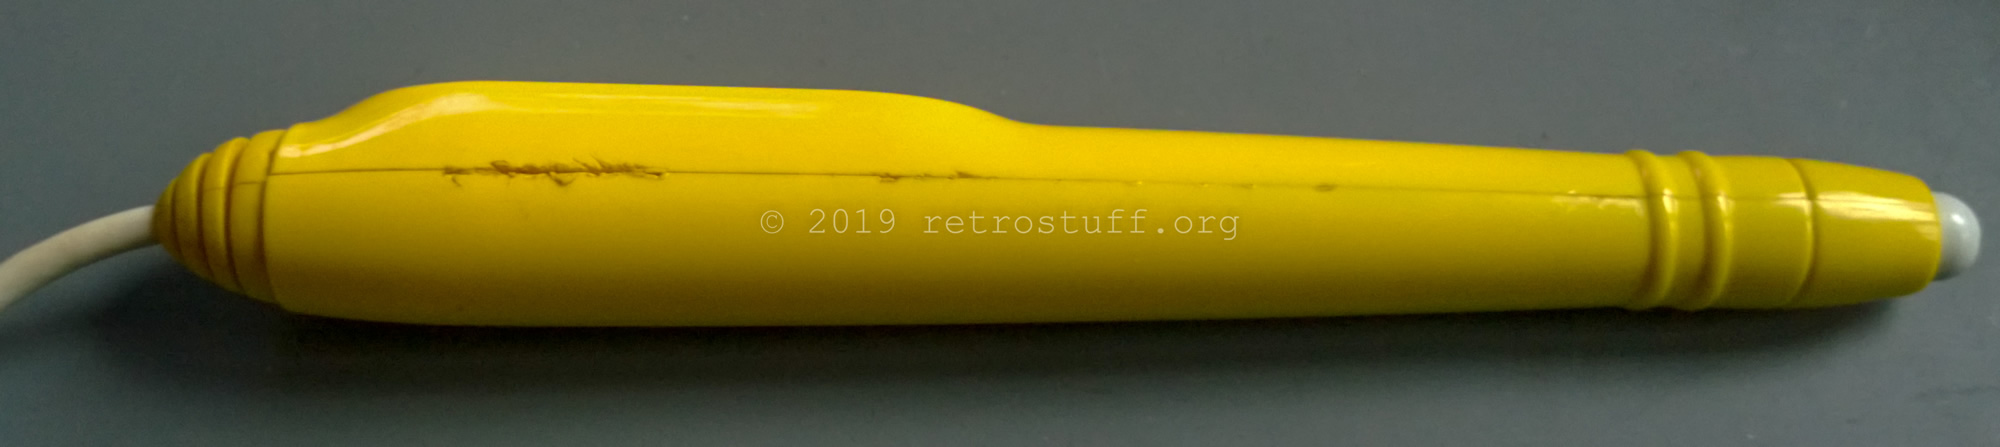
The label of the pen is missing and it seems that somebody tried to open it up before me:
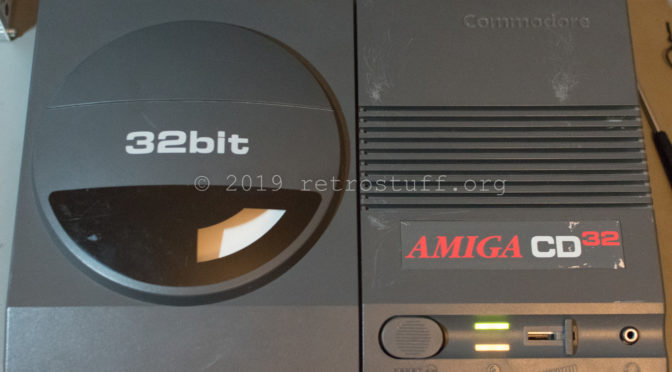
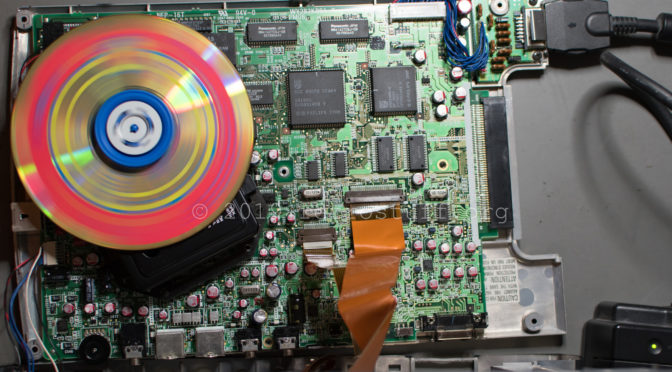
This repair was not planned at all and took place while I was waiting for the capacitors for my CDI350 to arrive. I was thinking about buying a SX-1 or SX-32 extension for my Amiga CD³², and was recommended to go for a much cheaper modern extension: the TF328.
The TF328 needs a Kickstart 3.1 rev 40.60 to access the CF card, as there is no IDE driver in the earlier revision 40.56. Upon checking my CD³², there was not only the smell of electrolyte, there was also visible damage caused by leaking capacitors.
Last year I began to disassemble and repair one of my Philips CDI350 players. This has been covered in the article Philips CDI350 Repair Part 1.
After that, it took me a while to make a list of all capacitors, to find replacement parts (the original Philips part numbers are not useful anymore) and to find shops that had them on stock.
The scanned CDI350 service manual on ICDIA is missing the pages 78 and 79, which contain the parts lists of the servo and power sections. I found some of the missing parts in the CDI360 service manual and some by comparing the removed parts with both service manuals.
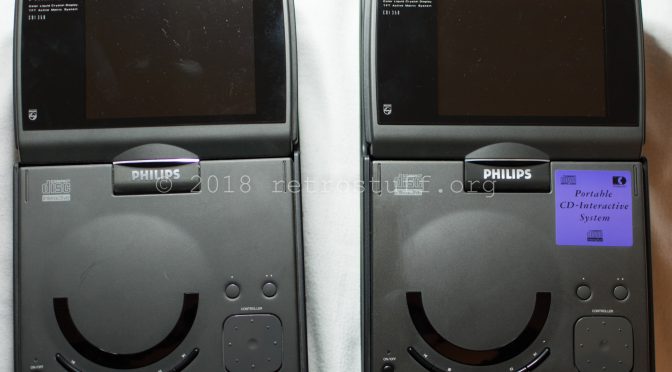
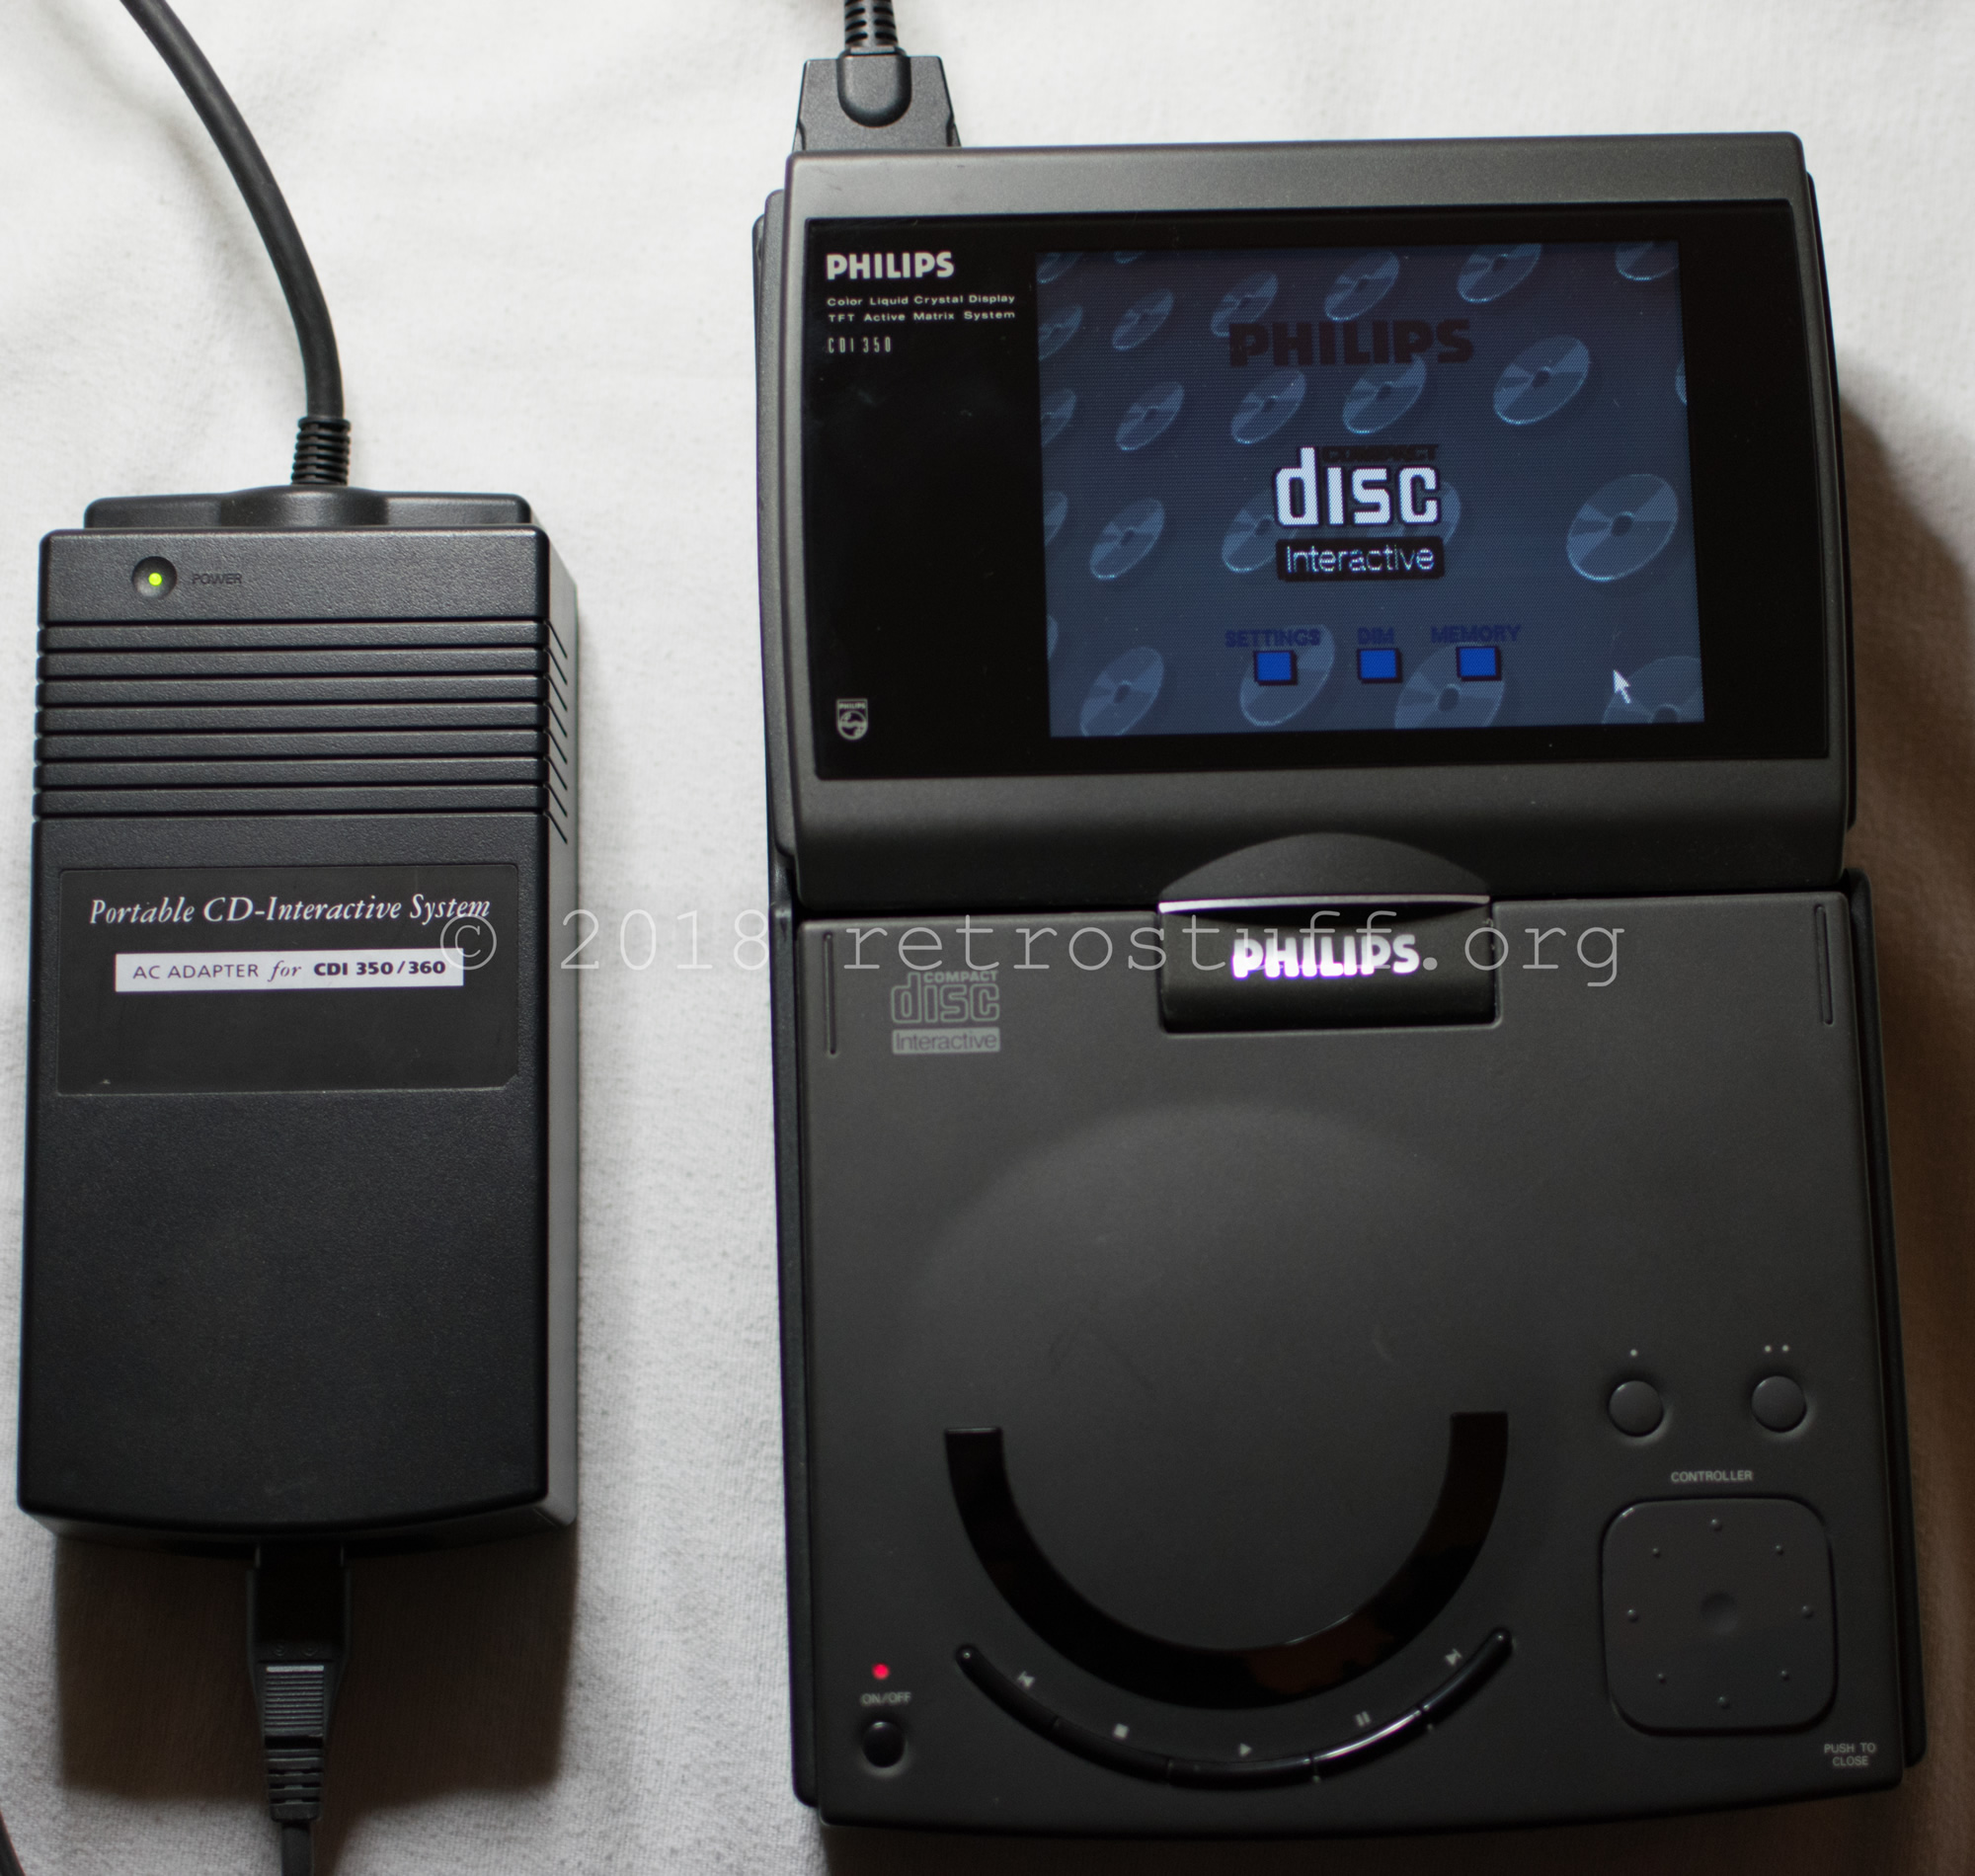
Two portable Philips CD-i players (CDI350) came into my care last month. They show common errors, such as not loading any CDs and not storing any settings, and also flickering screens. Let’s have a look inside and repair them.
The screen becomes normal after a while so that I can navigate.