
Neo Geo games and hardware have been a part of my life for many years. As I was looking at store displays during the early 90s, I was amazed at how huge these game carts were in comparison with other consoles, such as the Nintendo GameBoy.
In the late 90s, the emulators NeoRAGE and NeoRAGEx introduced me to the world of Neo Geo and arcade emulation. At that time, MAME didn’t yet have the capacity to emulate those games properly and at a decent speed. Later on, when MAME finally became a useable Neo Geo emulator, it became quite easy to add new released games and dumps to the source code, and play them as well.
Over the years I collected many consoles of the Neo Geo family, including the CD, CDZ, Pocket, Pocket Color and Neo Geo X. However, I never bought the original MVS/AES hardware, mainly because of the unreasonably high prices of the games. The availability of the NEOSD cartridge changed this, and finally two used/partially broken 2-slot MVS motherboards made it to my home this year. I didn’t expect them to be that huge though.
MVS motherboards are not designed for plug & play use at home, which is why they require an arcade cabinet with a MVS compatible JAMMA harness.
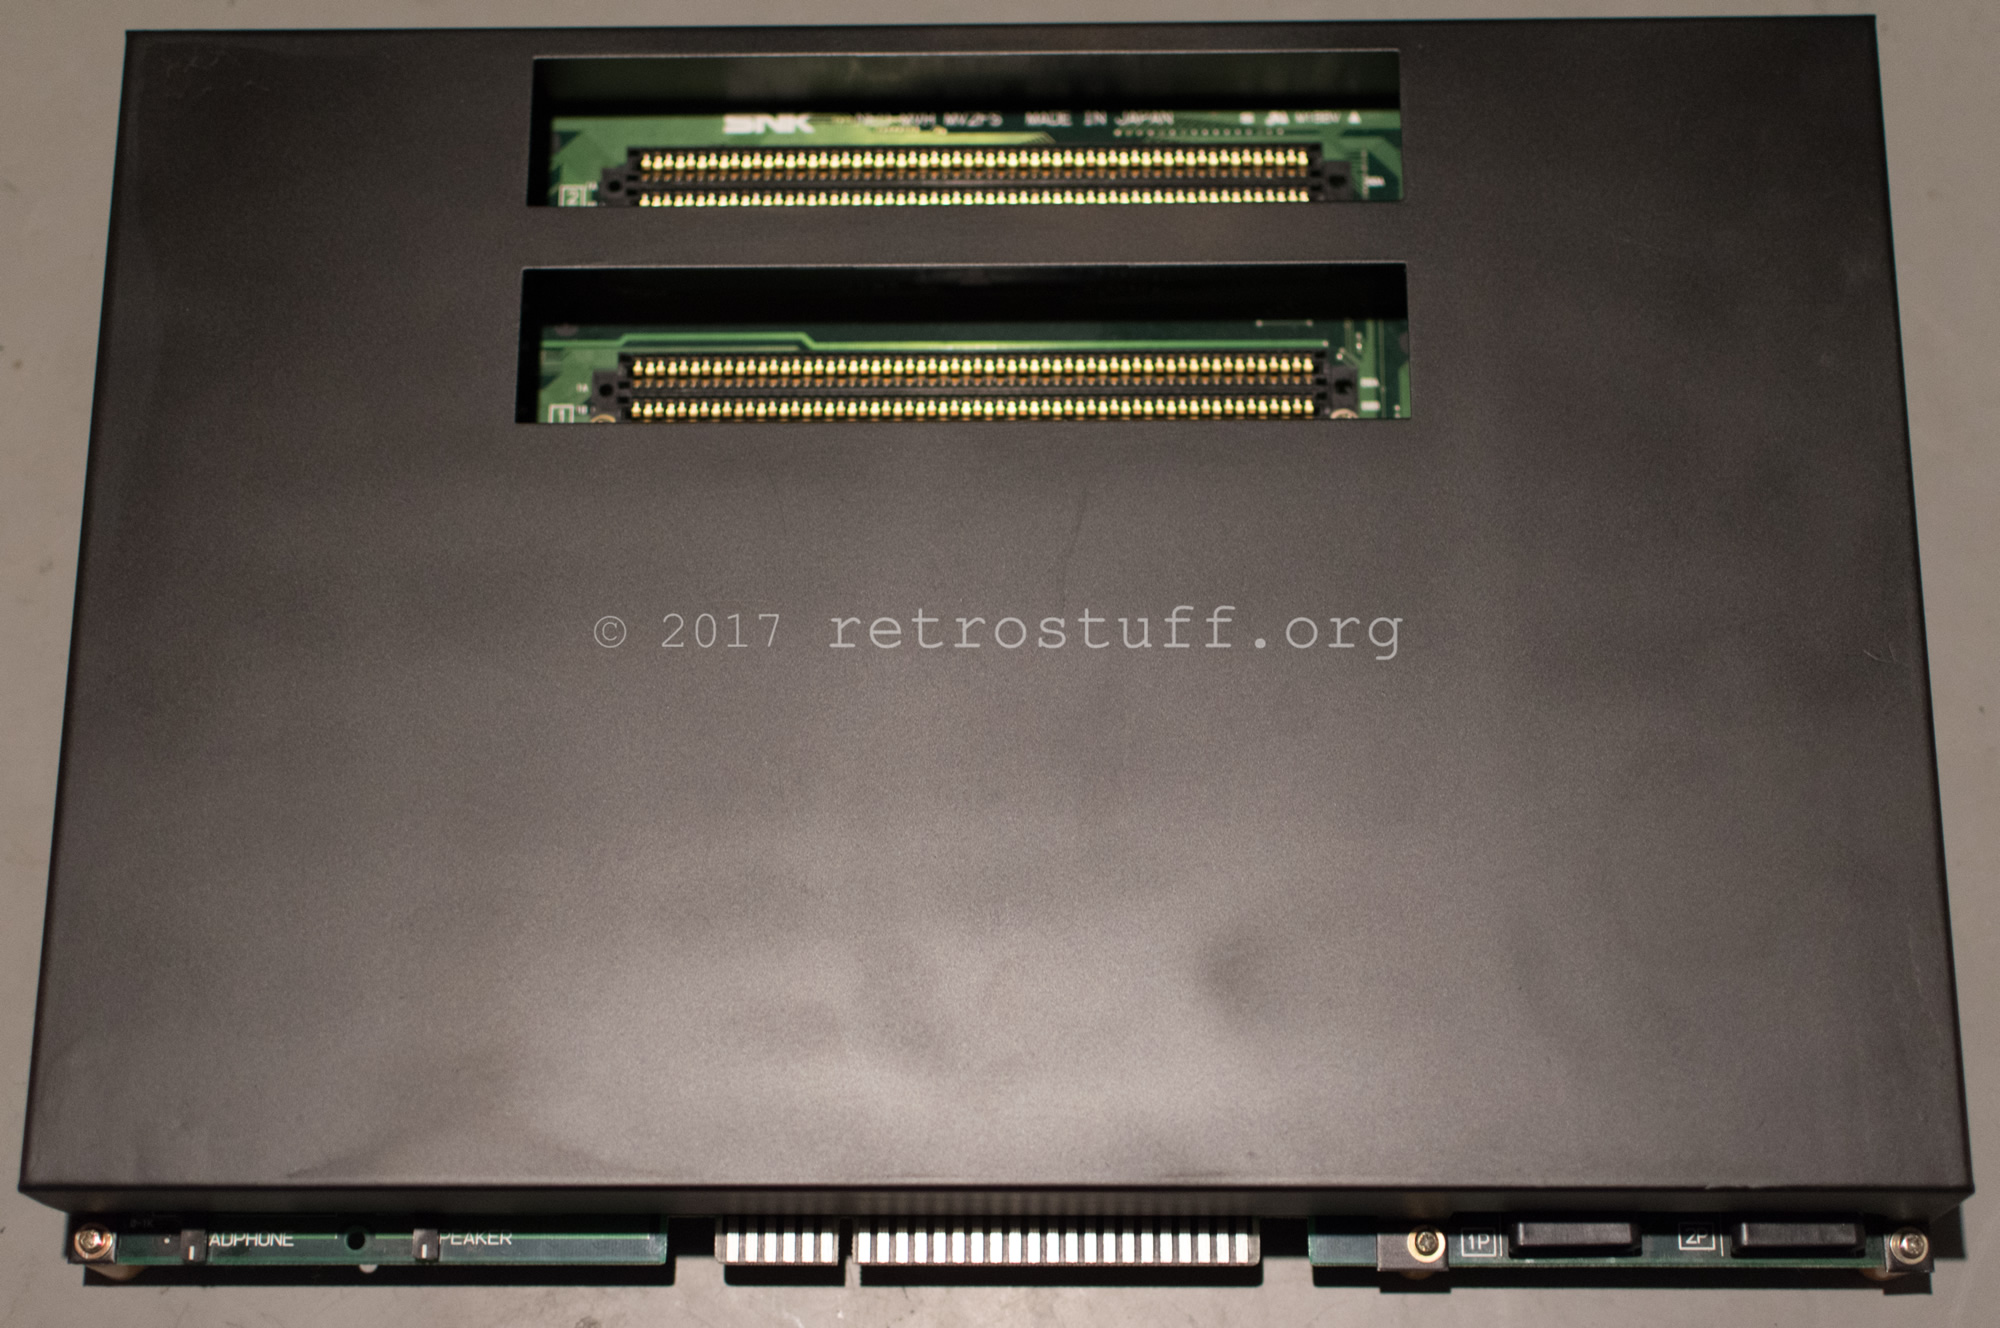
Other possibilities are to use a MAK/SuperGun, or consolize the motherboard. There are many tutorials available at Jamma Nation X. I chose MV2FS motherboards because they already come equipped with two AES compatible joystick ports, stereo sound output and a memory card reader. These features make it more accessible for home use.
Testing
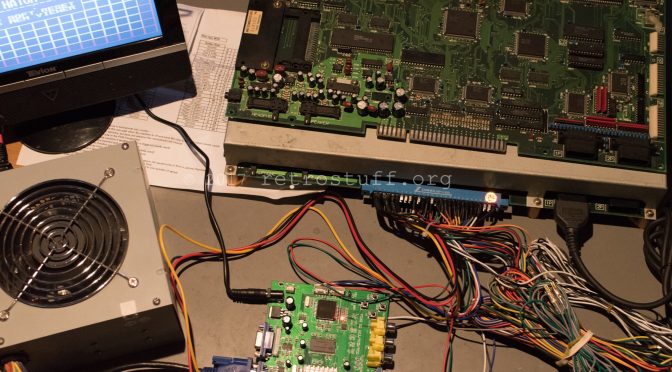
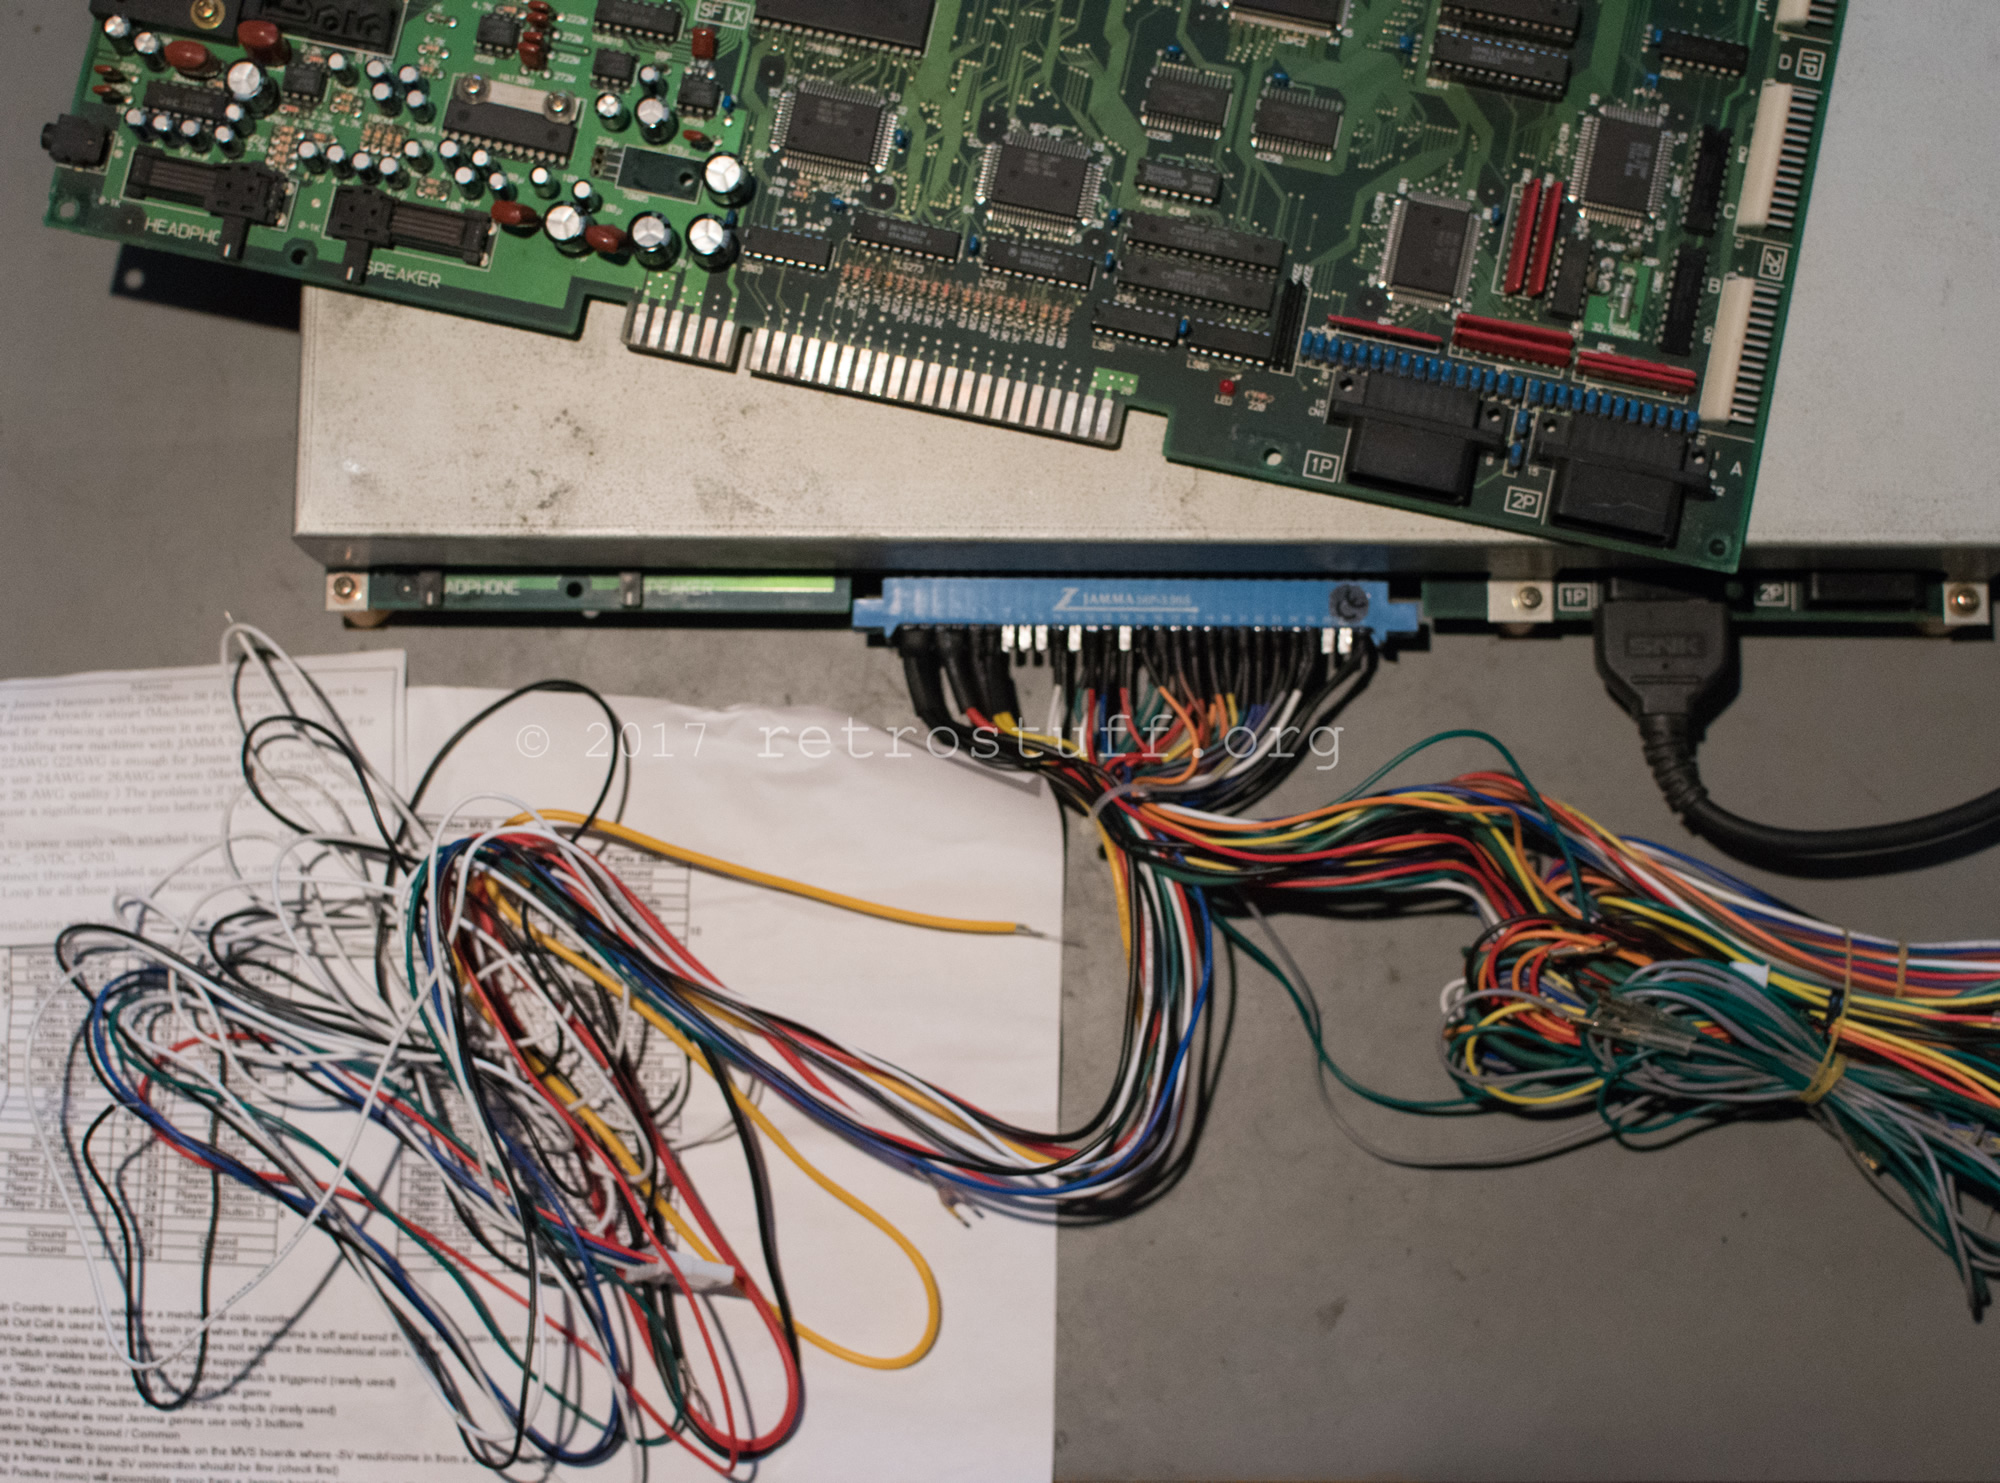
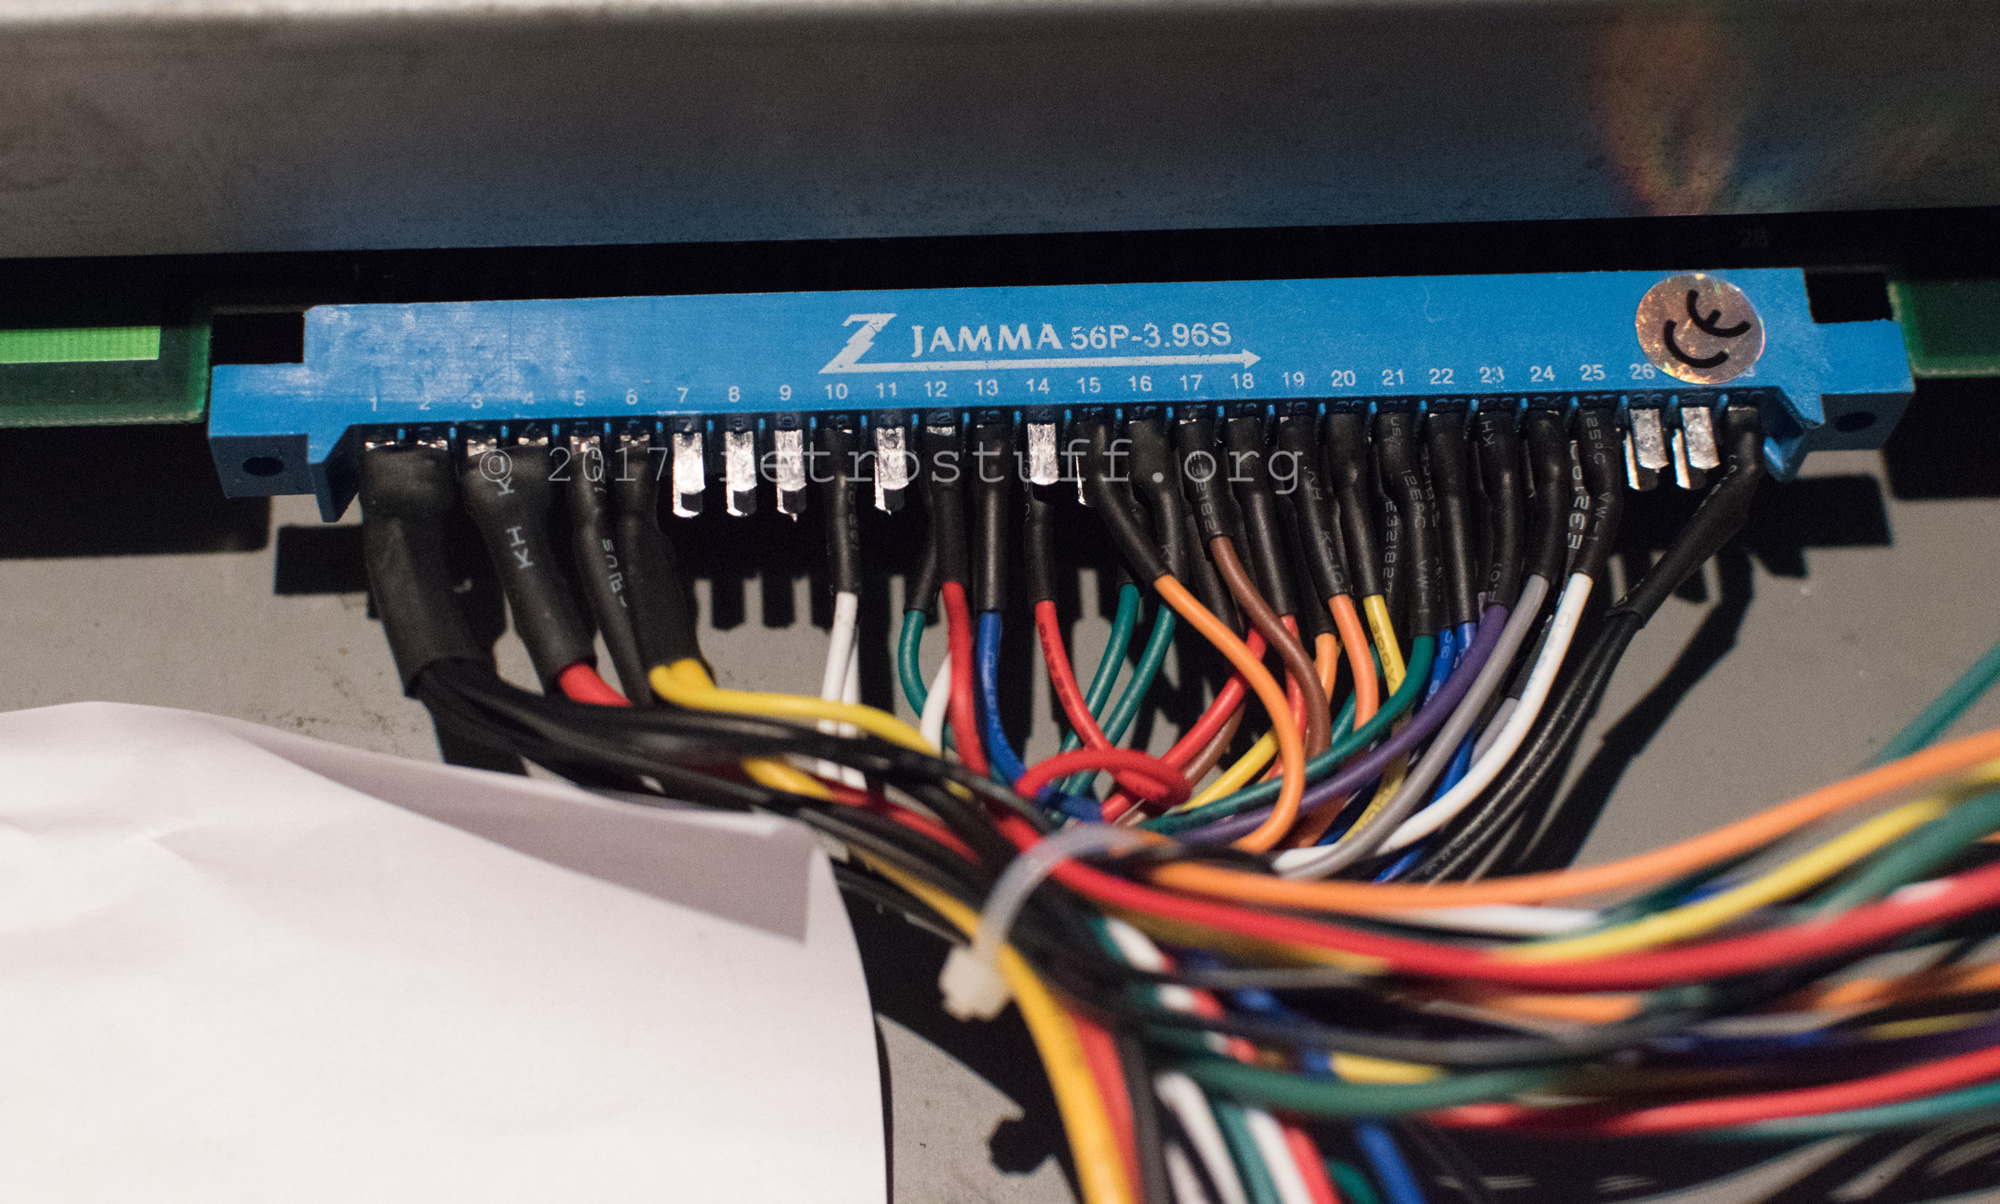
For the first test I hooked up the fully wired JAMMA harness to a PC power supply for +5 and +12 V. The video plug fits right into a GBS-8220 CGA2VGA converter which generates an image of average quality, but good enough for testing purposes.
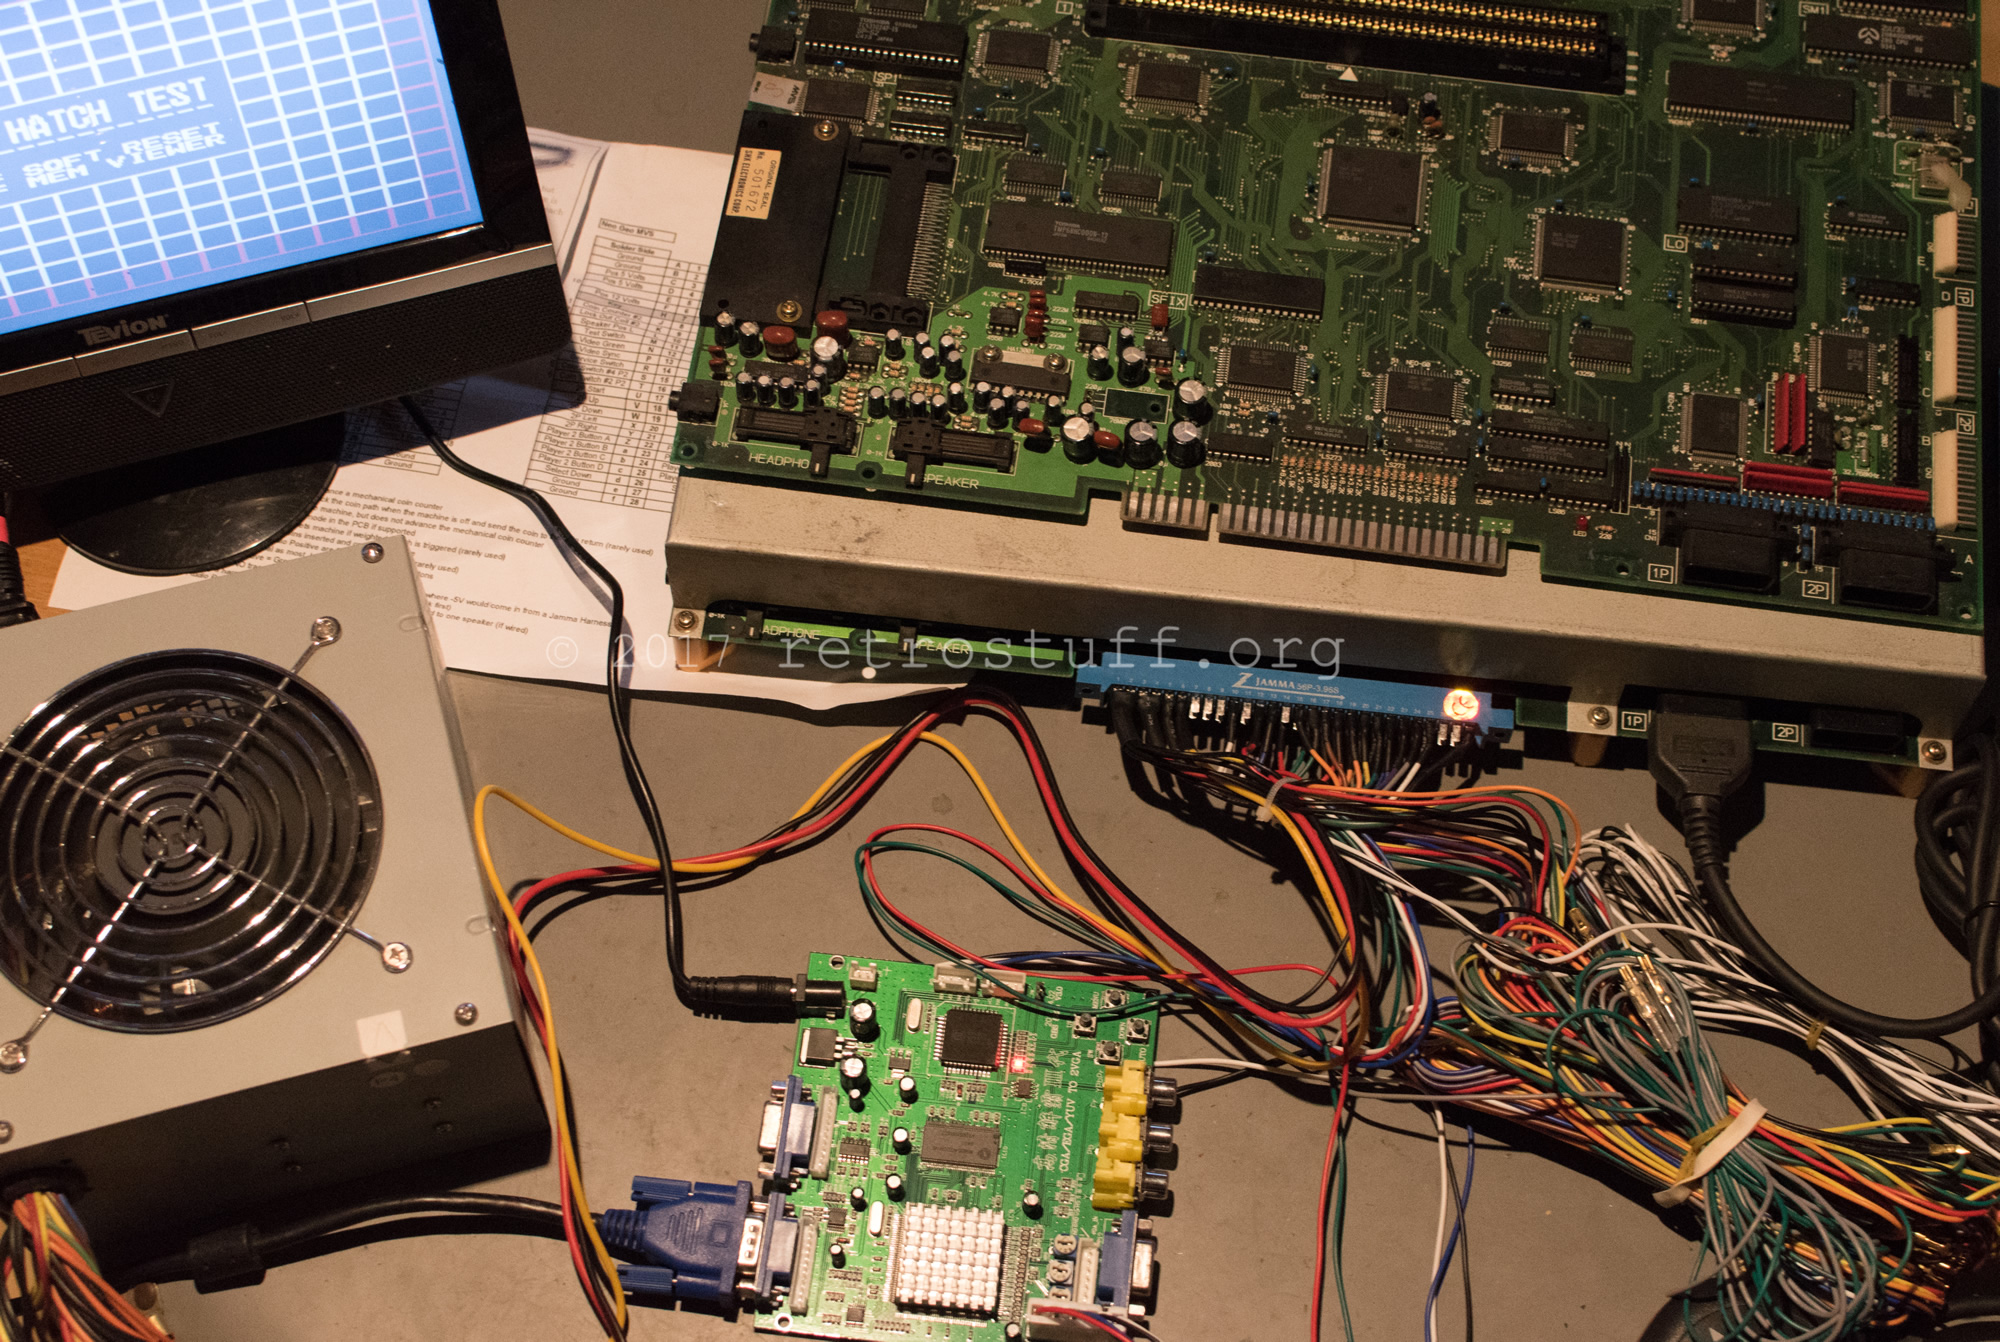
It turned out that the first motherboard worked fine, except for some vertical lines that showed up on games in the second slot. This is a common problem which I intend to investigate in the future. The second motherboard doesn’t boot and shows signs of consolization. If it can’t be repaired then I’ll use it for spare parts.
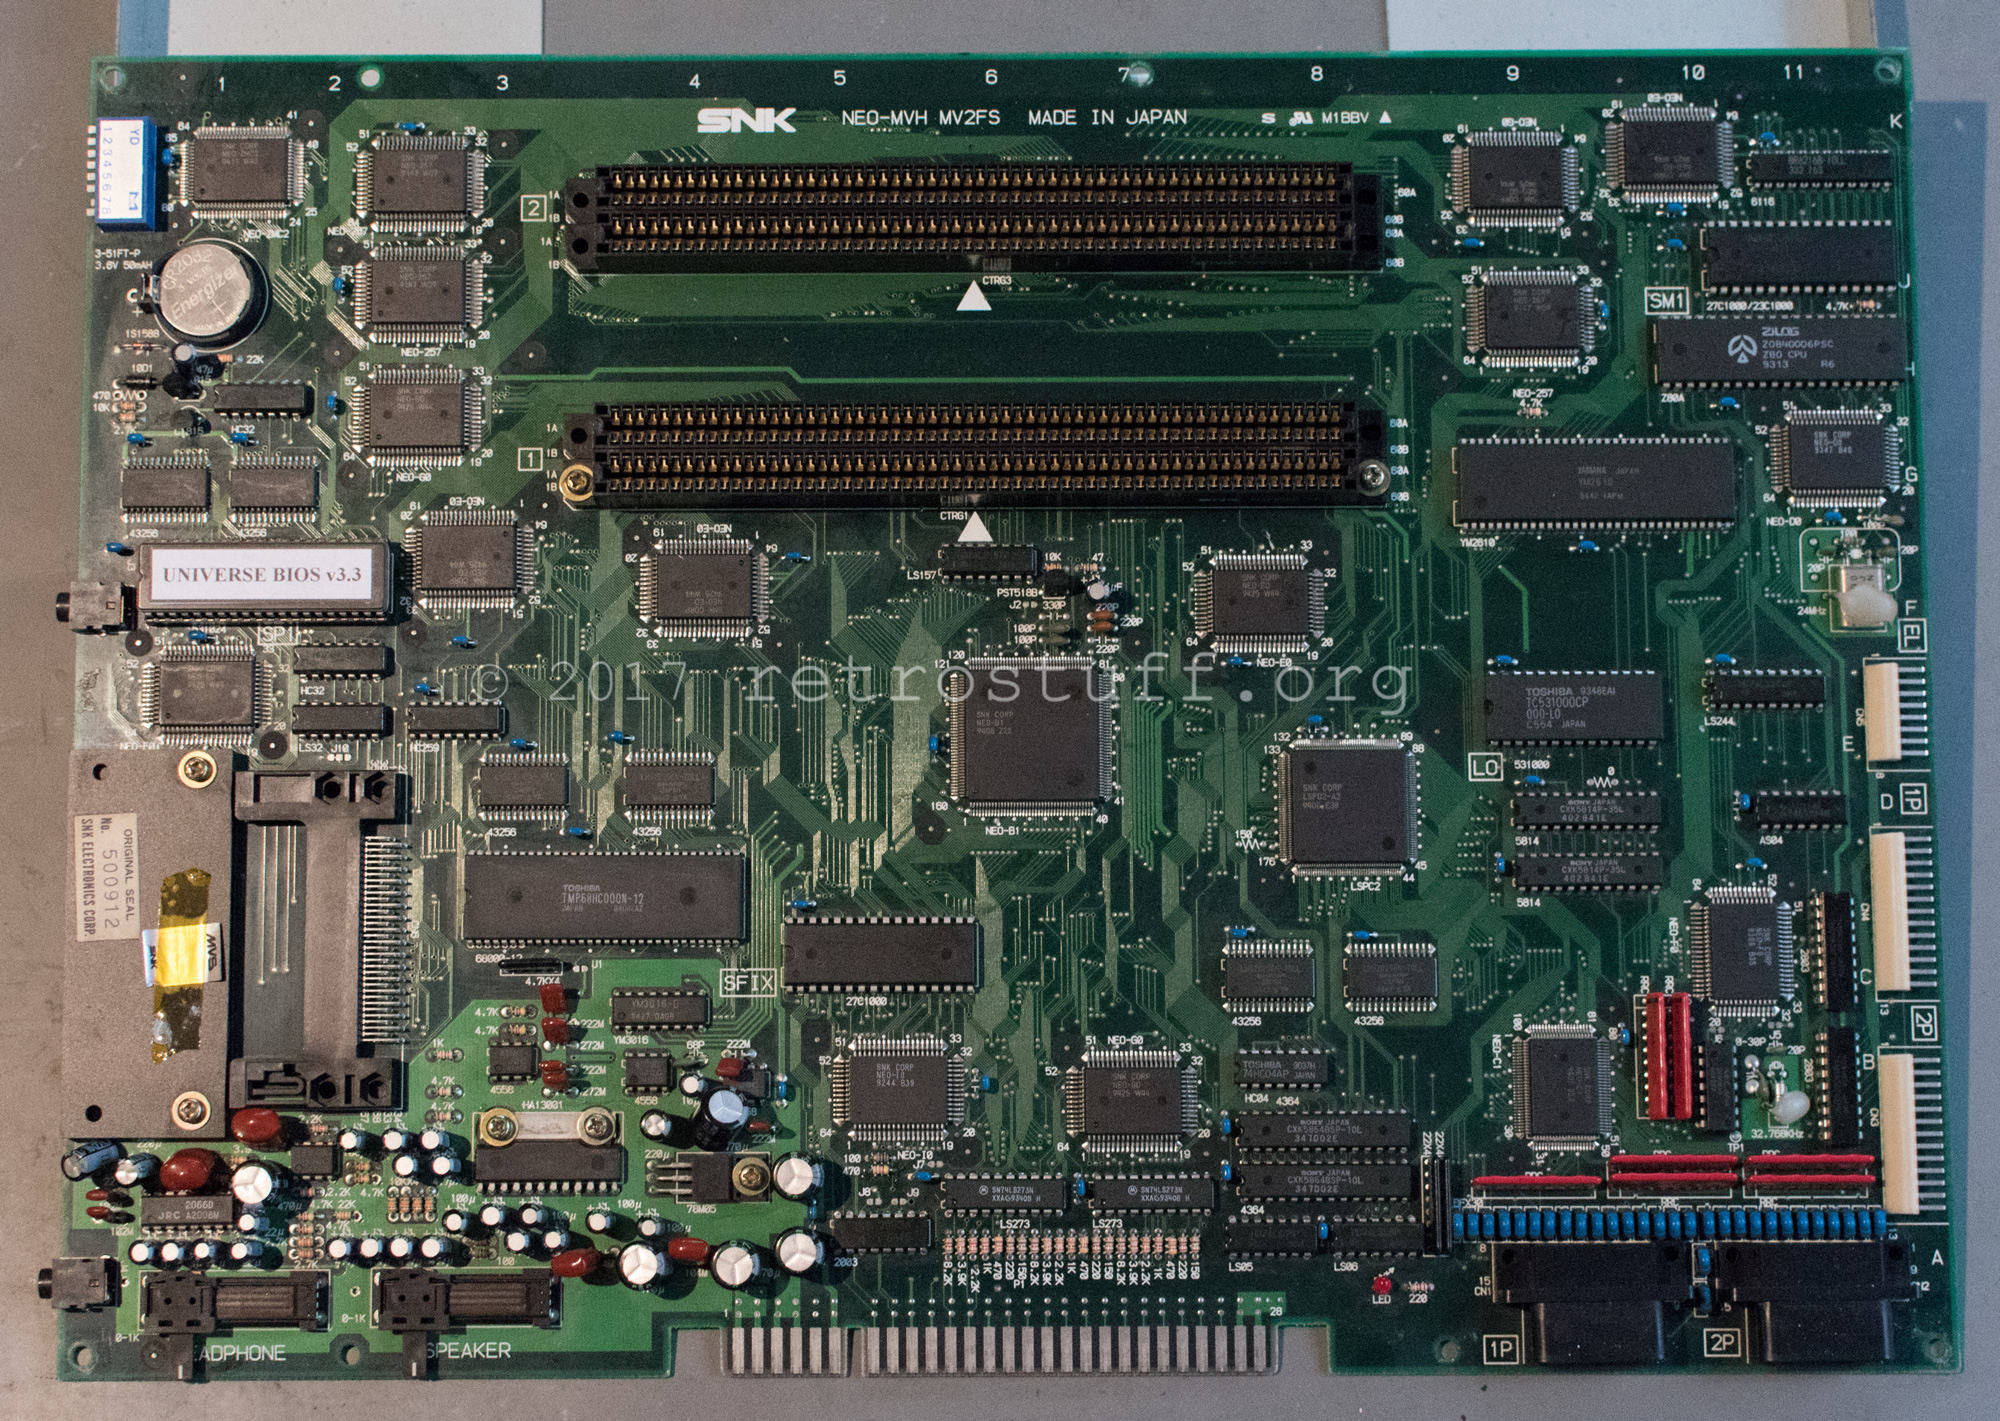
The first motherboard also had some pleasant surprises hidden underneath the rusty metal shell. The previous owner already replaced the battery and fitted a Universe BIOS.
Modification
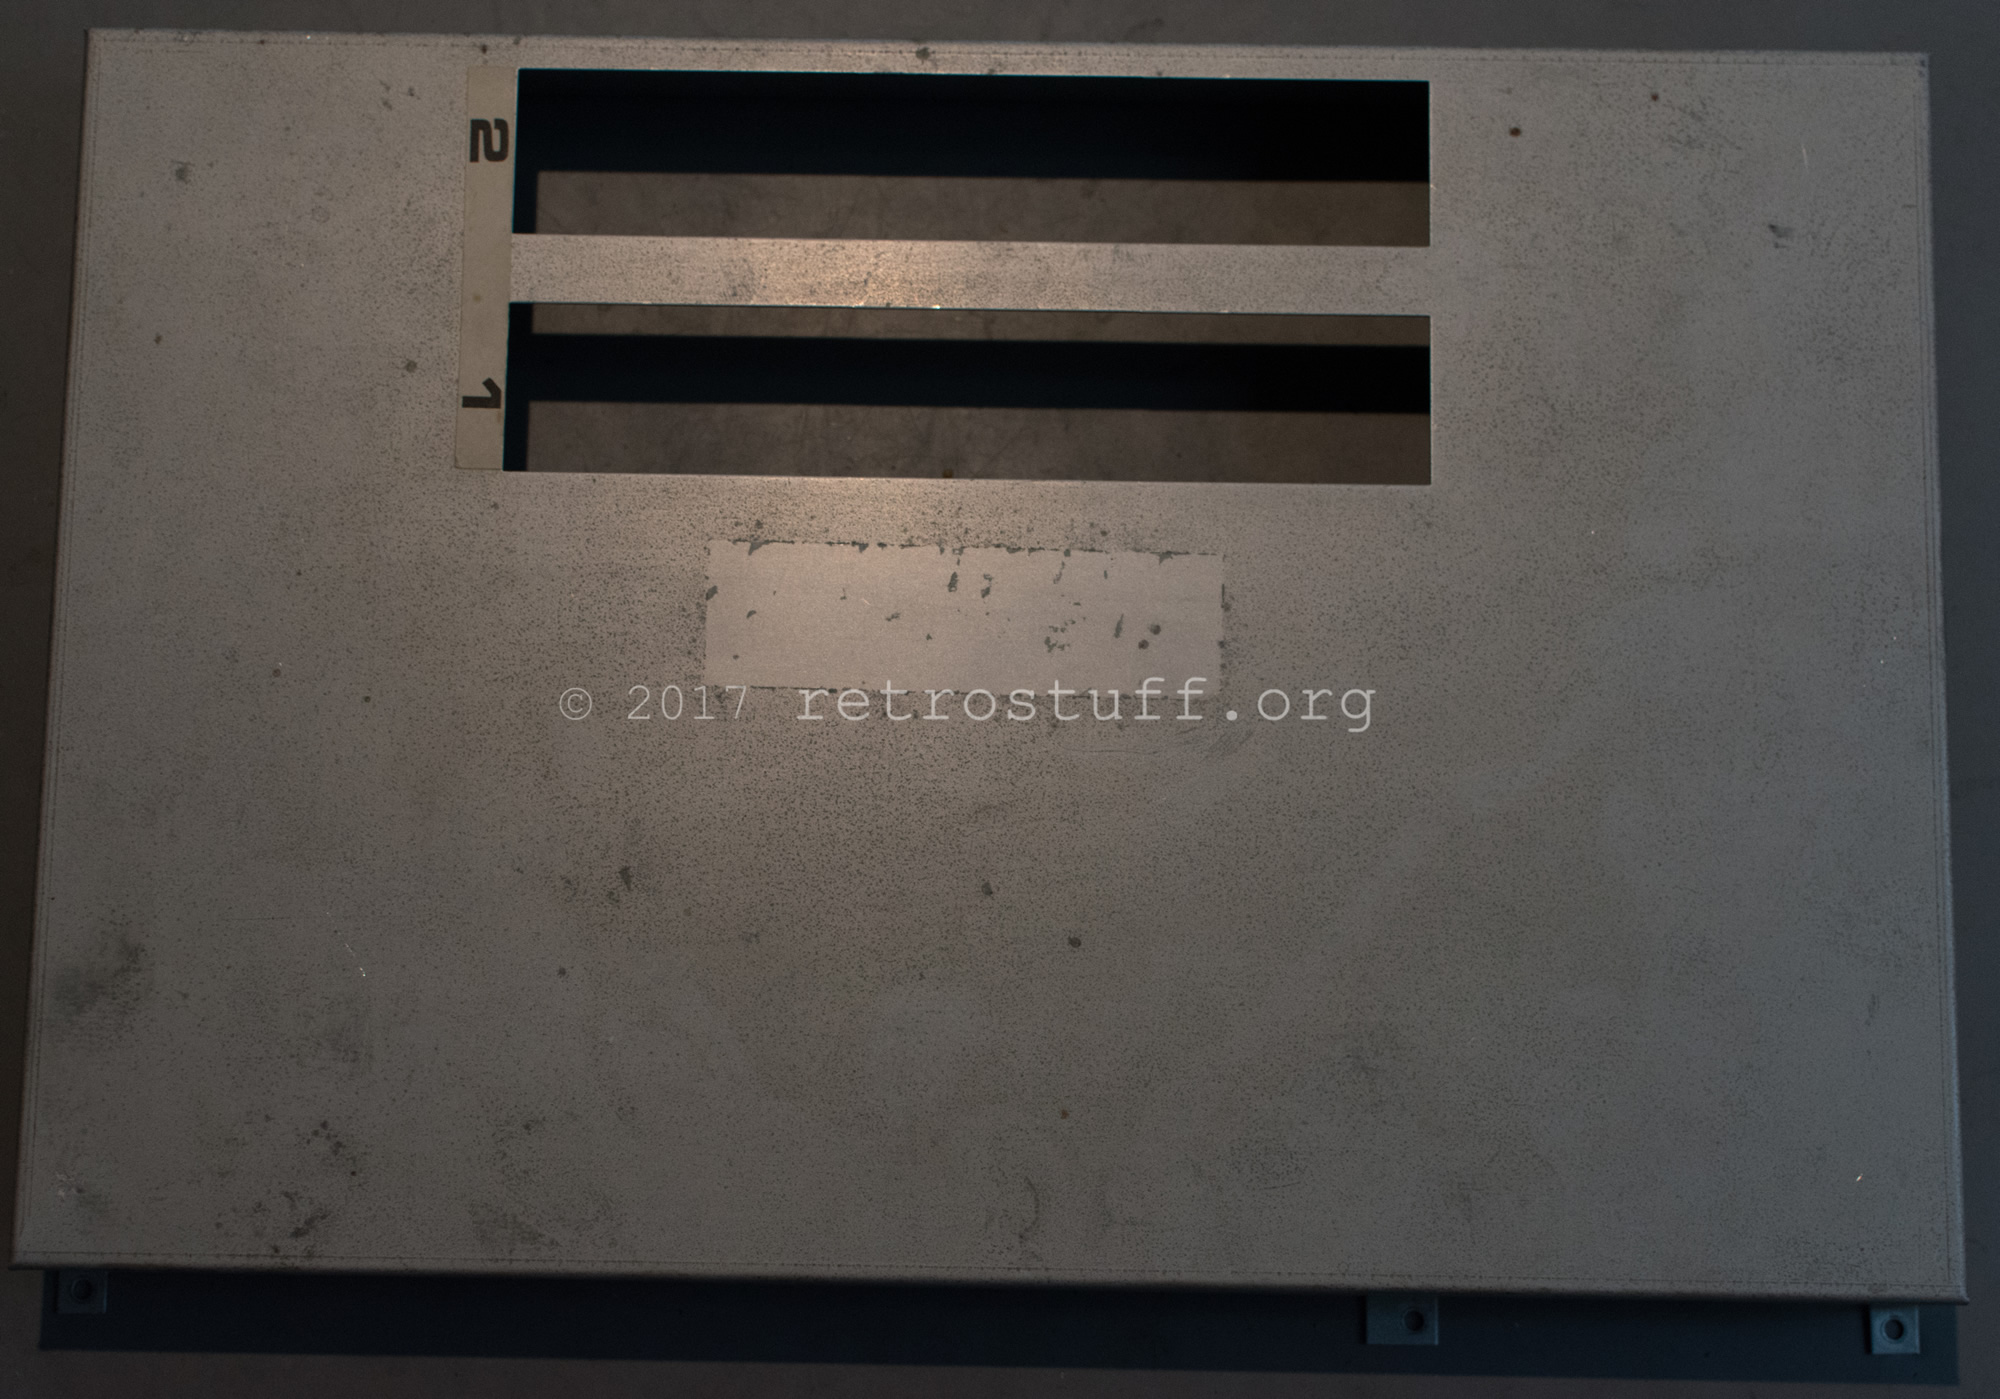
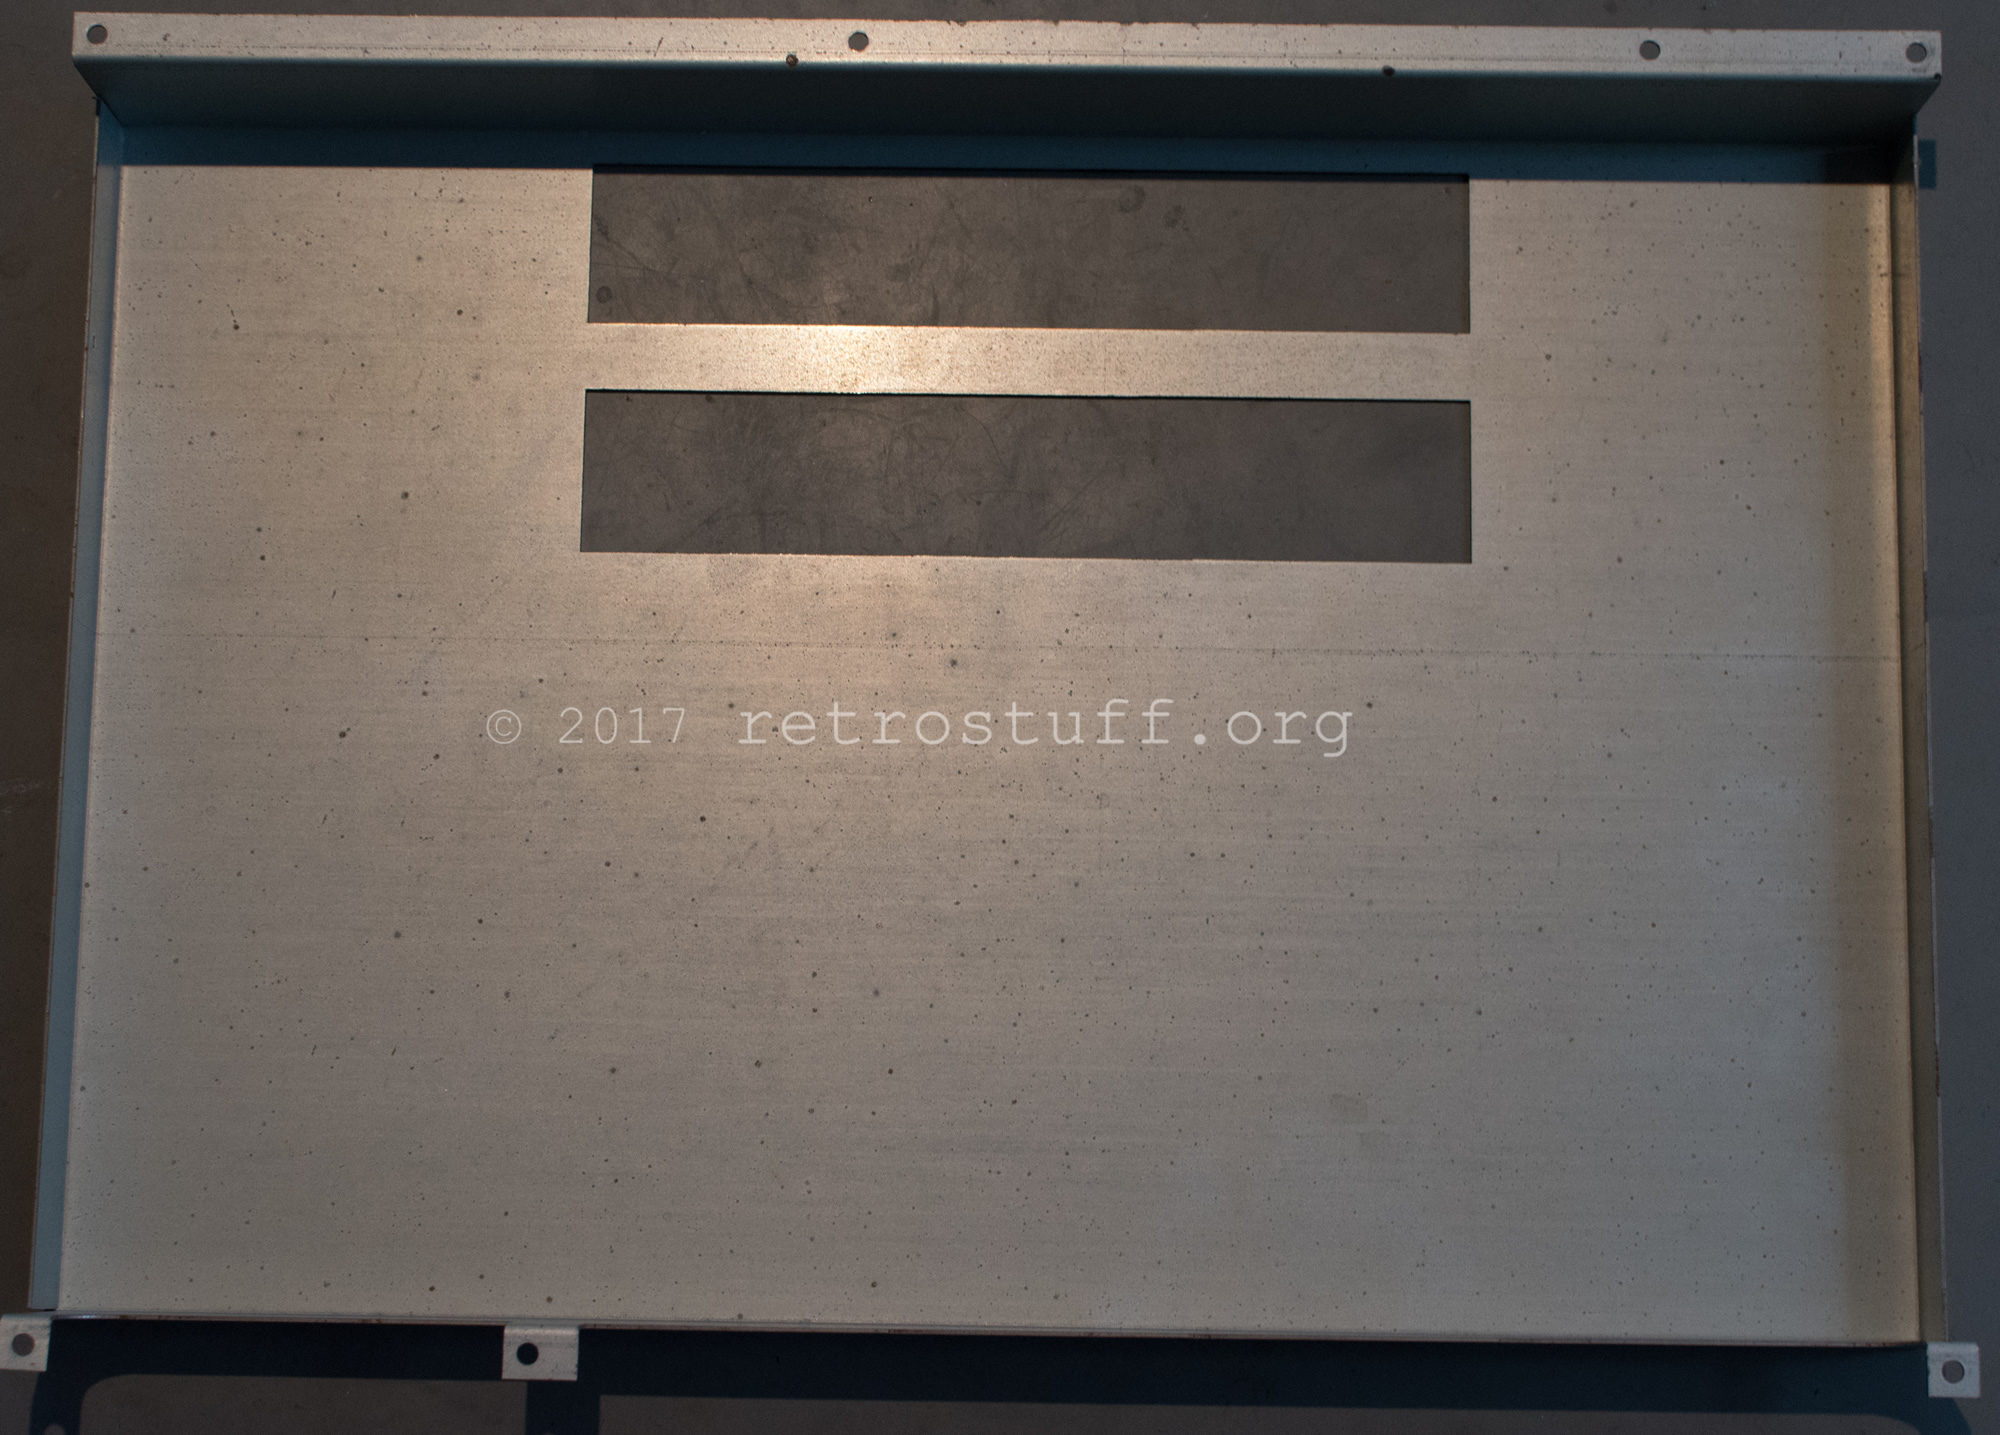
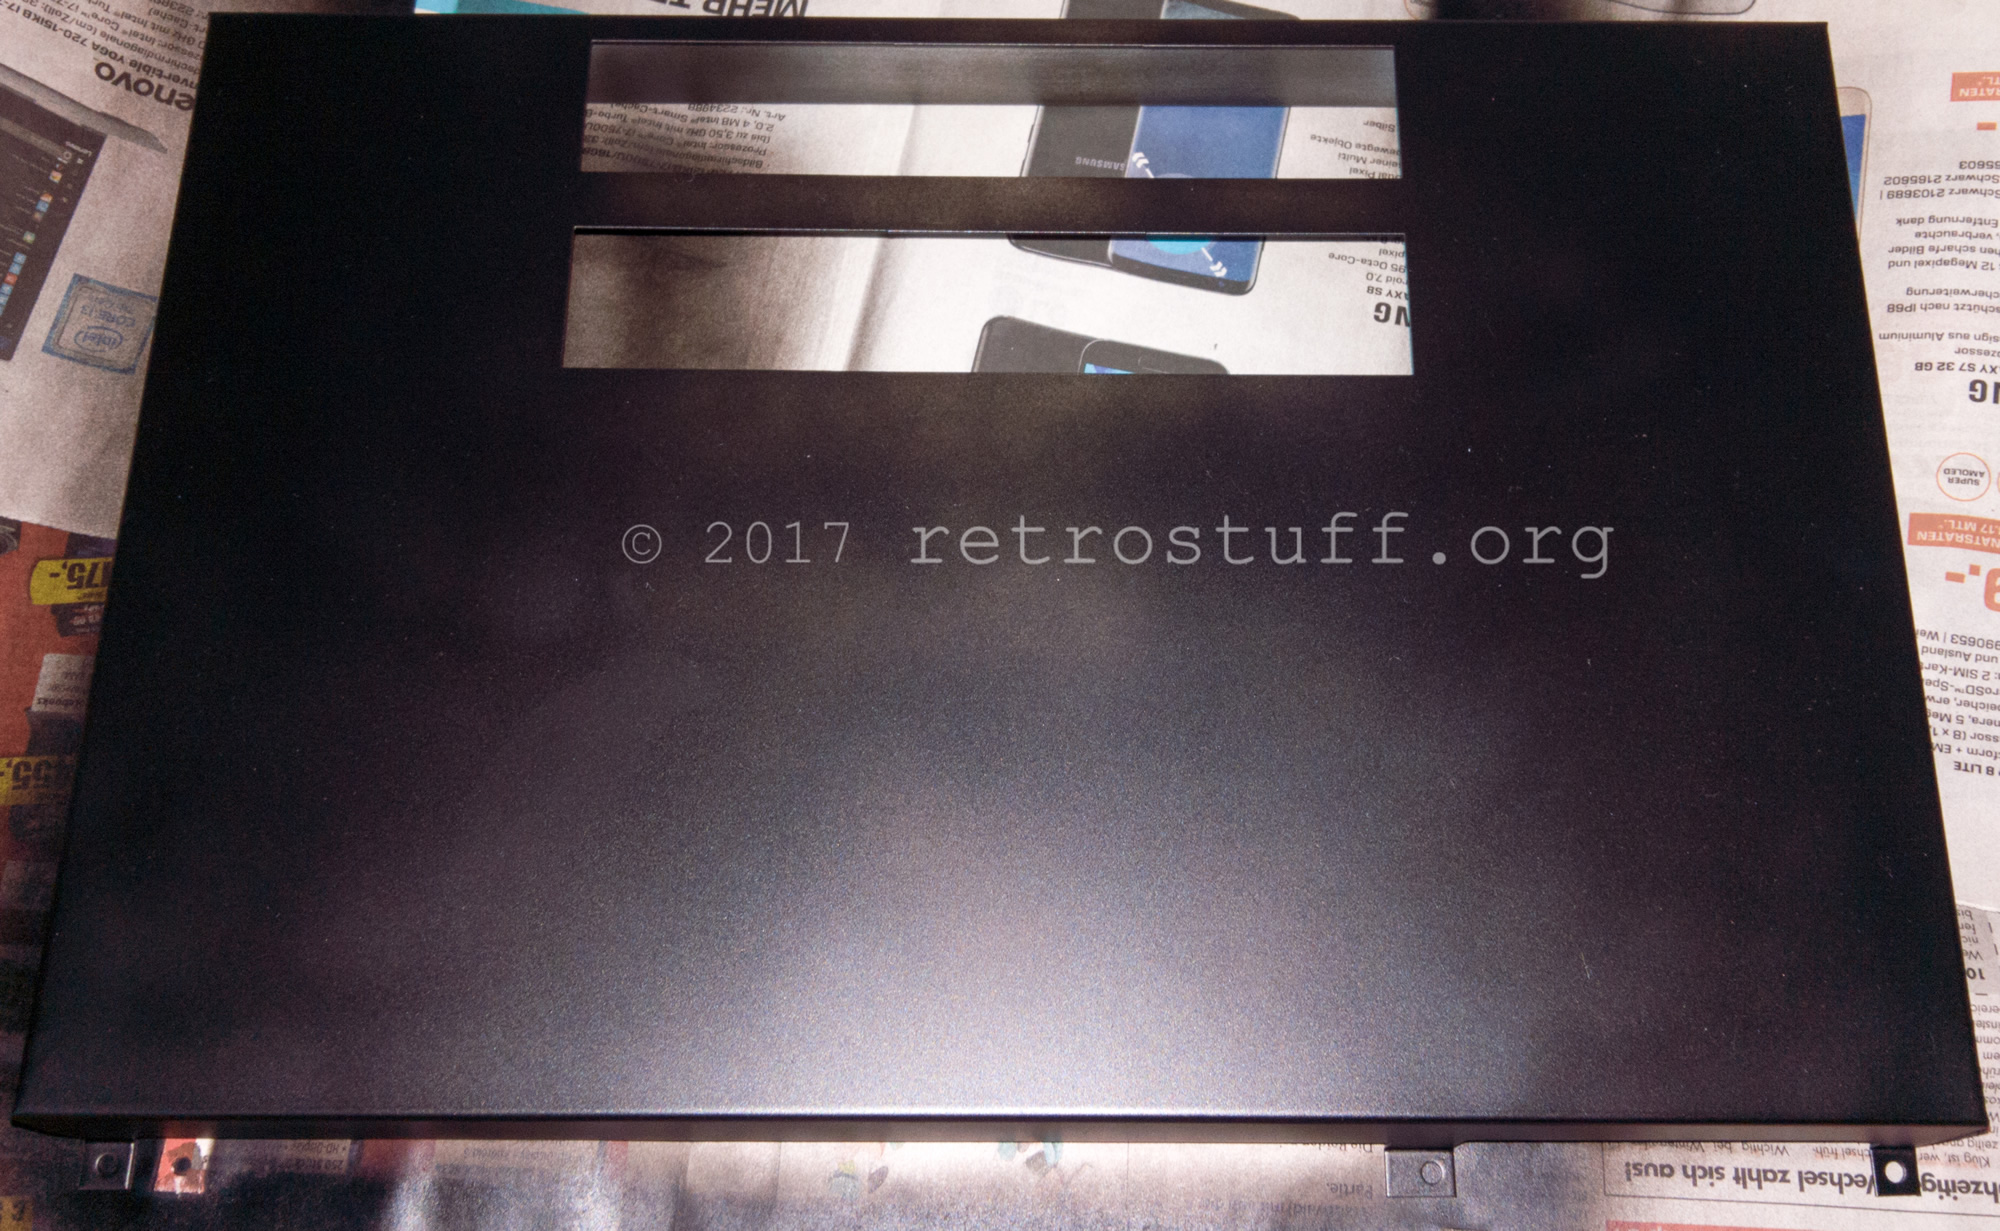
This metal shell definitely needs a makeover:
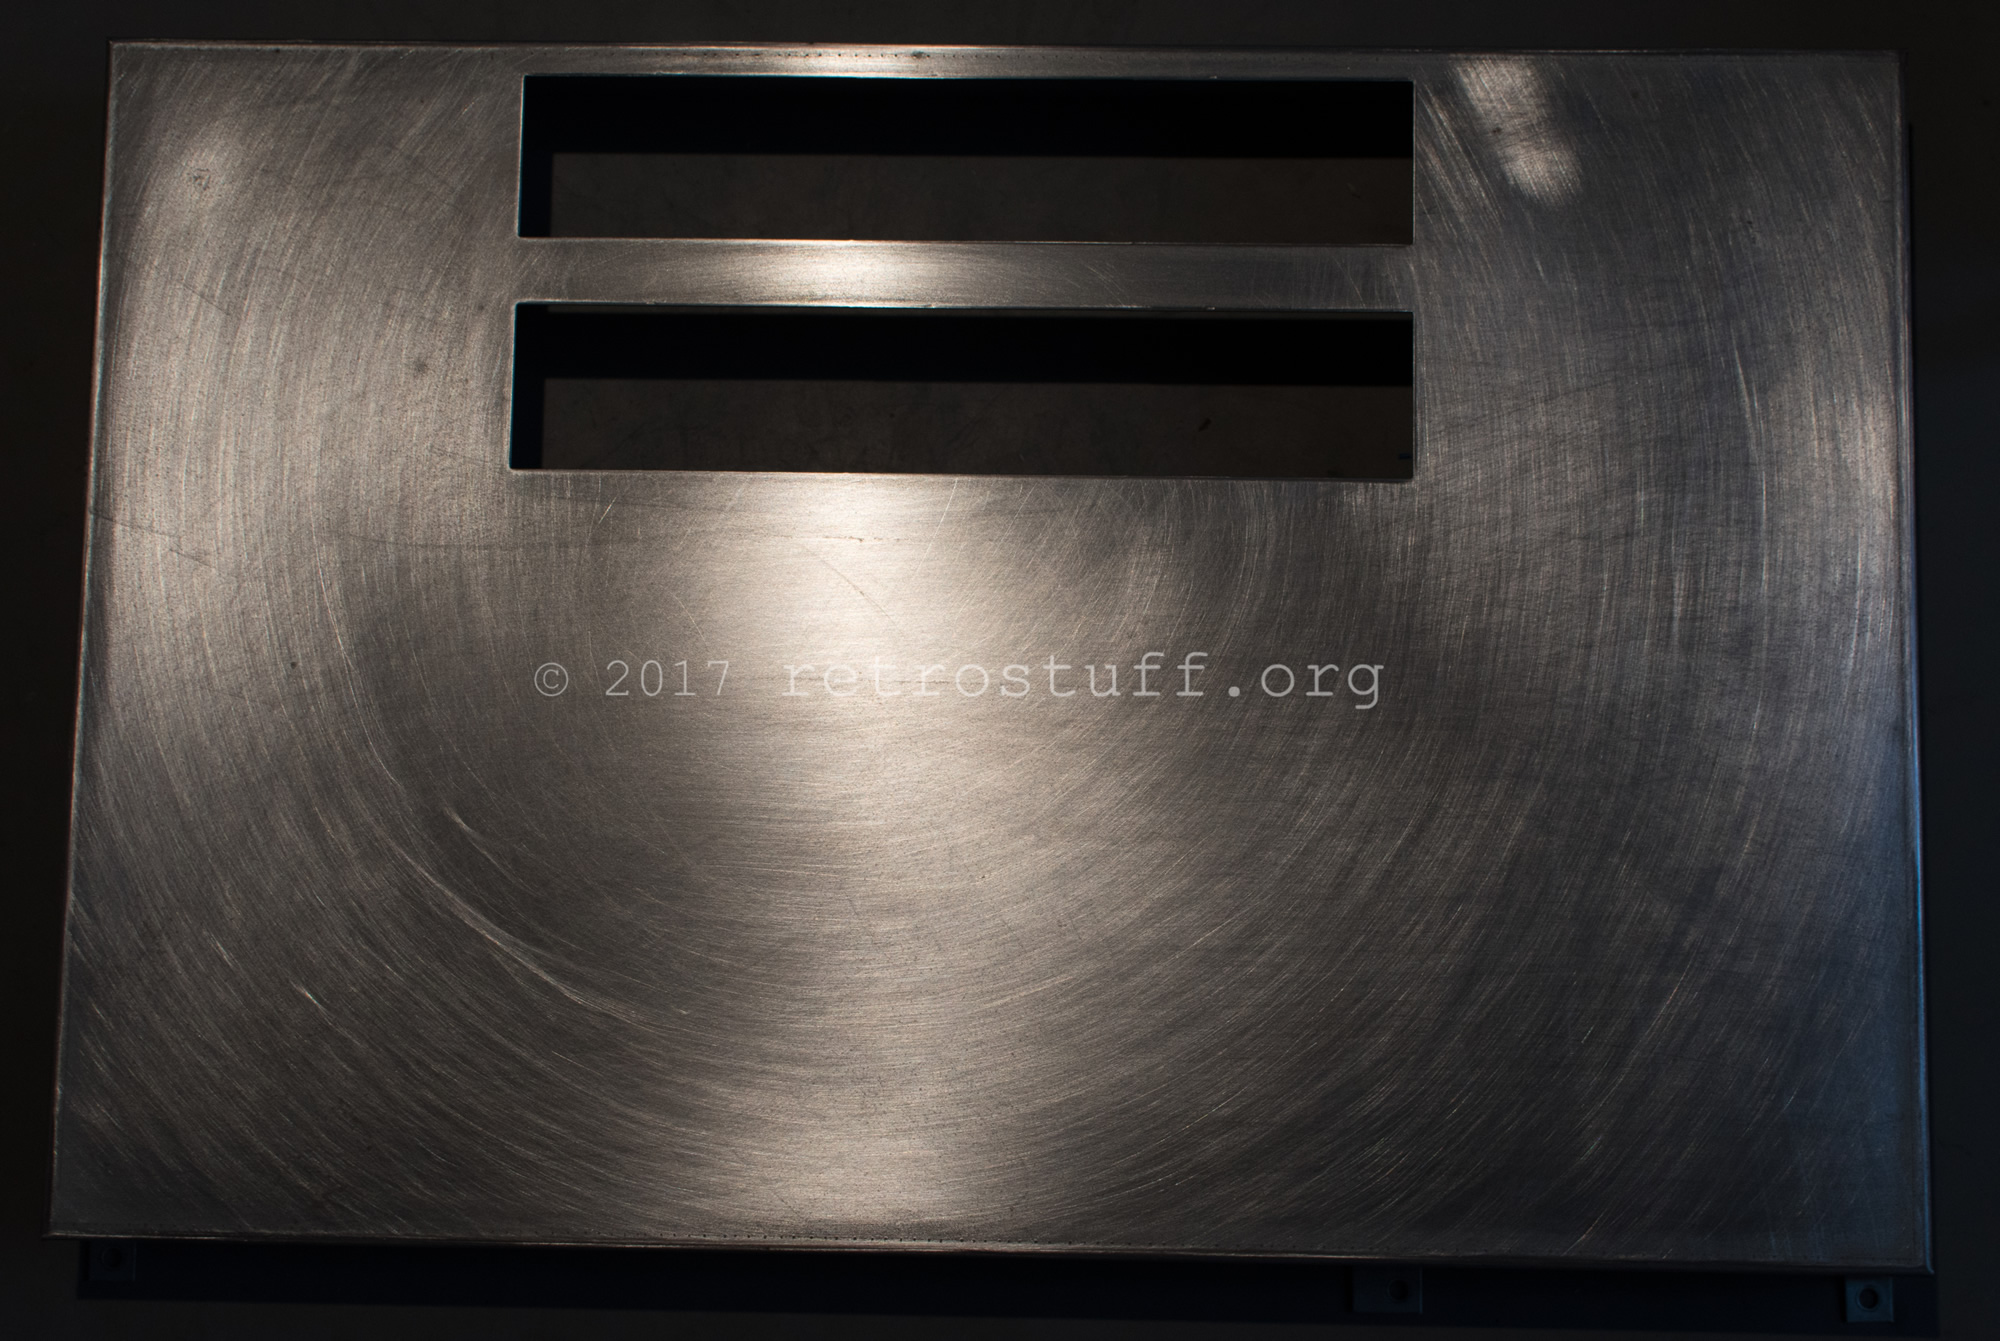
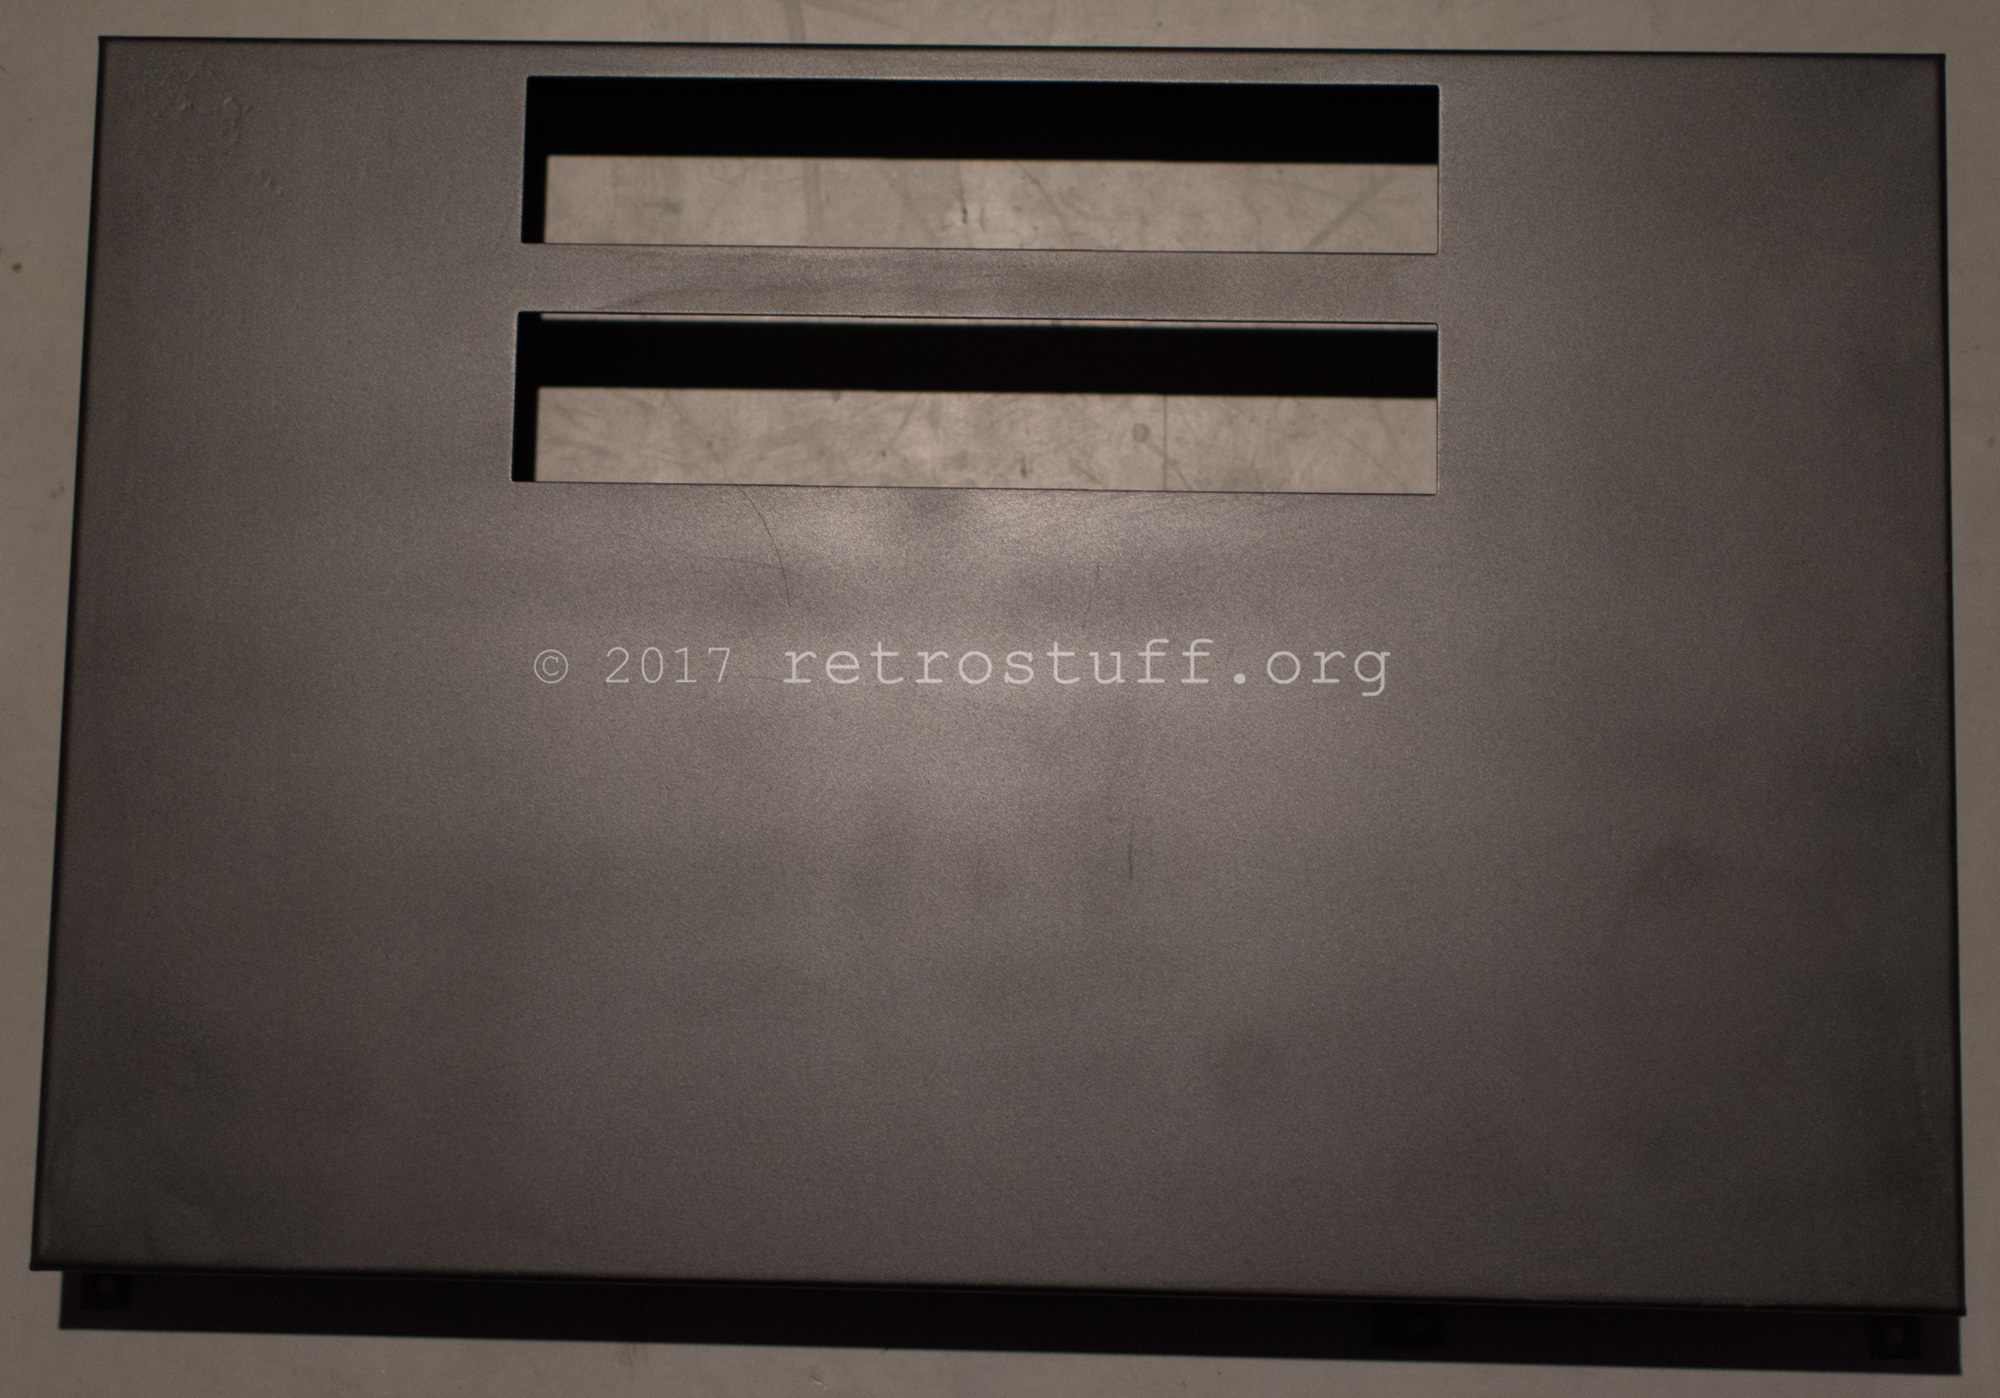
First some sanding to make it shiny:

And then applying some spray paint:
I had to sand and paint it two times because I messed up the paint on the outside when working on the inside. It’s still far from perfect, but much better than before.
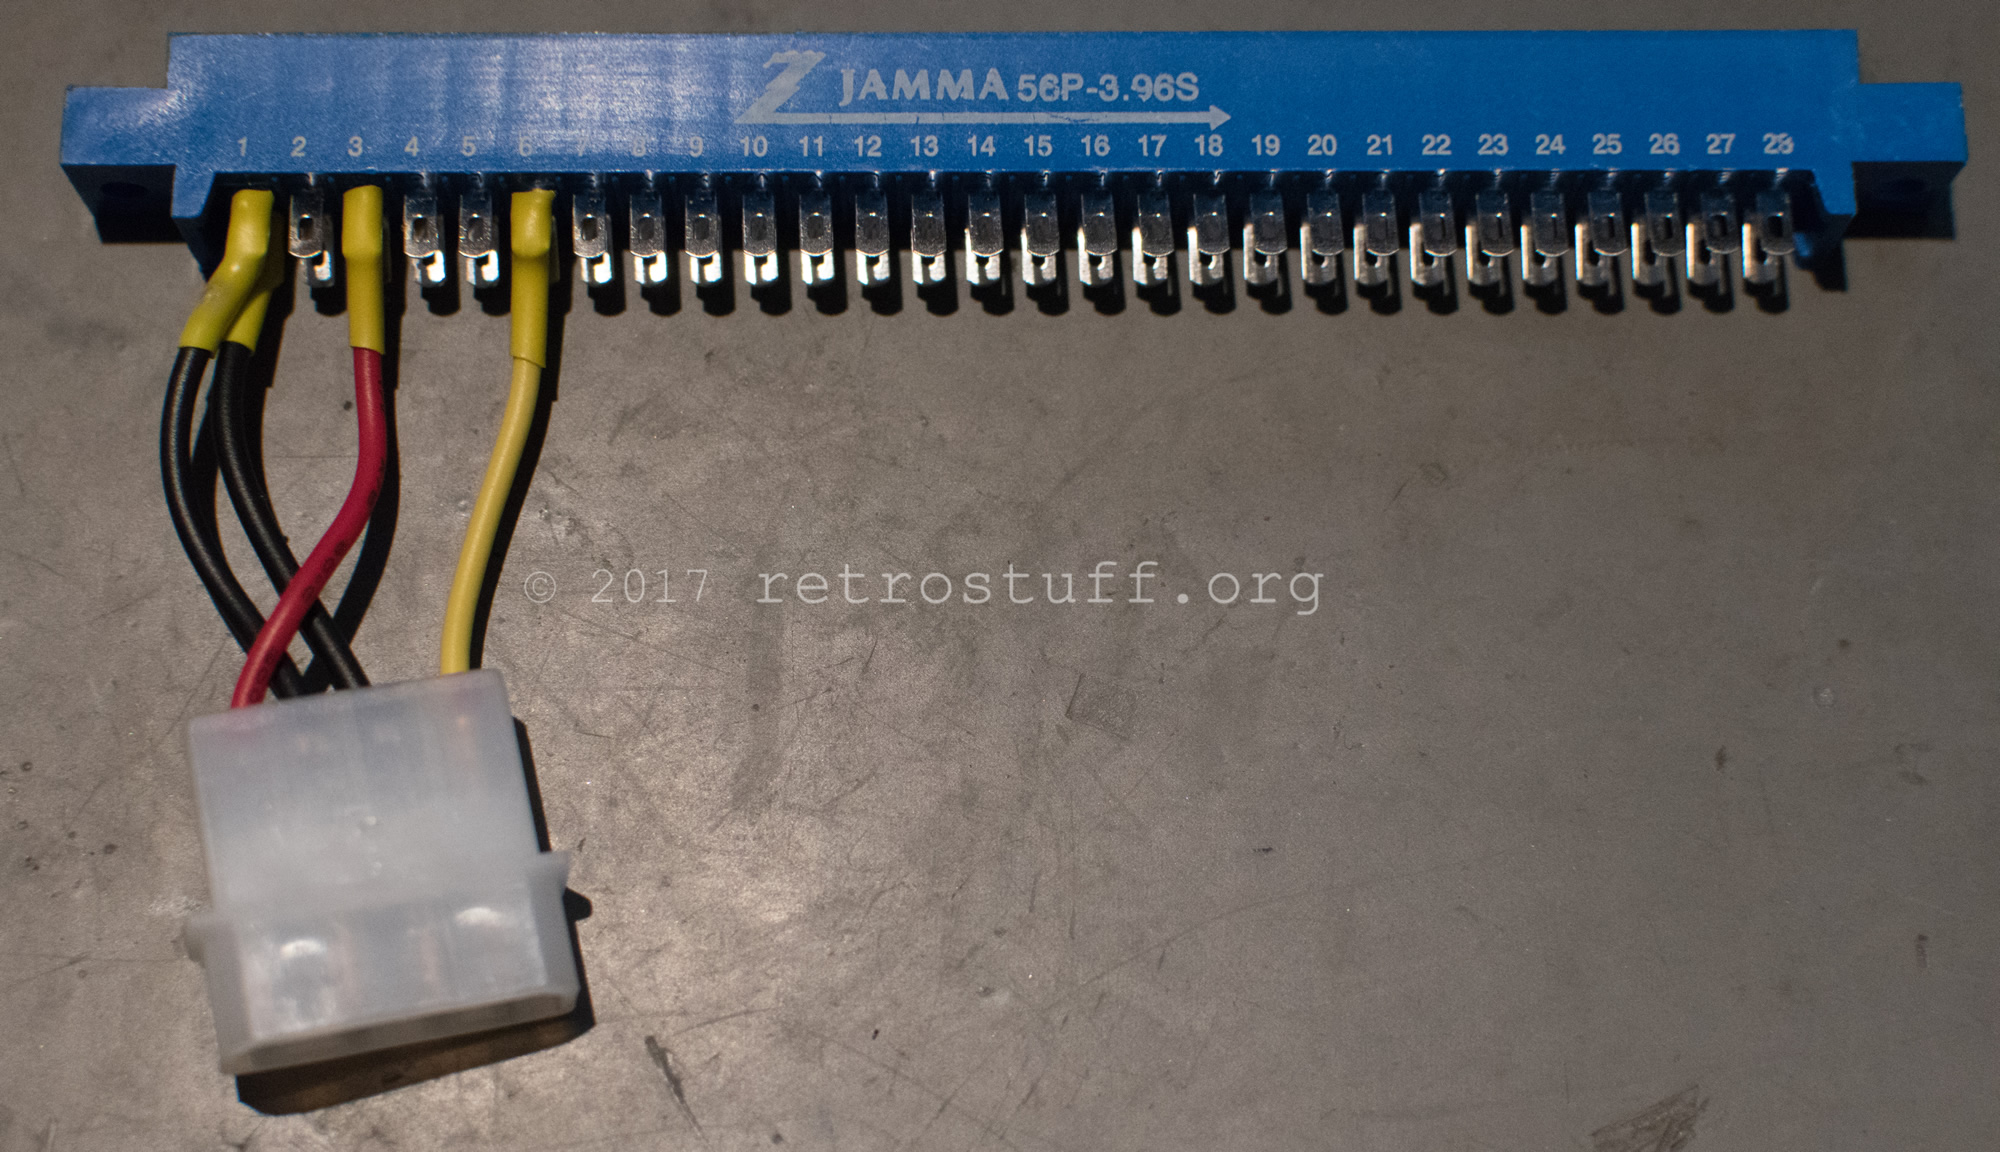
And finally, to get it in working condition, I soldered a Molex plug and a RGB SCART lead onto a new JAMMA connector. This is much lighter and more flexible than the full wired harness:
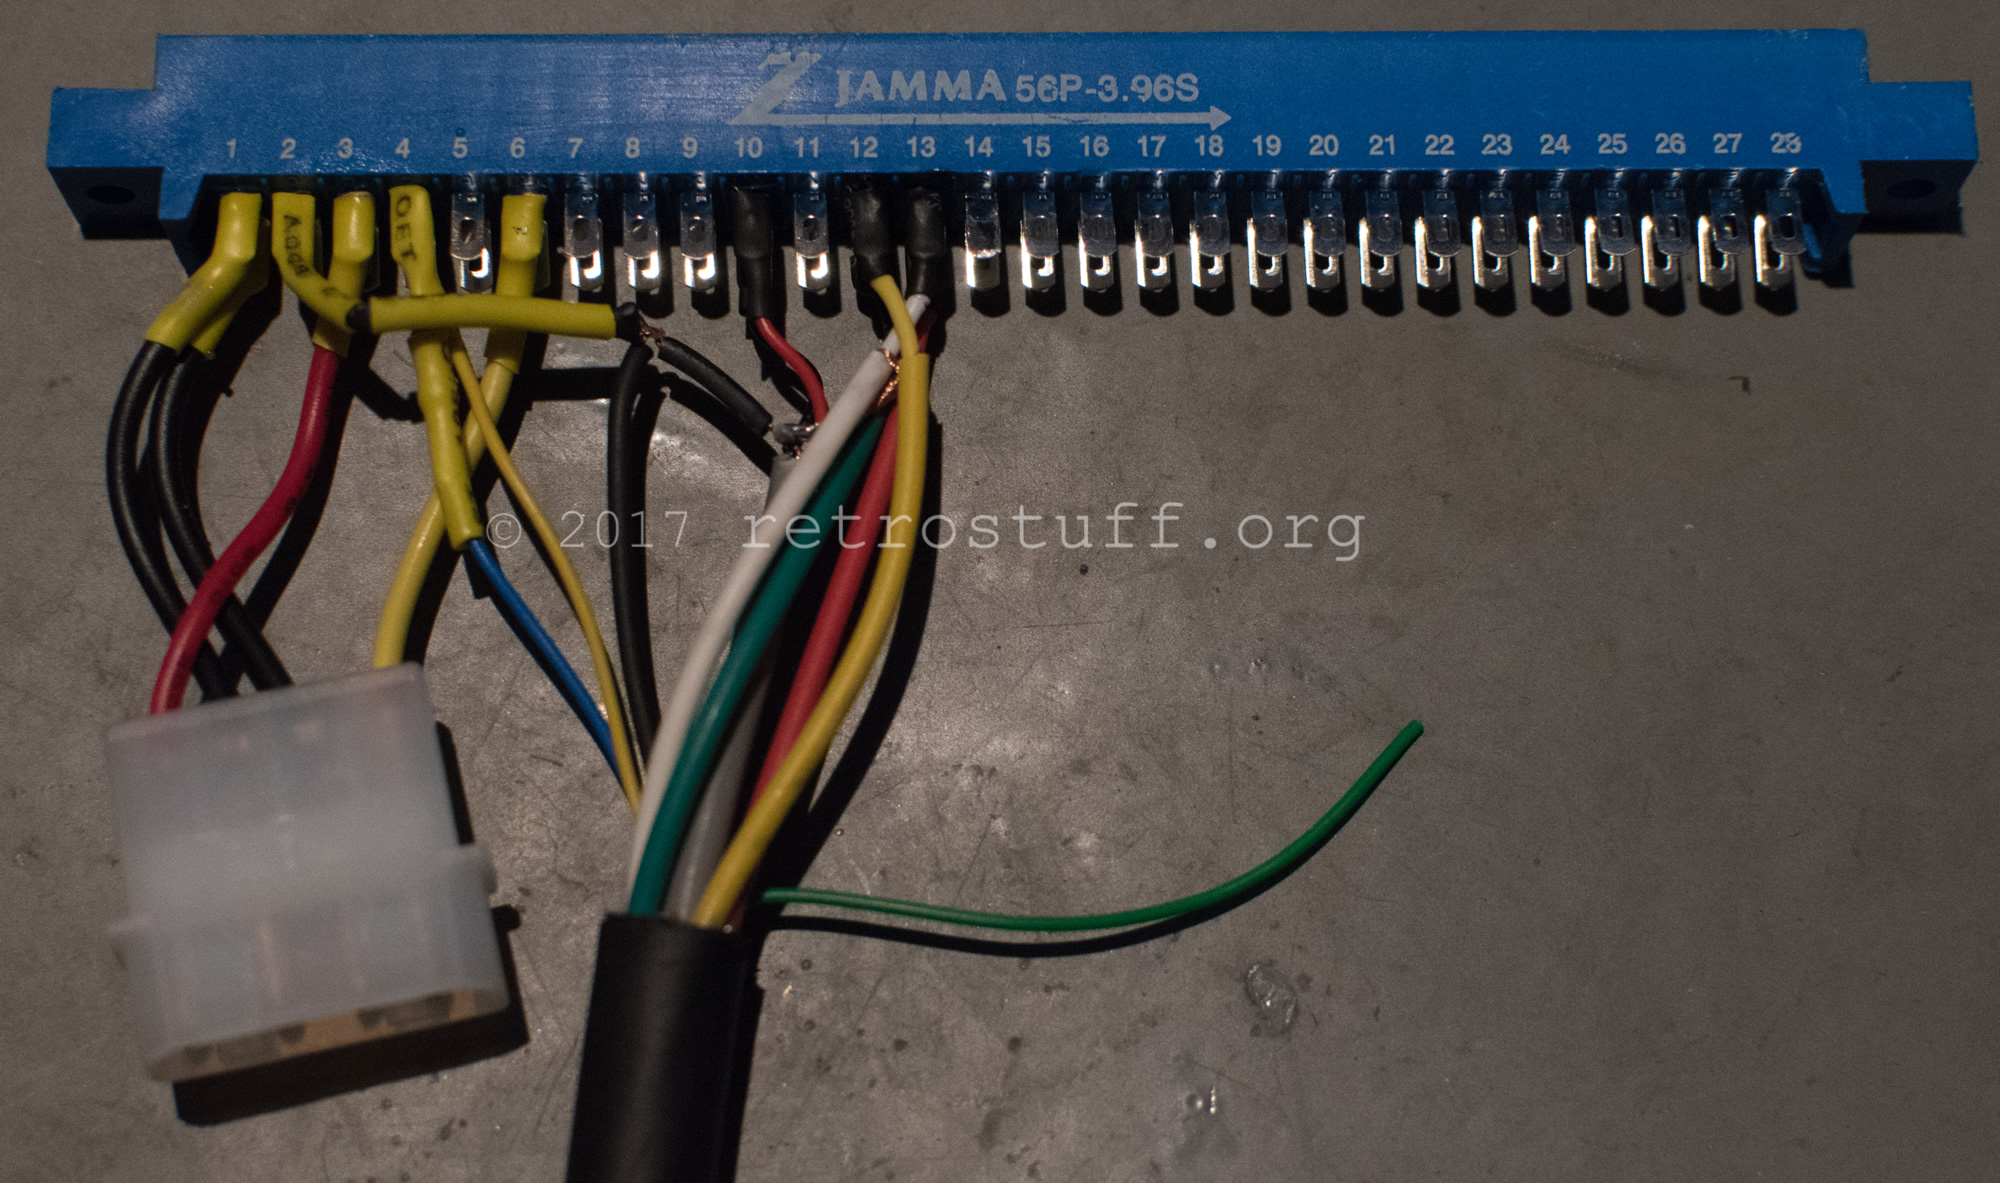
Before connecting the RGB SCART lead to your TV, please note that arcade boards output TTL-level signals while most consumer displays accept 75 ohm signals only. You’ll have to attenuate the signal accordingly.
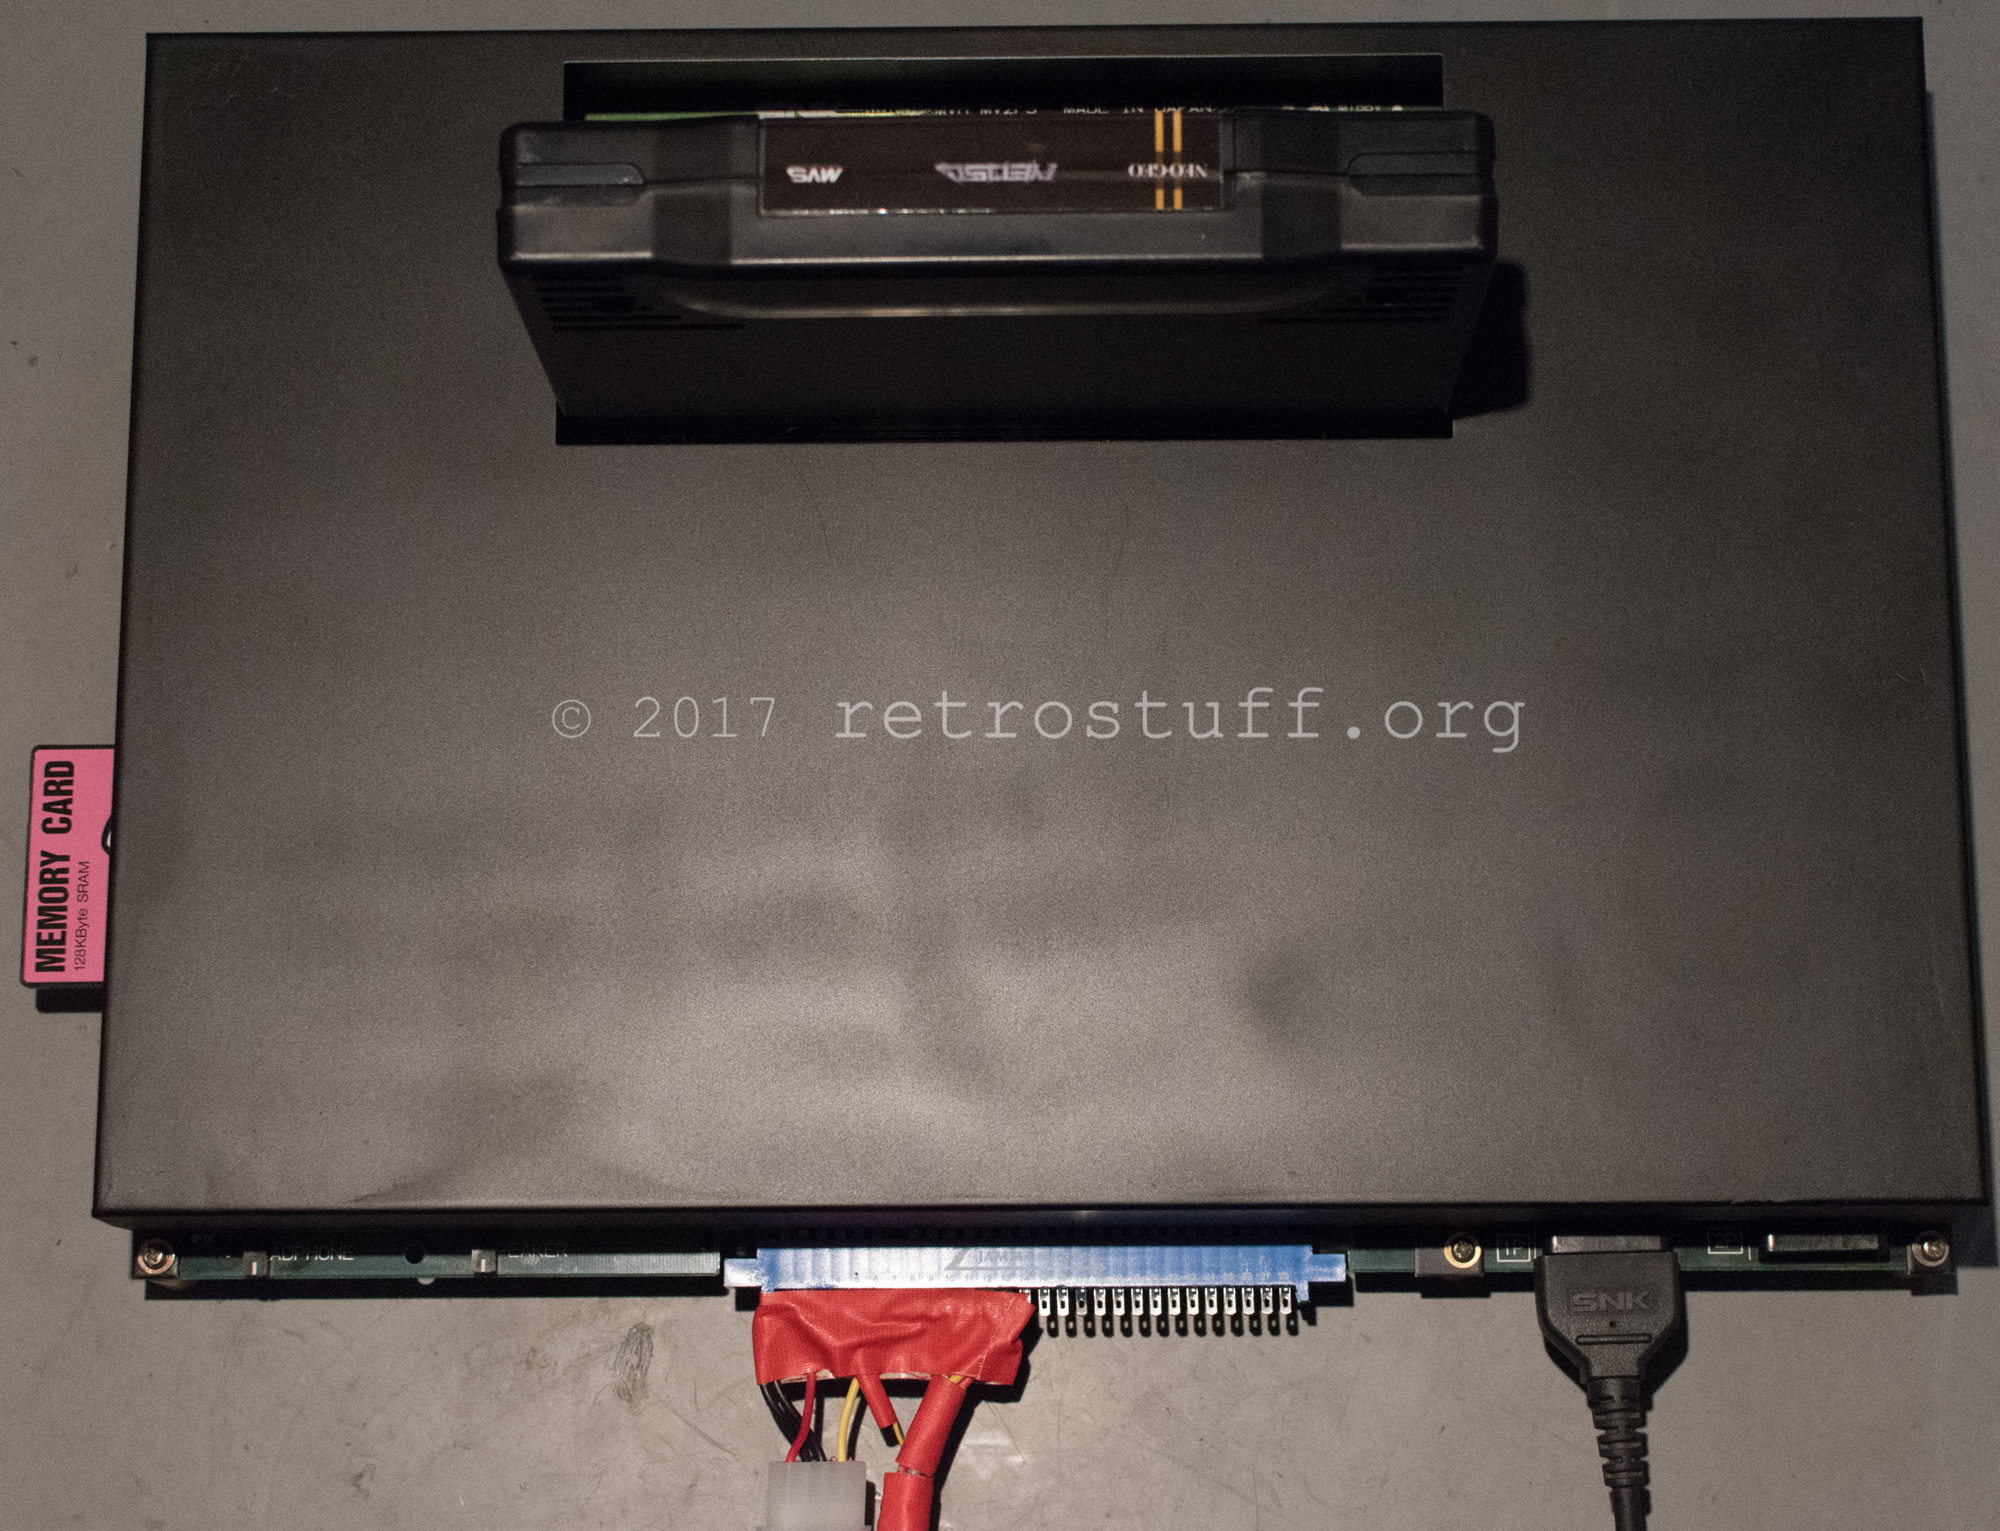
Ready to play Neo Geo games:
Hi there, Awesome pics!
Ive decided to go down the route of a molex for powering a MV1B project ive been fiddling with.
What diagrams did you follow for the rgb scart wiring? Ive been looking online and am finding conflicting info annoyingly!
Im in a PAL contry so dont need to mess with an encoder.
There’s only one standard for Euro-SCART and I didn’t have any problems with the information from Wikipedia (pins 15, 11, 7 for RGB).