
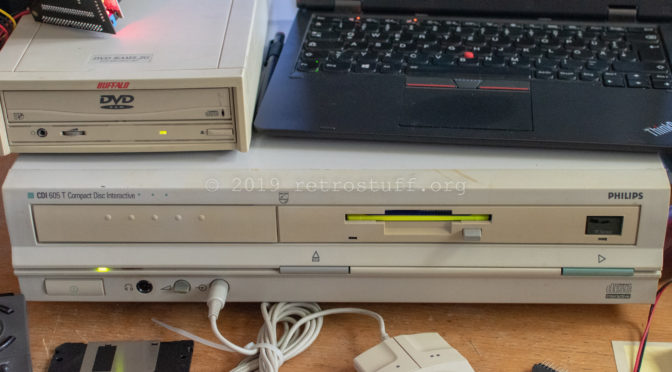
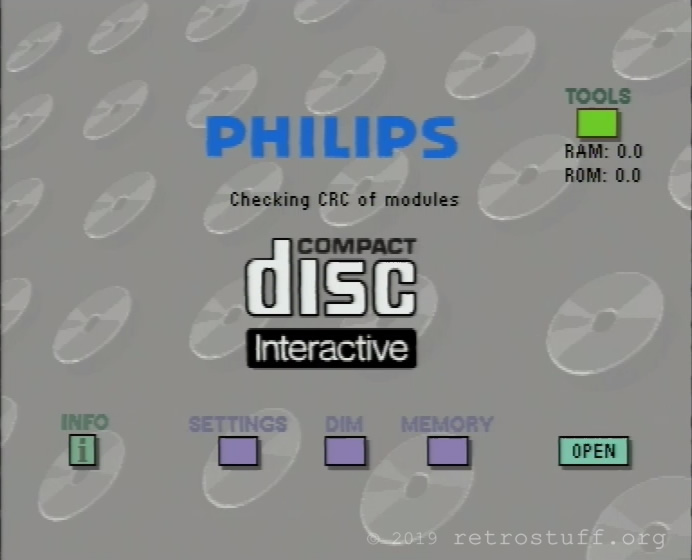
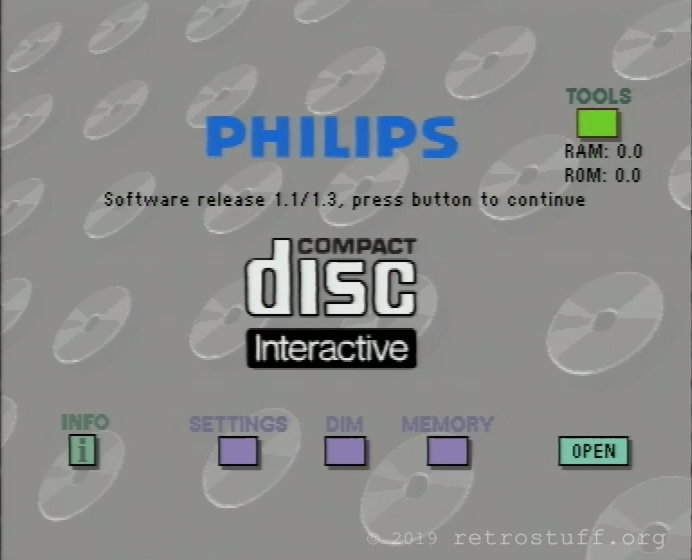
The Philips CDI605T/20 is the last professional CD-i player with authoring / development capabilities. As every other CD-i player, it runs on CD-RTOS v1.1, a real-time operating system based on Microware OS-9/68K v2.4. Additionally, it features extended memory, an internal OS-9 shell, a floppy disk drive, SCSI, ethernet, RS-232C and printer ports. When compared to its predecessor CDI605/00, it was upgraded with a tray loading mechanism, a built-in DVC and a newer system ROM v1.3. Even though this player is perfectly fine for playing the whole range of consumer CD-i titles, I got it mainly for experimenting with the titles and the operating system. On the first start, it performed a CRC check and displayed the software version:
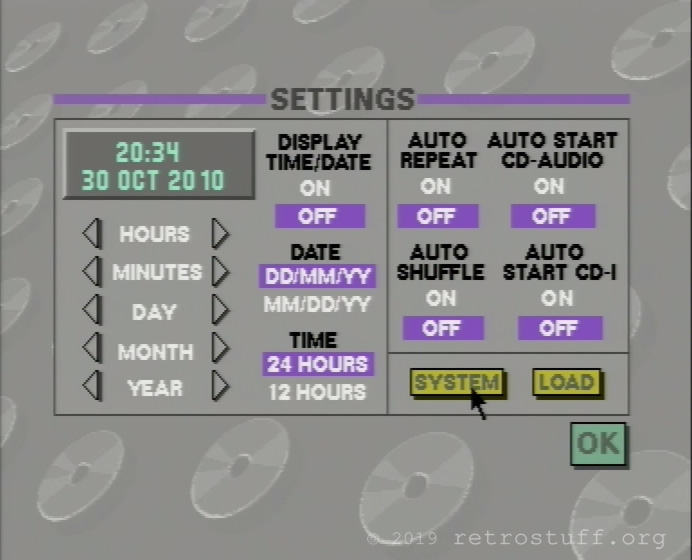
This is something that I always check when I get a new CD-i player: time and date. The SETTINGS menu reveals that it is the year 2010. Also, a button is missing left of the LOAD button (more about that later). I changed some settings and turned off the power, and everything was reset.
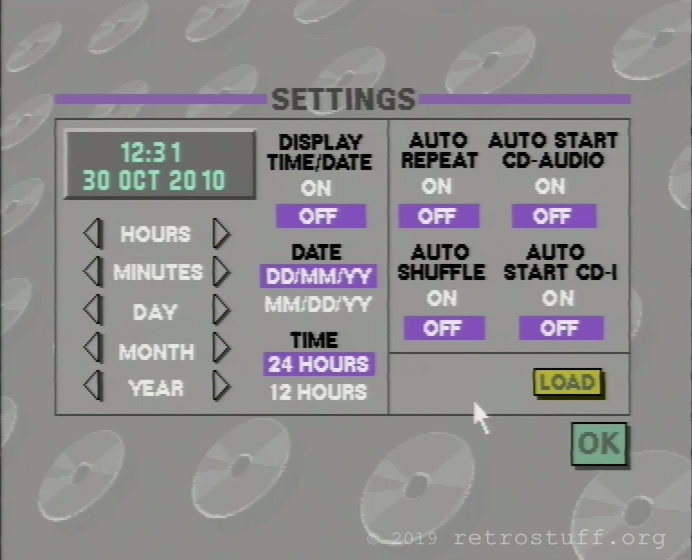
This is a flaw that most CD-i players suffer from, a dead battery in the Timekeeper chip. Furthermore, this player has a squeaky disc tray, a noisy fan and a lot of dust inside. I’ll have to open it up soon, and I don’t expect it to be easy. The CDI605T has a Mini MMC mainboard with tons of additional PCBs, cables and metal parts. It will probably be worse than the CDI220/00 that I repaired a couple of years ago.
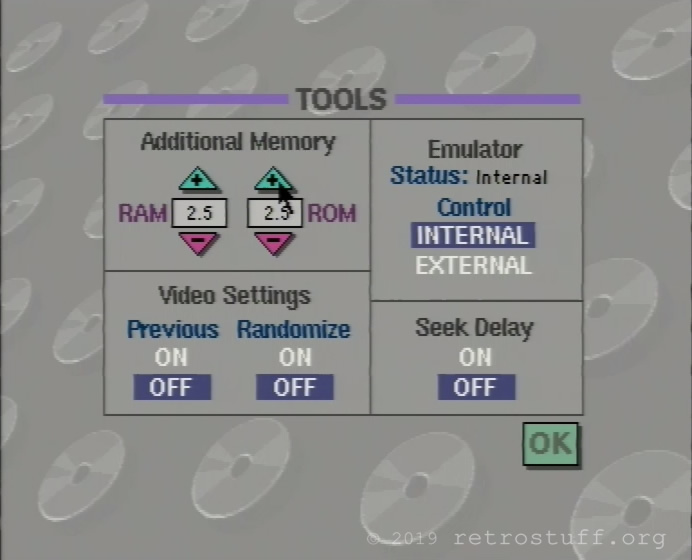
And now to something that consumer players don’t have: the TOOLS menu. It lets you allocate additional 5 MB memory to RAM and/or ROM and change various development and emulation settings.
At this stage, I was a bit lost because the player came without any documentation and software. The user guide wasn’t very helpful, so I began to read developer documentation on ICDIA and The World of CD-i. The mirror of the former Philips Technical Support website and various other resources proved to be very helpful and pointed me in the right direction.
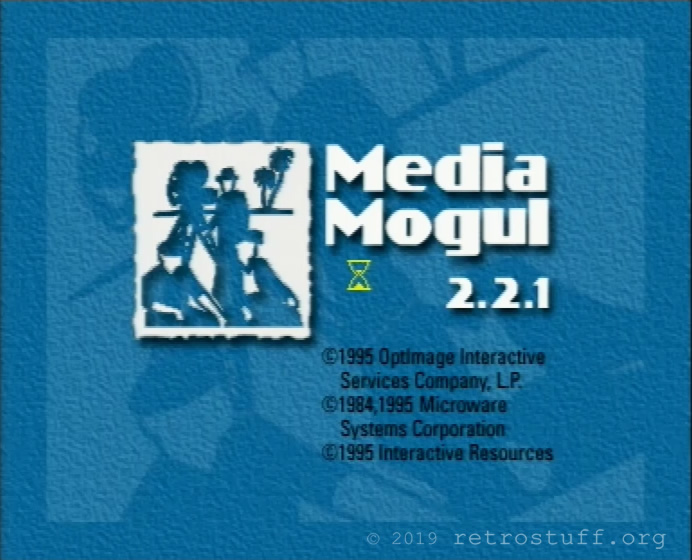
MediaMogul
To get started, I downloaded MediaMogul 2.2.1 as it contains the OS-9 files that I need. The file manager (File Director) and the OS-9 shell (CD-RTOS) turned out to be most useful for me.
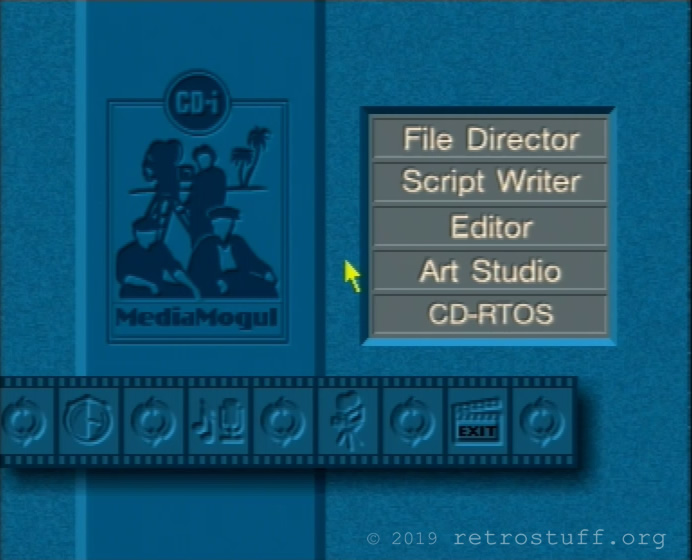
The other programs (Script Writer, Editor, Art Studio) are for developing CD-i titles. To function properly, they need a hard disk drive for data storage and a terminal for text input. These pictures were taken at a later stage when I had finally managed to get hard disk and terminal working.

Terminal
For text input, it is mandatory to have an external terminal. The Philips CD-i KeyControl won’t work. First, I connected the terminal (a Windows 10 laptop with Tera Term) with a null-modem cable to port #2 and held the space bar while switching the player on. The usual low level test appeared, as it does on the Philips consumer CD-i players:
CD-I MINI MMC low level test      REL. 1.2
----------------------------      --------

Press any key to test receiver
Receiver o.k., you pressed:   20

Initializing MASTER VSC
Initializing SLAVE VSC

0. Exit Low level test
1. Writing to a default RAM address
2. ROM parity check
3. Nvram test
4. Dram test
5. Cdic test
6. Slave processor test
7. Clock Calibration


Make your Selection: 0

*** Low level test of CDI MINI MMC board ended ***
After checking the user manual again, I connected the terminal to the correct RS-232 port #3 and added at least 0.5 MB of RAM. On the next start, the missing button SYSTEM finally became visible in the SETTINGS menu. When you press it, the video output changes to a static colour and stays like that. Everything else happens on the terminal.

CDI605T says hi on the terminal:
Copyright(c) 1986, 1989 N.V. Philips, Sony Corporation
and Microware Systems Corporation
All rights reserved
ROM player ID         : 1.1
ROM release number    : 1.3

CDI 605 Professional Player Shell
Player Shell   release: 1.2
Slave software release: 3.2
CD    software release: 3.2

$
In my first steps in OS-9 on Philips CDI605T, I tried some commands, but all I received in return were OS-9 errors #000:215 and #000:216.
Floppy disk
I loaded the MediaMogul CD again to find a way to create an OS-9 System Diskette. Before entering the CD-RTOS shell, I read some more OS-9 documentation. Here are some useful commands and utilities:
help : displays a short help for a command
cxd : change execution directory, e.g. chx /d0/CMDS
chd : change data directory, e.g. chd /cd, chd /d0/CMDS
pd : show path of current data directory
dir : list content of the current directory
dir -e : extended listing of current directory
format : format disk, e.g. format /d0, format /h0fmt
inquire /scsi0 : show info about device on SCSI ID 0
procs : list running processes
And some important devices:
/cd : optical disc drive
/d0 : first floppy disk drive
/h0 : first SCSI hard disk drive
(/h0fmt : for formatting the first hard disk)
/nvr : NVRAM (Timekeeper)
/pcd0h : DOS compatible high density floppy disk
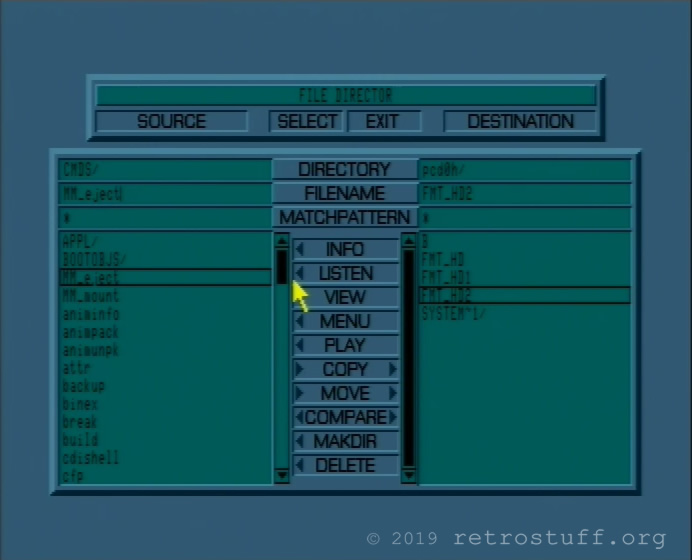
/pch1 : DOS compatible HDD on SCSI ID 1With this knowledge I formatted a fresh floppy disk and copied the entire content of /cd/OS9_SYSTEM to /f0 using the File Director:
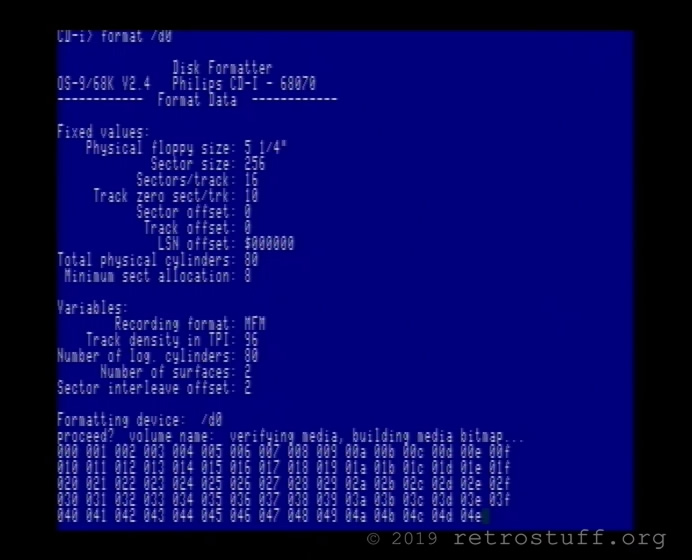
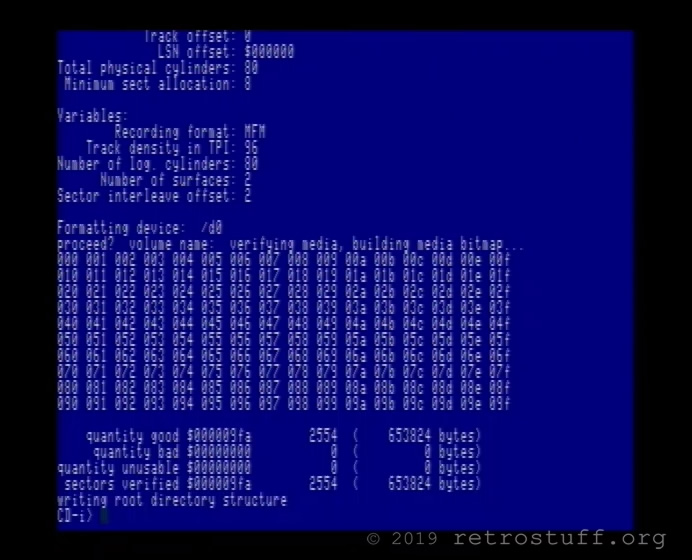
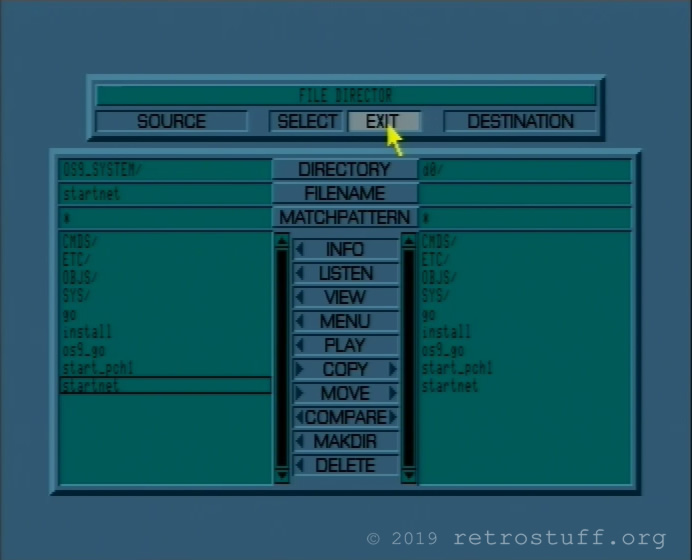
I’m not sure if it contains everything that is needed for OS-9 System Diskette because it still refuses to react to LOAD from the SETTINGS menu, but at least I have a way to access to the OS-9 commands from the shell.
Hard disk
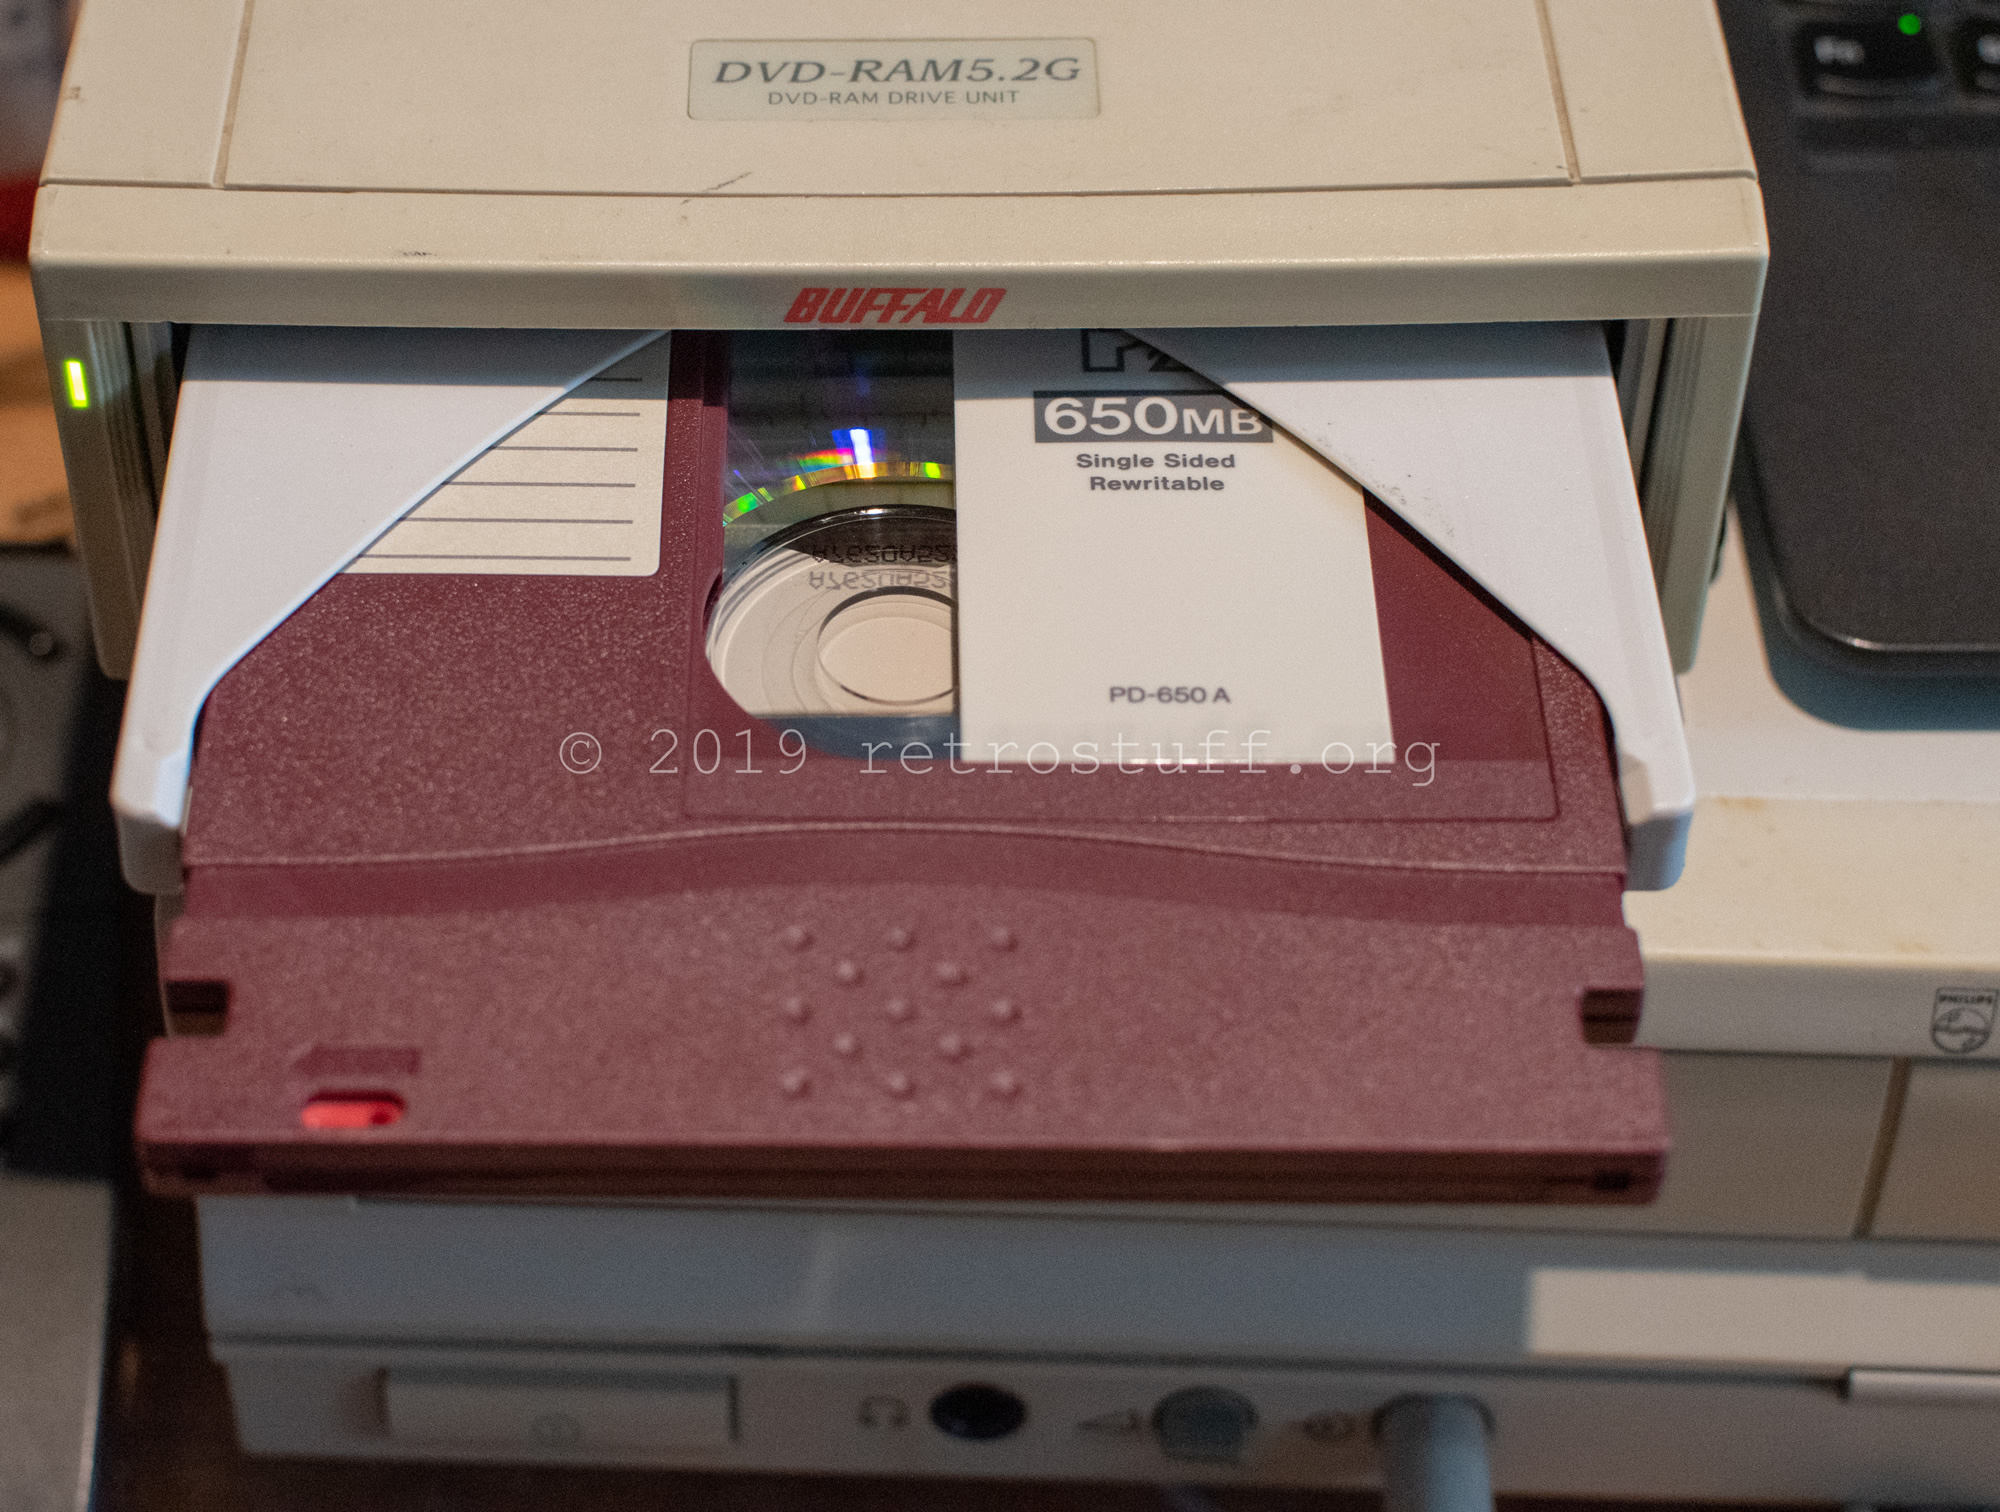
Next, I needed a hard disk drive to install the content of the MediaMogul disc. Almost all paths in the scripts and programs default to /h0 and thus refuse to run. I didn’t want to use an old SCSI-1 HDD that sounds like a jet engine so I went for an external DVD-RAM drive instead. The drive is compatible with the PD (Phase-change Dual) cartridges. I’ve had good experiences with these as an external drive solution on my FM TOWNS II.
MediaMogul comes with a procedure file (shell script) fmt_hd that formats the HDD and installs the content of the CD onto it. Unfortunately, it doesn’t work with the PD. Instead, I checked the file with the text viewer of File Director and ran the commands one by one.
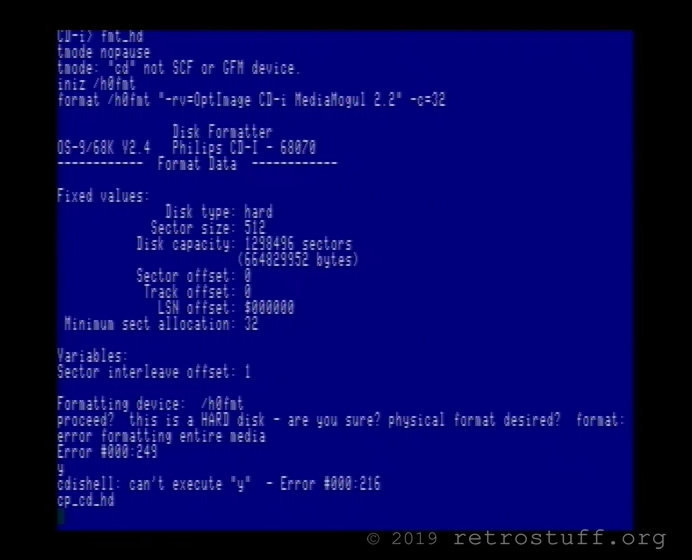
The four ys are answer commands for the questions by the format command:
Formatting device: /h0fmt
proceed? y
this is a HARD disk - are you sure? y
physical format desired? y
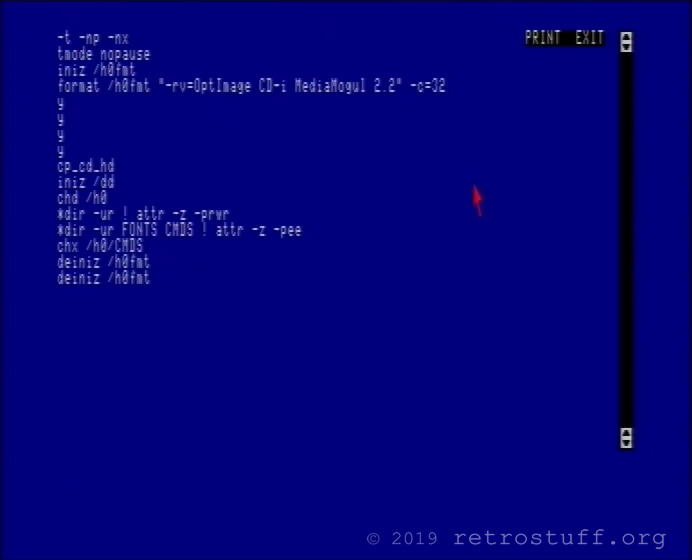
physical verify desired? yIt turned out that the third y answer command causes the error. The PD doesn’t like to be formatted physically. I’d prepared a new file on my Windows PC, turning y y y y into y y n n (the physical verify is actually working, but it takes too long) and planned to run it via the DOS compatible floppy drive (/pcd0h). Then, I remembered that there was an install file in the OS9_SYSTEM directory and ran that instead. It formatted /h0 (/h0fmt) without a problem and also copied the OS-9 system files from /f0 to /h0.
There are a couple of procedure files on the CD that take care of installing MediaMogul to the hard disk drive. The cp_xx_hd files call the copyxxxx files and write the results into log files.
cp_cd_hd calls copycd (directories needed by MediaMogul)
cp_cm_hd calls copycmds (CMDS directory)
cp_os_hd calls copyos9 (OS9_SYSTEM directory)
cp_pd_hd calls copypubl (PUBLIC_DOMAIN directory)
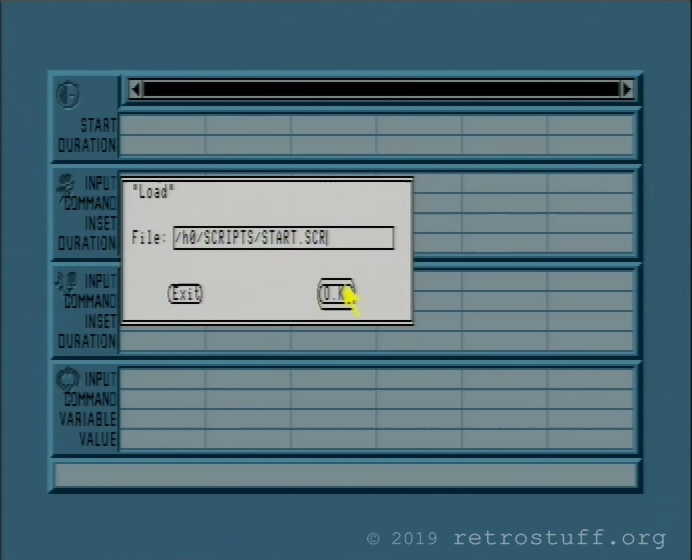
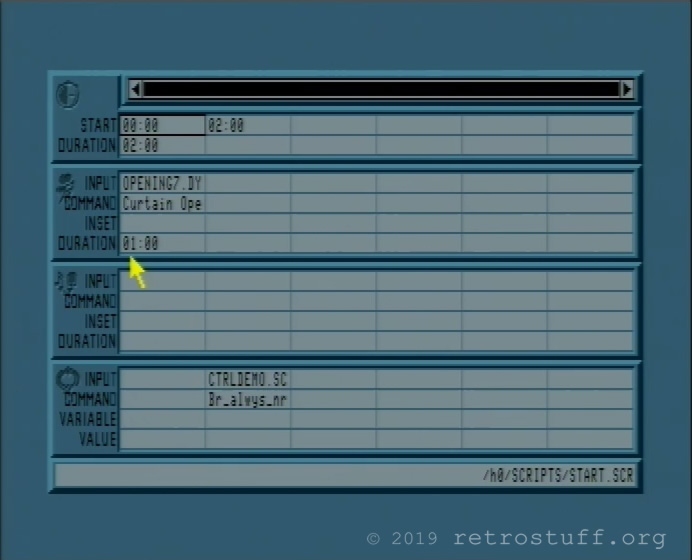
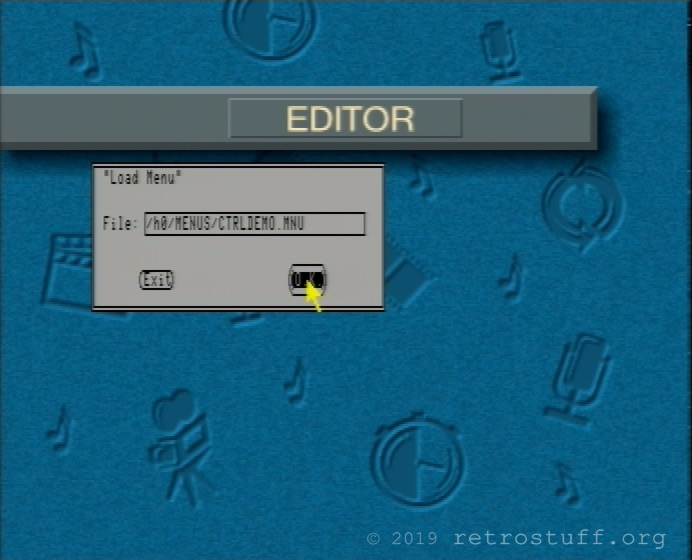
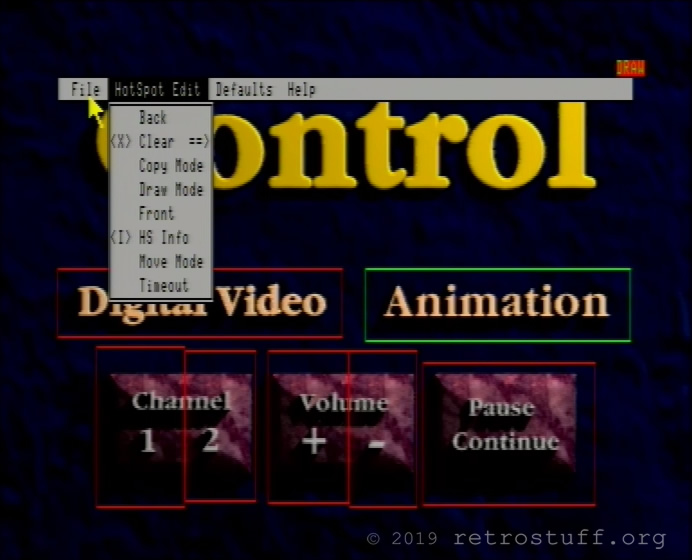
cp_tp_hd calls copytape (TAPE directory)Finally, I was able to use all of the MediaMogul programs without any problem (see gallery above). Also, the File Director became even more useful. Besides the ability to view information, copy files, view text/procedure files and preview image files, it is now able to preview menu files, and play MediaMogul scripts without errors.
Intermission
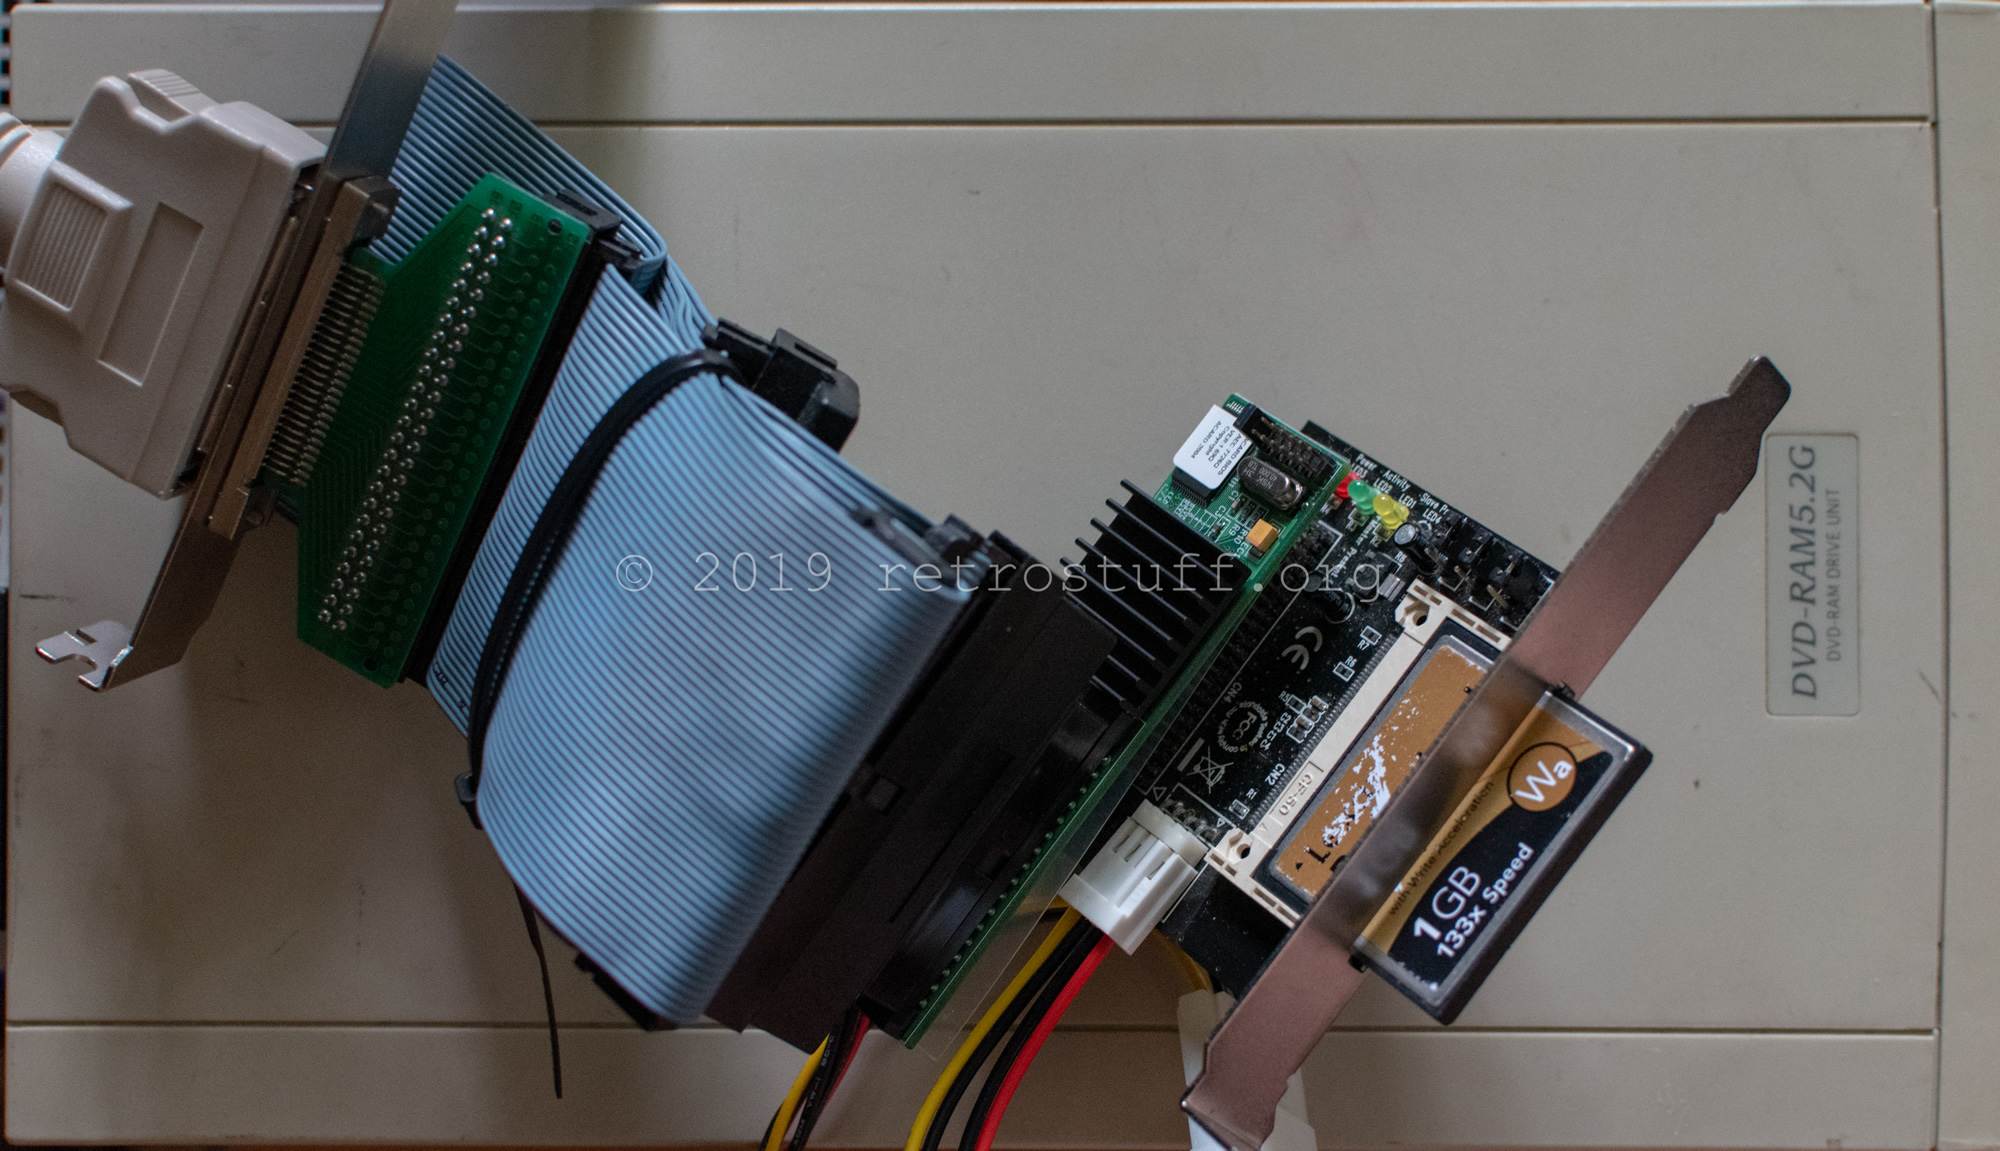
Spoilt by the success, I became cocky and attempted to add another HDD in the form of a CF card, attached to a bunch of adapters (SCSI-1 -> SCSI-2 -> Acard AEC-7726Q -> IDE2CF). The same combination worked fine on my Power Macintosh, but not on the CDI605T. Regardless of what I tried, none of the hard disks worked anymore, and inquire /scsi0 as well as inquire /scsi1 returned weird information only.
If I ever figure this out, there would be a couple of benefits: a DOS compatible drive on SCSI ID 1 (/pch1) for easier and faster data exchange with a DOS/Windows PC and a native OS-9 drive on SCSI ID 0 (/h0) that could be hidden inside the CDI605T. There’s plenty of space above the SCSI port and behind the DVC door.

After everything was put back into the state that it was before the experiment, the CD-i player refused to start up. First, it continuously rebooted showing these messages on the terminal:
Copyright(c) 1986, 1989 N.V. Philips, Sony Corporation
and Microware Systems Corporation
All rights reserved
ROM player ID         : 1.1
ROM release number    : 1.3
Exception Error, vector offset $0008 addr $00180D4C
Fatal System Error; rebooting system
Then it was stuck on this screen:
I’ve seen this error numerous times before on consumer CD-i players with dead Timekeeper chips. Usually it goes away when a new Timekeeper is fitted. Since I wasn’t ready to perform that massive surgery yet, I turned the unit off and let it rest for a while. Eventually, it cooperated and started up again.
Running CD-i applications
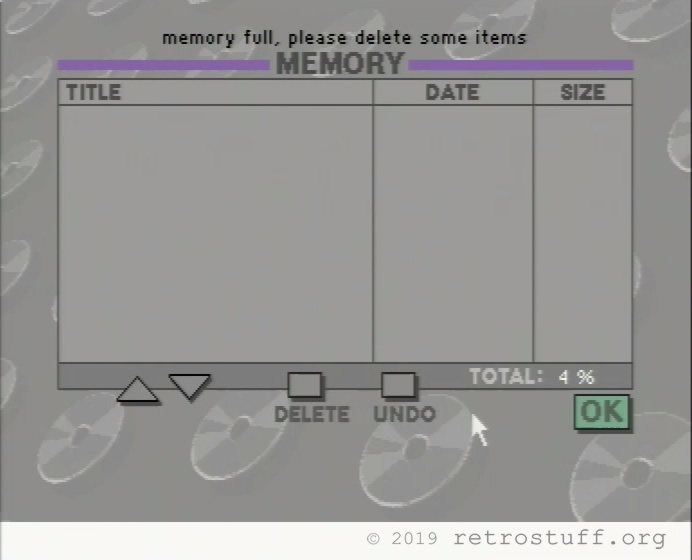
And now for some practical uses. First of all, MediaMogul requires to have its CD in the drive, also when it is installed and loaded from /h0. It doesn’t even matter if it is run from the shell via strt_MM or by playing the disc. There is a way to fix this and it works fine with my configuration: follow this this guide and change the last line of the procedure file strt_MM from ‘ex optshell /cd /h0‘ into ‘ex optshell /h0 /h0‘. Then, run this command: copy /cd/CDI_MEMO /h0/CDI_MEMO. Now you can start MediaMogul with these commands and it doesn’t care about which disc is in the drive:
$ chd /h0
$ strt_MM
or
$ /h0/strt_MM
It is still not possible to change whatever disc is in the drive with the Eject button without resetting the player. If you need to change the disc then eject it by running the command MM_eject and mount the new disc with MM_mount (or simply close the drawer).
Being able to run actual applications from the shell at all times is still something I’ll have to figure out. Sometimes, I can’t even enter an OS-9 command like chx /h0/CMDS without getting the Error #000:215 Bad pathlist specified (for now, I suspect this is related to the bad Timekeeper chip). However, even when it works, running a binary executable file will most likely throw this error:
shell: can’t execute “J” – Error #000:216. The reason and solution is explained here. Here is a practical example on how to successfully run the dyuvfilm demo from the CDISC 4 Freeware:
$ chx /h0/CMDS
$ chd /cd/CDIDEMOS/dyuvfilm
$ load -d cdi_bexample
$ cdi_bexample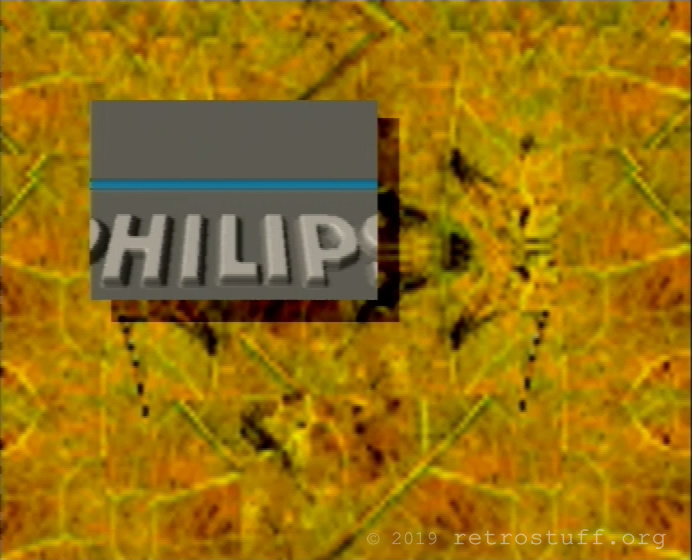
That concludes my first steps in OS-9 on Philips CDI605T.
This is what I love in you, you never give up and show everything, even when it goes wrong…! To hello other!
Great work, like always!
Feel free to share this on our forum.
Thanks, Omegalfa!