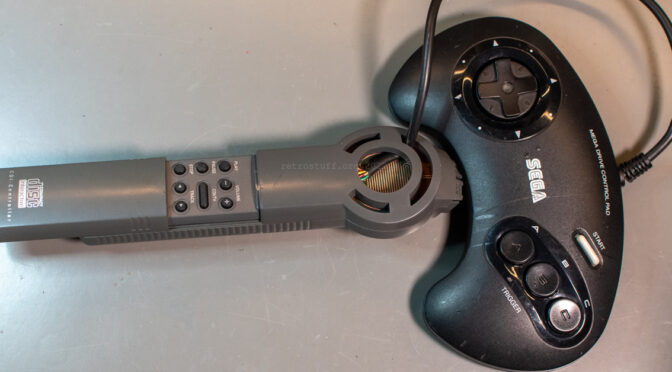
A quick and dirty hack to save a broken Philips CD-i RC6 remote control with a Sega Mega Drive controller.
Most CD-i players come with or are compatible with the 22ER9055 CD-i Commander, an RC6 remote control with a pressure-sensitive thumbpad. There are three known versions of the CD-i Commander:
RV 7701 – standard remote for most CD-i Players.
RV 7704 – with additional stand-by button for CDI660 and 670.
RV 7706 – with additional controls for CDI740.
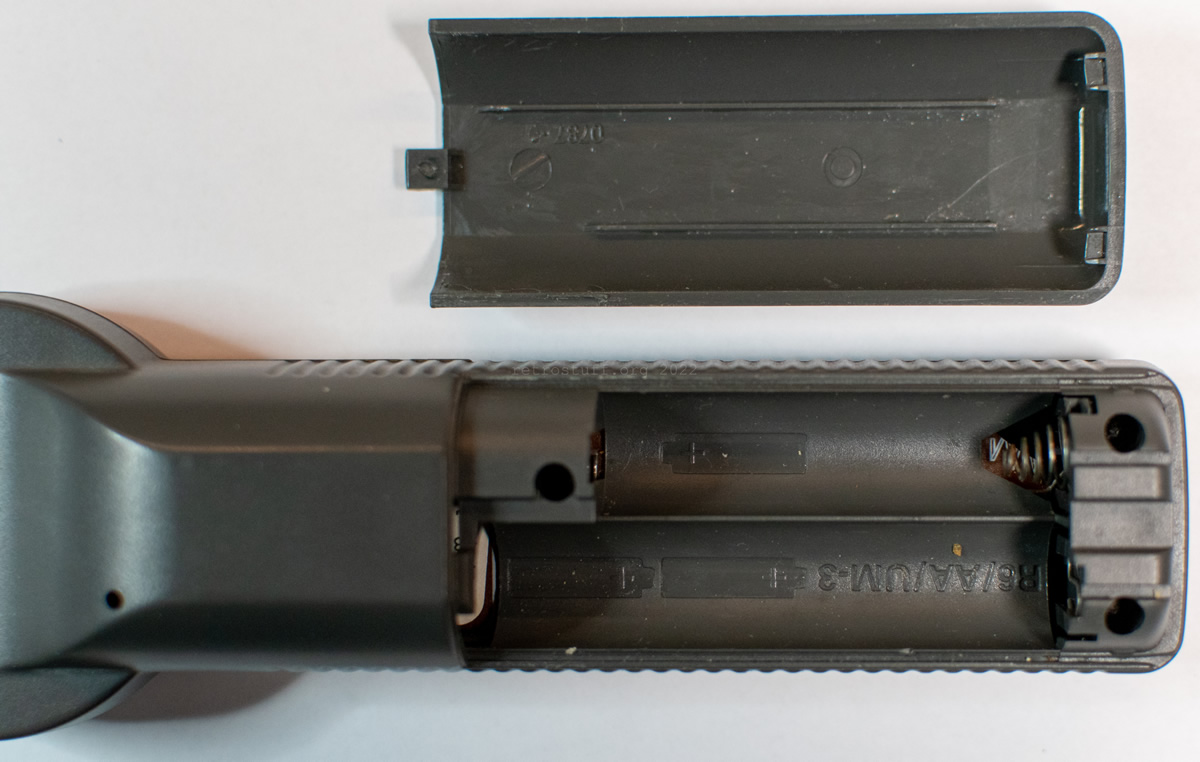
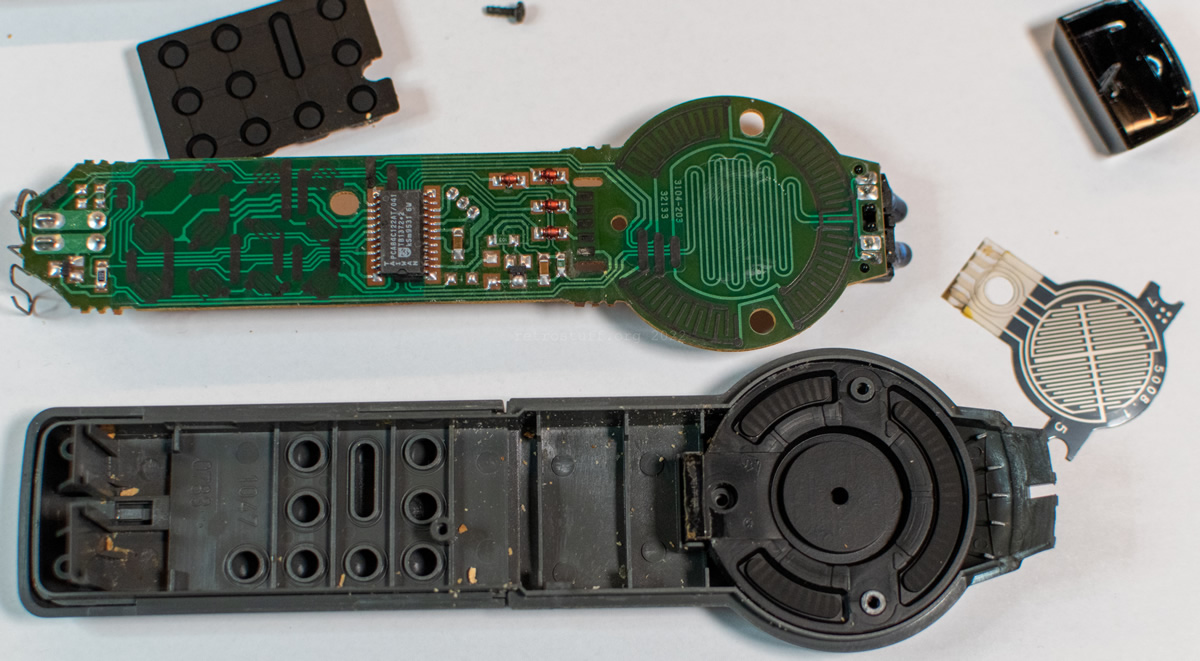
When buying a used remote control, your first action should be to check the battery compartment for obvious leaking damage and also take it apart to find hidden damage. You never know if there were accidents in the past and previous owners just cleaned out the battery compartment without looking further into it.
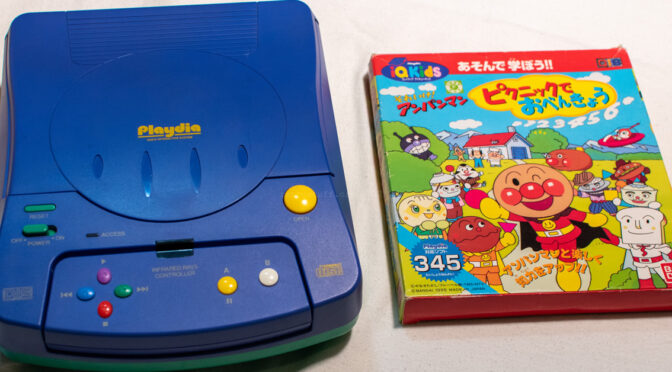
The Bandai Playdia Quick Interactive System (Q.I.S) was a short-lived console (1994-1996) that was released in Japan only with an unusual library.
In 2009, one year before I had my first Pippin, I bought two Playdia consoles with a few titles. One Playdia was sitting in the corner of my room all these years, almost unnoticeable because it is so compact and small. Recently, it caught my attention again and I was wondering why I never wrote an article about it. Well, here it is: I disassembled it, took photos and played many titles to find something interesting.
All titles start with the Q.I.S logo which is (most of the time) followed by a jumping Bandai logo.
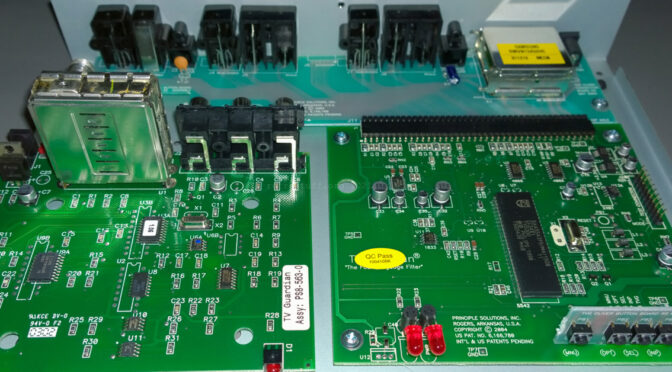
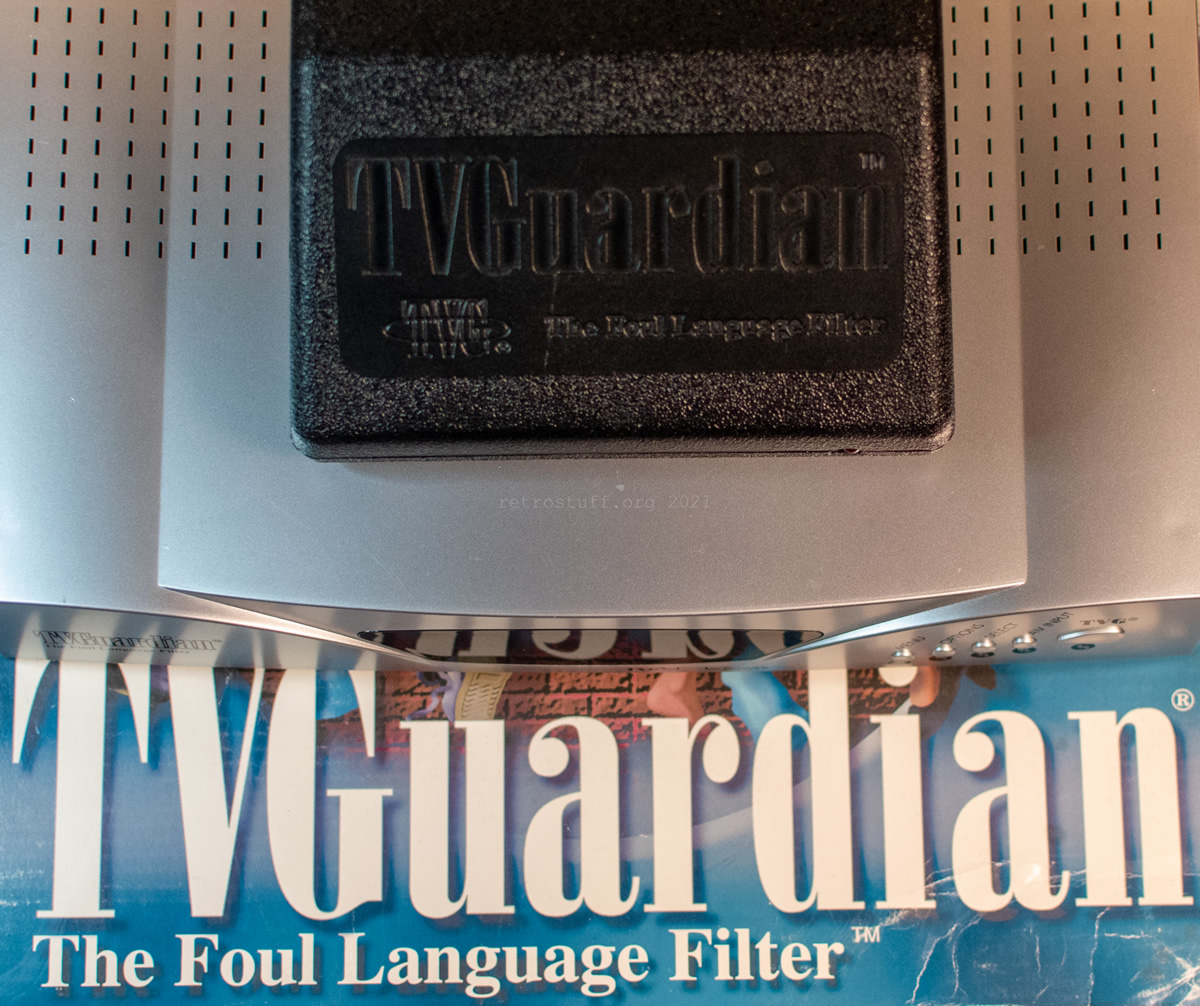
These two foul language filters have been in my possession for quite some time. I bought the TVGuardian 101 in 2014 as alternative to a Closed Captioning decoder to view subtitles of some NTSC LaserDiscs. In 2015, I got a Pioneer DVL-909 LaserDisc player with S-Video output together with the newer TVGuardian 201, which supports both composite and S-Video. I never got around to write an article about it, but now it’s time to remove that from my to-do list.
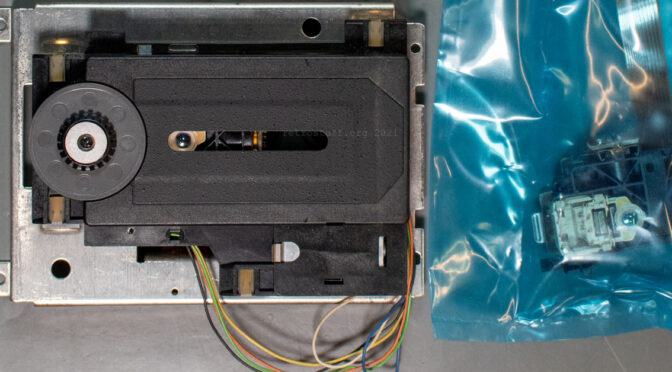
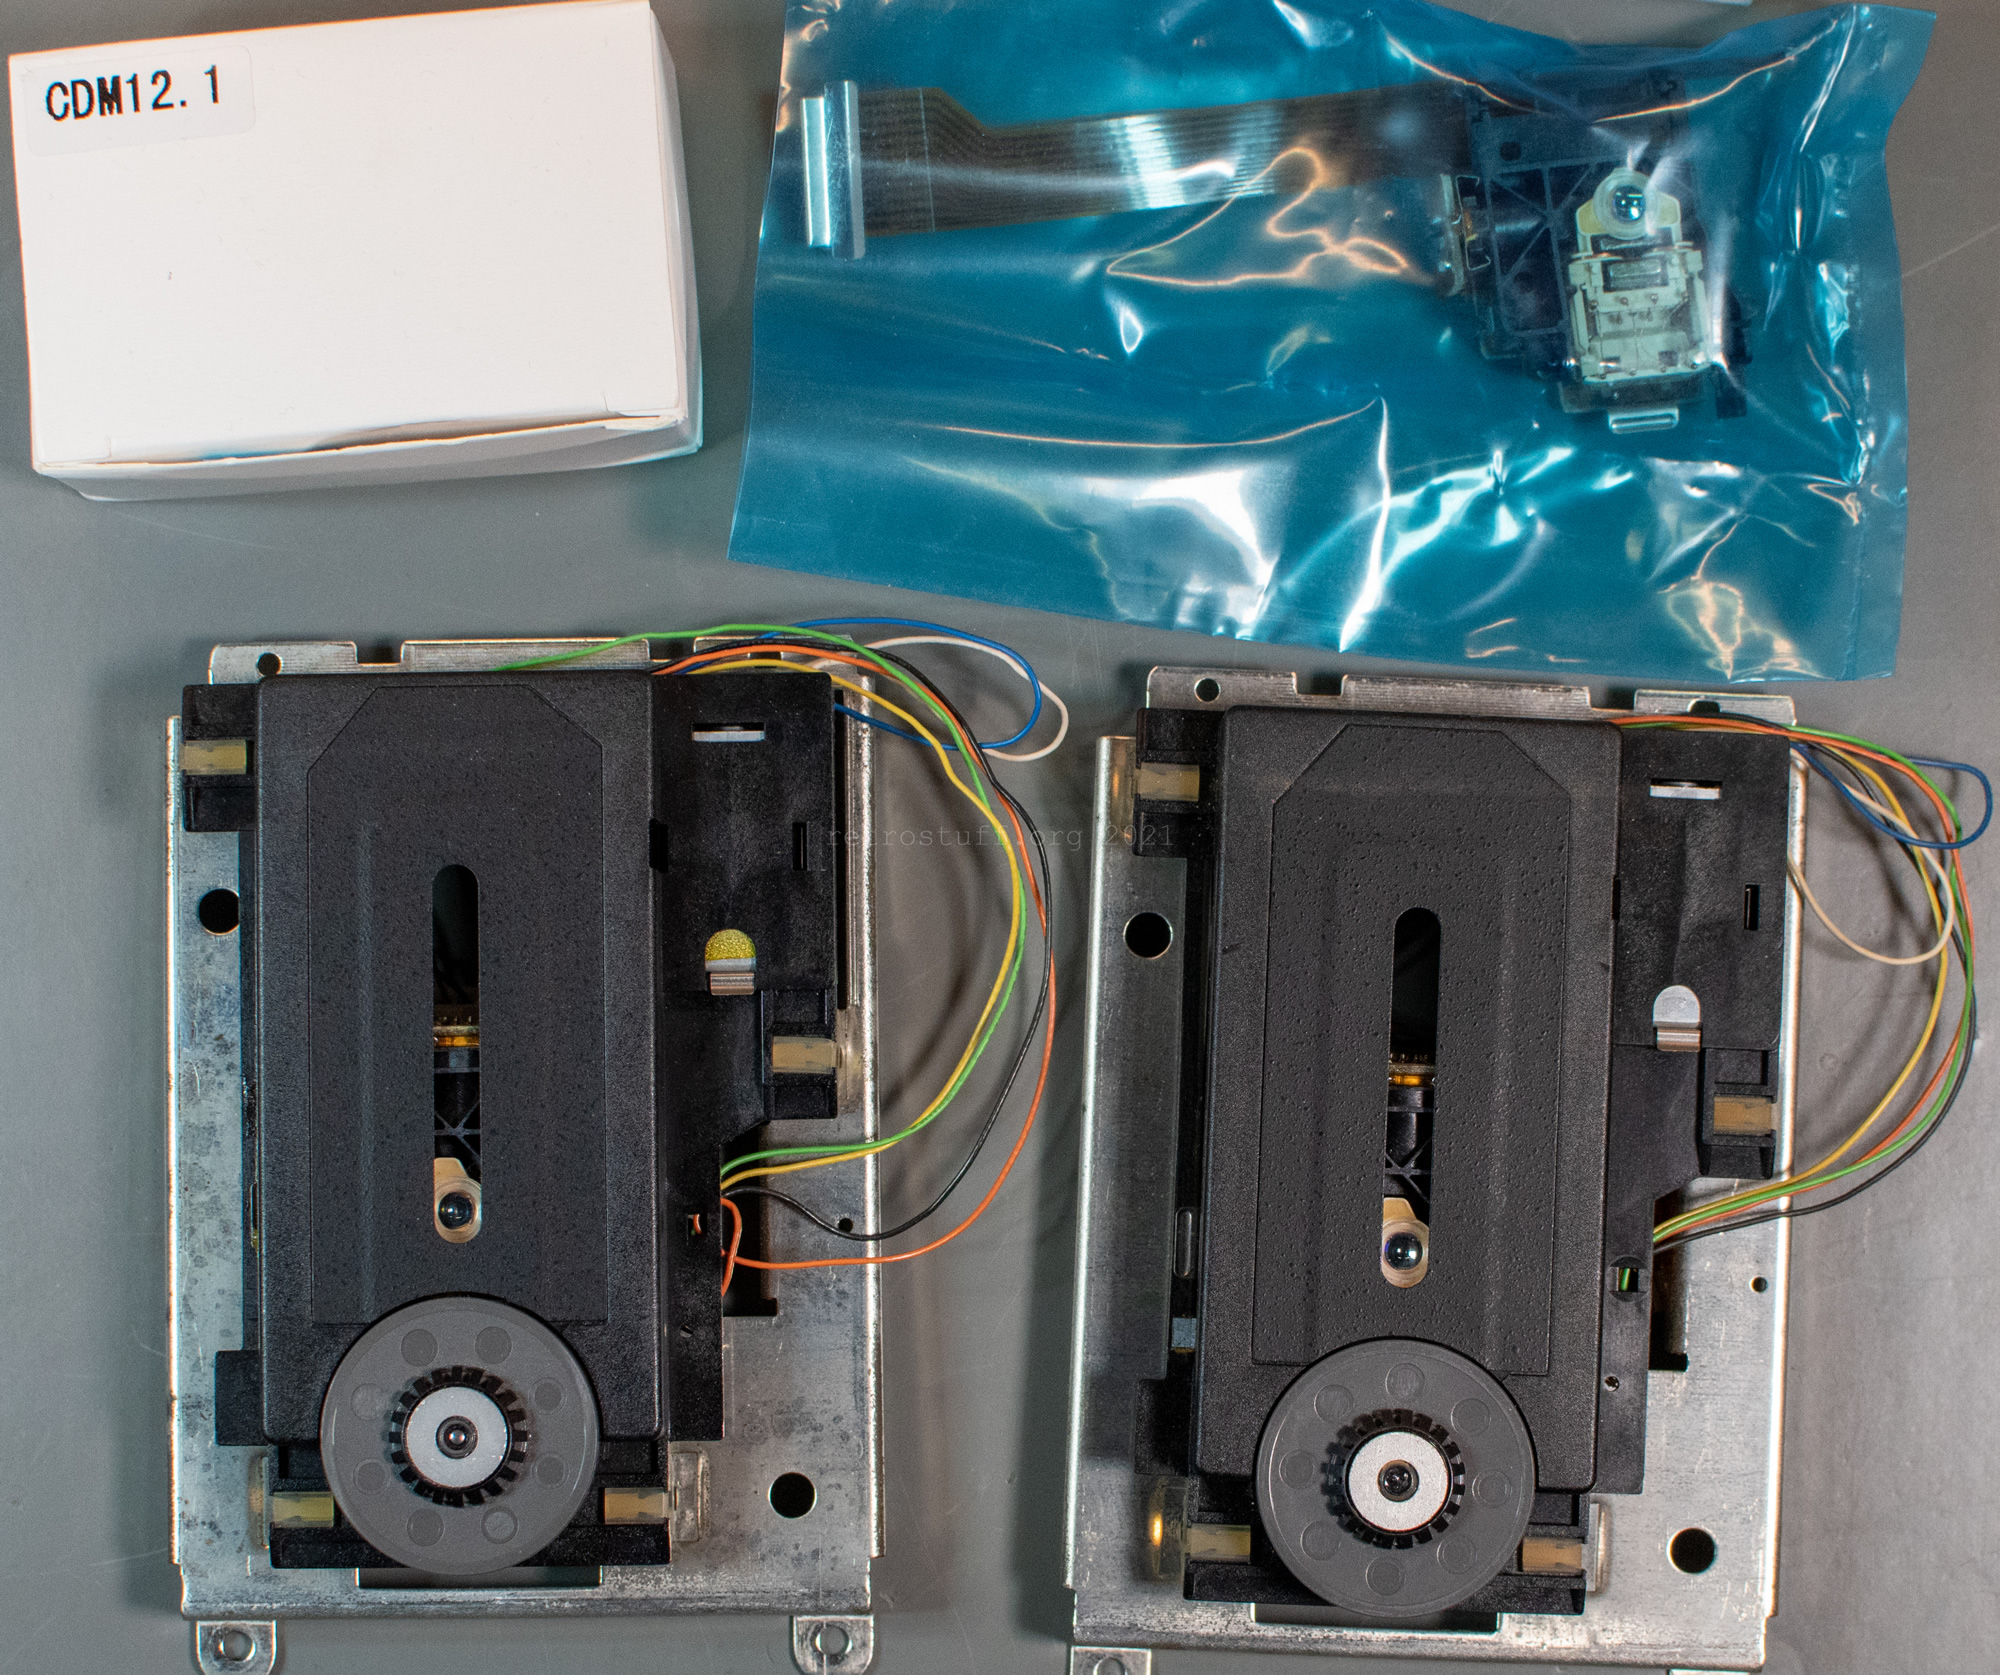
This guide shows the replacement of the laser sledge in Philips CDM 12.1T CD mechanisms. It assumes that you have already cleaned the lens and done the necessary troubleshooting to rule out other errors (see this article for diagnosis with the Service Shell). If you only get dirty disc messages or experience stuttering audio/video from time to time, you can still follow the guide to clean and grease the mechanism.
For documentation, I replaced the laser sledges of two CDI450 players with unreliable or no disc recognition at all. I took different approaches to find the easiest replacement procedure, so don’t be surprised if you suddenly see pictures where things are in different places.
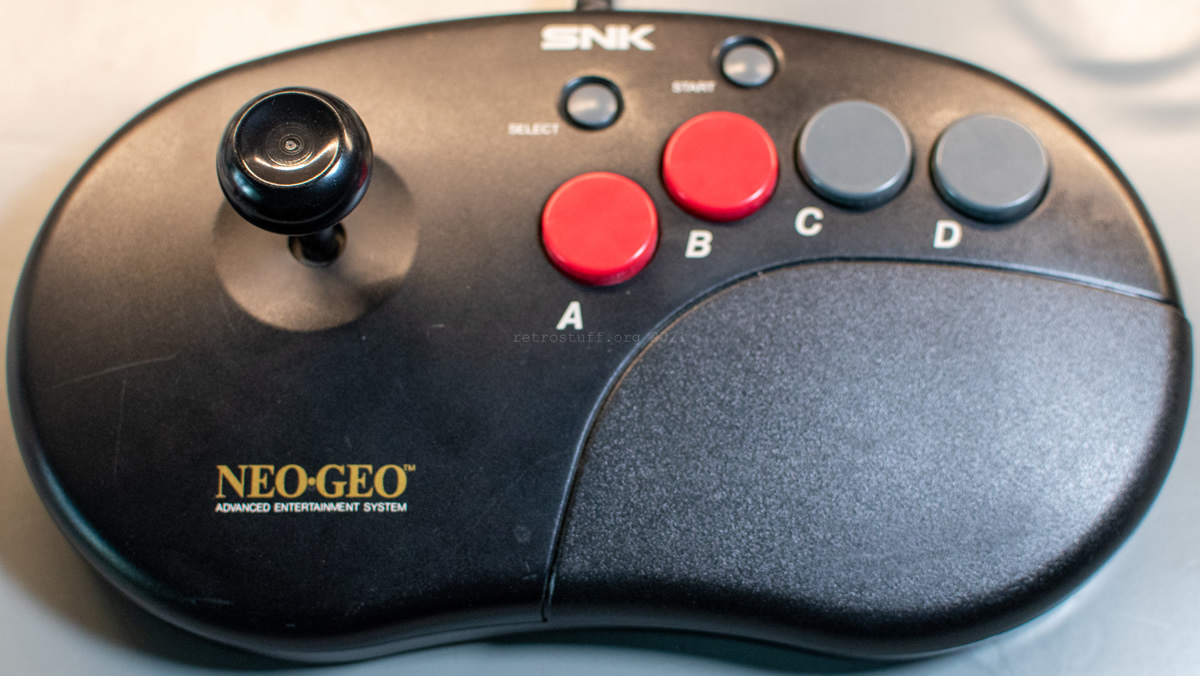
When I made my MV2FS ready for home-use, I also added a ball top to my Neo Geo CD Controller Pro. This was supposed to be handled in an article in 2018, but it somehow got lost. Anyways, here it is:
The SNK Neo Geo CD Controller Pro (aka kidney bean stick) doesn’t have a regular ball top like the arcade stick. Instead, it has an indented head, probably to rest your thumb on.
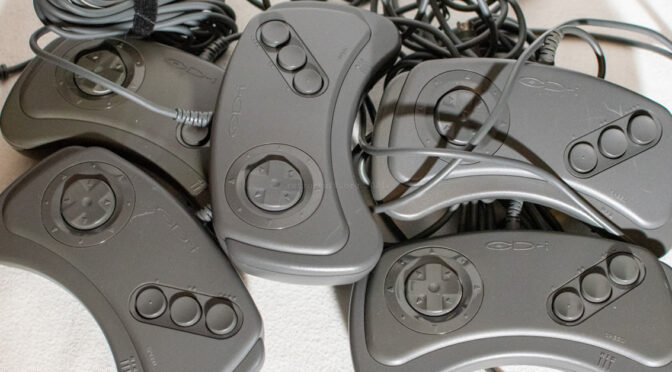
Recently, I acquired yet another CD-i player for repair and it came with a Philips 22ER9021 CD-i Gamepad. The gamepad showed two common signs of usage: Broken cable insulation and an unresponsive D-Pad.
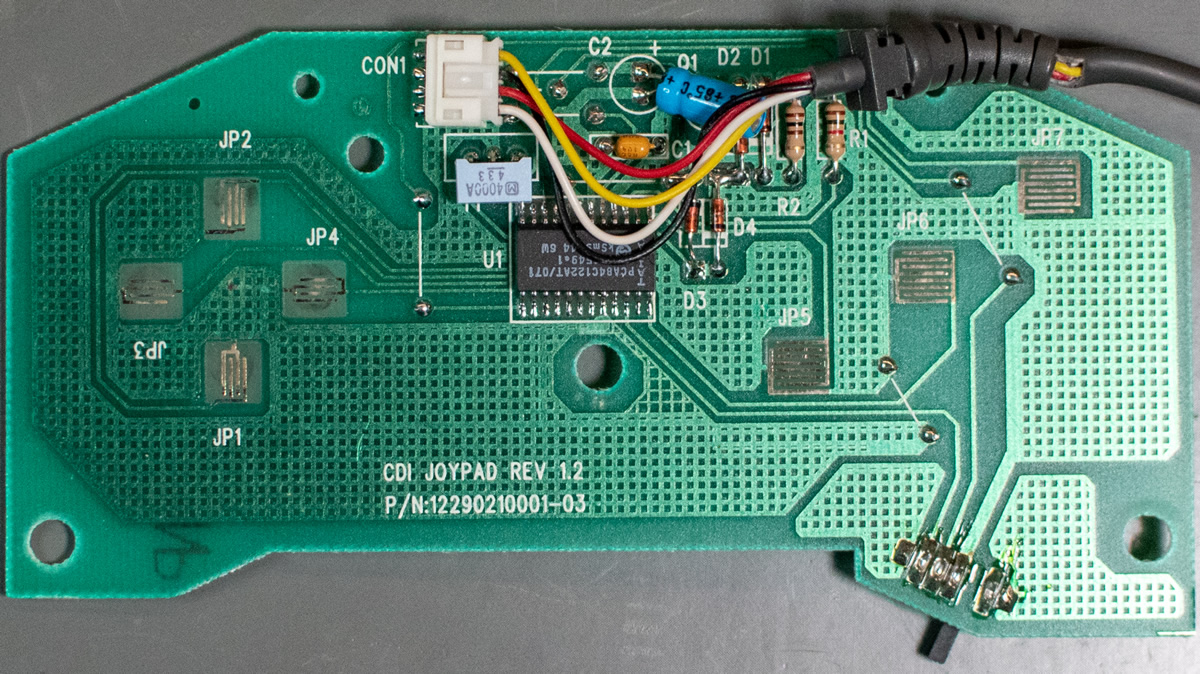
The coating is broken right behind the cable strain relief. I’ve seen much worse cases of broken insulation and even ripped out conductors, but this still needs to be fixed before it becomes worse.
Philips 22ER9021 PCB – front – with broken cable insulation
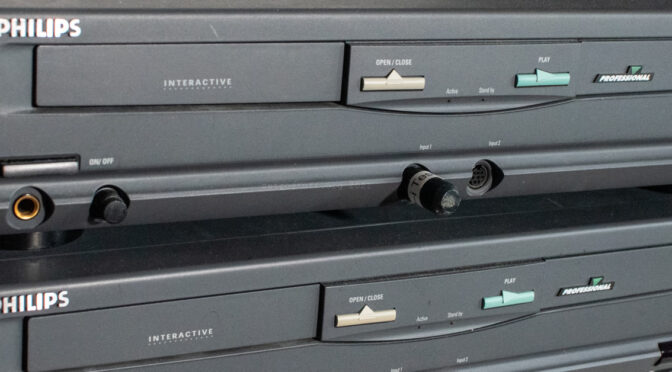
For quite some time, I was puzzled why my CDI660 was stuck in a reset loop after I inserted the test/dummy plug into Input 1. I expected it to boot into the Service Shell, like most other CD-i players. My solution so far was to use a 490 system ROM in the 660 whenever I needed the Service Shell (the compatibility and also the error were discovered during this experiment). However, this wasn’t a very practical approach because I had to open up the player and dig out the system ROM from underneath the DVC every time.
When CD-i Emulator with -testplug option showed the same behaviour, CD-i Fan figured out what is causing this error: The Service Shell module sv is missing from the 660/670 system ROM. In this article, I will show you a simple ROM patch to enable the Service Shell for the CDI660.
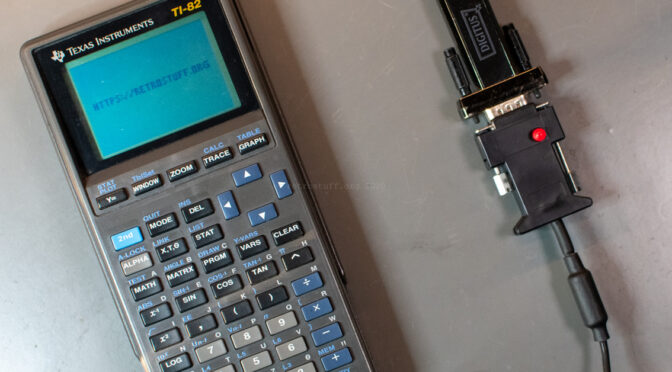
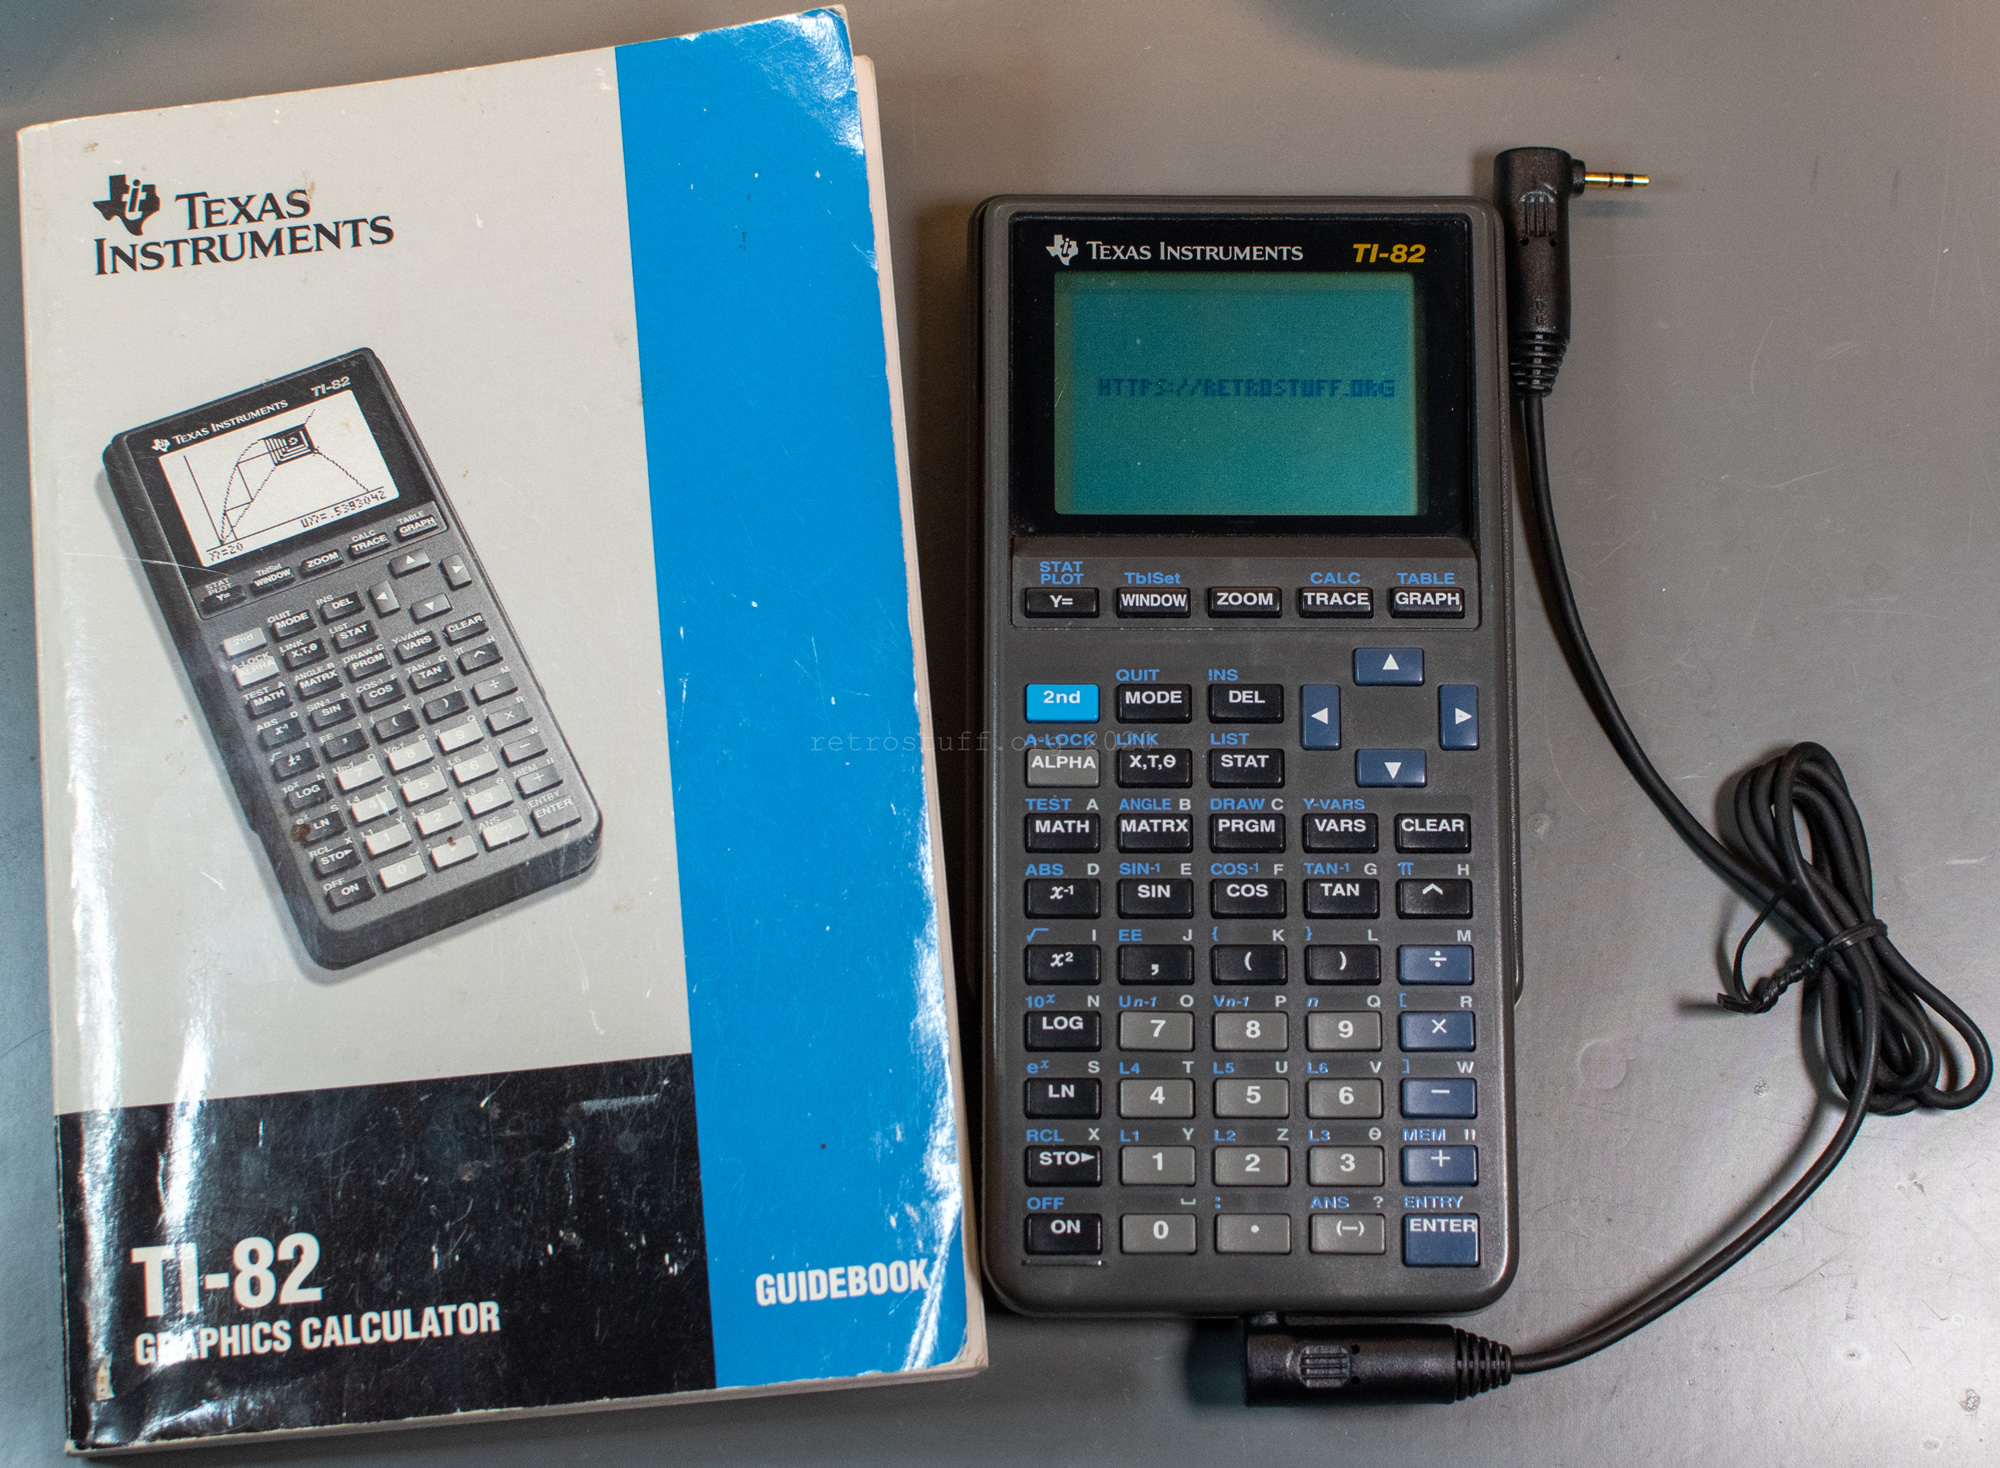
In the early to mid-90s, the Texas Instruments Ti-82 Graphics Calculator (or Graphing Calculator) was introduced and became a requirement in some high schools. I never had the official serial link cable to connect mine to a PC, but it came with a calculator-to-calculator link cable. That cable was very popular during math lessons for trading pictures, programs and games. We had several games back then, but I only remember one game, a Breakout clone programmed in TI-BASIC that was painfully slow.
I still have this calculator, but it was sitting in a drawer for more than 20 years. In this article, I will bring it back to life and connect it to a modern Windows 10 PC to install a Breakout clone or something better on it.
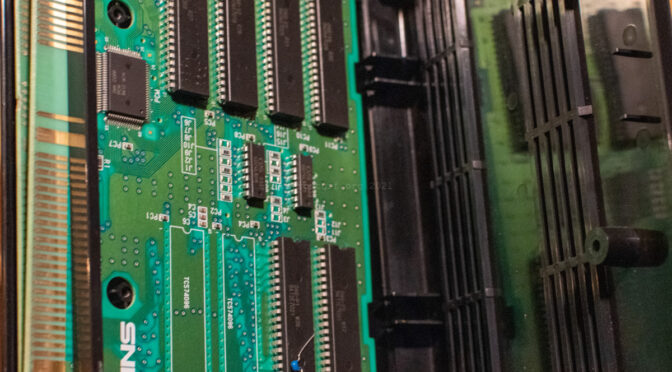
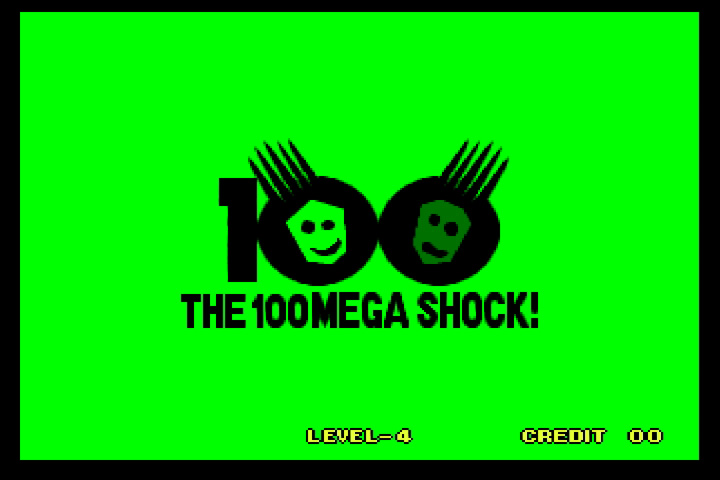
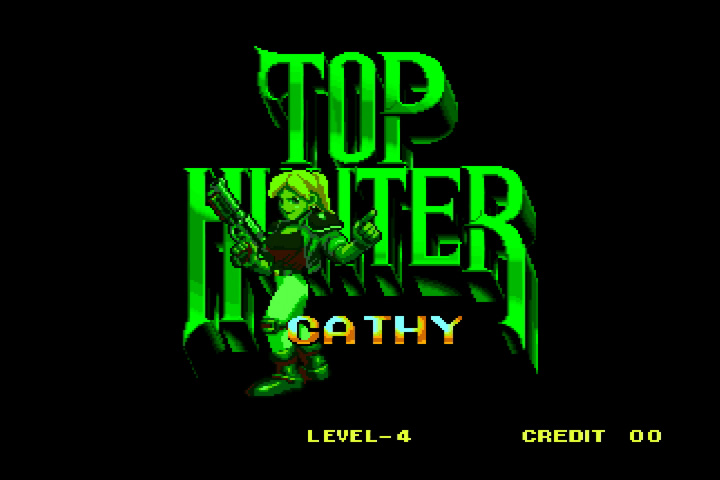
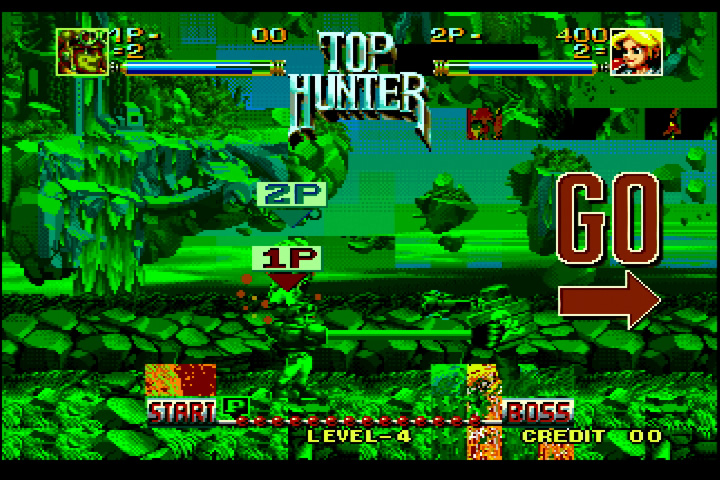
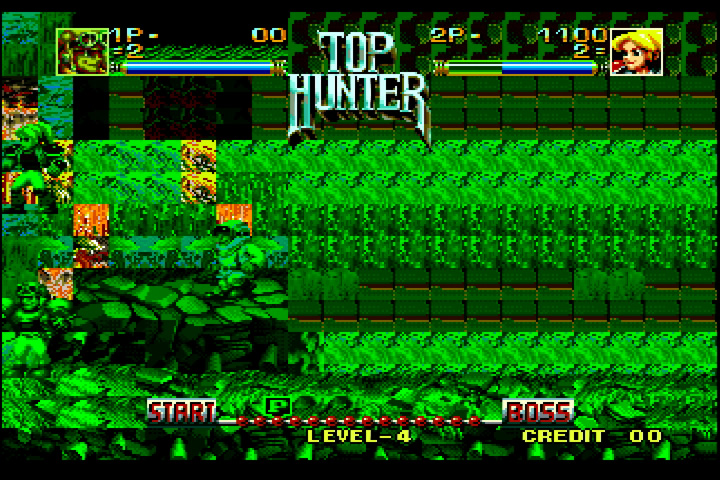
I recently acquired a cheap Top Hunter MVS cartridge with graphic glitches for repair. When I plugged it into my Neo Geo MV2FS, it had the mentioned graphic glitches and a mostly green-tinted image.
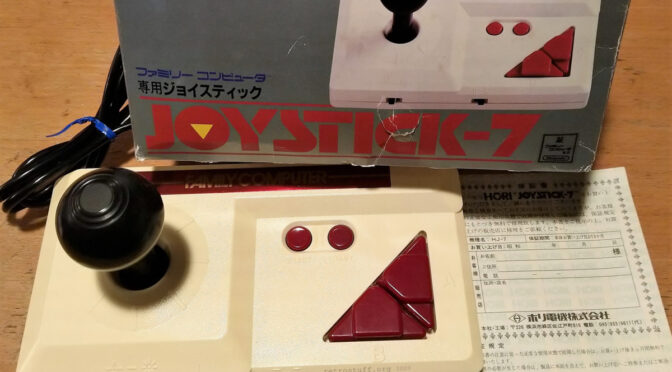
This Hori Joystick-7 (HJ-7) for the Nintendo Famicom has been sitting on my shelf for many years. When I finally took it out to use it for the first time, I noticed that the stick got stuck when moving it all the way to the left or right. In this article, I will open it up and fix that issue.