
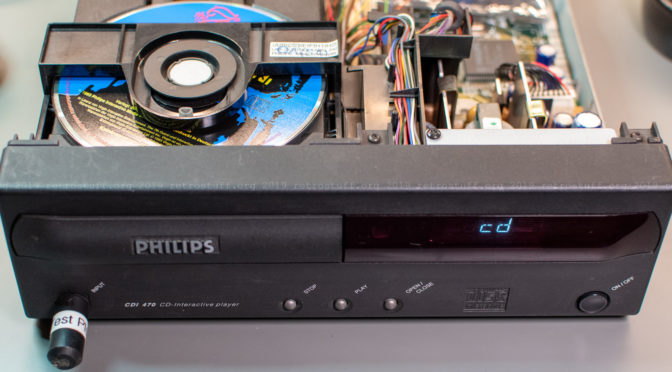
For upcoming experiments, I was in need of a working CD-i player with a Mono IV mainboard and 8 KB of NVRAM. I checked my basement and found a broken CDI470/20 that had been sitting there for years. Previous repair attempts had failed and I hadn’t bothered to look at it since.
Upon the first start, it greeted me with the memory full error:
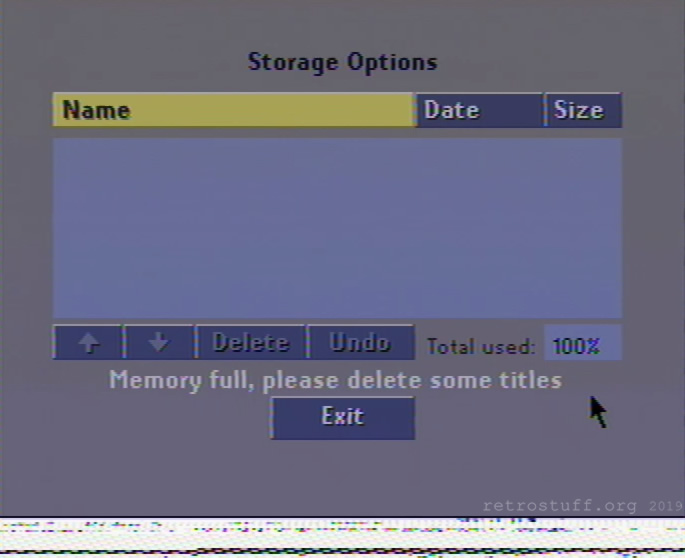
NVRAM repair
This is a well-known error for CD-i players, usually an indication of a broken Timekeeper (NVRAM) chip. However, I already fitted a socket and a new DS1643 chip years ago and it was still displaying the error. Back then, I suspected it to have a broken mainboard and banished it to my basement.
The error didn’t go away after fitting various DS1643 and M48T08 chips, and also the low-level test via serial terminal reported a problem:
I took a closer look at the service manual and the solder joints of the socket and checked the traces with a continuity tester. It turned out that pin 11 (D8NVR!) didn’t have a proper connection with the mainboard.

I renewed the solder joints of all pins of the socket which seemed to make the memory error go away.
Unfortunately, it came back after a while (and some NVRAM tests which will be featured in another article). To fix the error for good, I connected pin 11 with a short piece of wire to the next test point (close to resistor 3249; not pictured here).
Service Shell
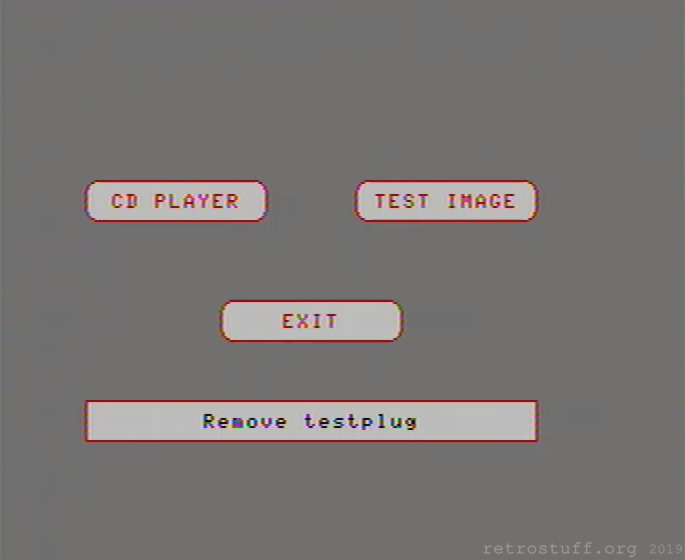
For further experiments, I also needed the player to be able to actually play some games. The discs, however, didn’t want to spin at all. I inserted a dummy plug (i.e. pins 2 and 3 are shorted) to boot the player into the Service Shell.
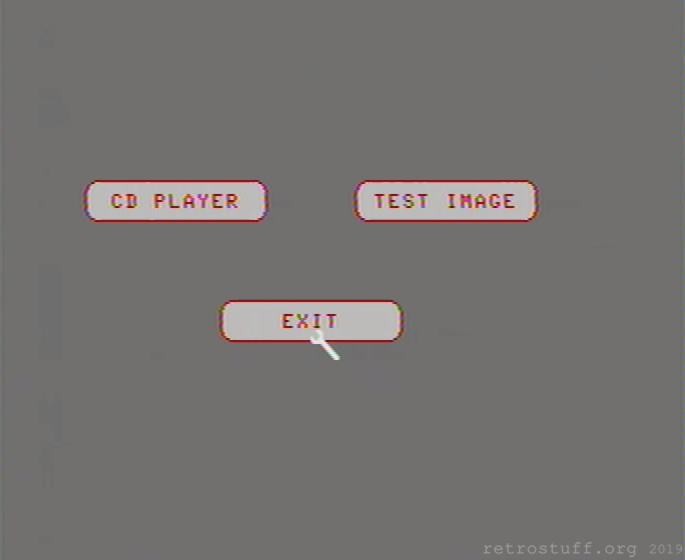
To start the disc drive test, insert an Audio CD (a CD-i game is also fine, by the way) and click the button CD PLAYER. Oh, and don’t look into the laser!

In Mode 0, be careful with the SLEDGE OUT and SLEDGE IN commands. Only click them once and/or alternatingly. Otherwise, the sledge with the laser will try to go beyond limits and possibly damage the gear racks.
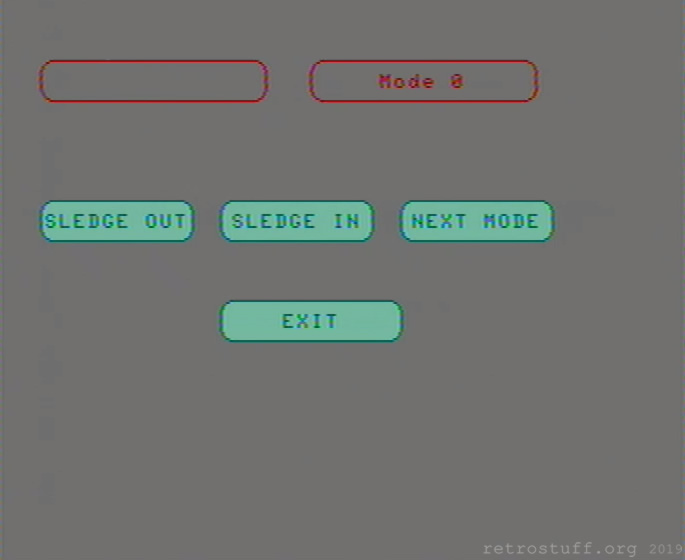
This is what SLEDGE OUT and SLEDGE IN do:


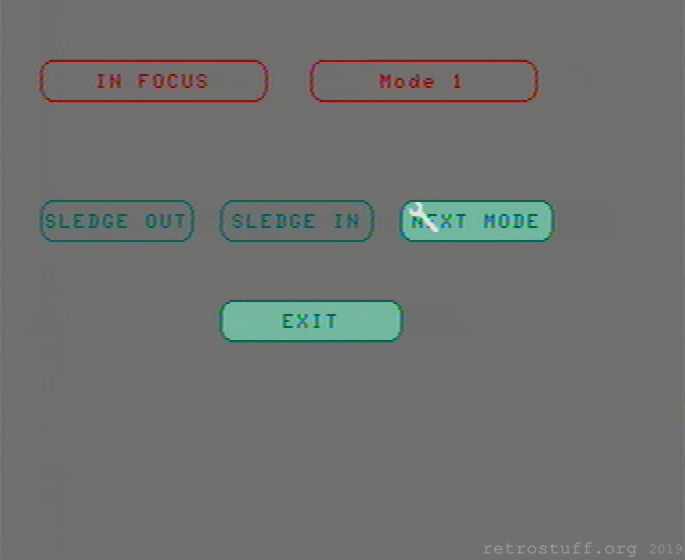
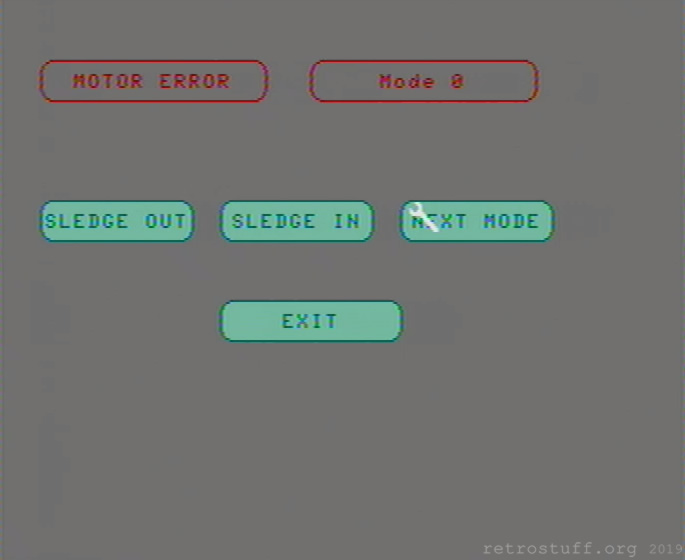
Press NEXT MODE for the focus test (Mode 1). IN FOCUS is a good result, the laser is able to see the disc:
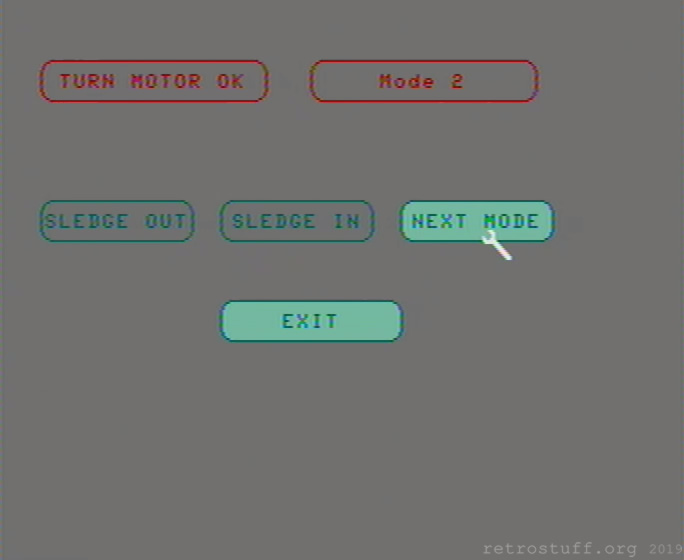
Press NEXT MODE for the motor test (Mode 2). MOTOR ERROR is a bad result, obviously, and means that we have found a problem: The motor isn’t able to spin, for whatever reason. The test sequence jumps back to Mode 0.
Motor repair
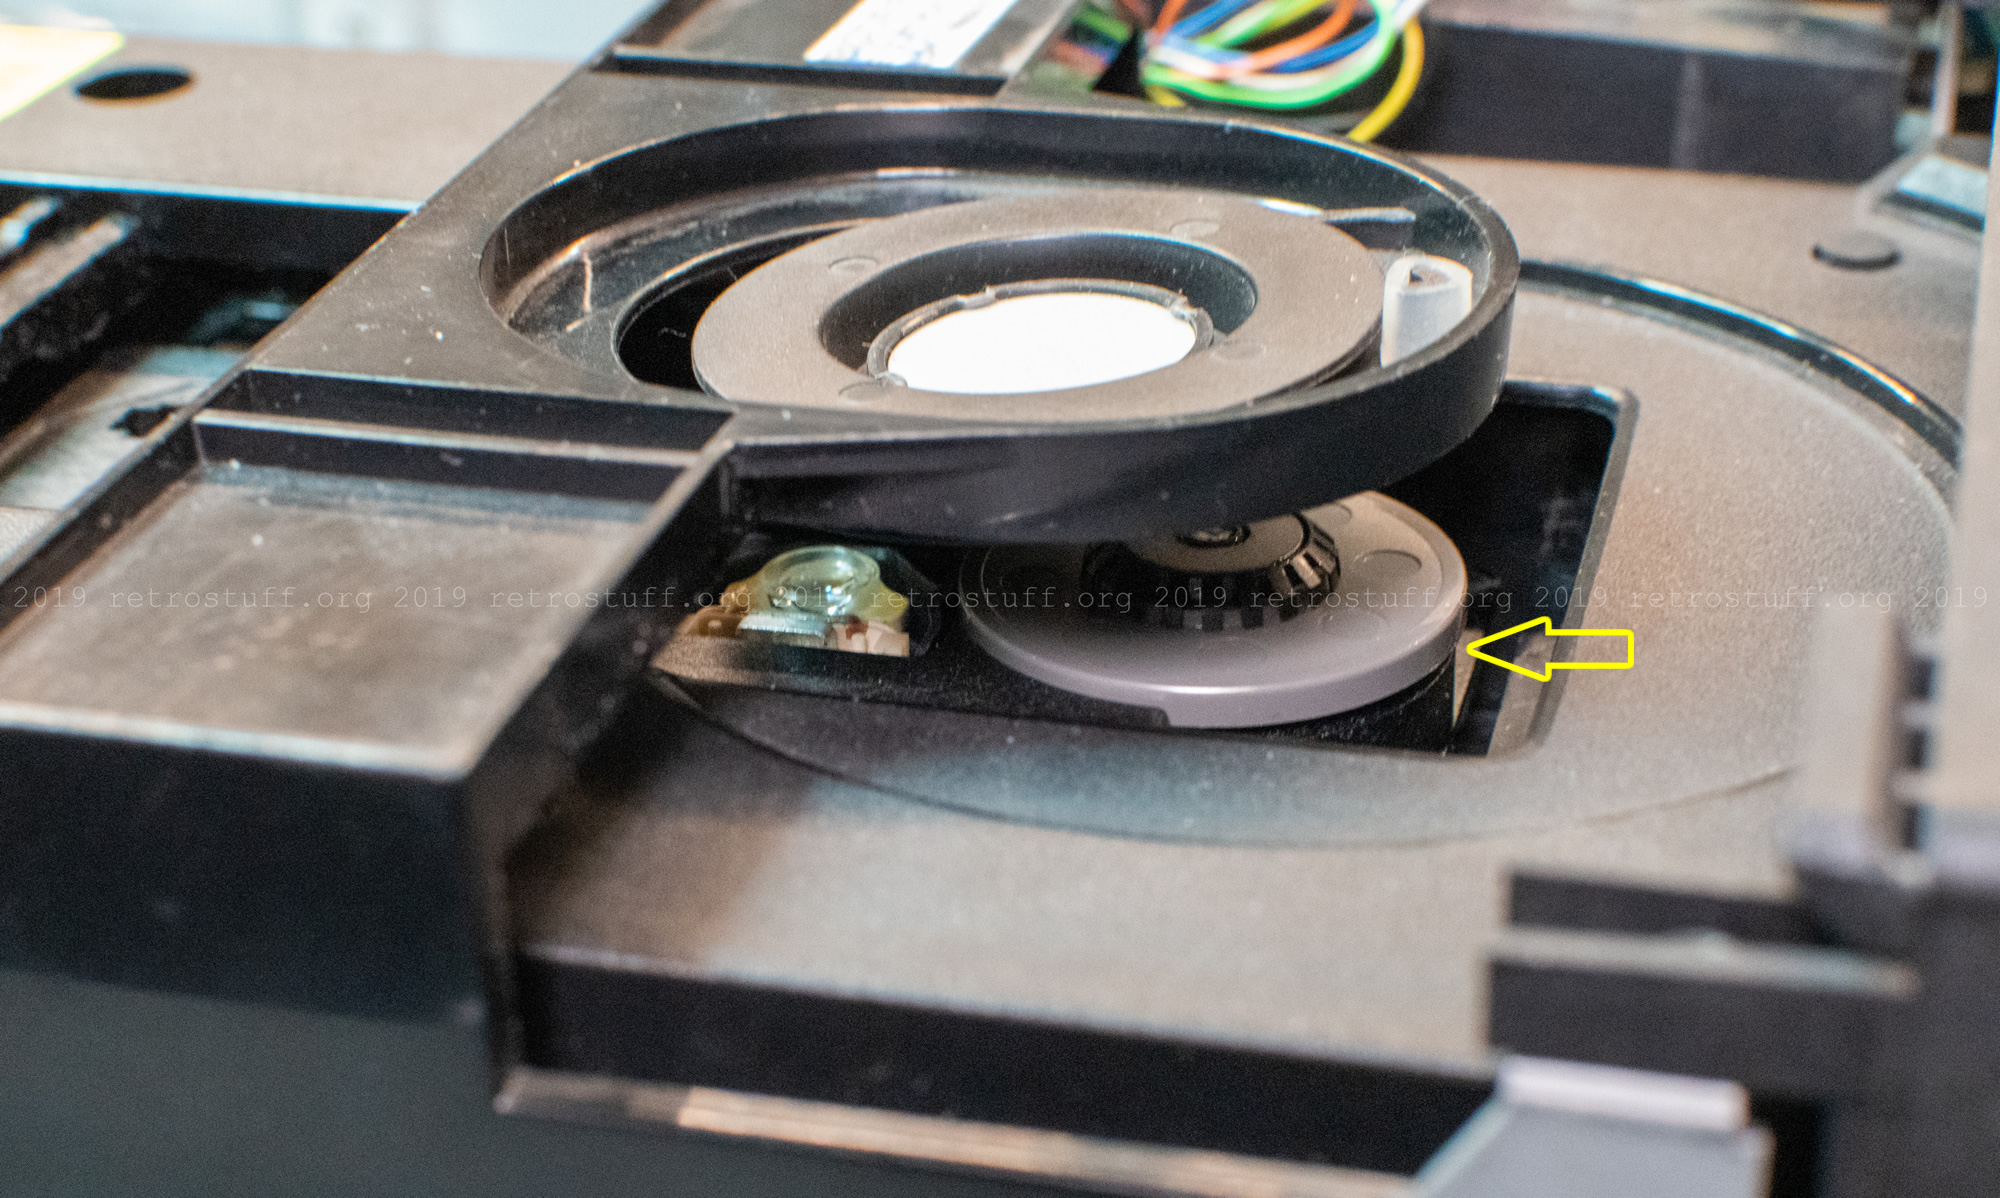
The world of CD-i has a tutorial to repair similar errors. I started with solution 4: It advises to lift the turntable up with a flat tool.
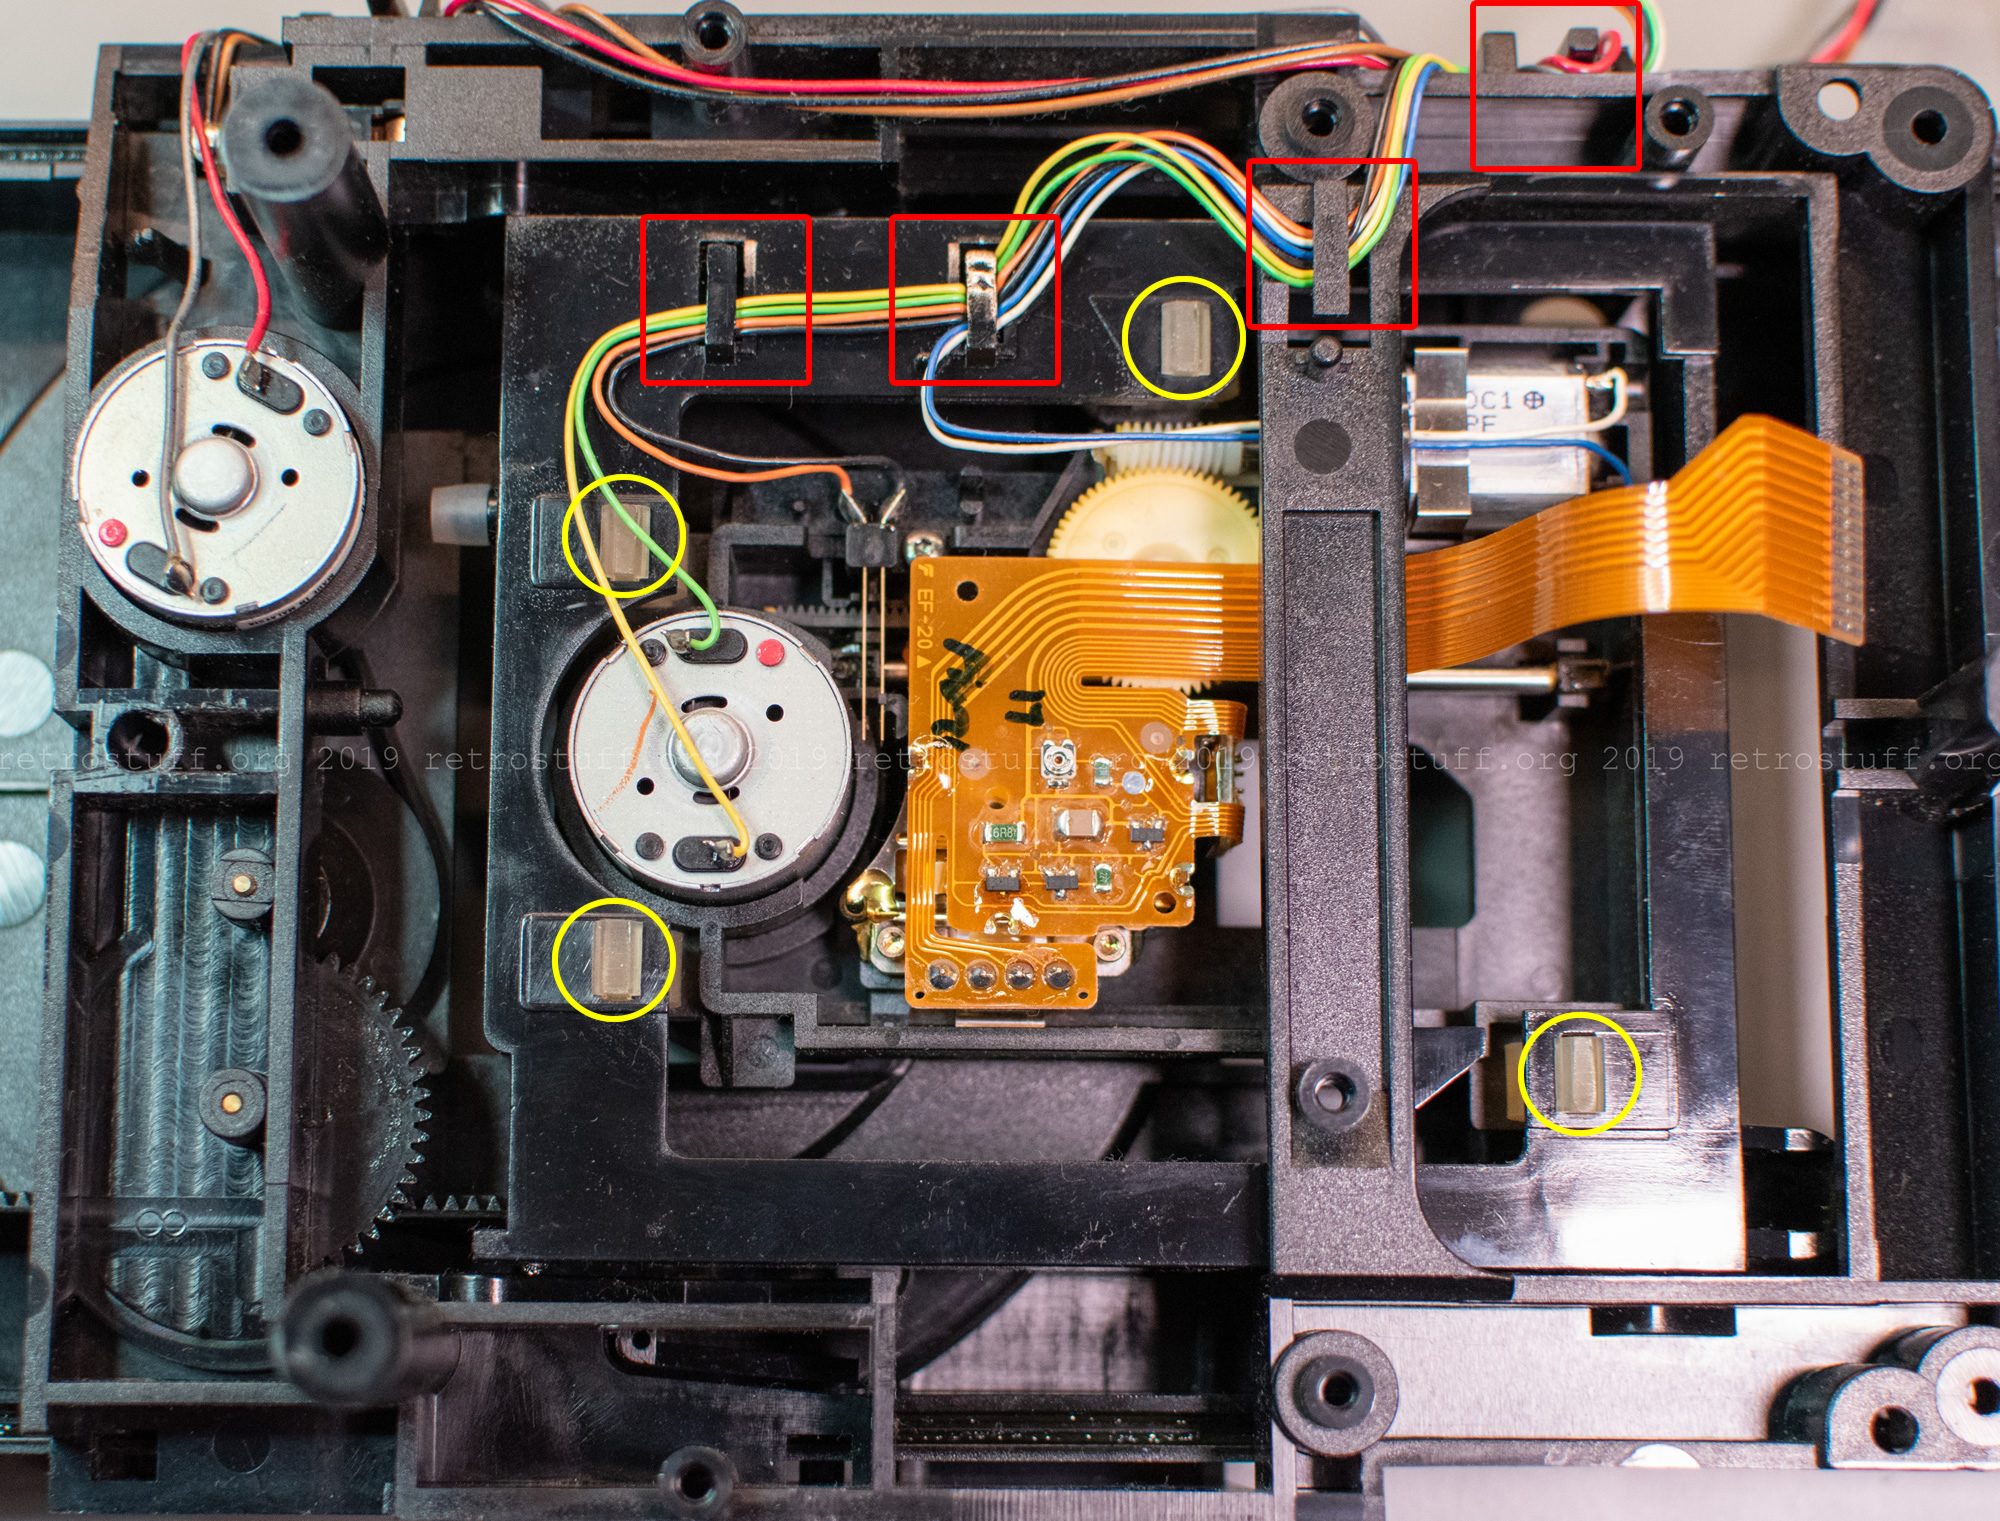
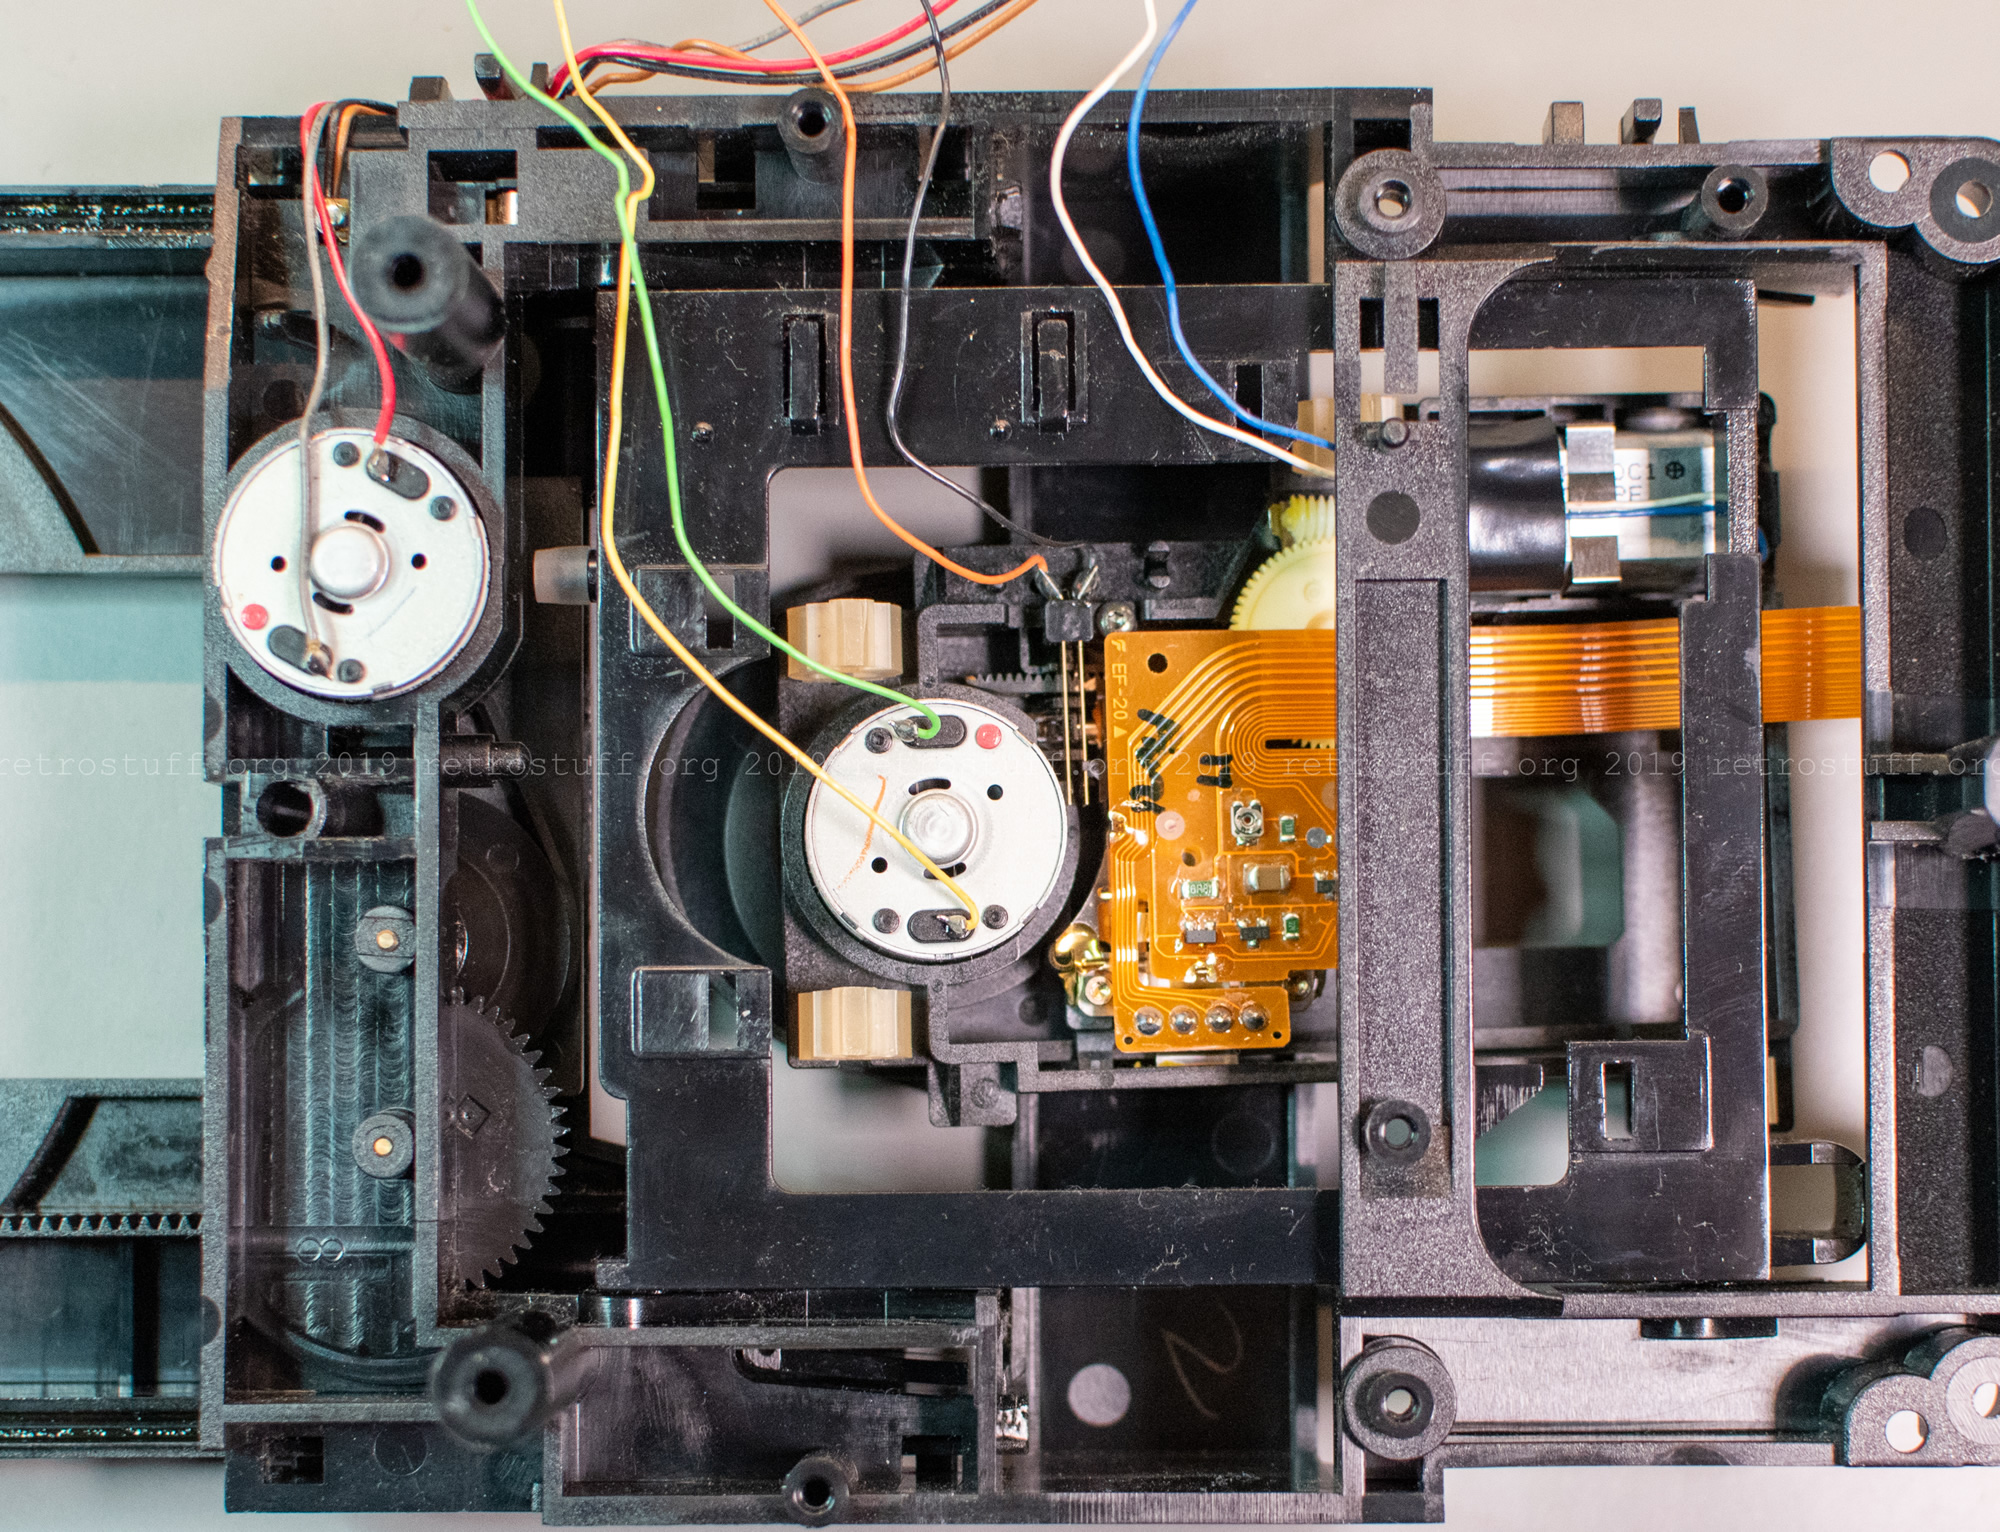
For easier access, I removed the whole assembly (CDM 12.1) by pushing the four rubber suspensions (yellow circles) through the holes.
Important: Take notes or pictures of the routing (red squares) before releasing the wires.
Alternative: Desolder the six wires, especially if you want to replace the assembly anyways (see Plan B below).
A first test after lifting the turntable. This is a delicate setup and must not be run without supervision. As soon as the sledge moves, the whole assembly will move around as well!
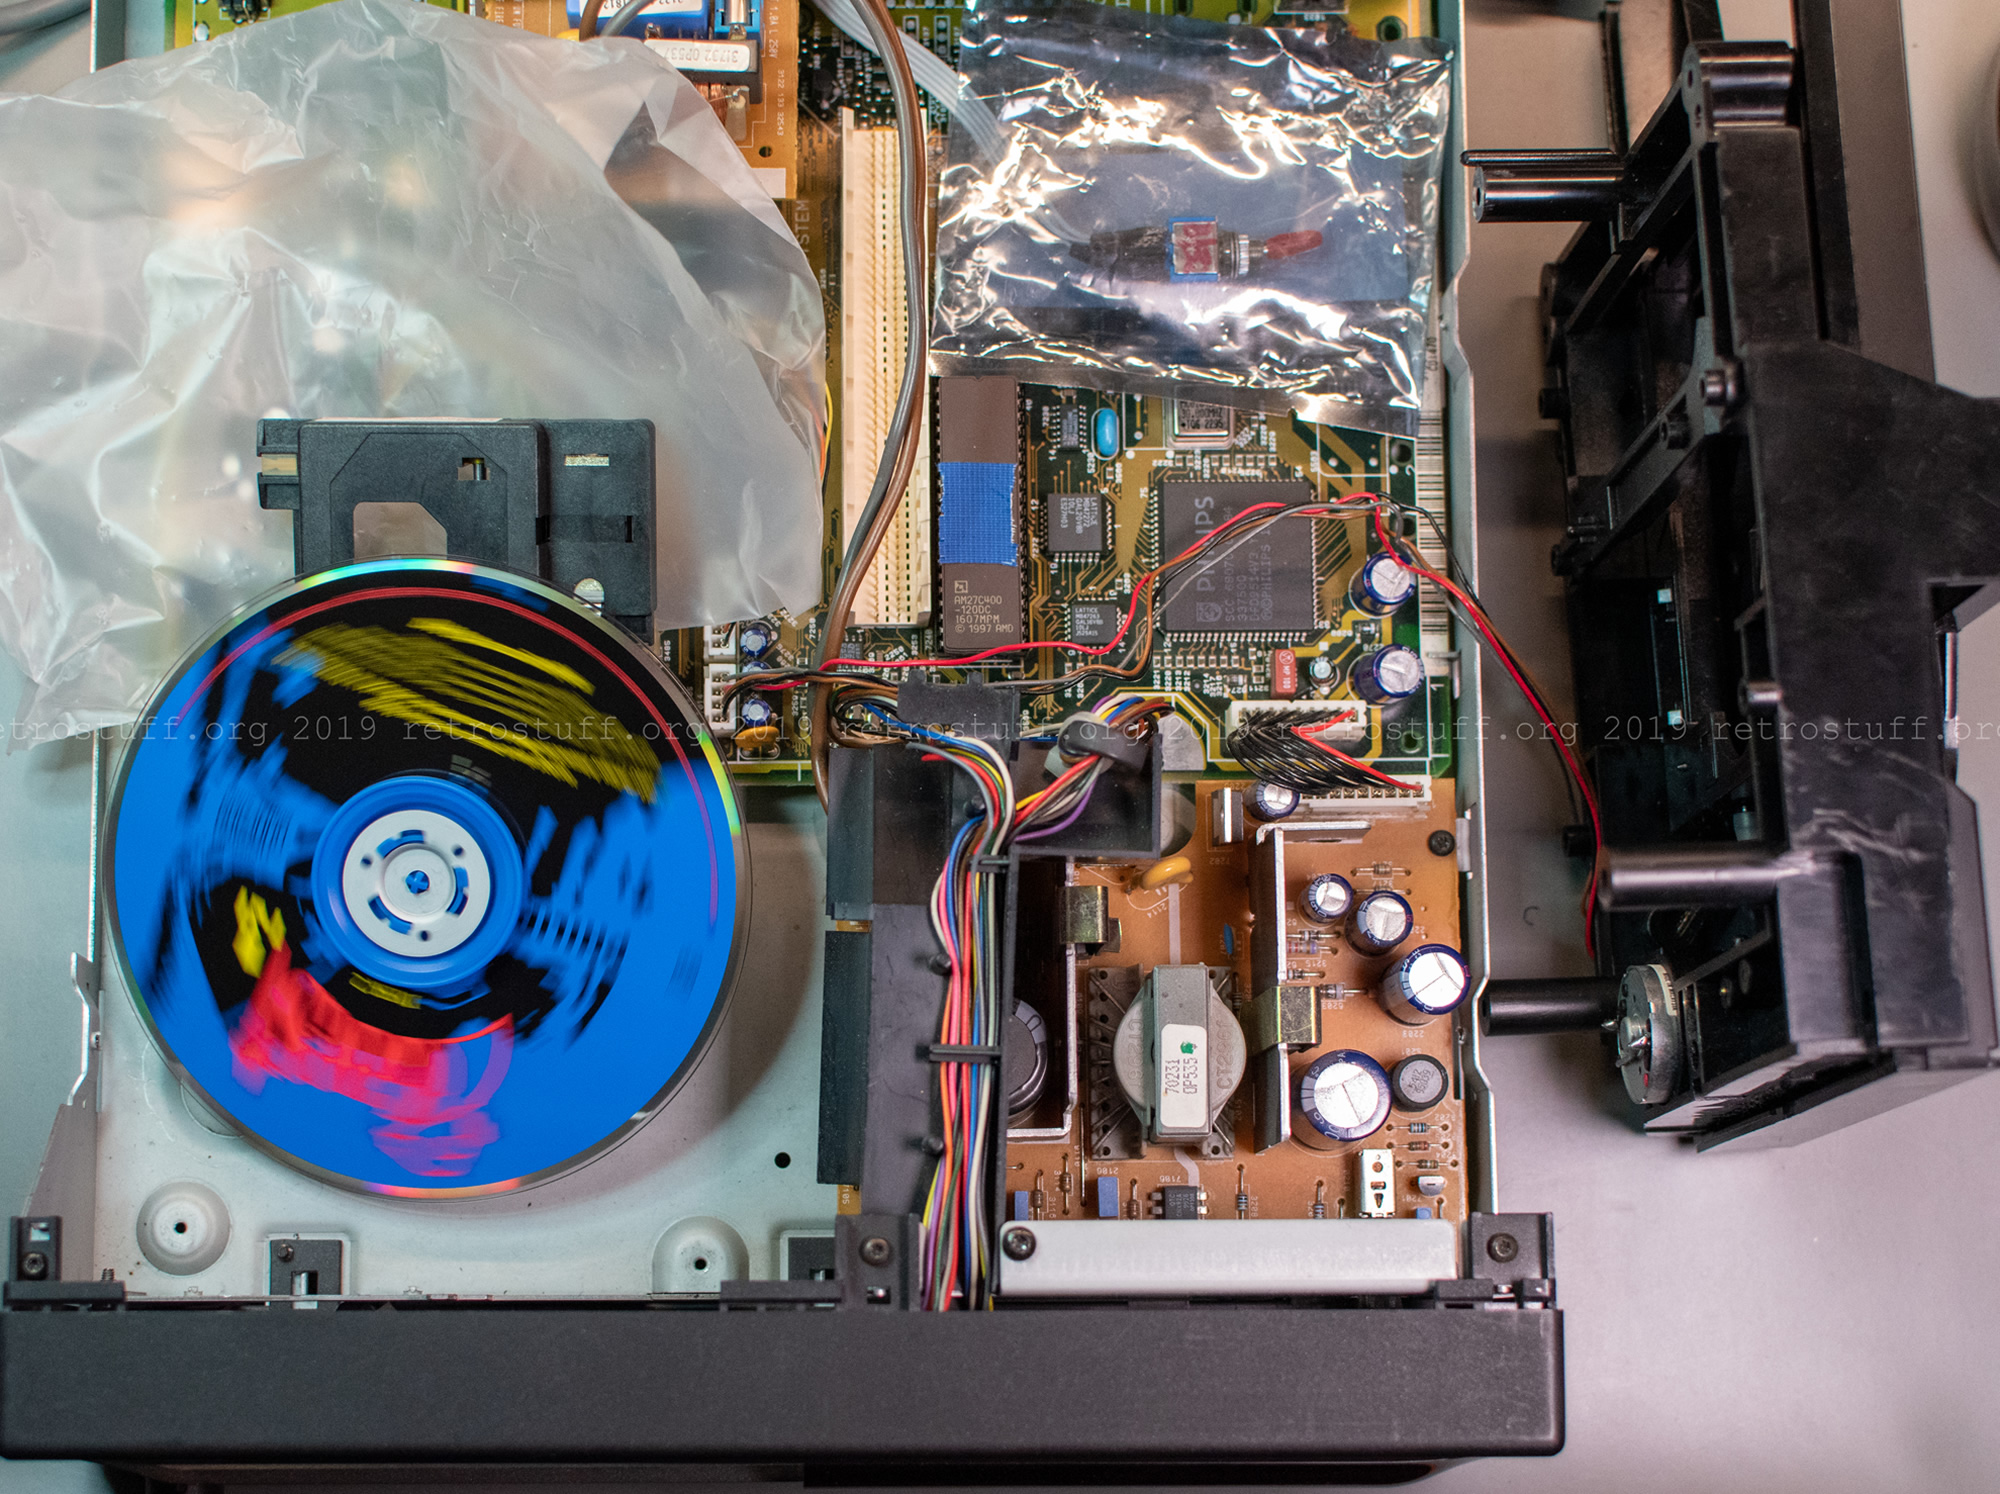
Still, this setup was sufficient to pass the tests successfully:
Mode 2 (TURN MOTOR OK) and Mode 3 (RADIAL TEST OK).
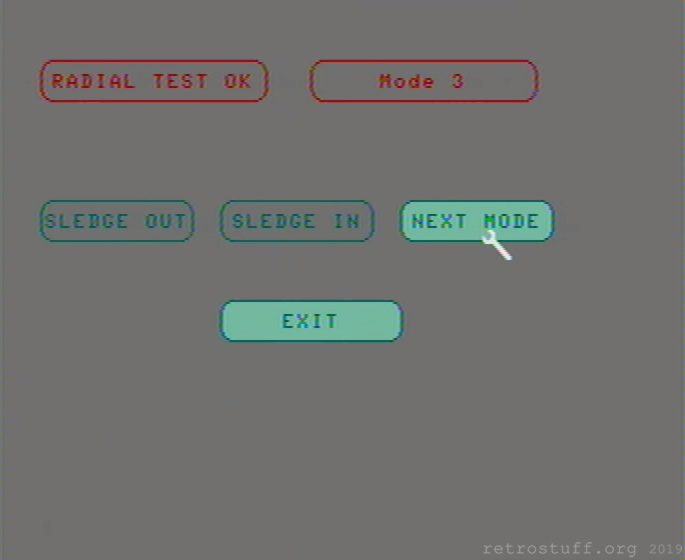
Clicking on NEXT MODE resets the CD-i player and starts the disc in the regular player shell. I recommend using Burn:Cycle for this test, as it reads a lot of data and moves the laser back and forth during the demo and intro animations.
Because of the delicate setup above, all I got was the dirty disc message:
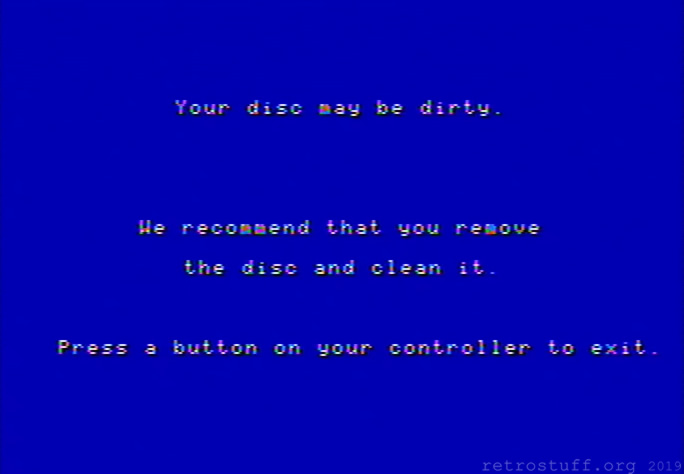
Very carefully, I picked up the assembly (with the spinning disc) and held it in my hand for a couple of minutes. The demo and intro animations played fine this time.
Before I put everything back together, I applied some grease on the gears and the metal rod that the sledge sits on. The SLEDGE OUT and SLEDGE IN commands help with spreading the grease.
Next, I aligned the assembly as shown in the picture below and re-attached the rubber suspensions one by one.
Then, I routed all cables as they were before and plugged them back into the mainboard.
Plan B
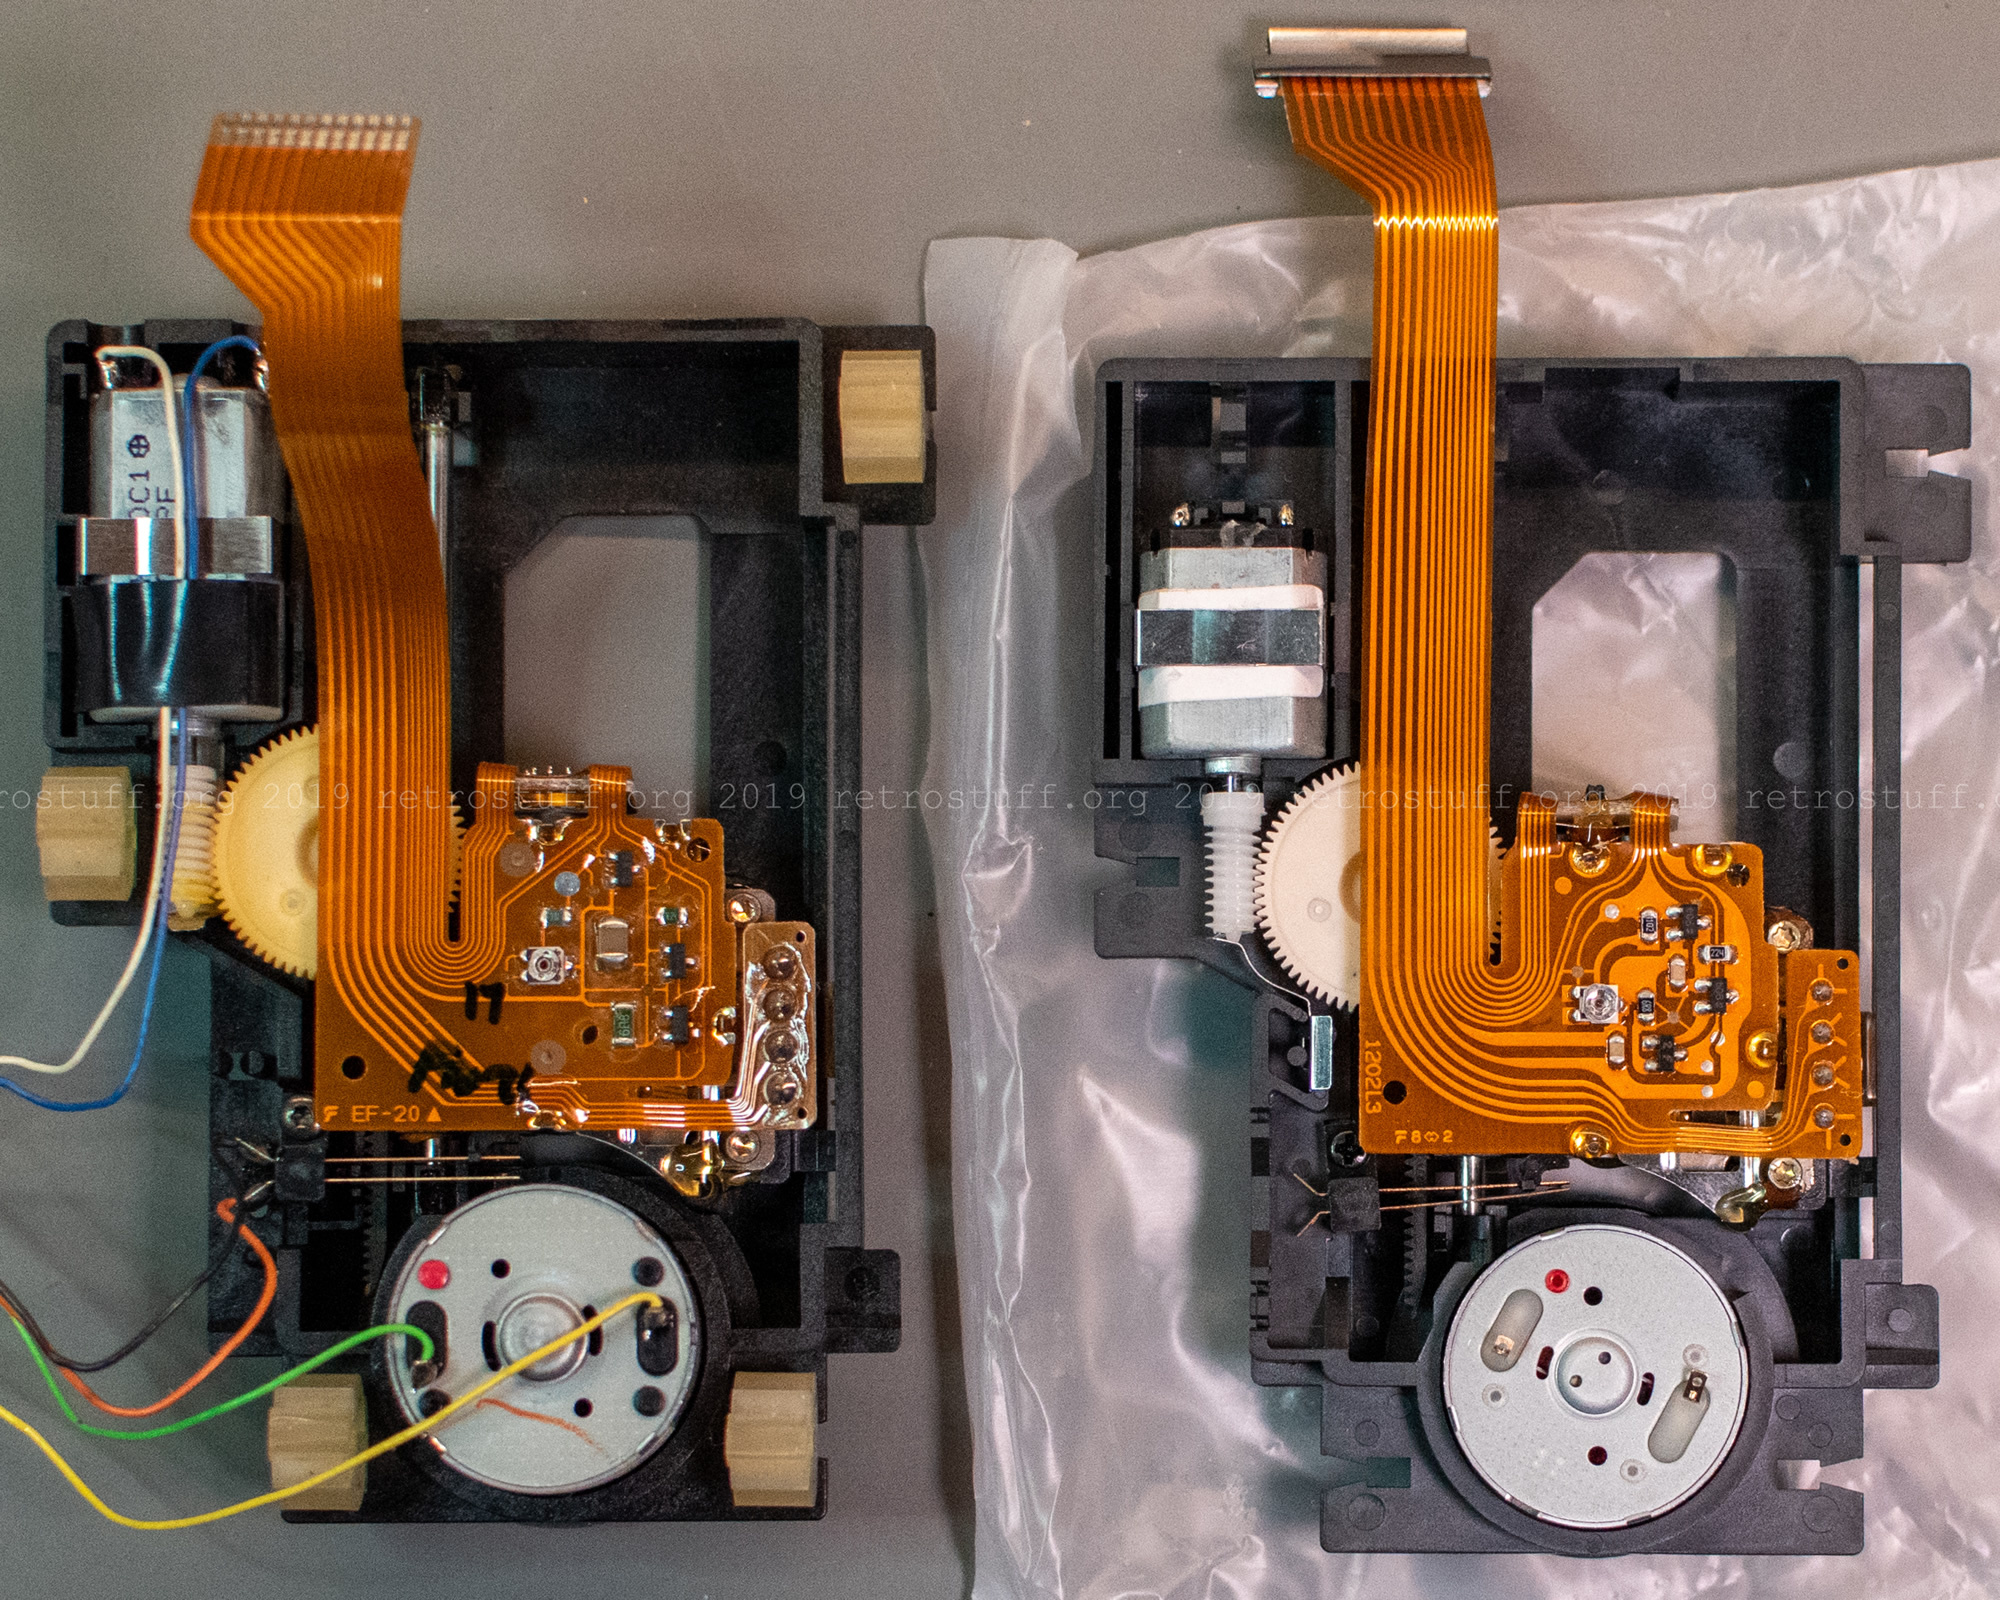
Just in case, e.g. if lifting the turntable didn’t work or if the laser turned out to be too weak, I had a replacement assembly ready.
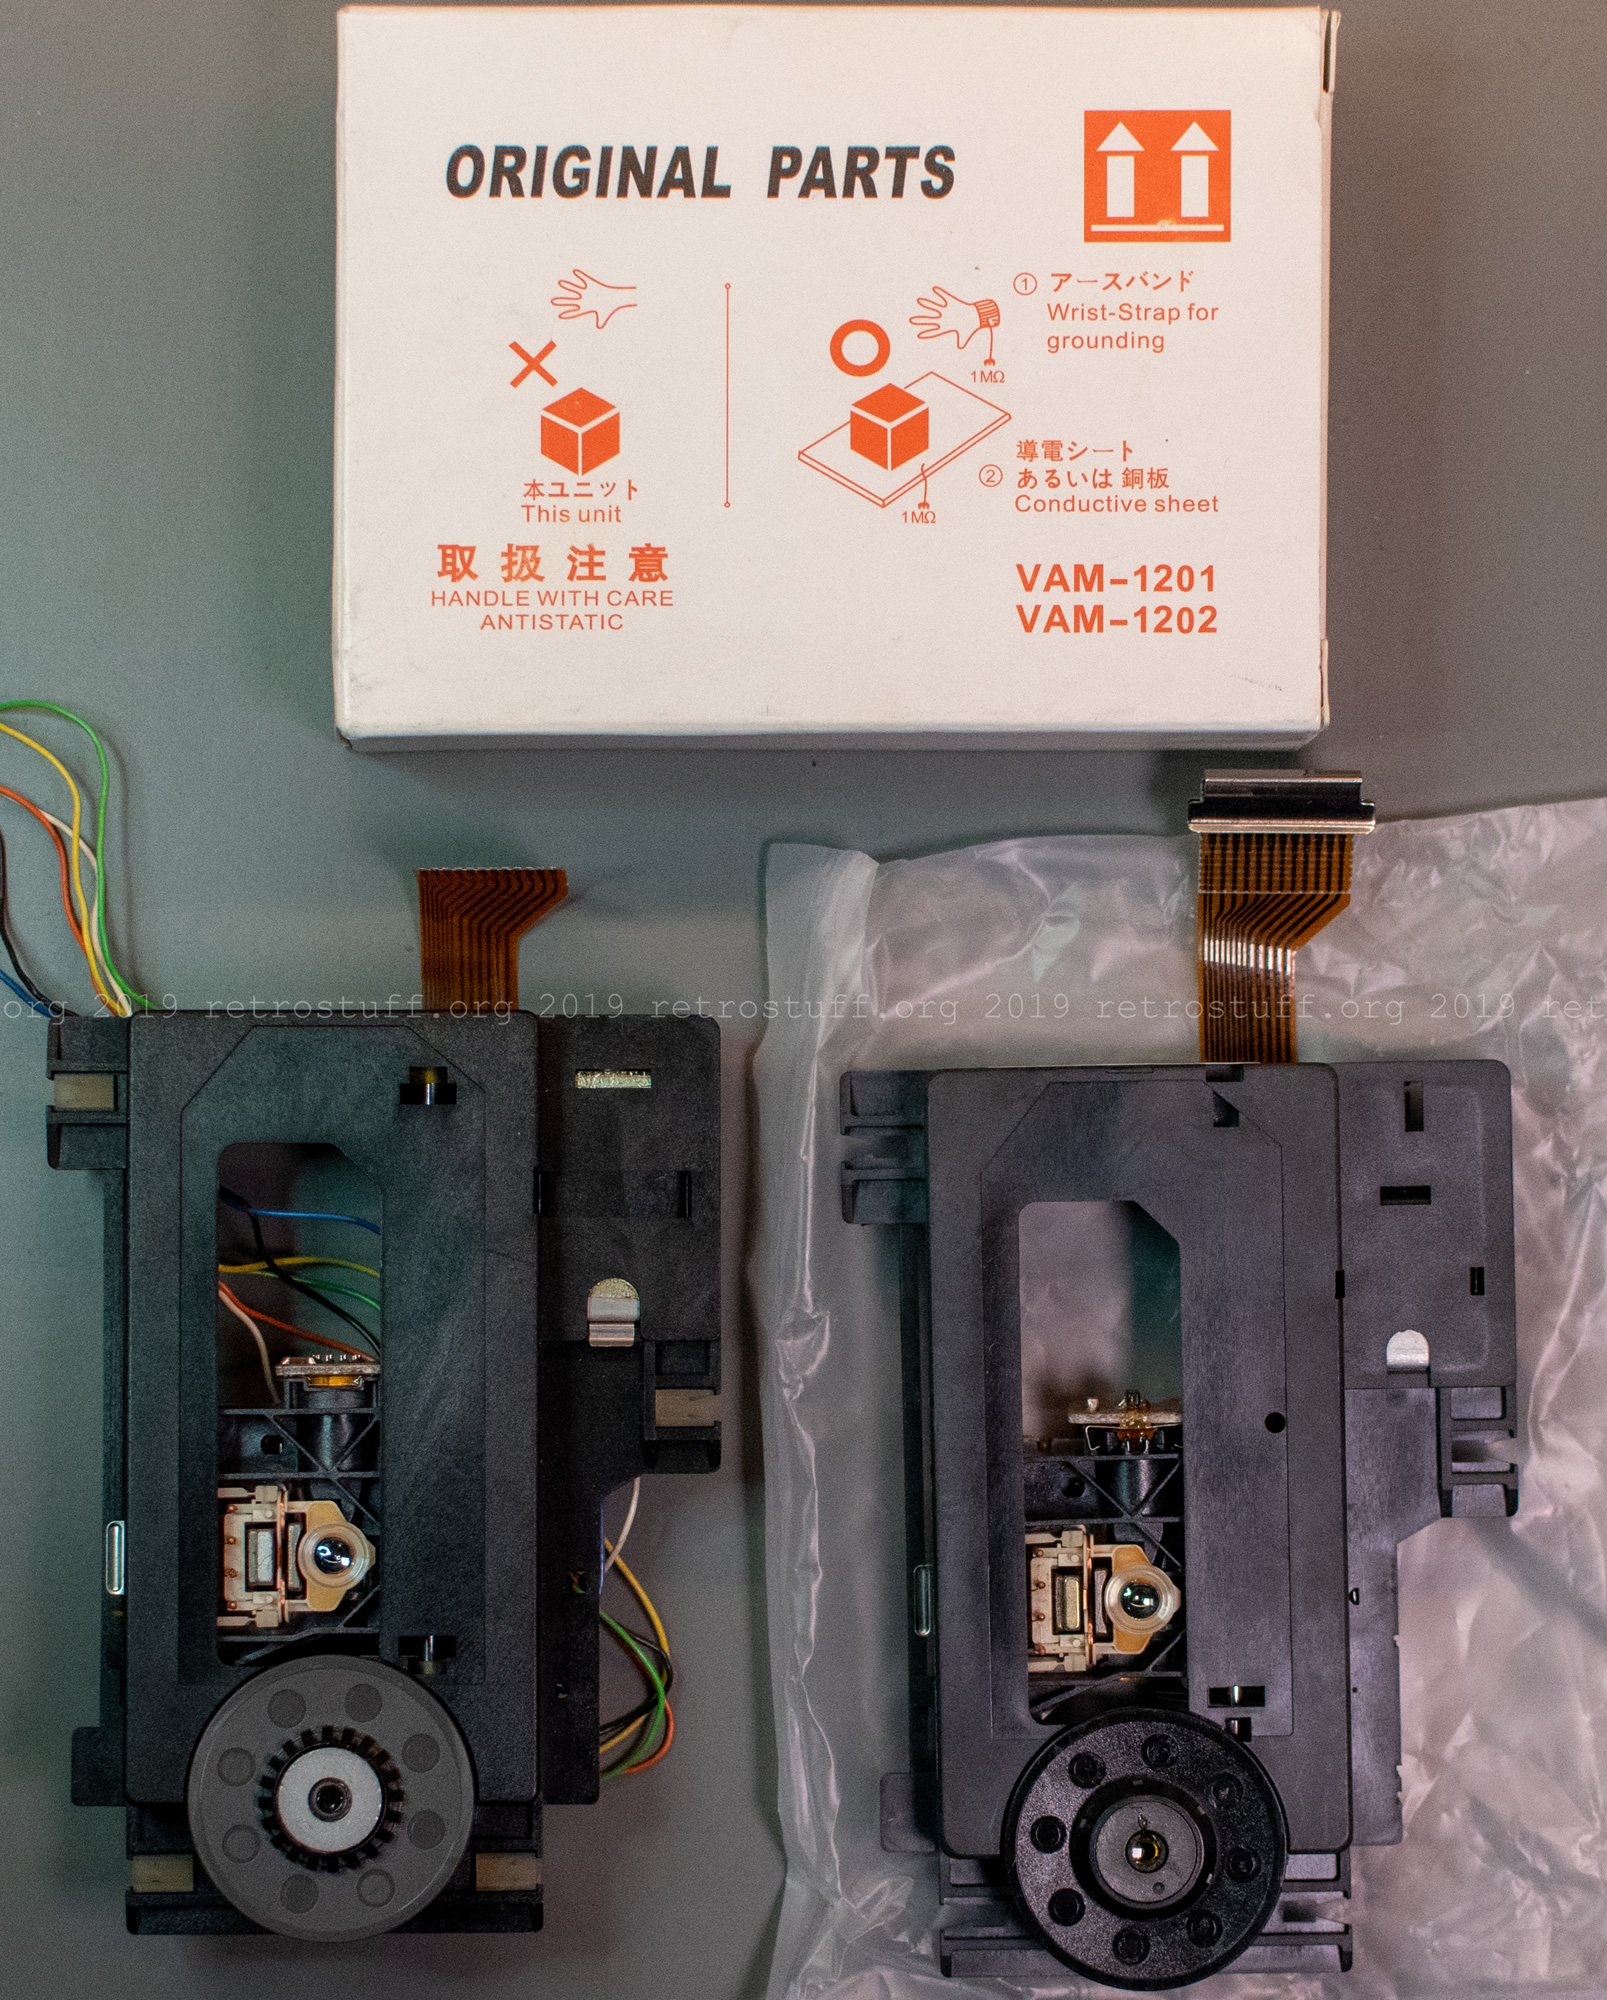
The Philips VAM 1202 is the official substitute part for the CDM 12.1 that you can still buy these days. The only parts that are missing are the four rubber suspensions and the six wires. You will have to move them from the old to the new assembly if you plan replace the whole thing.
Conclusion
After all, the errors turned out to be easily fixable. Philips CDI470 Diagnosis and Repair is there to show you that a proper diagnosis is the most important part of a repair.
The Service Shell is a great tool that helps to diagnose various errors. It is usually started by using a dummy/test plug or by connecting pins 2 and 3 of the front controller port. As it differs slightly from player to player, explanations for all tests can be found in the corresponding service manual. (Initially, I had planned to handle this topic in this unfished article, but now it ended up here.)
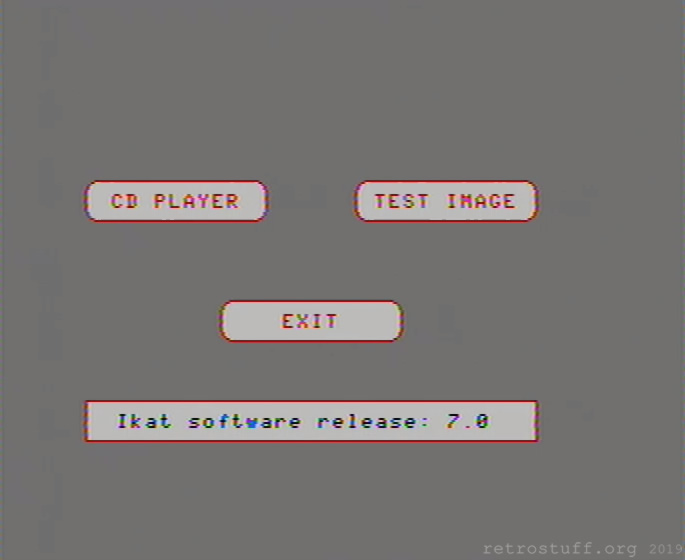
This is hidden behind the buttons that we haven’t pressed yet:

Memory full error? Strange, and no save files in the memory manager.