
Back in 2010, I was aiming to own every game console system that used optical media, the Apple Pippin was one of them. I was lucky to obtain a lot of Bandai Pippin Atmark PA-82001 consoles from Japan for a reasonable price. Upon closer inspection, I noticed that one of them was different: It had the model number PA-82001-S, a pre-release ROM and several areas shielded with copper foil tape. No one has documented this model yet on the various Pippin websites. The only trace that I can find on the internet is my unit and another one that has been offered on Yahoo auctions earlier this year. Forum members of Assemblergames assume that this is an FCC model for evaluation / EMC accreditation.
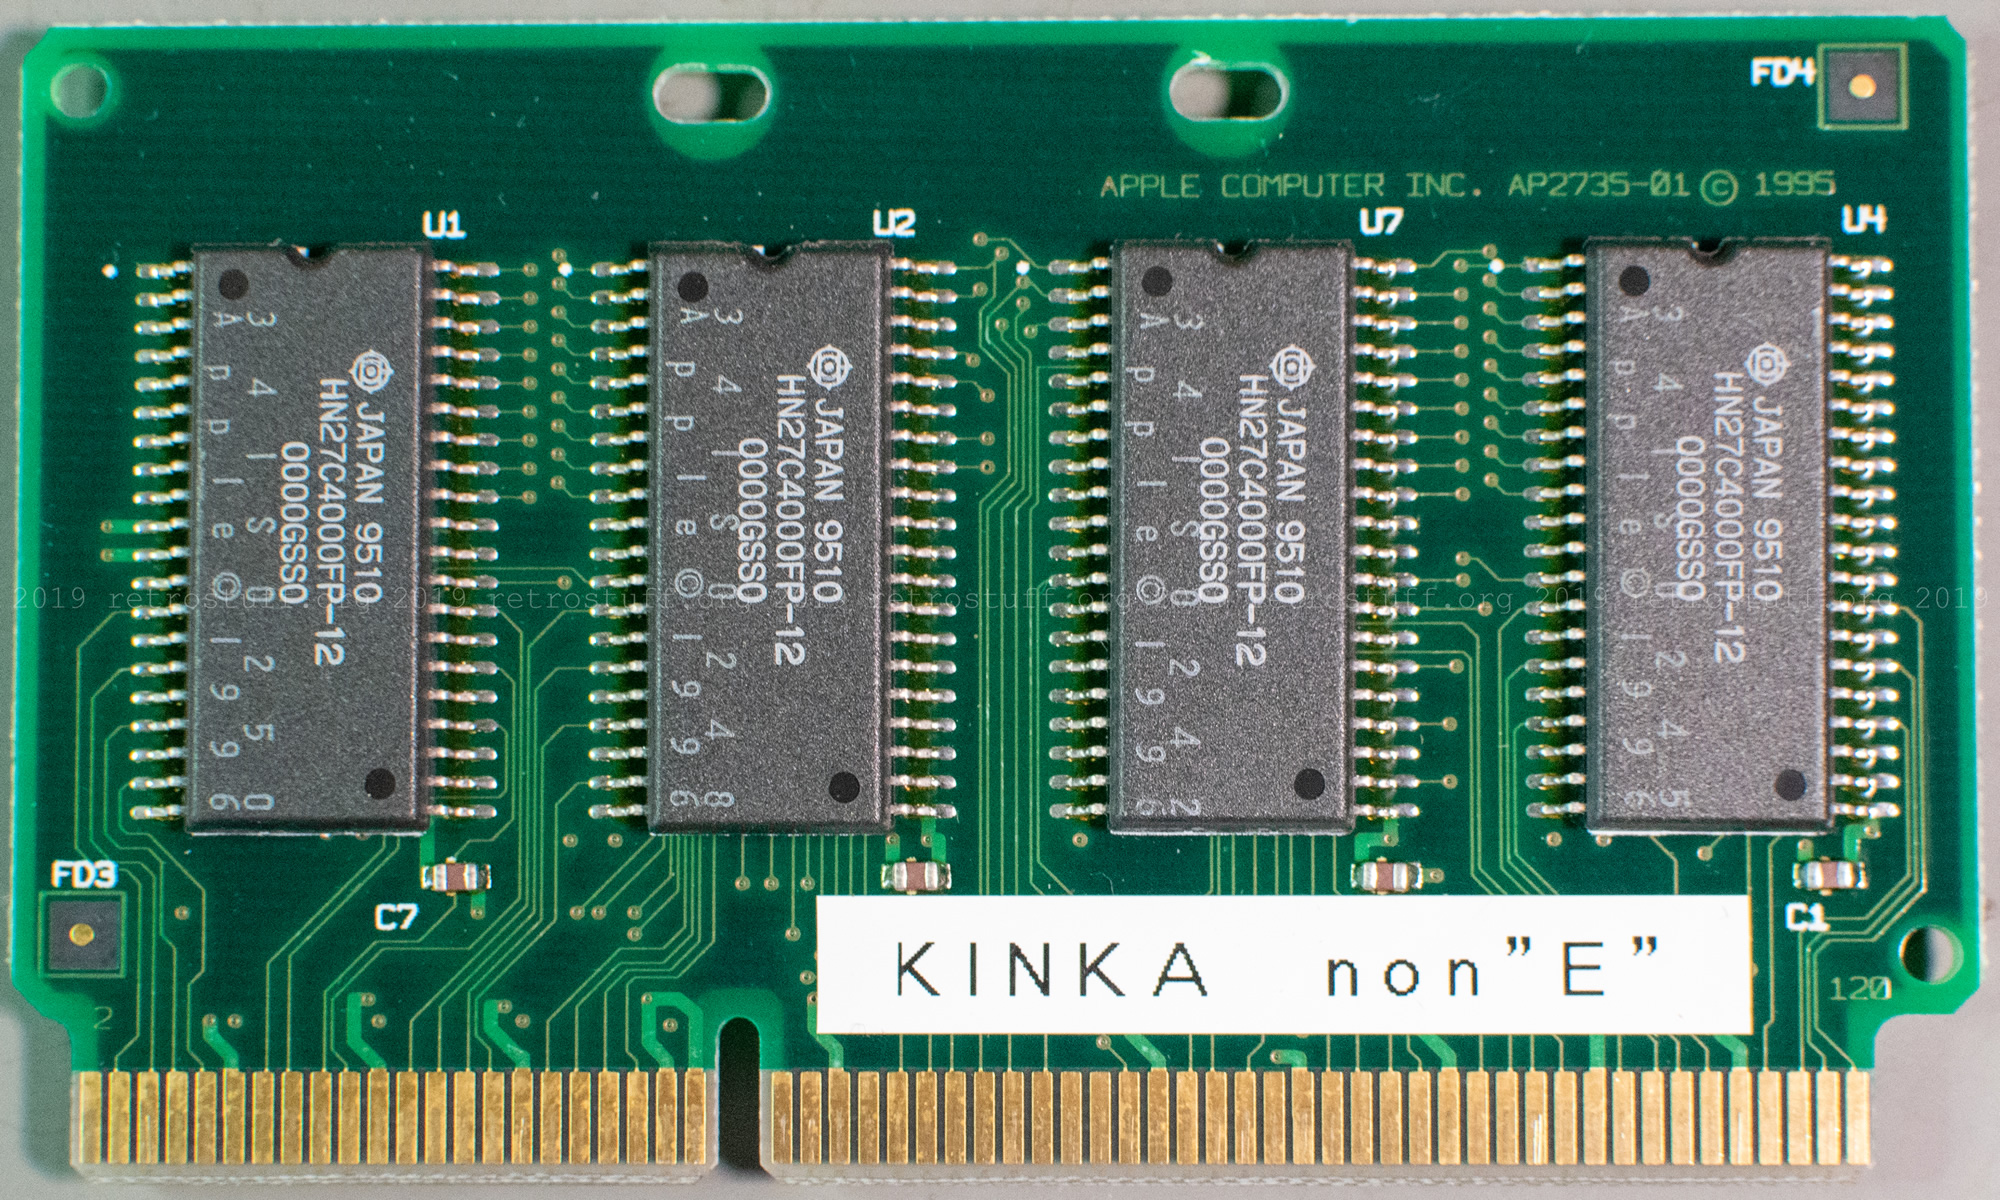
I will call it “Monitoring Unit” because it came with an AP2735-01 KINKA non-E pre-release/monitoring ROM. On this Pippin FANDOM page, it says: “A WORM version of the same [Golden Master] ROM was manufactured in small quantities for market testing of ‘Monitoring’ units.” On the same page and also here it is mentioned that only 500 of these ROMs were released.
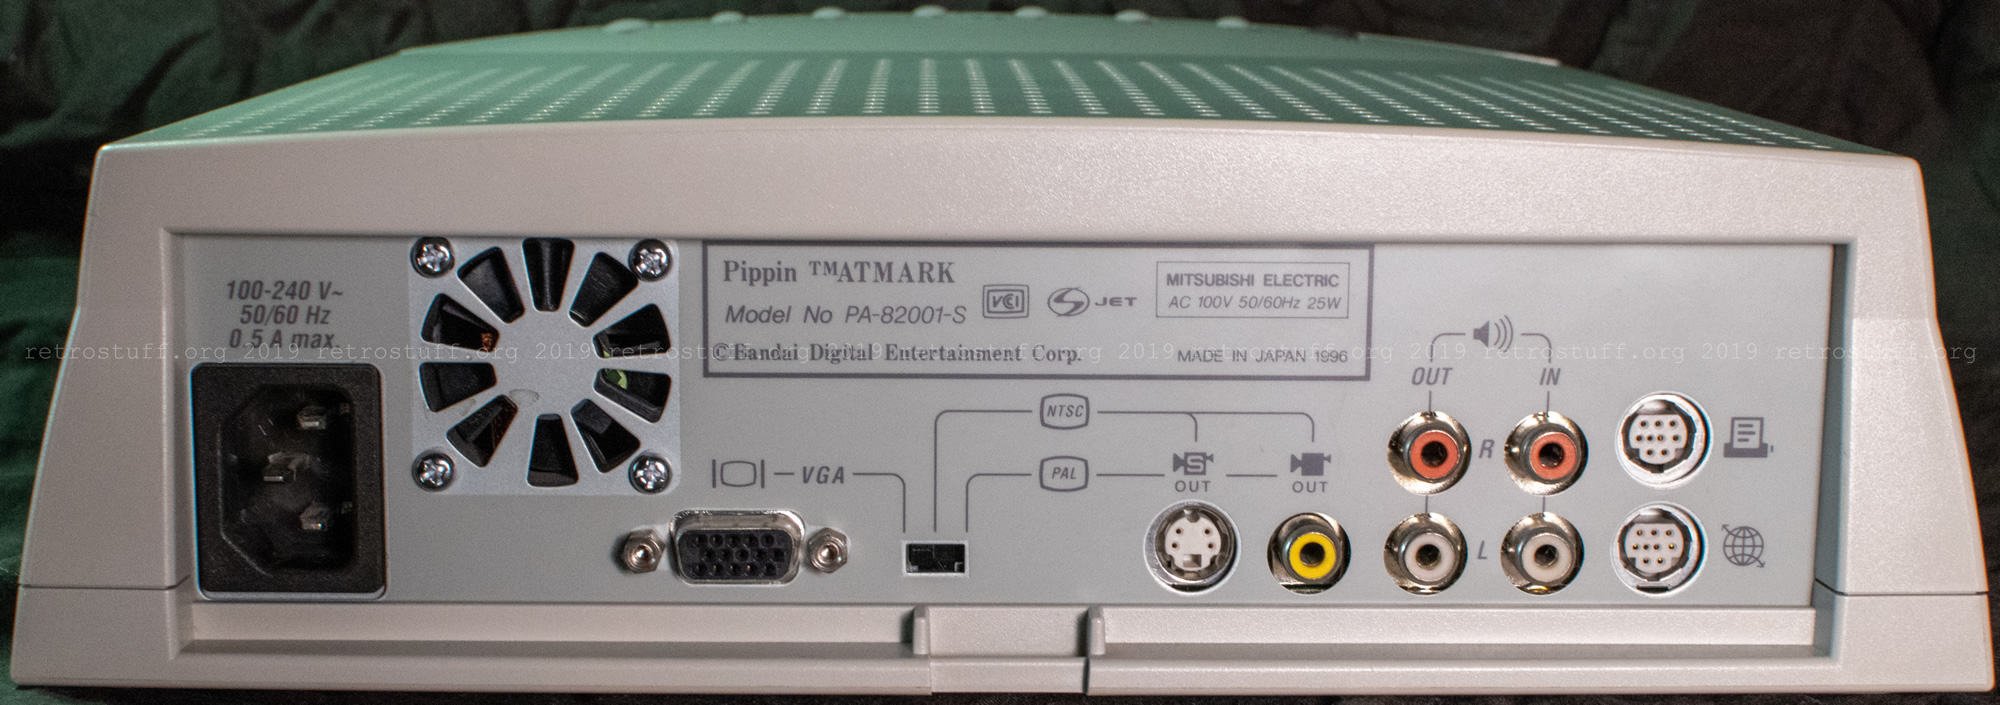
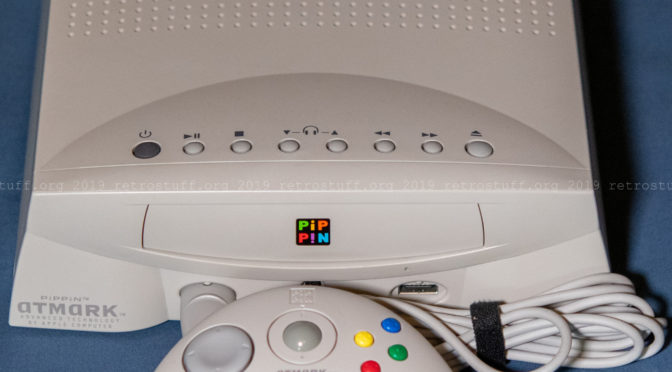
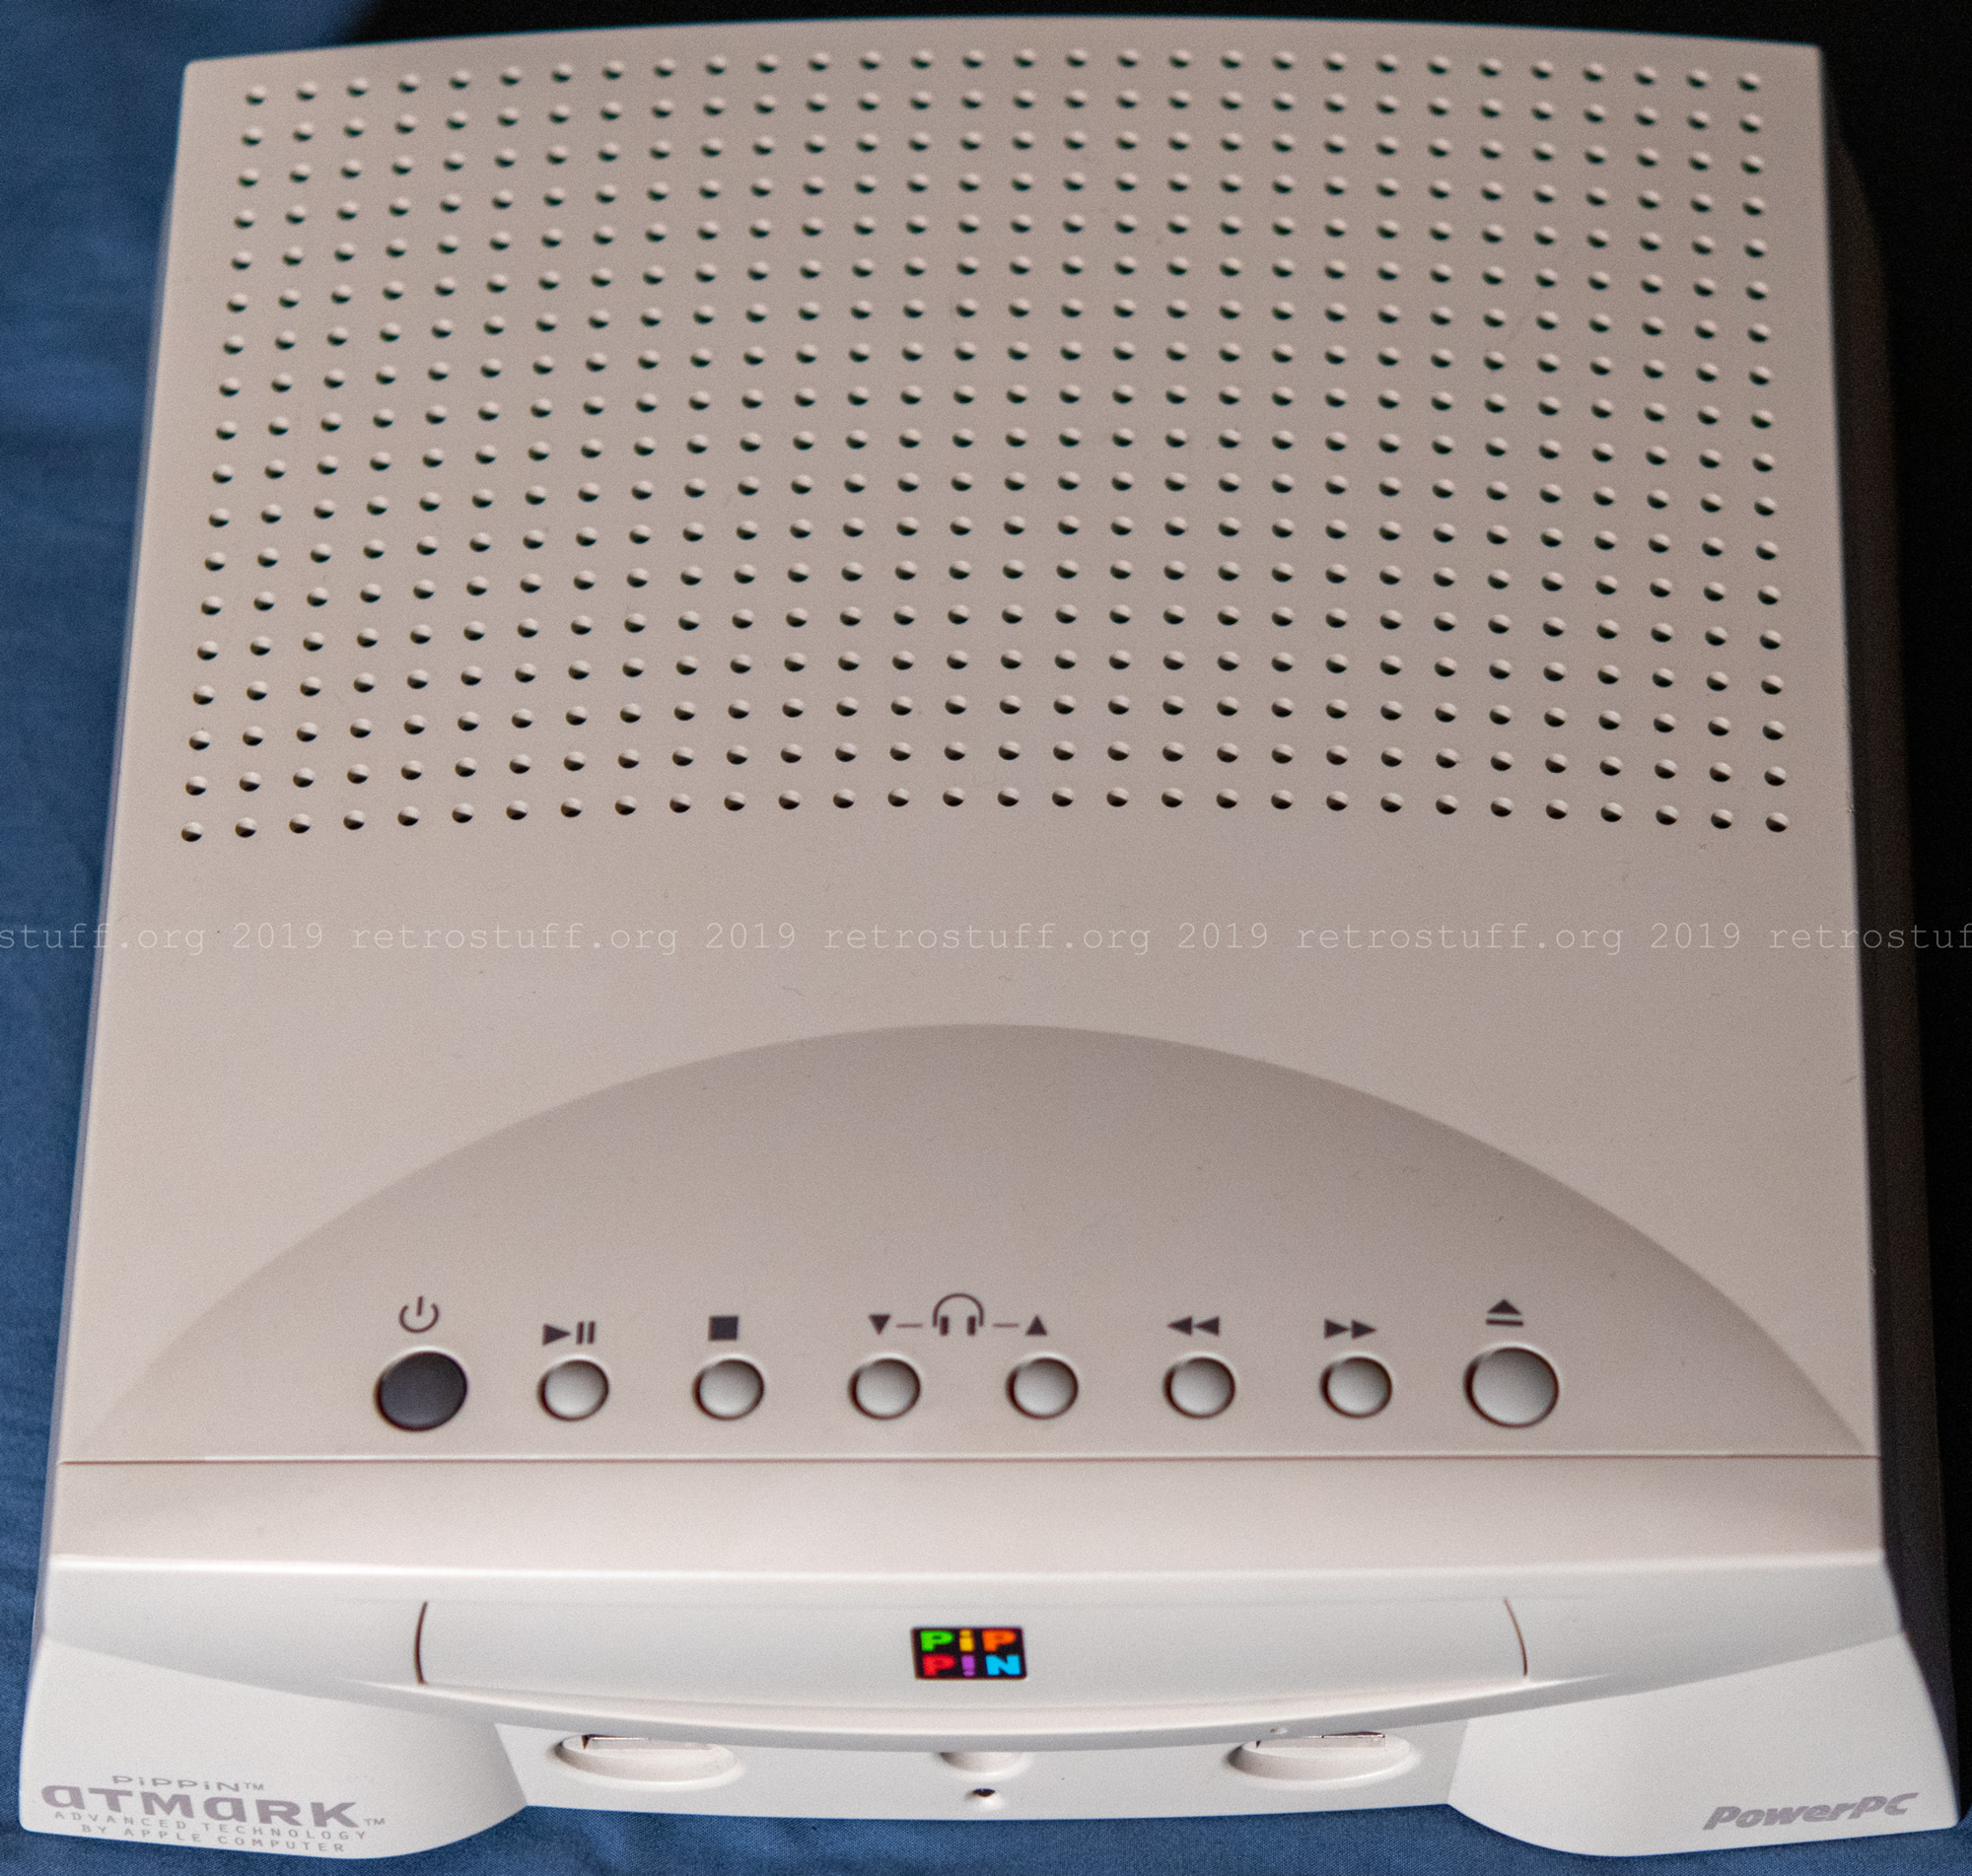
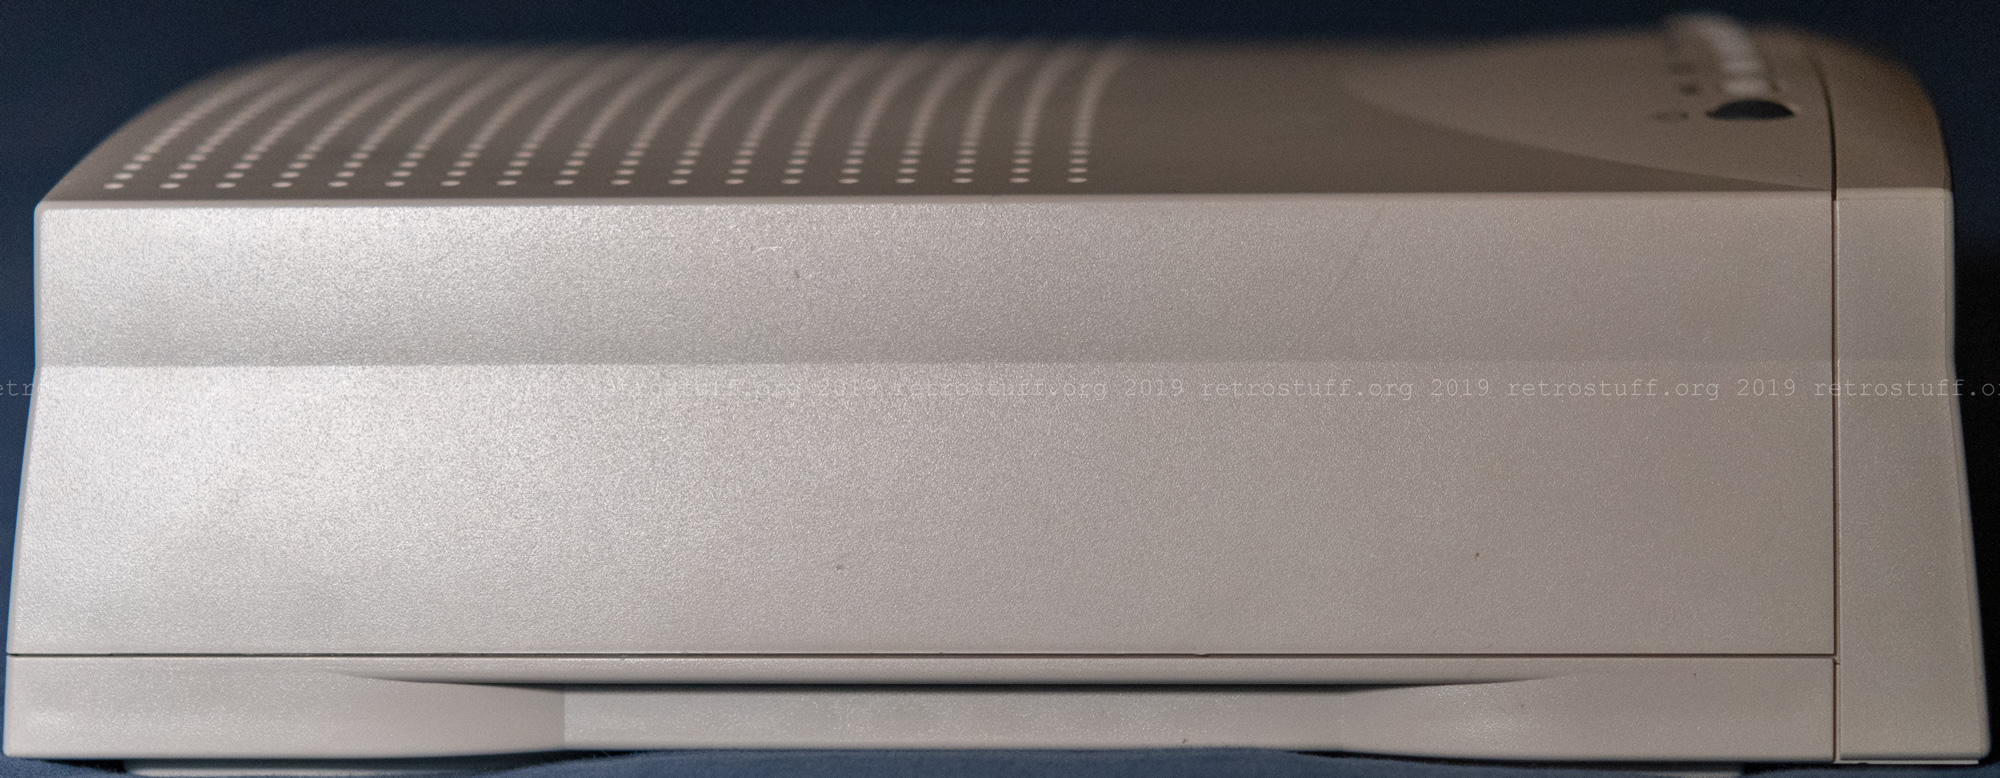
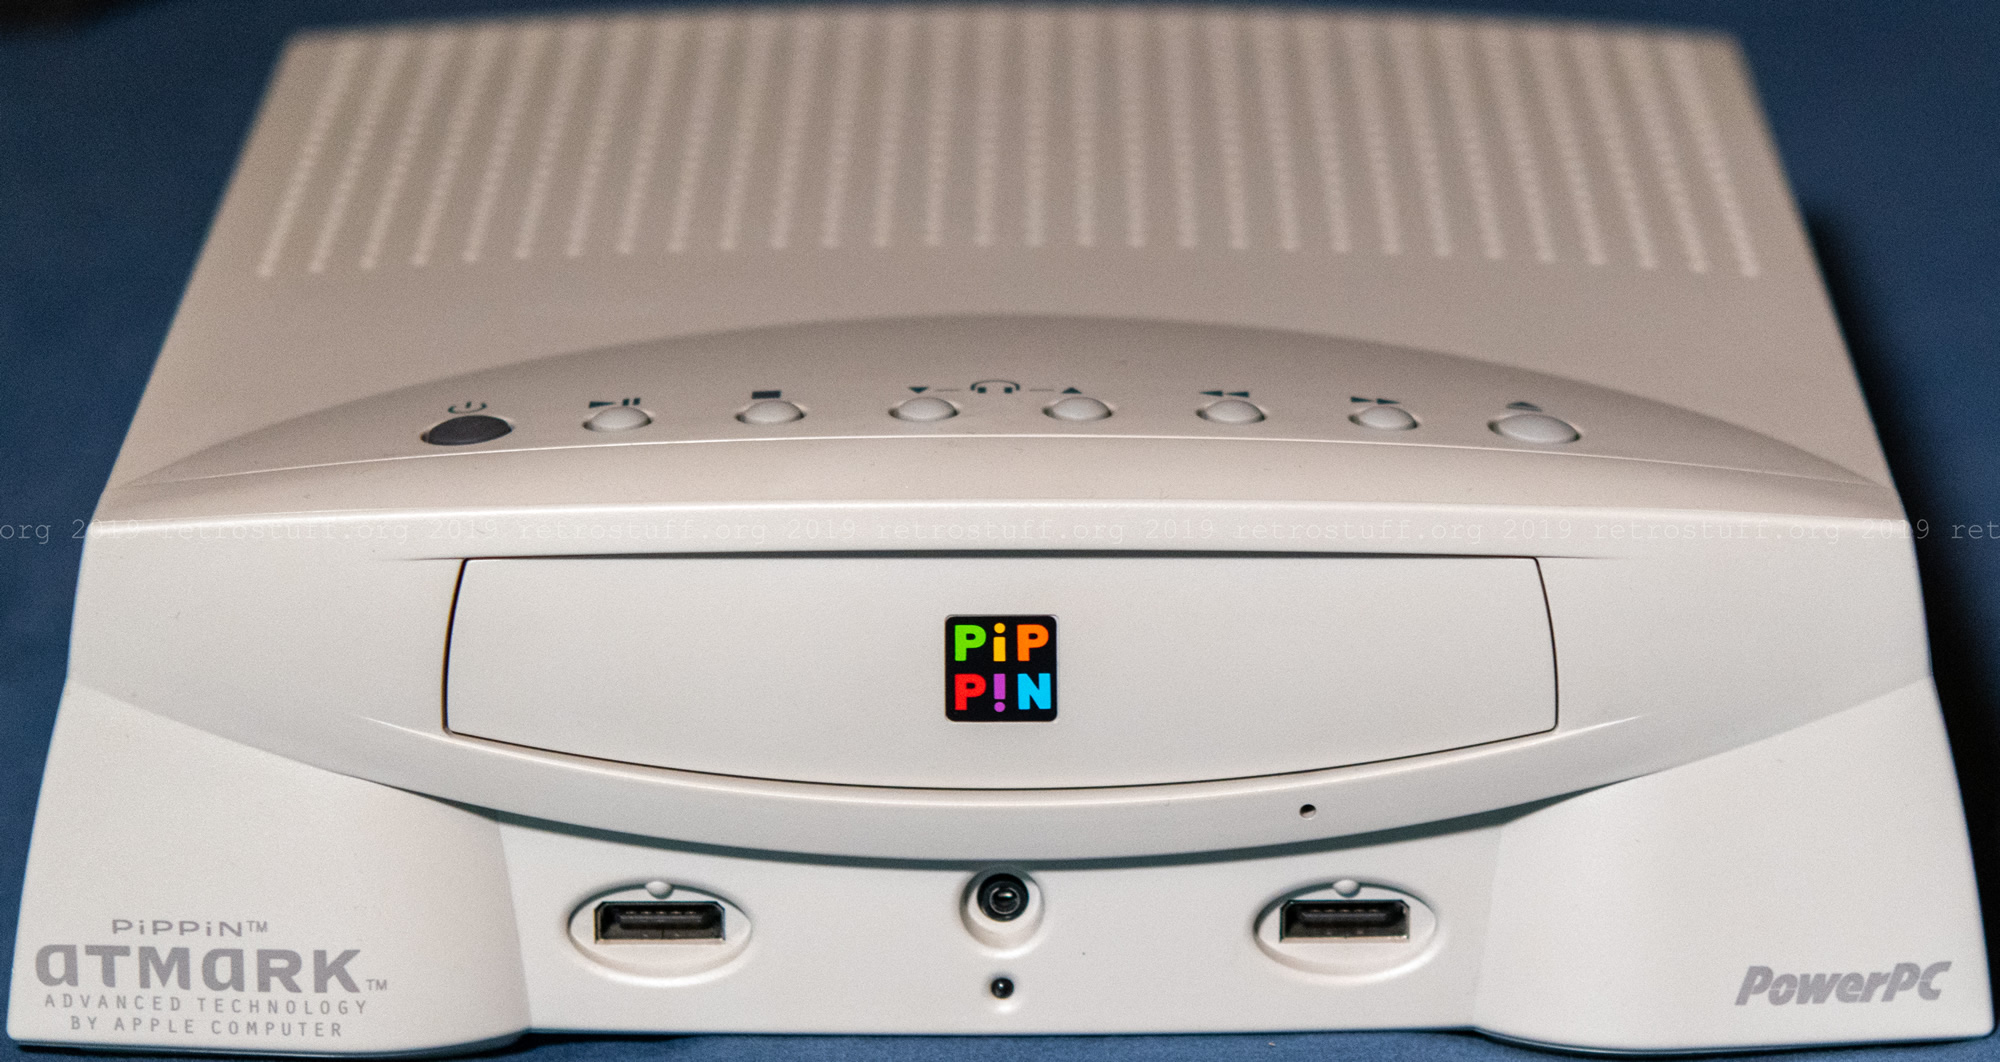
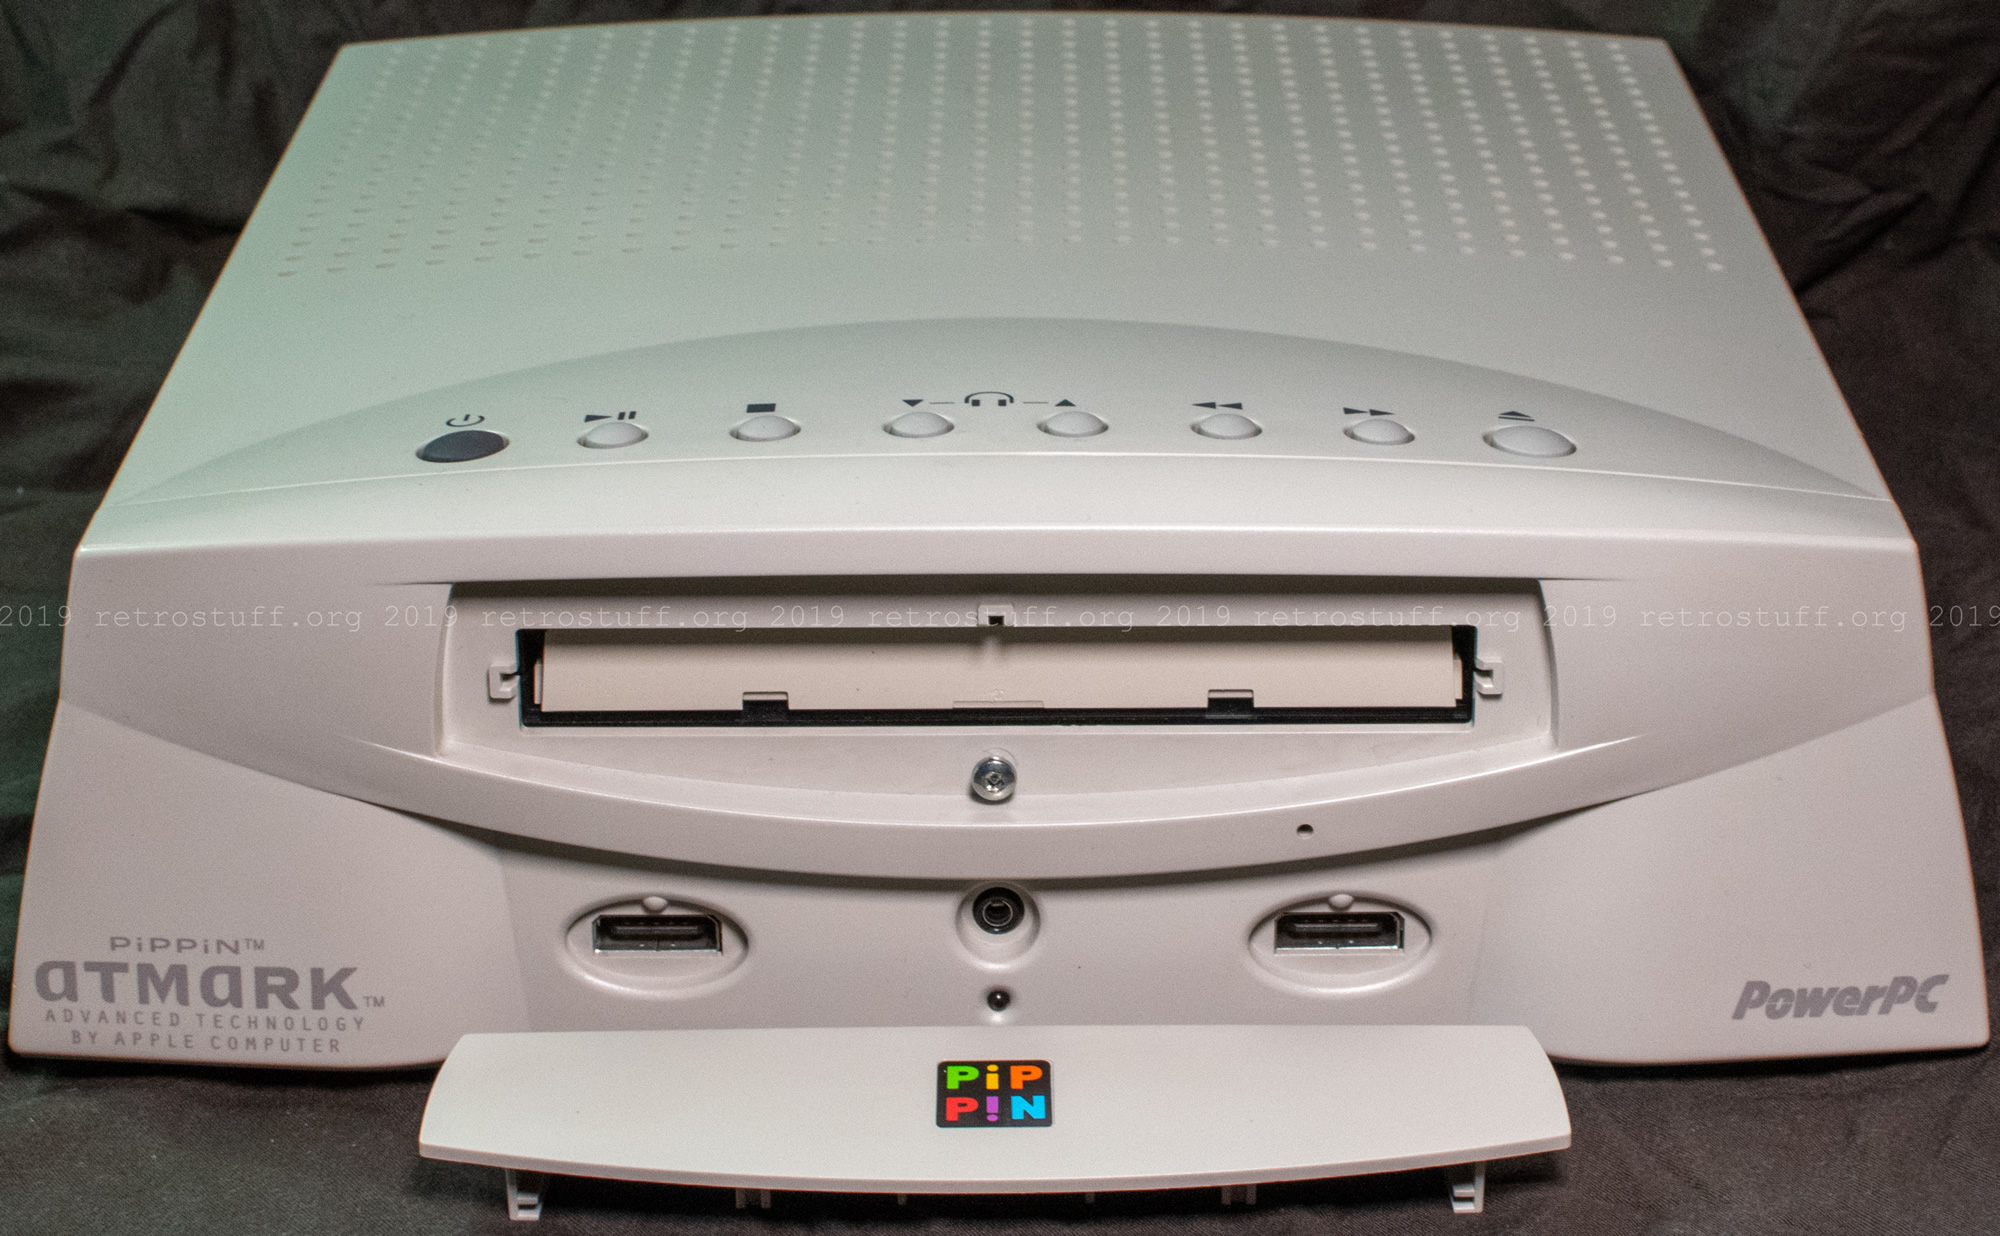
The rest of the console looks like the other Atmark retail units:
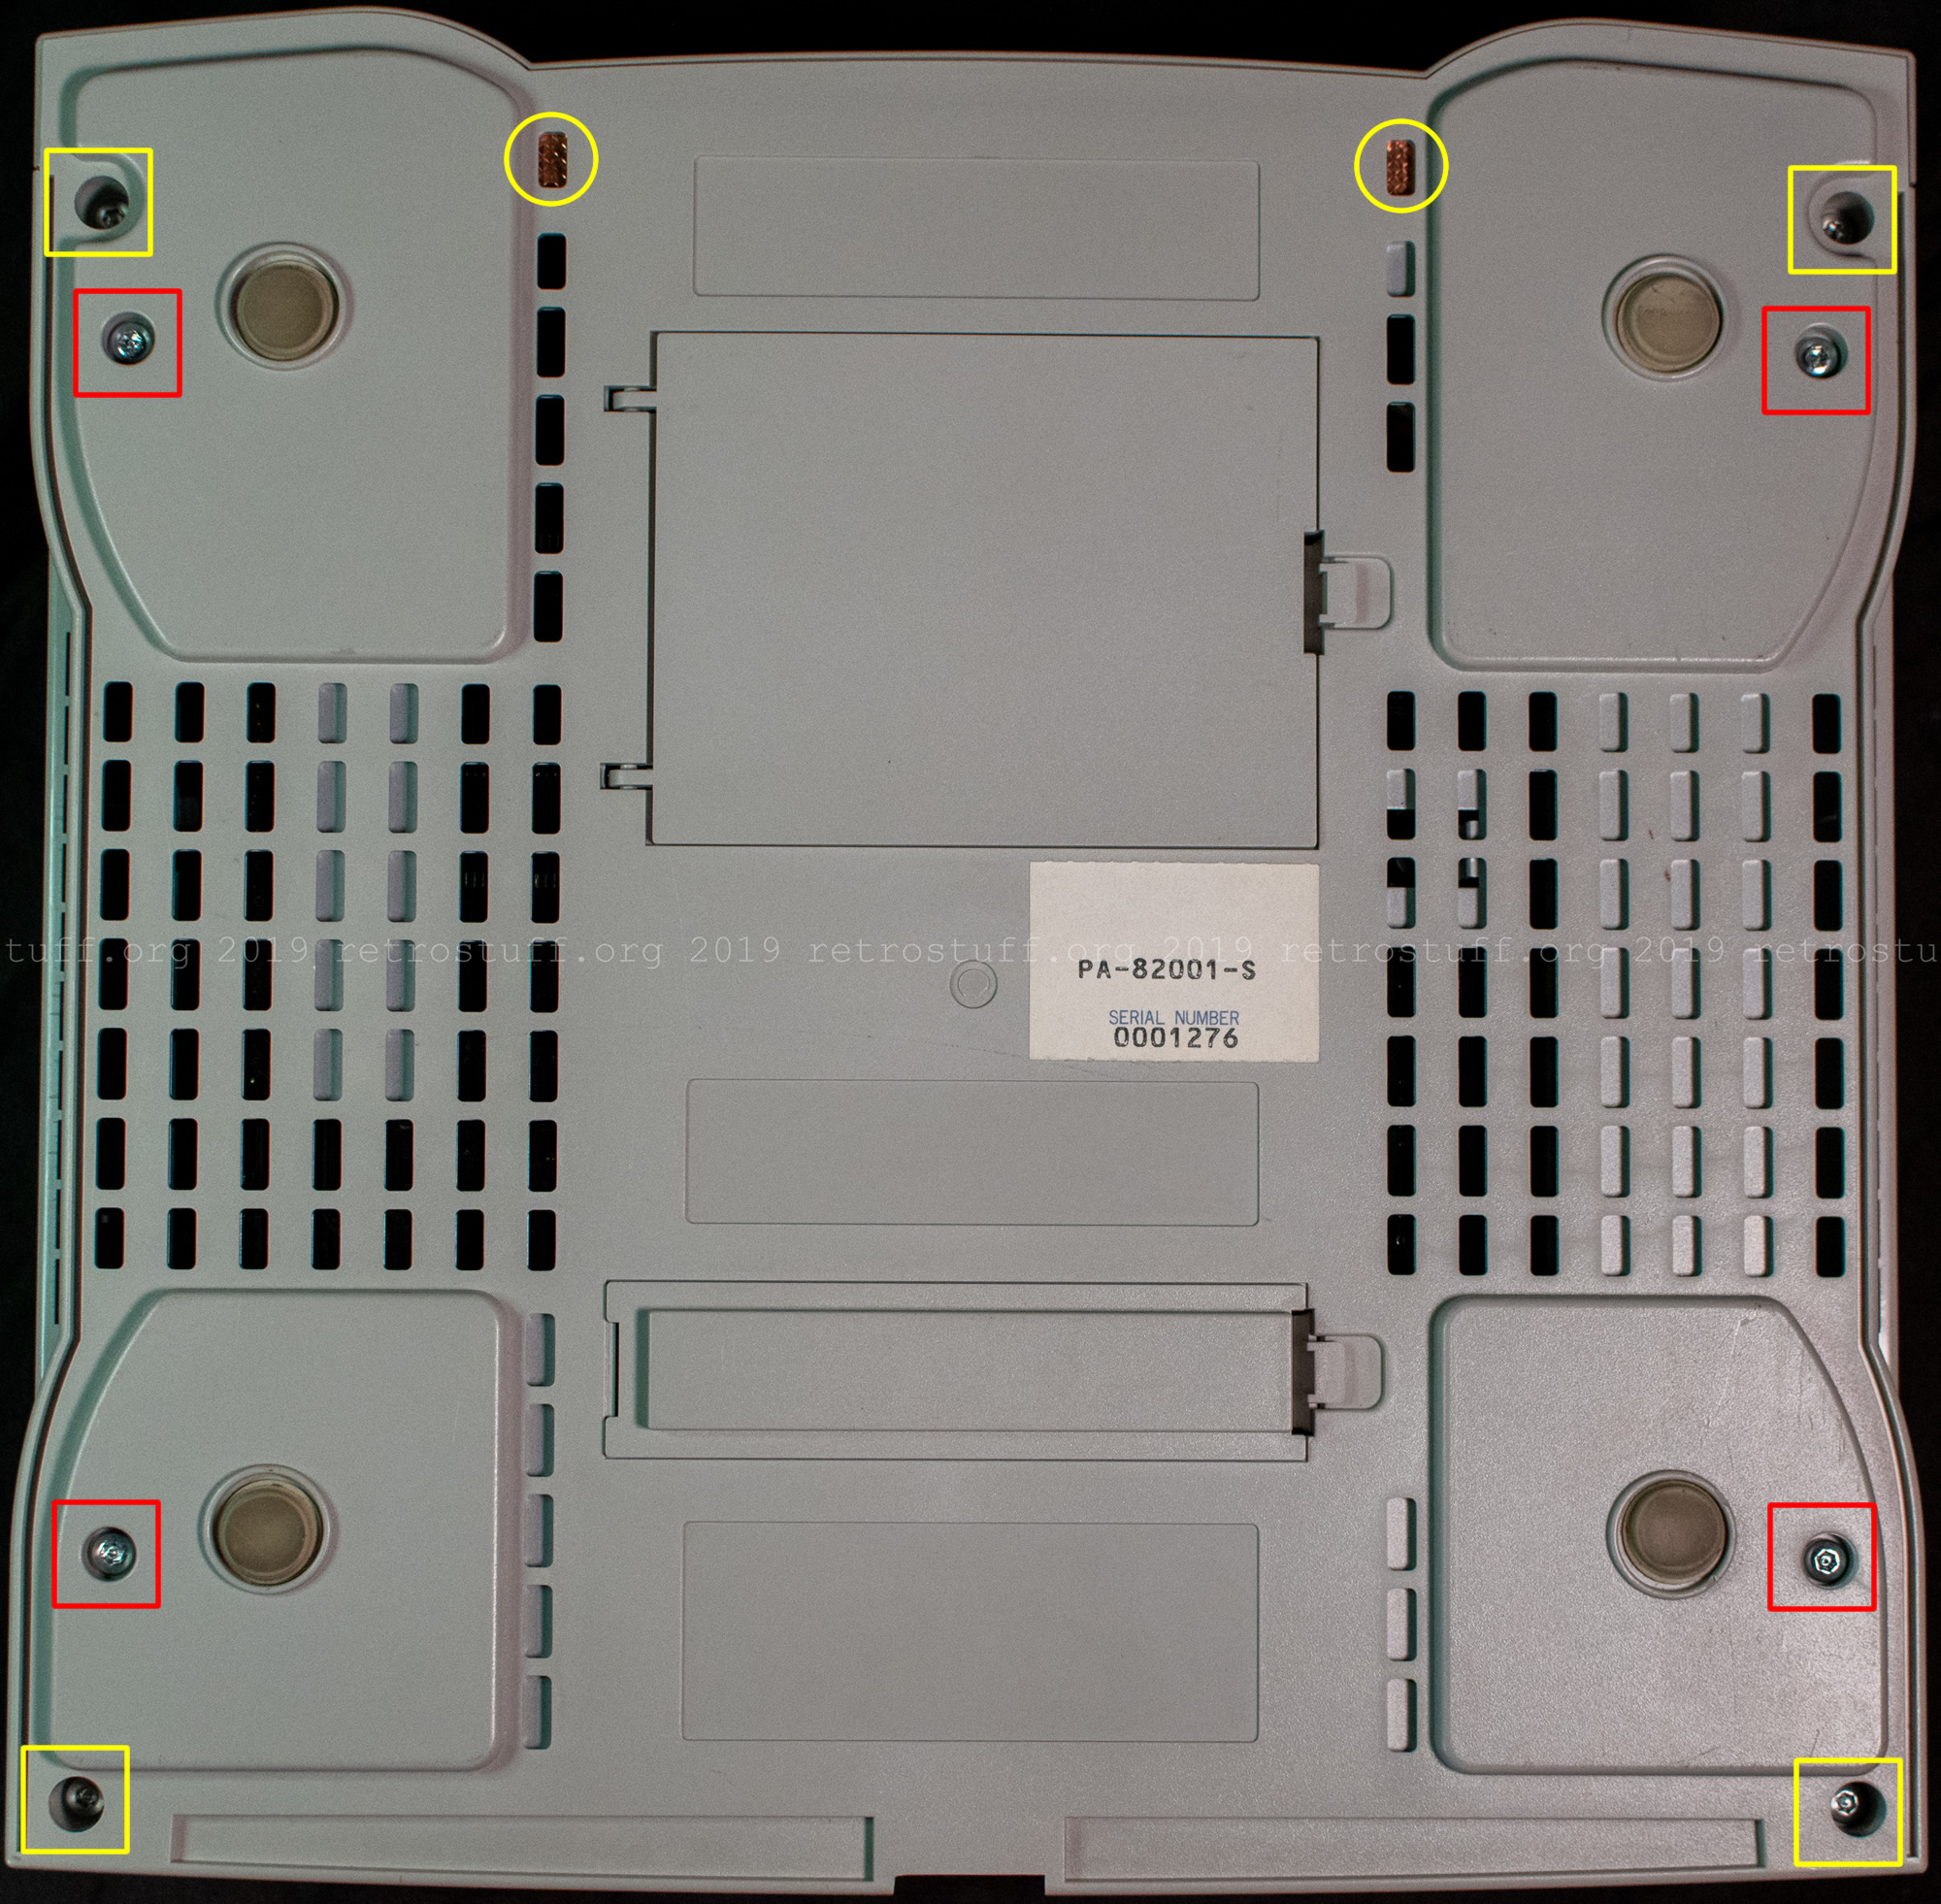
Almost – on the bottom is a sticker with model number PA-82001-S and we can see the copper foil through the holes (yellow circles).
Disassembly – plastics
It is quite easy to remove the plastic parts; all you need is a TorxTR size 10 screwdriver. First, open the optical disc drive and remove the bezel to access the first screw.
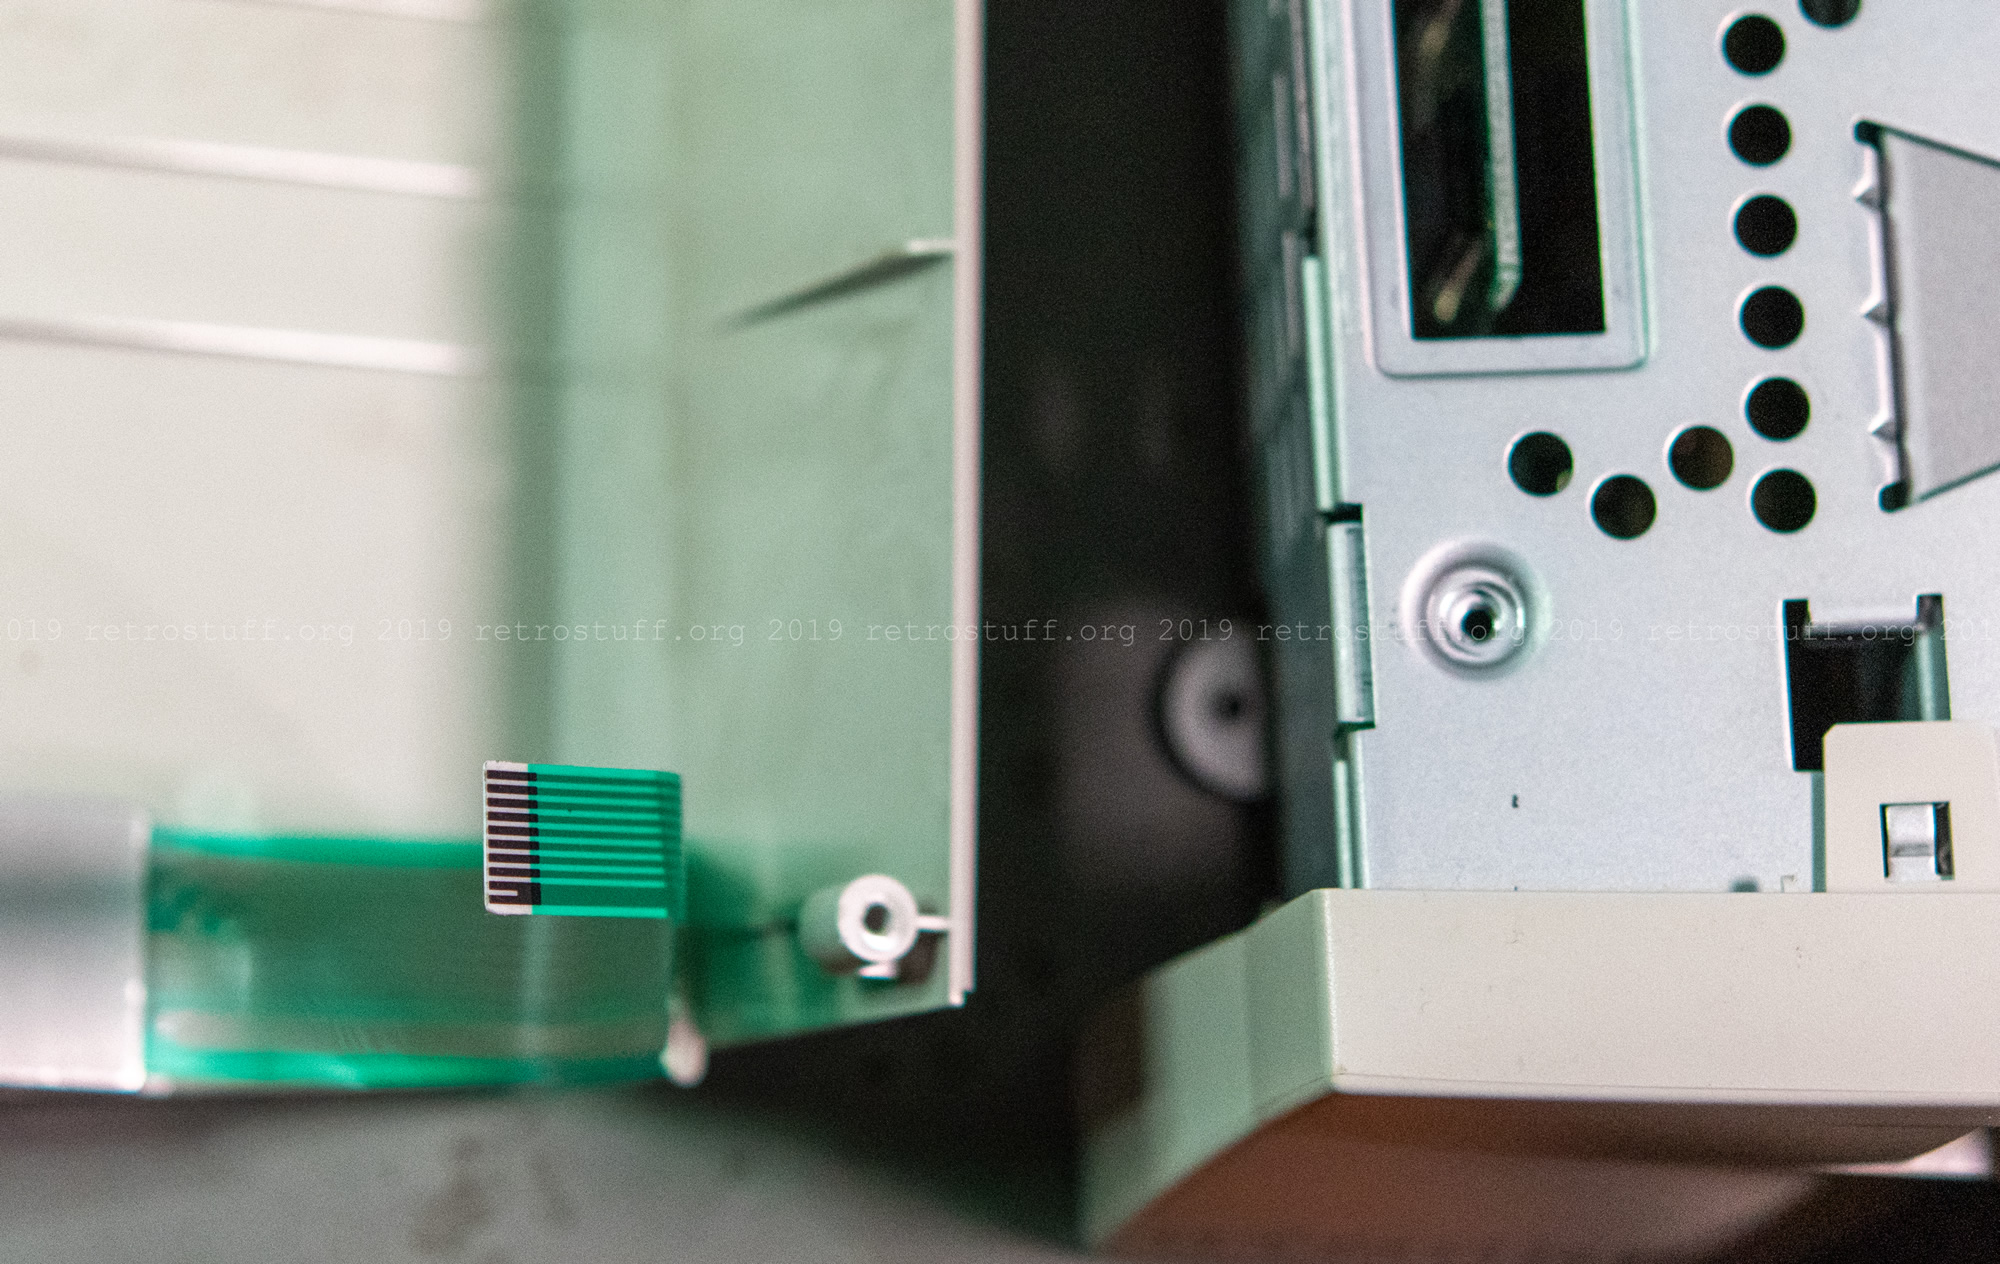
Next, unscrew the four outer screws from the bottom (yellow squares in the picture above). Do not open the case in this position or you will rip out an FFC (flexible flat cable)! Turn it over and carefully open the top case from the right.
Update: More information about the FFC can be found here.
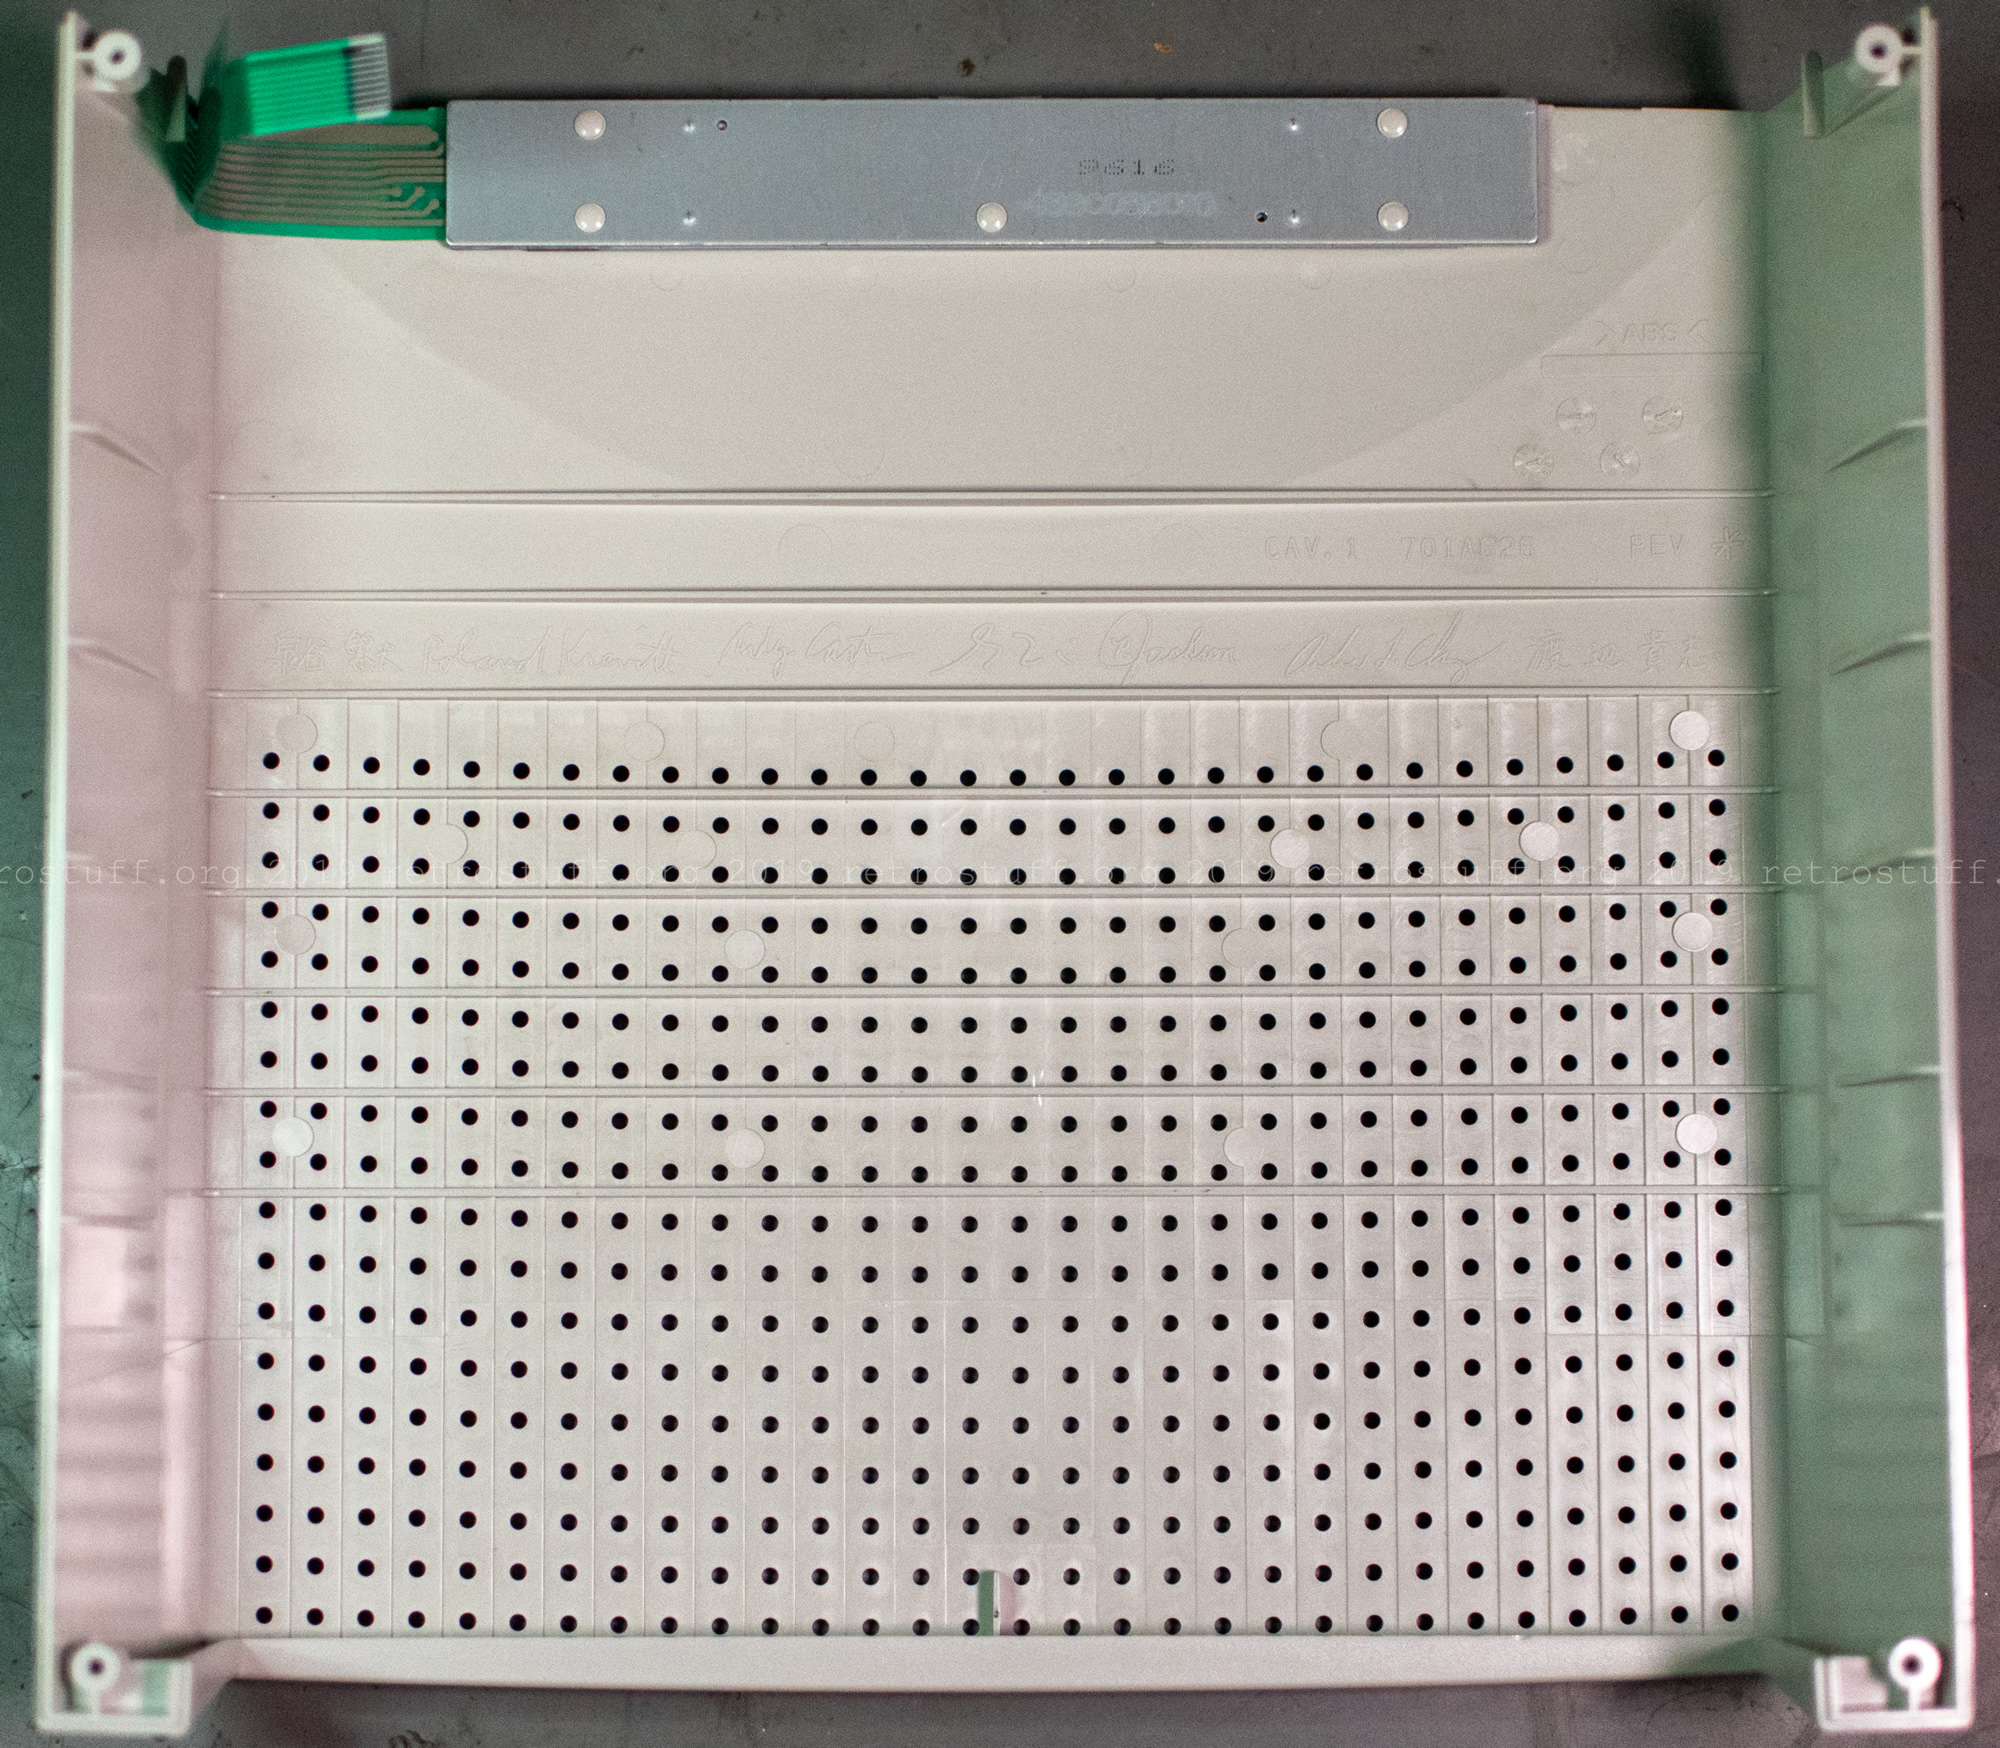
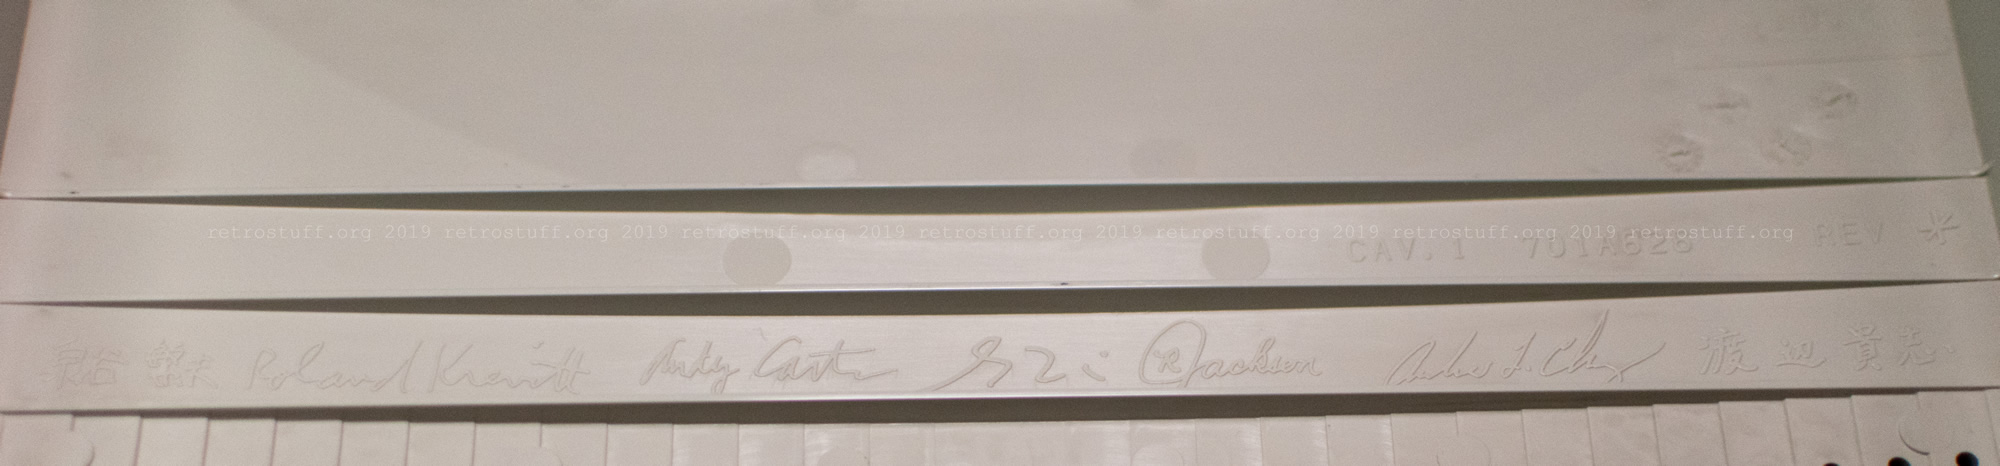
In Apple tradition, the signatures of the creators were molded into the case. This blog post tries to decipher the signatures.
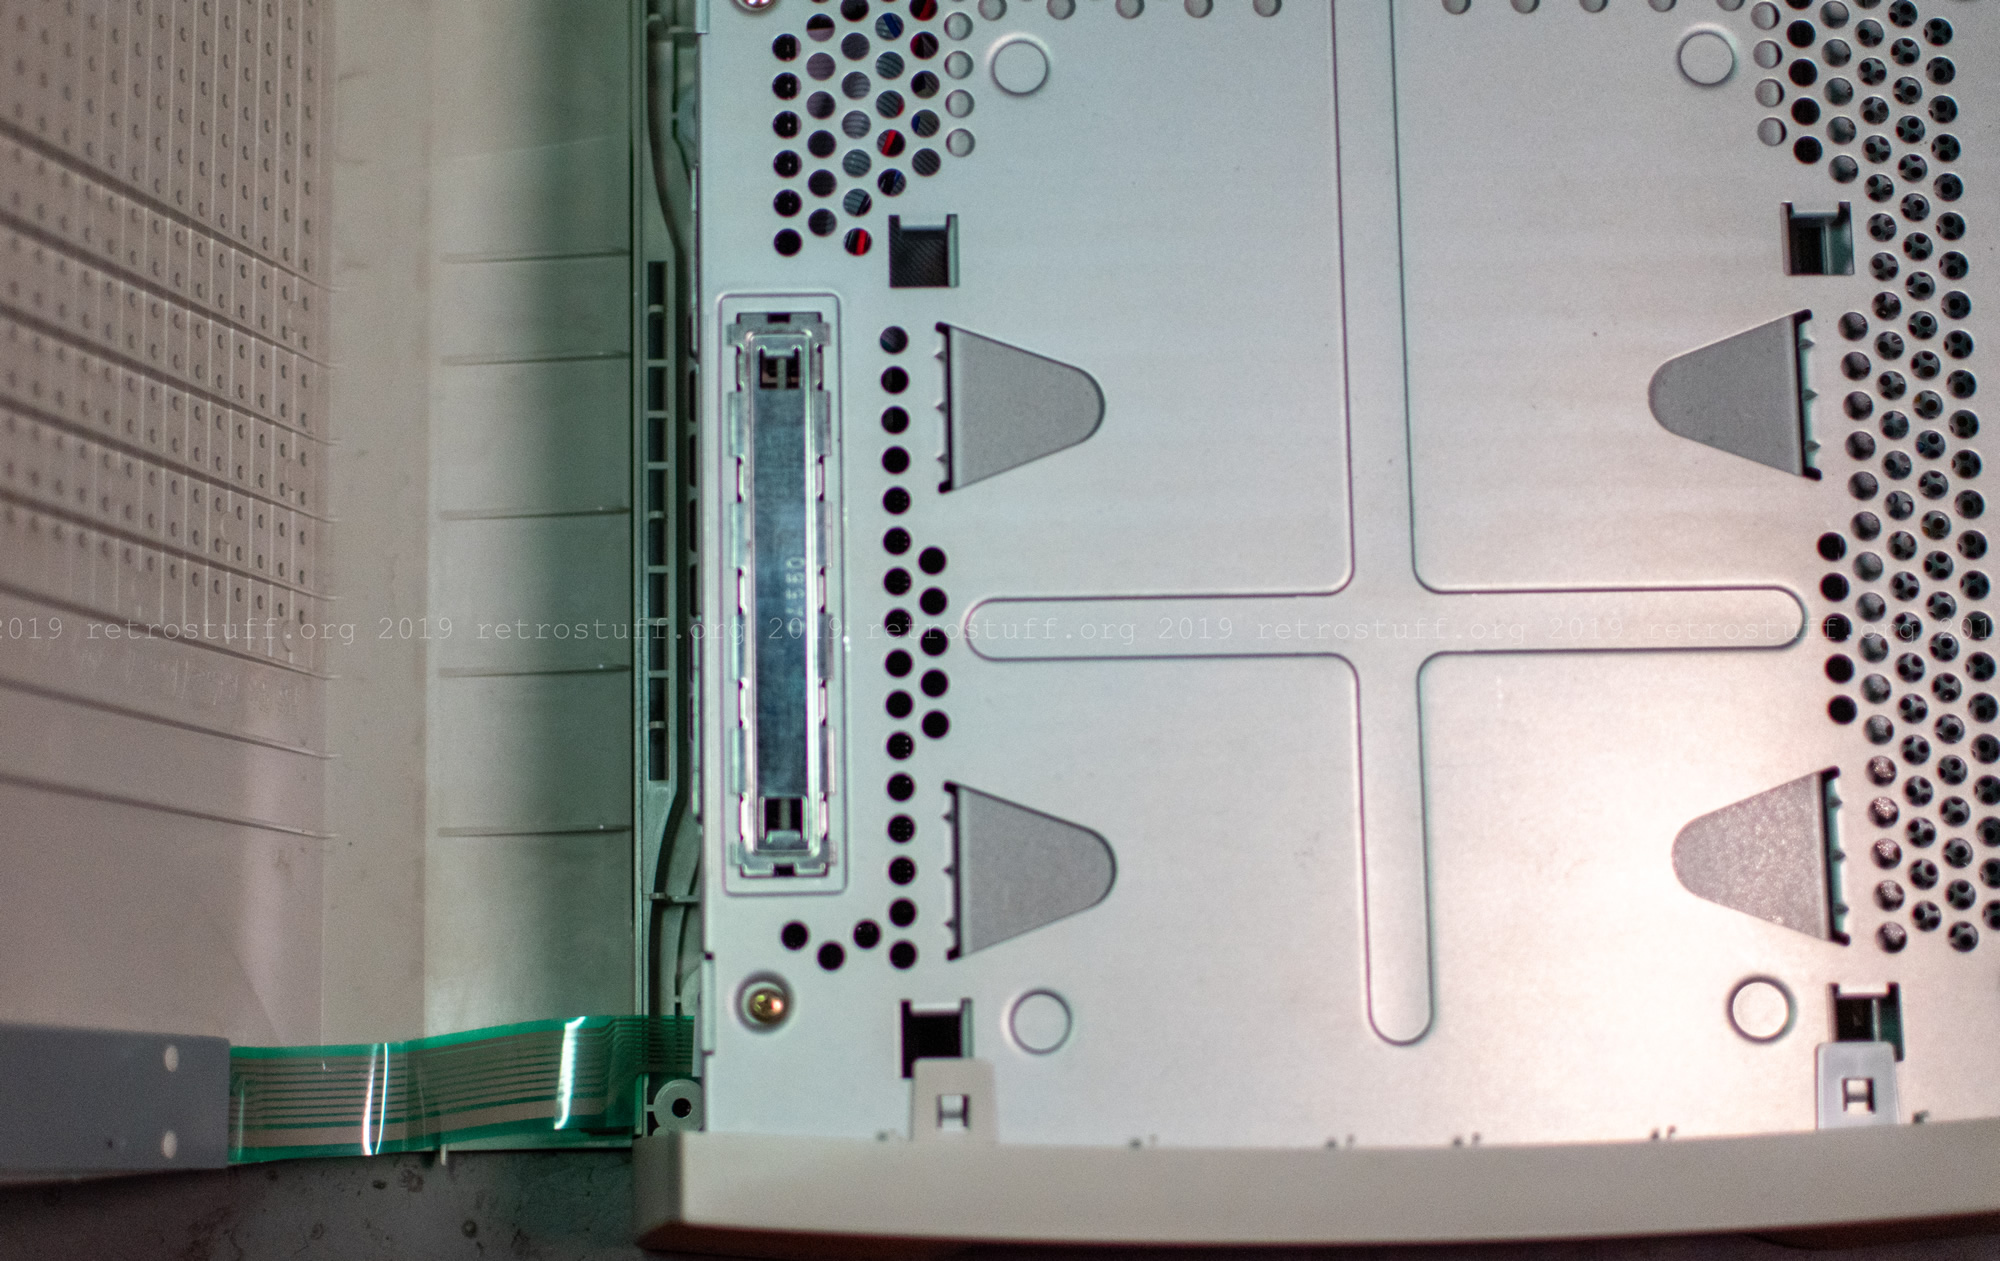
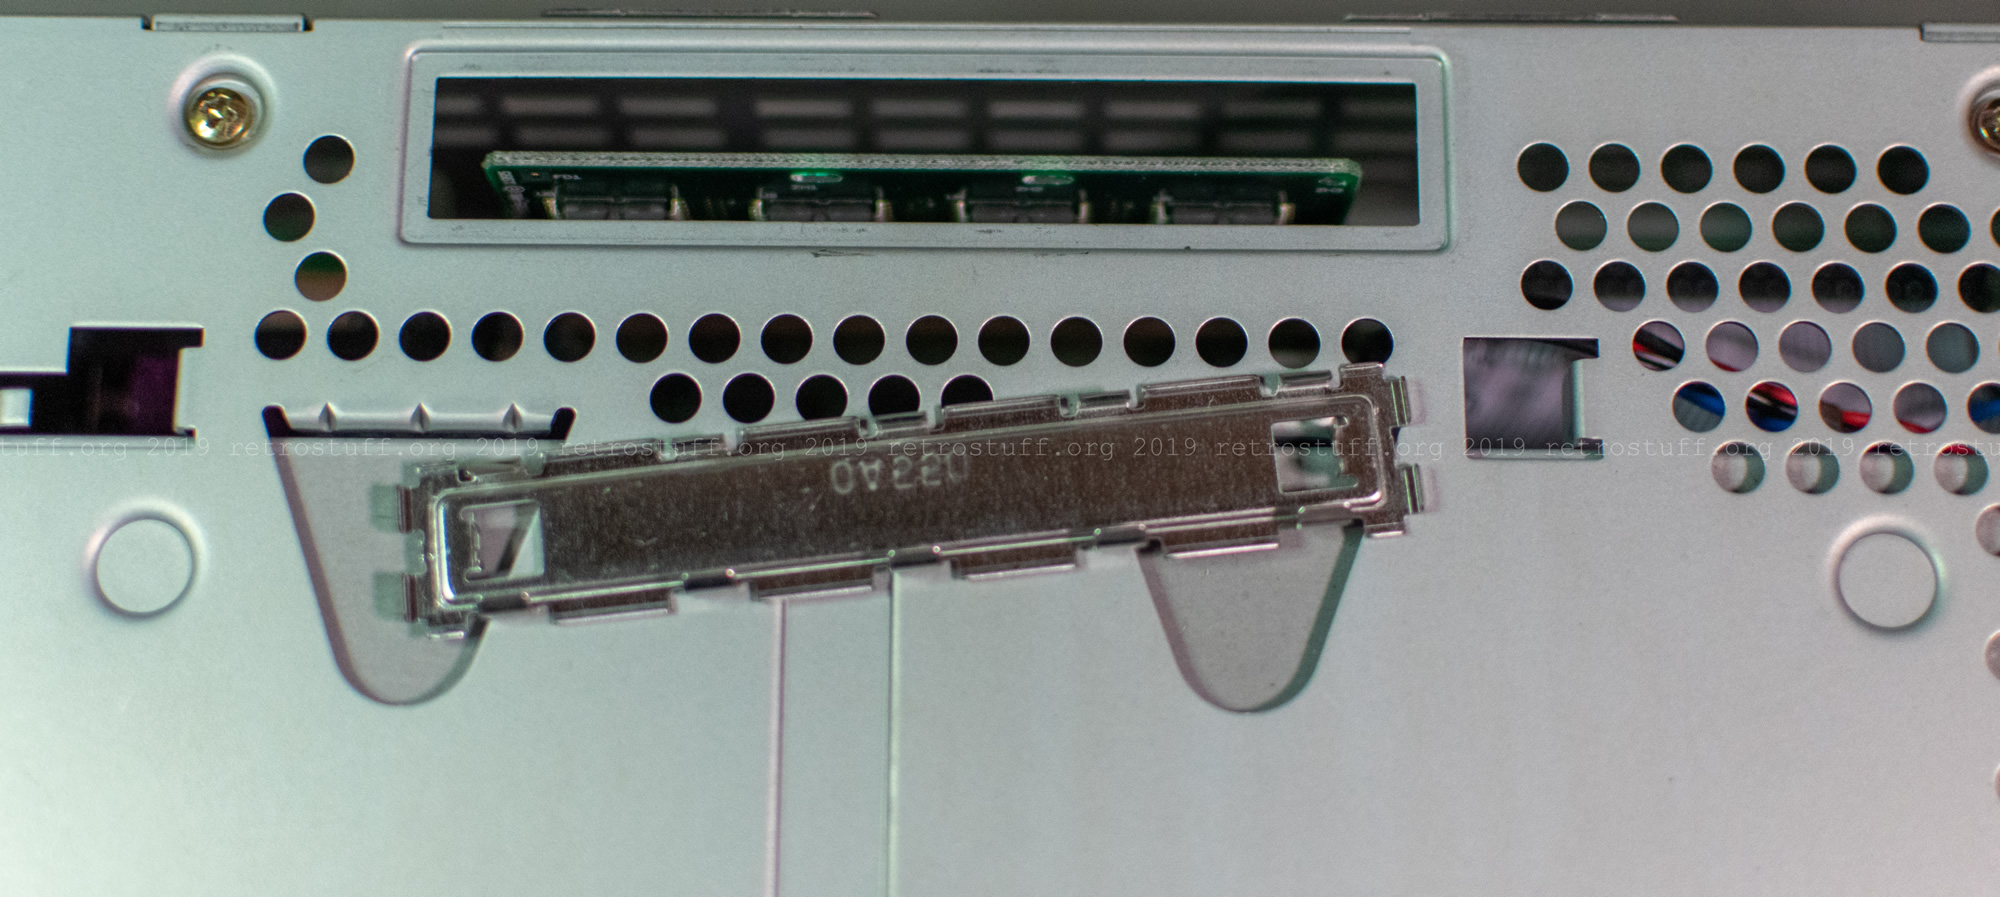
To access the firmware board, remove the metal plate on the left.
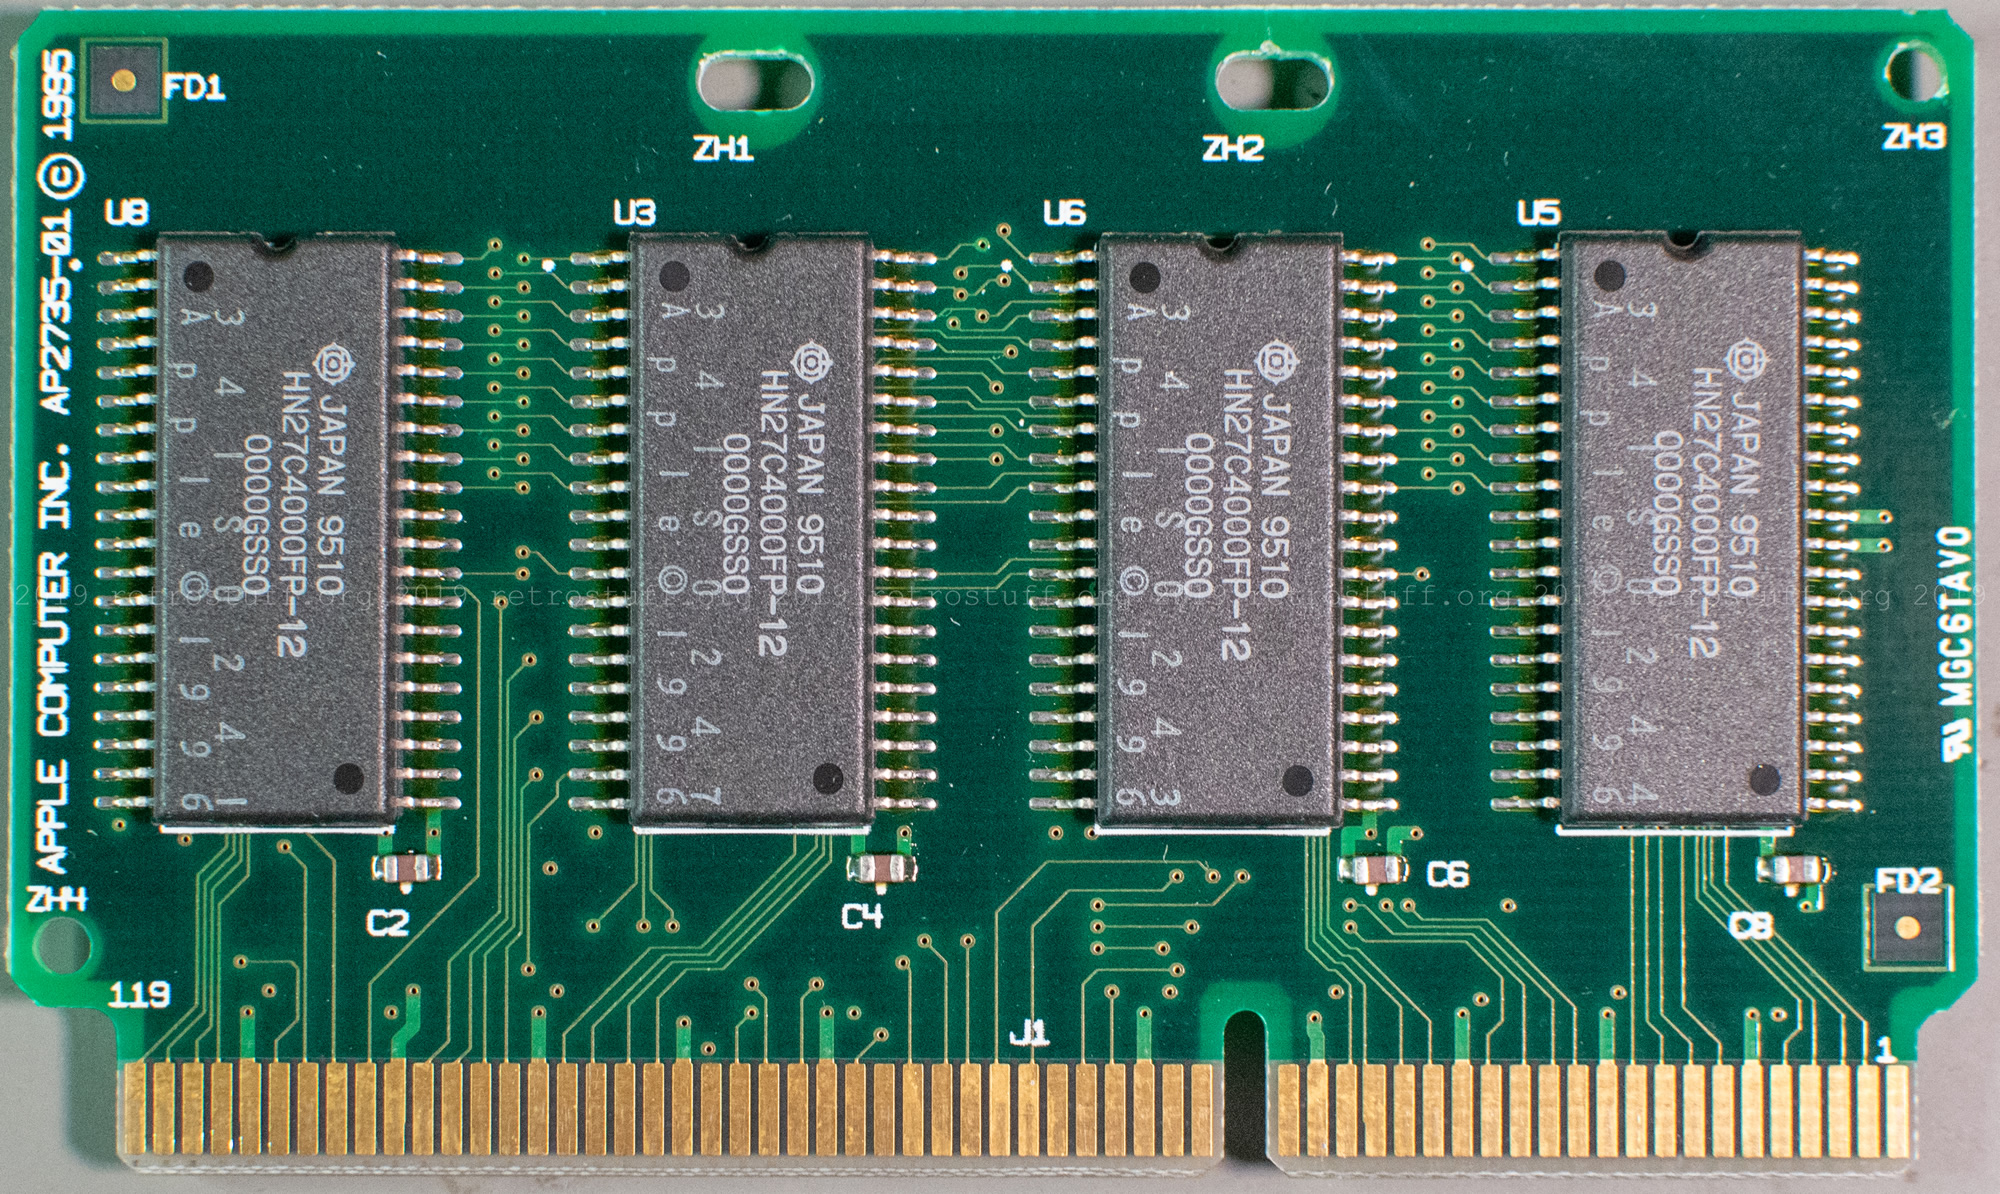
This is it, the pre-release KINKA ROM for “Monitoring”. It allows the Pippin to run software without authentication/encryption and also to boot from external SCSI devices. You can find more information about the different firmware versions here, here and here.
Next, unscrew the four inner screws from the bottom (red squares in the picture above) to remove the bottom case.
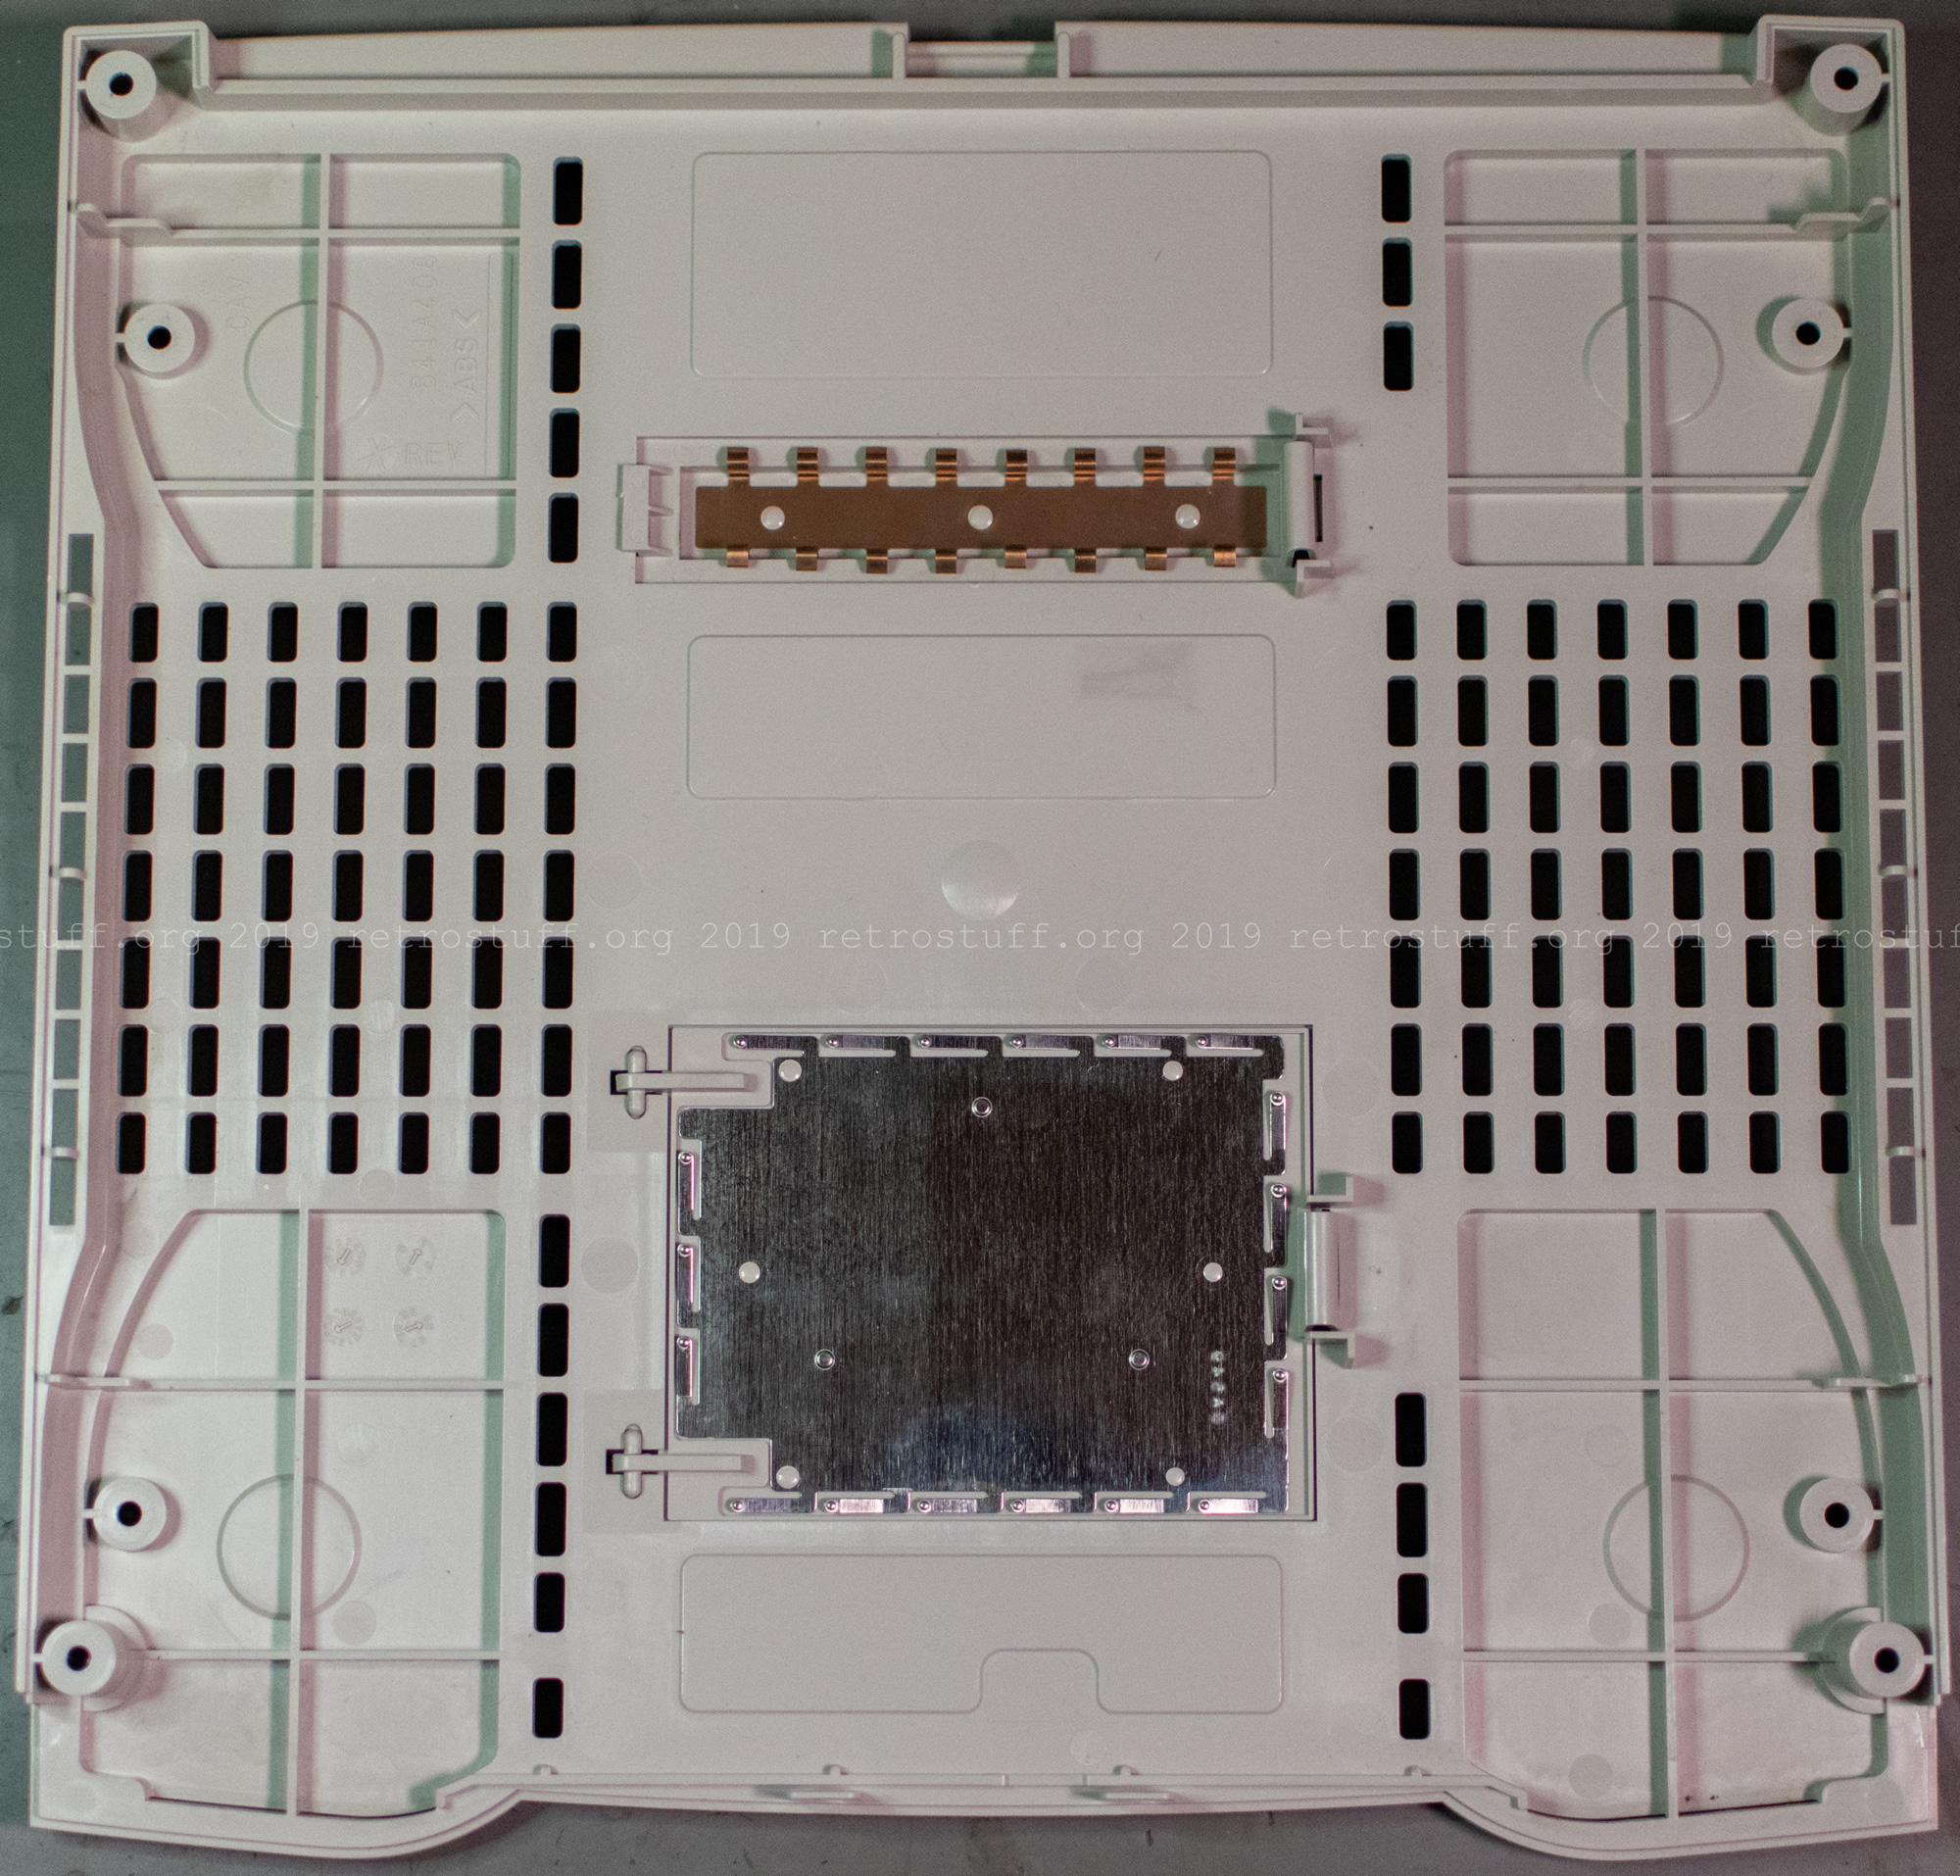
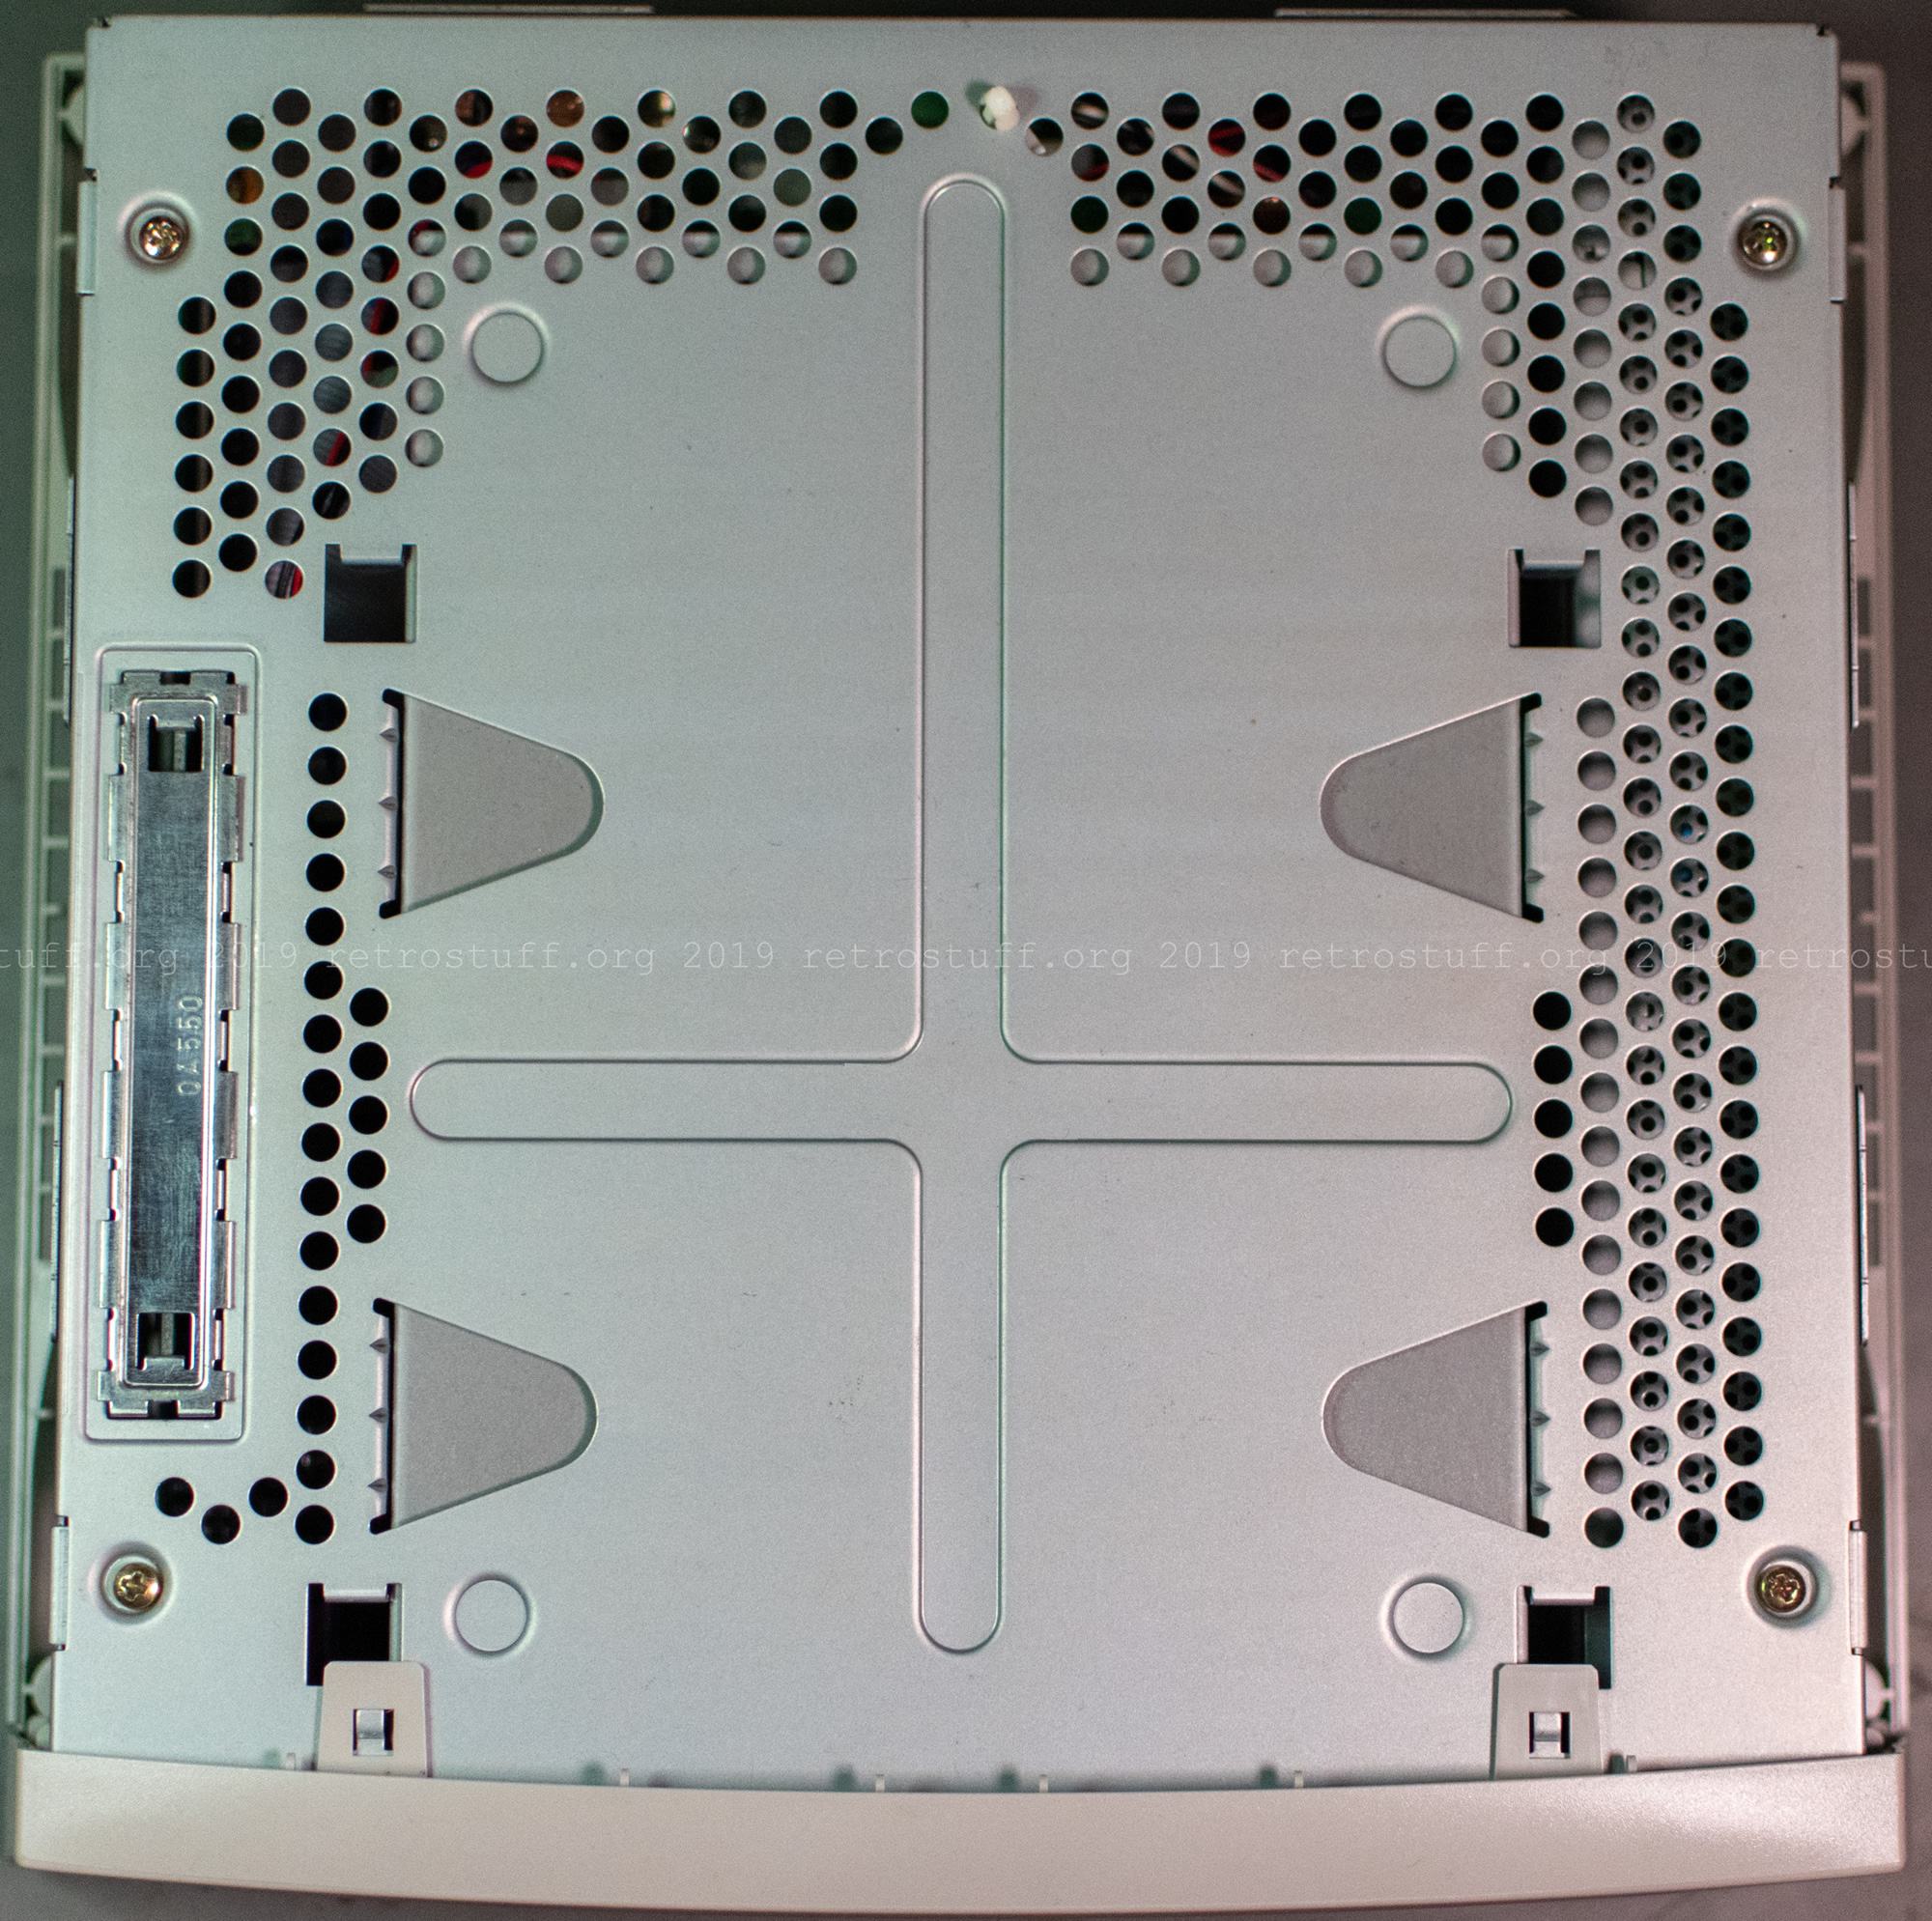
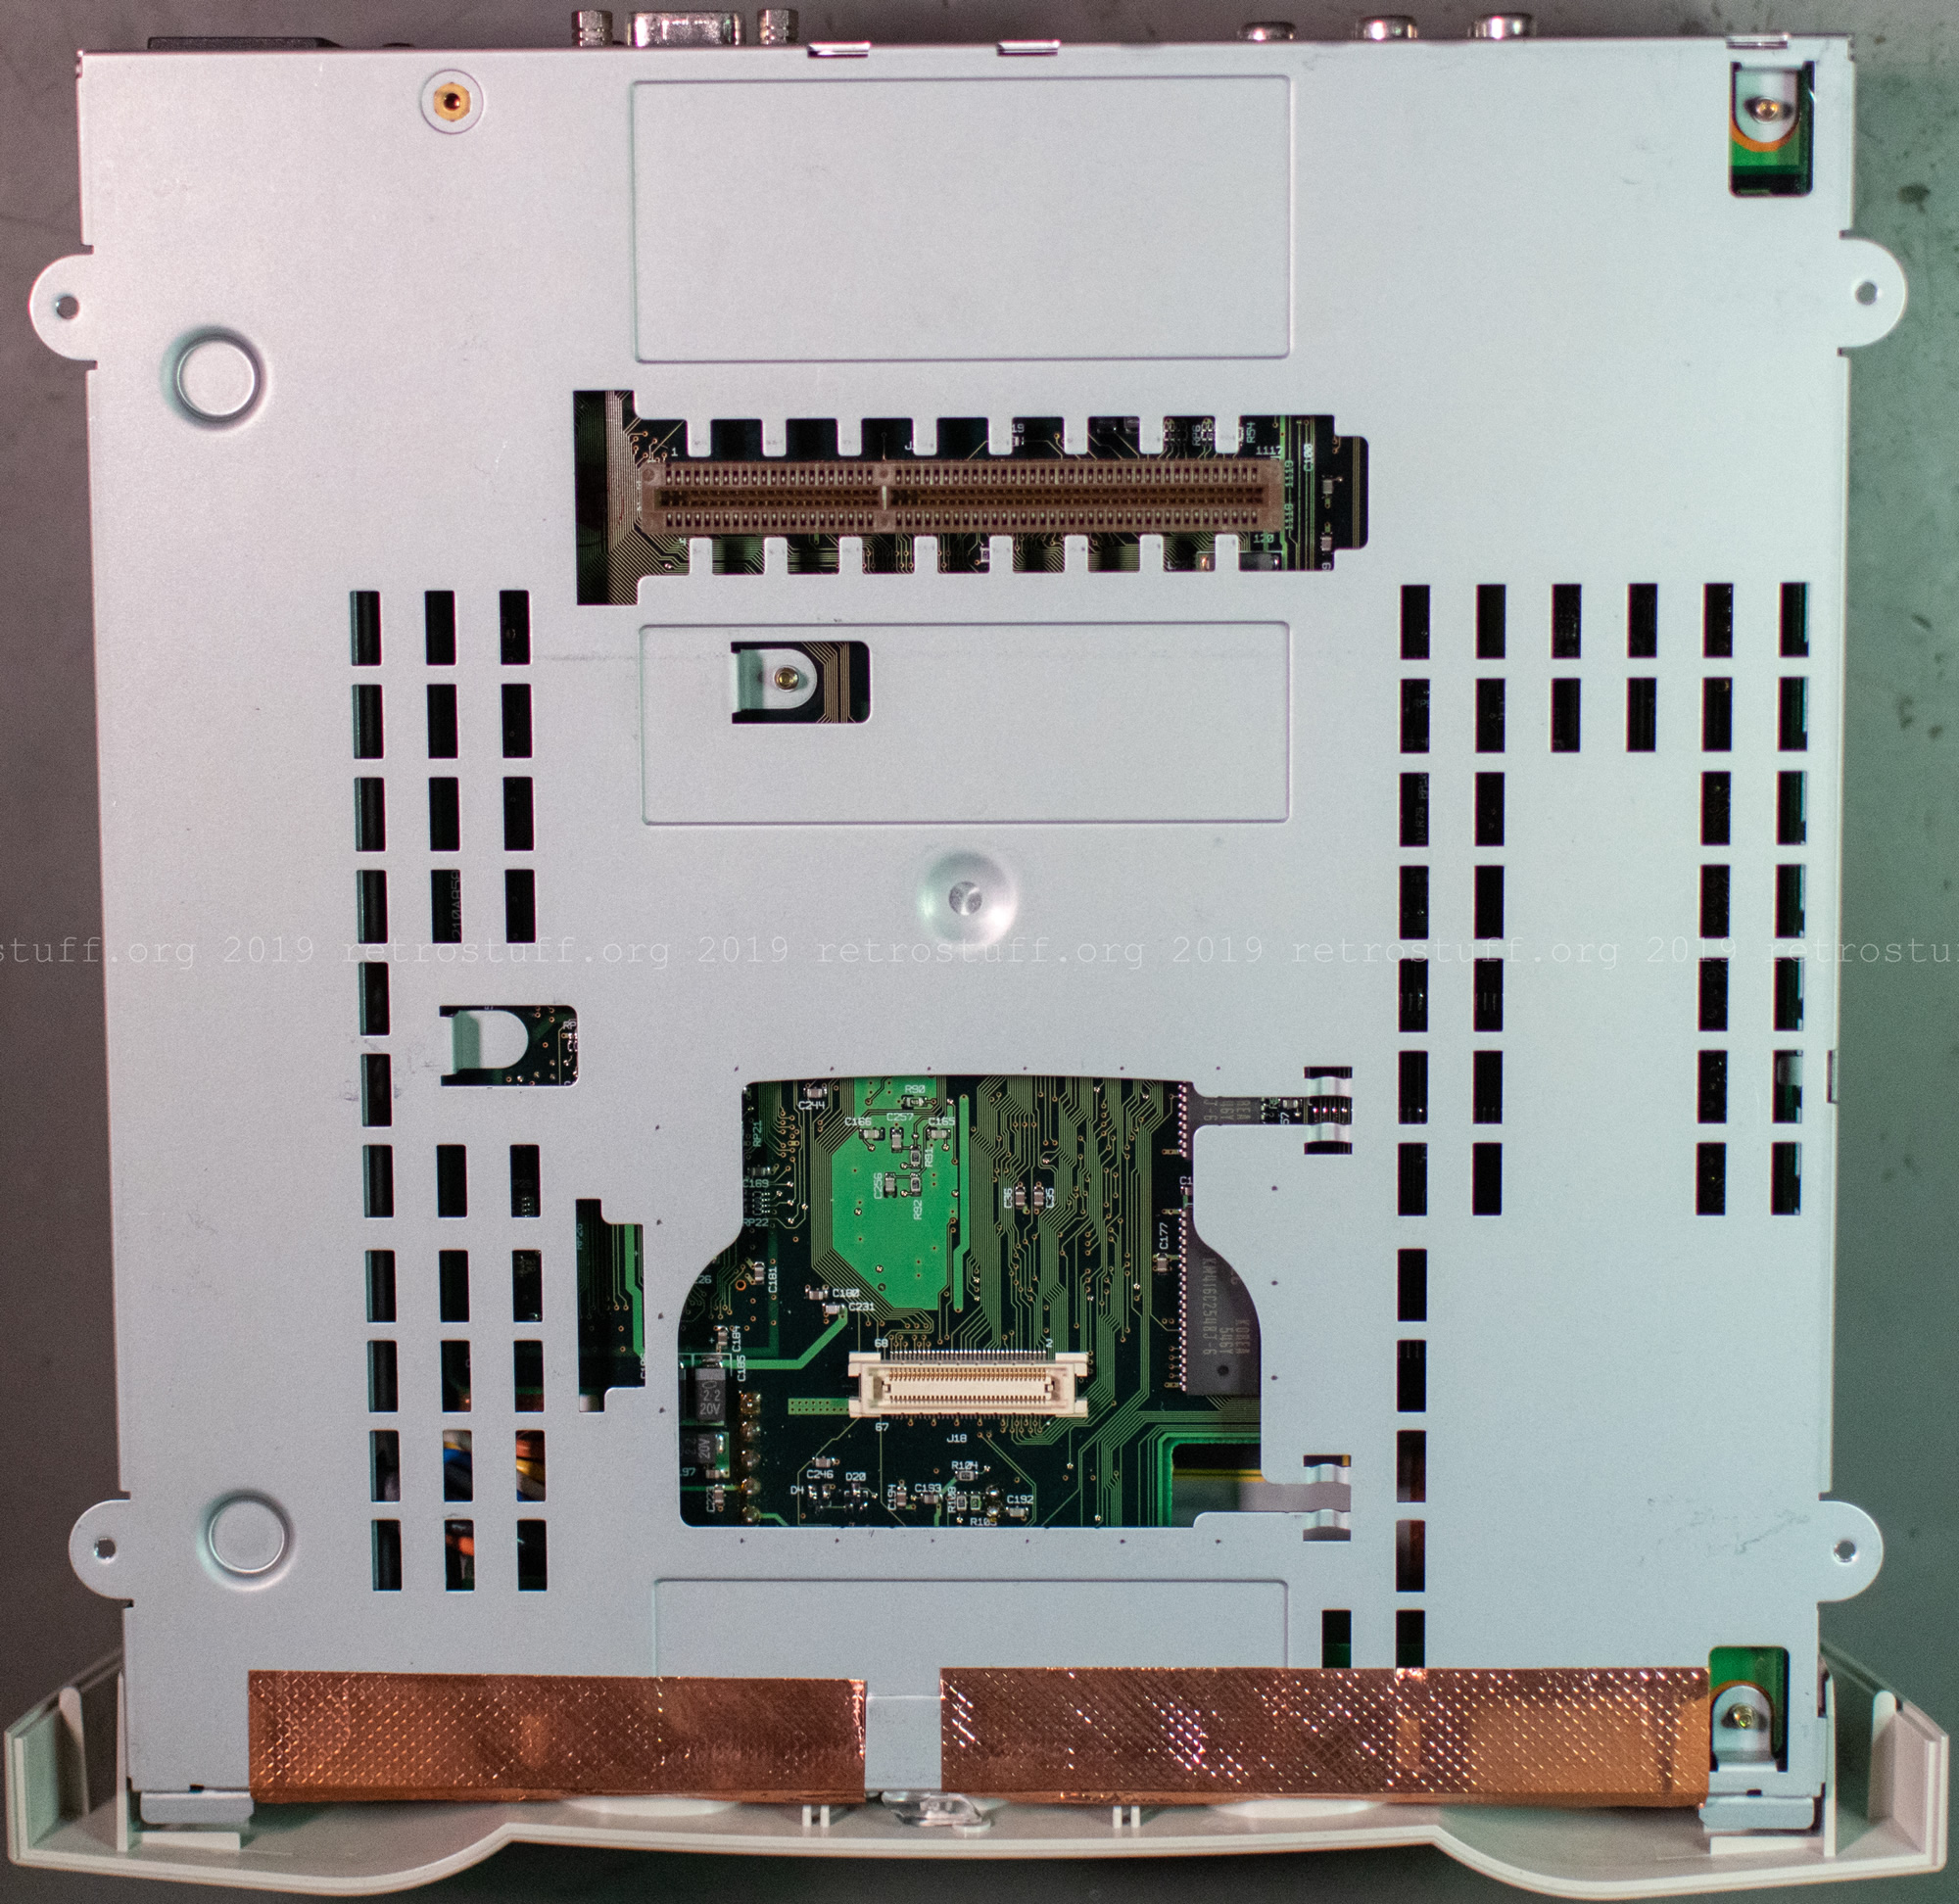
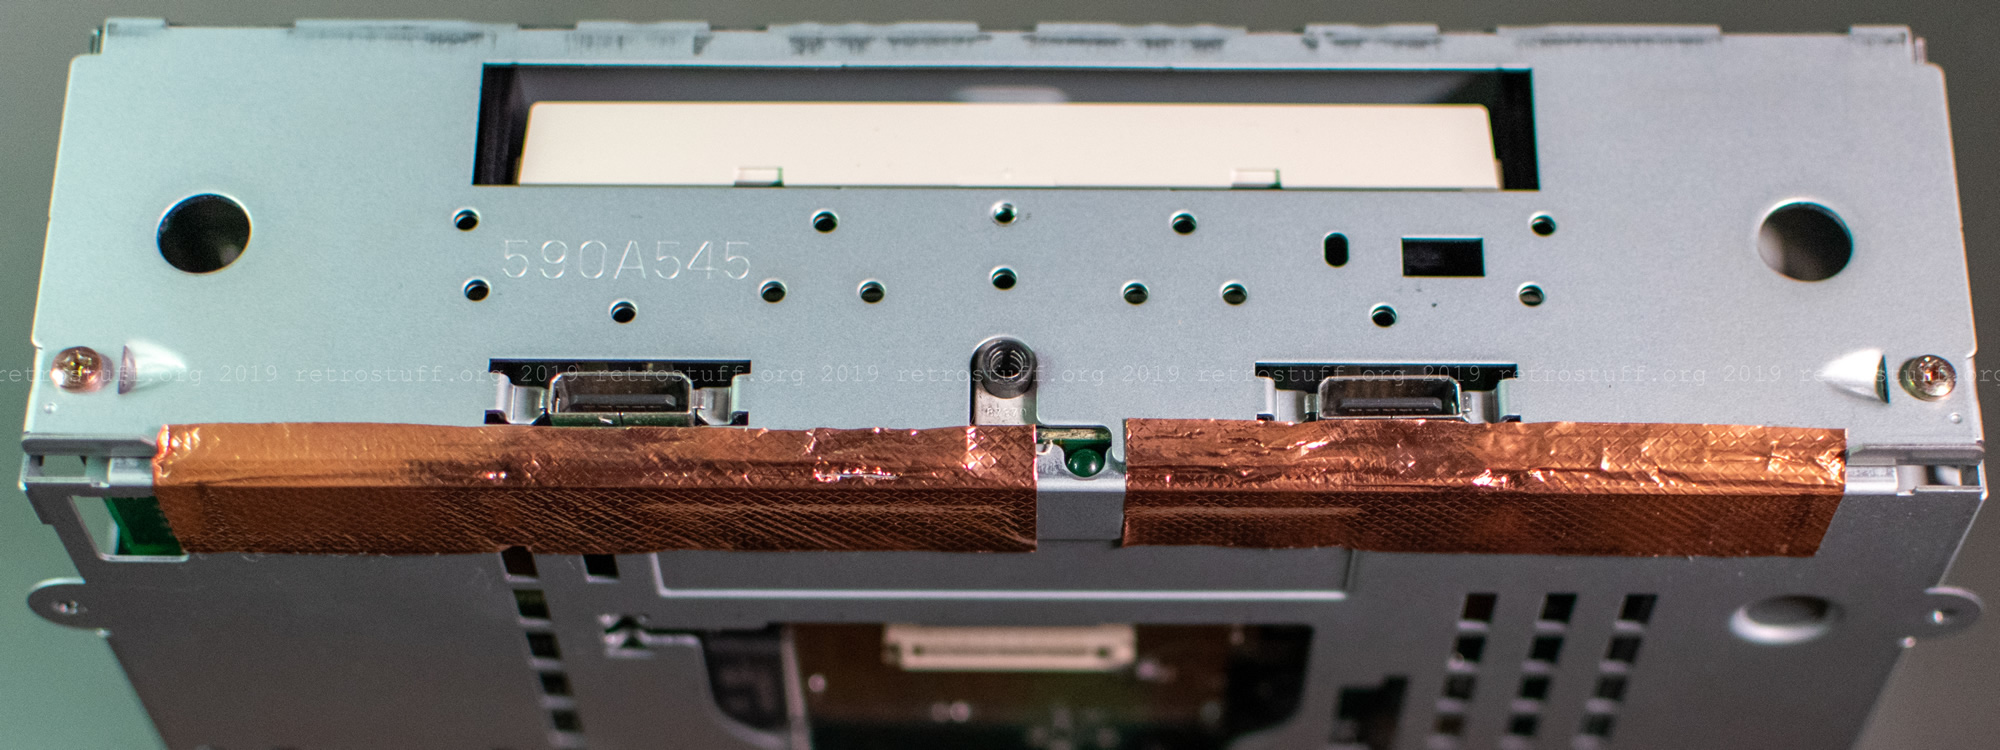
This is the bottom view of the metal cage that contains all components. The X-PCI slot is on the top and the memory card connector on the bottom. Also, the copper foil tape that is not present on the retail consoles.
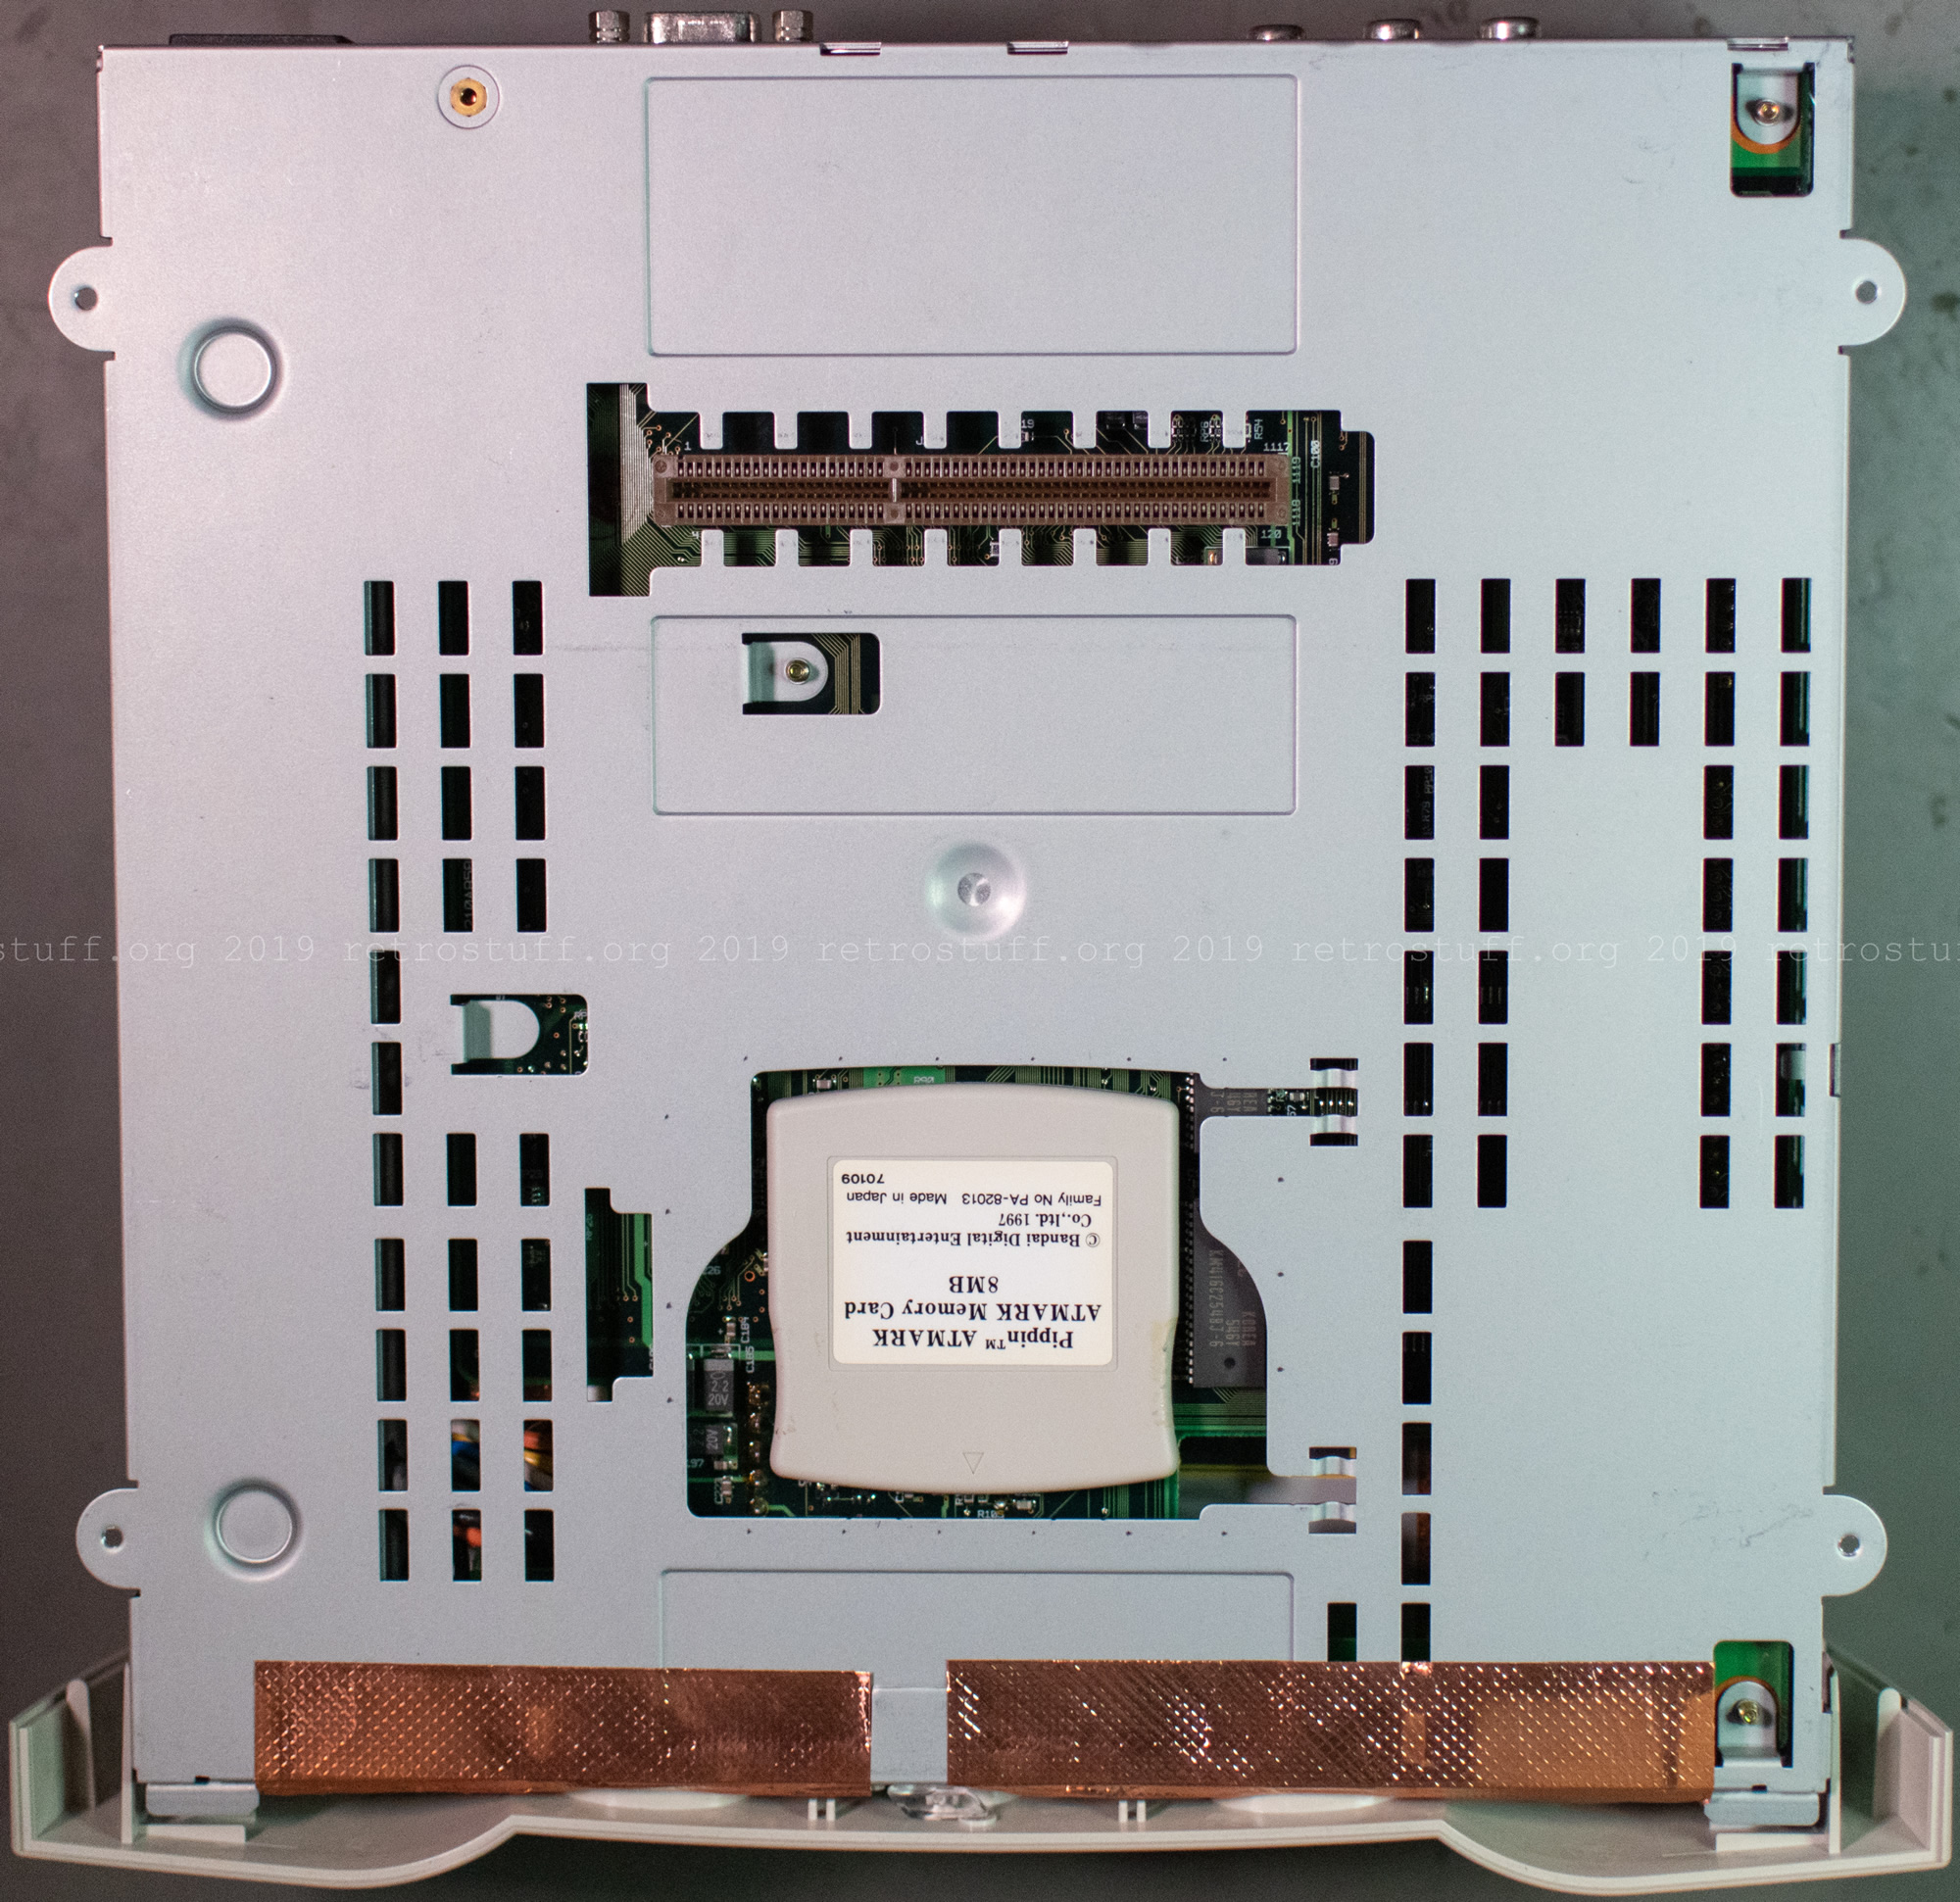
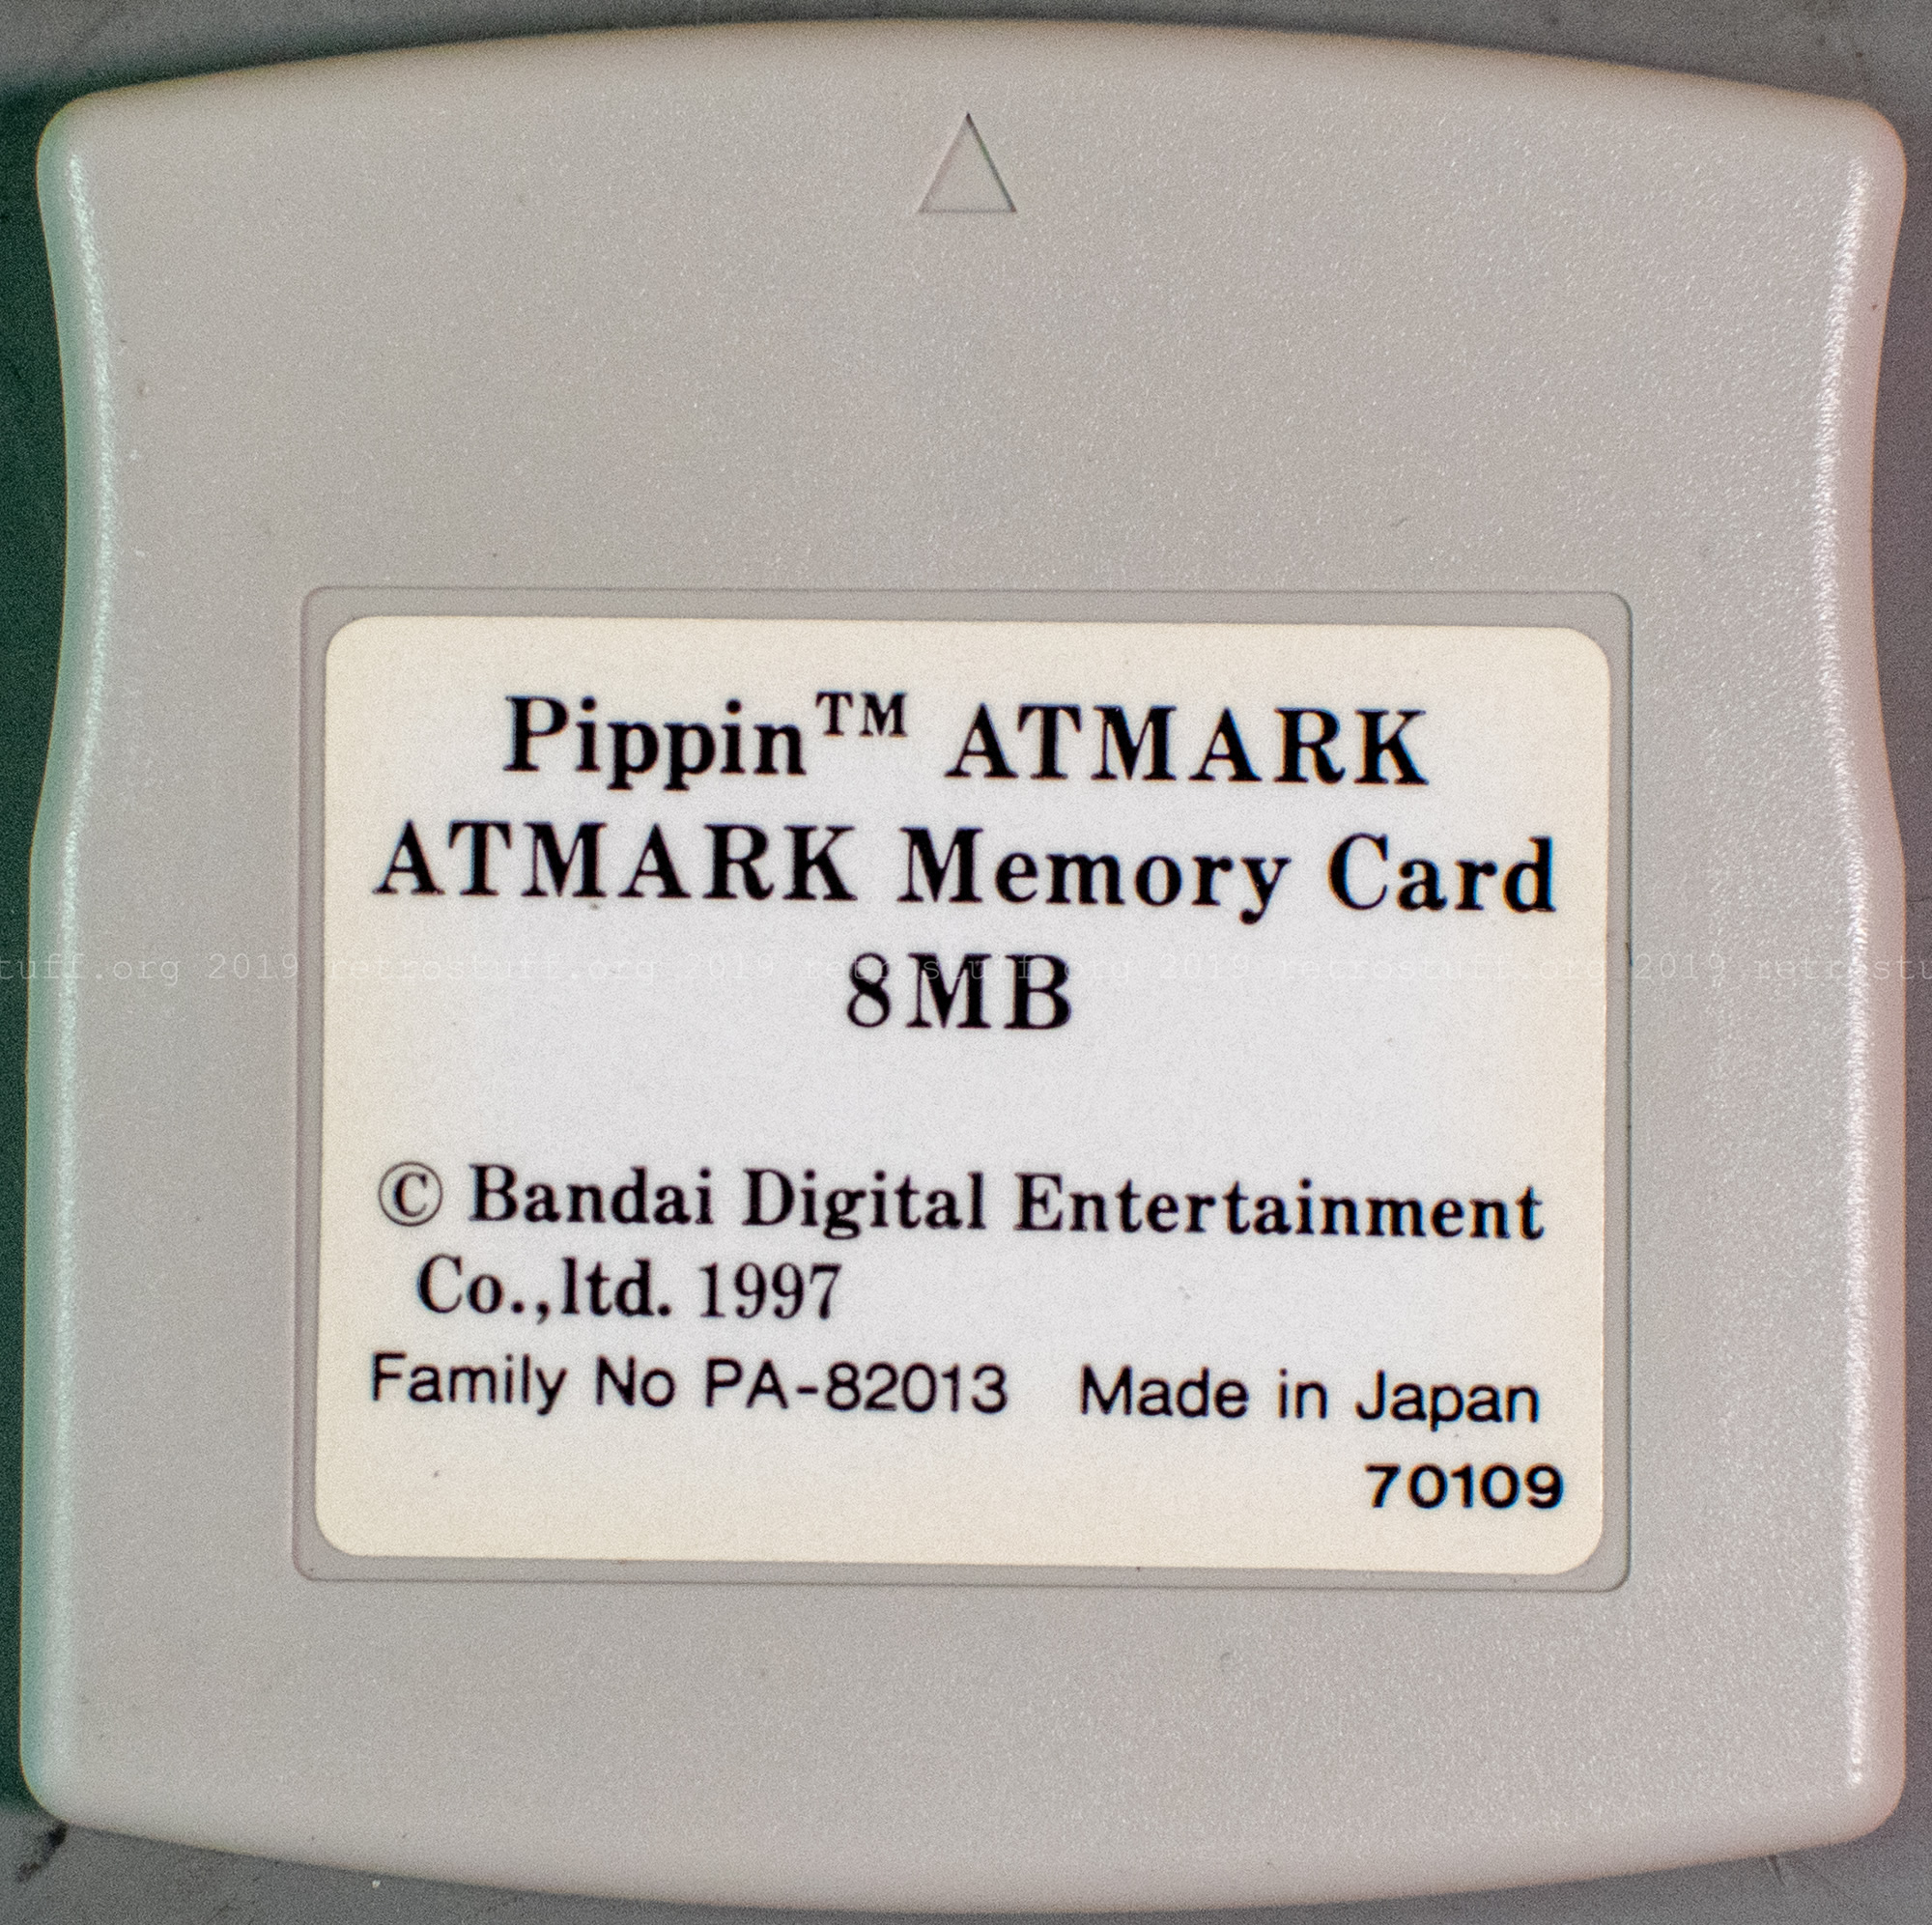
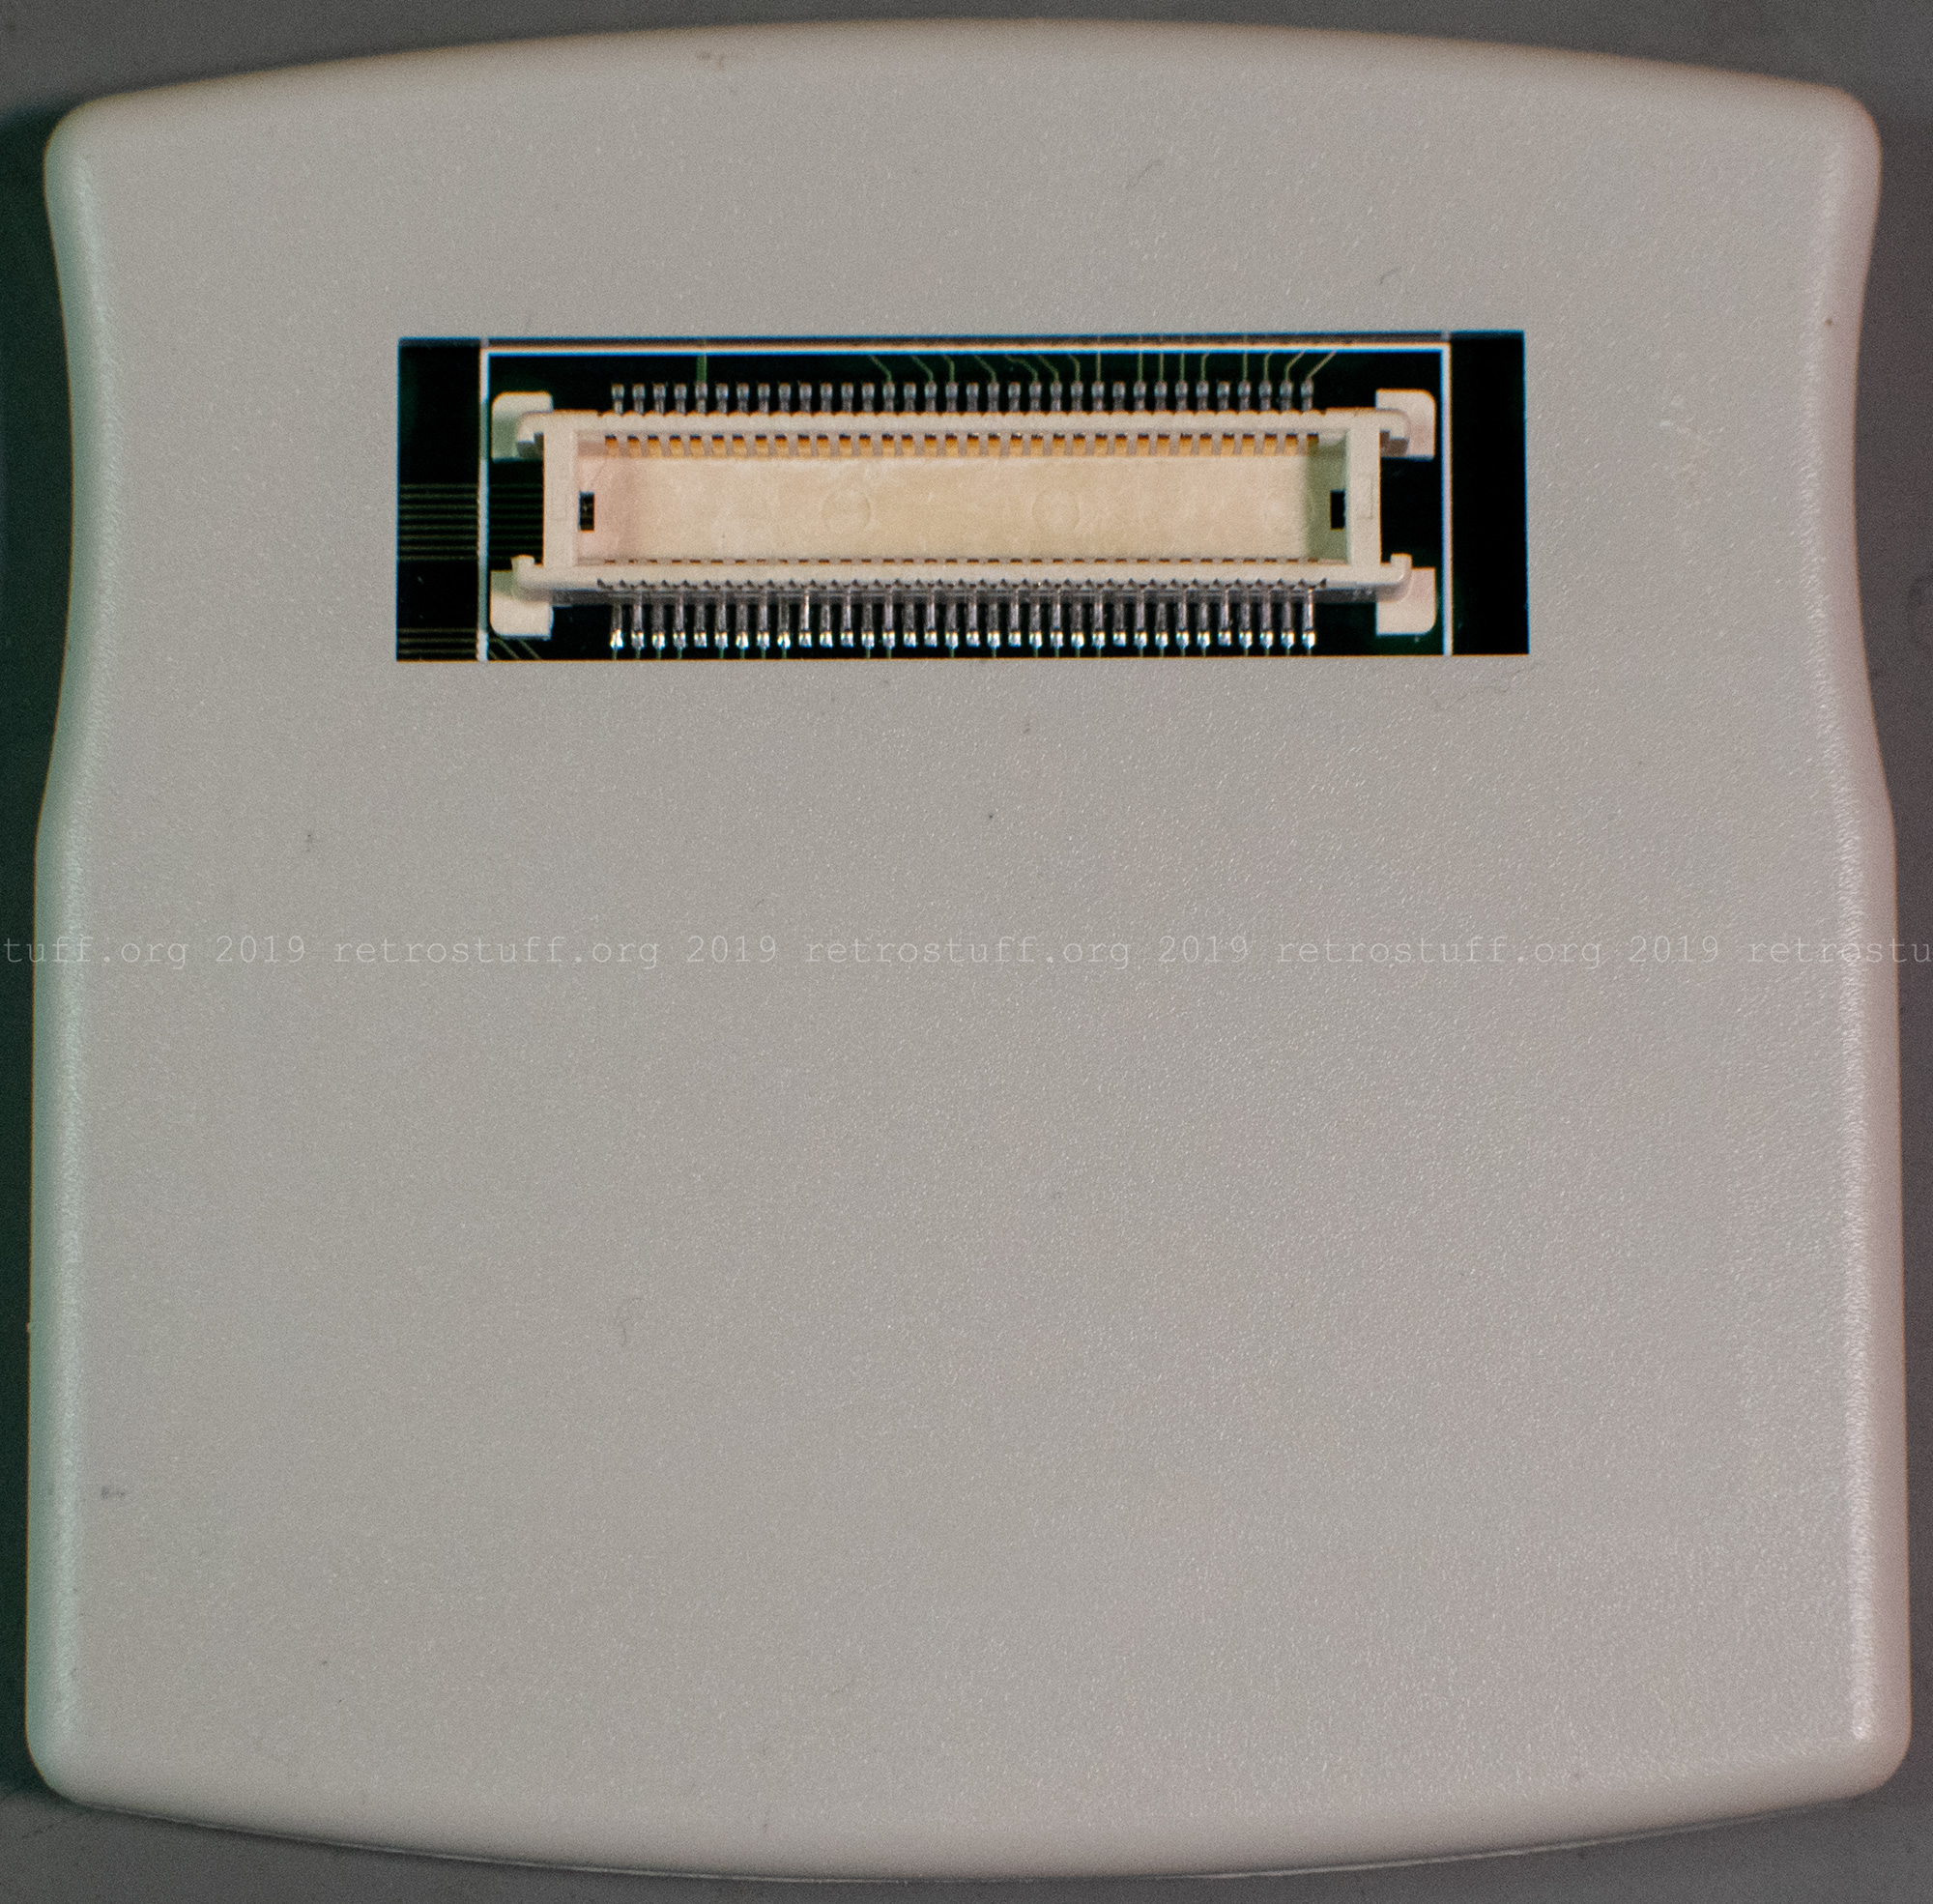
(I bought this memory card at a later time. I’m not going to open it because there are plenty of photos available on the www.)
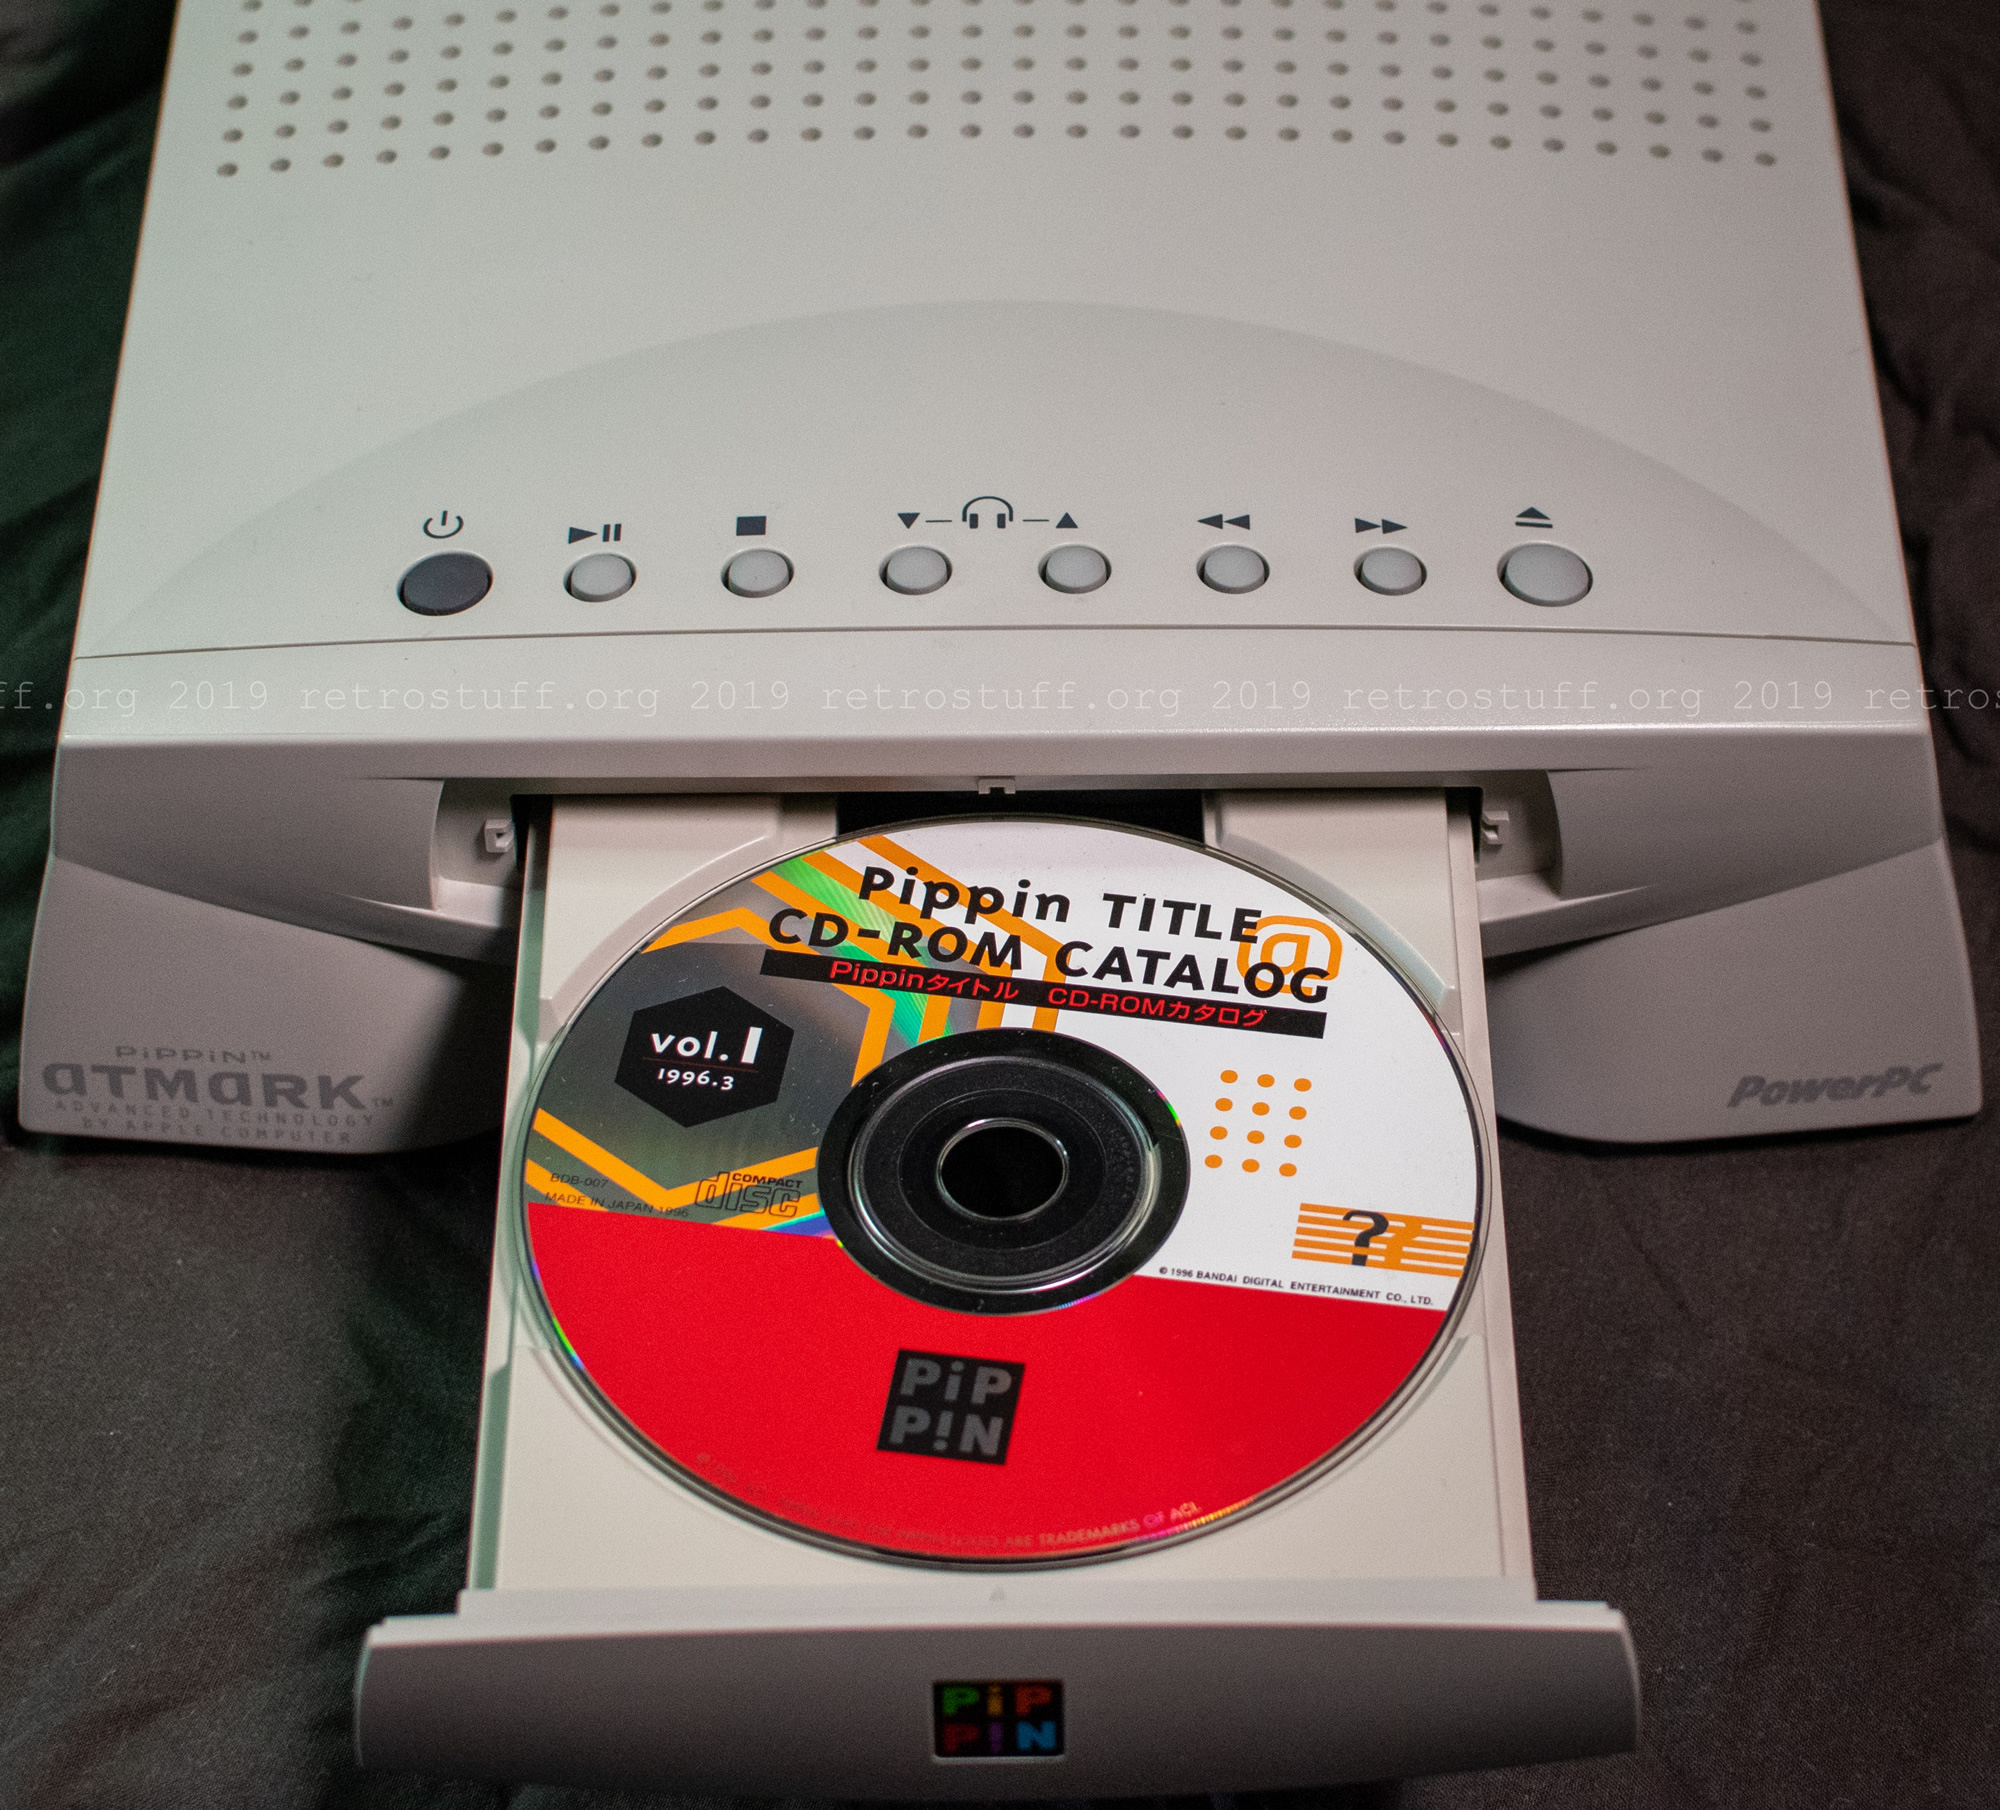
The last piece of plastic is the front bezel. Carefully release the four hooks to remove it. (I inserted the ODD bezel before taking these pictures.)
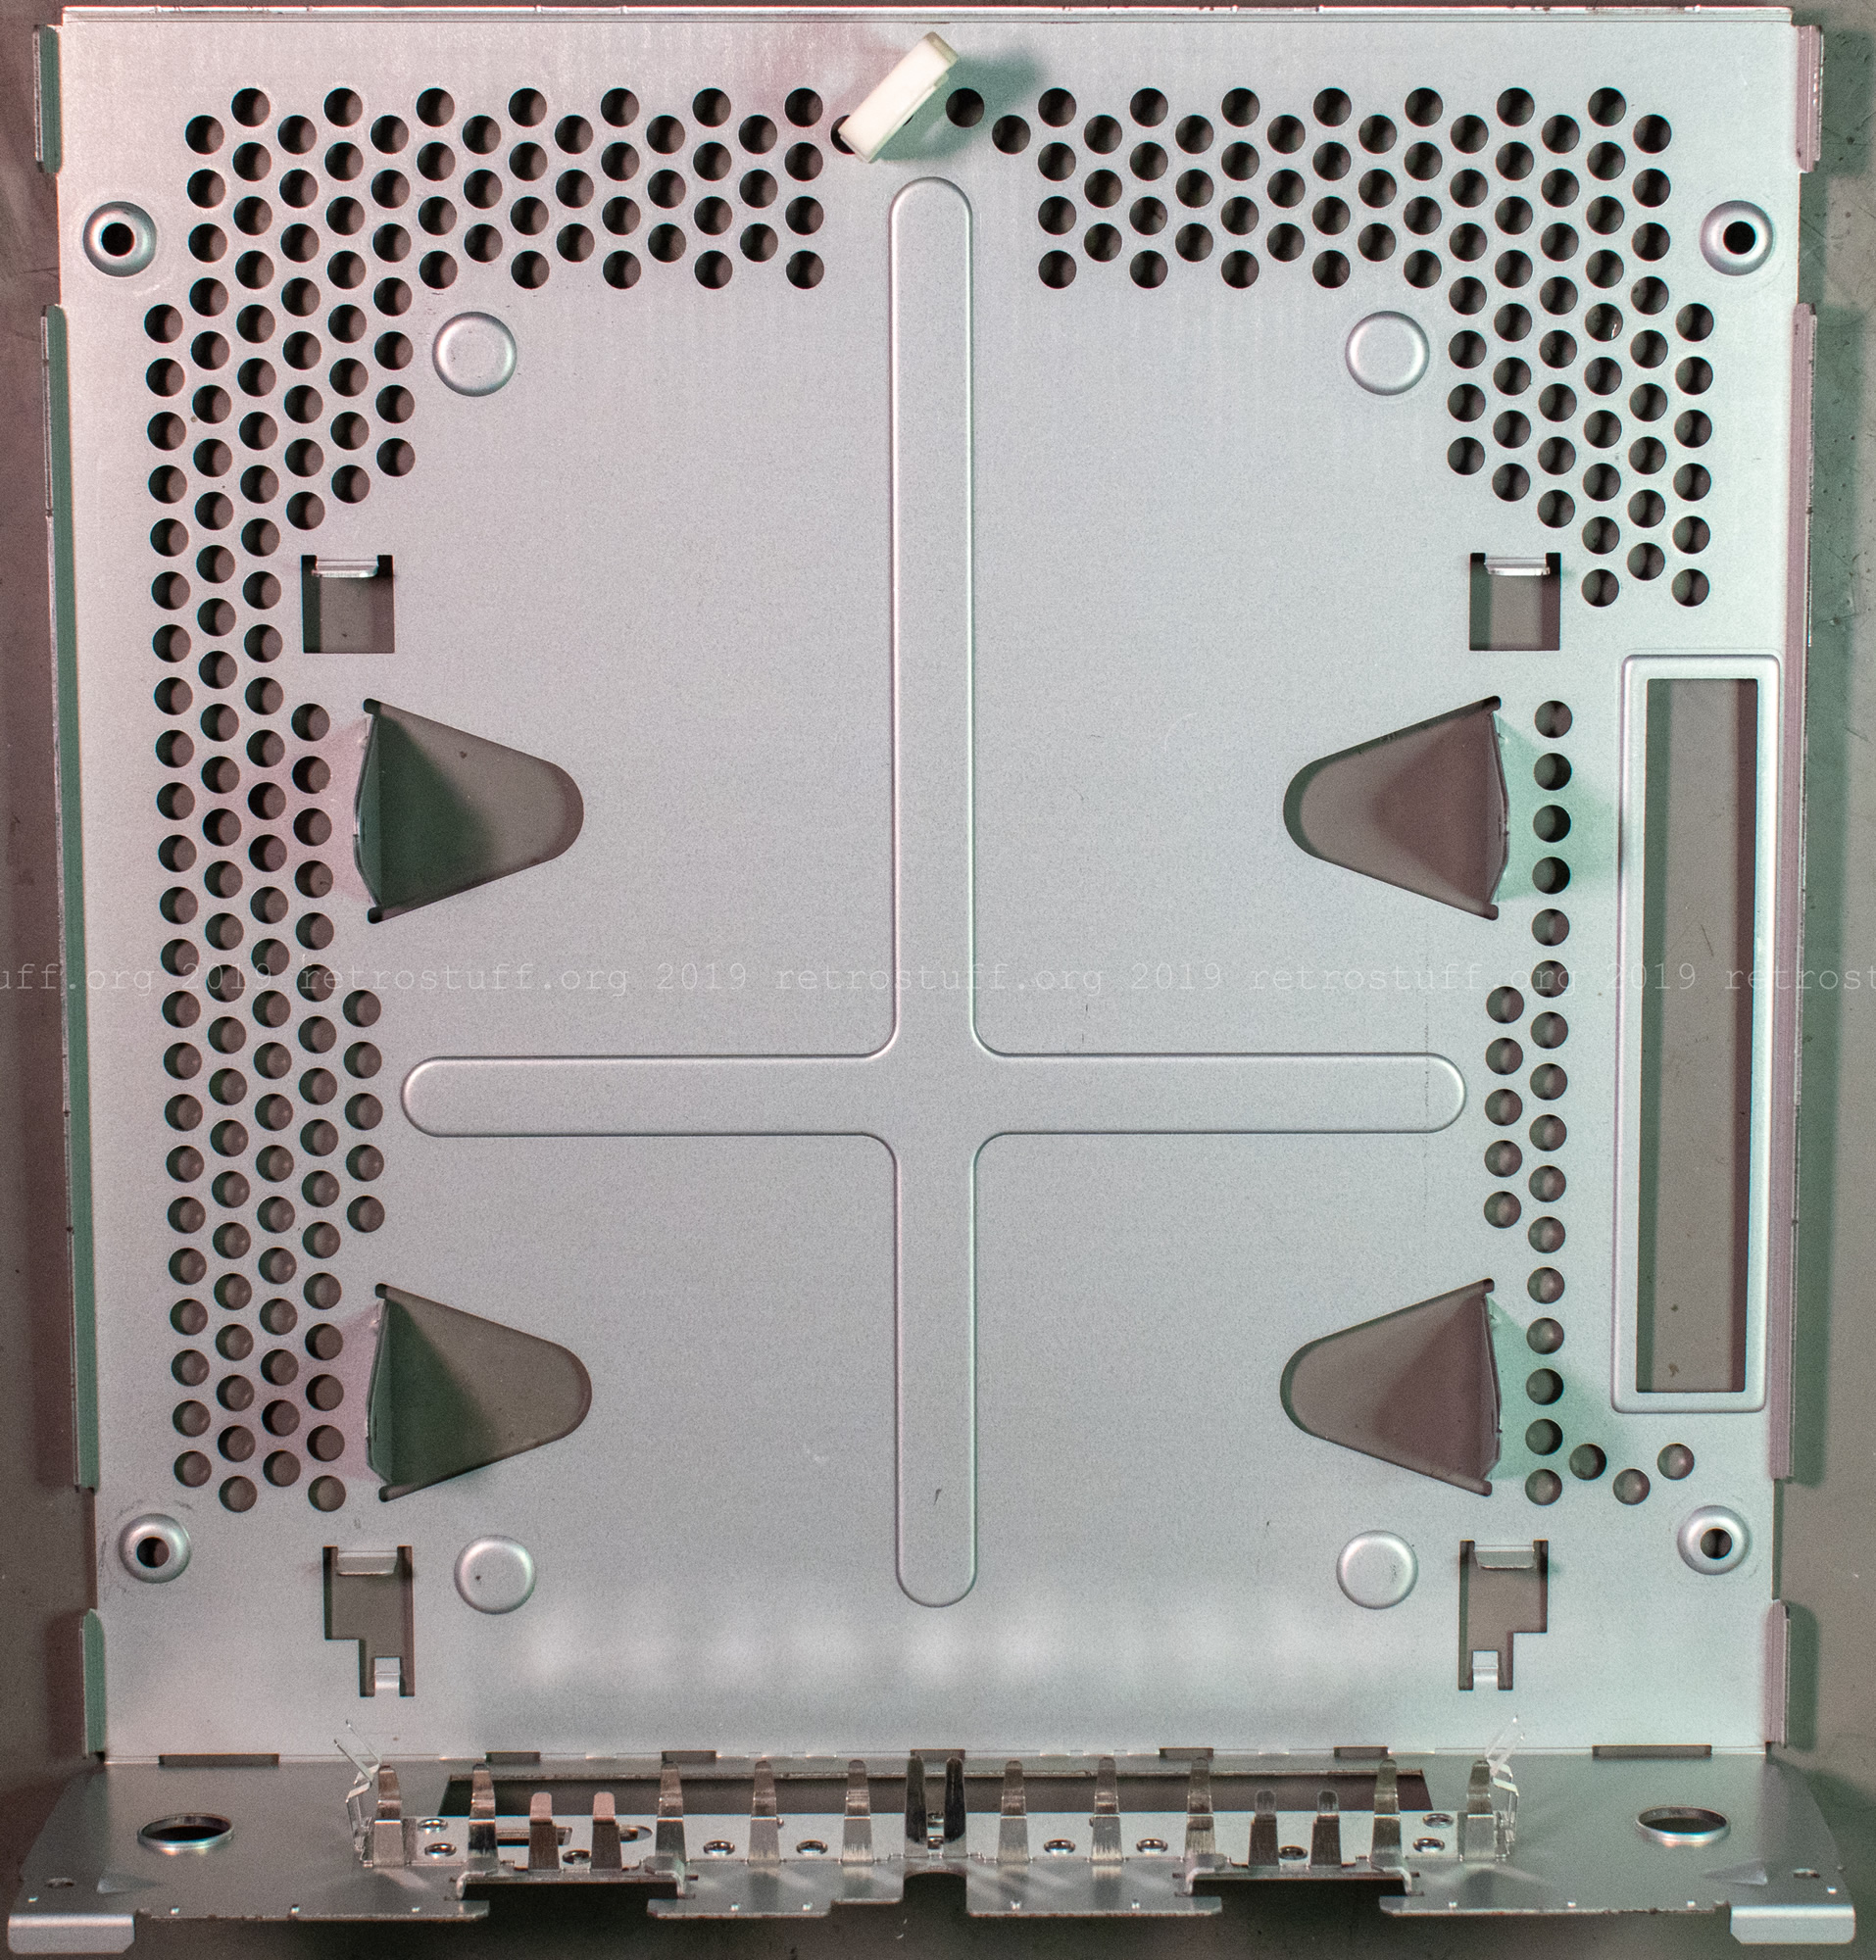
Close-up views of the front and back of the metal cage:
Disassembly – metal cage
To lift the top of the metal cage, remove four JIS screws on the top and two on the front. On this console, the copper foil tape needs to be loosened.
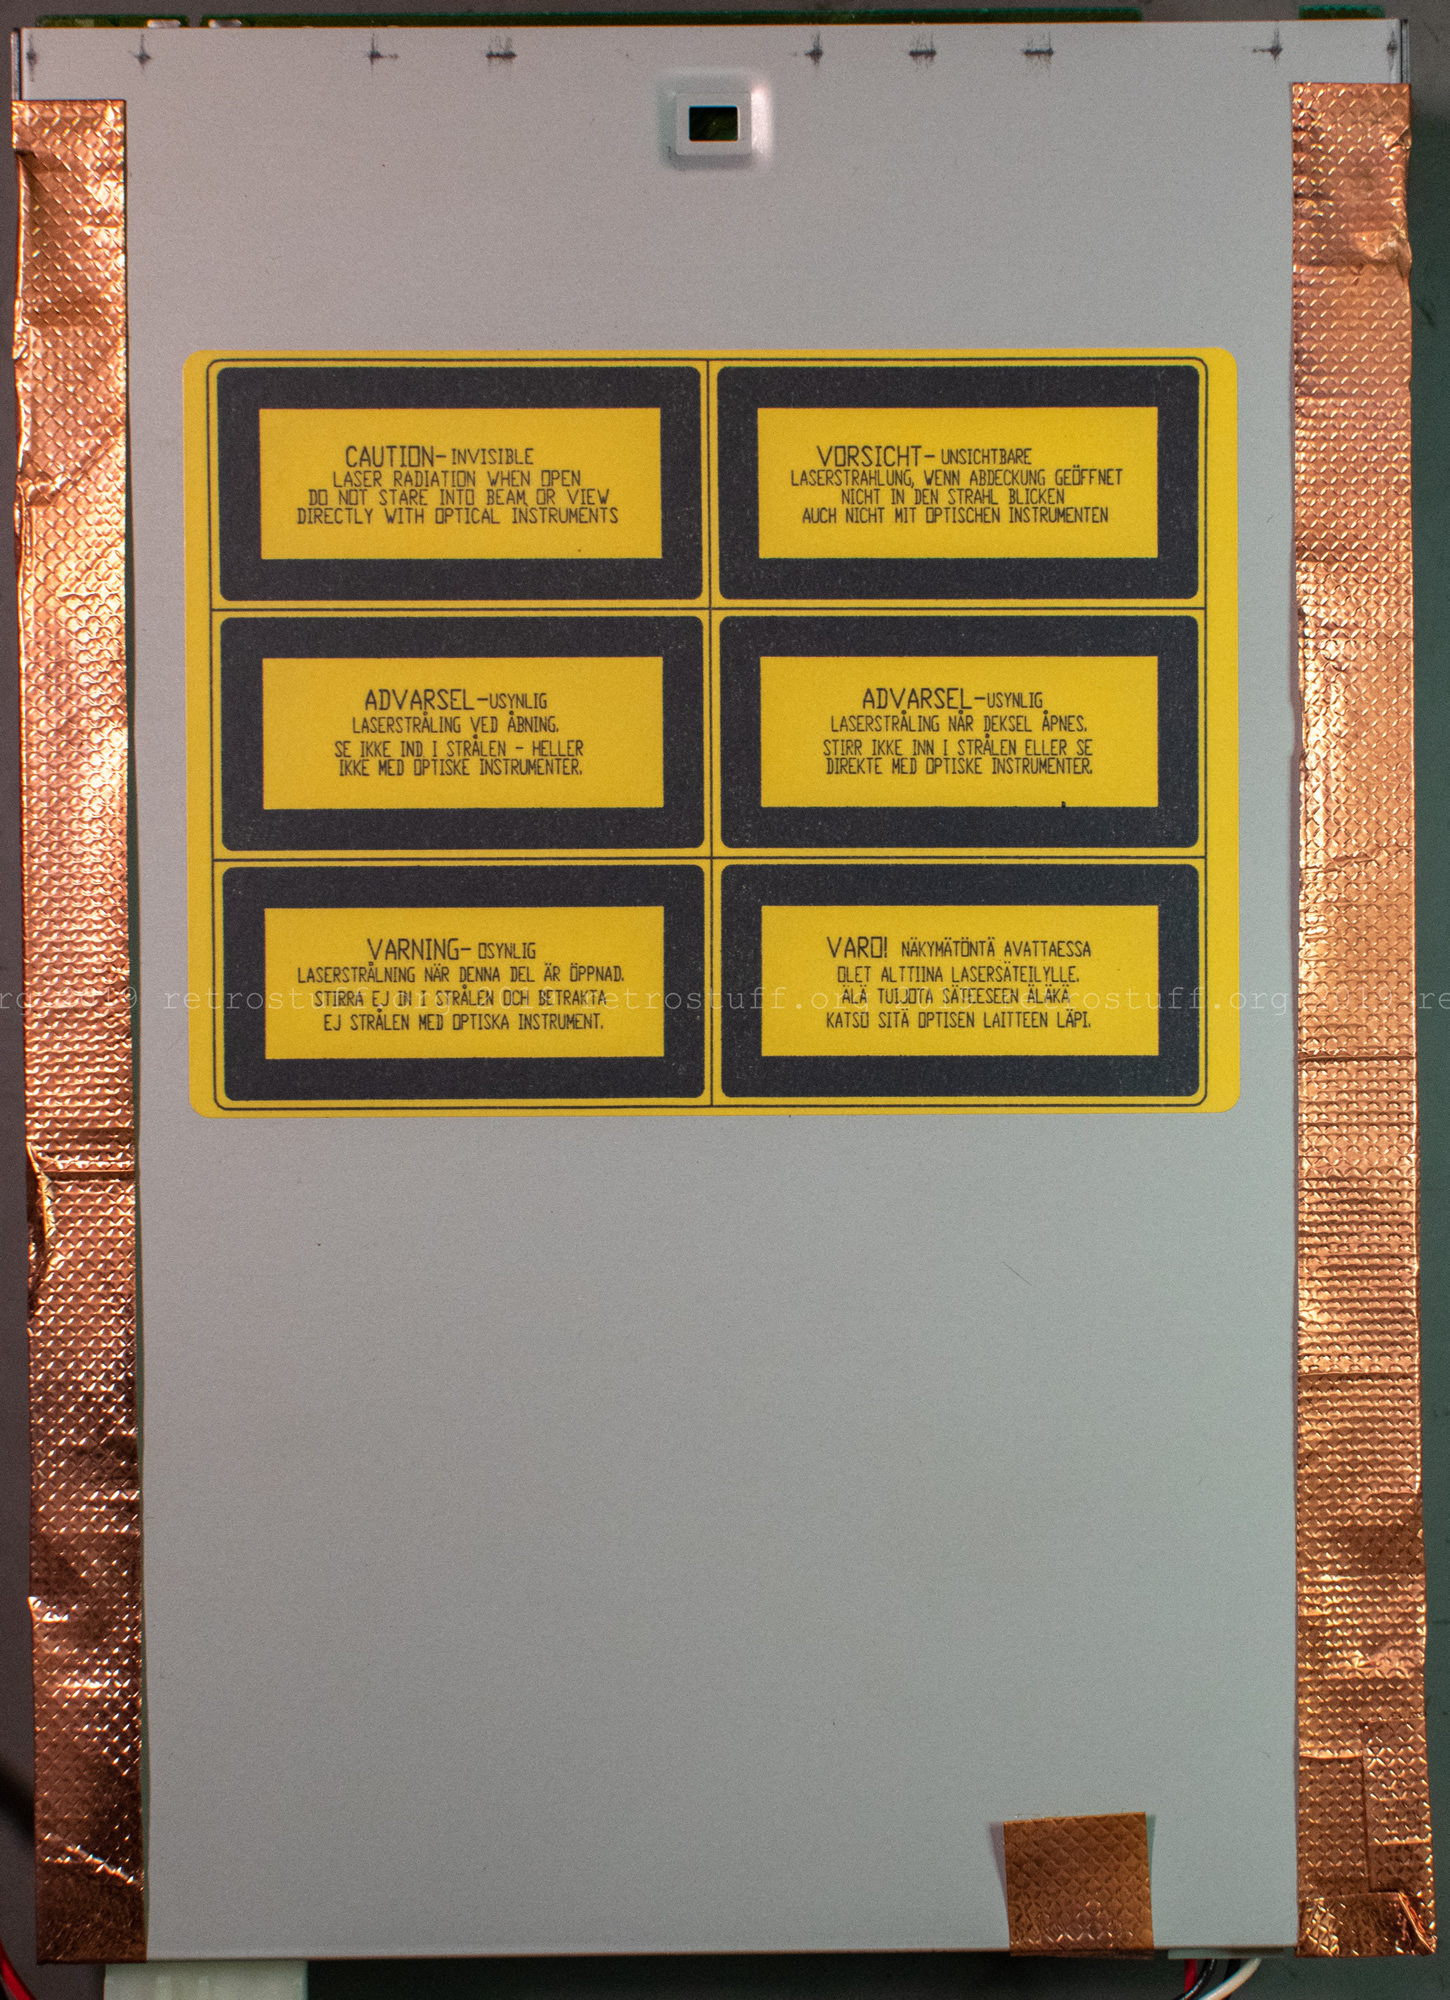
The top metal cage contains the CD-ROM drive and plenty of copper foil tape.
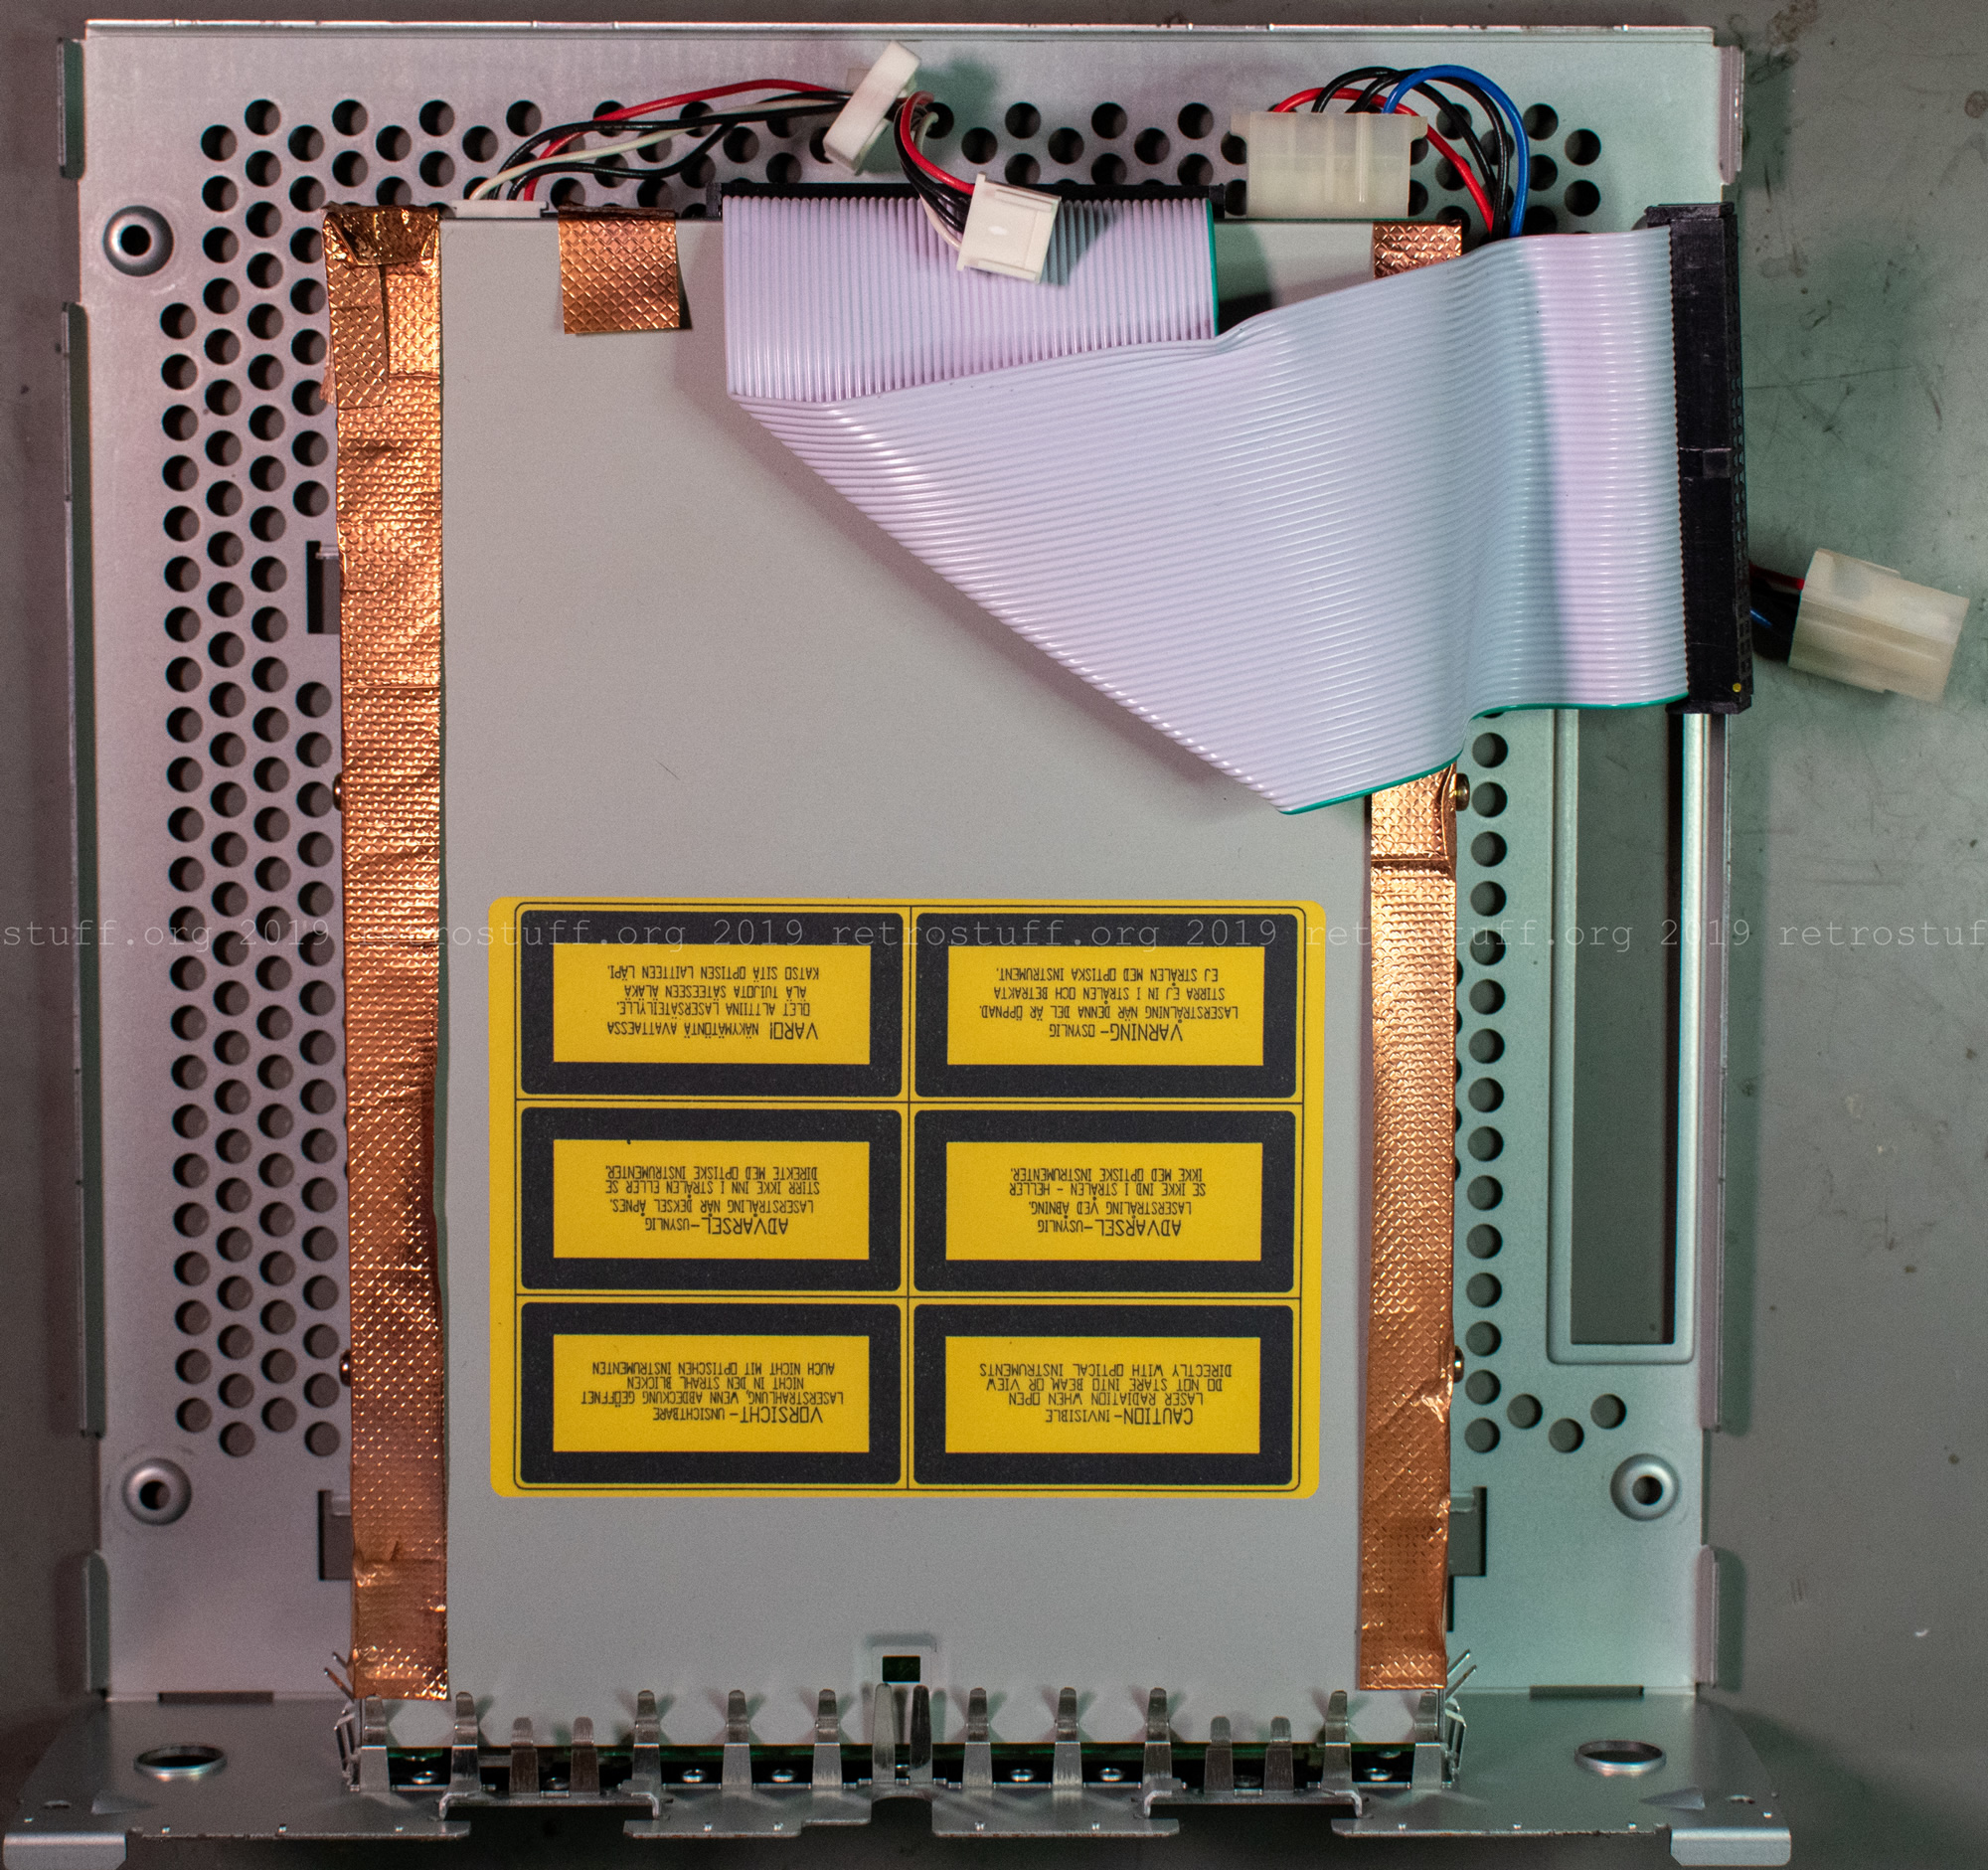
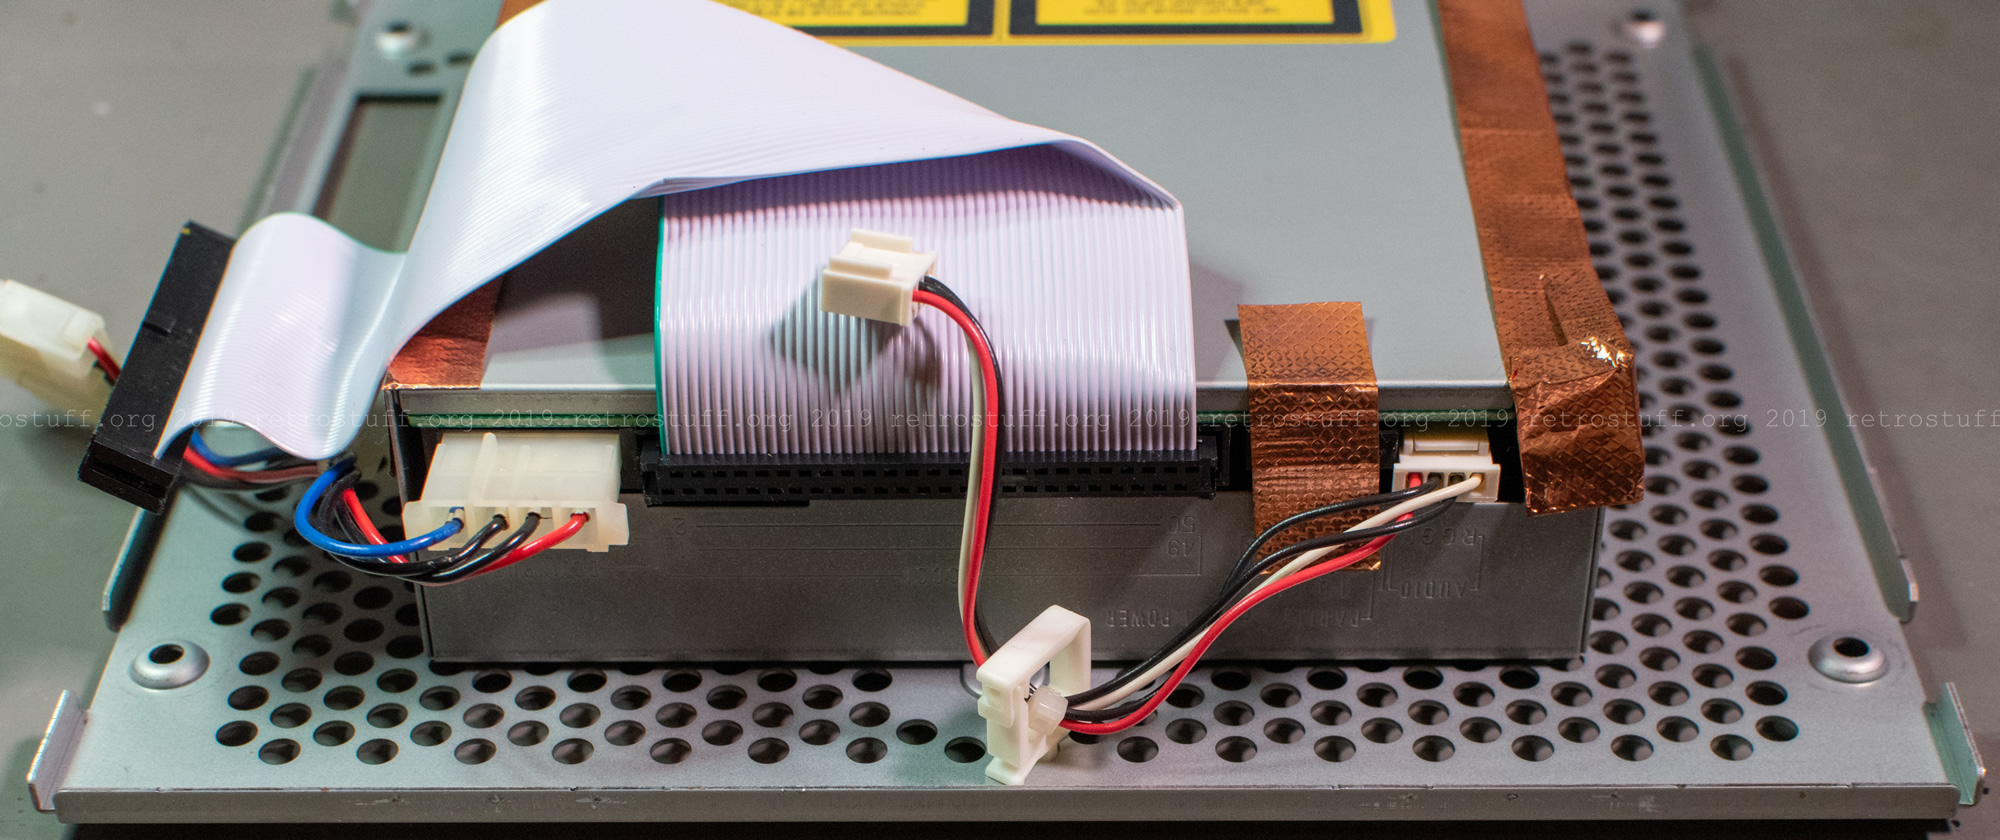
The Matsushita CR-504-L 4x SCSI CD-ROM drive.
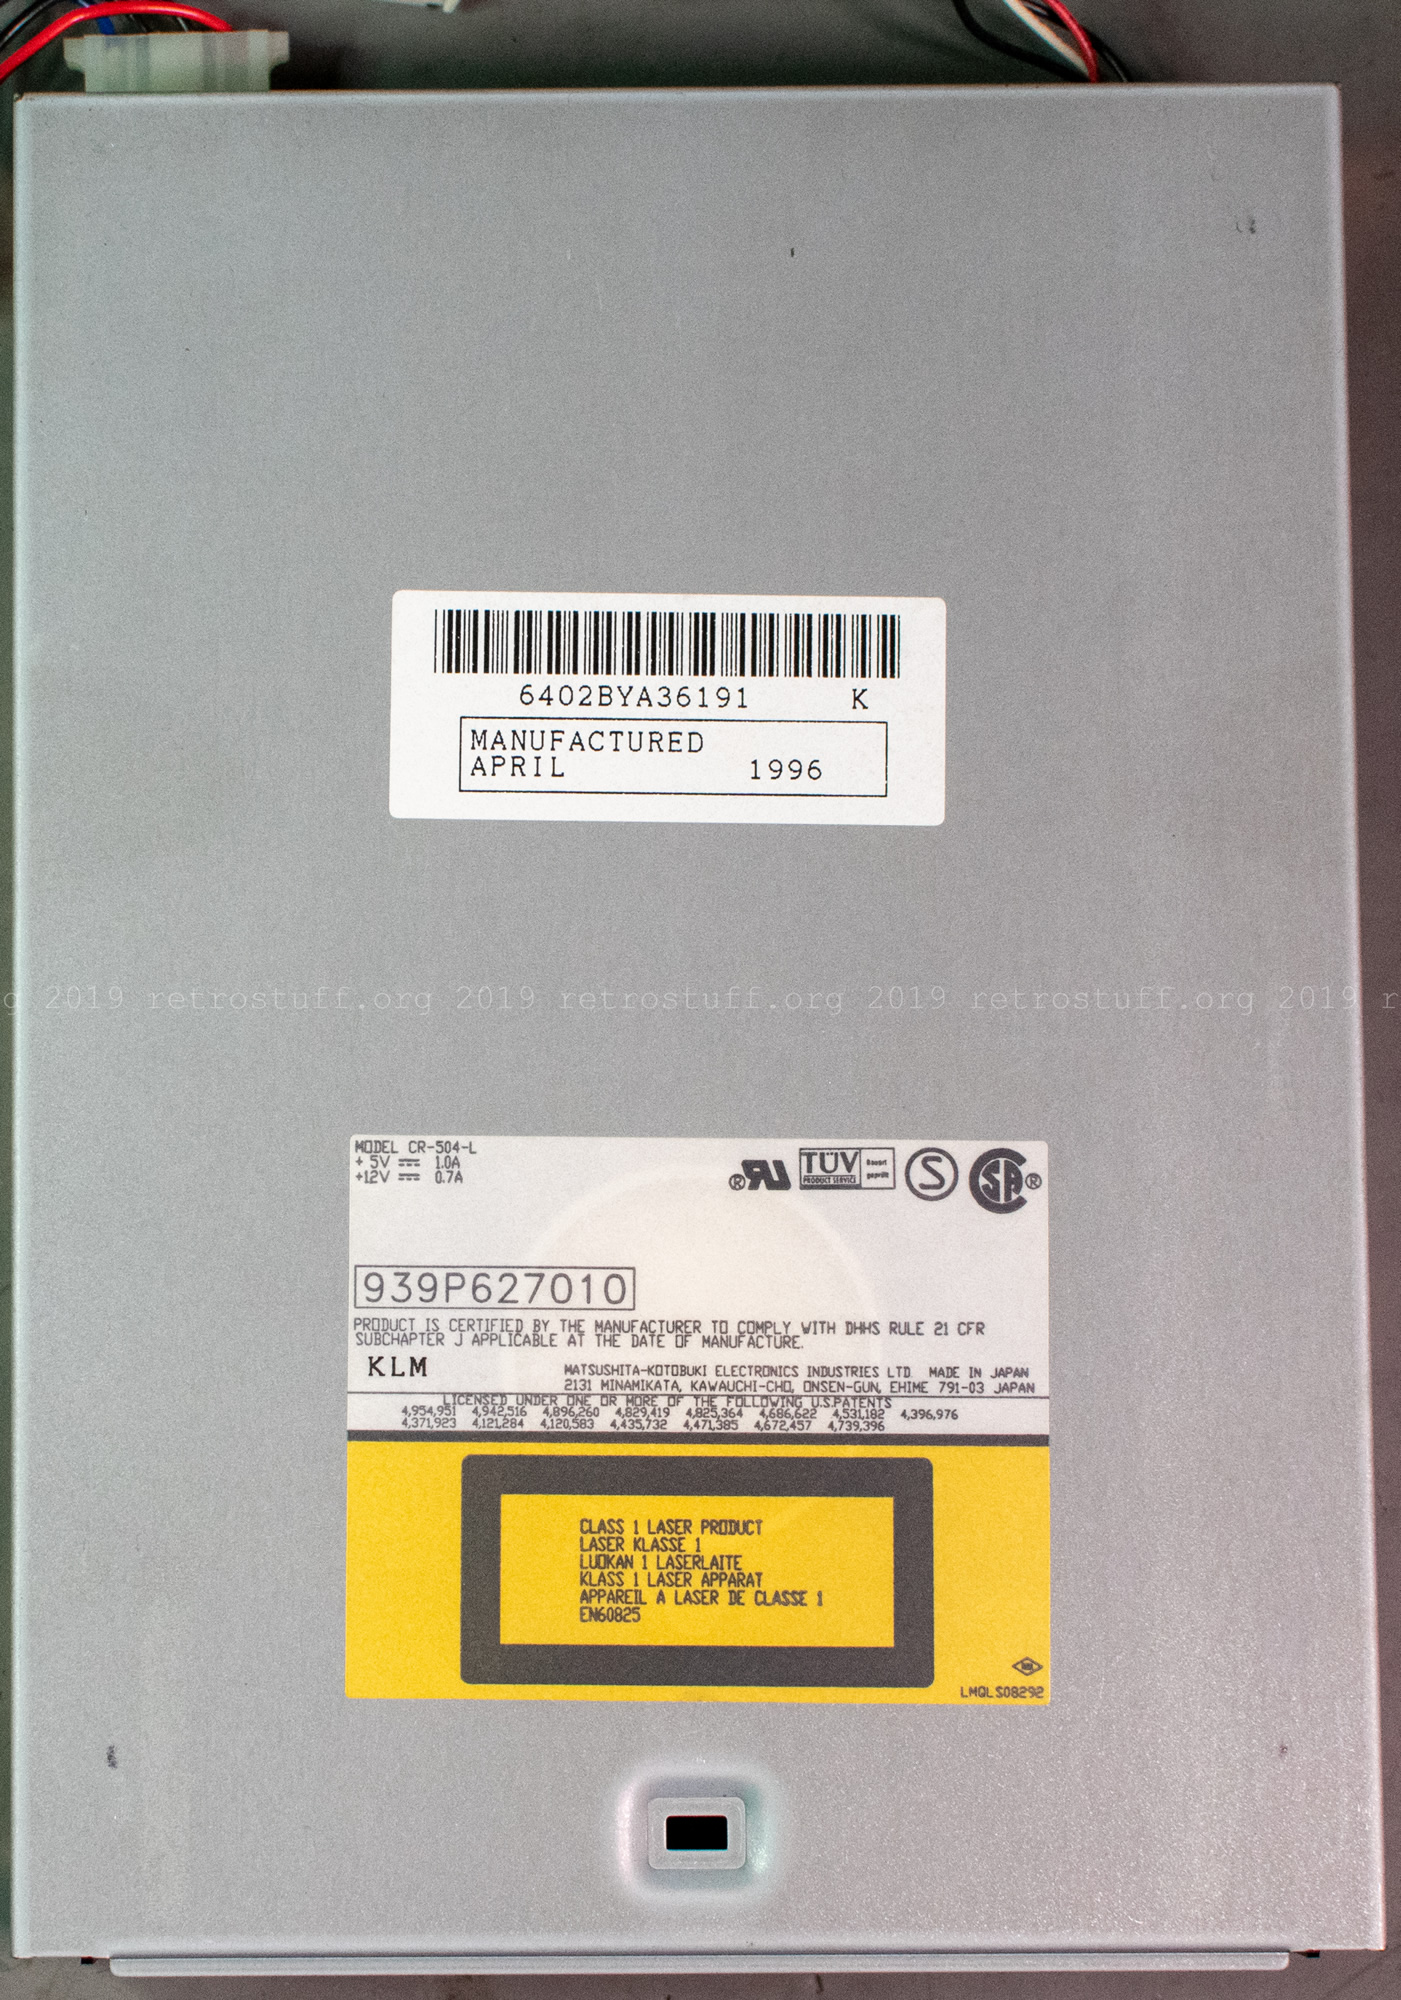
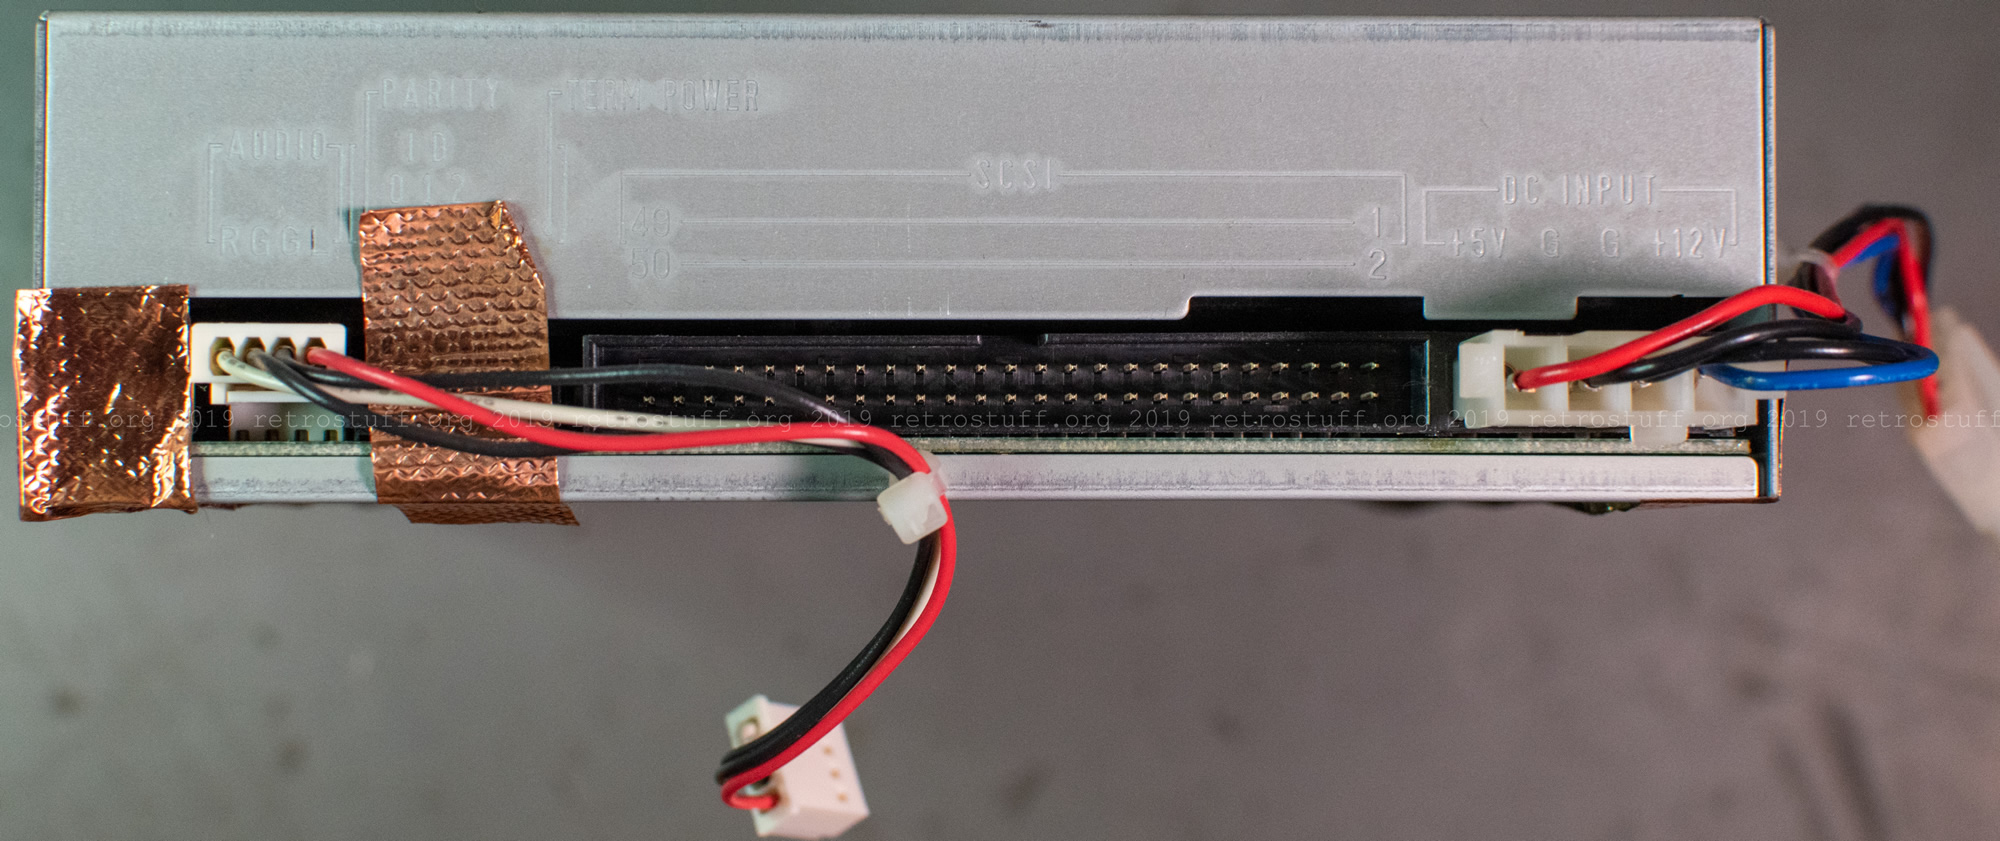
Update: More information about the CD-ROM drive can be found here.
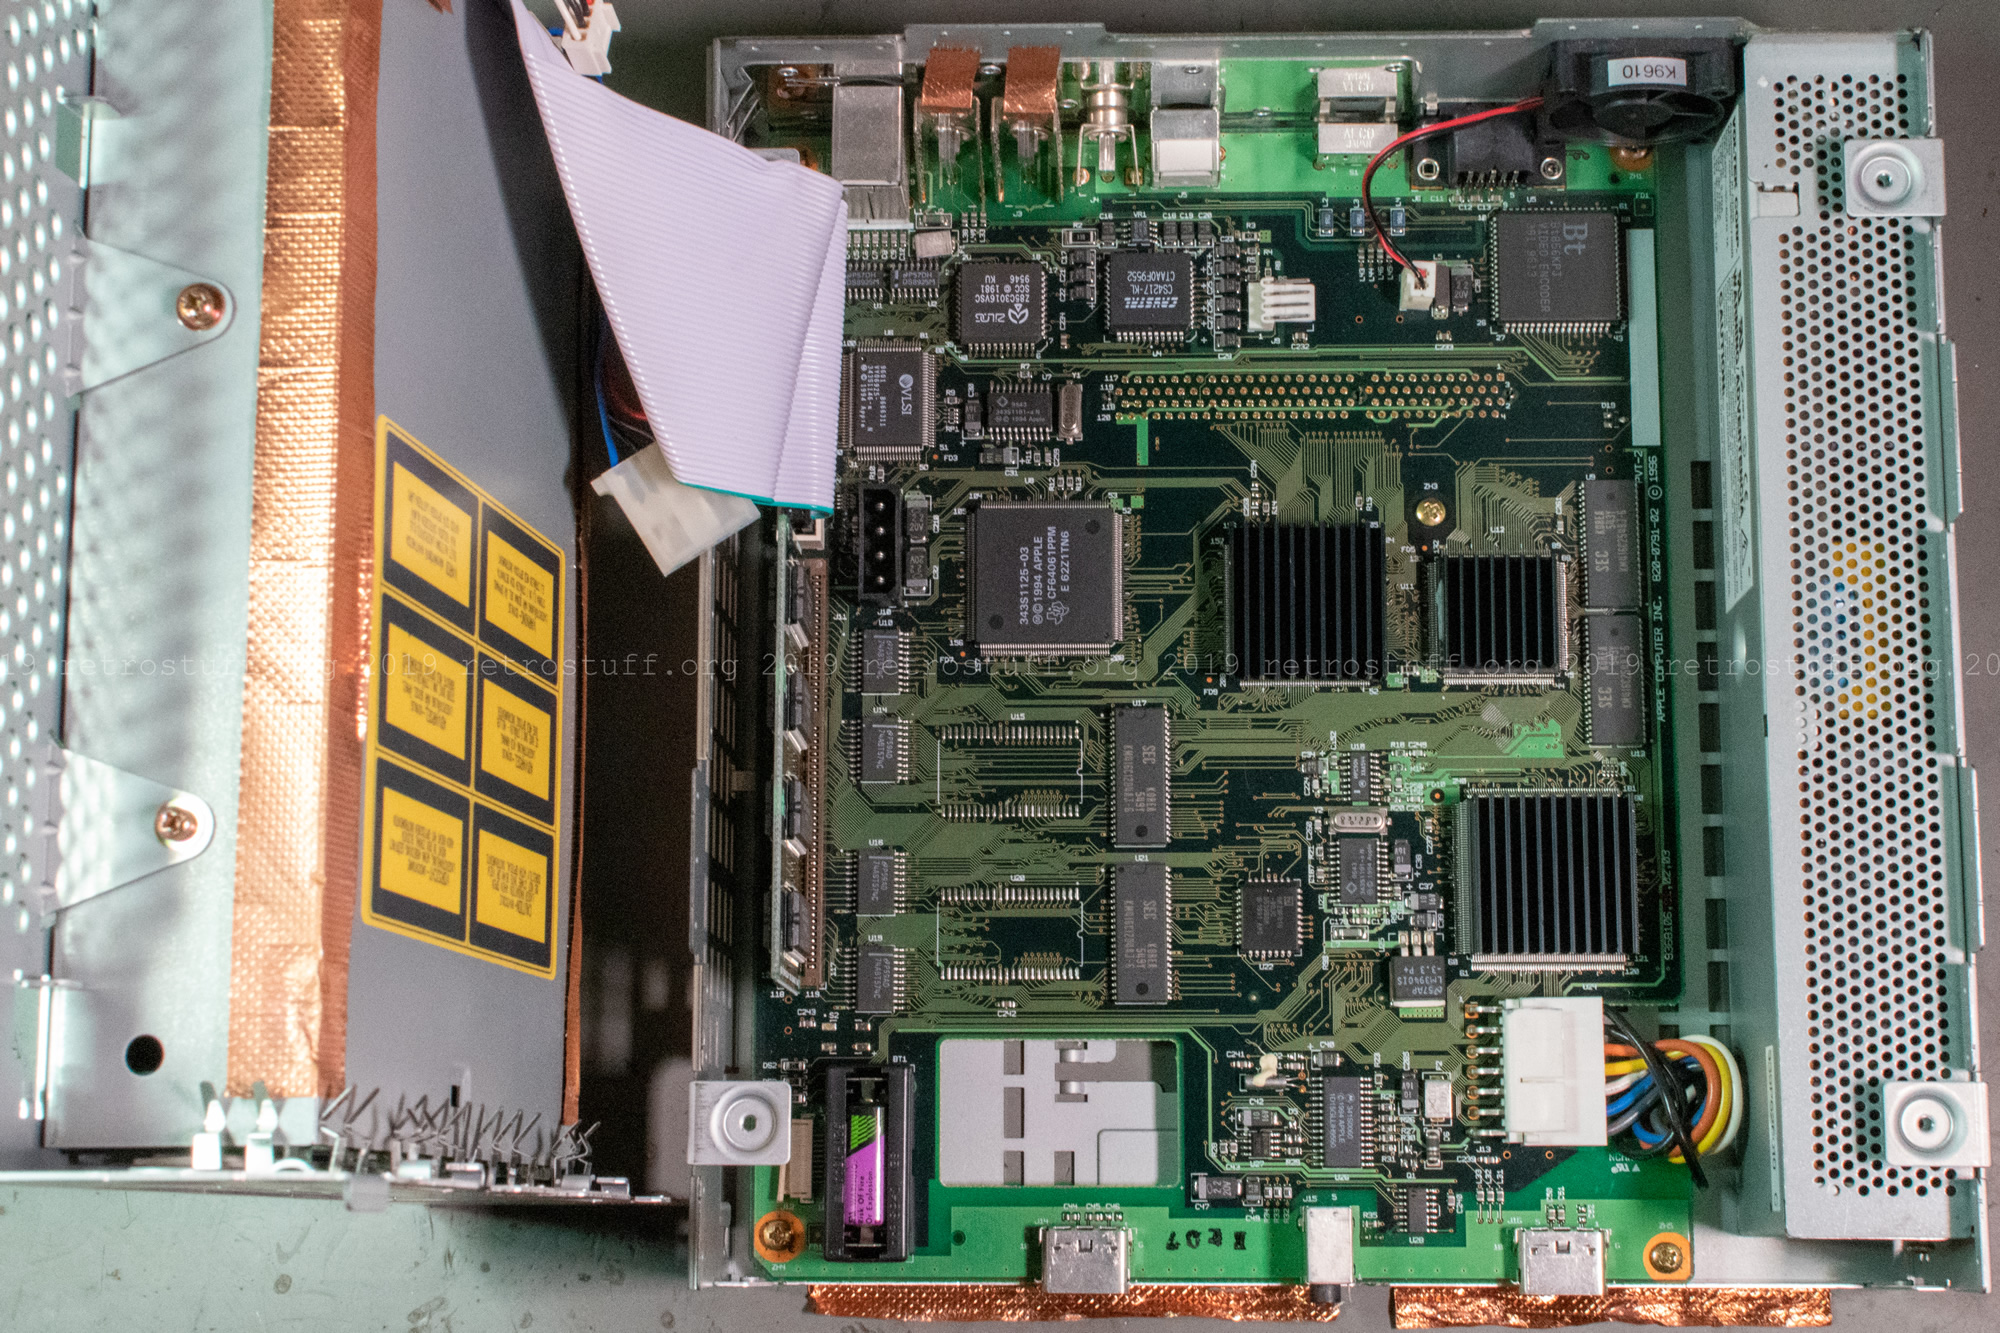
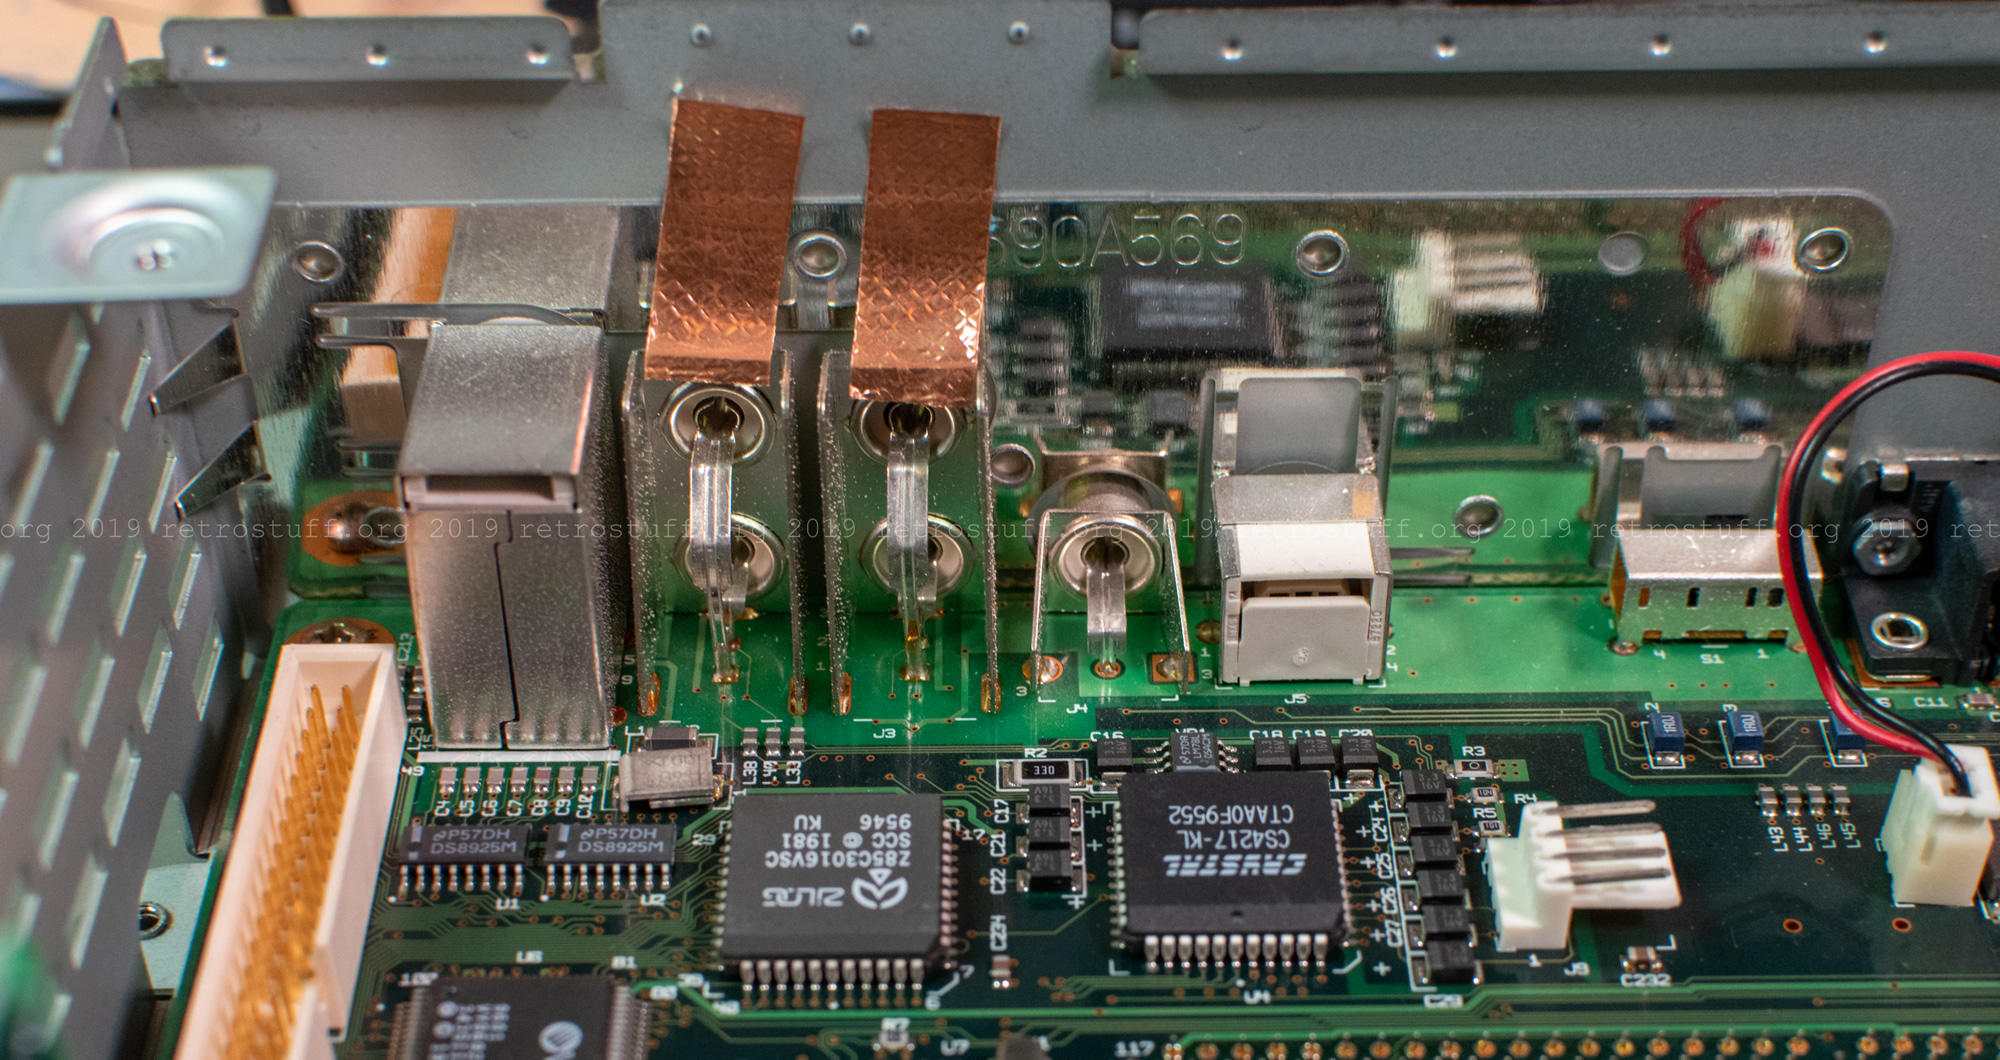
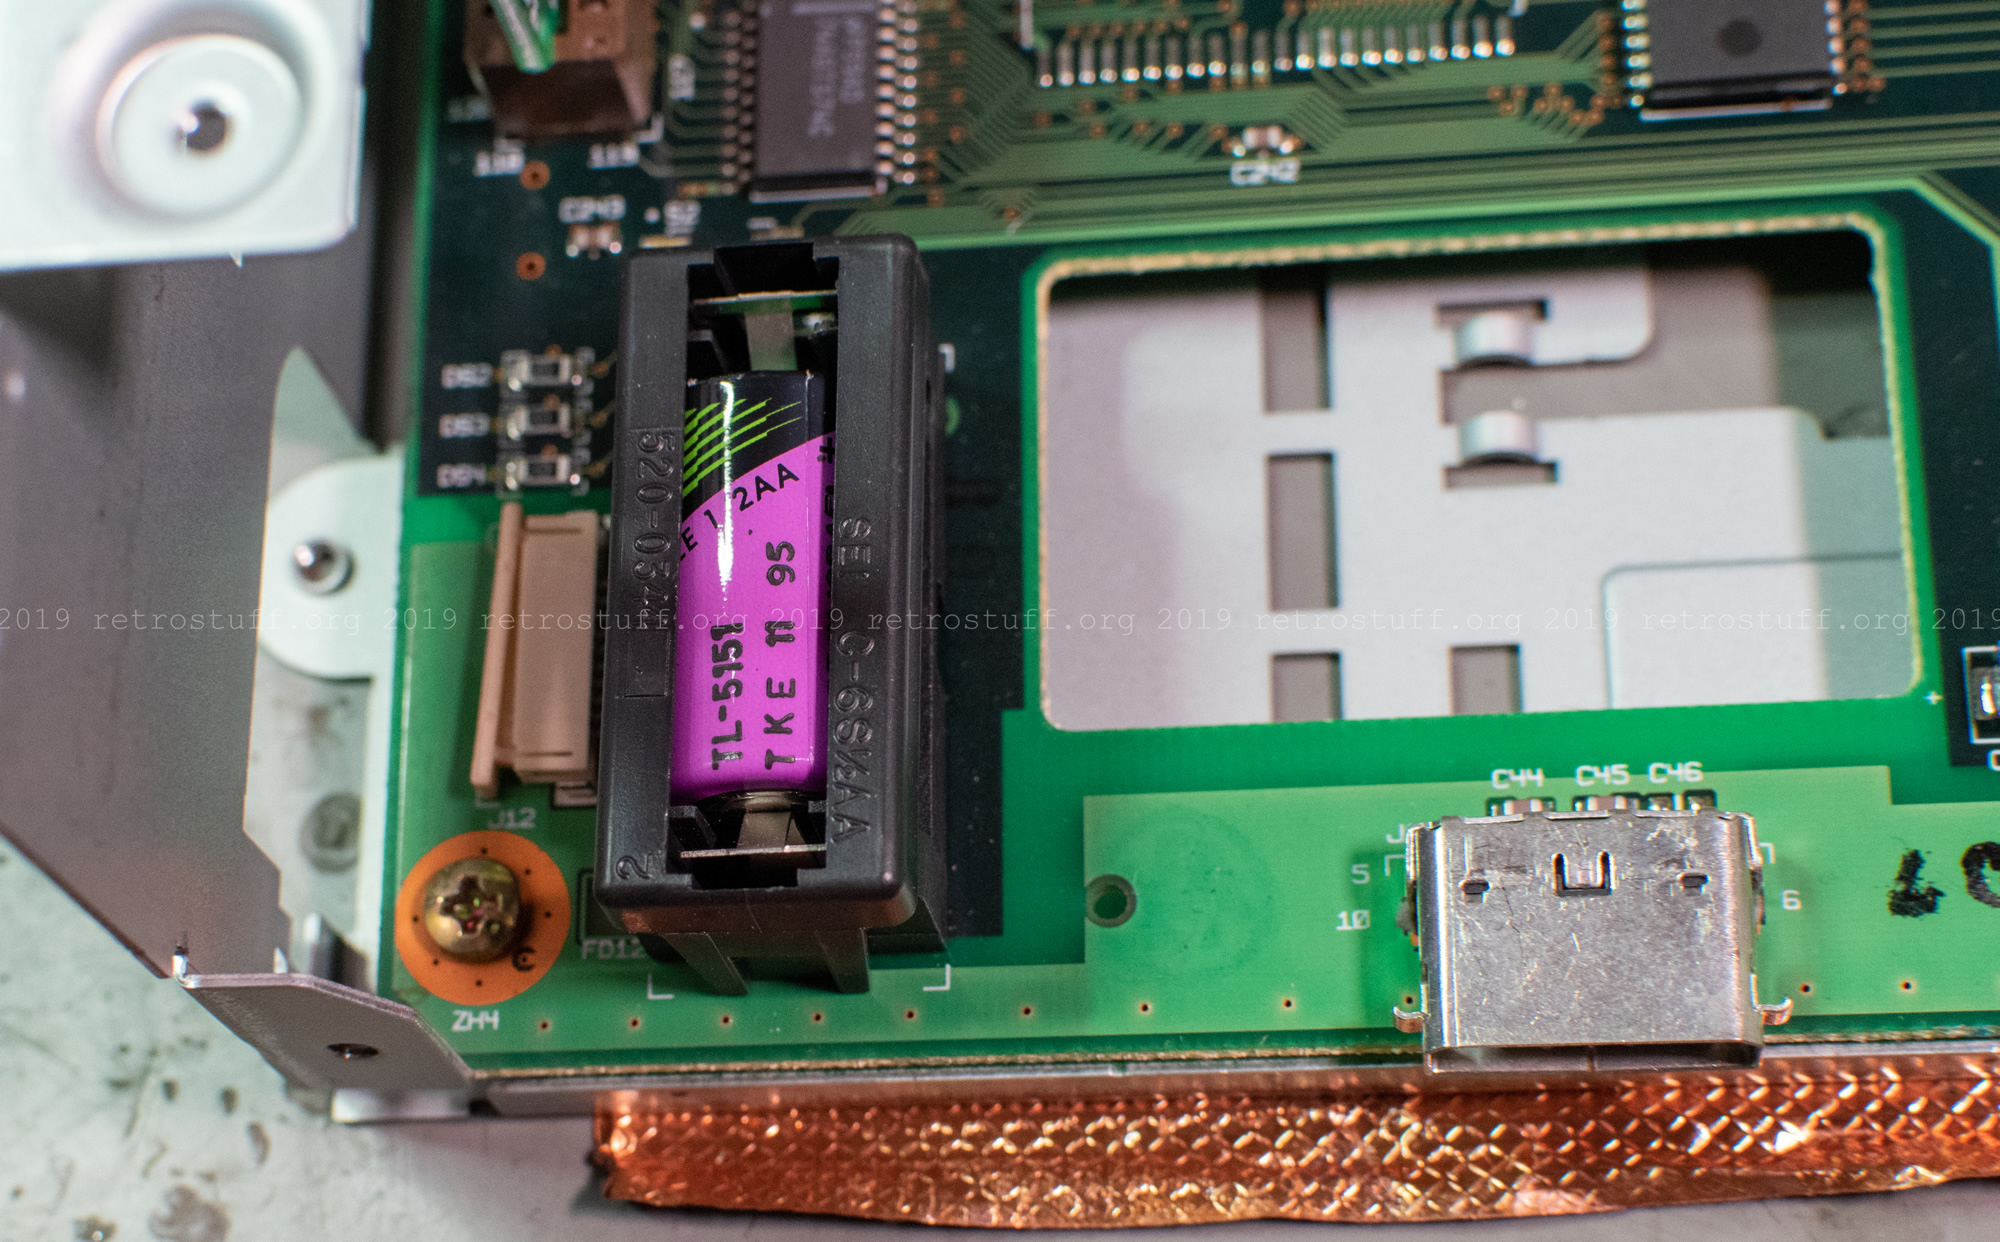
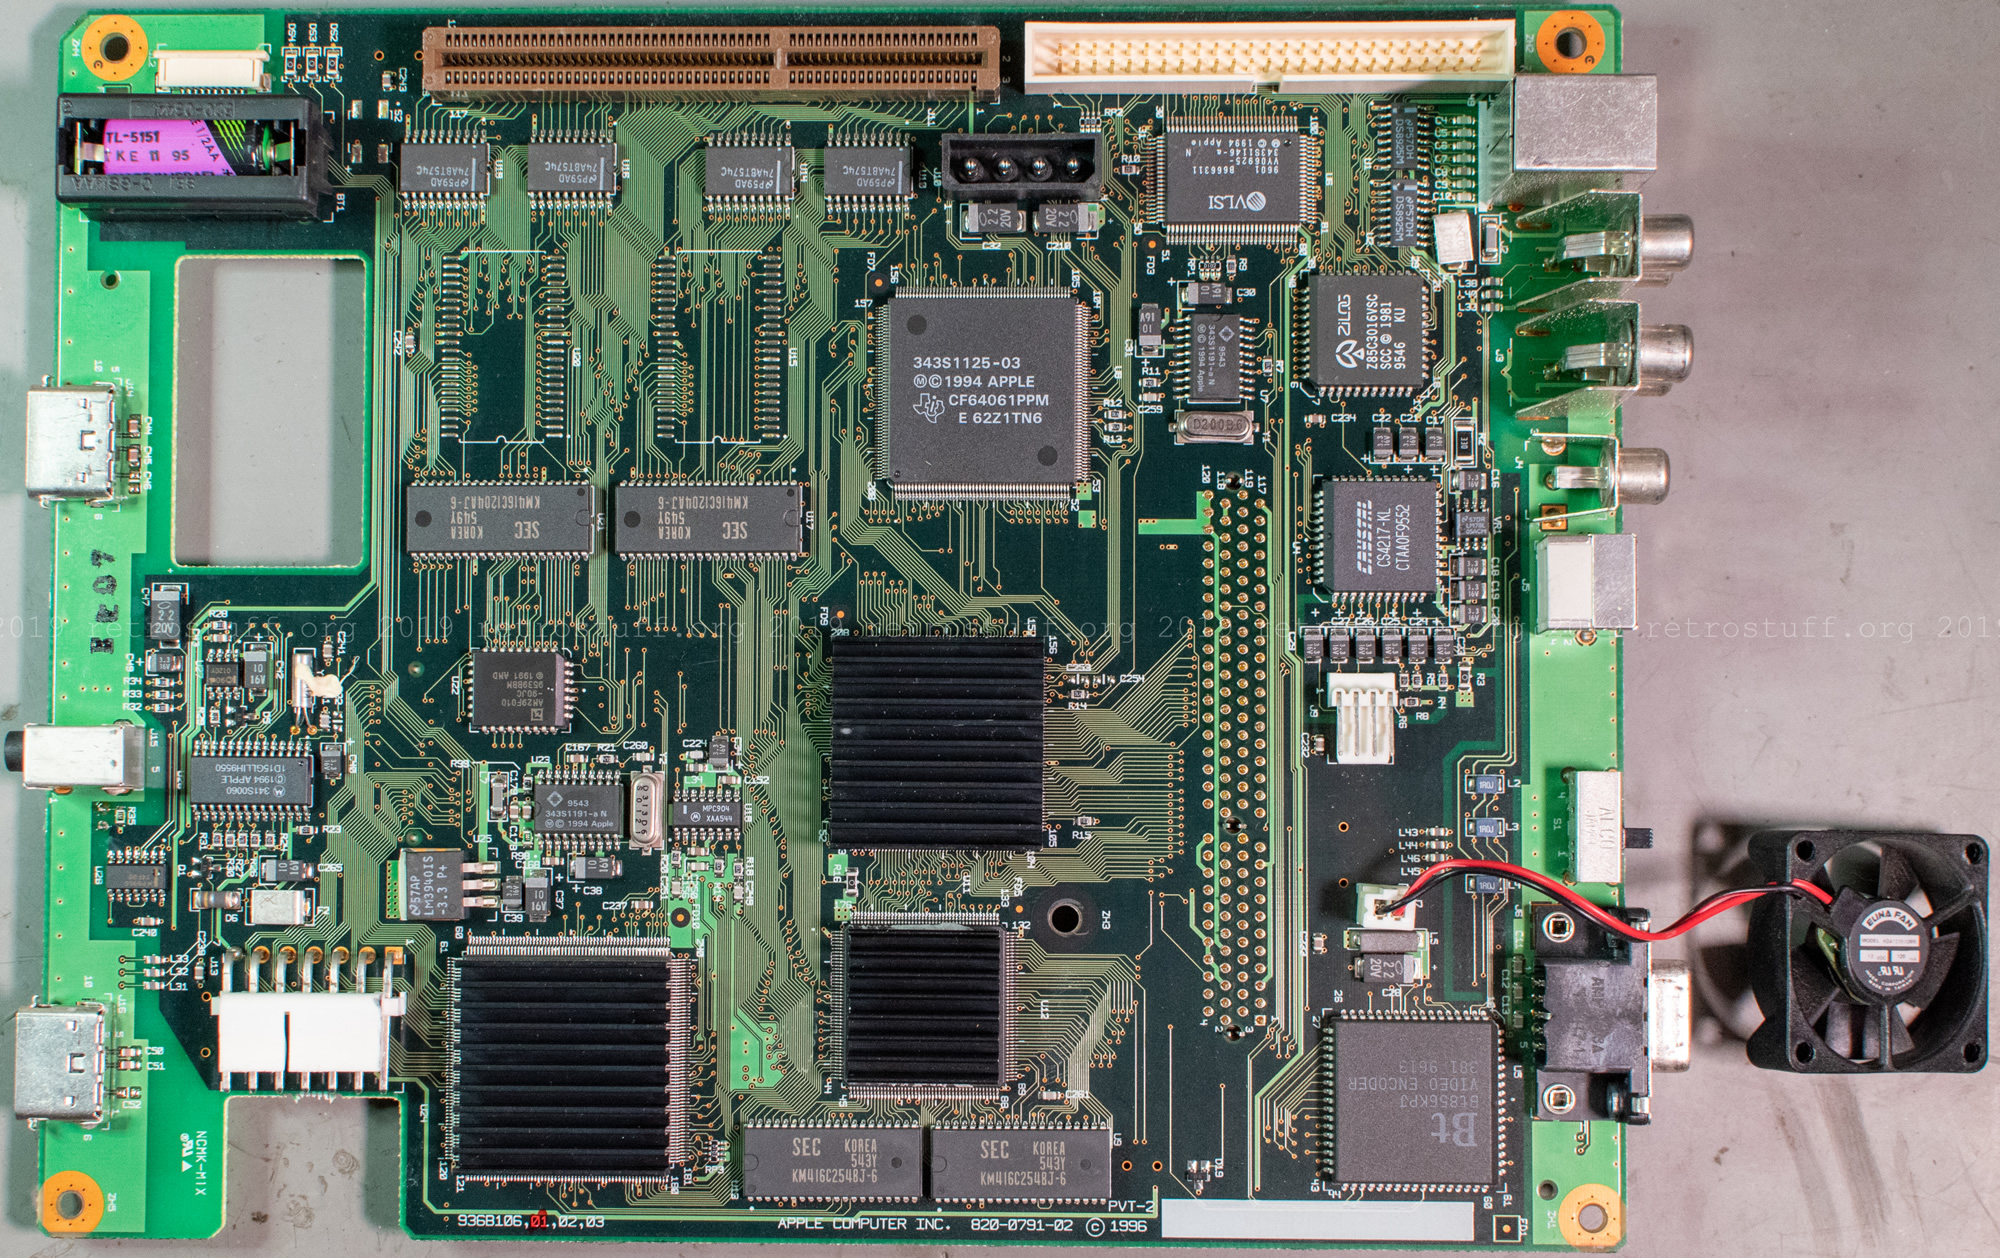
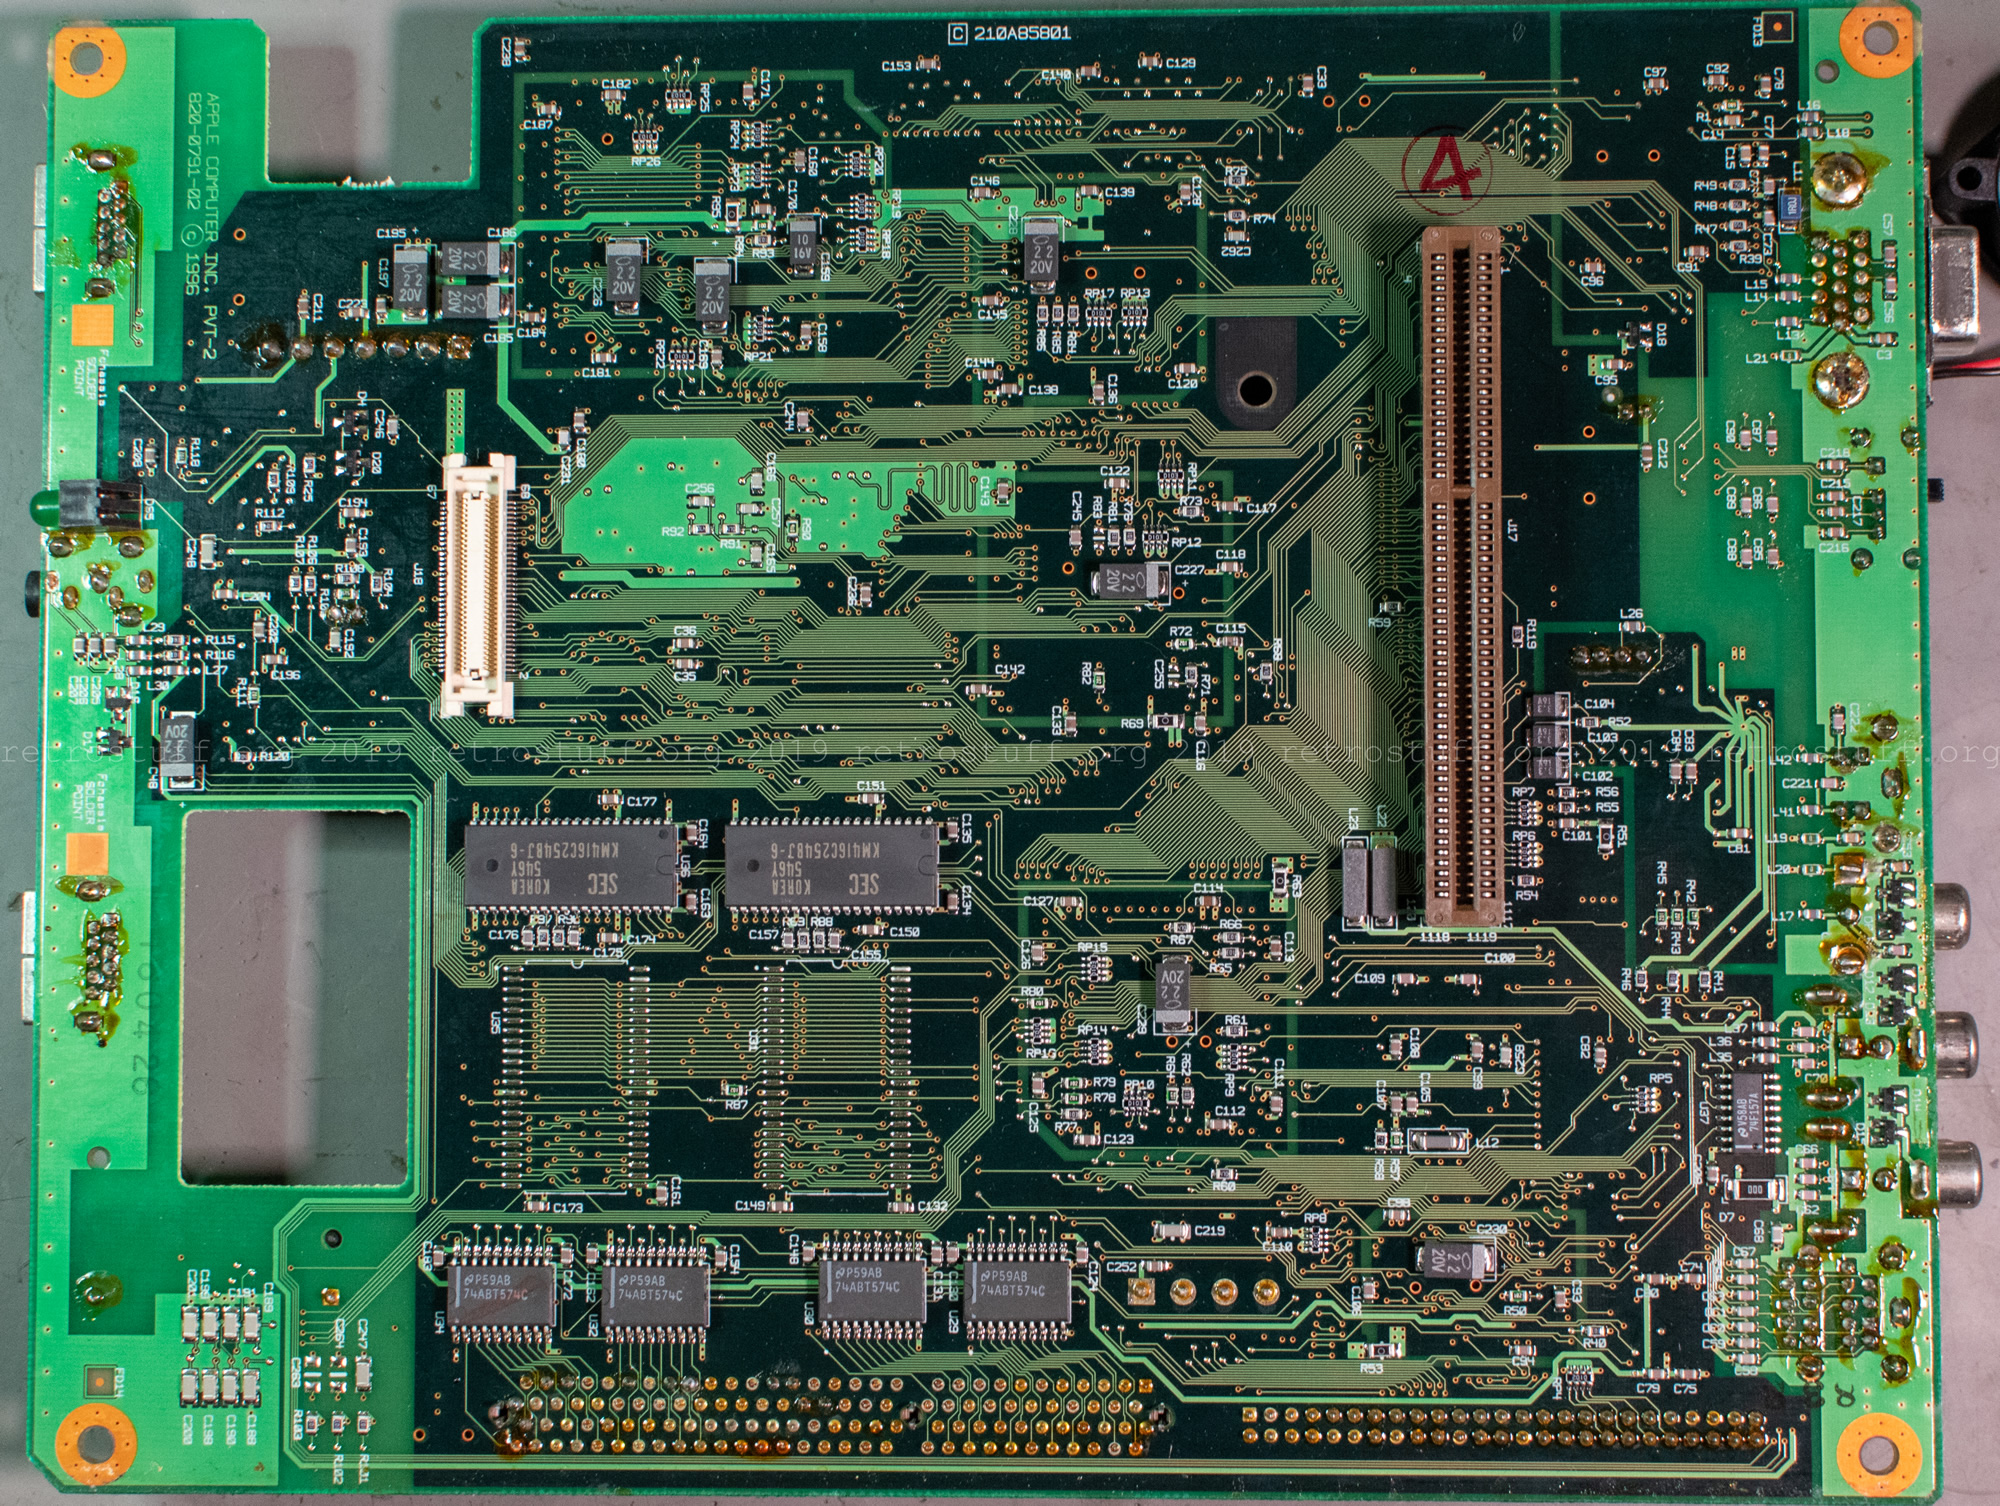
Finally access to the mainboard: on the back are the last two pieces of copper foil tape and on the front left the FFC connector and a 24-year-old 14250 (1/2 AA) lithium cell battery. It still holds some charge, but I’ll better replace it soon.
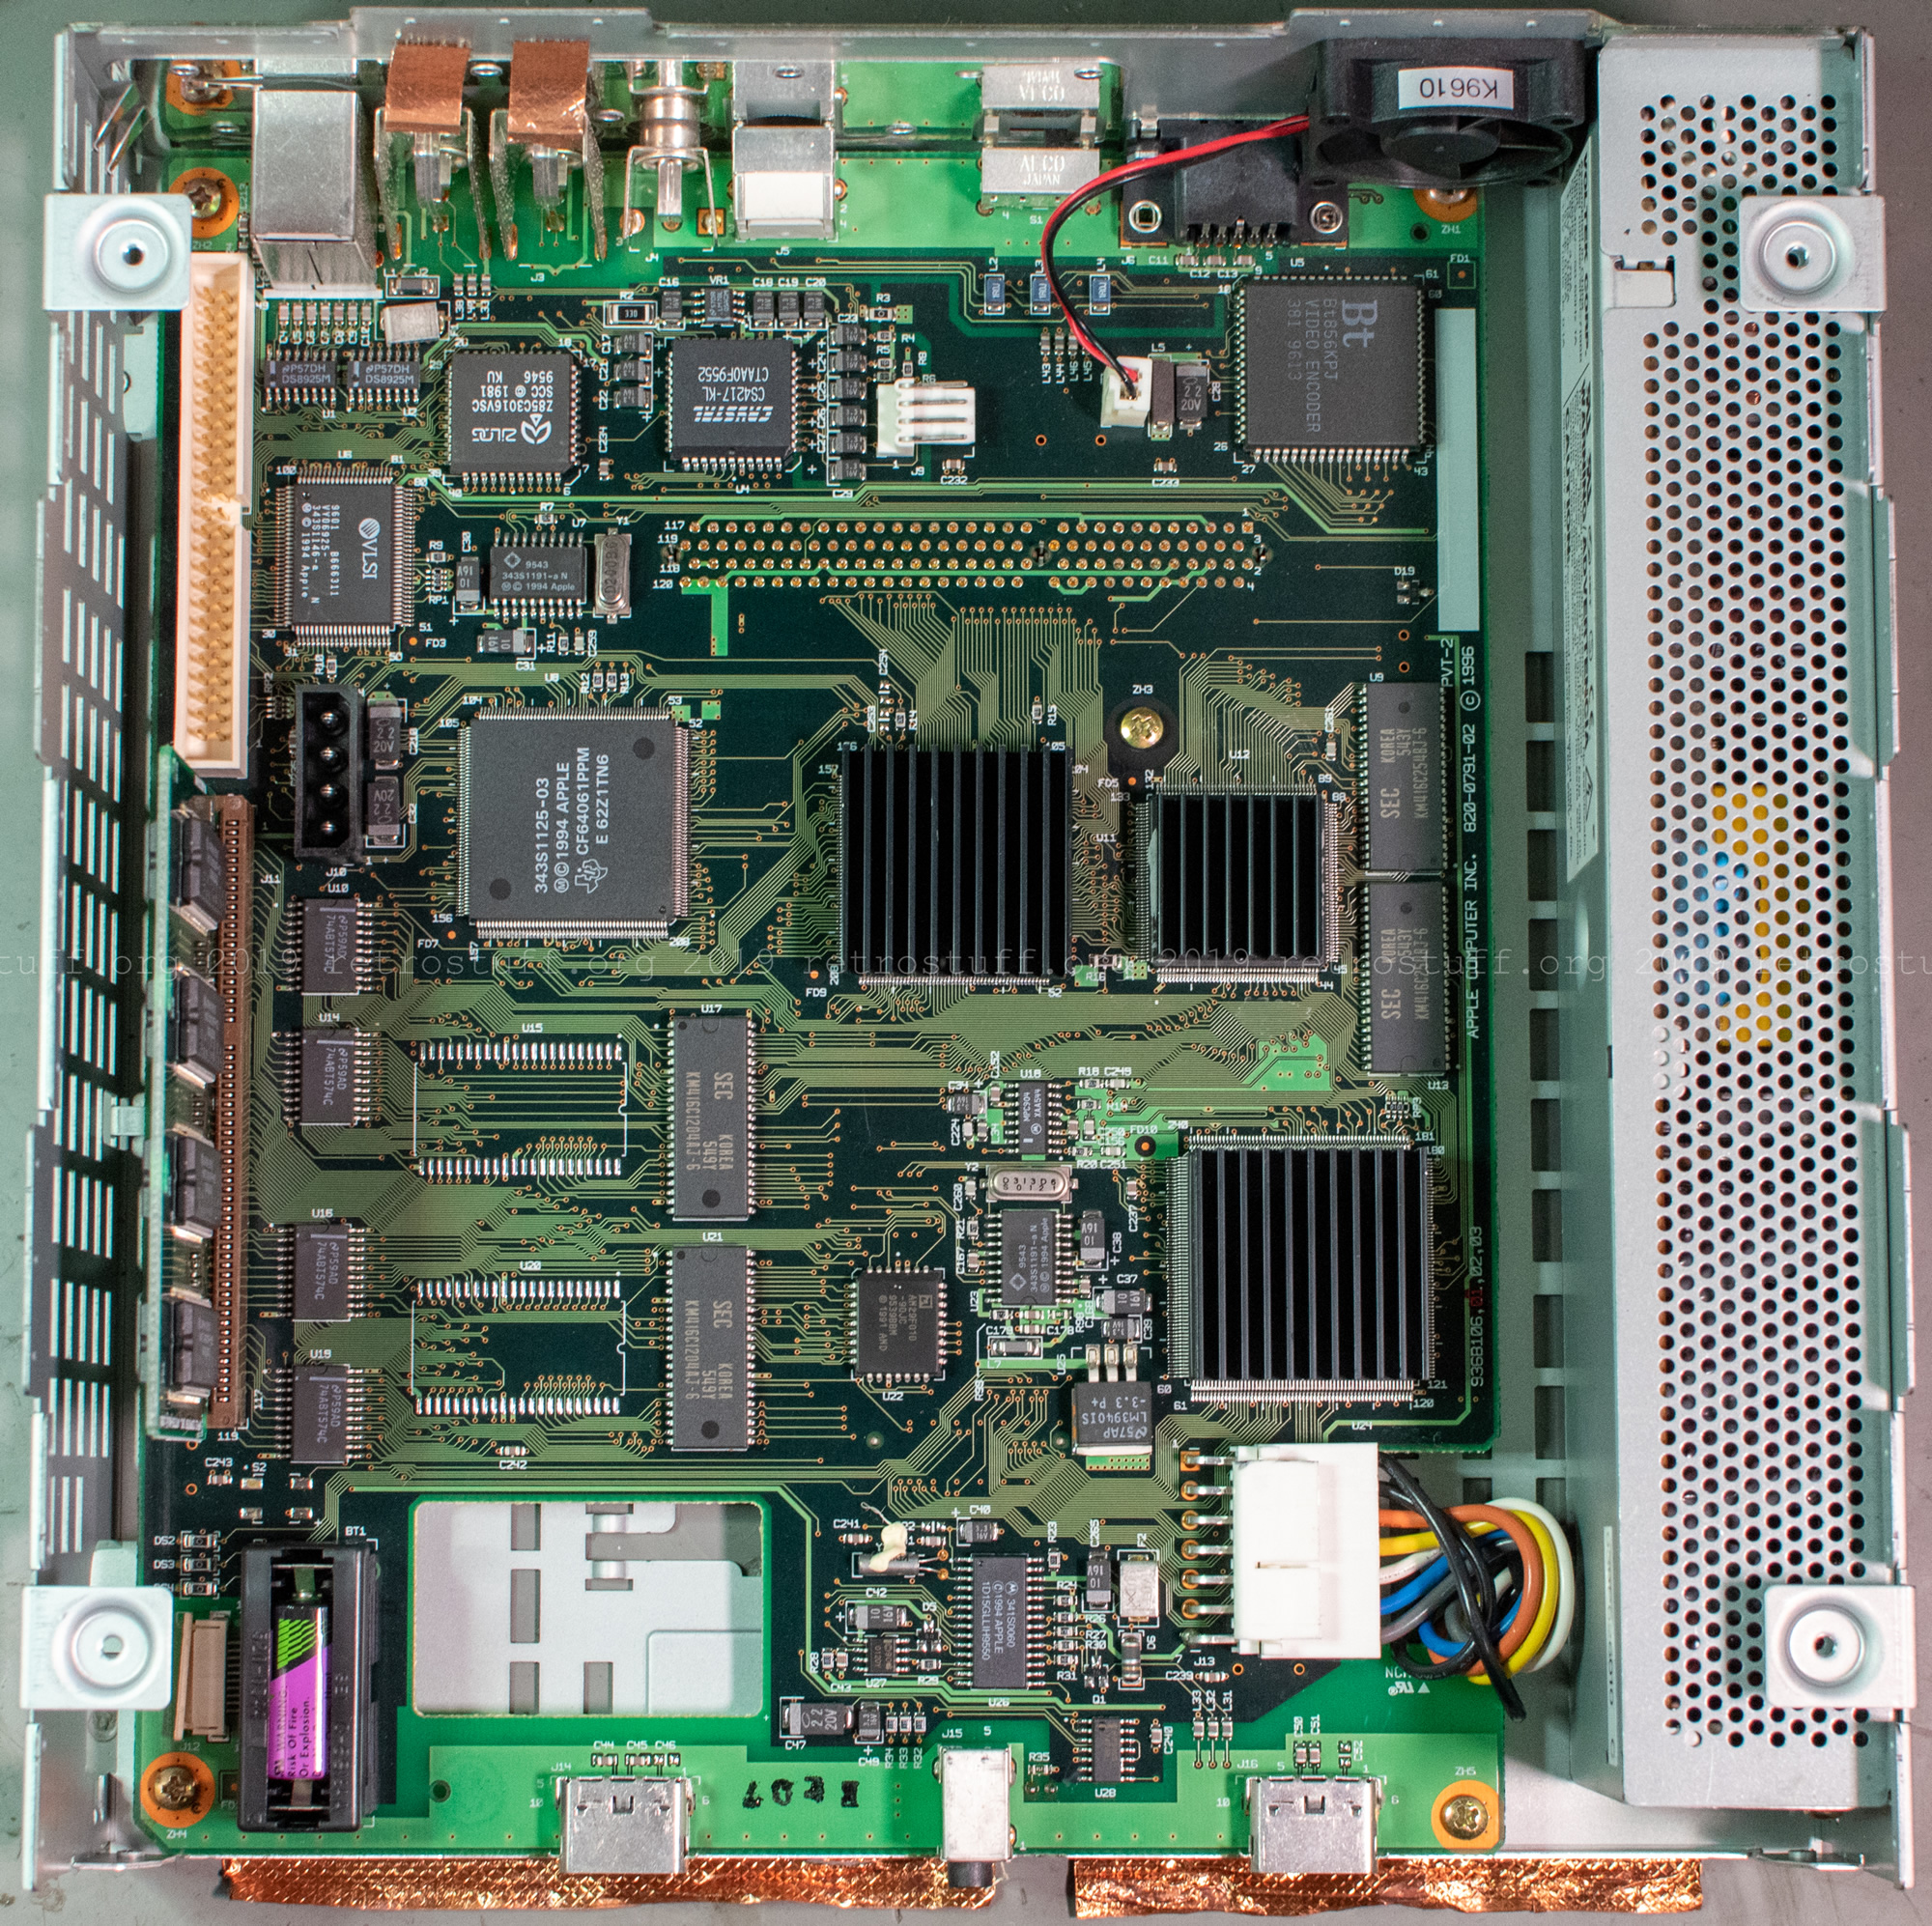
To remove the mainboard, unscrew five screws. You’ll have to remove the fan as well because one of the mainboard screws is underneath it .
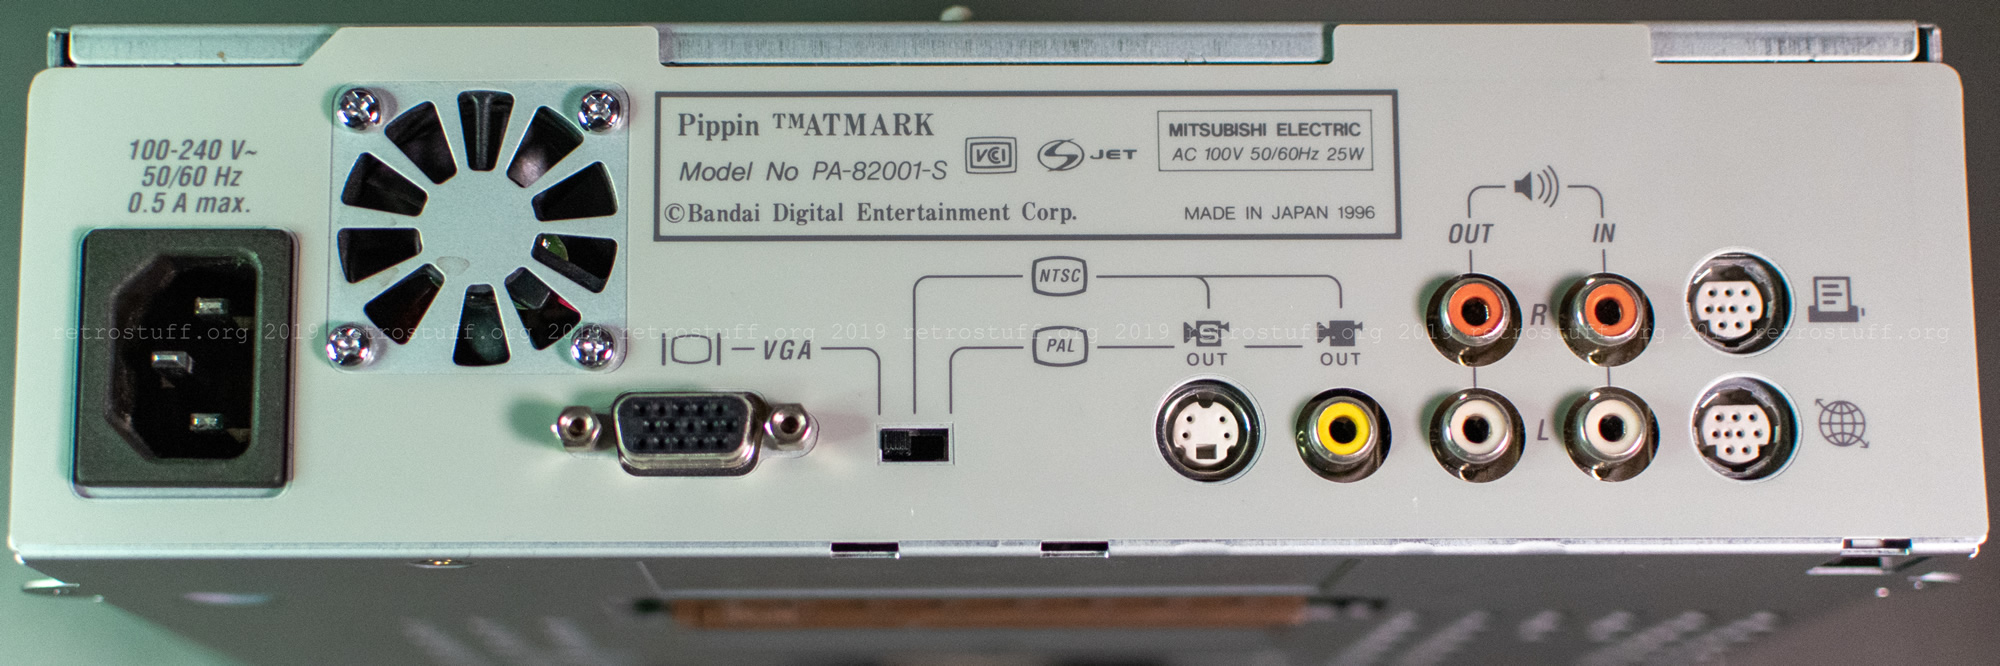
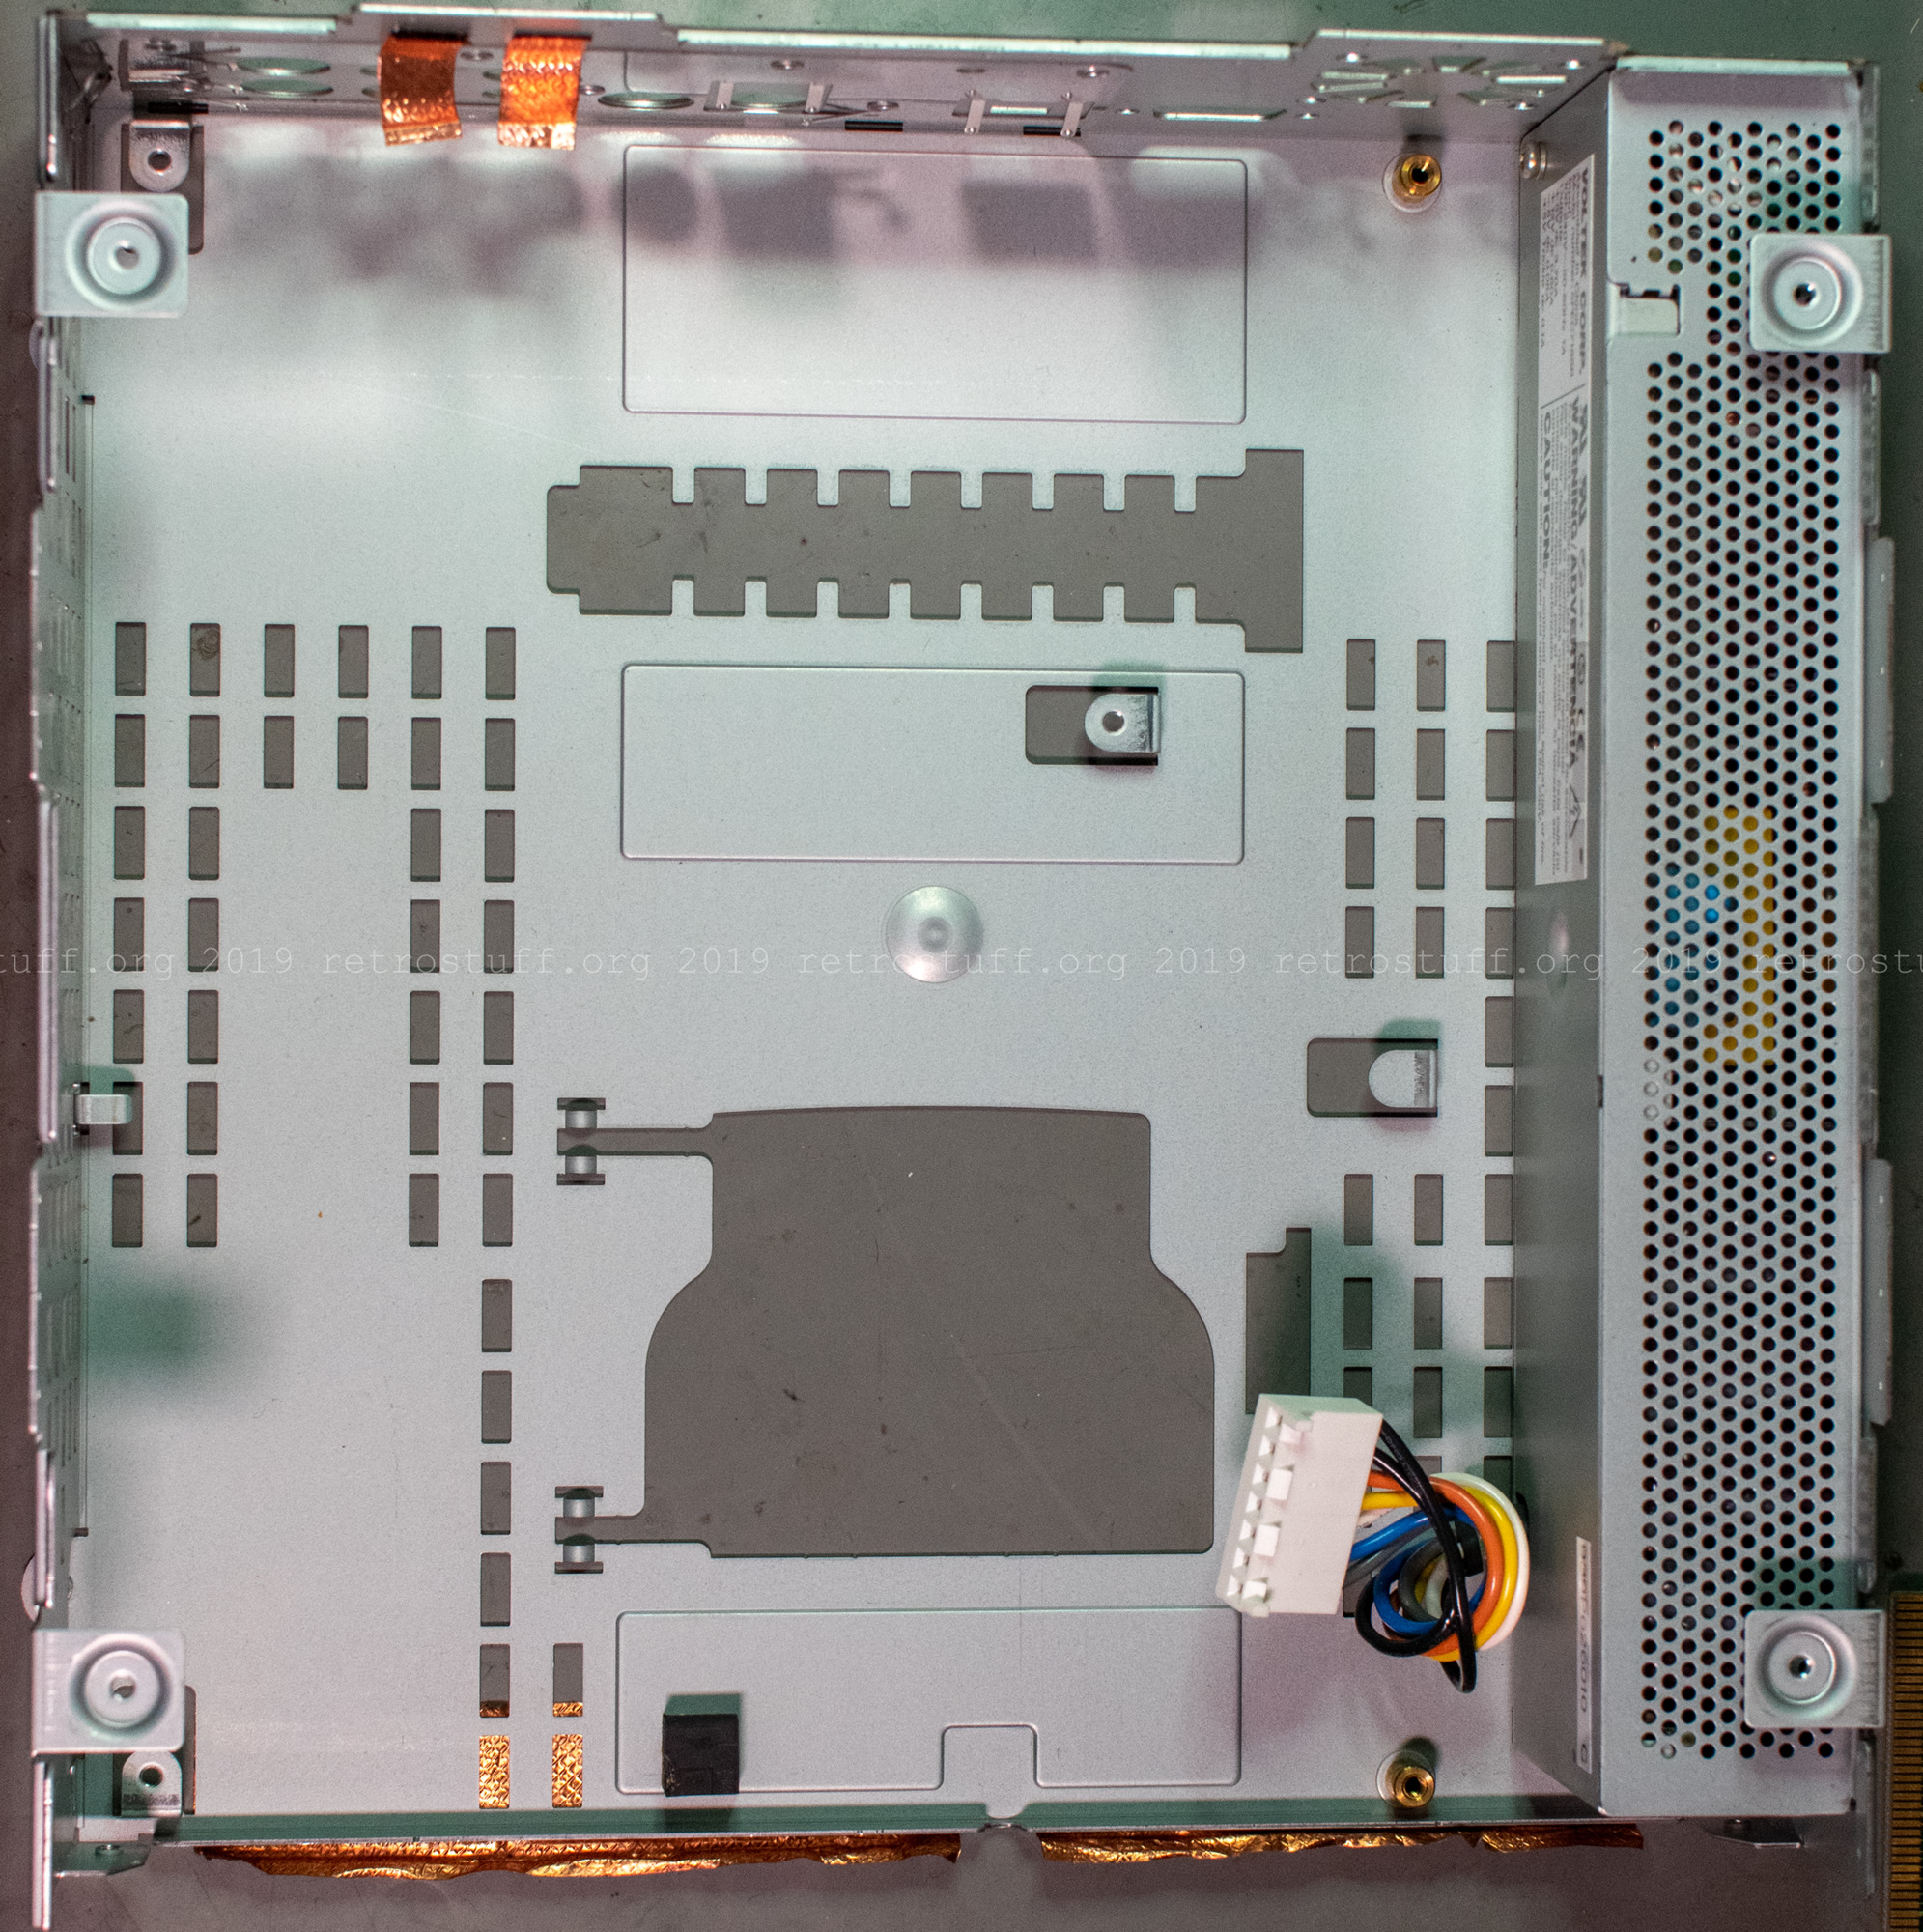
What’s left is the metal cage and the VOLTEK SPEC7188B switching power supply.
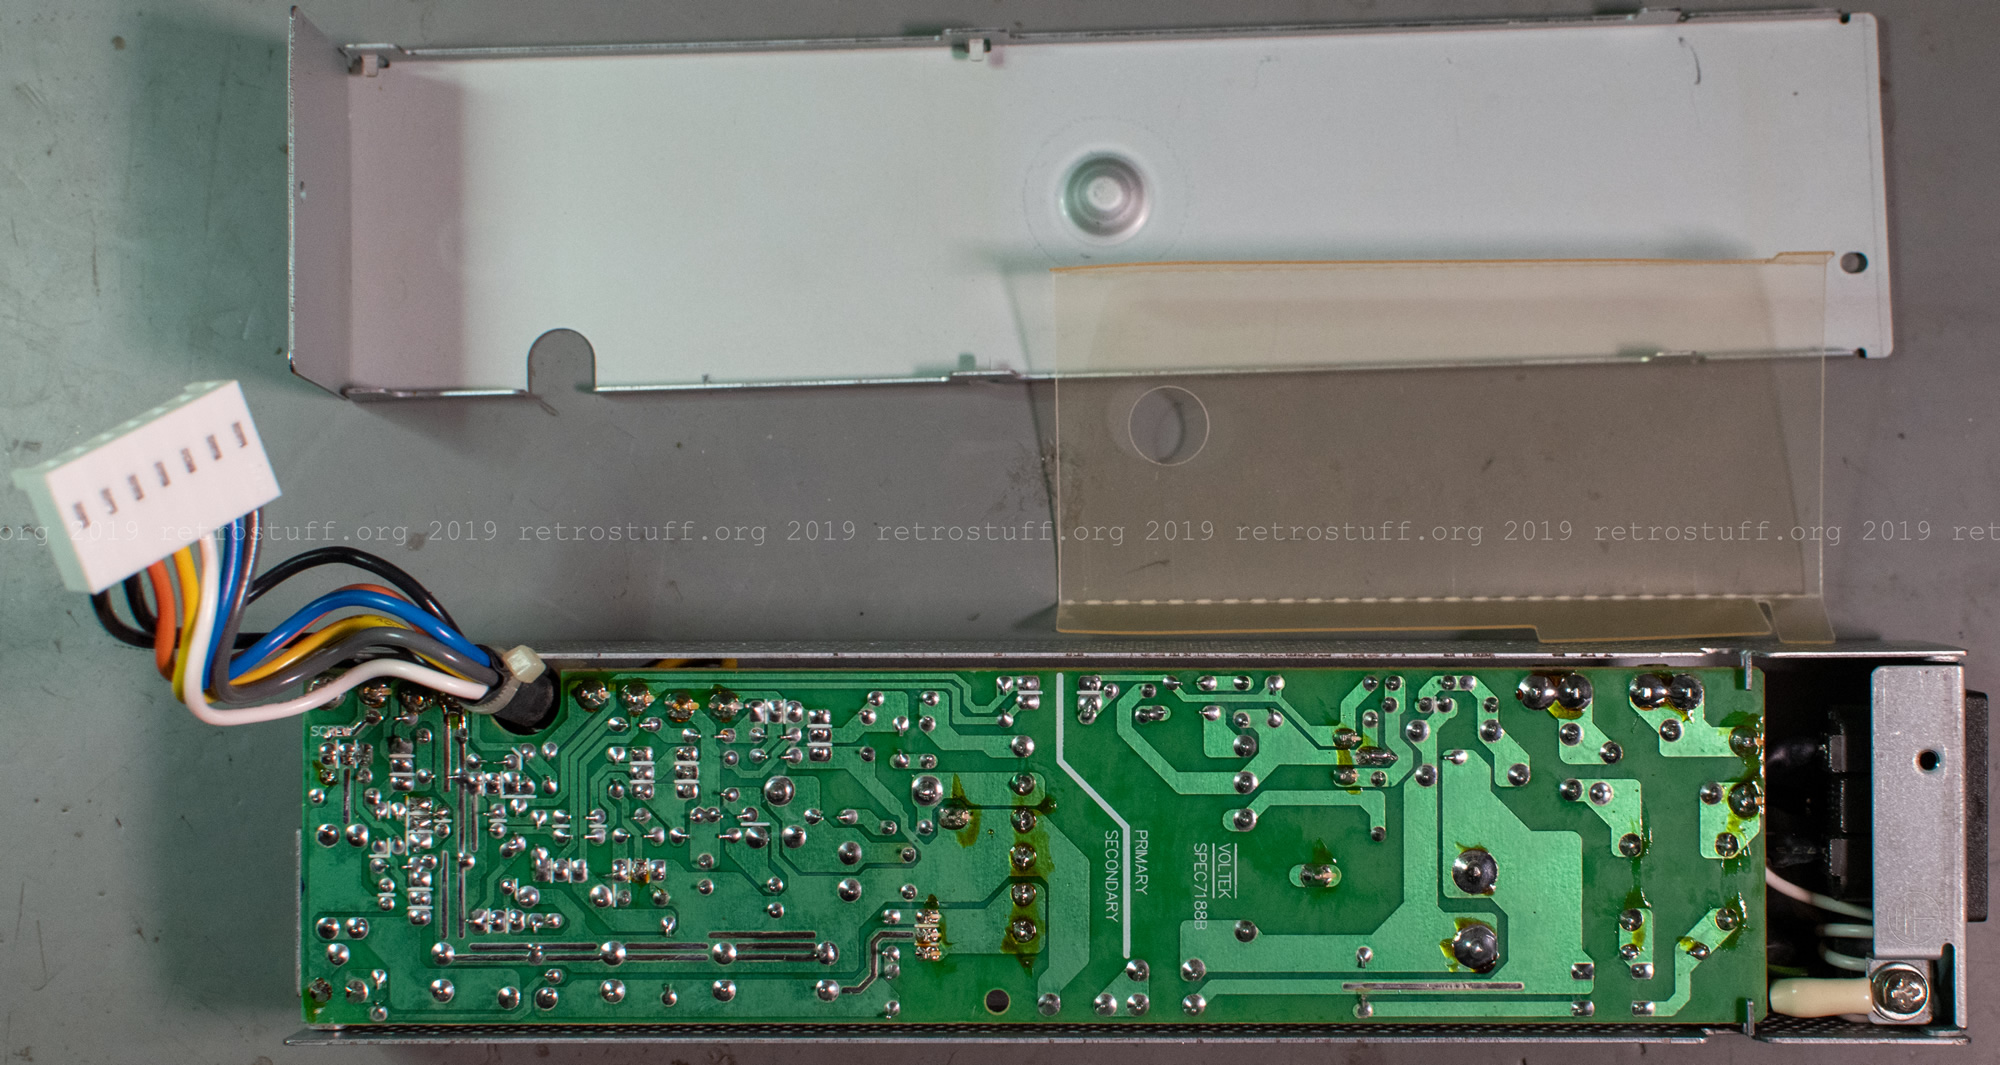
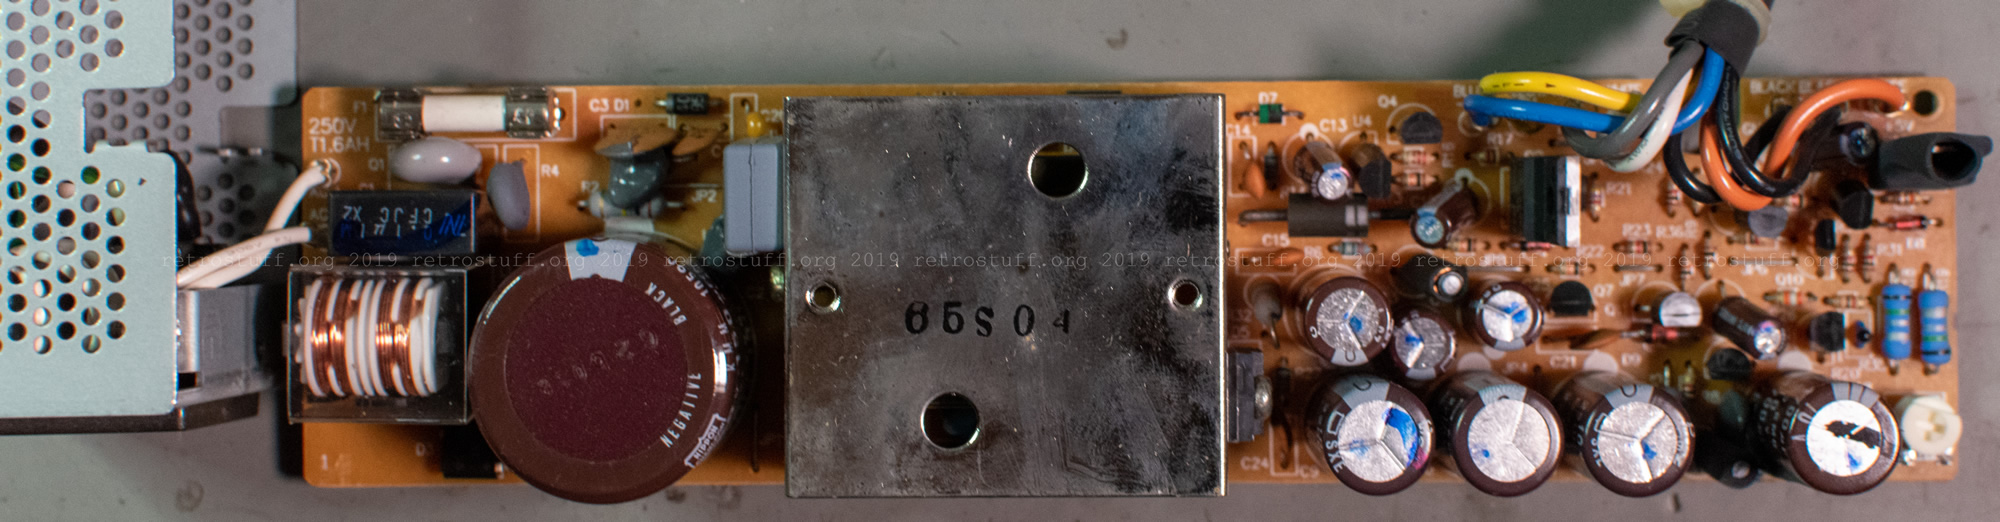
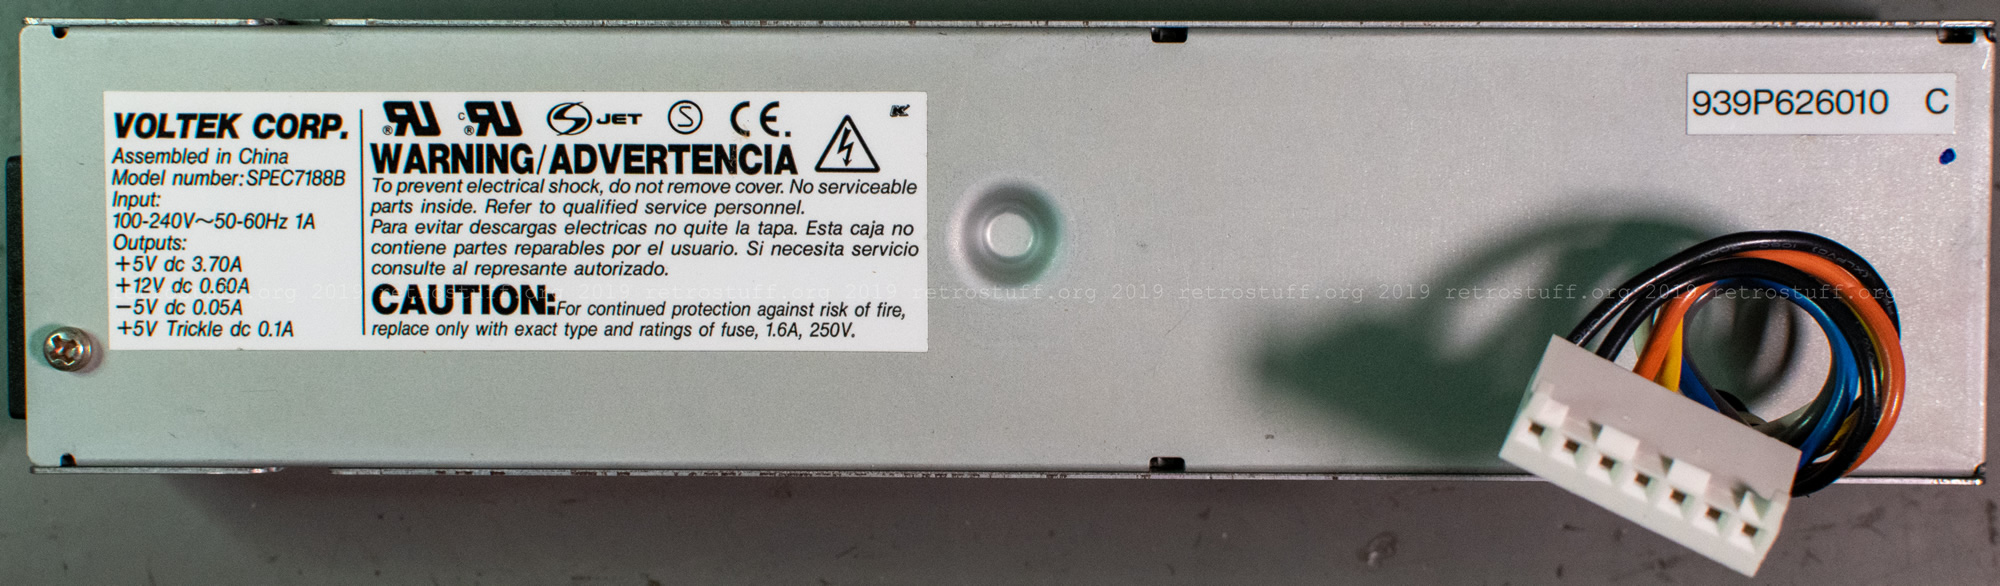
Update: More information about the power supply can be found here.
Epilogue
That’s all about my Pippin Atmark PA-82001-S Monitoring Unit for now. While writing this article, I learned two things: First, I really regret having sold my other two Pippins back in the days. There are so many ways to hack the console, e.g. by installing an external SCSI connector boot classic Mac OS from HDD or ZIP drives. Something that I don’t want to do with this rare model. Update: External SCSI has been added here.
Second, how active the Pippin scene is these days. The encryption has been cracked very recently. Consoles with retail firmware are finally no longer limited to run Pippinized software only. The Pippin Kickstart “is a small, carefully-crafted boot disc for the Pippin that circumvents the console’s built-in security and instead offers the choice to boot from an unsigned volume. It works on 1.0, 1.2, and 1.3 Pippins (so, every known retail Pippin ROM out there as of the time of this writing) without any modification.”
8 thoughts on “Pippin Atmark PA-82001-S Monitoring Unit”