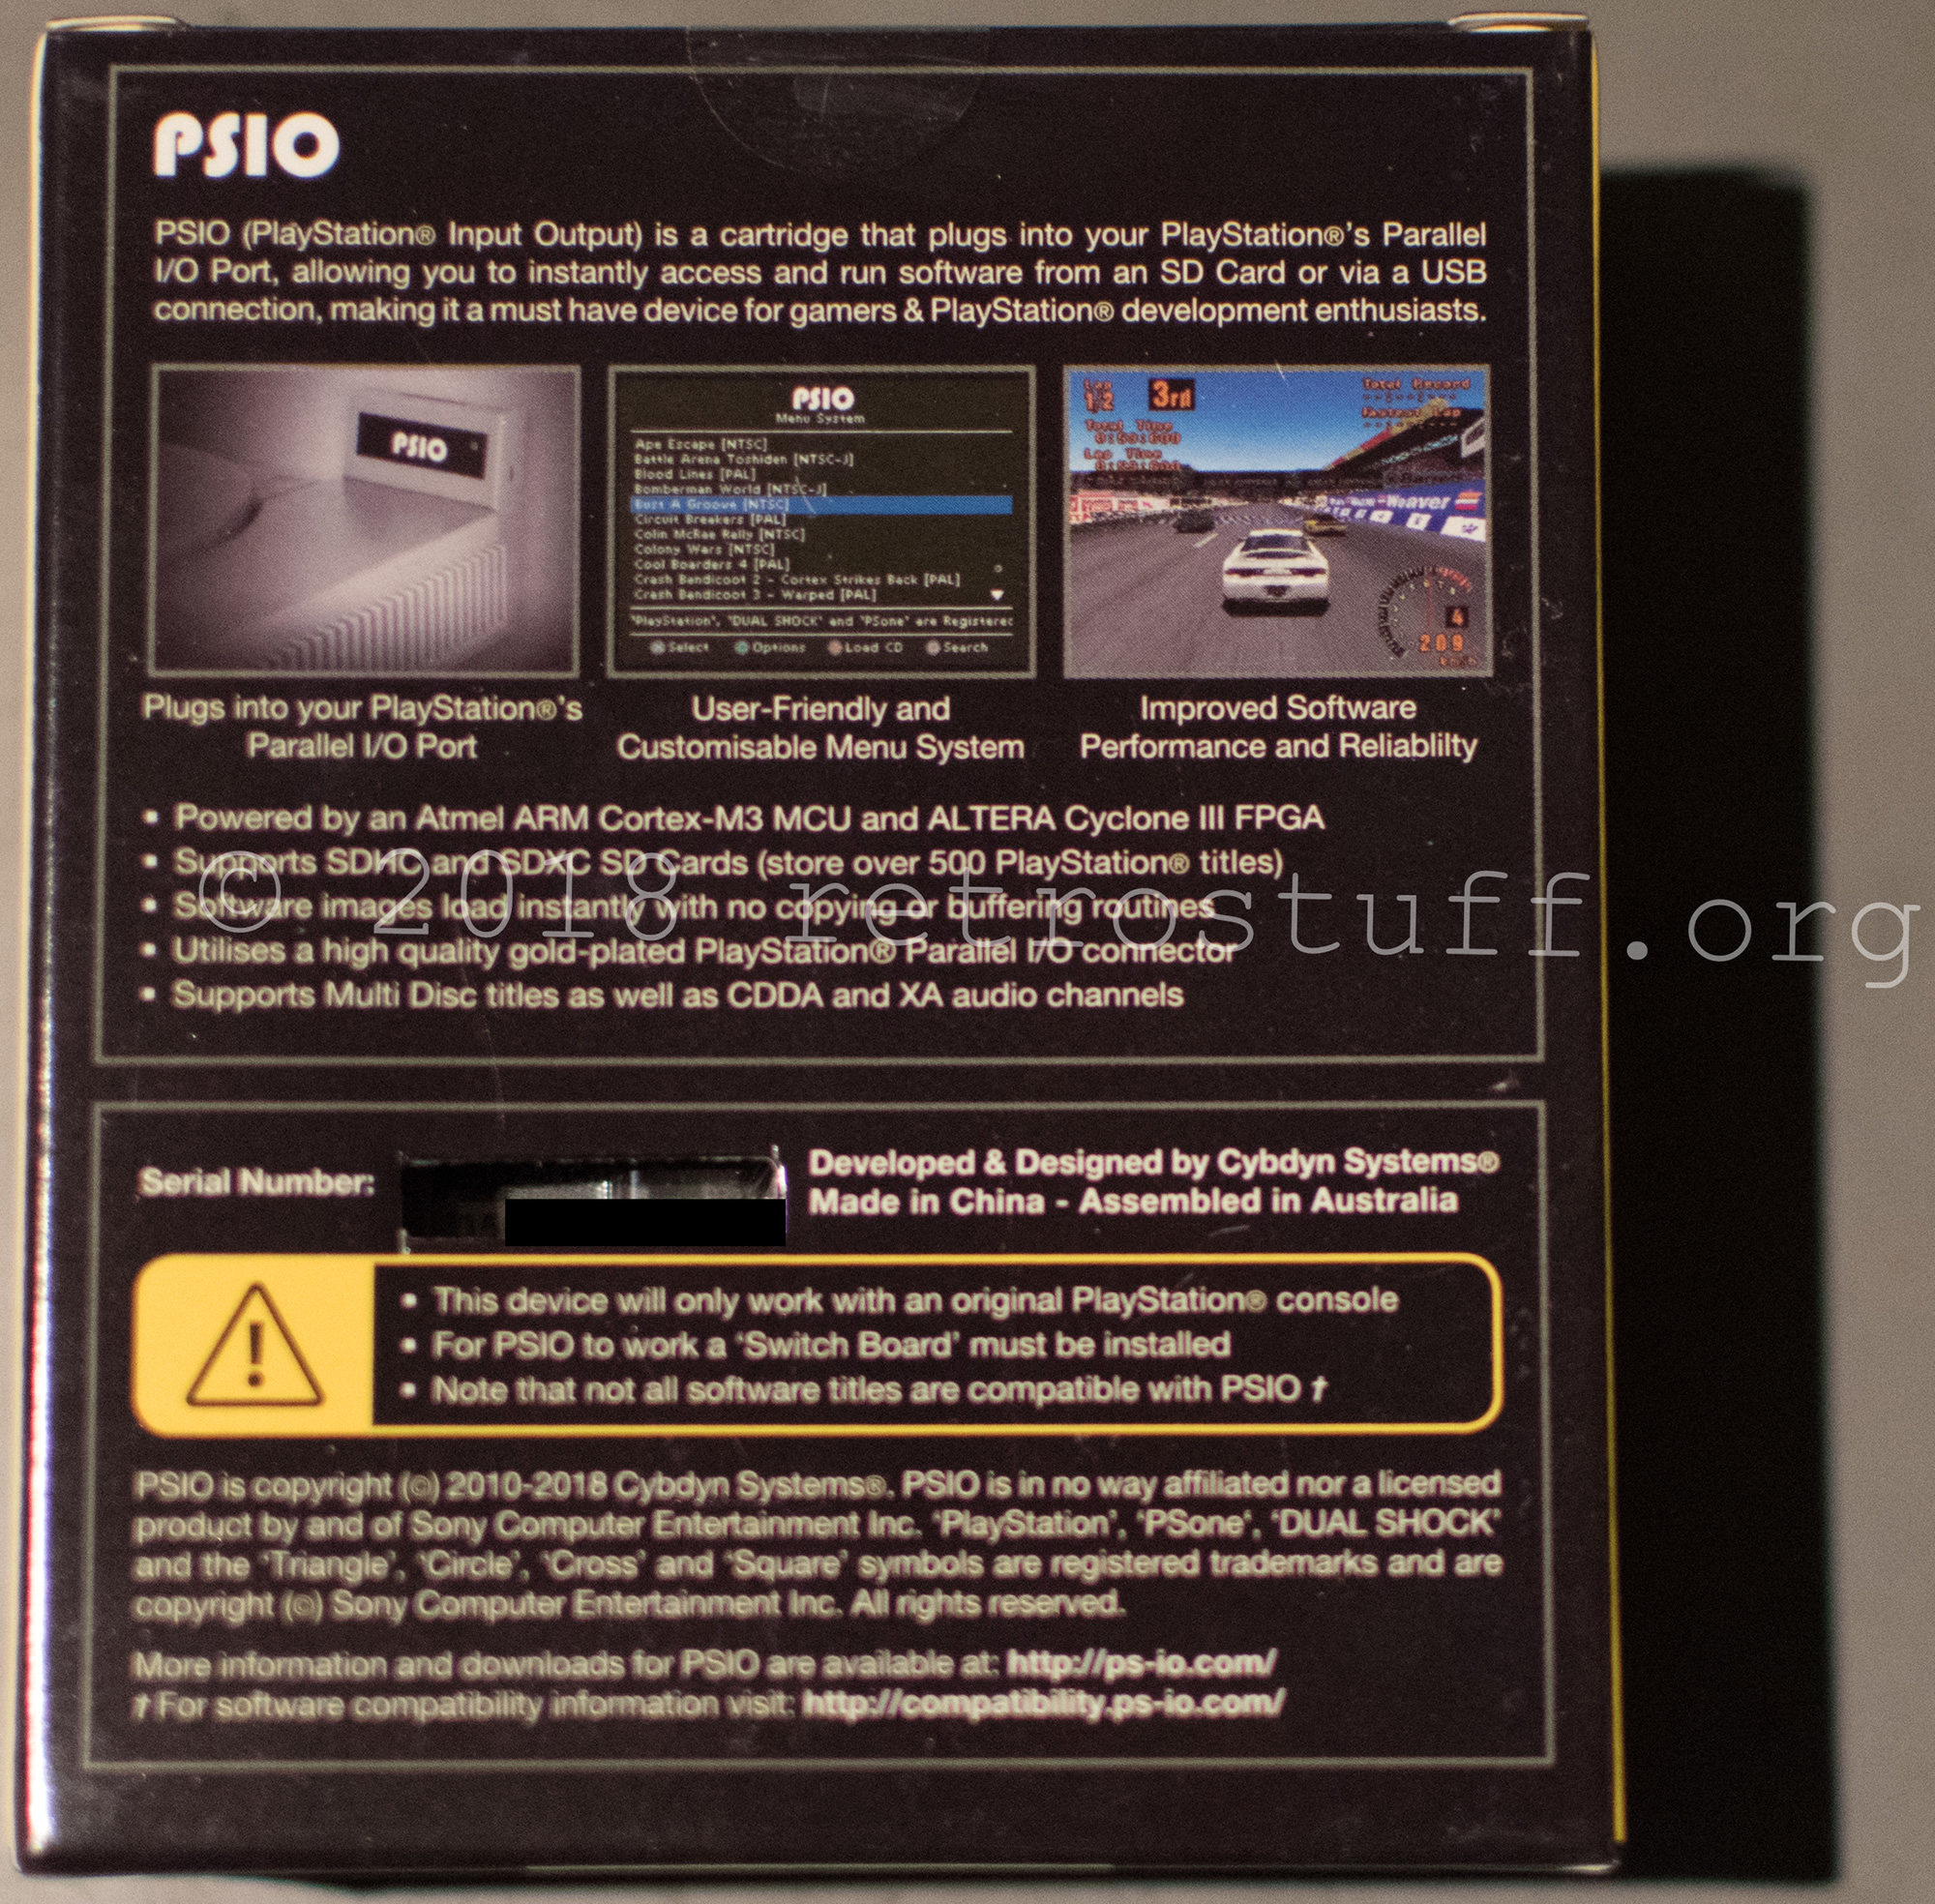
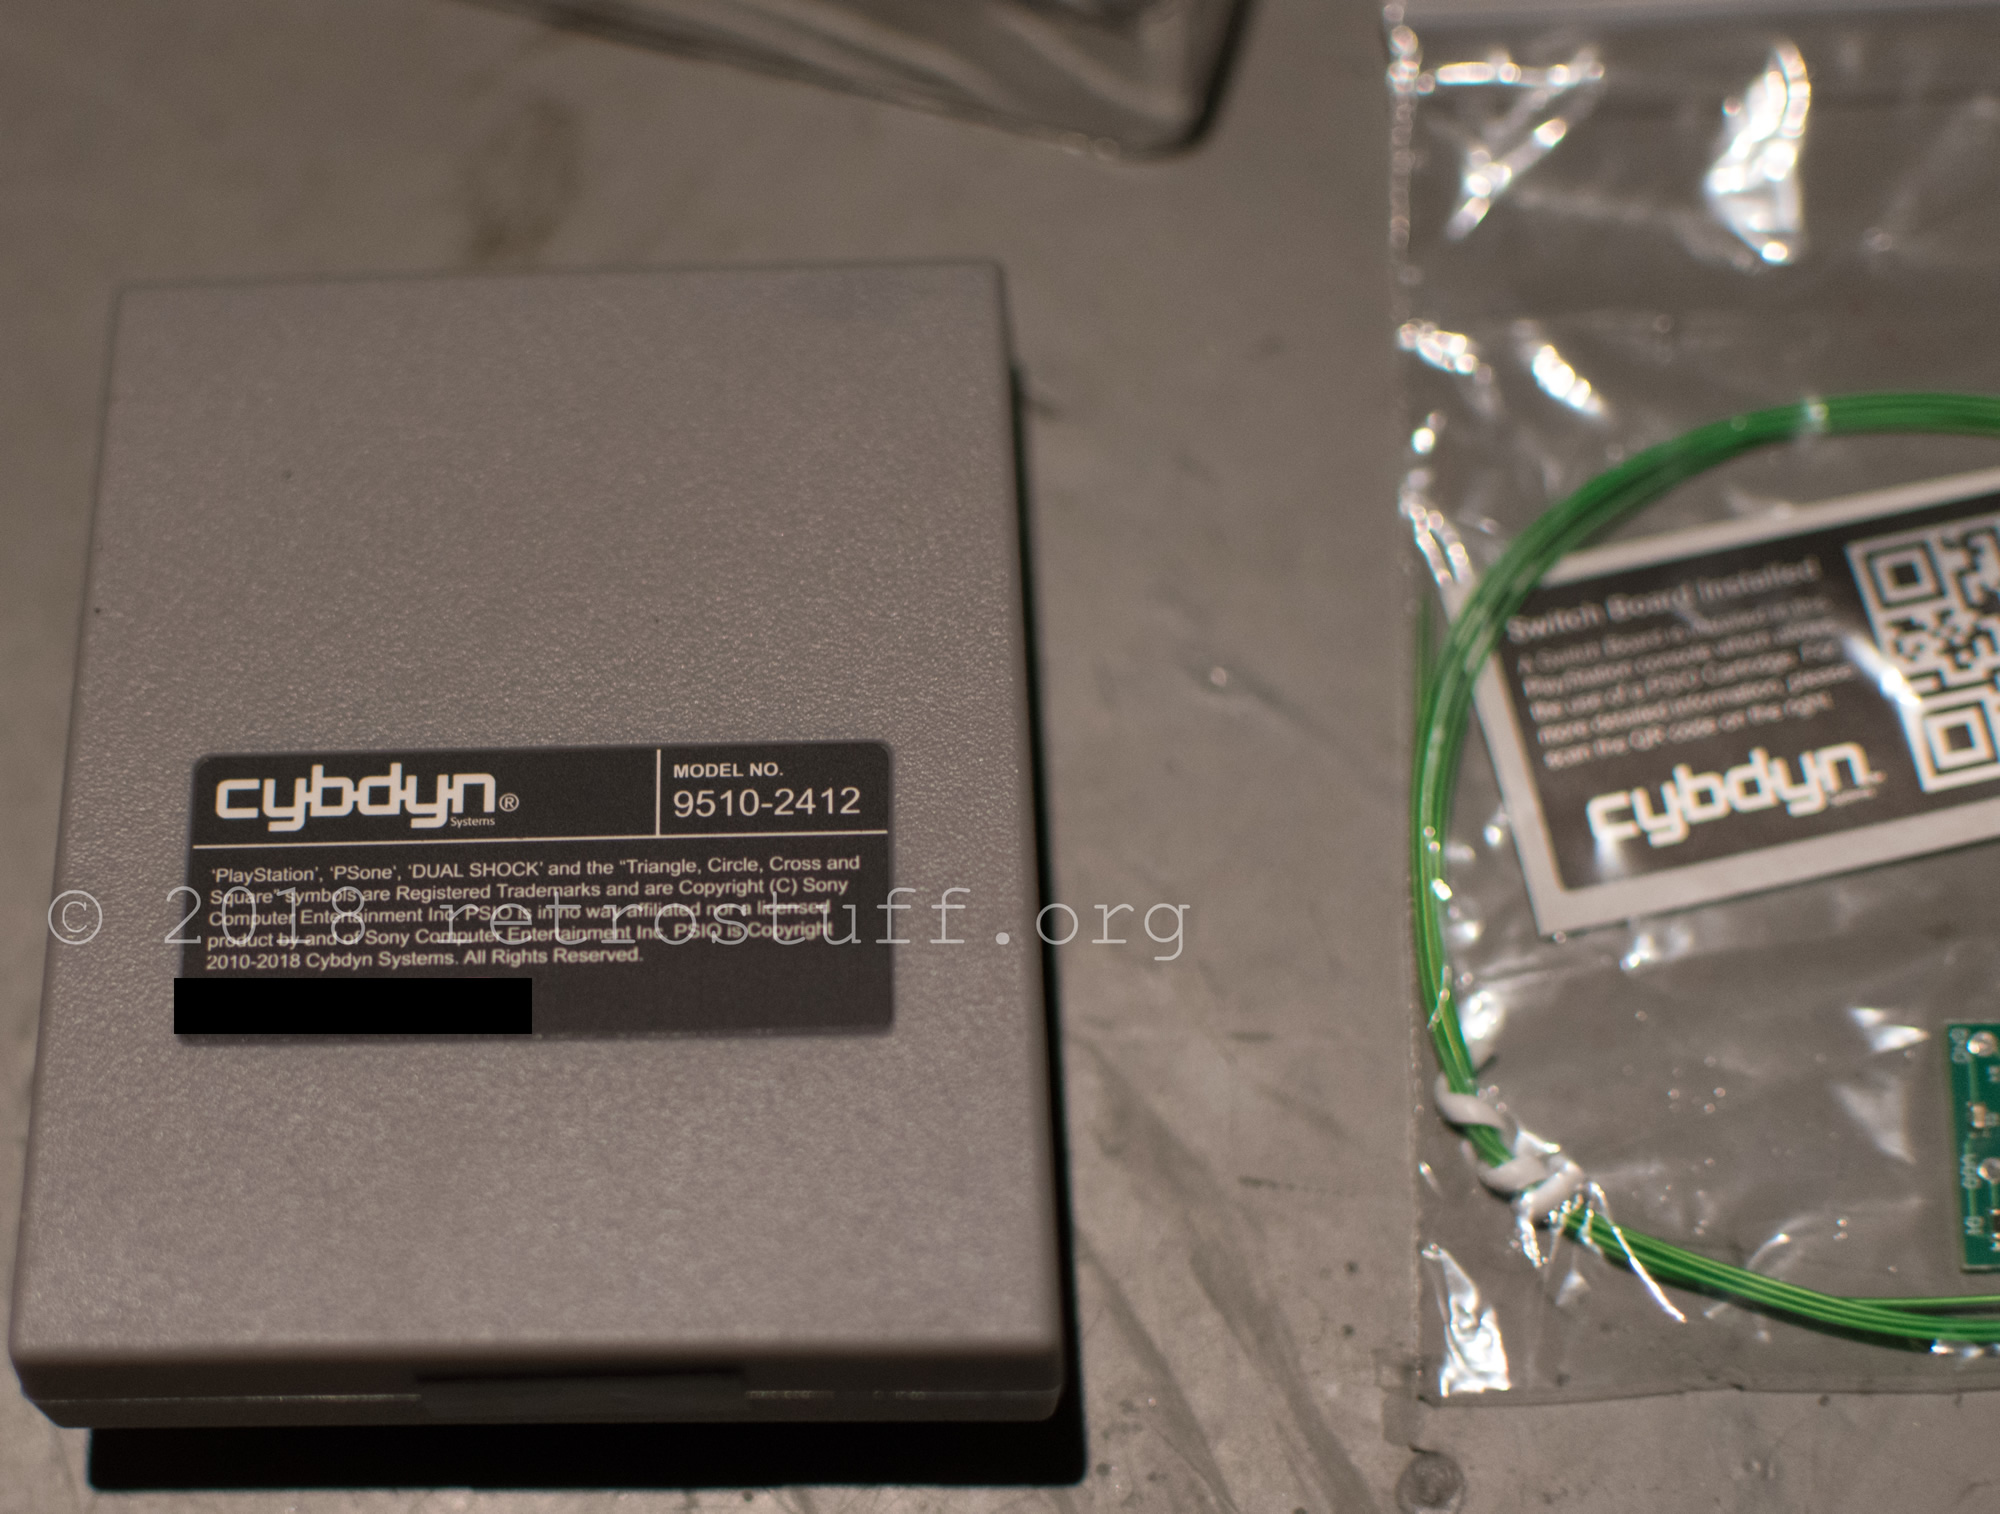
The PSIO development cartridge, that I had preordered in June 2017, finally arrived this month. The whole package is very well made and looks almost like a genuine Sony PlayStation peripheral. The cartridge requires a modification before use, the PSIO switch board installation. The switch board detects the presence of the cartridge and switches the signals from the ODD to the parallel port.
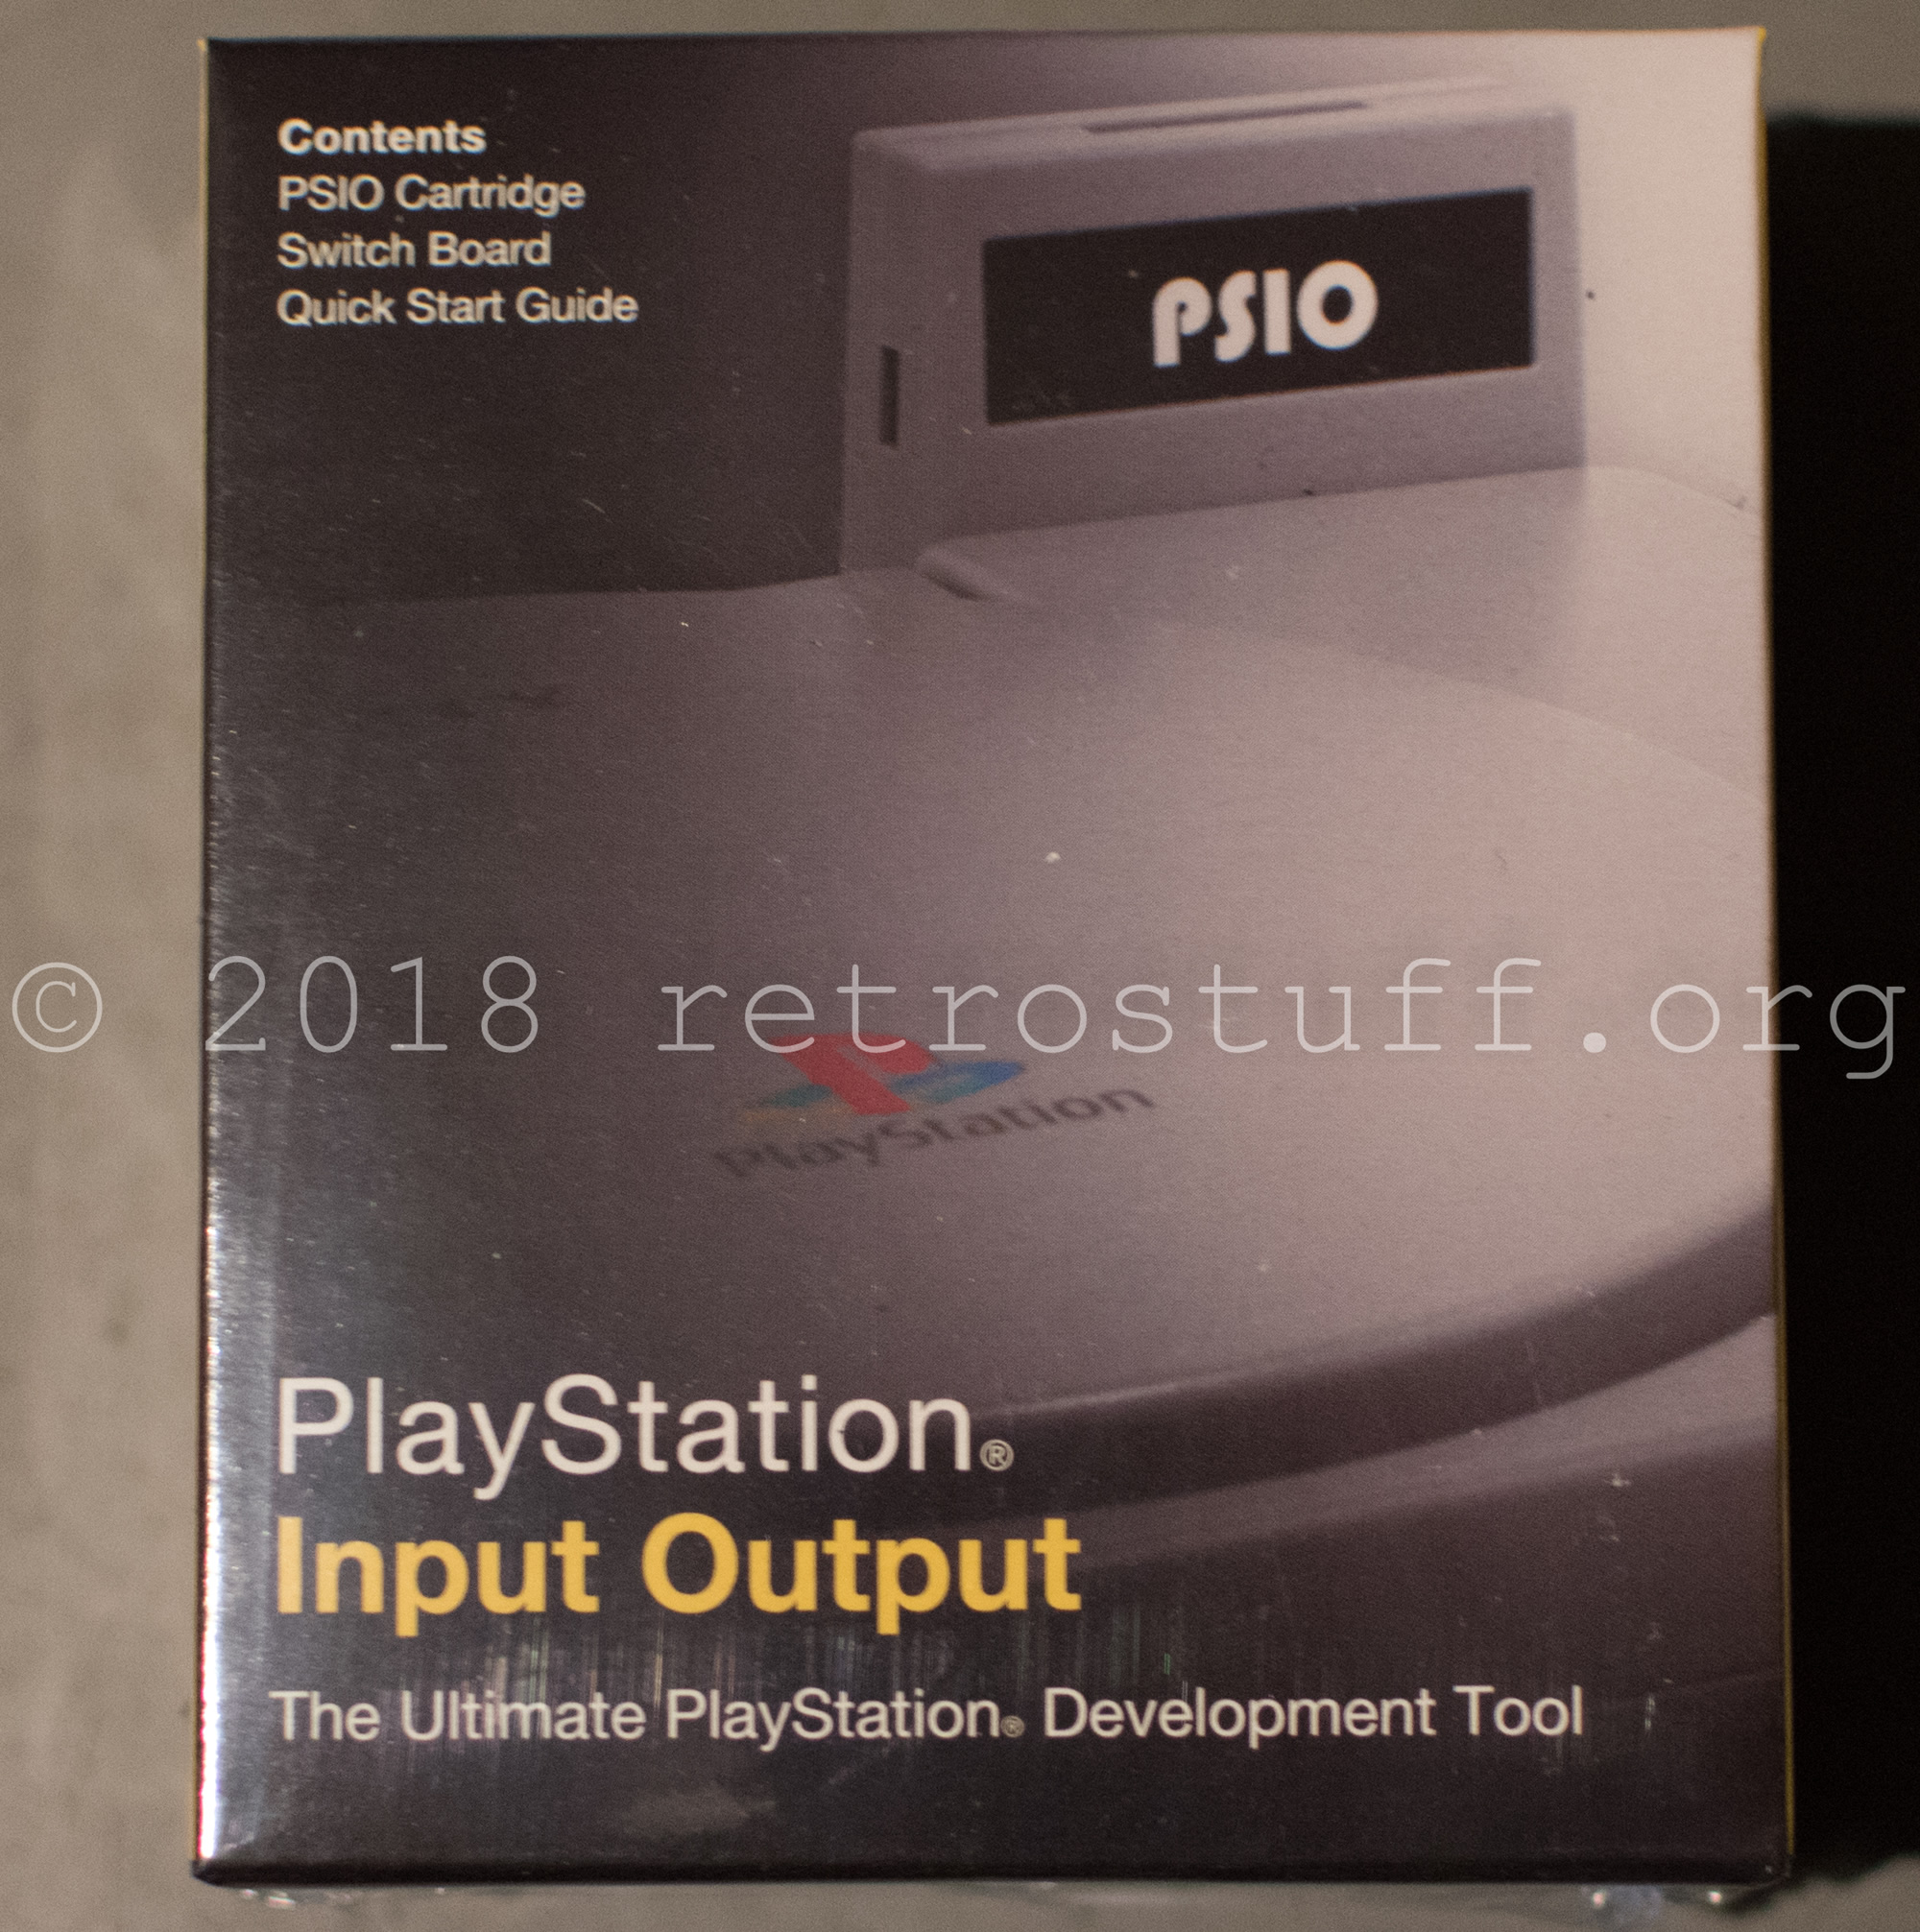
The package contains the PSIO cartridge, a quick start guide, the switch board, some wire and a sticker.

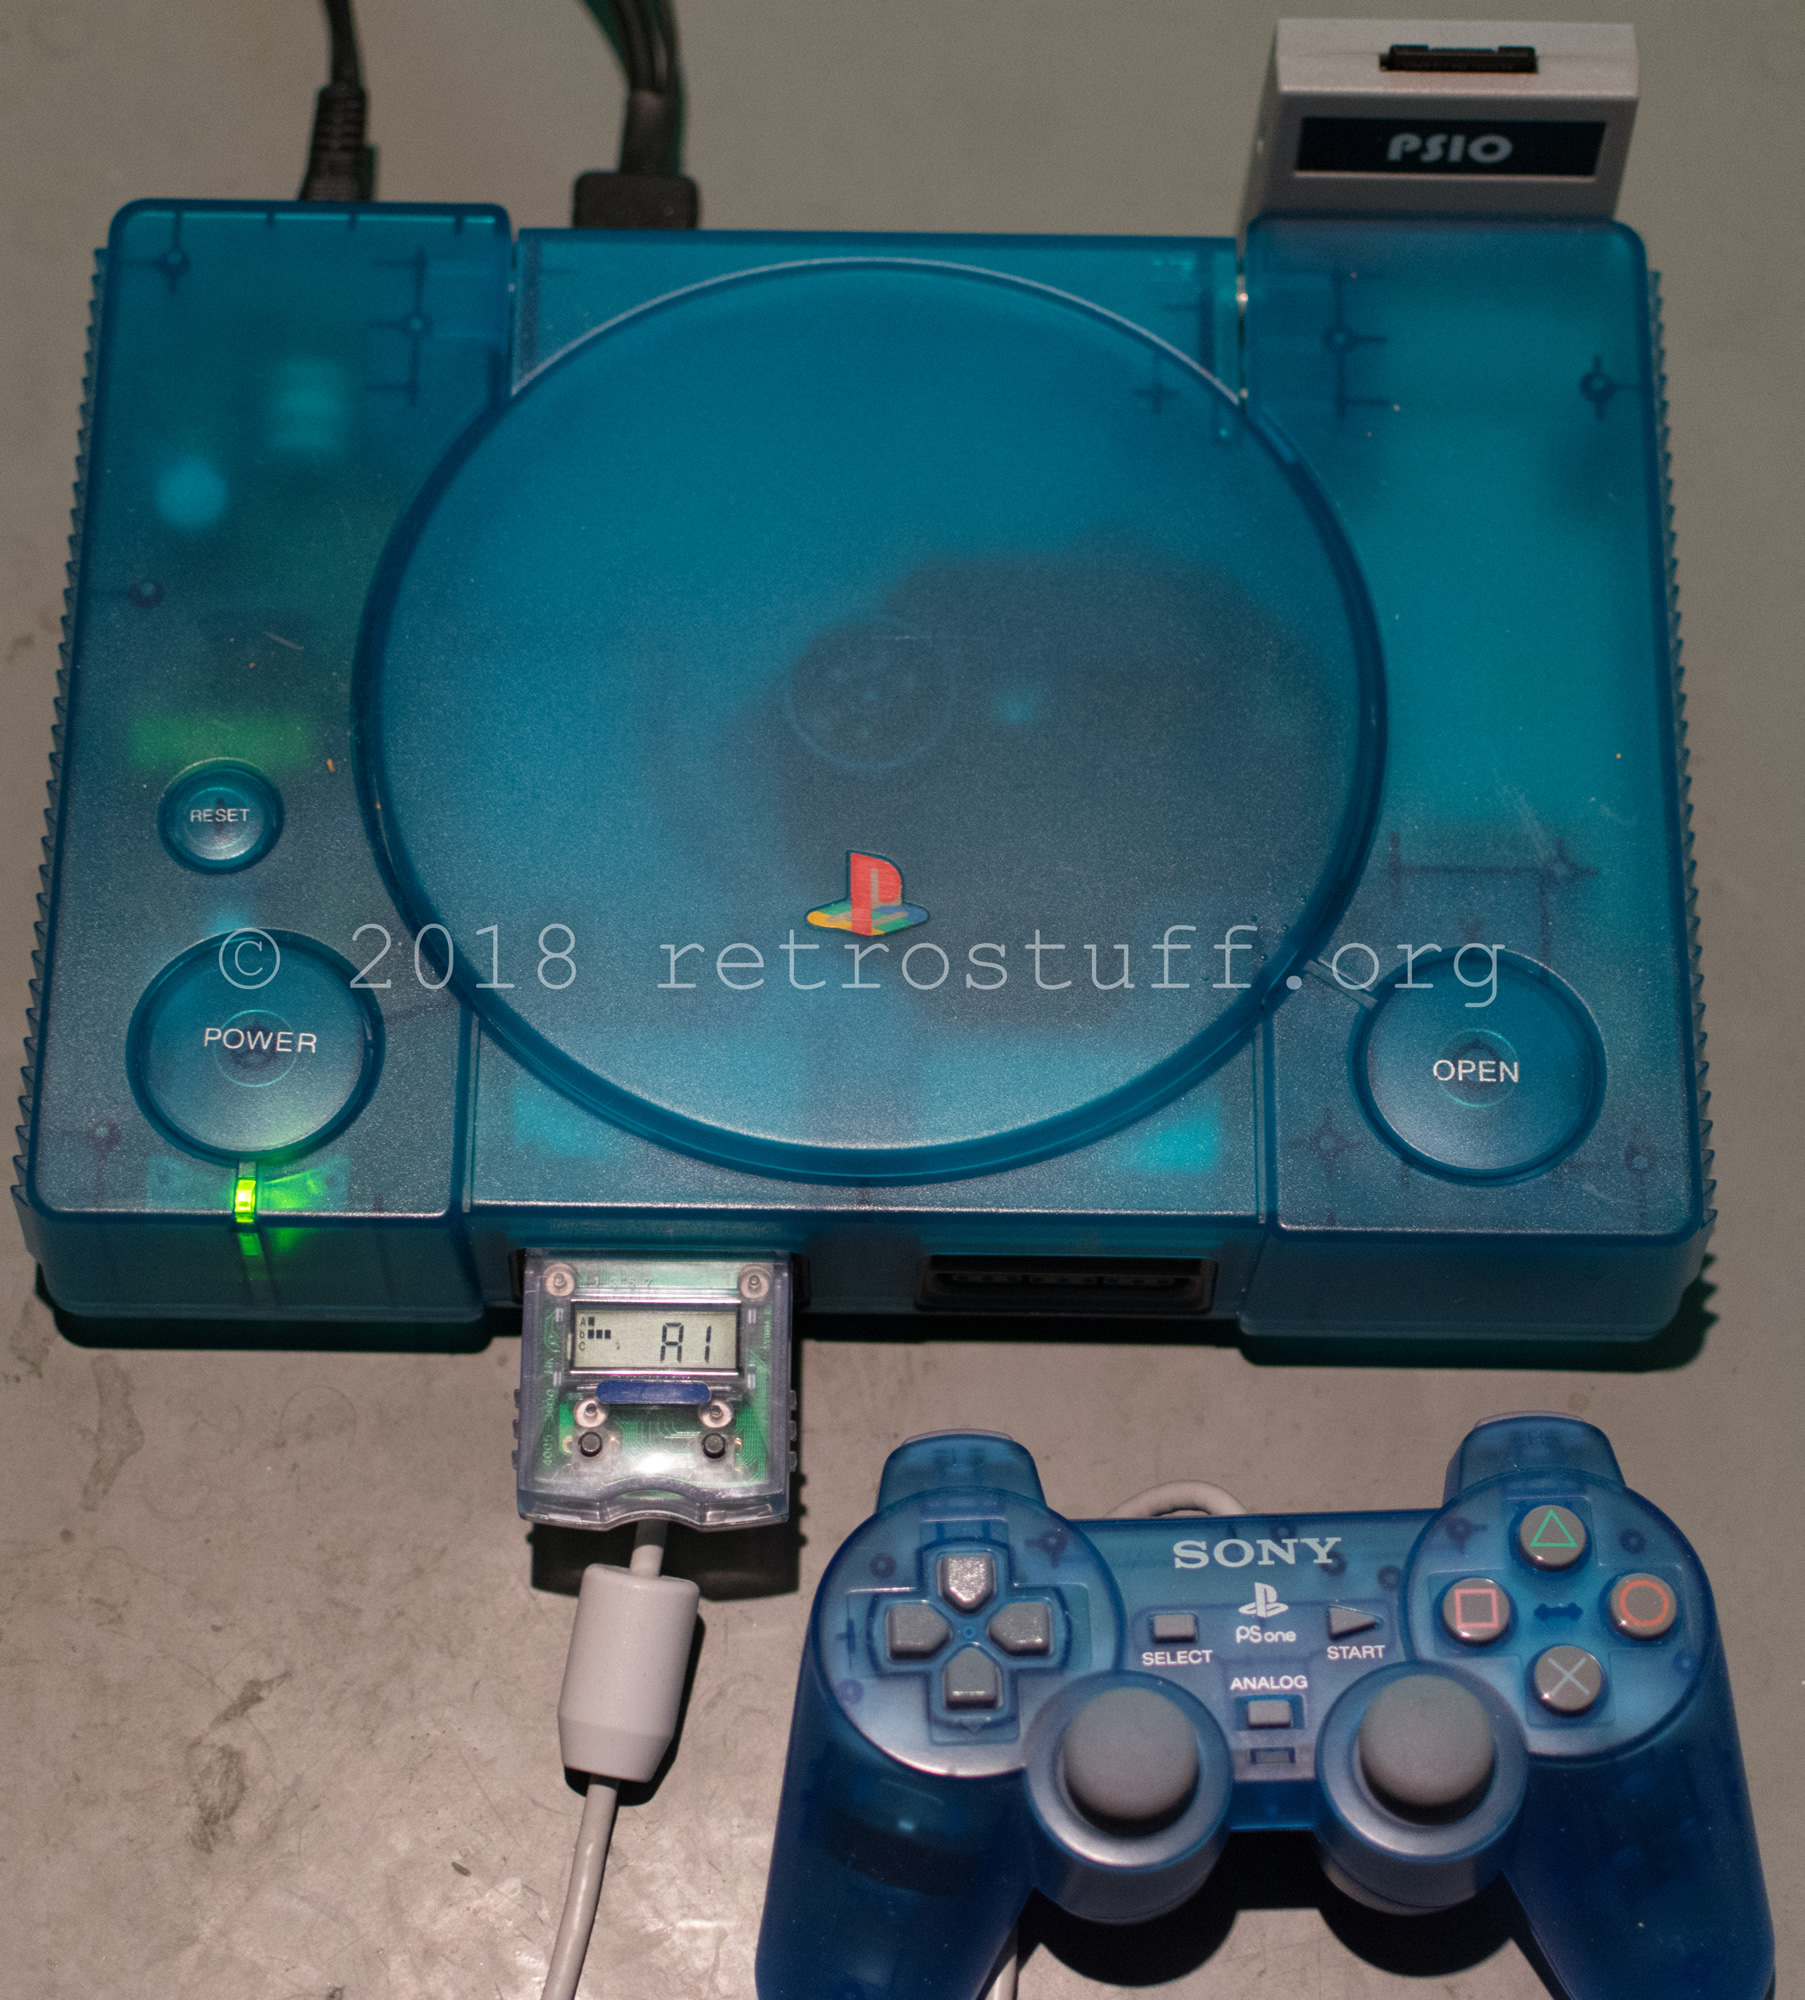
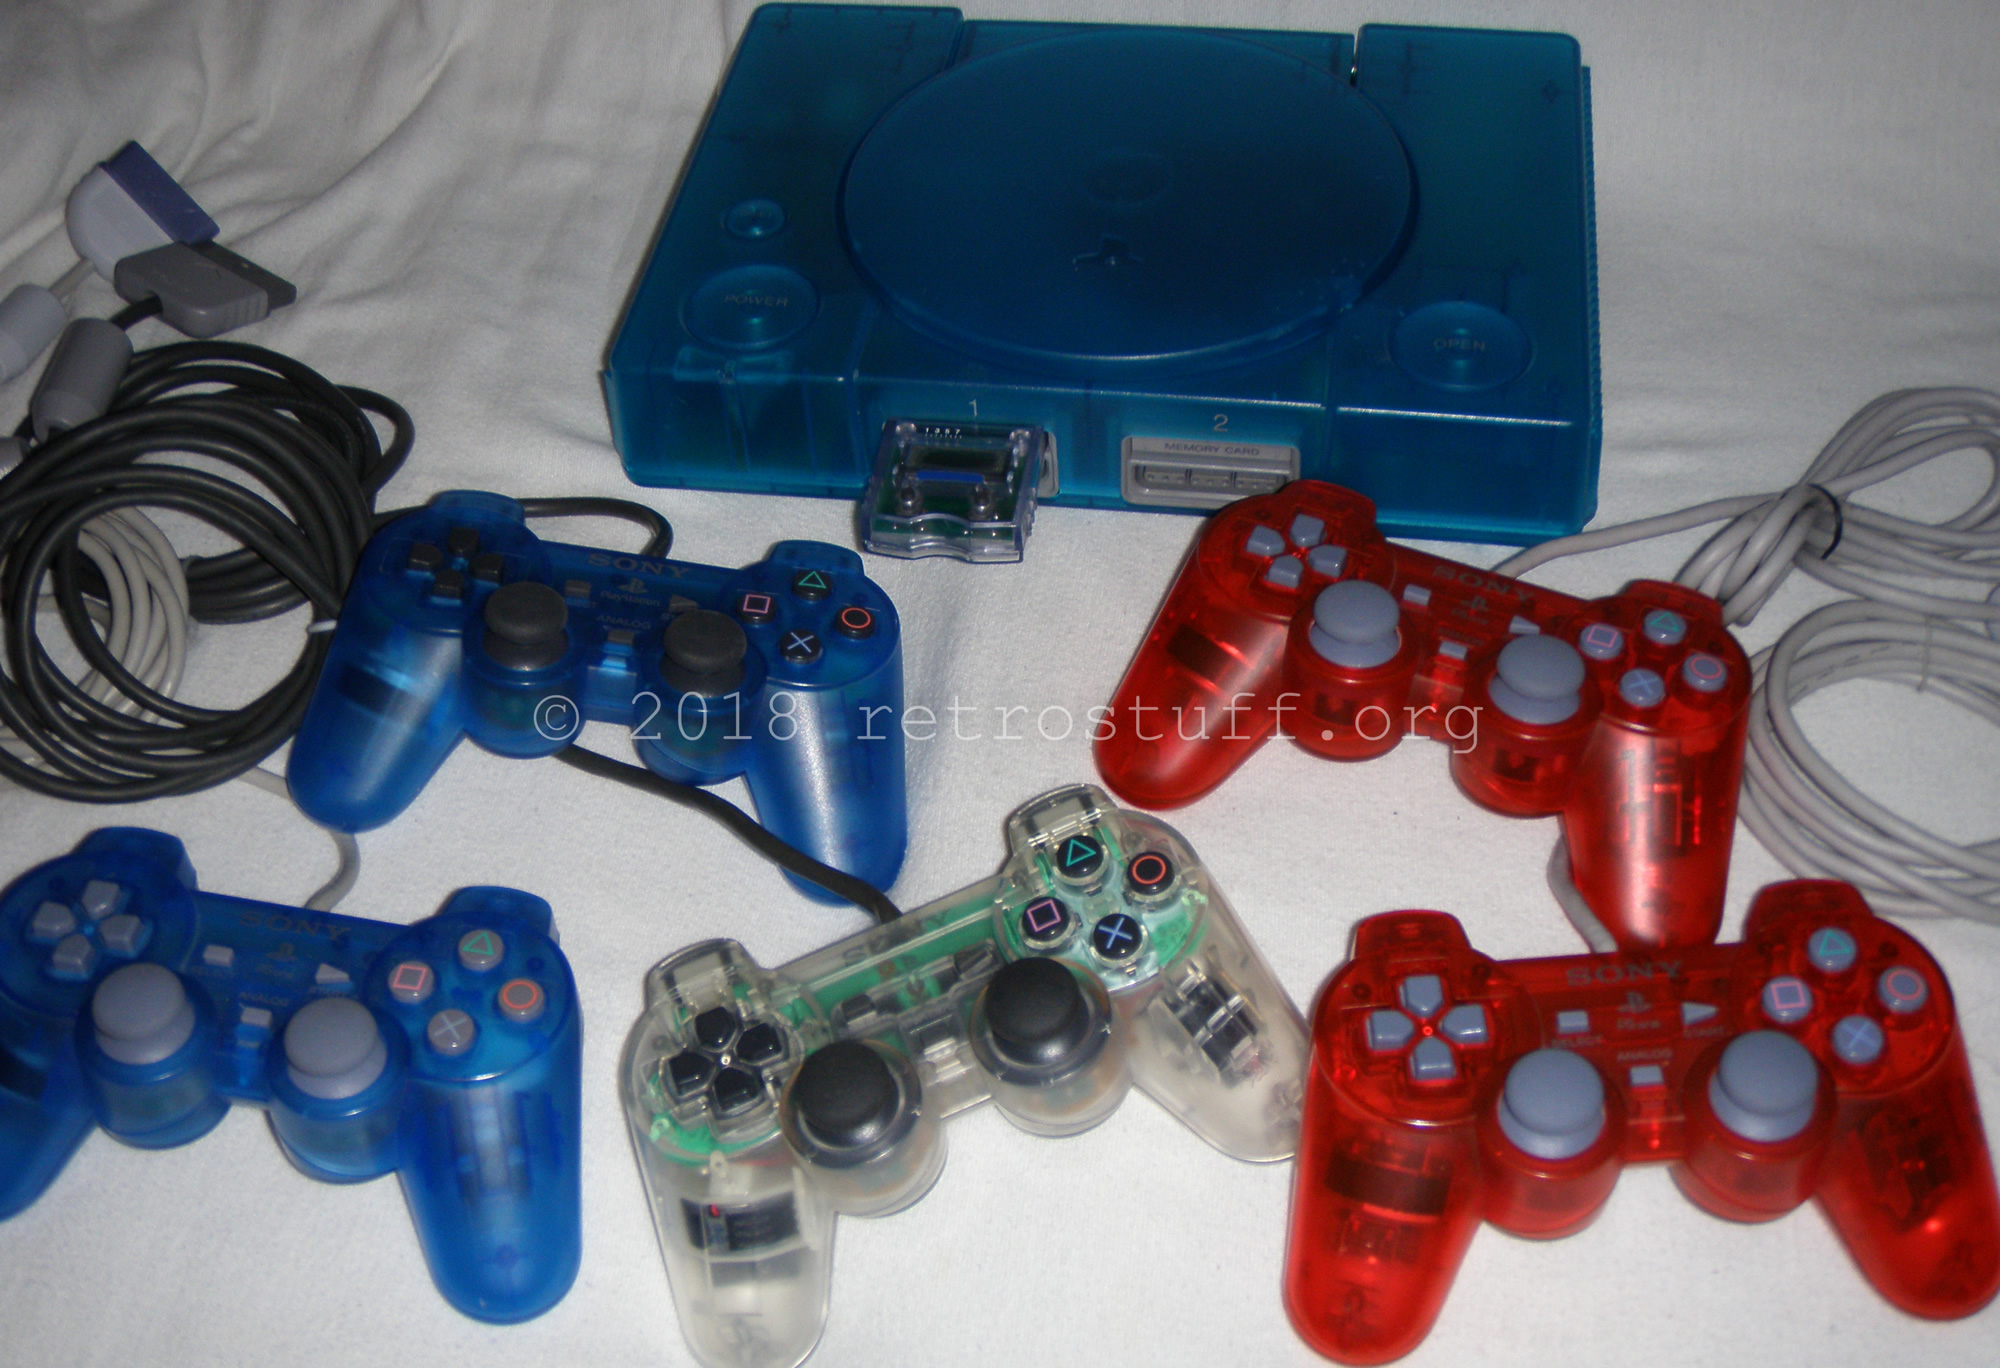
I’m going to install the switch board into my SCPH-5552 PlayStation that I bought years ago with a custom blue case.
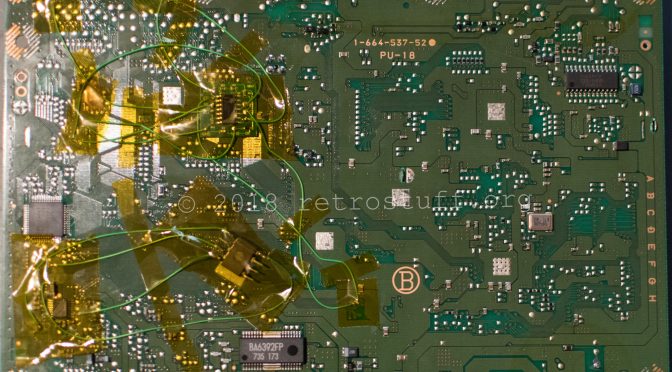
Installation instructions can be downloaded from the PSIO downloads page. There are instructions for 5 different mainboard revisions. The SCPH-5552 model has the PU-18 mainboard built-in, according to this list. Let’s open it up and check if this is true – you never know when dealing with a unit that has been put into a custom case.
Disassembly
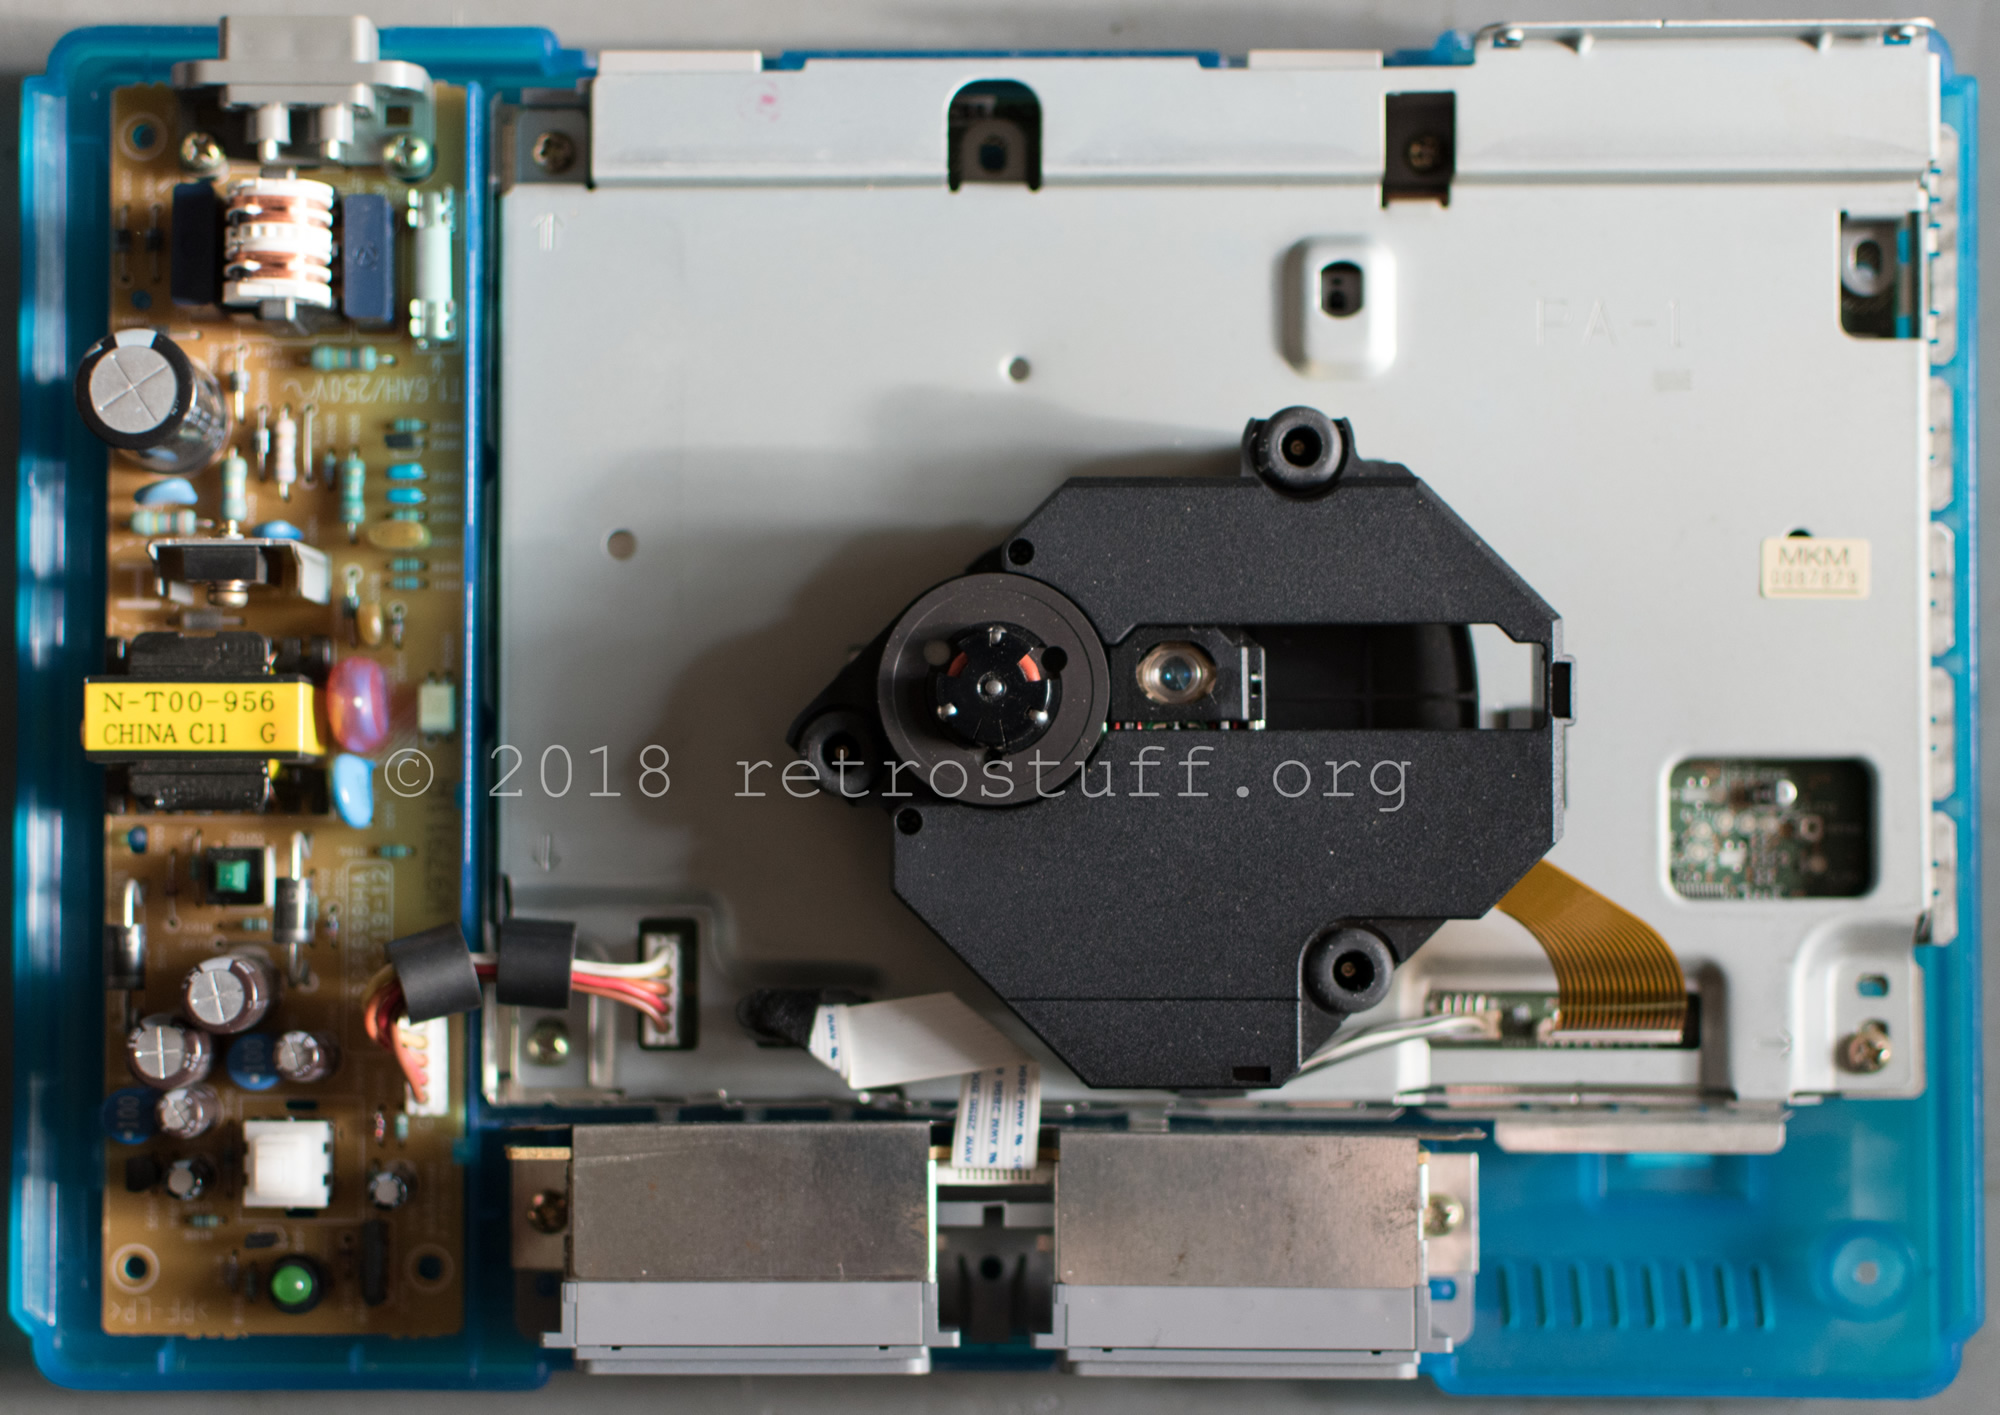

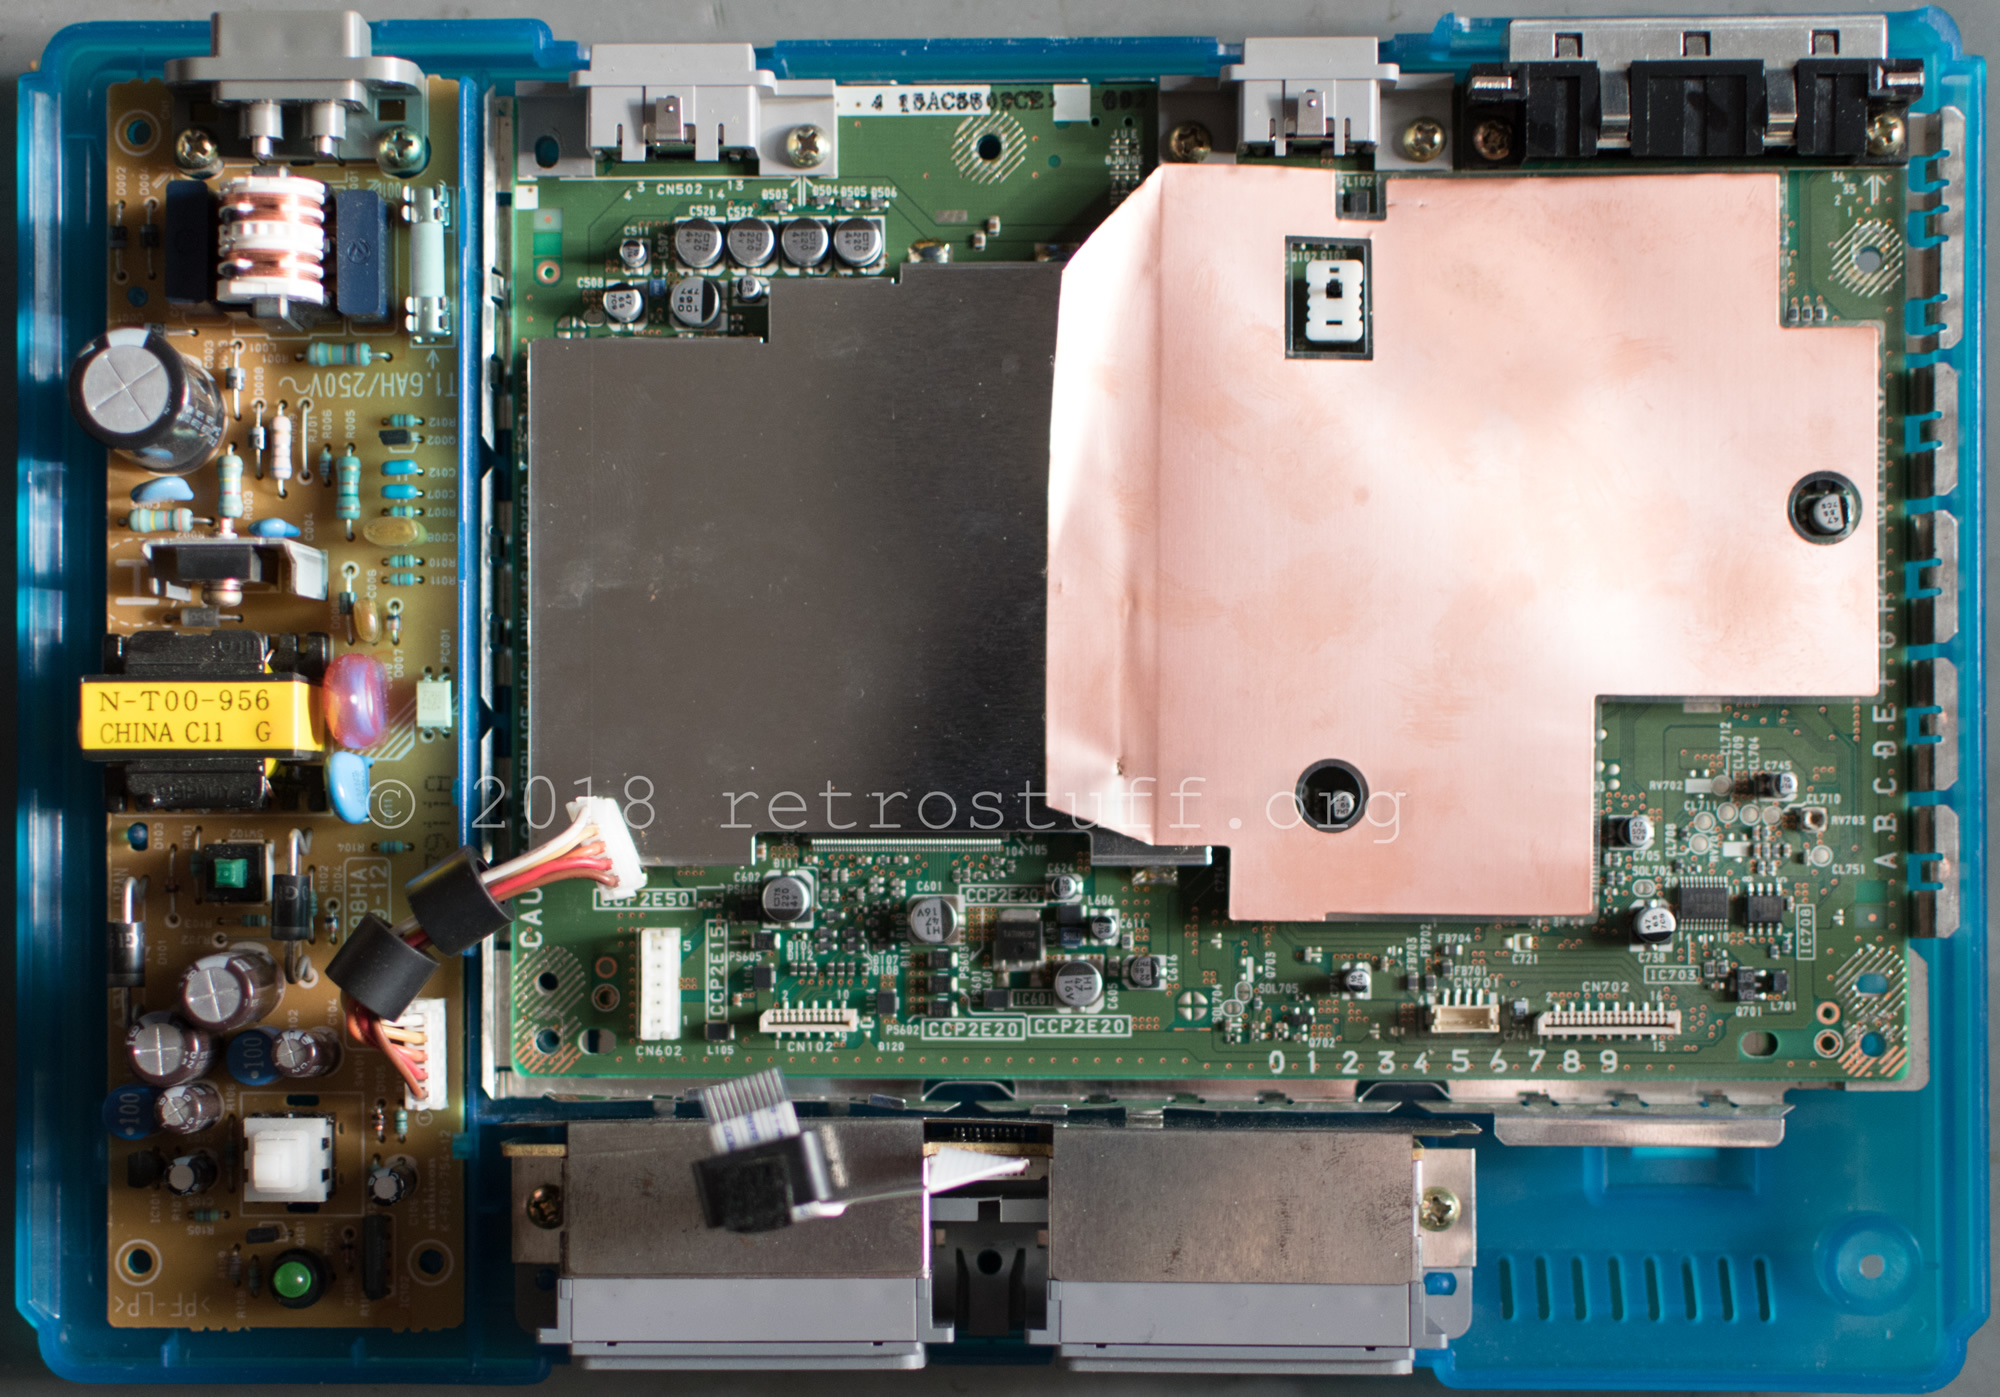
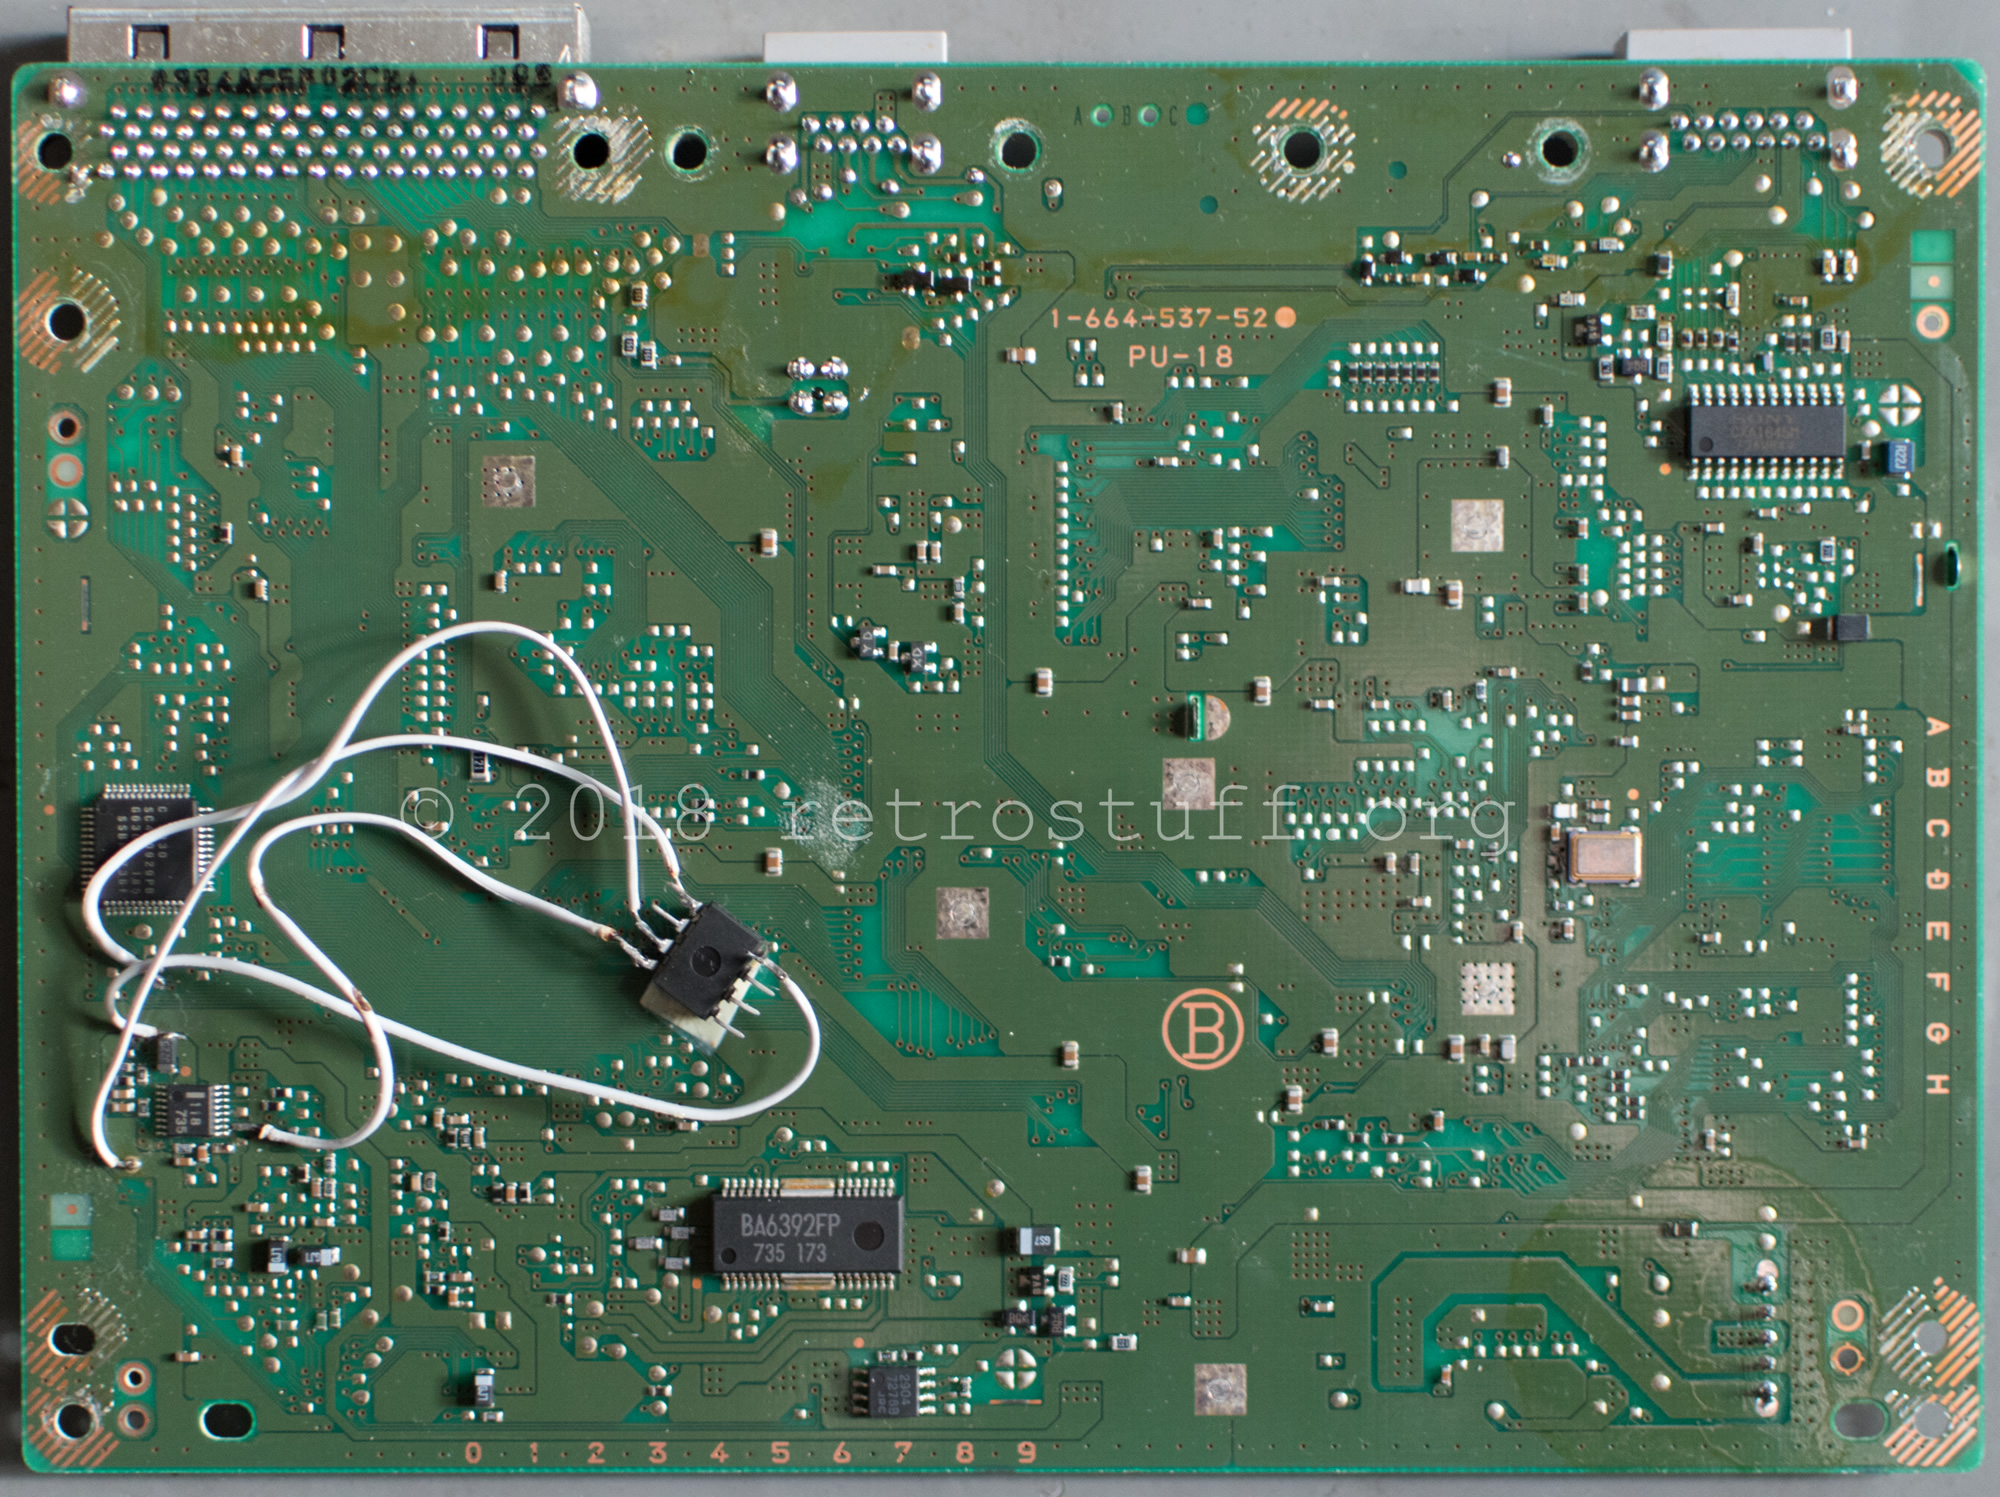
Yes, it’s really a PU-18 mainboard:

On the bottom side of the PCB there is a weird old modchip installation.
Installation
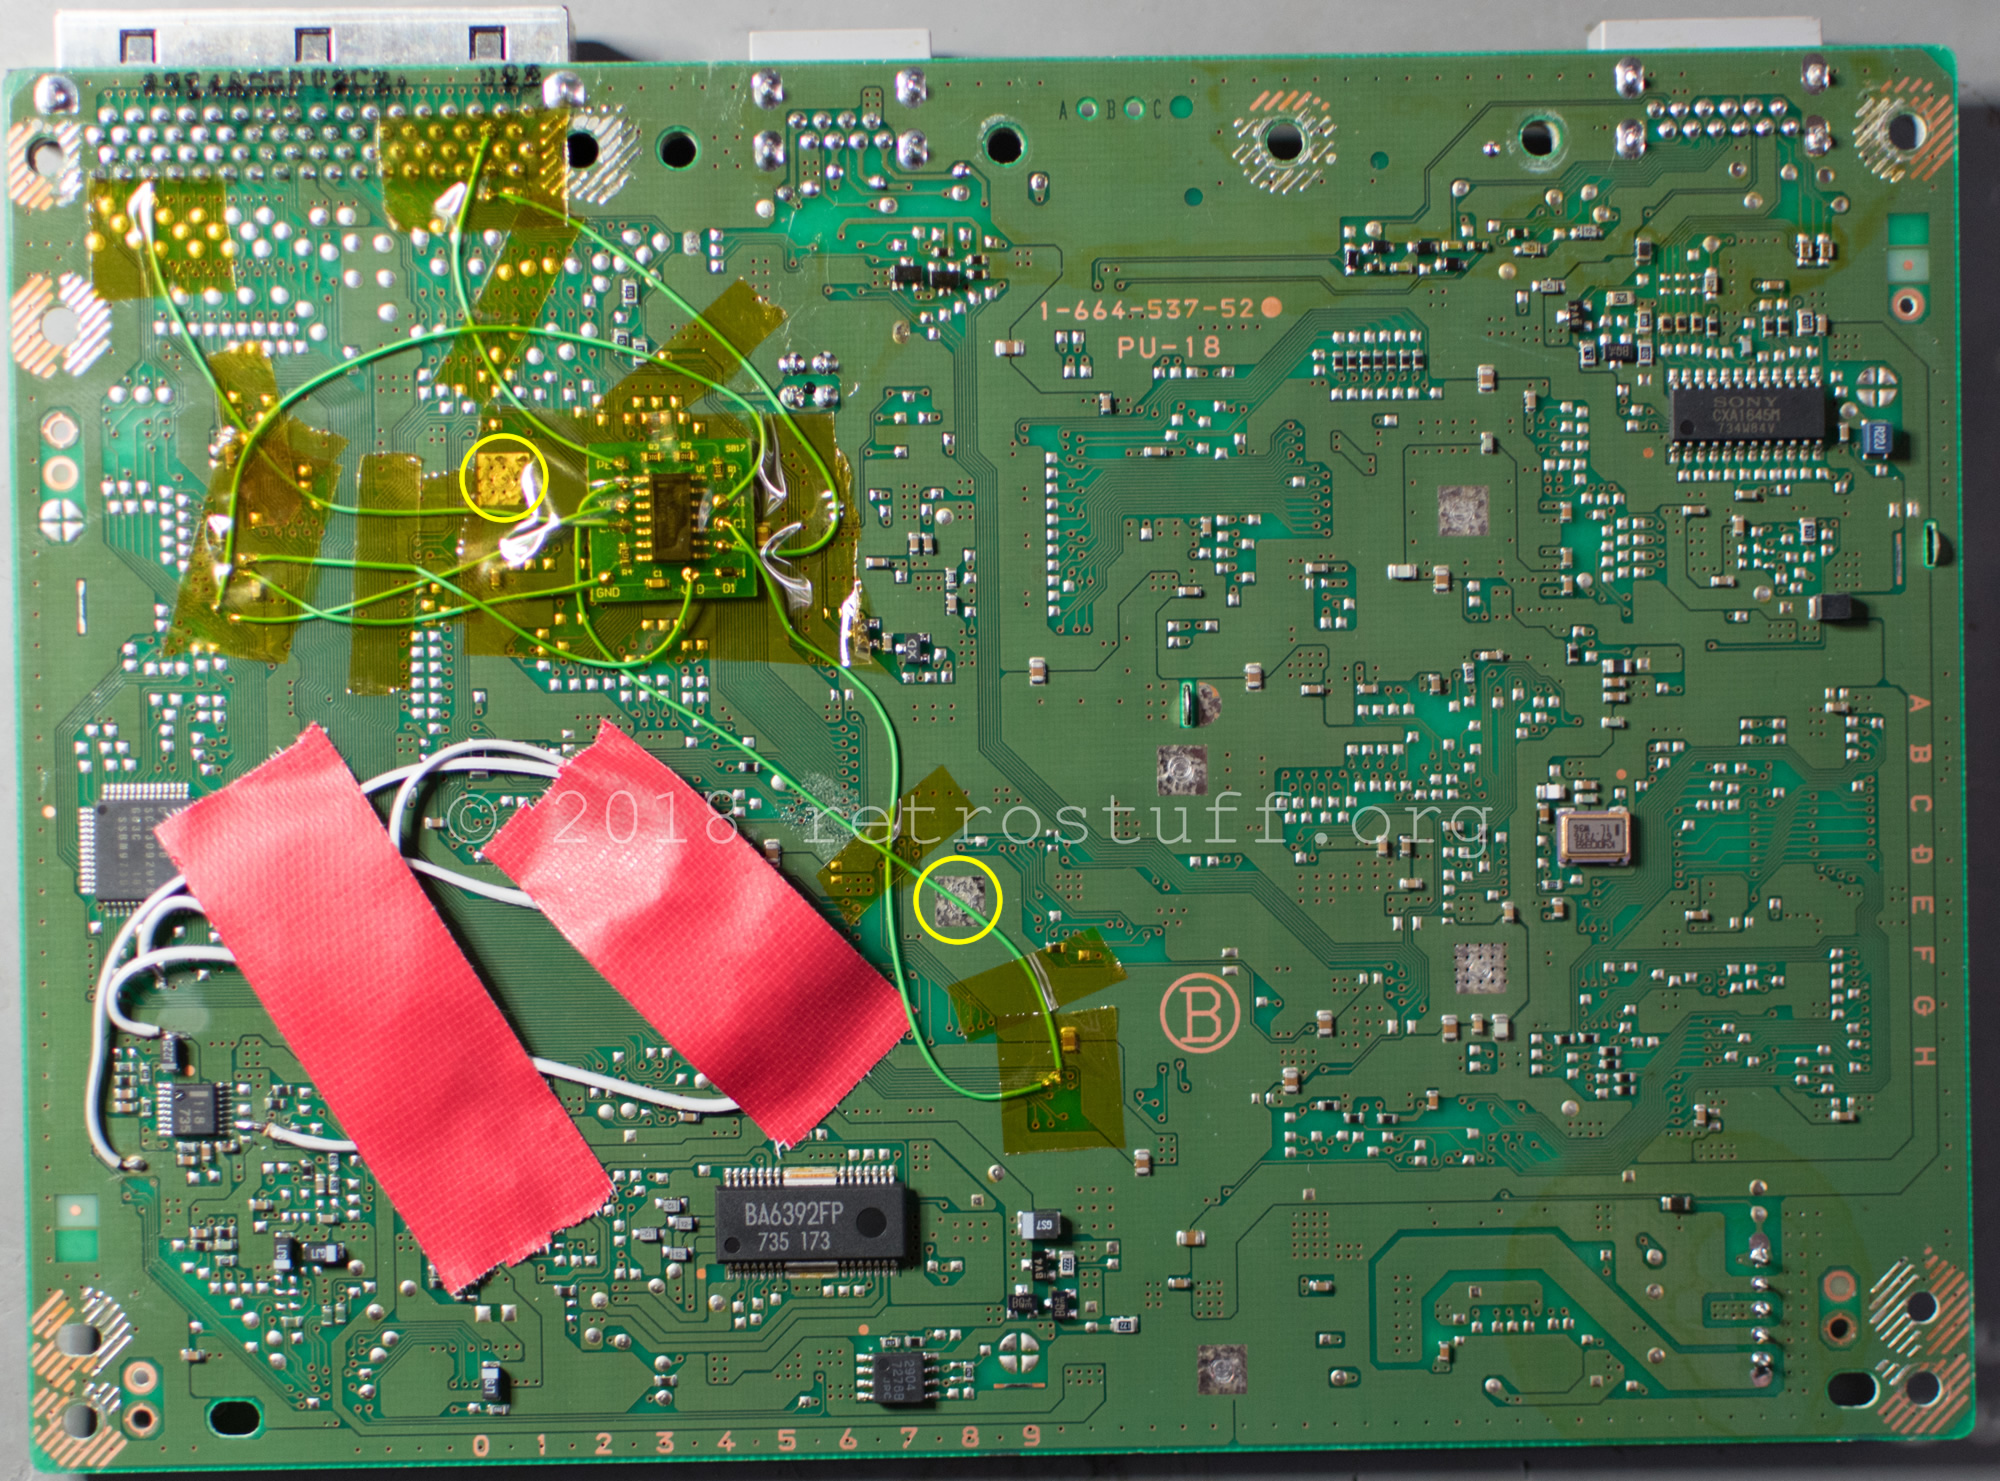
I covered the modchip with some tape for now, as it worked flawlessly so far, and went right for the switch board installation.

The installation manual warns about running wires over the ground contacts (circled), well, the same goes for the Kapton tape.
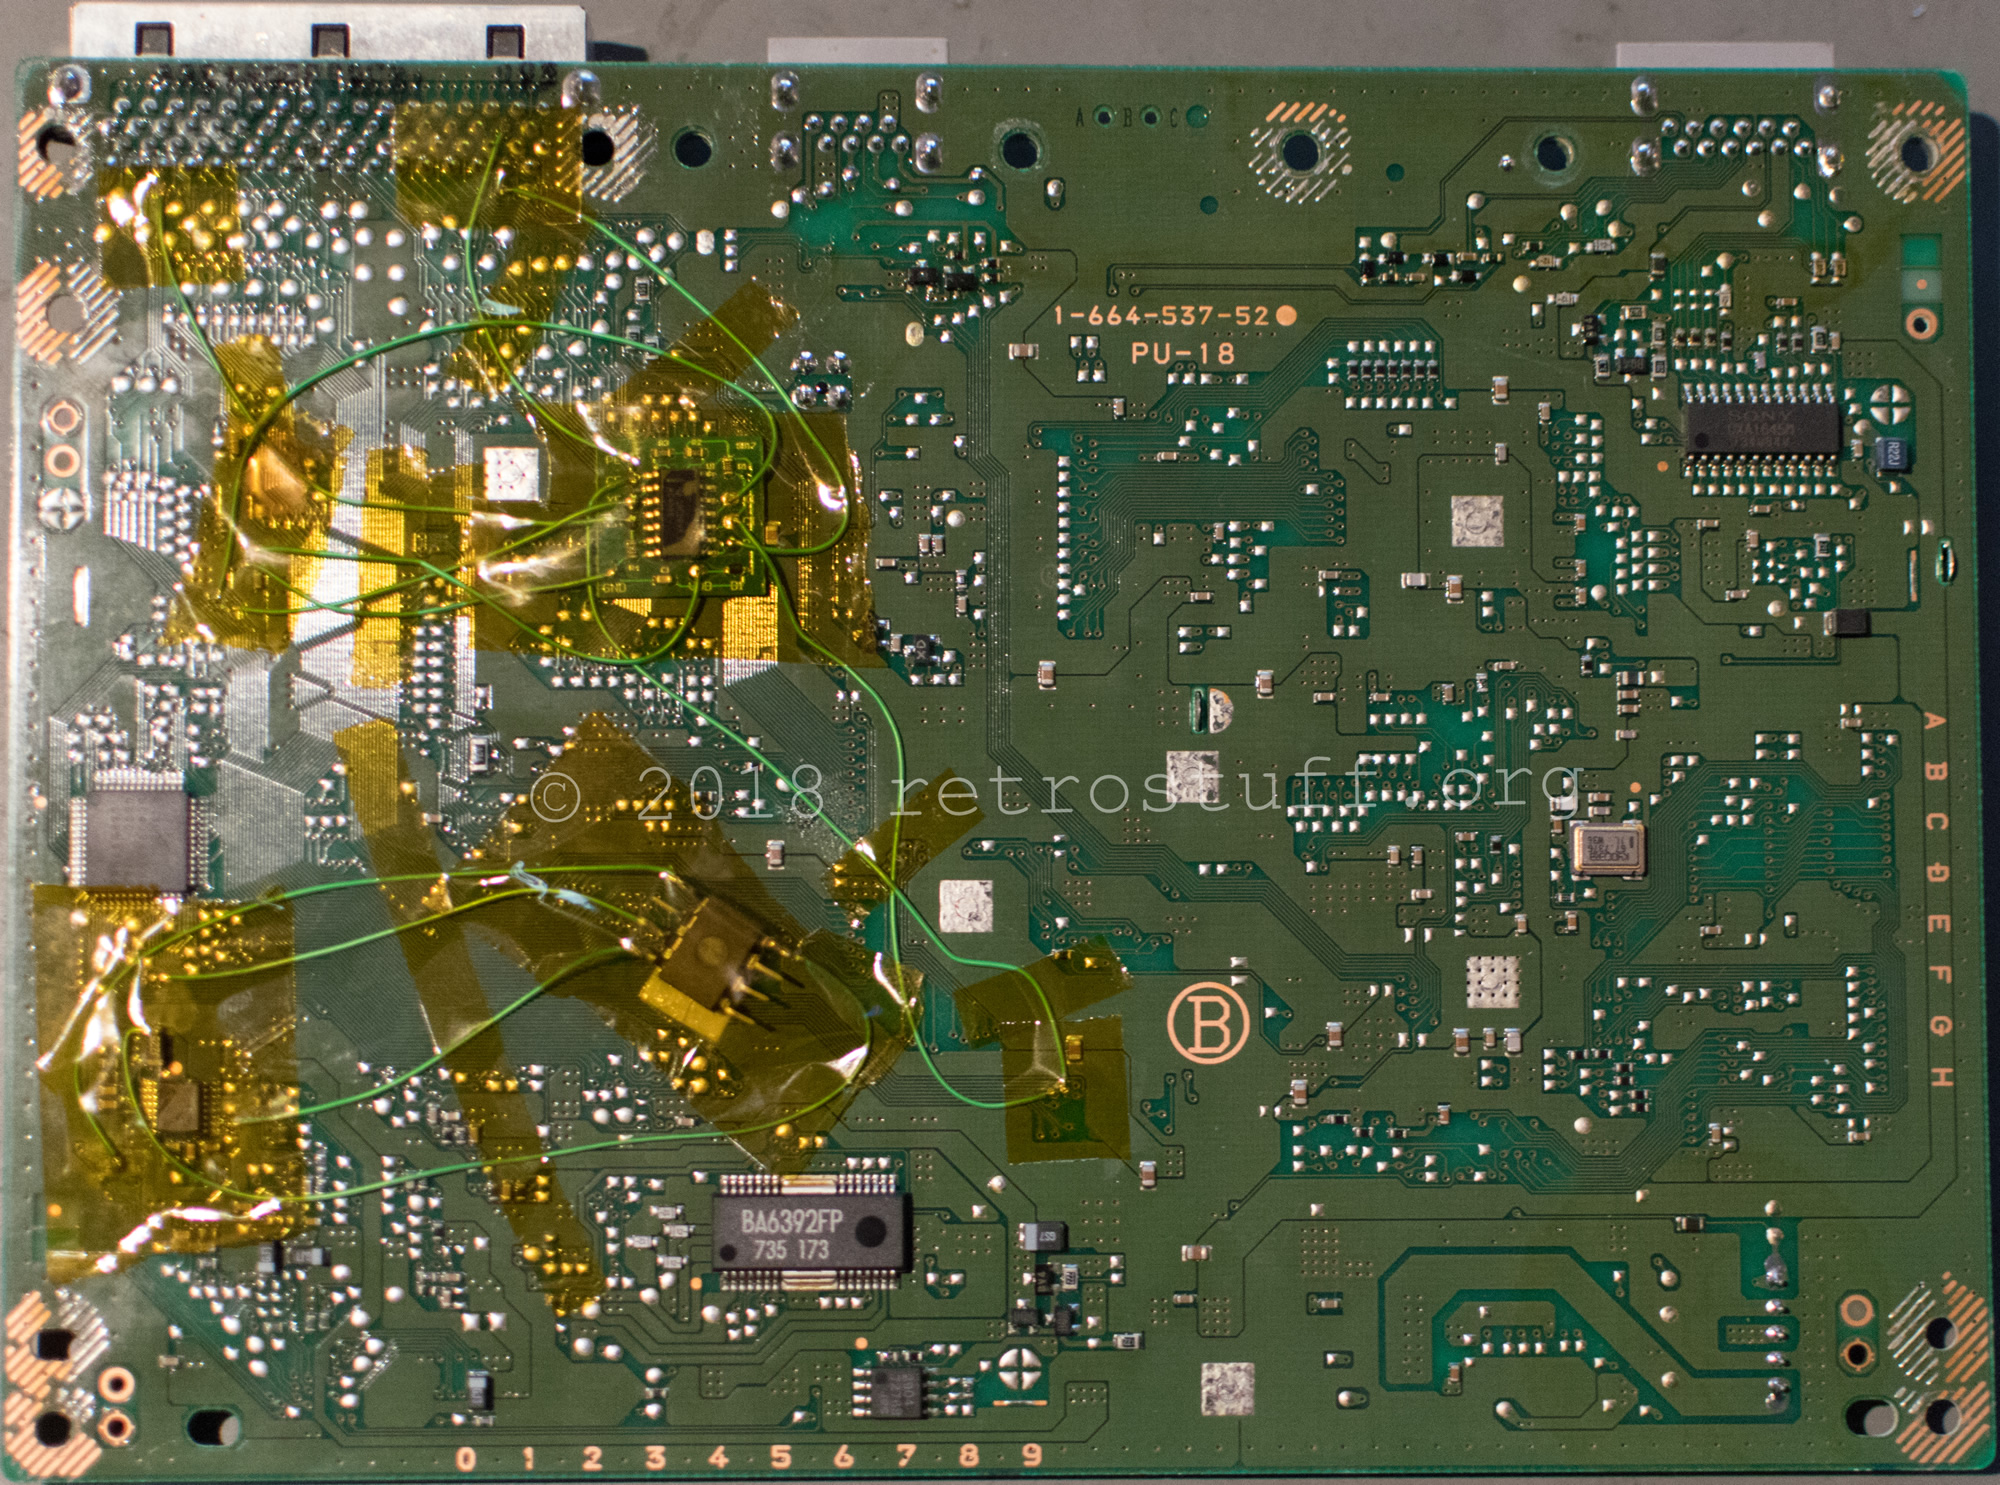
Before reassembling the console I tested the installation with the PSIO cartridge plugged in. It worked on the first attempt.
Some final touches: freeing the ground contacts and tidying up the modchip wiring with the leftover wire.

Ready to play!