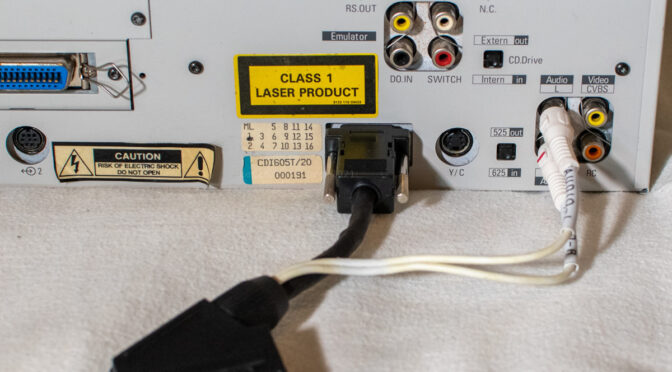
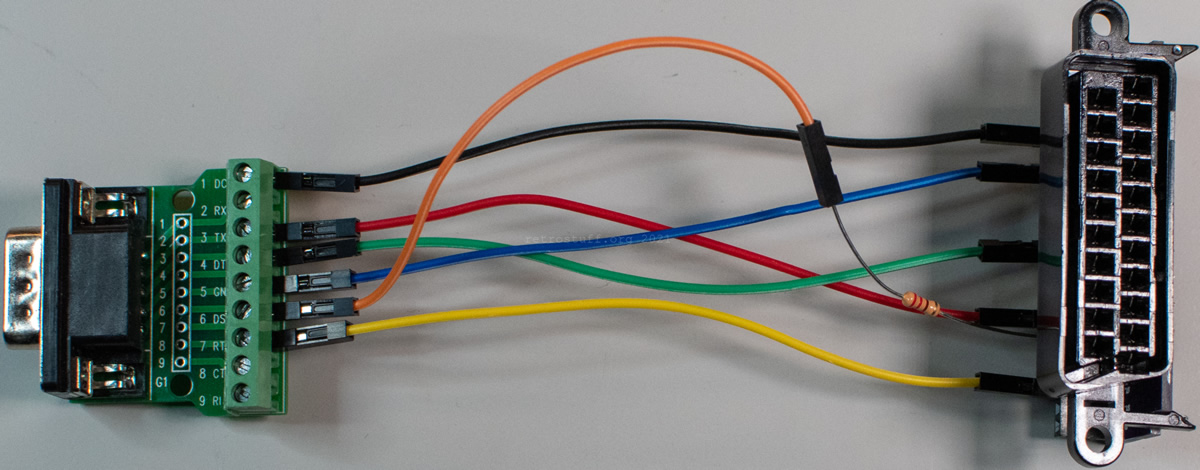
The second generation professional and authoring CD-i players of the Philips CDI60x series feature a DE-9 RGB port. To improve the video quality of my CDI605T/20 and also to prepare for future experiments, I built a prototype RGB SCART adapter. The needed pinout is documented in the 605 and 605Tuser manuals on ICDIA.
Philips CDI605 RGB SCART adapter – prototype
After the first tests were successful, I made this schematic for an adapter with a SCART socket (output) for both RGB video and audio:
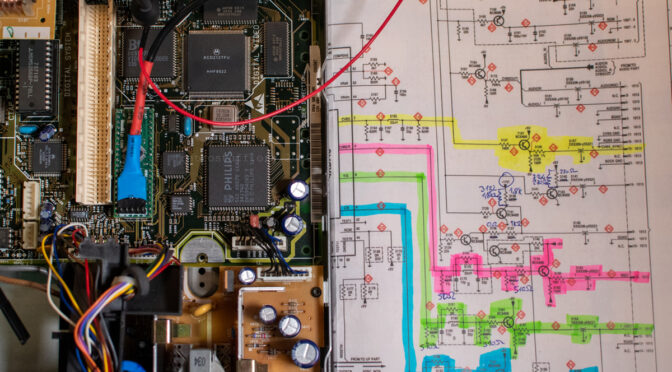
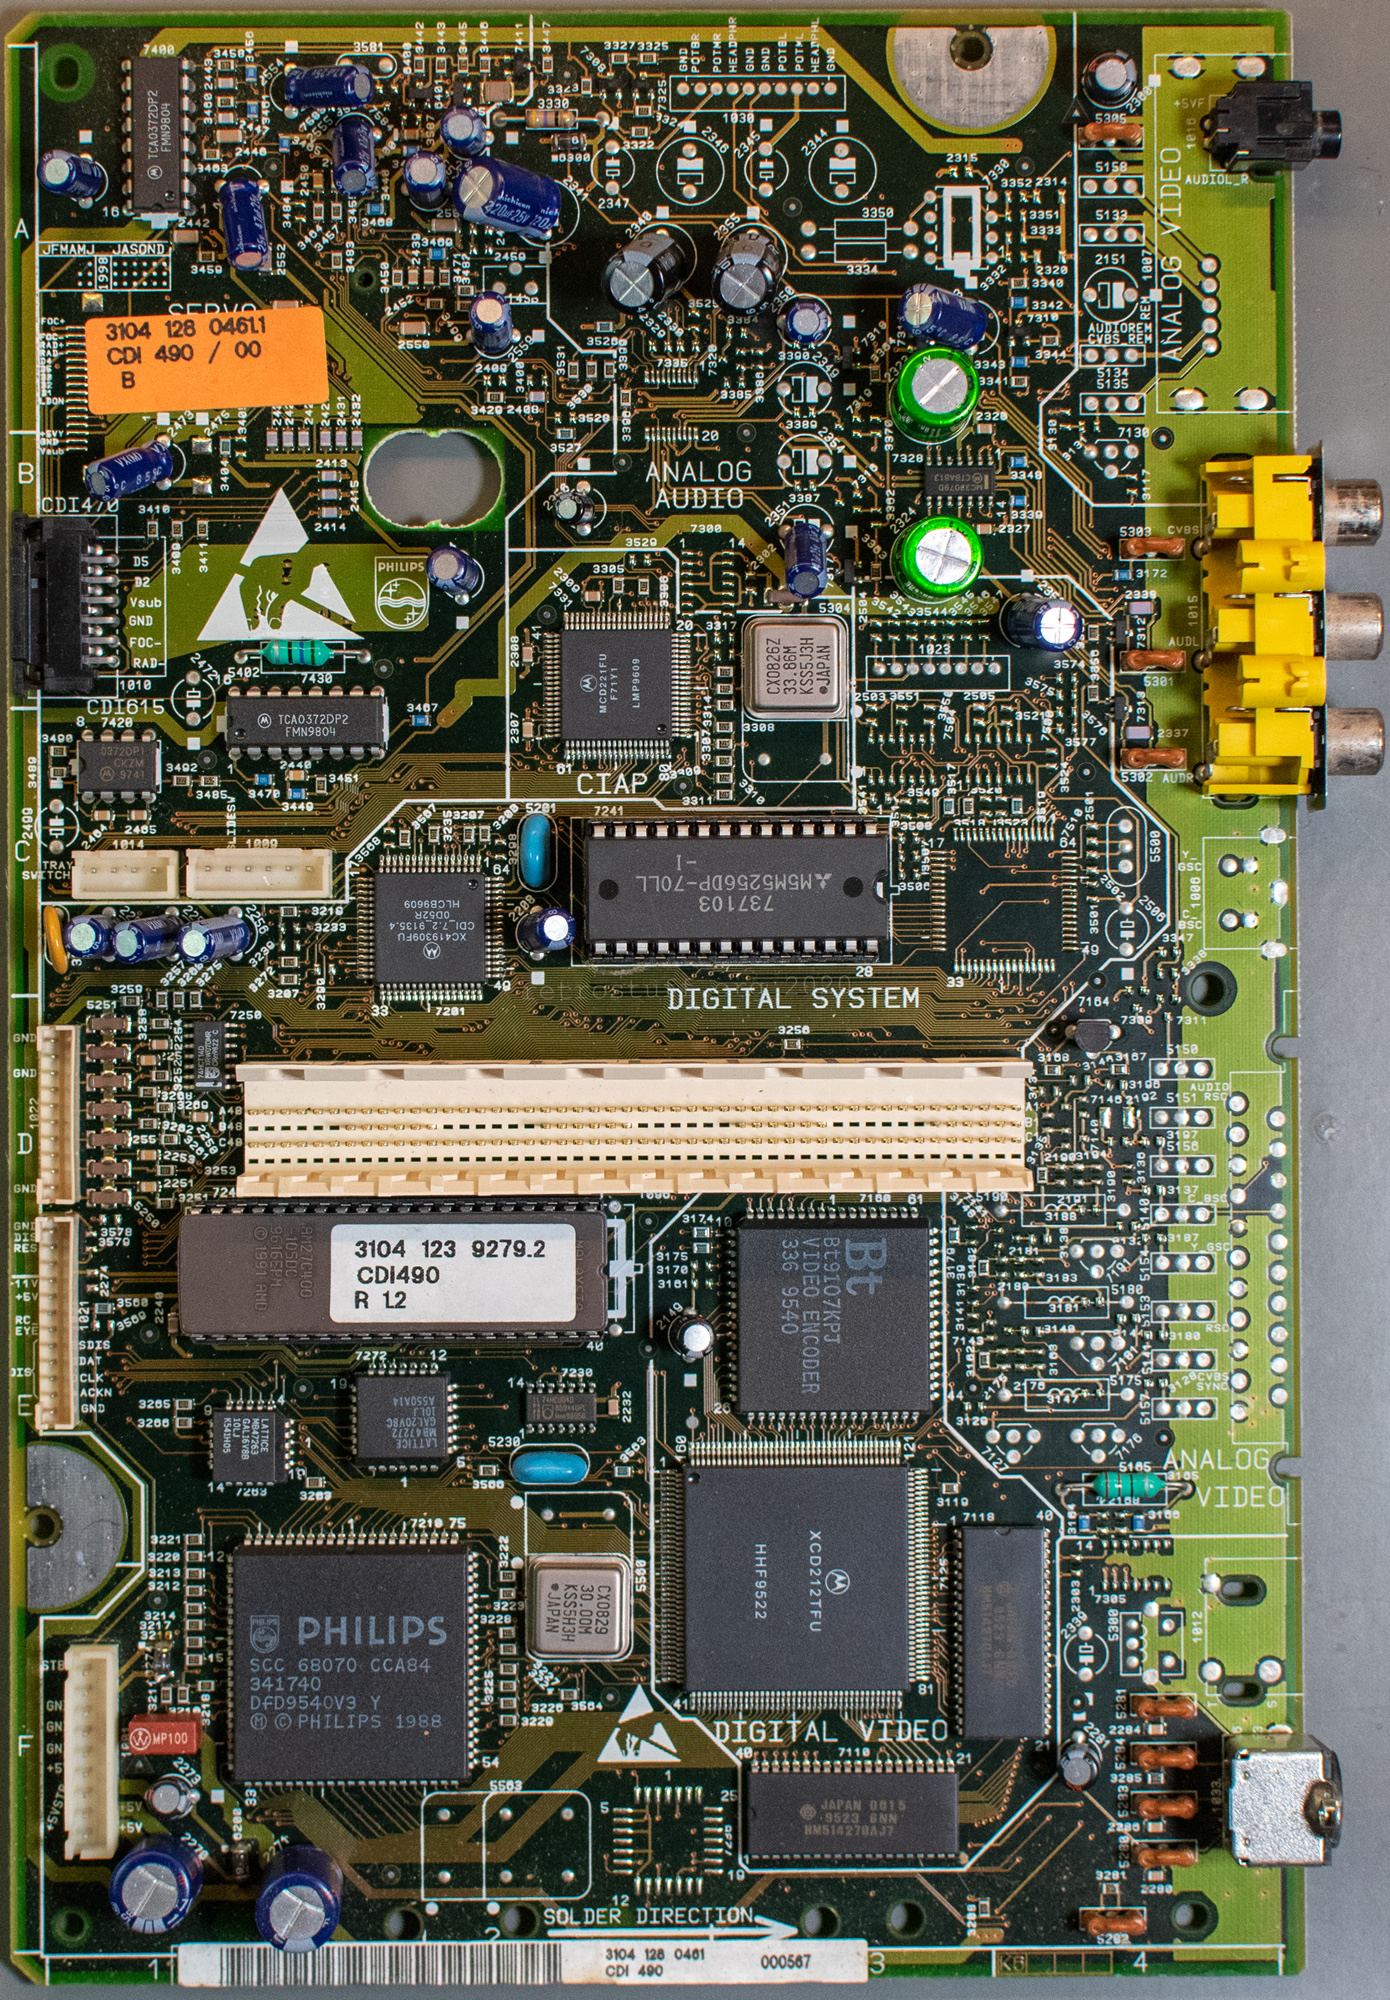
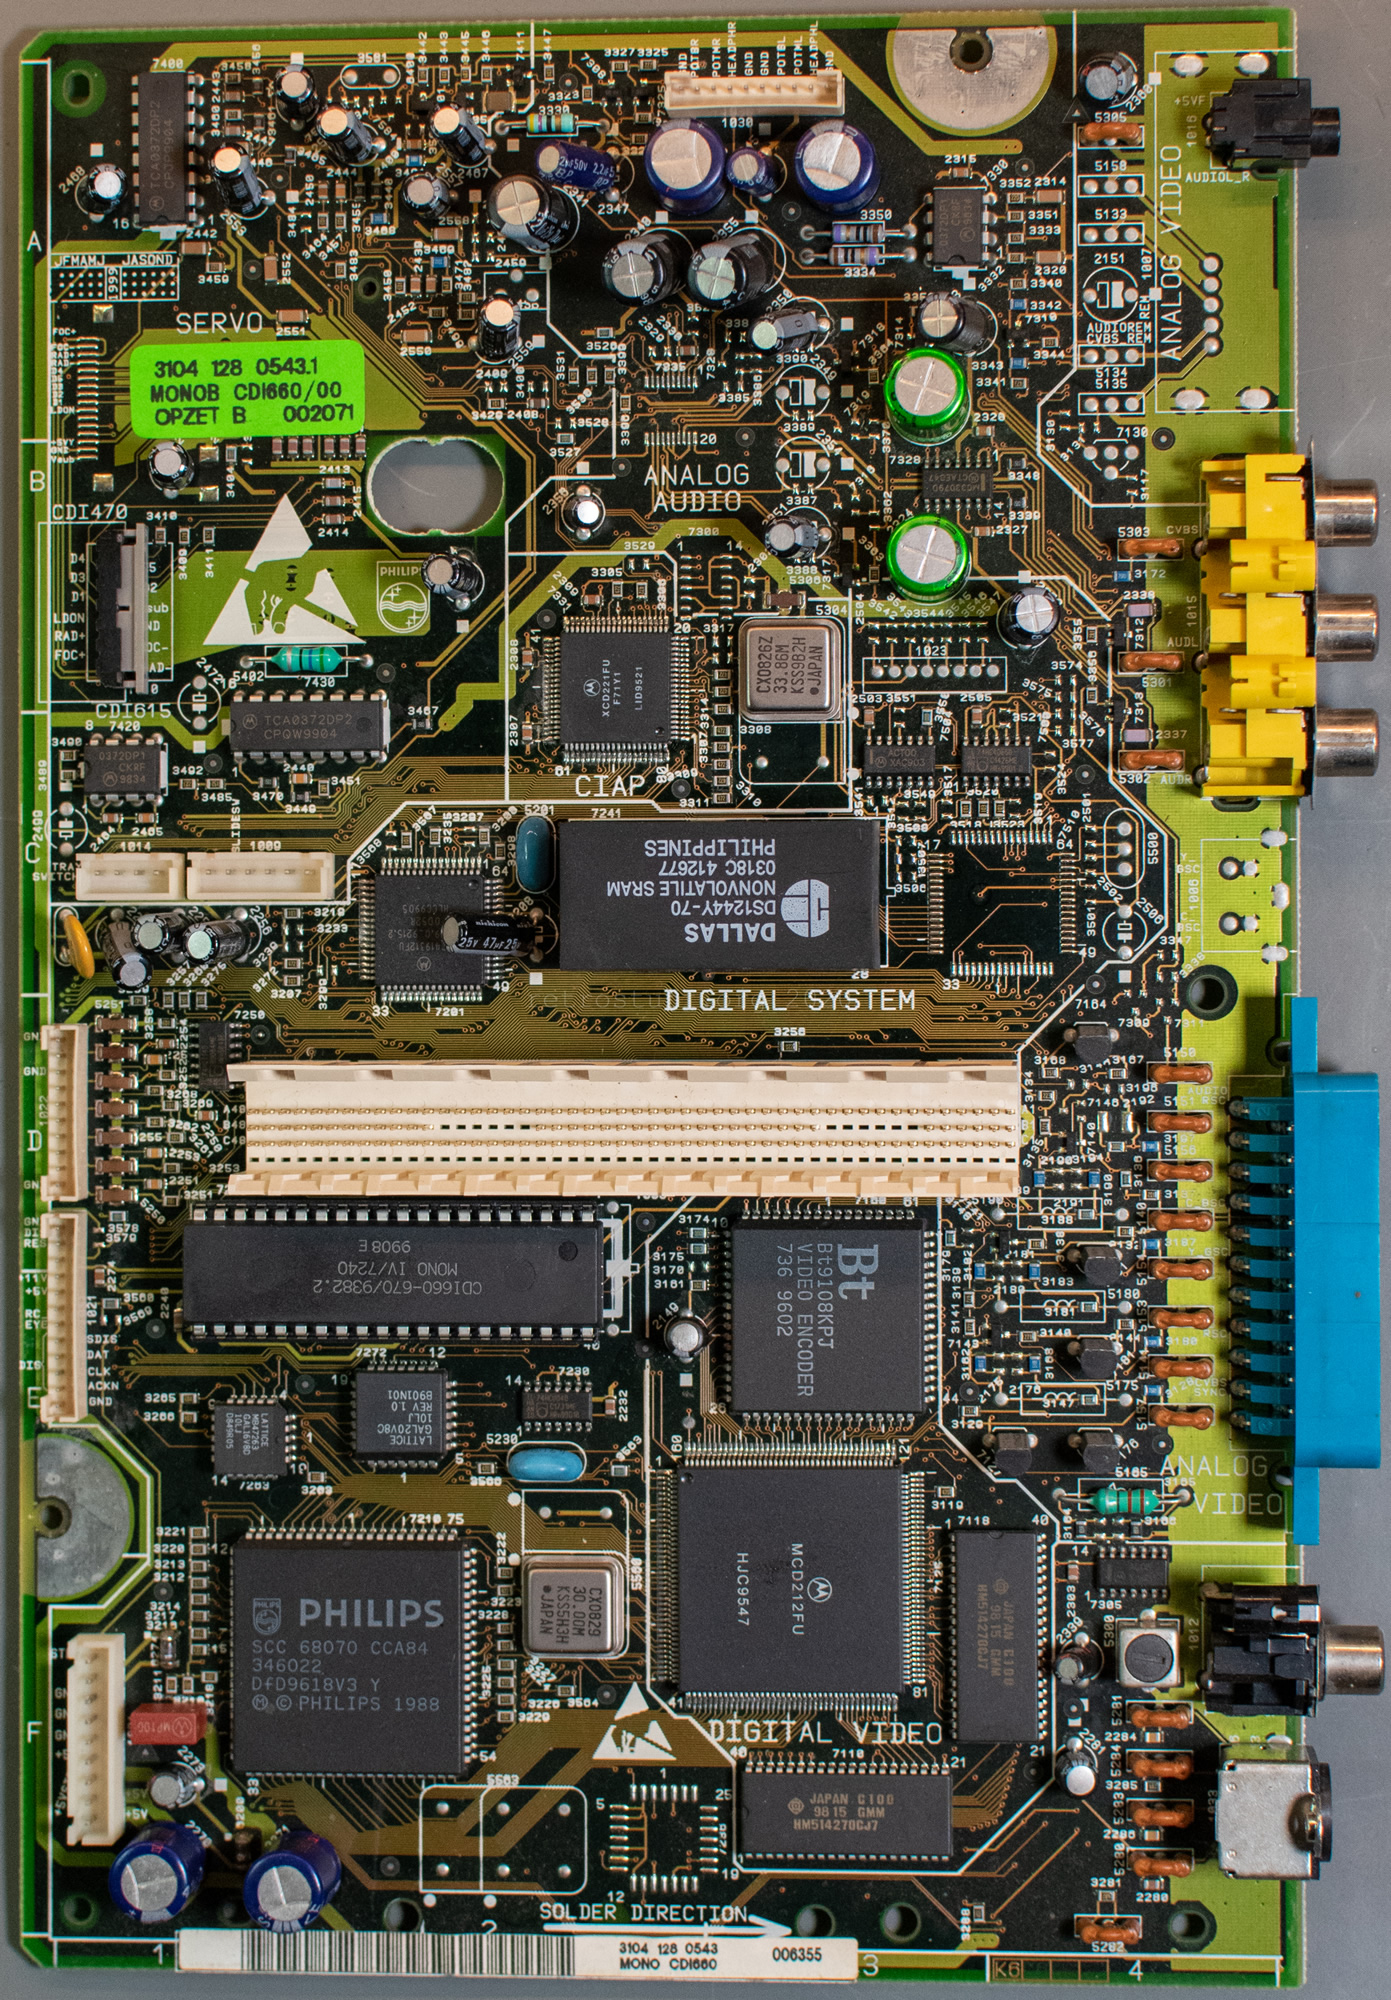
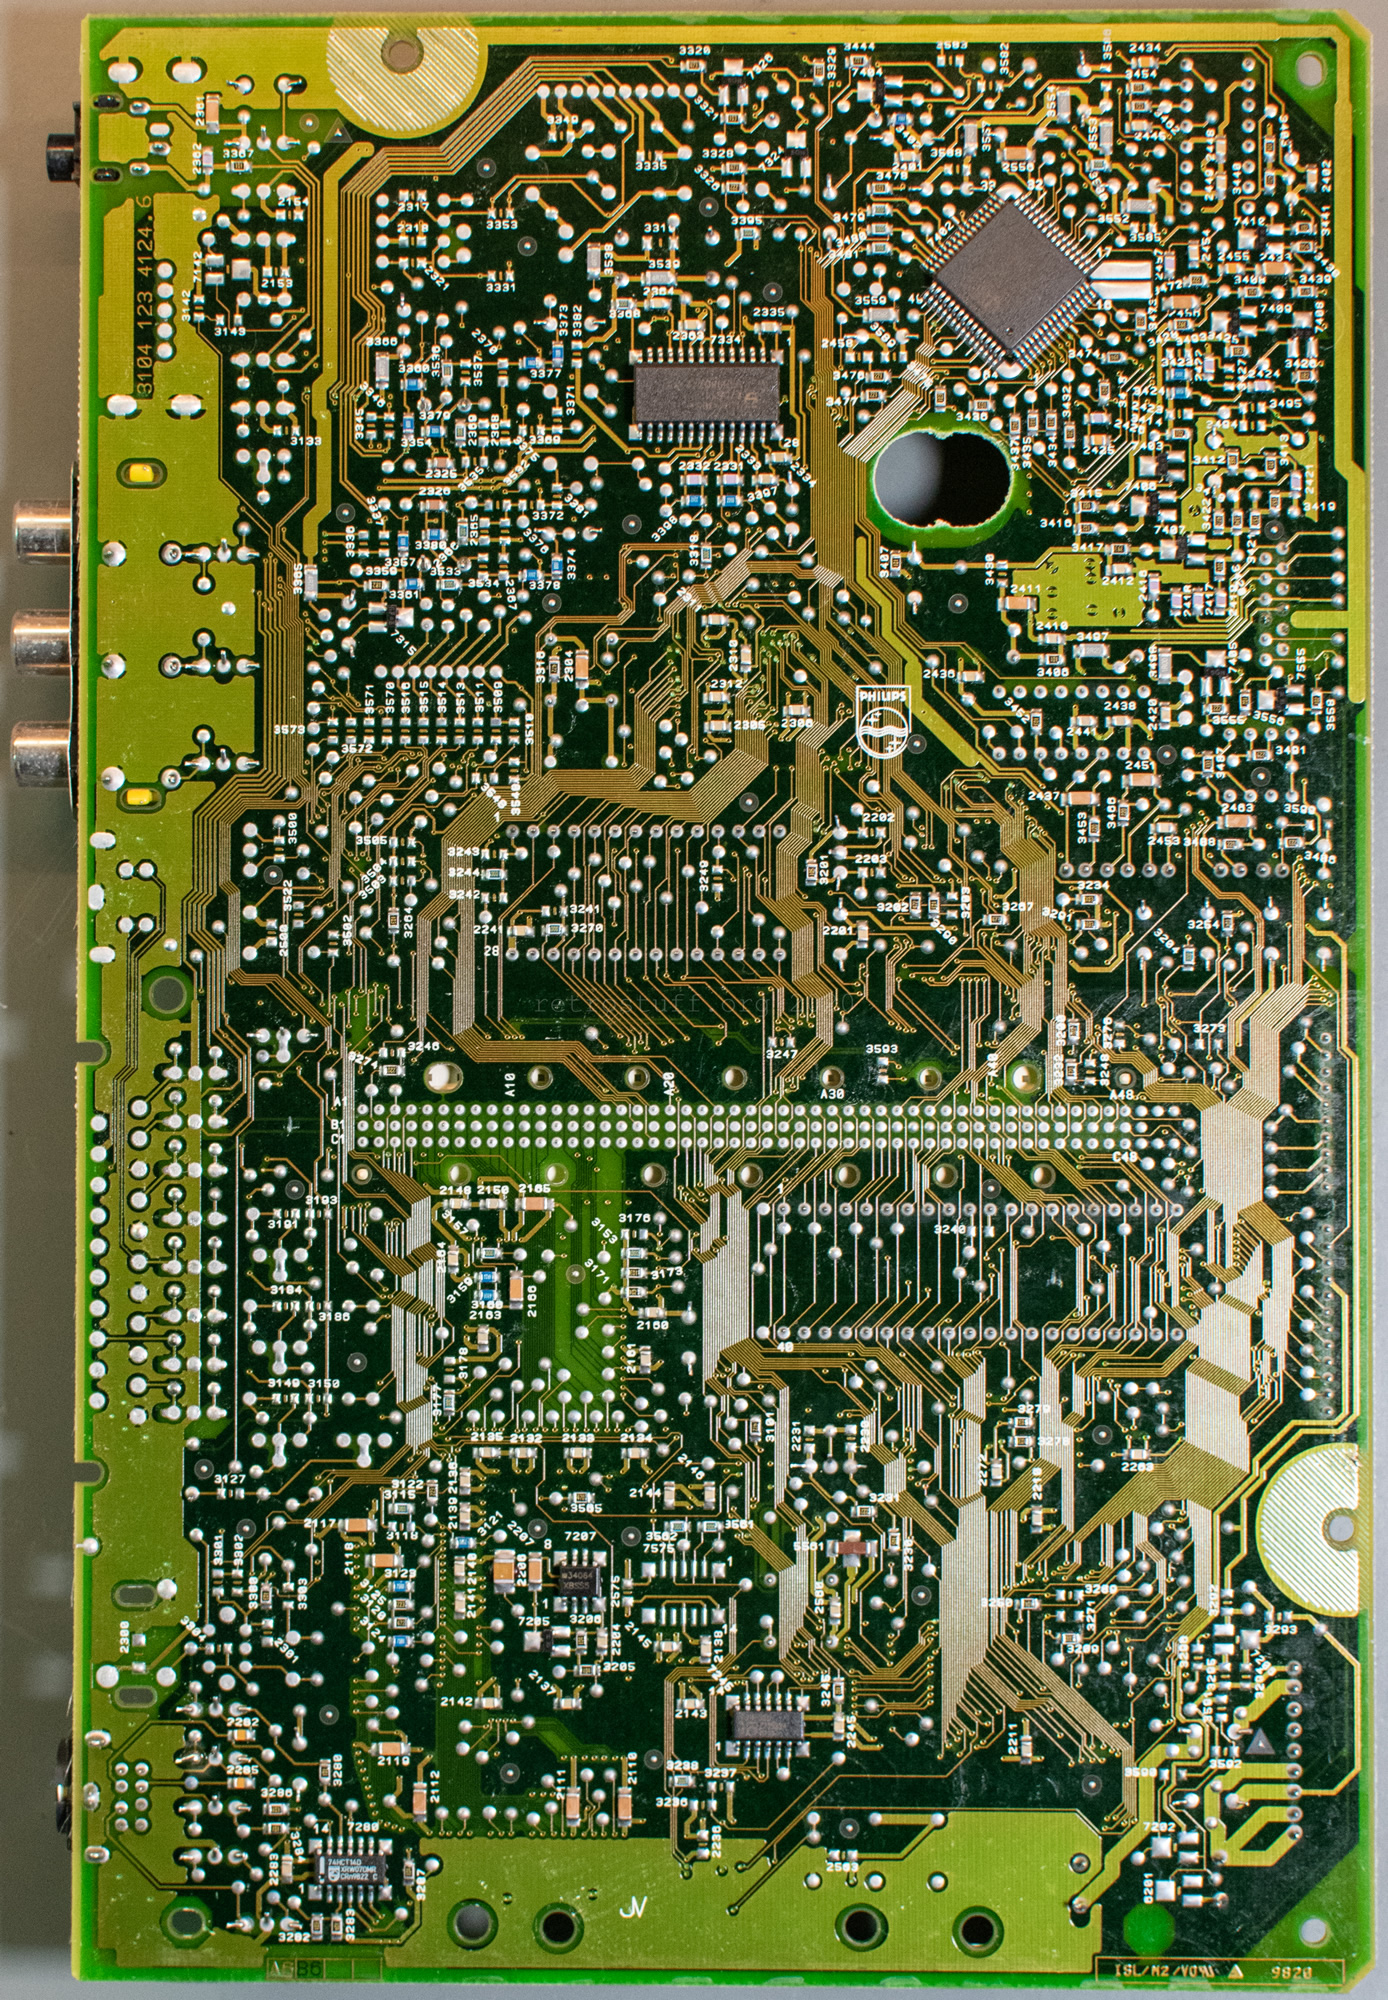
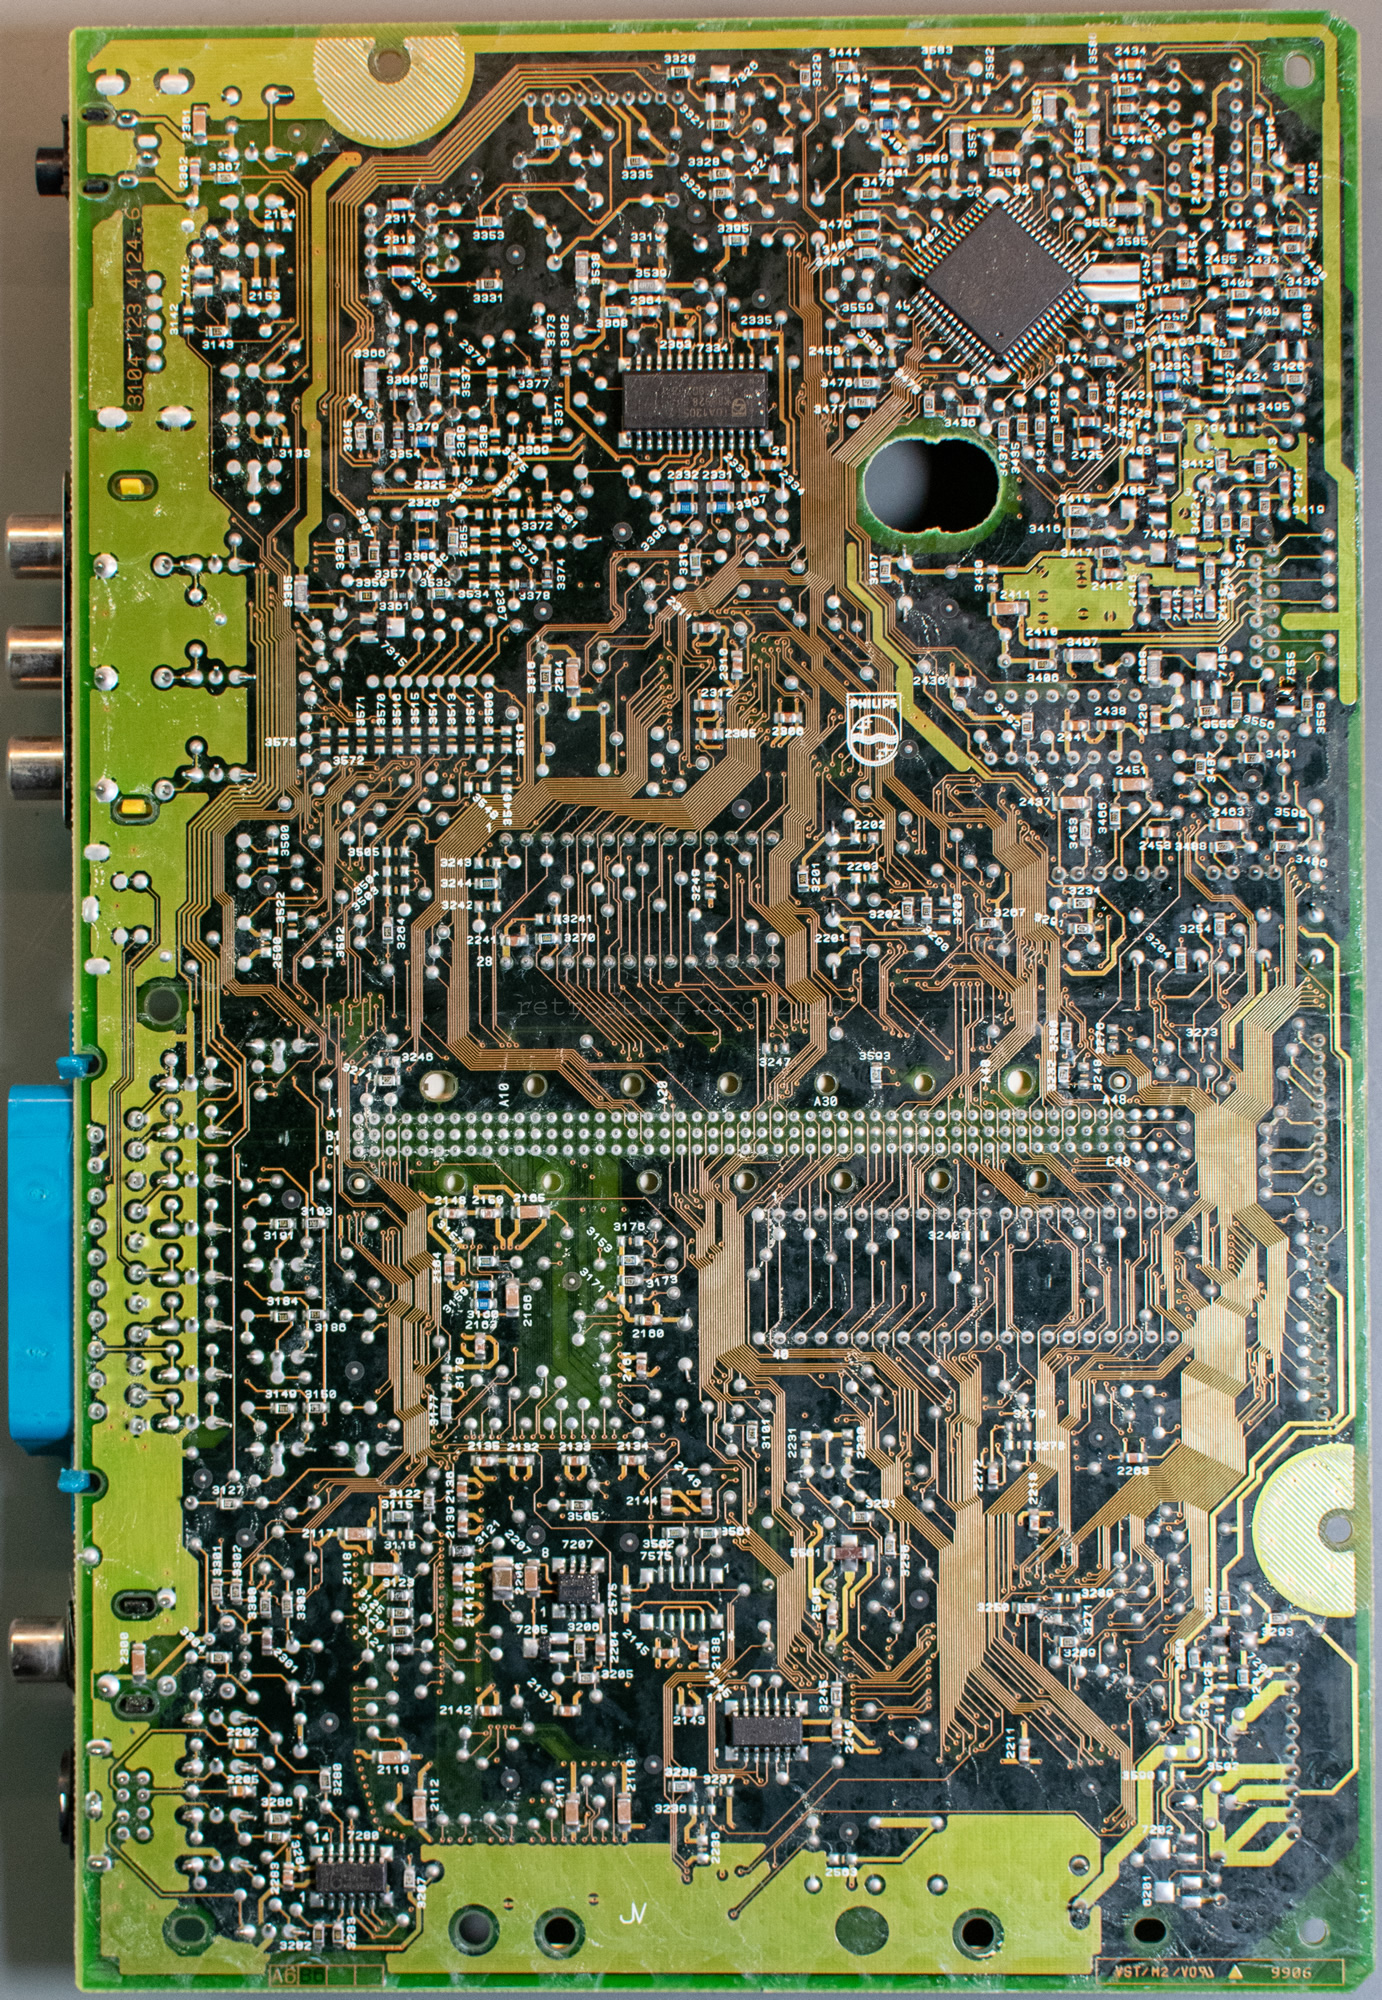
It has been on my table for a while to figure out a working Philips CDI490 RGB SCART modification. The topic caught my interest when it came up in the community on The world of CD-i last year. Back then, I thought it would be quite easy because the small 470 and 490 CD-i players share a certain mainboard (Mono IV) with their big brothers 660/00, 220/80 and 210/60. There are only some components missing that could be figured out by looking at the service manuals.
CDI490/00 and CDI660/00 Mono IV mainboards
However, I couldn’t try it out back then because I didn’t have a working 470 or 490. I focused on repairing my 470 first and then adding a PAL/NTSC switch. Eventually, I bought the needed components and two broken 490s to experiment with.
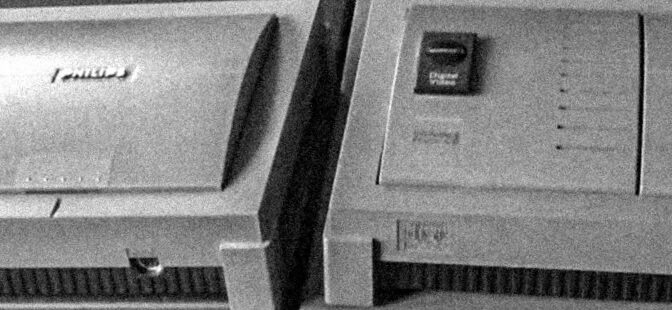
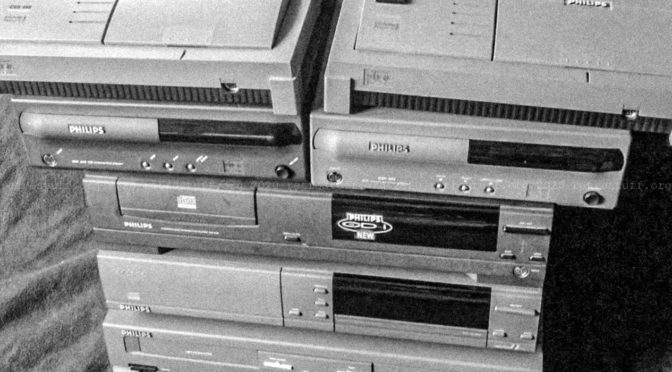
In 2014, I bought two top-loading CD-i players, the Philips CDI550 and CDI450. While the Magnavox CDI550 pops up every now and then in the U.S., the Philips CDI550 is quite rare in Europe and I’ve only seen a single one in all these years.
It’s been a while since I opened my first Philips CDI350 portable CD-i player and published a repair guide with capacitor list. I have already received some positive feedback that this was helpful for others fixing their players. However, part 2 of the article ended with a big question mark because some topics remained unsolved. Let’s have a look at the status of these topics and see if I can resolve them today in Philips CDI350 Repair Part 3.
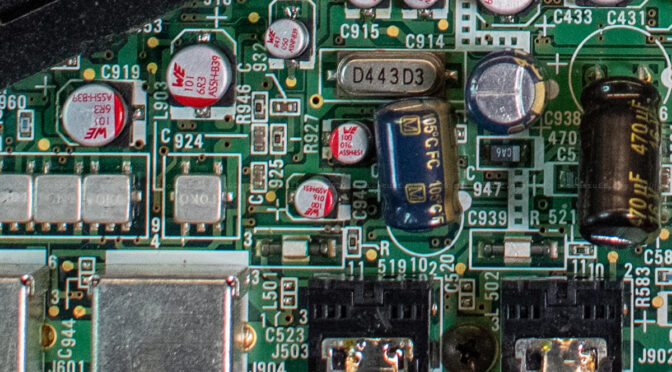
1. S-Video output is not working
This turned out to be my fault. After carefully following the traces to and from the video encoder and comparing every component with the service manual, I noticed that I had soldered two electrolytic capacitors with the wrong polarity: C938 and C991. I can only assume that this happened because I used the + marks as indicators and not the white dots. Just look at the vast amount of plusses:
This is the second part of the follow-up to my article from 2013 and explains in detail how to back up and restore NVRAM data with CD-interlink. The other option, CD-i Link, and how to connect a Philips CD-i player to a modern Windows PC is covered in the first part. Make sure to follow the guide to set up the connection and the terminal program Tera Term.
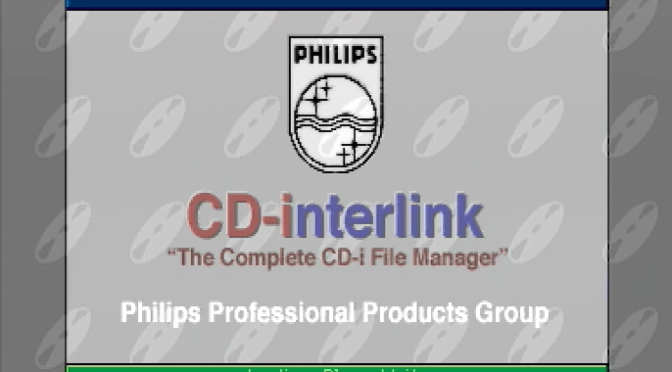
CD-interlink (alternate spelling: CD-i’nterlink, CD-Interlink and CD-InterLink) is a program developed by Novaré International (and human interaction inc.) in 1994. It is dubbed The Complete CD-i File Manager and has some useful functions to view and manipulate single/multiple files in the NVRAM. Some functions require the connection to a terminal. At first sight, it seems to be easier to use for beginners because it has a graphical user interface that can be operated with a CD-i controller. Don’t get fooled by this though, because file transfers are actually more complicated to set up than with cdilink.
This article is a follow-up to my article from 2013 and explains how connect a Philips CD-i player to a modern Windows PC and how to back up and restore NVRAM data with CD-i Link. The other option CD-interlink is covered in this article.
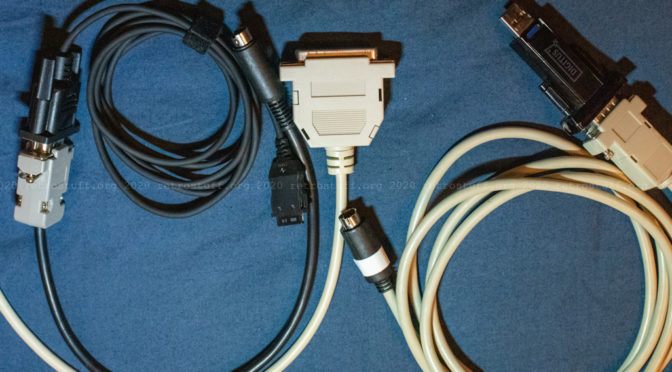
Back then, I built a null-modem cable which I still use today. Over the years I’ve used it to connect all my CD-i players to PCs and portable devices for data transfer and debugging purposes. However, some models required additional adapters and/or different connectors.
Cables and setup
For most Philips CD-i players you will need to make a null-modem cable with Mini-DIN-8 and DE-9F connectors according to the CD-i Nullmodem Cable Specification found on this page. The Mini-DIN-8 connector goes into the back port of the player (usually labelled INPUT 2, RS-232 or SERIAL I/O).
This is an attempt to collect all known and available modifications for Philips CD-i players in a single article. Consider it a work in progress – I will add new information from time to time. Please give feedback if you find an error or want to add something to this article.
Due to the plethora of different models, versions and revisions of CD-i players that have been sold under the Philips / Magnavox or entirely different brands (OEM), it is virtually impossible to create one big list that contains every player. I chose a different approach with several lists to cover most of the hardware combinations: Available modifications, mainboards, and video encoders.
50/60 Hz modifications are quite simple hacks that have been figured out for almost all Philips CD-i player types with SCART connector. But what about all the CD-i players that do not have an RGB output, either because of reduced cost or because they have been sold outside of Europe? Technically, they can still be modified, but the foreign mode is pretty useless and results in a black and white picture or no picture at all.
The reason is easily explained: All Philips CD-i players have a main system clock at either 30,0000 MHz (PAL) or 30,2098 MHz (NTSC) and additional clock generators for some components. All newer players (Mono III and up) have a Brooktree video encoder and generate the colour subcarrier frequencies (PAL 4,4336 MHz and NTSC 3,5795 MHz) from the system clock. The older players with a Sony video encoder use one or two additional crystals and some more components for this task.
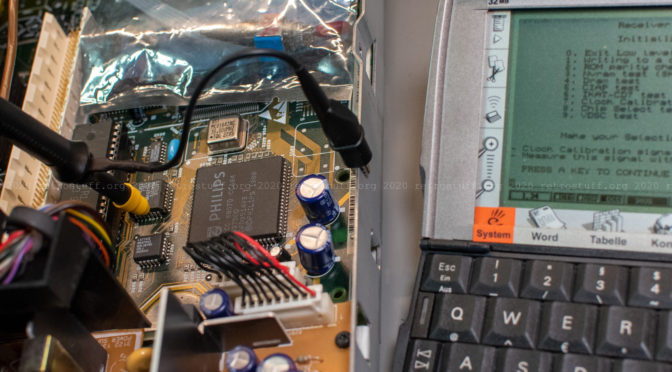
If your CD-i player’s clock is way off, then you can try to make use of the Timekeeper clock calibration tool of the low-level test. Be aware that it needs an accurate frequency counter and won’t help if your Timekeeper suffers from an empty battery.
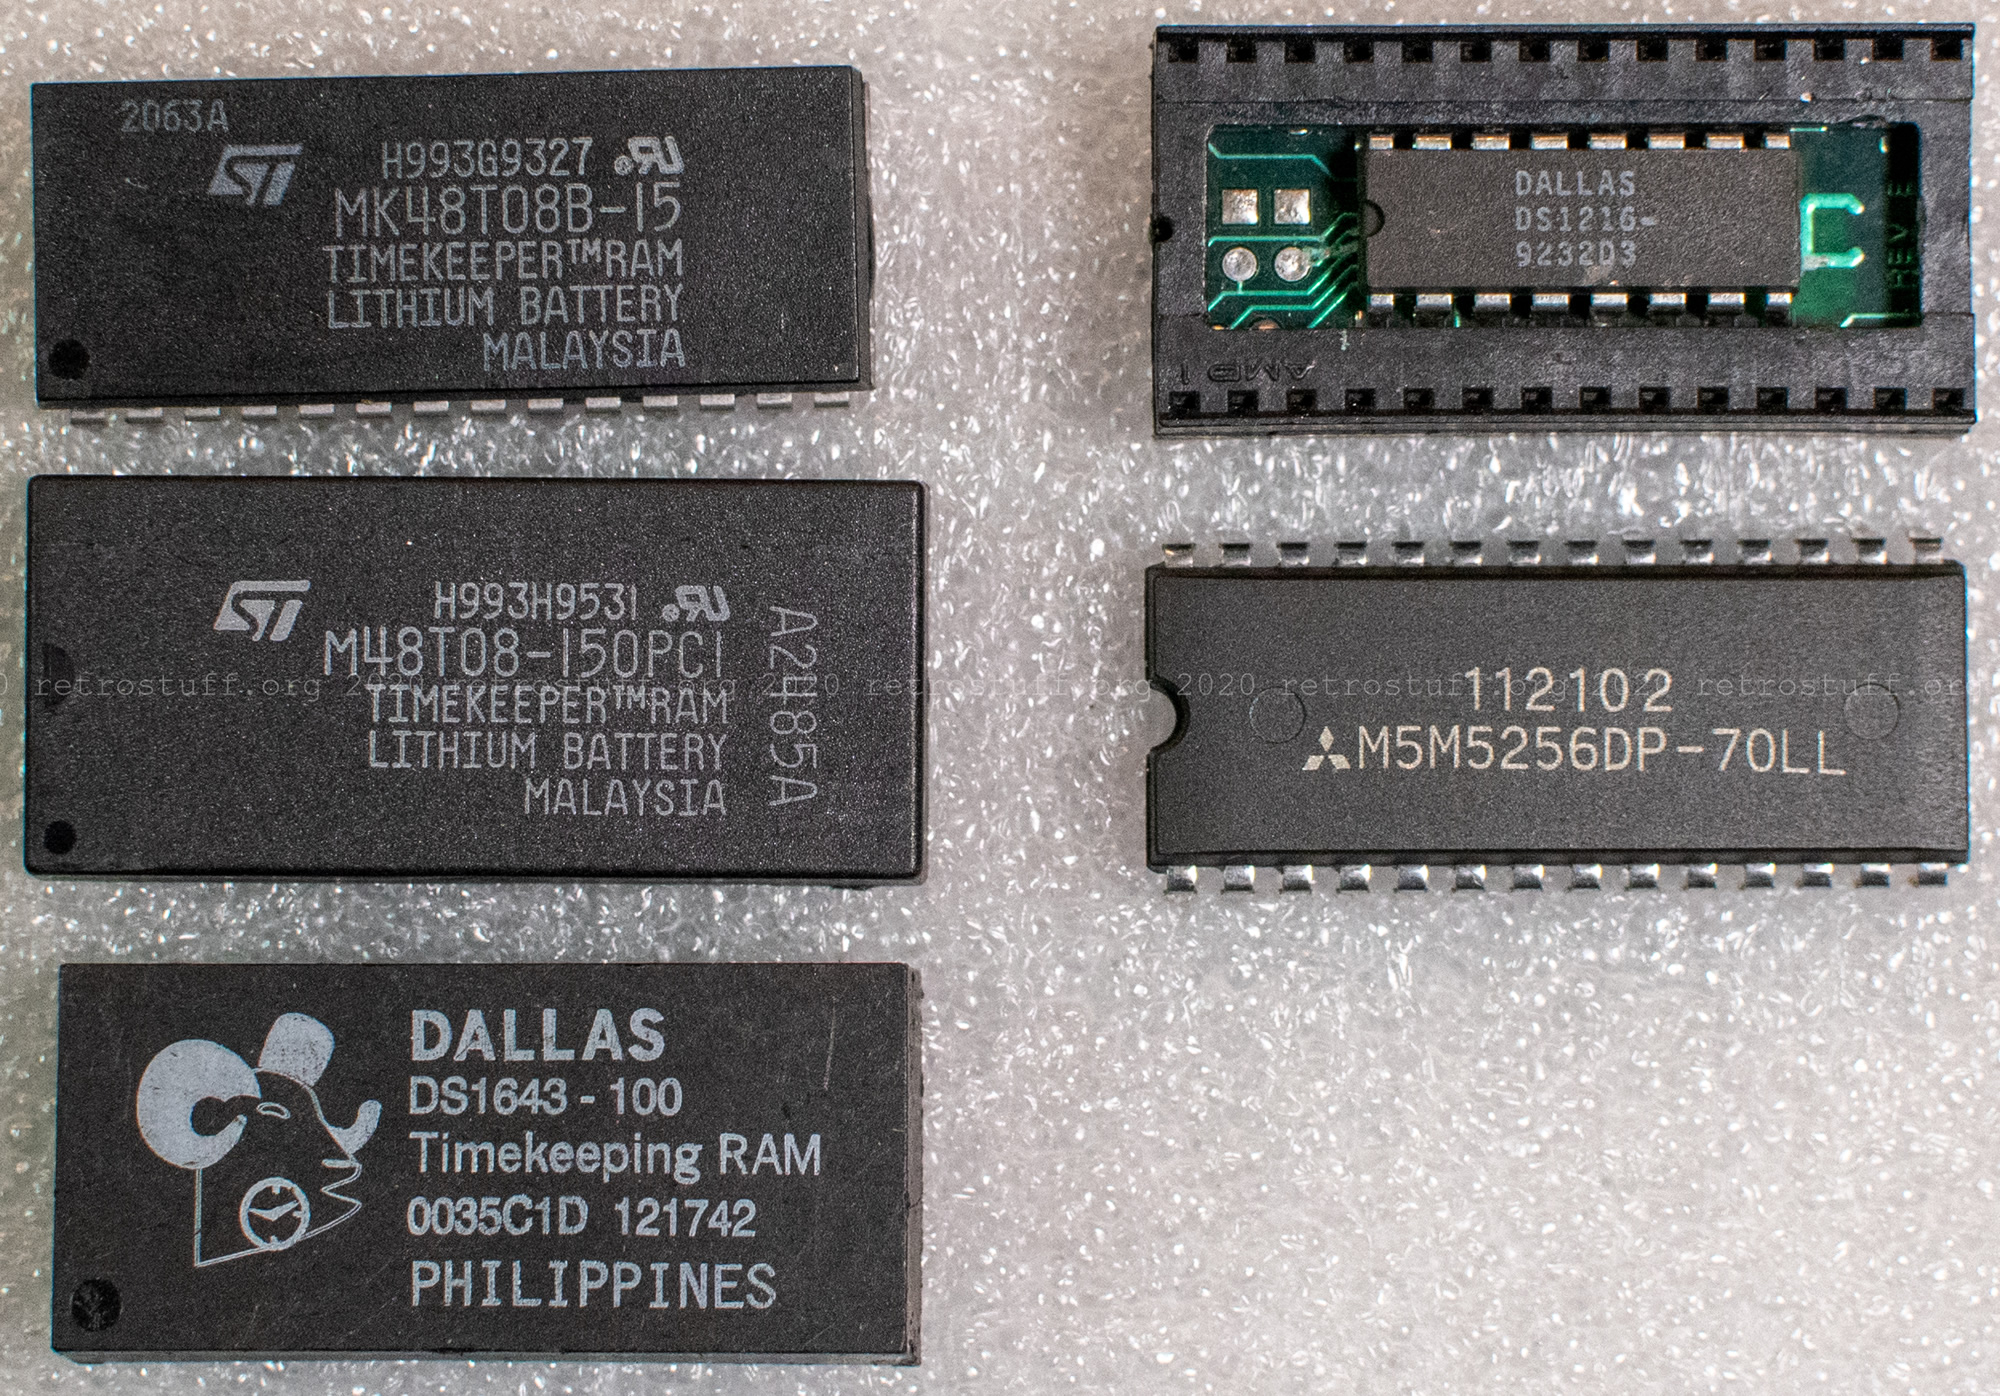
Here are some NVRAM+RTC solutions. The 8 KB chips operate within the accuracy of ± 1,53 minutes per month at 25 °C (and the 32 KB socket better than ± 1 minute per month). 8 KB – ST MK48T08B and M48T08 Timerkeeper. 8 KB – Dallas/Maxim DS1643 NV Timekeeping RAM. 32 KB – Dallas/Maxim DS1216C SmartWatch RAM (with Mitsubishi M5M5256DP SRAM).
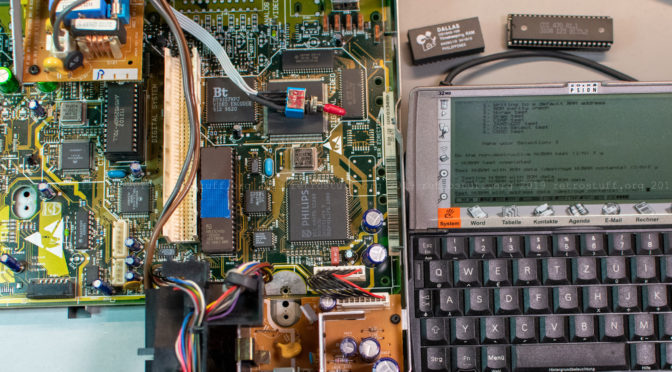
Some time ago, I noticed that the service manuals of most Mono II – IV boards have notes about 8 and 32 KB NVRAM types, to be set by jumpers and resistors. I never attempted to do that upgrade because most of my CD-i players feature 32 KB NVRAM or have older mainboards that cannot be upgraded. When I mentioned the possibility in this article, CD-i Fan warned me about the consequences: If device driver and descriptor in the ROM don’t support the extra RAM, then the player might not recognize it and lose the real-time clock – or it won’t work at all.
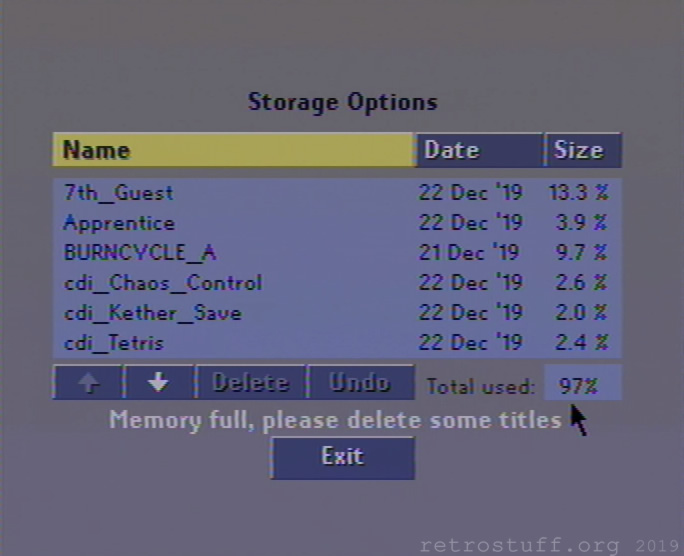
Why would you want to upgrade the NVRAM anyways? For example, the save files of The 7th Guest, Lost Eden and Burn:Cycle already take up a lot of space. Add some more games and settings, and you will soon reach the critical limit of 97-98% where the player refuses to start.