What if your favourite CD-i game refuses to start or shows some weird behaviour? Most likely, this is to blame on a defective Timekeeper and/or laser. This topic has been covered years ago. There is another problem with the game The 7th Guest, which is completely unrelated to the problems mentioned above though.
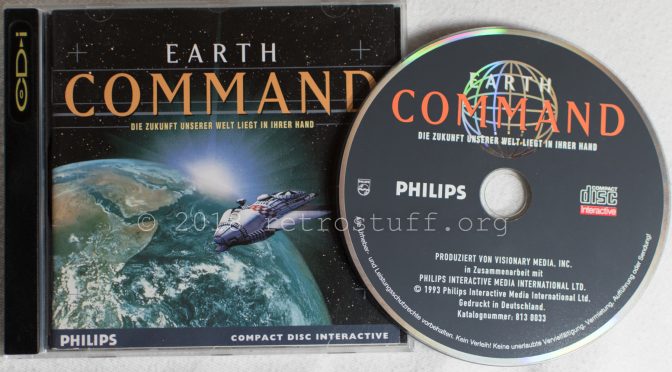
Earth Command isn’t my favourite game. It makes some fun for a while, to tamper with the various settings and eventually watch the world burn, but it never got me hooked for a long time.
Then the reports of some people caught my attention. Some had trouble starting the game, as the screen just turned black after the intro, while others had no problems with the game at all. There was no common denominator to pin down the problem, as all the CD-i players they’ve used were of different revisions and generations.