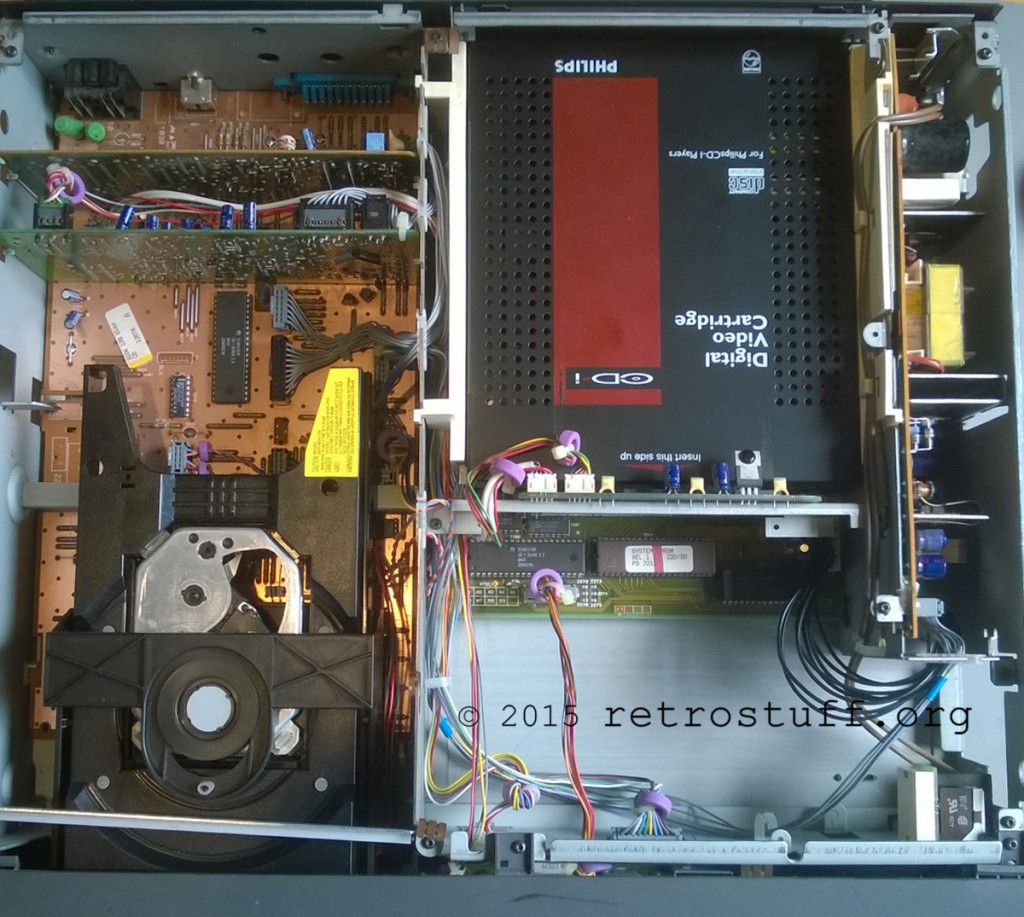
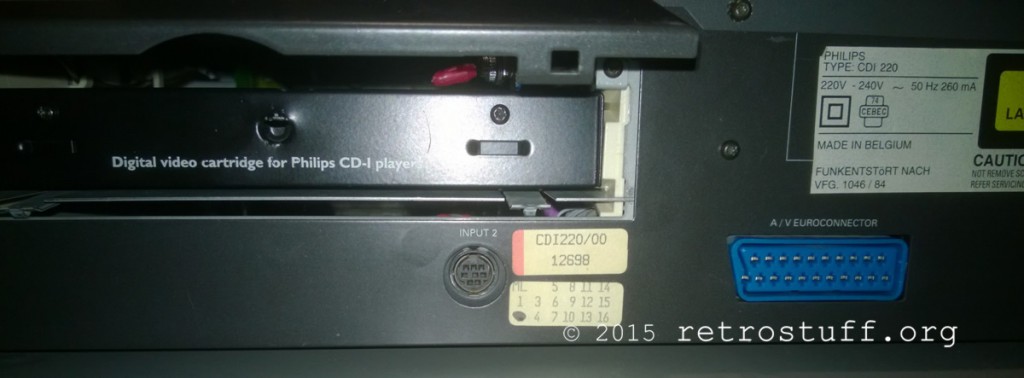
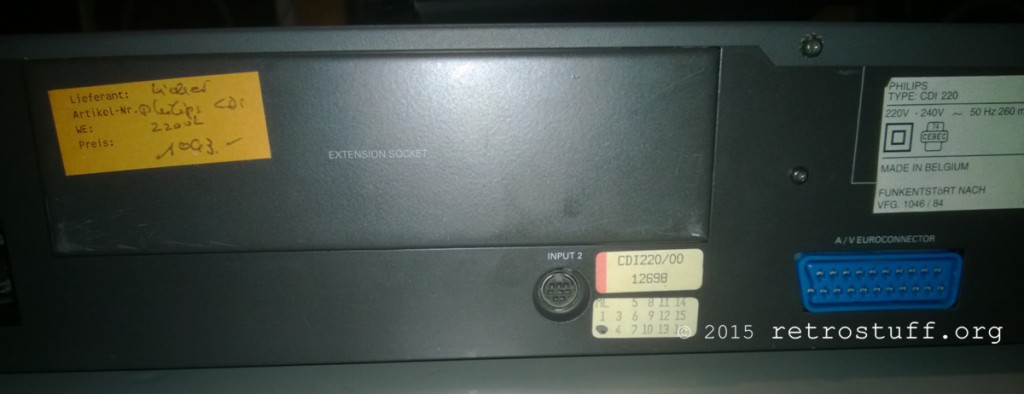
Recently I found a CDI 220/00 with Mini MMC mainboard. It’s a heavy and bulky unit that contains lot of PCBs, wires, screws and metal parts. It’s one of the first consumer CD-i players. Later models have all components on one single mainboard (Mono).
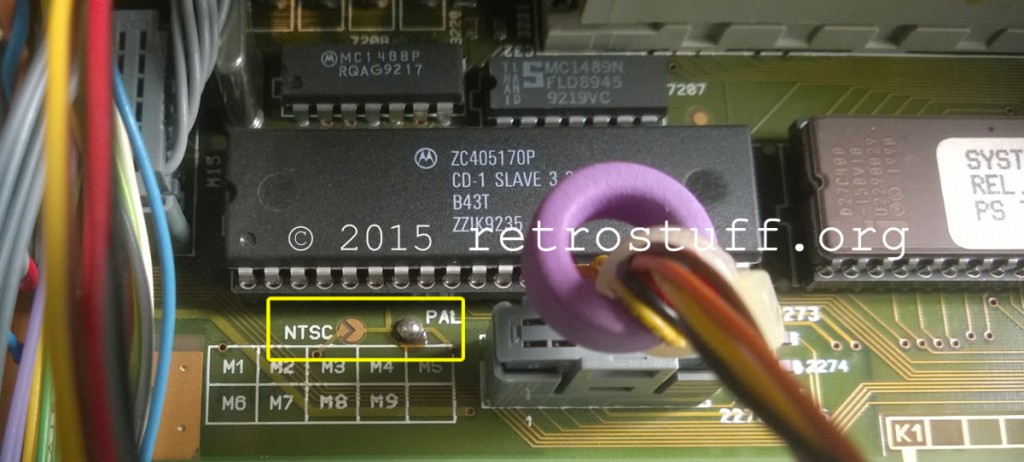
Doing a 60 Hz modification is very easy; just move the solder blob from PAL to NTSC or install a switch at the NTSC, middle and PAL points.
However, replacing the Timekeeper chip is rather complicated, as you have to disassemble half of the unit to reach the mainboard. Update: You can also remove the bottom of the case and access the Timekeeper from there (this is shown here).
Note: All screws are Torx T8.
First, remove 5 screws with washers to open the top case, then the back bezel (3 screws) and DVC door.
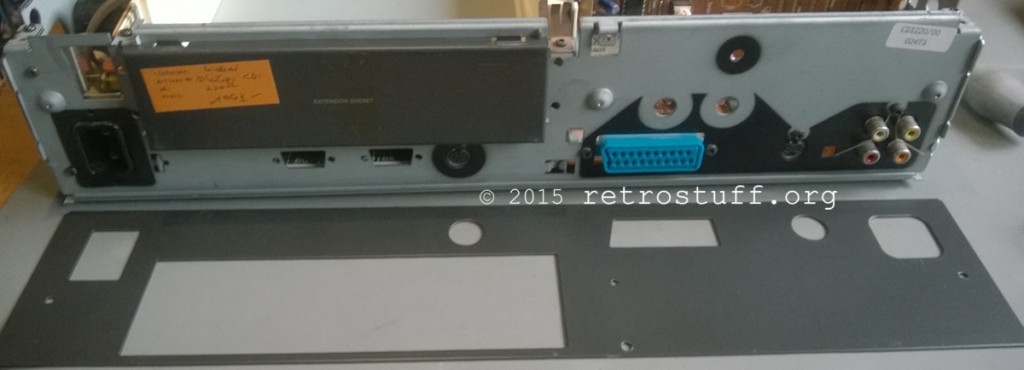
Slide out the DVC base and the two plastic guides on each side.
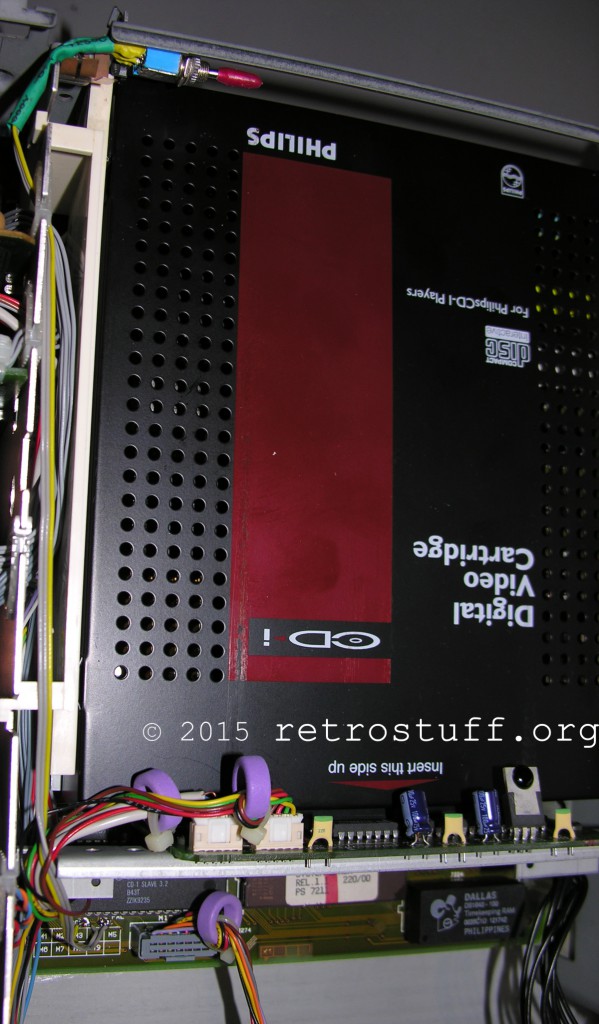
A close-up view of the PCB that holds the DVC:
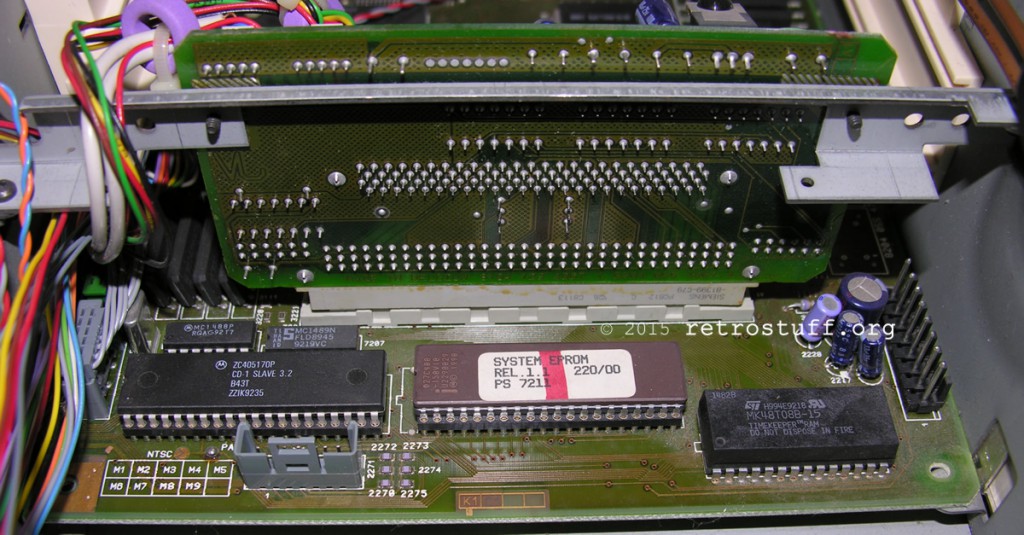
At the back of this PCB is the working area, PAL/NTSC on the left and Timekeeper chip on the right (and some dust). Don’t bother unscrewing the PCB, just unscrew the piece of metal (2 screws) and put the whole thing over to the CD side.
Now it’s time to lift the mainboard (3 screws):
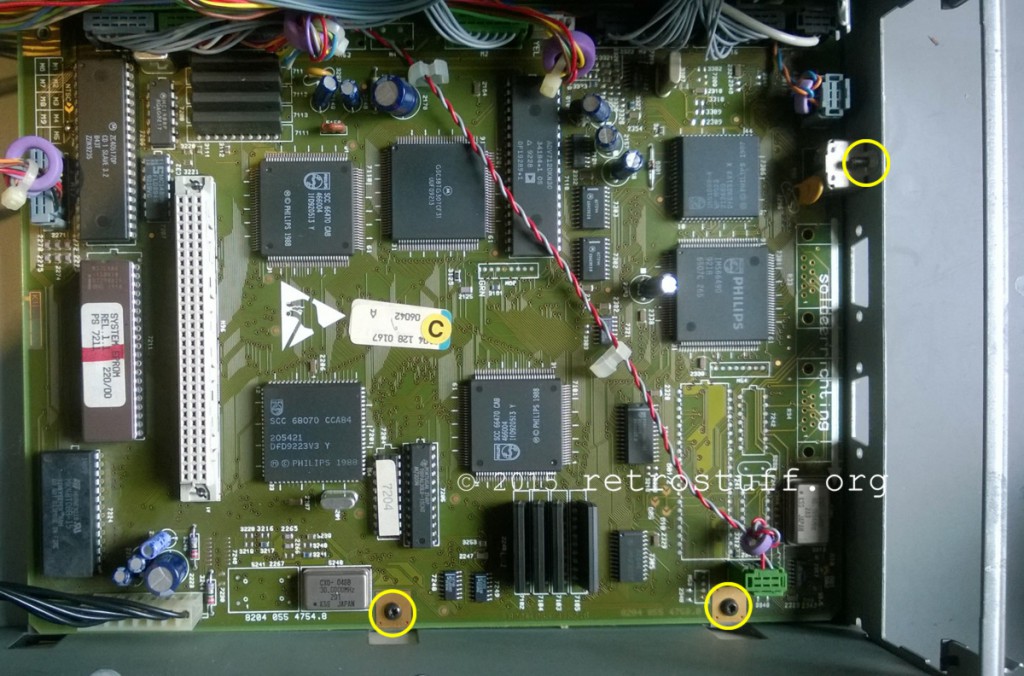
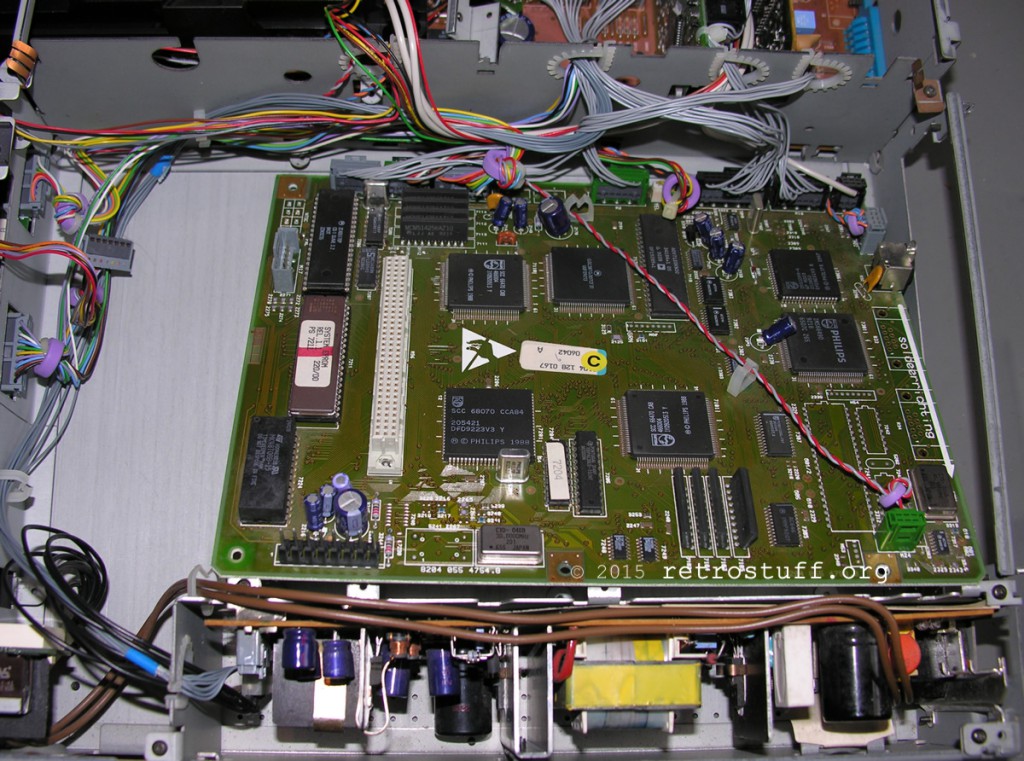
Remove the Timekeeper chip from the marked area.
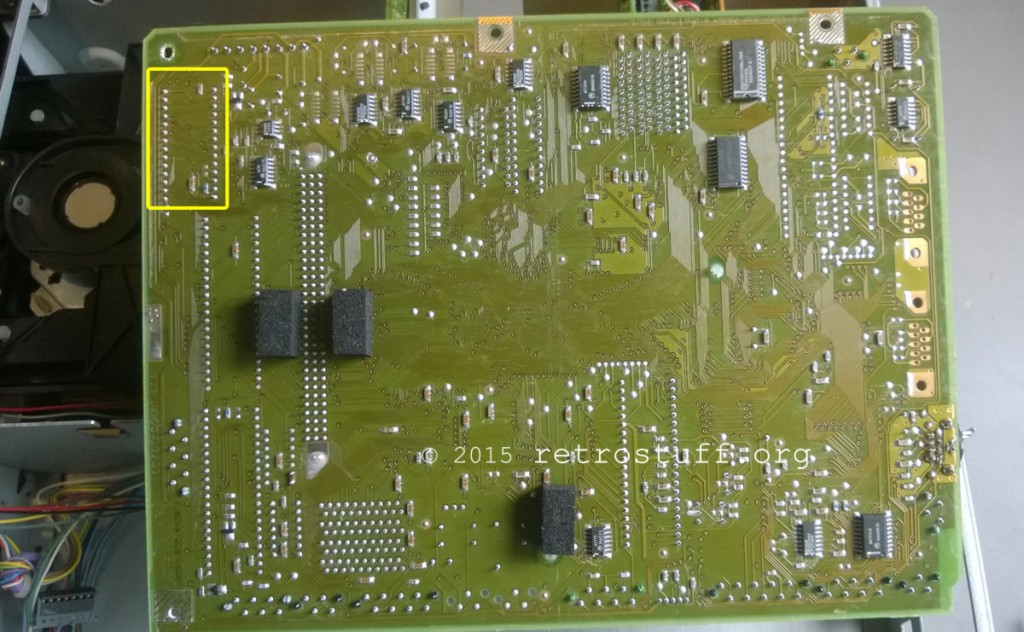
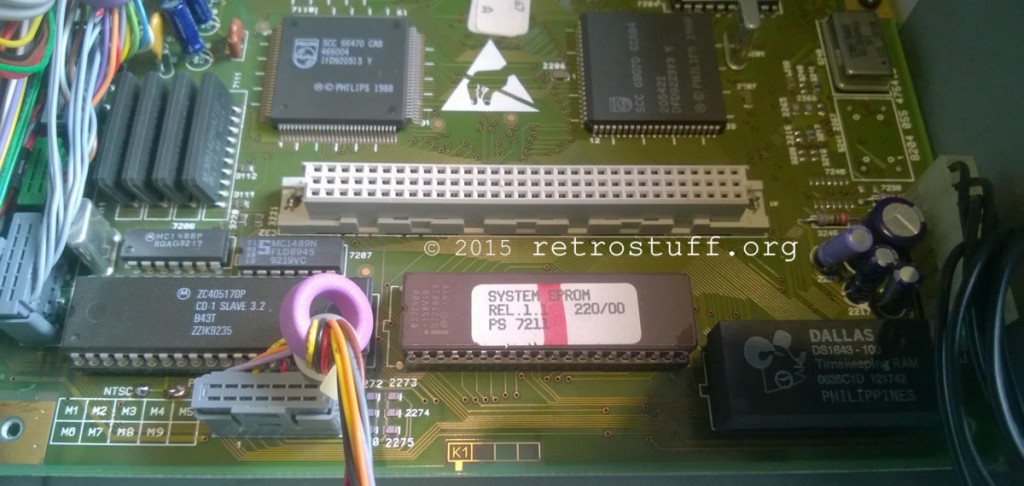
This is the mainboard back in place. The solder blob has been temporarily moved from PAL to NTSC to test the image stability, and a socket with a new NVRAM chip (DS1643, more reliable) has been installed.
There is a lot of space in the DVC cage, enough to install the 50/60 Hz switch. (Optionally, you can hide the switch behind the front panel door)
Then check if the switch works (never switch when the unit is turned on!) and if your NVRAM is still good. Then put everything back in reverse order.
Switch hidden behind the DVC door:
Done!
These instructions can probably be used for all consumer and professional CD-i players that have a Mini-MMC mainboard.
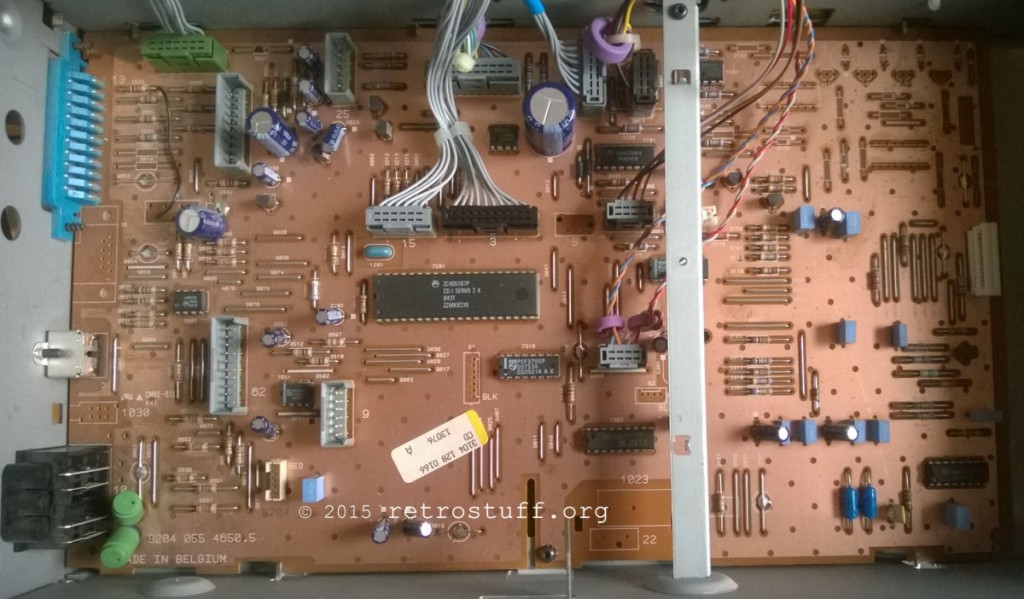
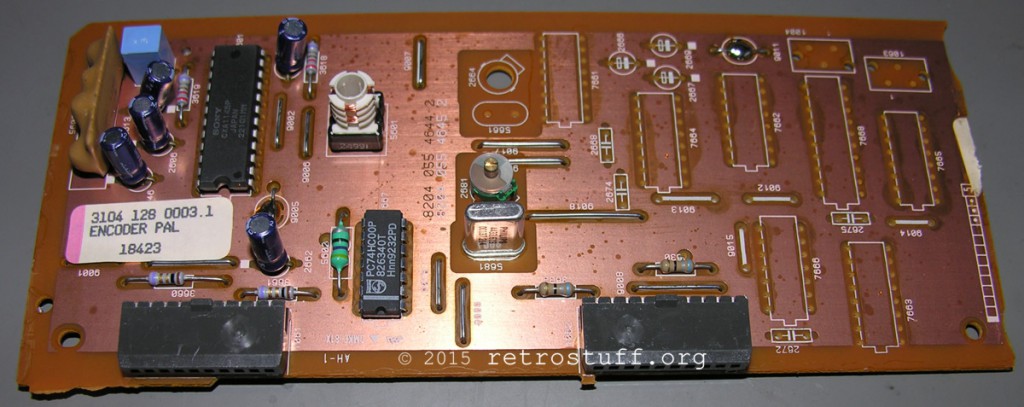
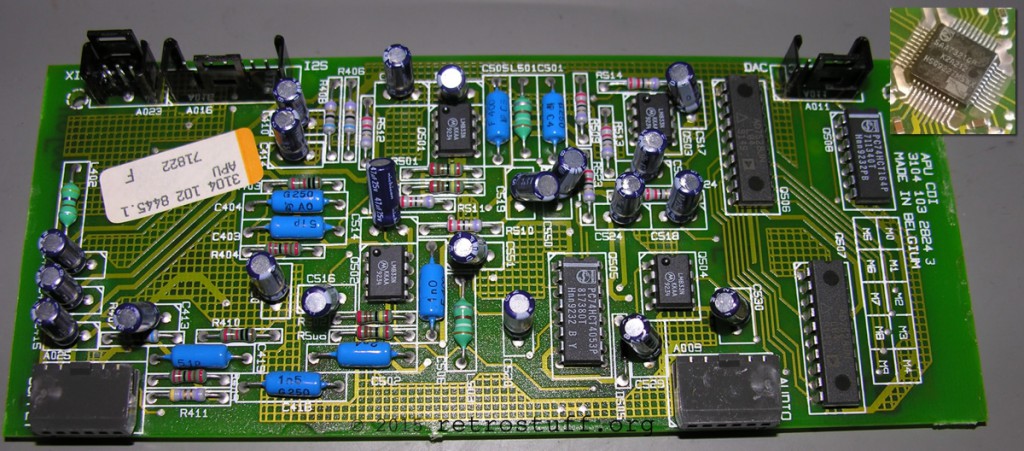
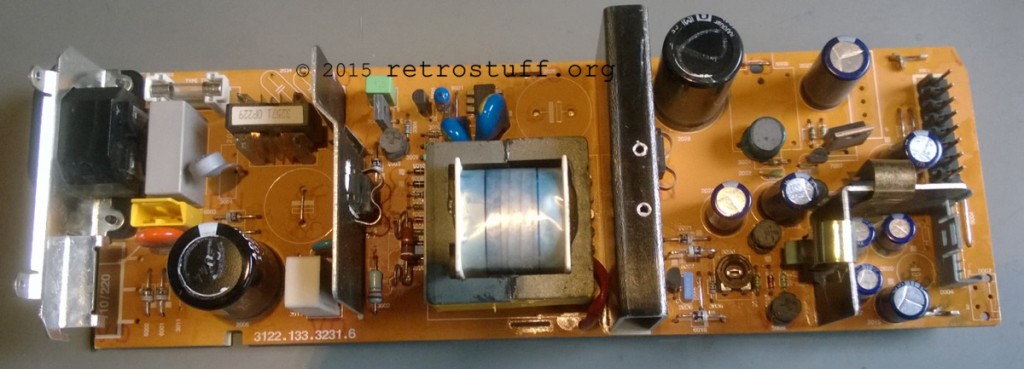
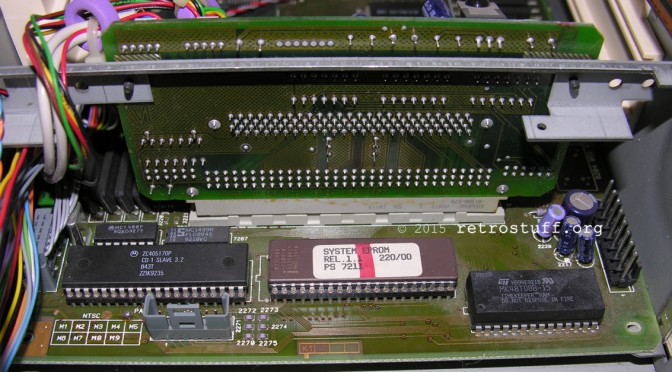
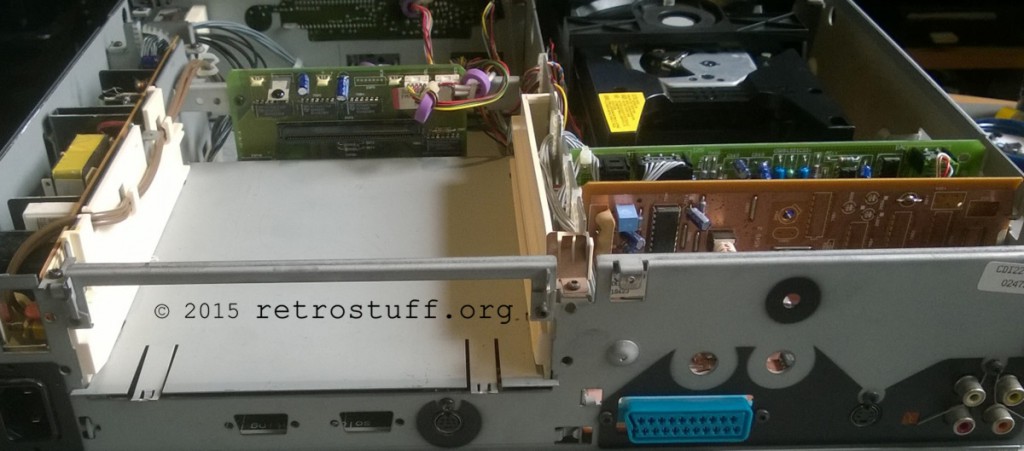
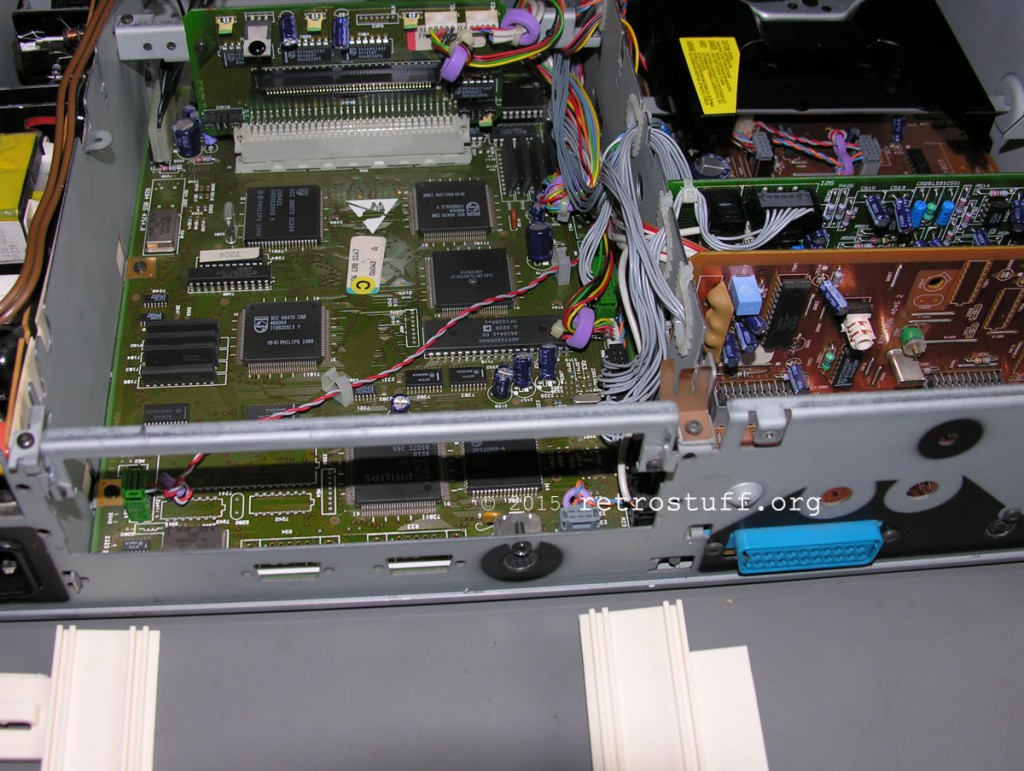
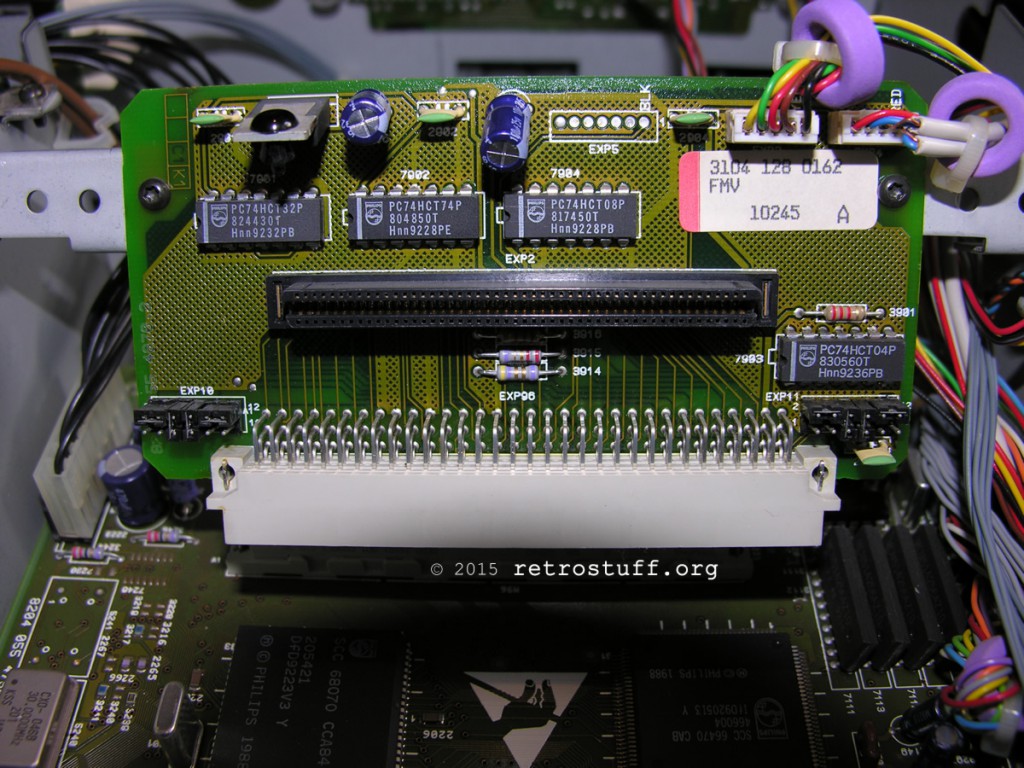
More PCBs
We haven’t seen all PCBs yet:

Did it work afterwards? I need to replace my timekeeper as well.
It turns out that they DS-1643 is no longer manufactured. I will have to use the M48T08-150PCI chips.
Yes, it worked. If you find new old stock of the DS1643 then pay attention to the date code on the package, it’ll tell you the year and calender week of production.
But when I turn of from power and turn on still no starting screen. I’ll try today after all night. And another question – why when laser is spinning it is so loud. What model to replace laser in 220/00?
This can also be caused by a dead Timekeeper chip – fix that first and than see if other problems remain. Has the Timekeeper or anything else in the player been replaced or modified before?
No it looks untouched. Hopefully after night. It starts like new. I’ve repaired laser – there was problem with spinnin cd motor. I’ve just lift a little bit laser wheel because cd was spinning laud and with problem. Now is spinning like new and read every cd. So because it is old 220/00 i think timekipper could make issues so I wait for remote and we will se if it saves time.
I have the same 220/00. First 15 min was ok, it plays audio with no problem. After a few minutes laser start to show error on screen. Then not even see the cd audio. After swithing on and off few times, I have just light blue screen, laser and motor is rotating 2 times and stop and there is info on LCD Just “disc”. No menu with Philips logo just Blue screen. Any ideas?
This was probably caused by a dead Timekeeper chip. Has the Timekeeper or anything else in the player been replaced or modified before?
Hi!
I just replaced the Timekeeper of my CD-i 470 with a DS1643, but now i’m confused.
I noticed the clock stops running when the unit is off, so i thought the battery was dead, but it still seems to hold the time and the saves. Is the chip somehow defective, or am i missing something?
Hi, did you replace it with a new, genuine DS1643? Does the time advance when you are in the player shell?
This can have various reasons. To figure it out, let’s discuss this in the CD-i community of theworldofcdi.com or discord.gg/TKPejTfw6D .