Initially, I was planning to replace the P-ADB connector of my AppleJack controller with an ADB plug (Mini-DIN-4). The remaining P-ADB plug attached to a Mini-DIN-4 socket would then become an ADB adapter dongle.
But why would I destroy the cable of my only controller? According to the documentation, which can be found here and here (in a very low resolution, unfortunately), a “Hosiden HGC0492-01-010 or equivalent” connector is needed. And that connector is impossible to find.
To get started, I created a new schematic based on the available documentation:
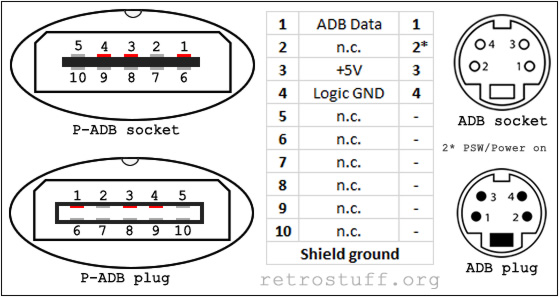
P-ADB uses only three out of ten contacts: ADB Data, +5V and Logic GND, all within a grounded shield. Regular ADB uses an additional contact (PSW / Power on) to switch on Apple computers with the keyboard. As this is a bus system, all ports have the same signal lines, so it doesn’t matter in which port a peripheral is plugged into. Also, up to 16 peripherals can be connected together in a daisy chain.
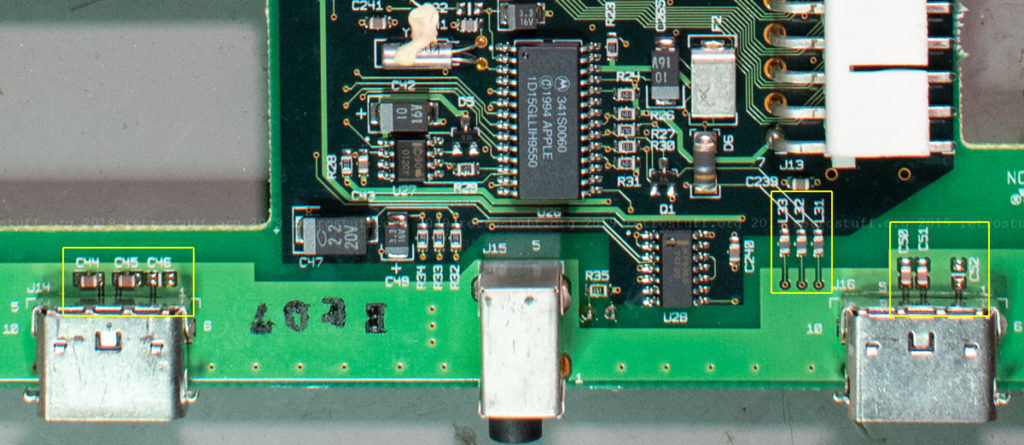
This is where the signals end up in the Pippin:
ADB Data: C46 / C52 end up at L31
+5V: C46 / C51 end up at L32
Signal GND: C44 / C50 end up at L33
Shield is grounded and also connected to Signal GND on the Pippin mainboard.
Sega Game Gear to the rescue
While I was waiting for the Mini-DIN-4 connectors to arrive, I found a much better solution by accident. I had a broken Sega Game Gear that sat together with the AppleJack controller in my to-repair box and suddenly I noticed that the P-ADB plug fits nicely in the EXT connector of the Game Gear.
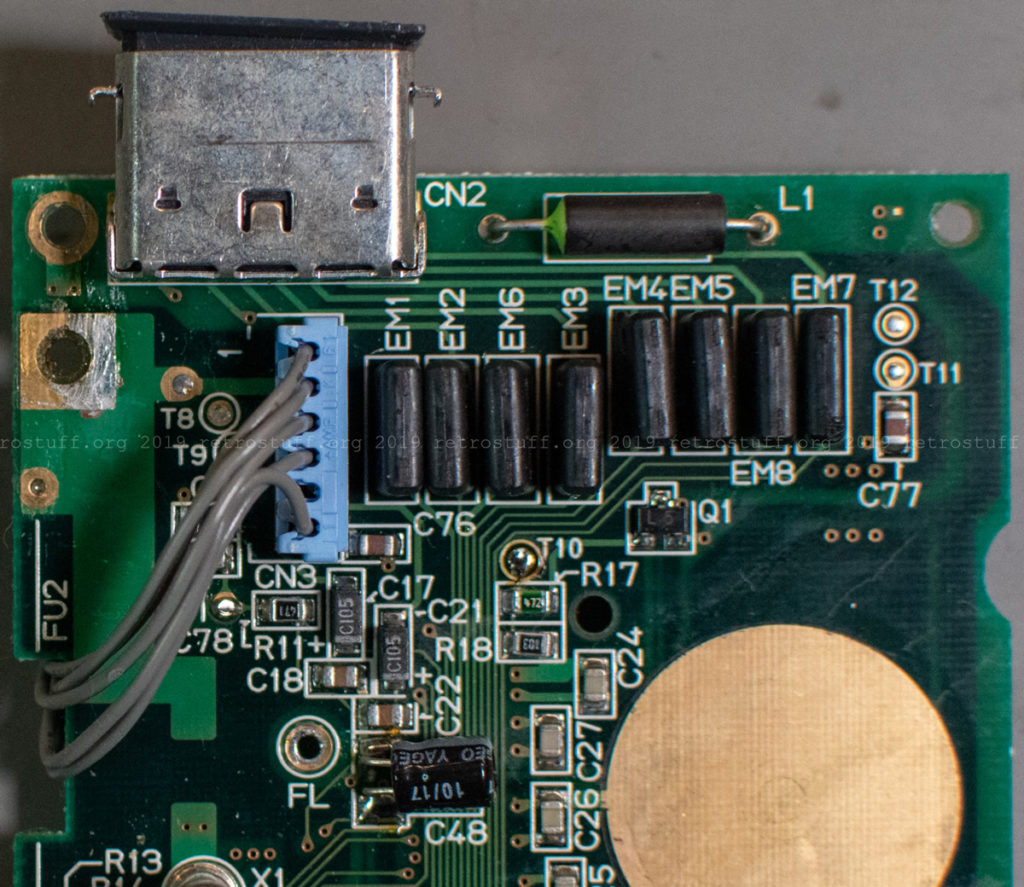
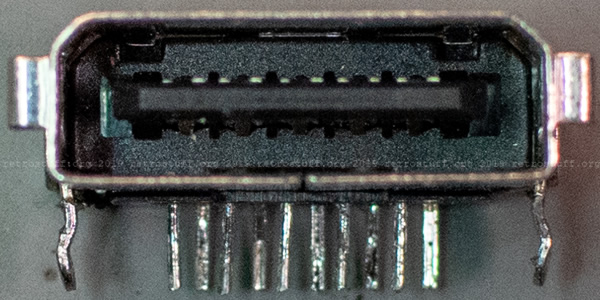
I also checked the Game Gear documentation that is available, and found that it is almost the same connector – if not the same, as I suspect that there is a typo in the naming. In the Game Gear service and maintenance manuals, the EXT (CN2) connector is called “209-5038 CONN 10P FOR GG HDC-0492 HOSHIDEN“. Even with that information, it is still impossible to source this type of connector. However, there is an alternative solution: you can easily salvage the plug from an SMS controller adaptor (Master Link cable) or a Gear to Gear cable and the socket from a broken Game Gear mainboard.
For a first test, I plugged the Master Link cable into a DE-9 socket and connected contacts 1, 3 and 4 to a Mini-DIN-4 socket. An ADB keyboard and mouse worked right away with my Pippin.
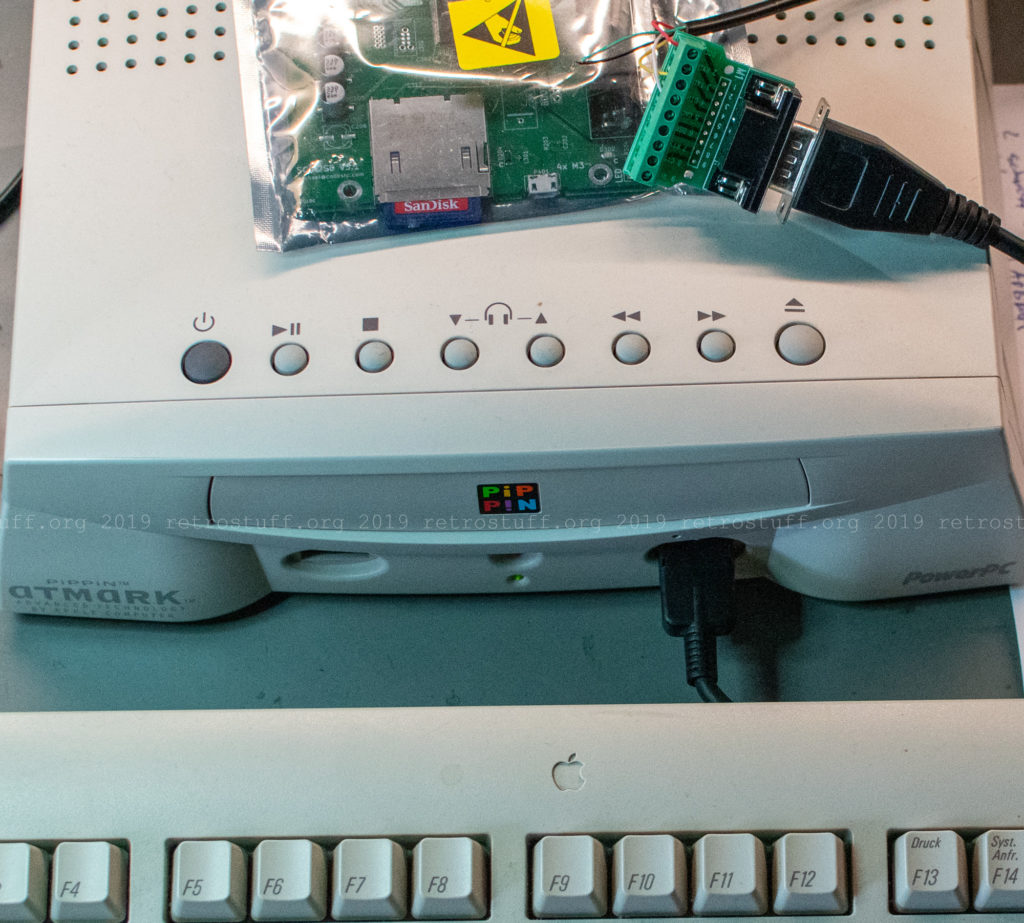
ADB to P-ADB adapter dongle
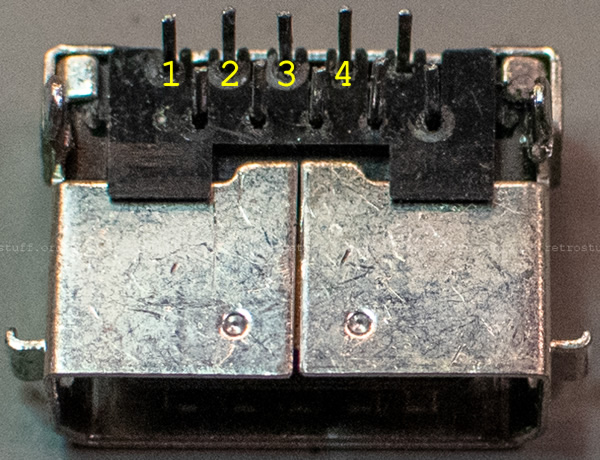
This is very easy to make. Just cut off the DE-9 plug from the Master Link cable and solder conductors 1-4 and the shield to a Mini-DIN-4 socket according to the schematic above. The colours of the conductors in my cable were: 1 brown, 2 red, 3 pink, 4 yellow.
(2 is connected for compatibility reasons; it will neither turn the Pippin on nor will it disturb its operation.)
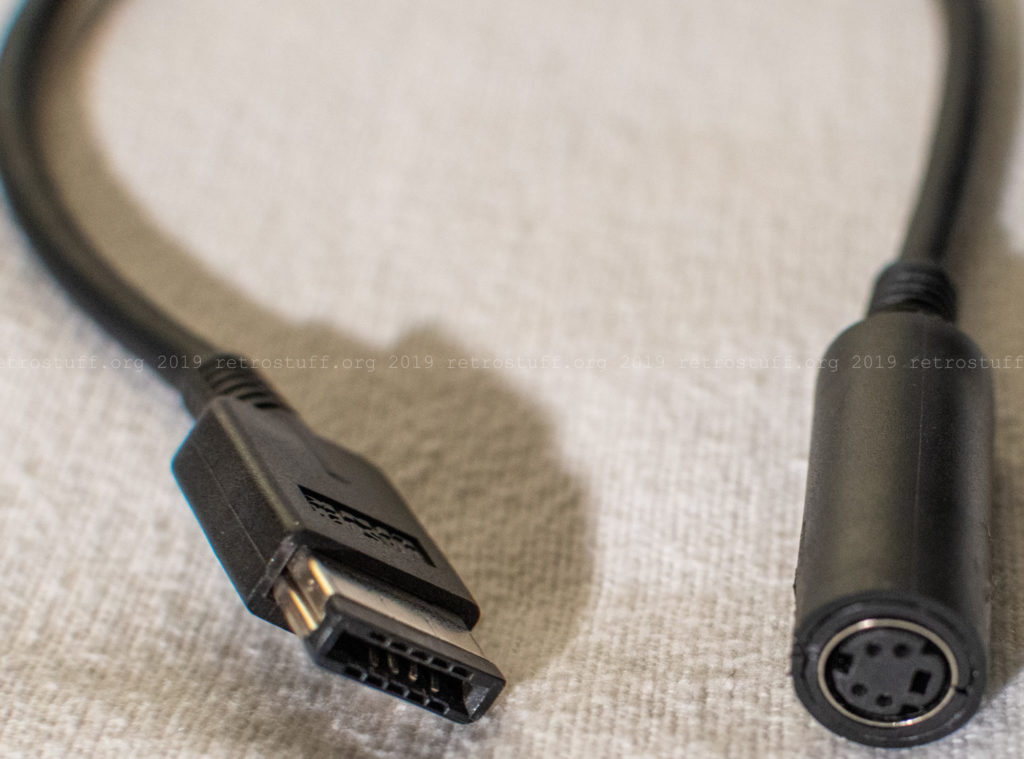
P-ADB to ADB adapter dongle
This one needs some work. First, desolder the EXT port (CN2) from a Game Gear PCB.
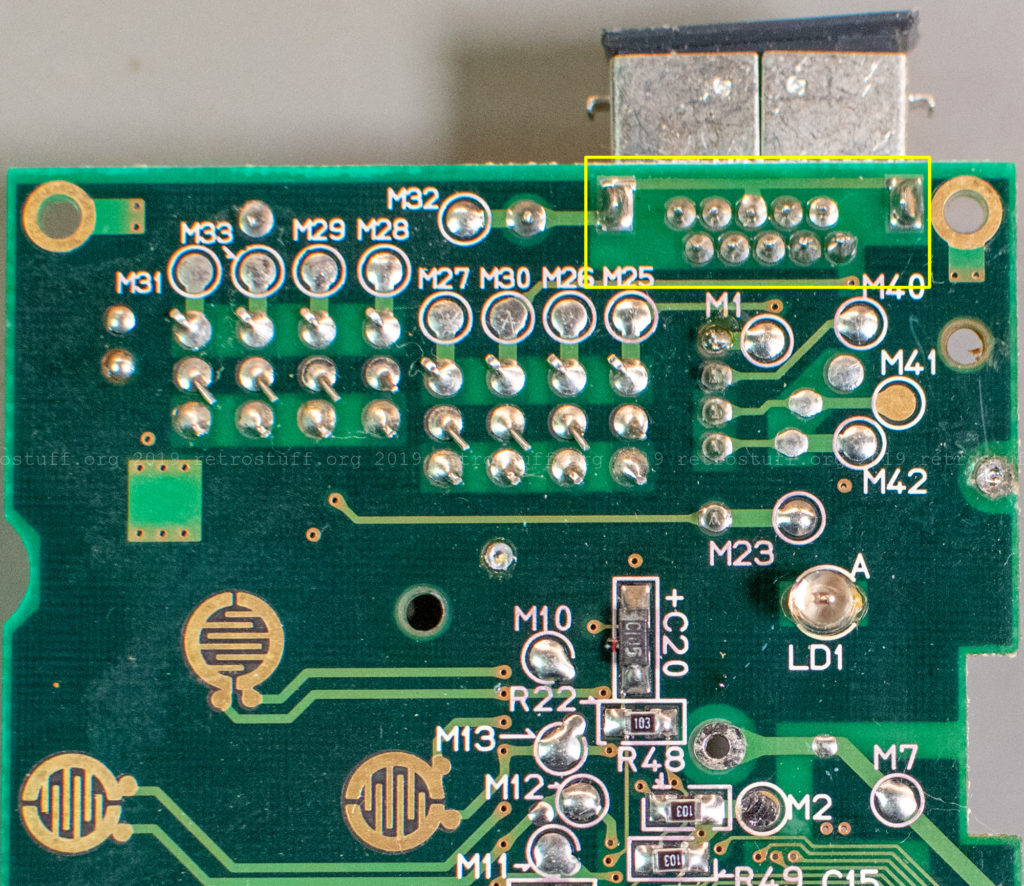
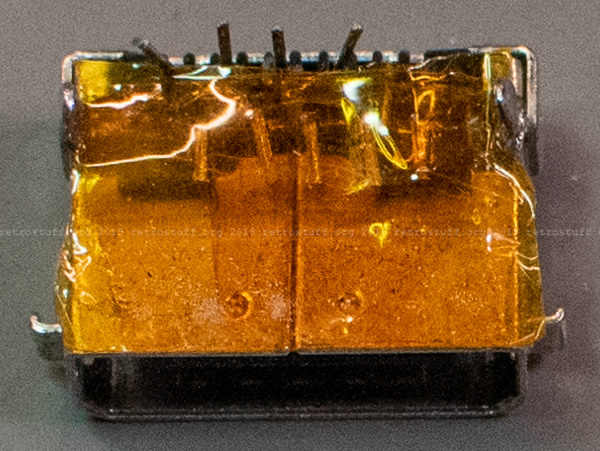
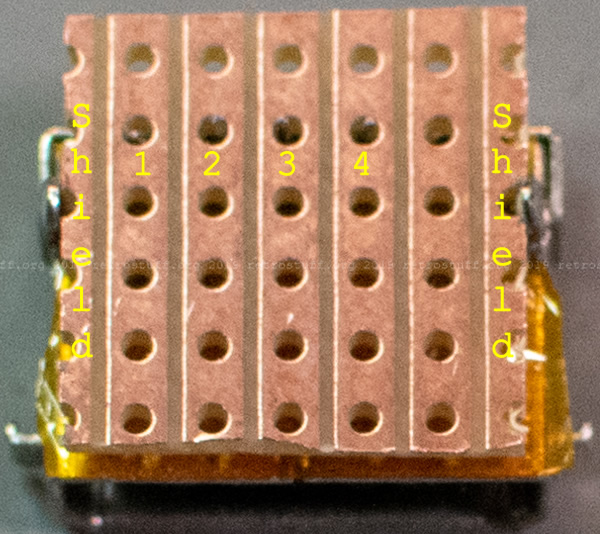
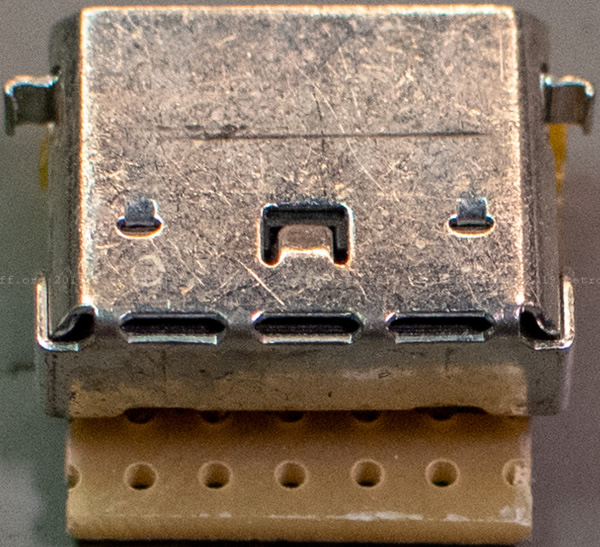
Next, insulate the unneeded contacts 5-10 and solder contacts 1-4 and the shield to a small piece of perfboard for stability.
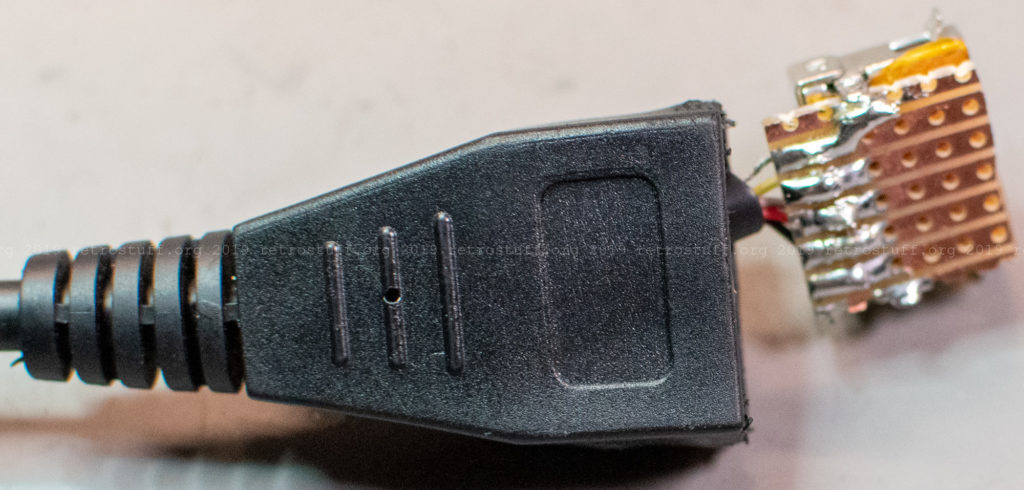
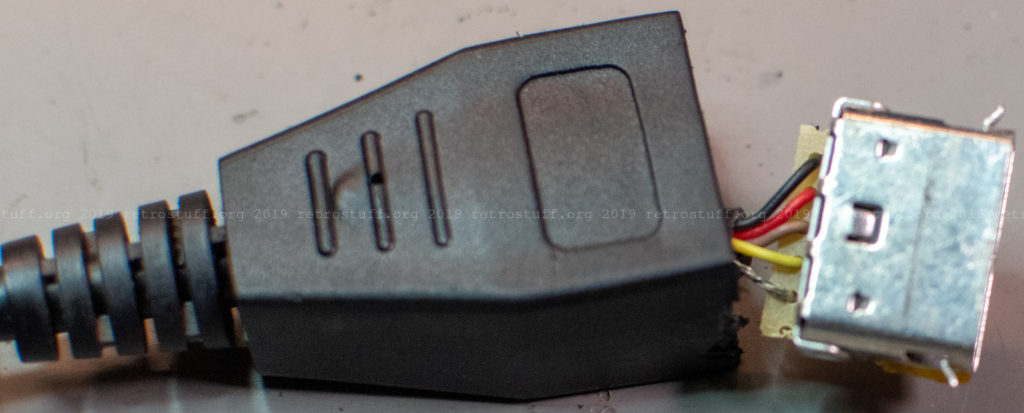
The DE-9 housing of the Master Link cable provides enough space to hold this new connector. Keep in mind that it was probably glued together, so you will need some time to remove the old connector, cables and glue first.
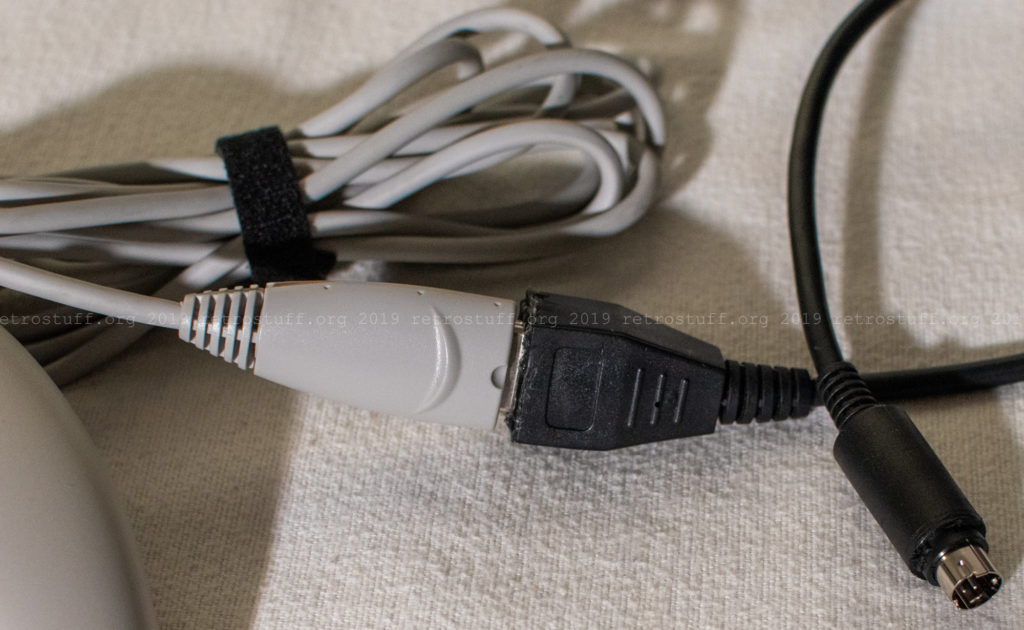
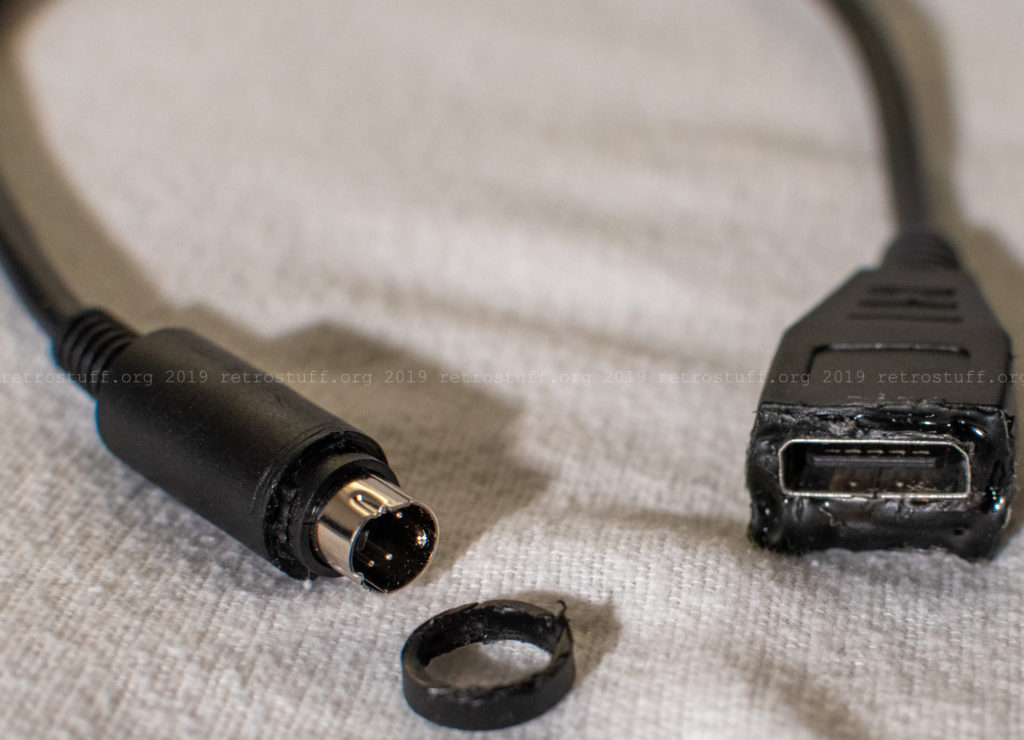
Now run some tests either by connecting an AppleJack controller to a Power Macintosh ADB port or to a Pippin via ADB to P-ADB adapter. When everything works as expected, glue the new connector in place. I used dark-brown hot glue. There are two holes in the shield where the glue will come out. Make sure to clean them in time, otherwise the AppleJack plug won’t fit anymore. Last, cut about 3 mm of the outer plastic of the mini-DIN plug so that it will fit into the Apple sockets.
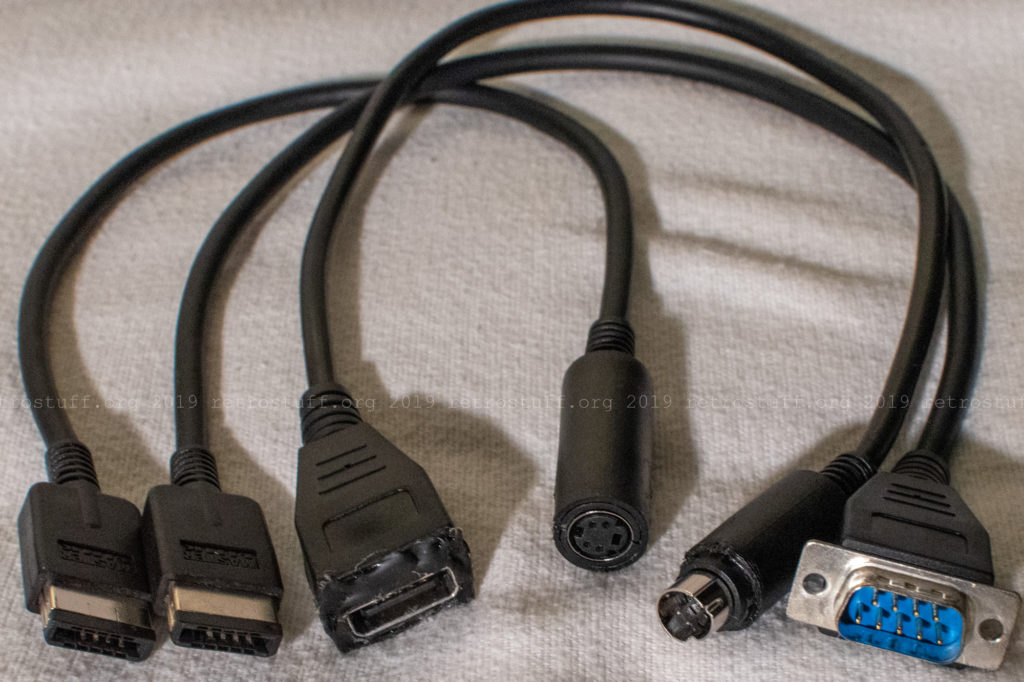
And now for a group photo of all three adapters:
AppleJack 2.2.0 on Power Macintosh
With the second adapter, you can use the AppleJack controller on a Macintosh with ADB socket. It will work right away as substitute mouse. Without the input device driver though, you cannot re-assign the buttons. The system extension with the colourful icon can be found on the Pippin SDK CD-ROM and needs to be placed into the System Extension Folder.
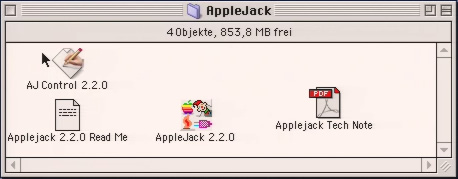
The application AJ Control 2.2.0 (or Applejack Control 2.2.0) will only work if the system extension is in the right folder and if an AppleJack controller is connected before the Macintosh is powered up.
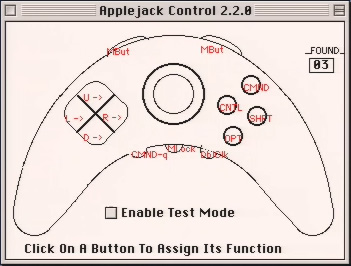
With this application, you can re-assign every button of the controller.
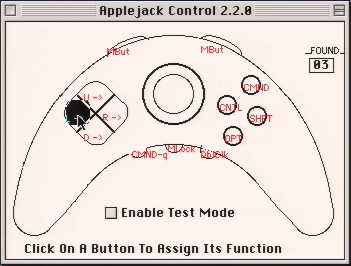
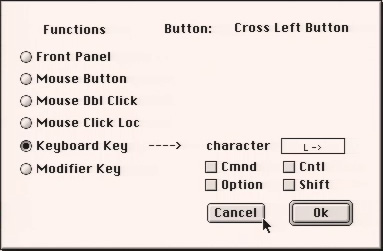
Do not enable the test mode unless there is a mouse connected (probably with a splitter cable and/or an additional adapter). Otherwise, you’re stuck there. Even if you close the program with Command-Q, the controller will stay in test mode and you won’t be able to use the mouse buttons. The only way to get out of it is to disable it with a mouse (either via hot-plug or by rebooting the Macintosh with a mouse attached).

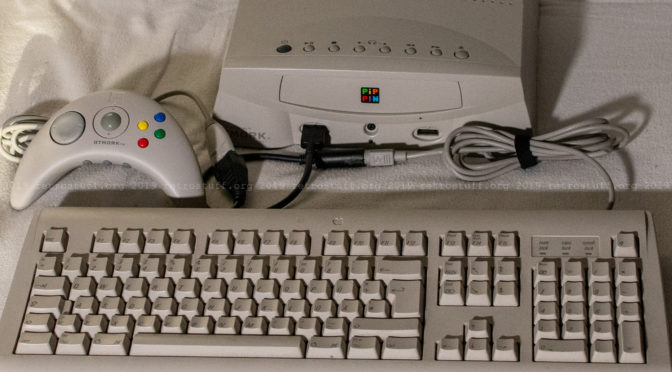
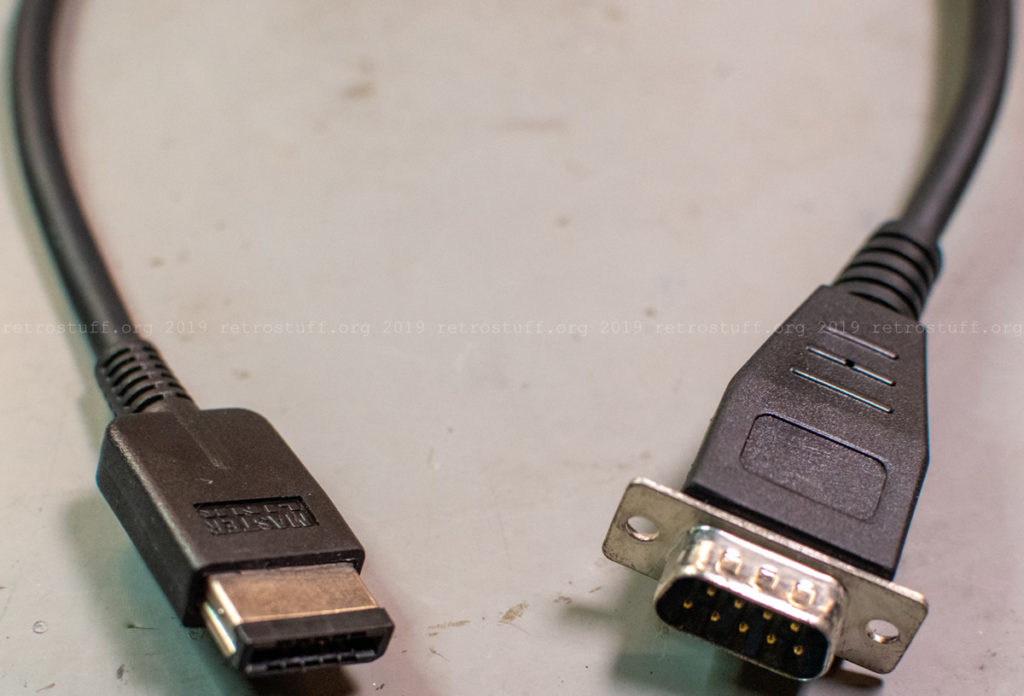
This is great, but it makes me wince to see Master Link cables (which presumably are only going to get rarer, if these Hoshiden connectors are hard to find), butchered for this! I think better would be to leave the Master Link cable as stock, and make up a ADB to DE-9 converter to plug into it.
This is an excellent write up. Quick question, would one these Adapters allow you to use a Genesis controller on an Apple Pippin?
Thanks! No, this adapter is only for ADB peripherals.