
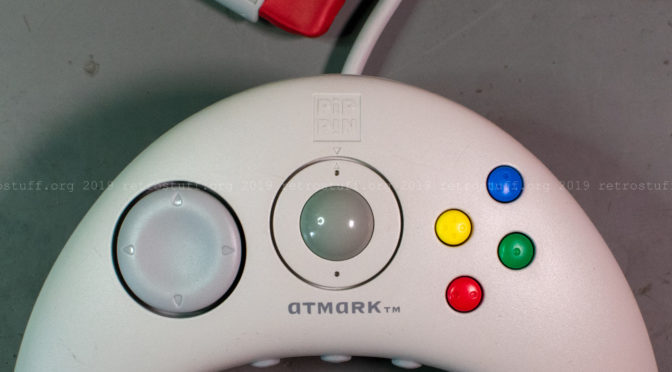
Pippin consoles are based on Apple Macintosh PowerPCs. It is only natural that they use serial Apple Desktop Bus devices. There is a major difference though: the proprietary child proof AppleJack (P-ADB) connector. I never bothered to find an adapter dongle and was stuck with a Pippin Atmark AppleJack controller that wasn’t able to reliably register trackball movements anymore. Unfortunately, the ball is held in place by a plastic ring with two tiny holes. There’s probably a tool to open it up which I don’t possess. I decided to open up the whole controller from the back to clean it and also to take pictures. Note the nice red rubber cap that came with my controller.

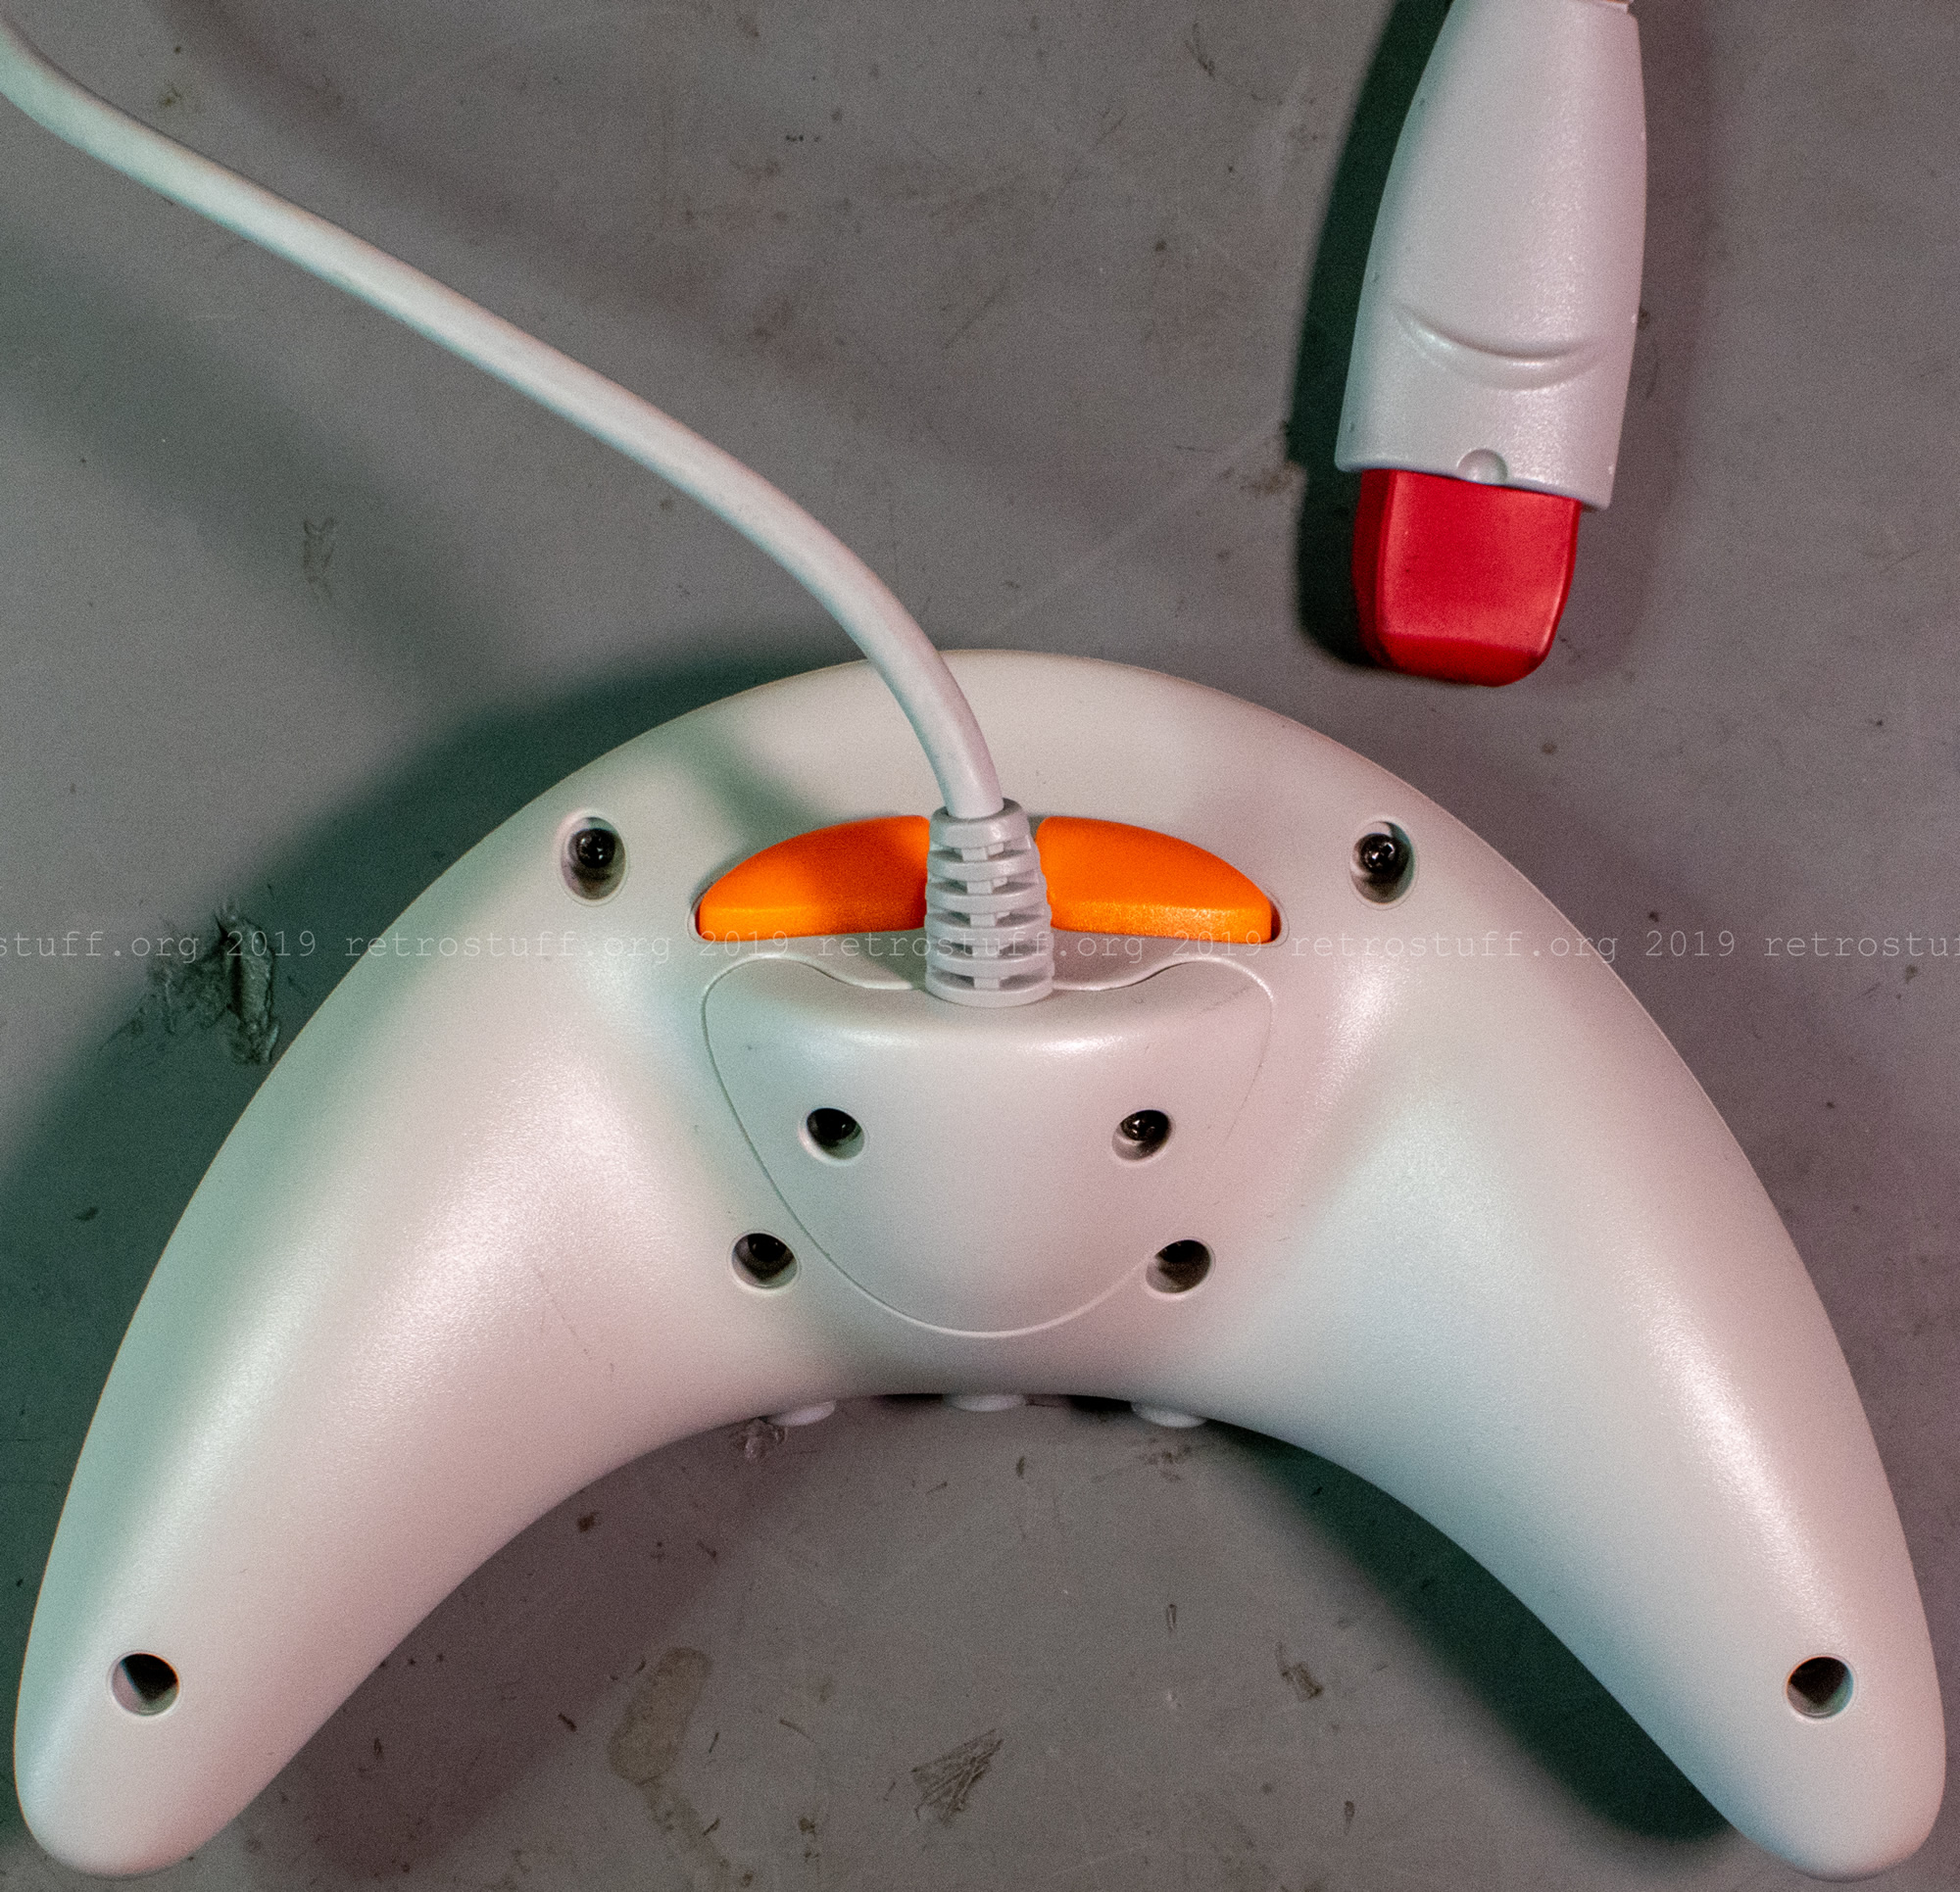
First, I removed the cover the holds the cable in place (two Phillips screws).
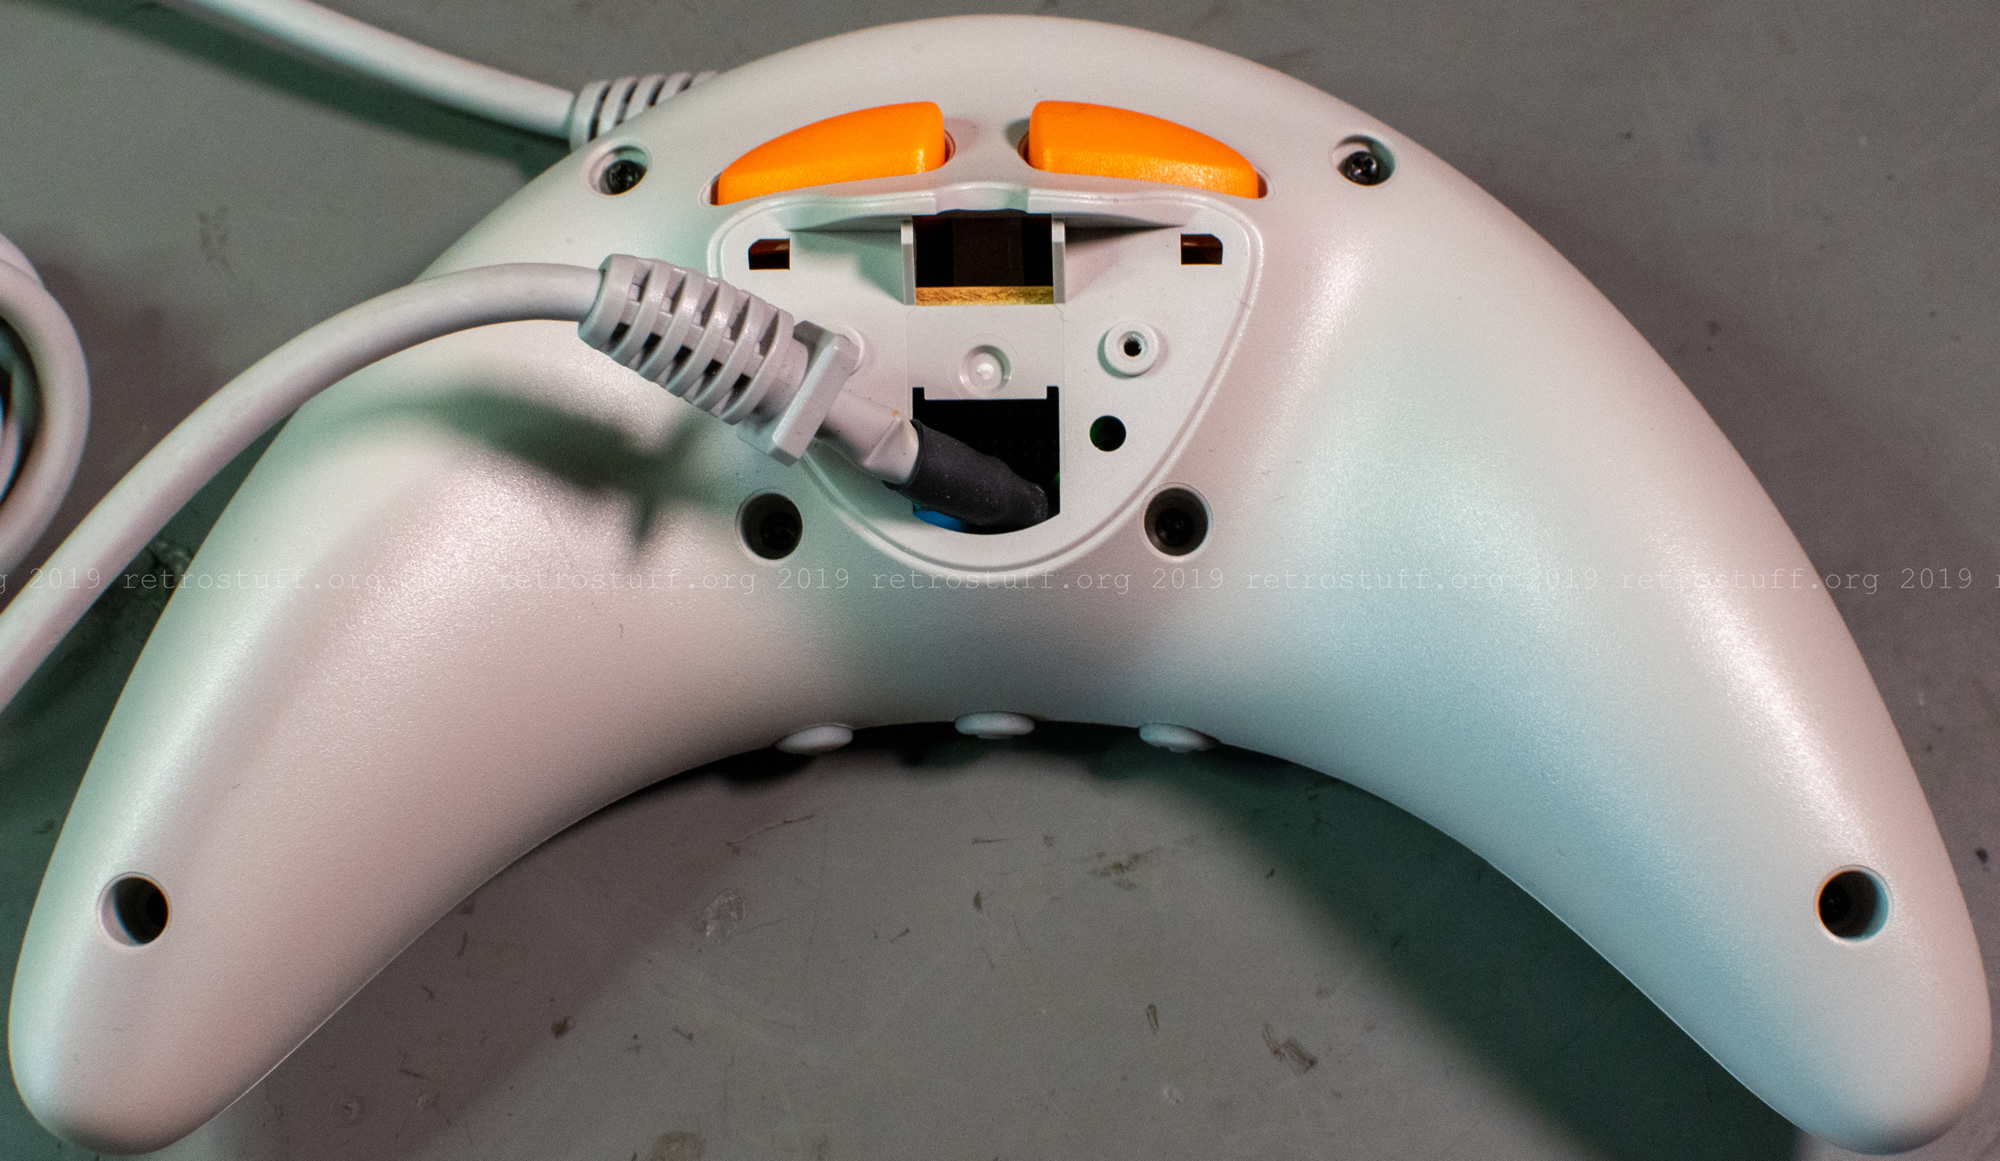
Next, I removed the six remaining screws and opened the controller. This is how it looks after unplugging the cable:
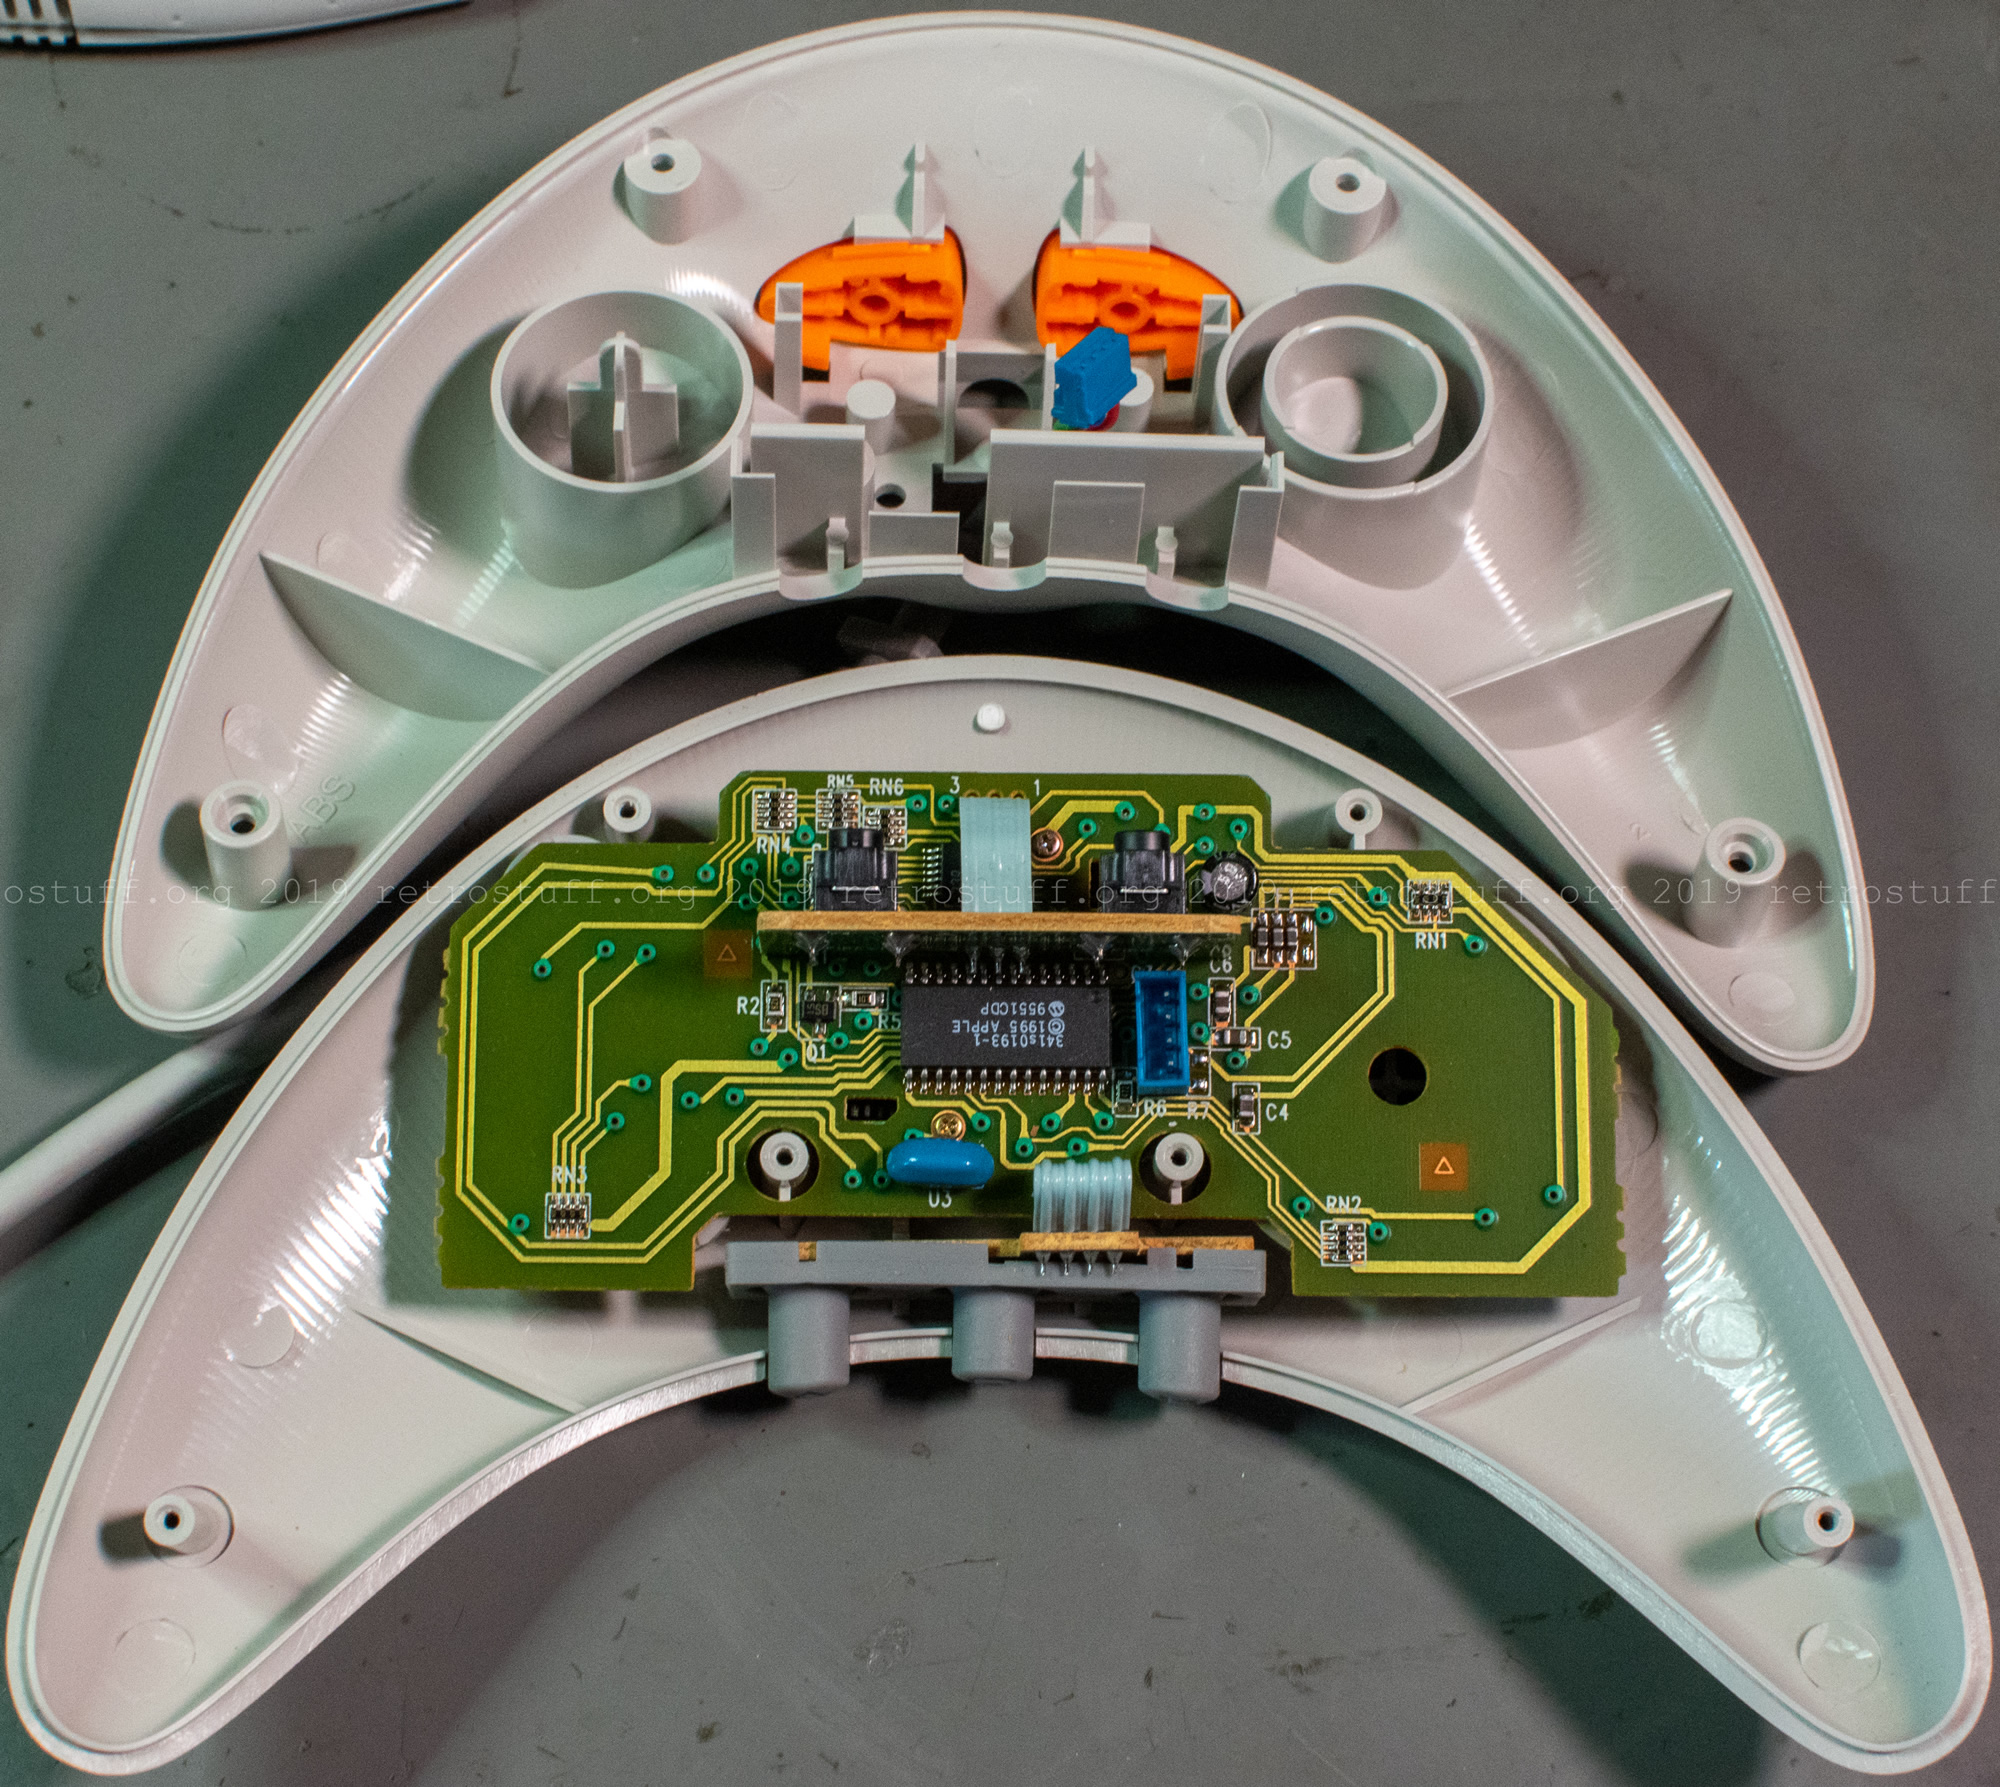
After removing the PCB (two screws), it became pretty clear: there is no way to access/clean the ball as the whole unit with the encoder wheels is attached to the front half with the plastic ring.
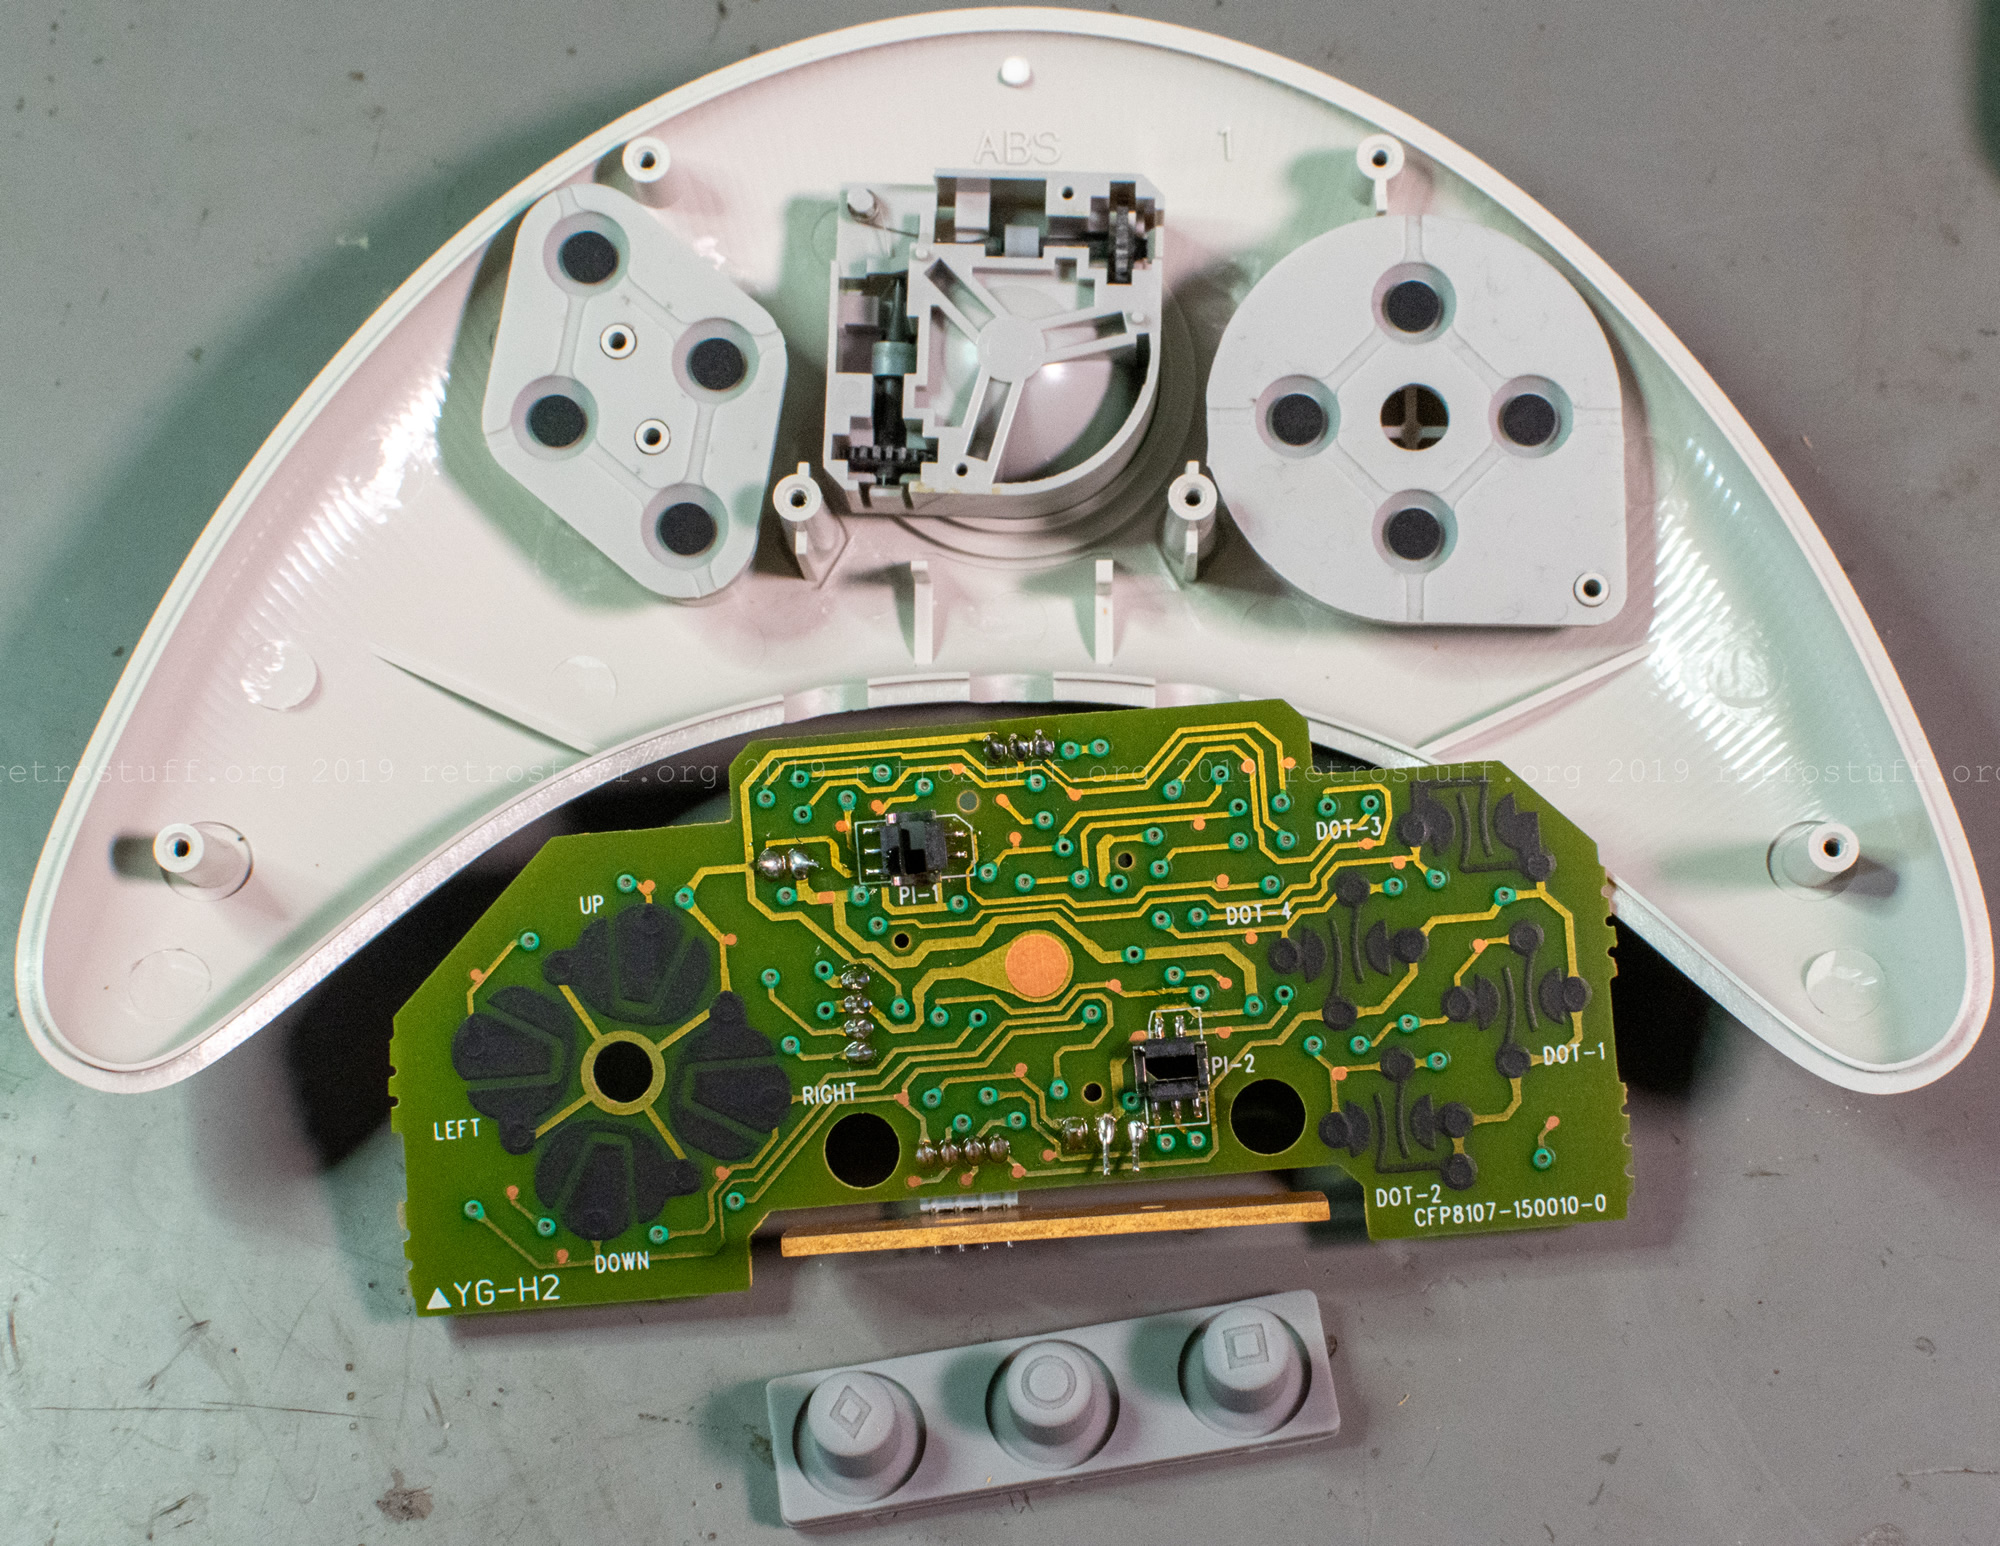
This is the whole PCB, unfolded:

At this time, I had no other choice but to remove the ring.
Important: rotate it counter-clockwise with a sturdy pair of tweezers or something alike. I tried it first the other way around and slipped, now it has a nice scratch. After turning it in the correct direction, I was finally able to remove it and to clean the ball and the encoder wheels.

Assembly
To put everything back together, screw the unit with the encoder wheels to the PCB first. Next, plug the cable in and attach the rubber piece with the three buttons to the bottom sub PCB. Now you can easily insert the sub PCBs into the back half of the controller and align them with the buttons. The main PCB automatically snaps in the right place.
Then, pull the cable to hold the contents of the back half in place and also hold the two rubber pads of the front half to prevent the buttons from falling out. You can now carefully join the two halves again. Secure the six screws and thread the cable through the cover, then secure the cover as well. Last, put back the ball and turn the plastic ring clockwise until it snaps into place.
3 thoughts on “Pippin Atmark AppleJack Controller”