
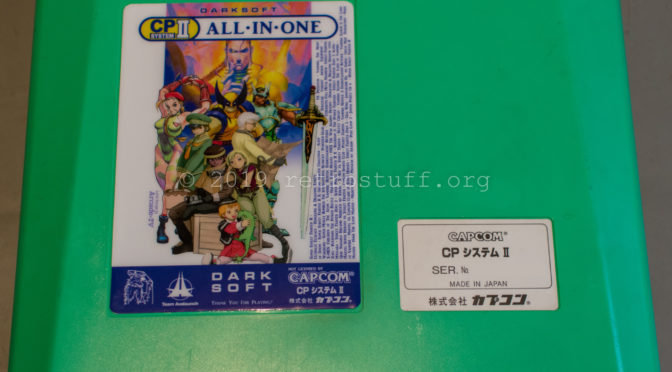
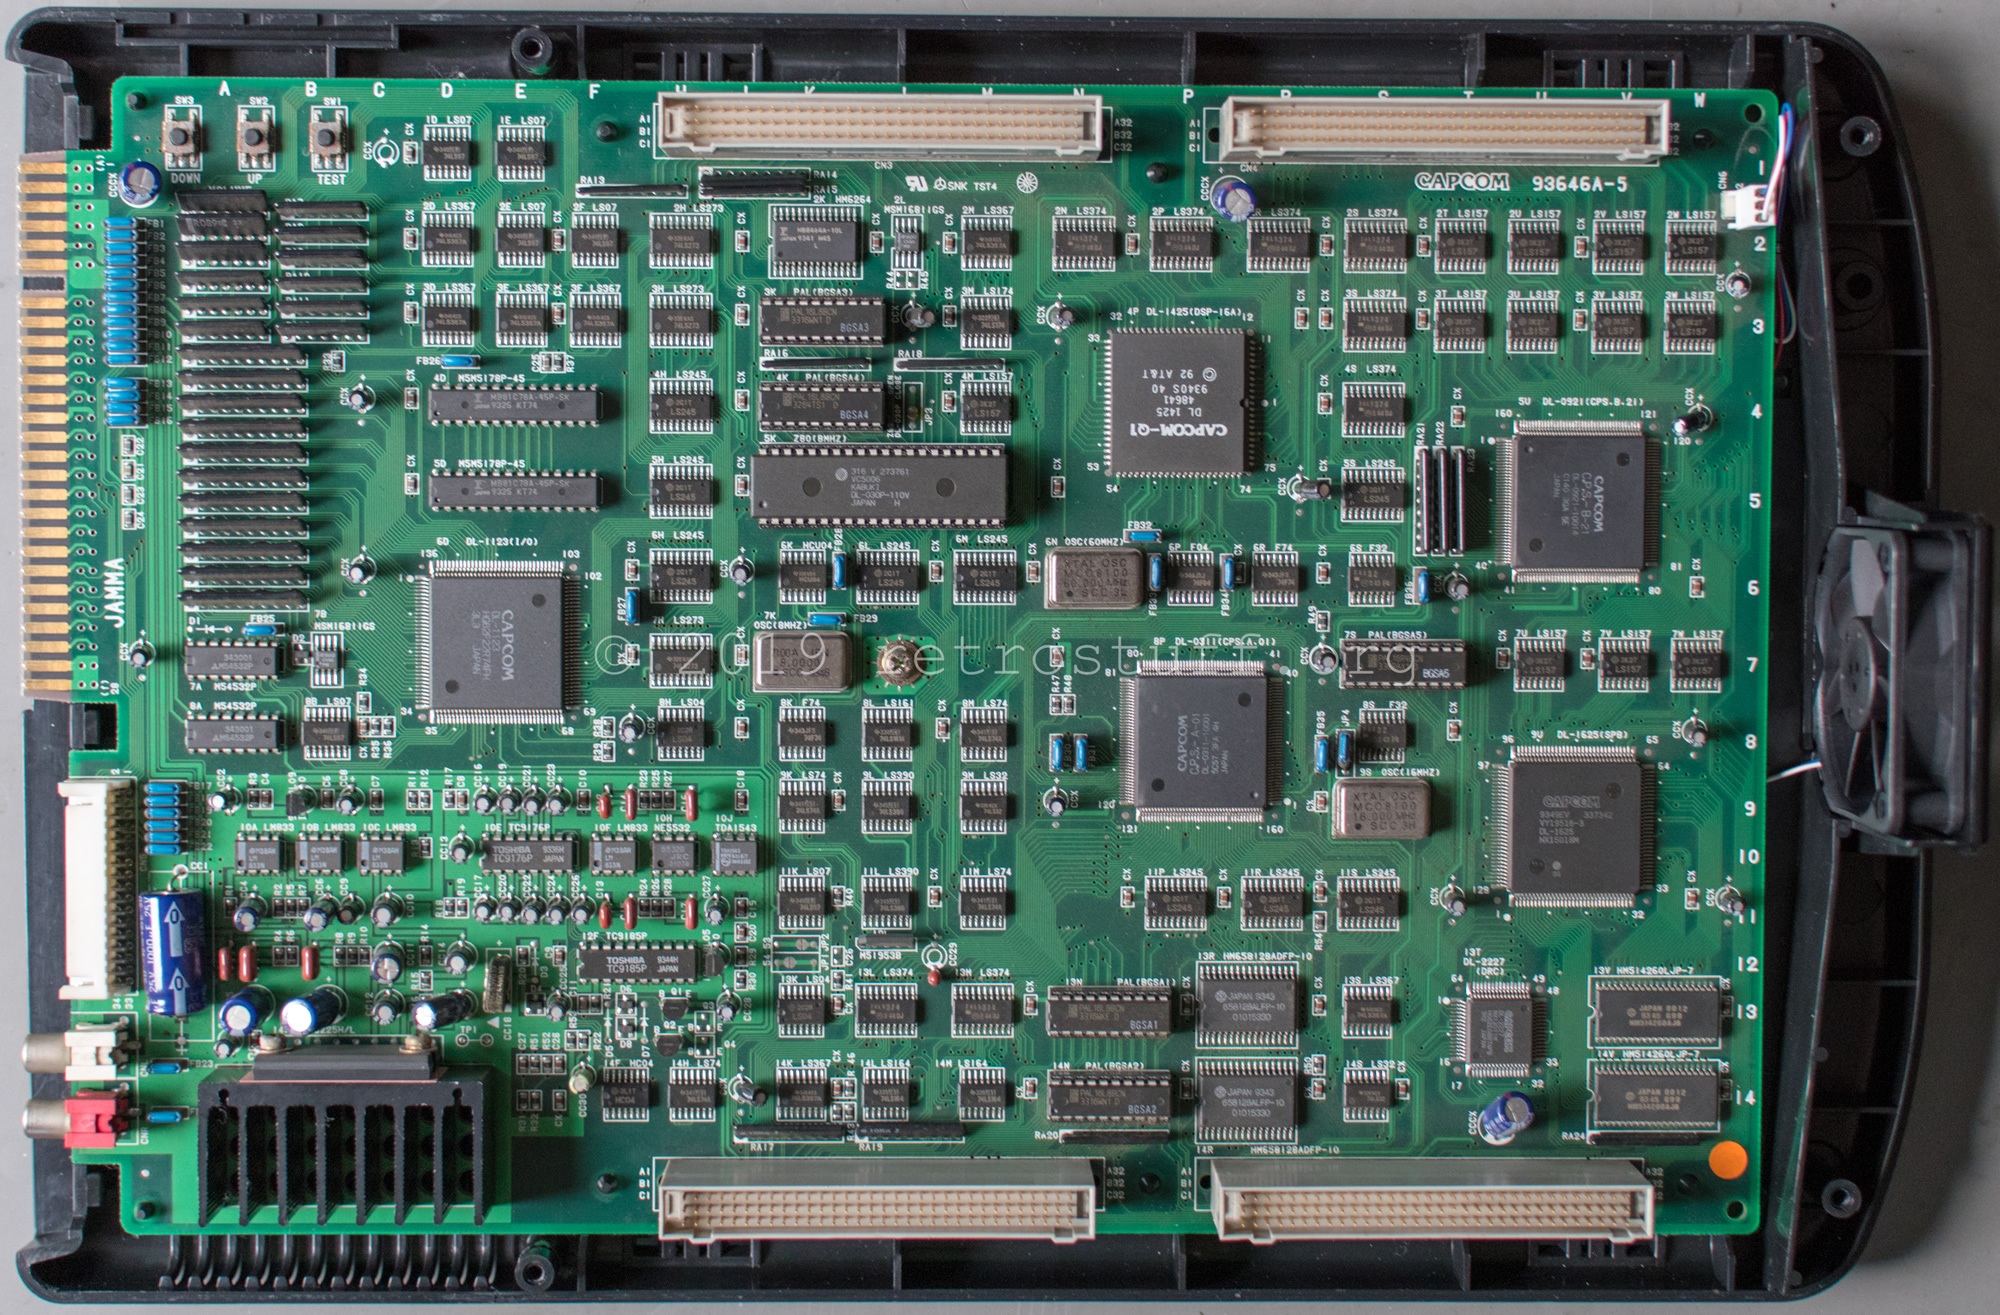
After I had my first MVS at home, it didn’t take long until more arcade hardware followed. For example this CPS2. It looks shabby and needs some work, but it already has a Darksoft CPS2 Multi Kit installed.
Introduction
This popular arcade hardware by Capcom has many names: CP System II, Capcom Play System 2, CPS-2, CPS2. It caught my attention in the year 1999 when CPS2Shock announced their attempt to break the encryption of the games. On the first day of 2001, they finally succeeded. Final Burn, already at that time an emulator for Sega X Board and Y Board, was the very first to successfully emulate CPS2 games. More emulators followed in the same year: Nebula, Kawaks, and Final Burn Alpha, just to name a few.
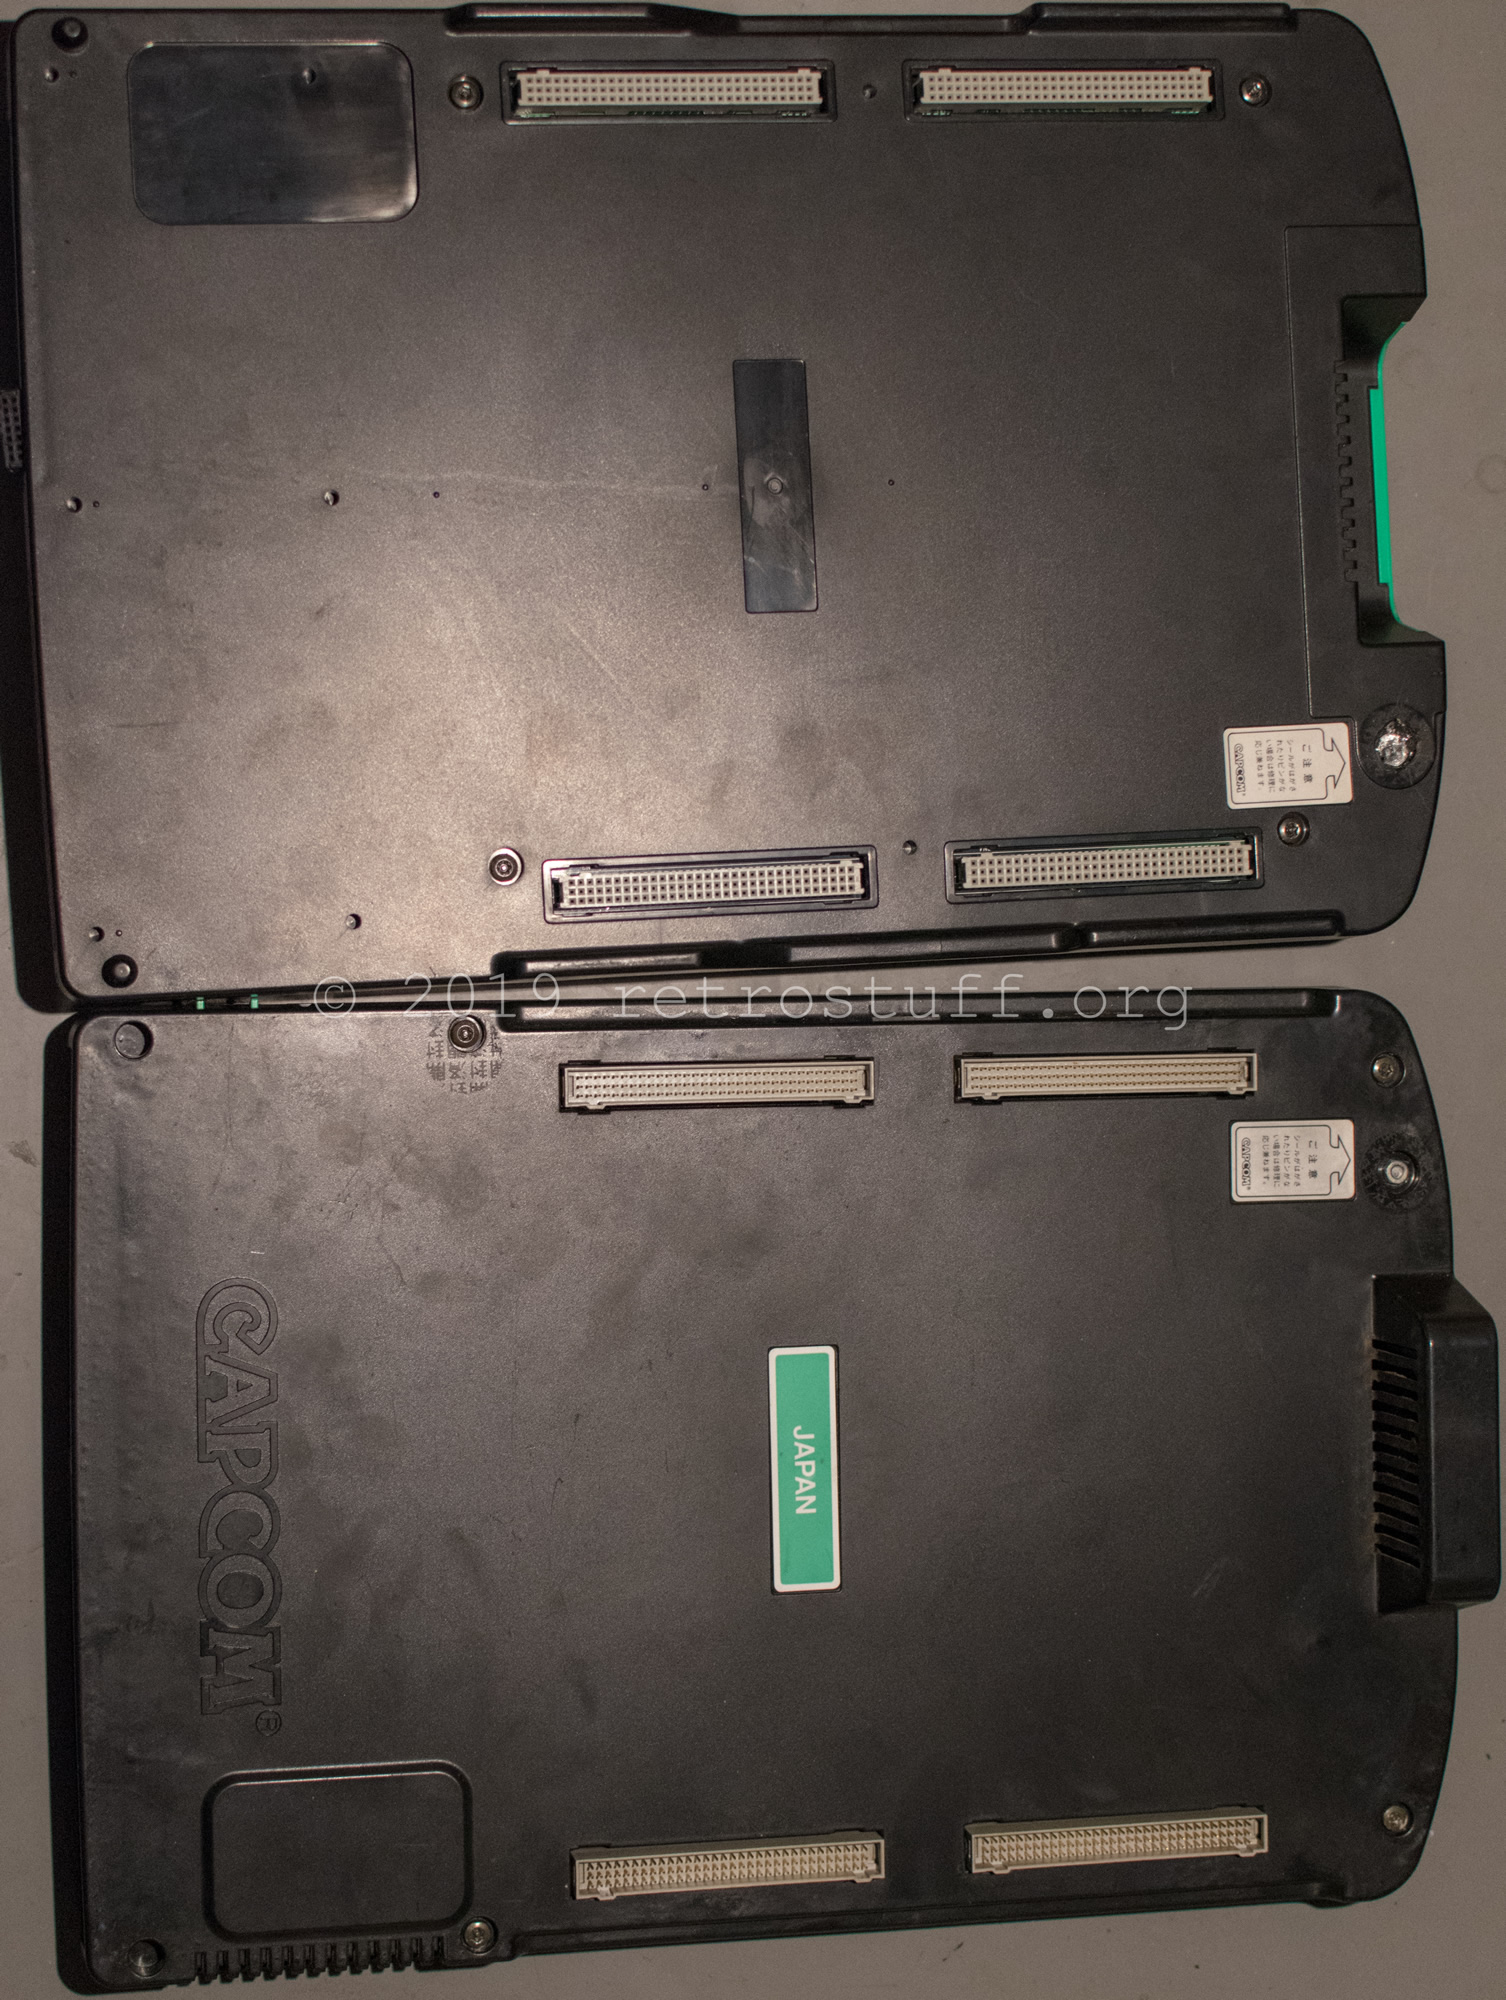
A CPS2 consists of the motherboard (A Board) and a game board (B Board). The possibility to change games and a diverse library of games make it attractive for home use. However, a consolized CPS2 is not as common as a consolized Neo Geo MVS due to various challenges. Some examples:
Suicide battery – All B boards are bound to lose the battery charge and their decryption keys over time, rendering them unusable.
Region limitations – Even though the major regions are compatible and interchangeable, it is not possible to play all games with one motherboard.
Kick harness – Most SuperGuns support only the standard JAMMA/MVS connector with 3/4 buttons per player. Most CPS2 games require 6 buttons per player. This is realized with an extra connector, and requires extra wiring and controllers with more buttons.
More about the technical specifications can be read here and here.
Over time, the challenges have been mastered, and after the release of multi game kits, it was finally time for me to try it out at home.
A Board
The most common problems of an A board: Broken volume/test buttons, a lot of dust and a fan that sounds like a jet engine.
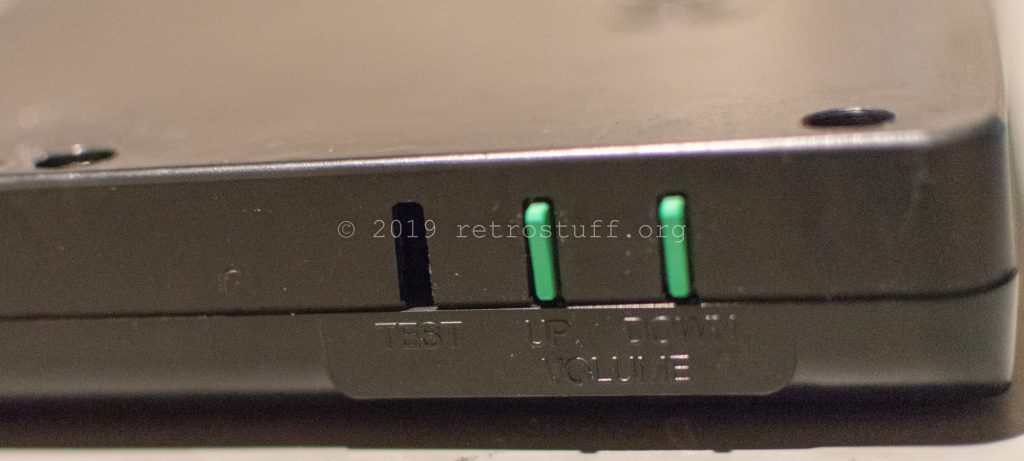
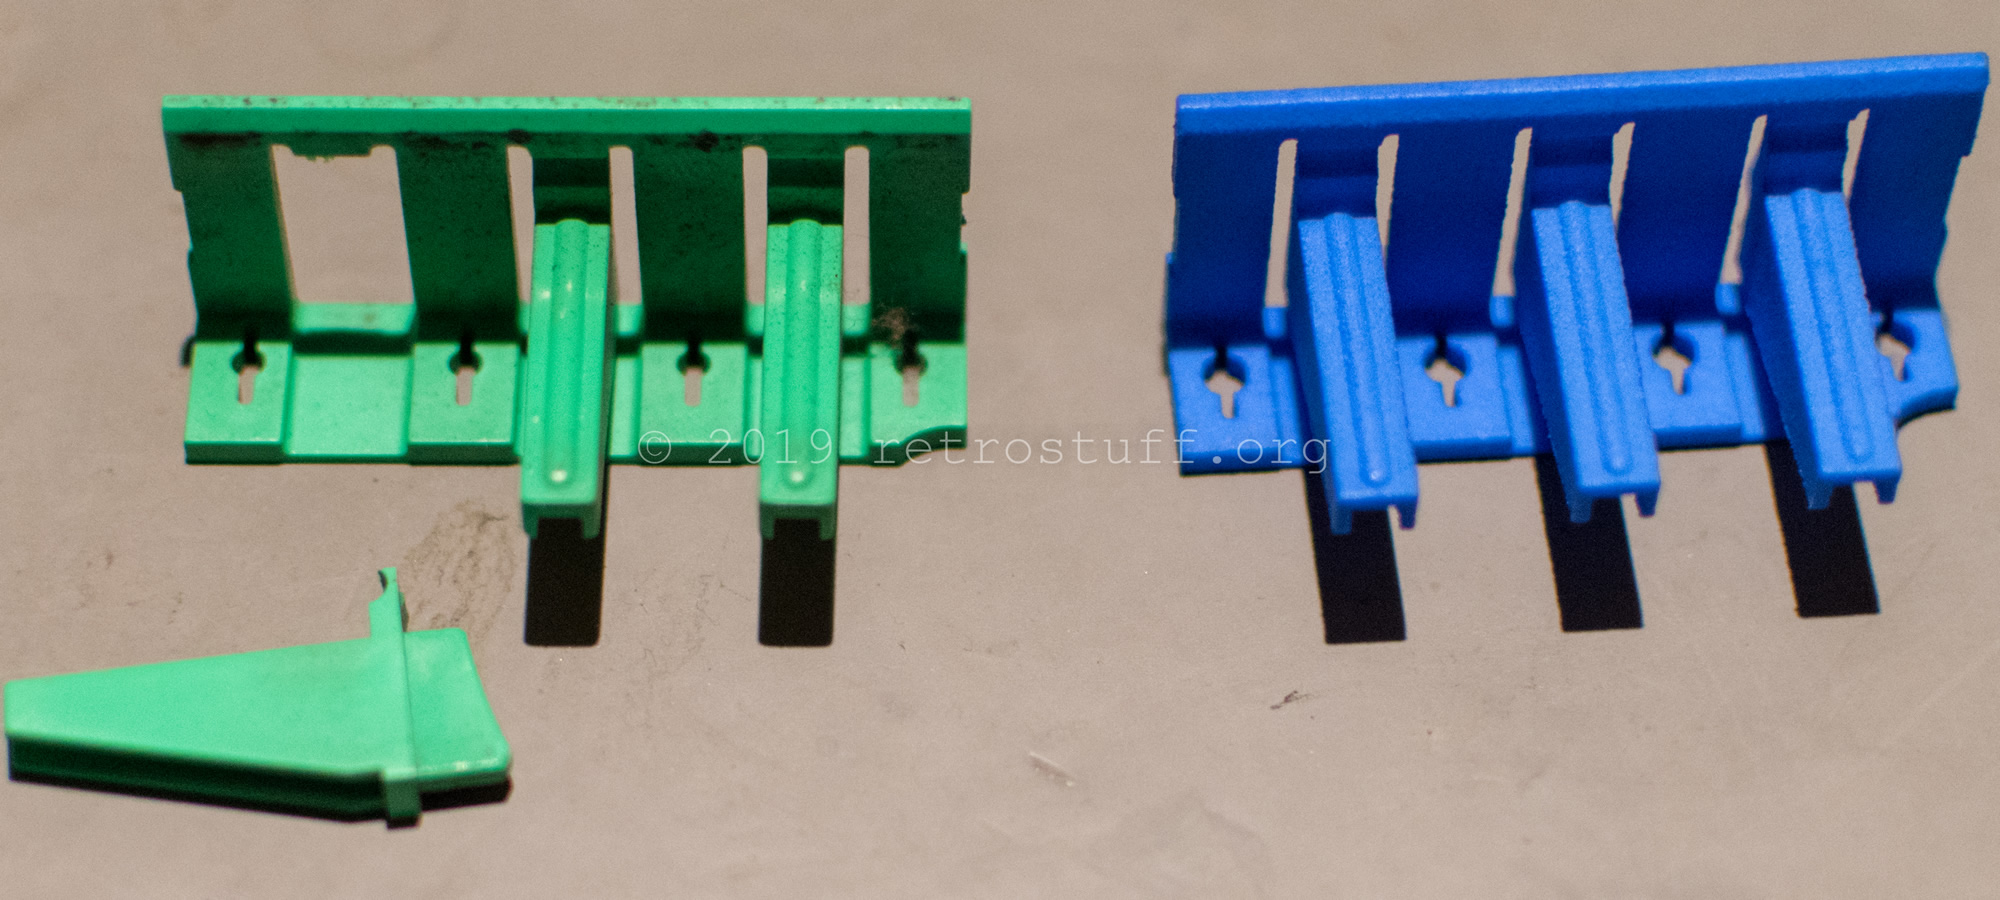
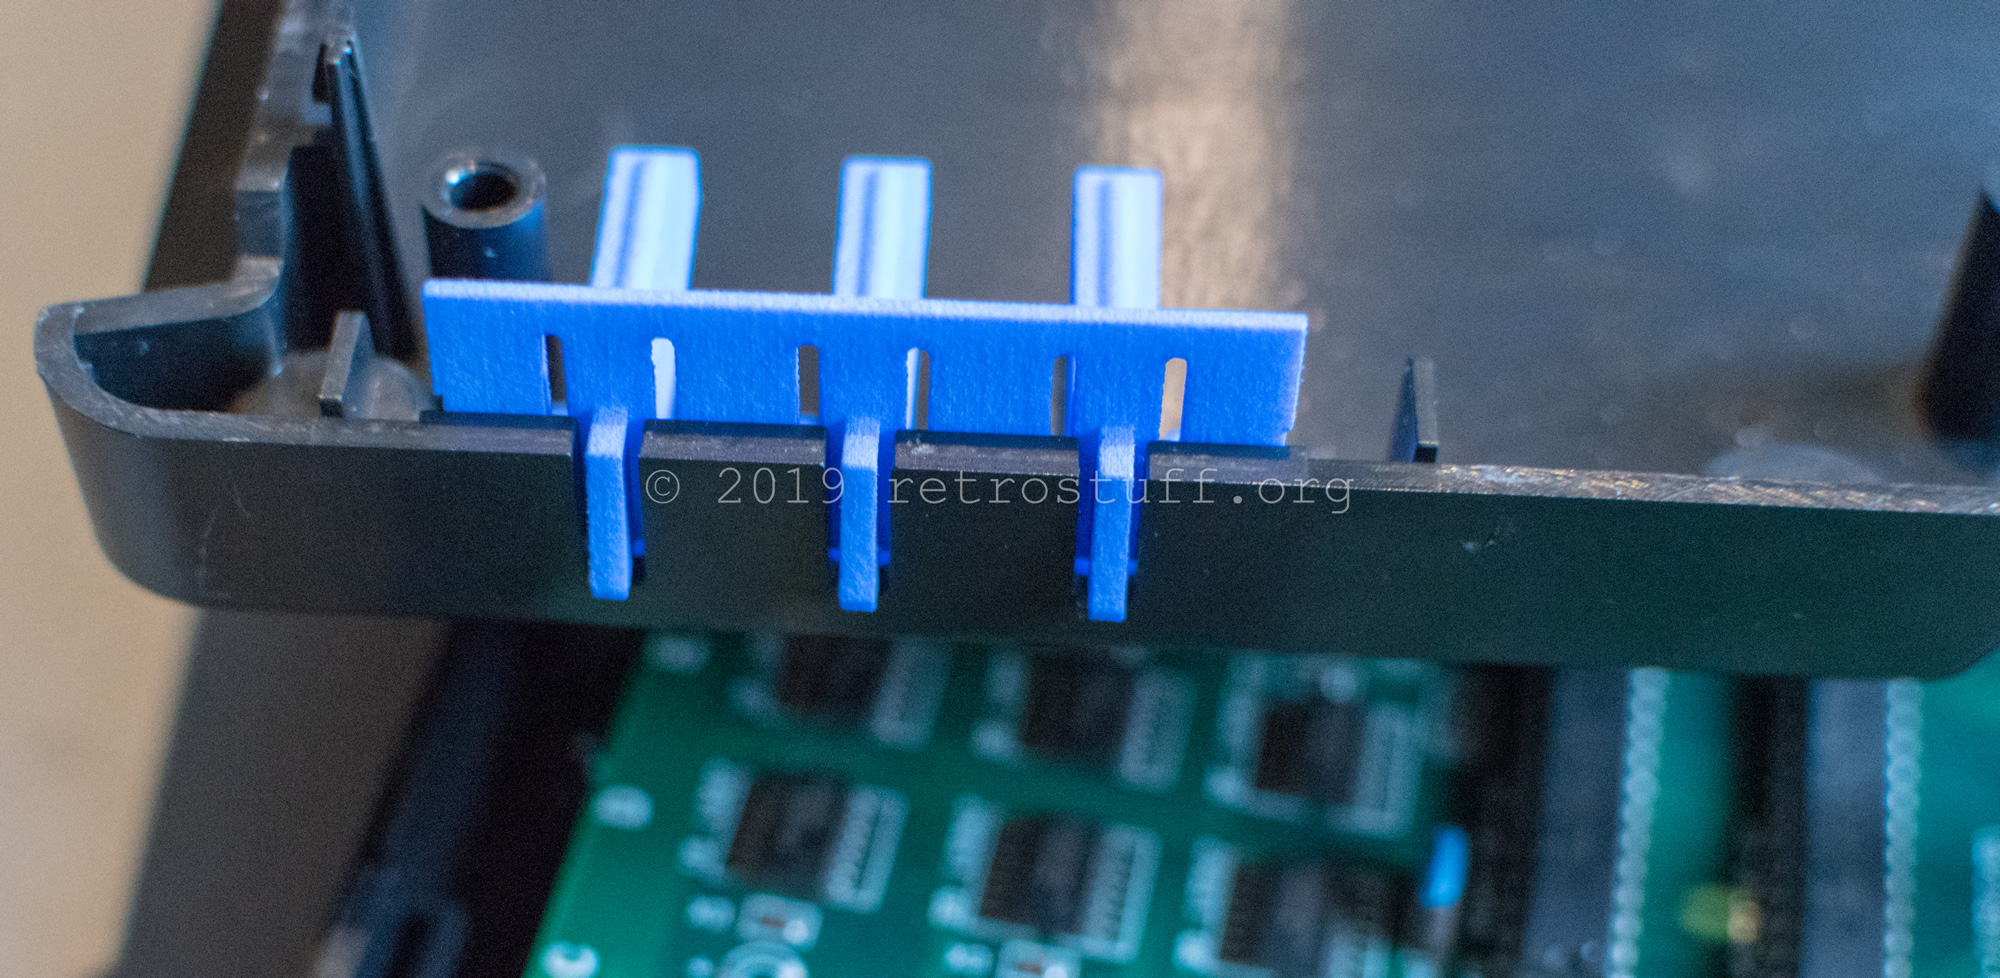
CPS2 A Board: Broken buttons 
CPS2 A Board: Dusty fan 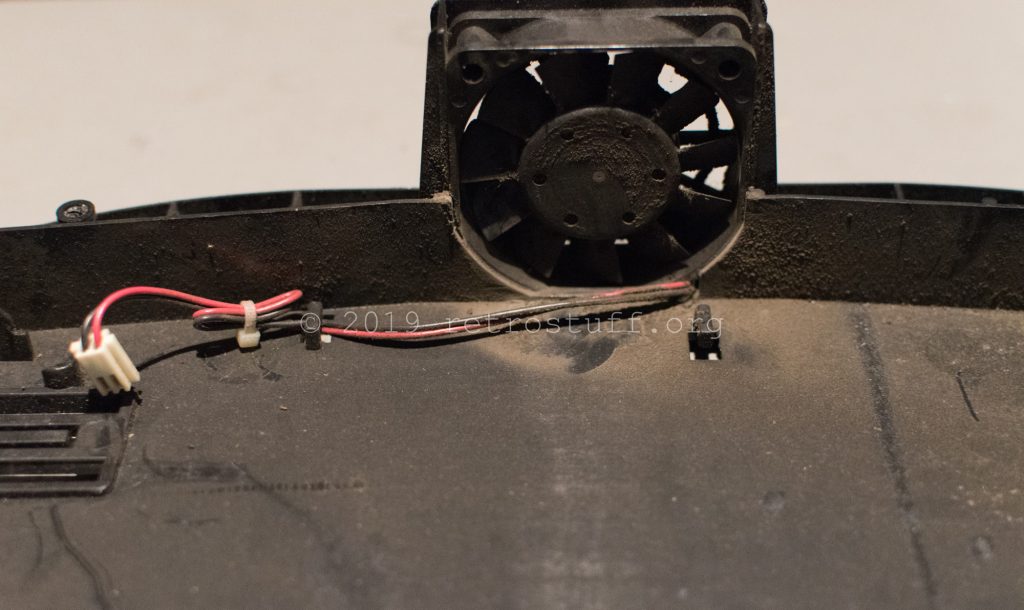

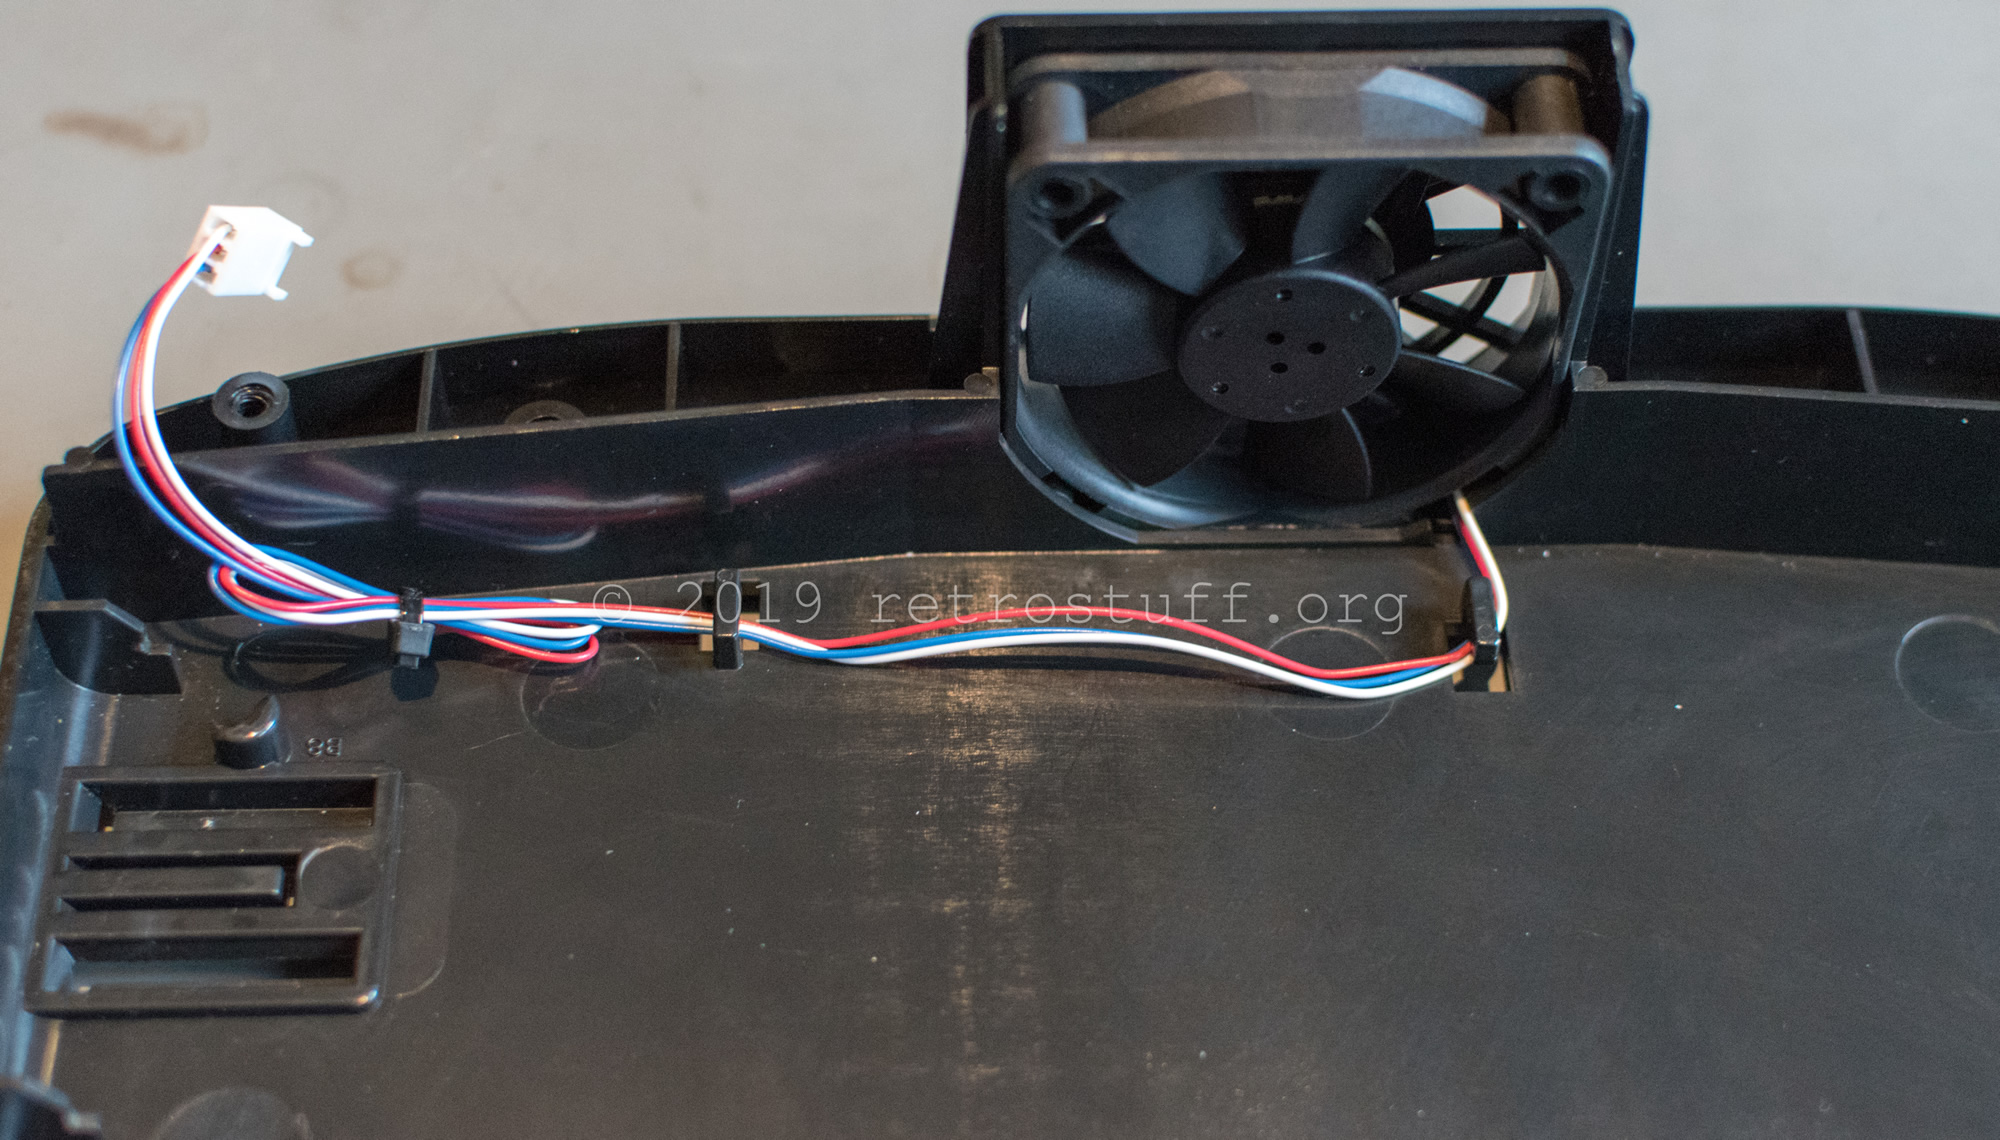
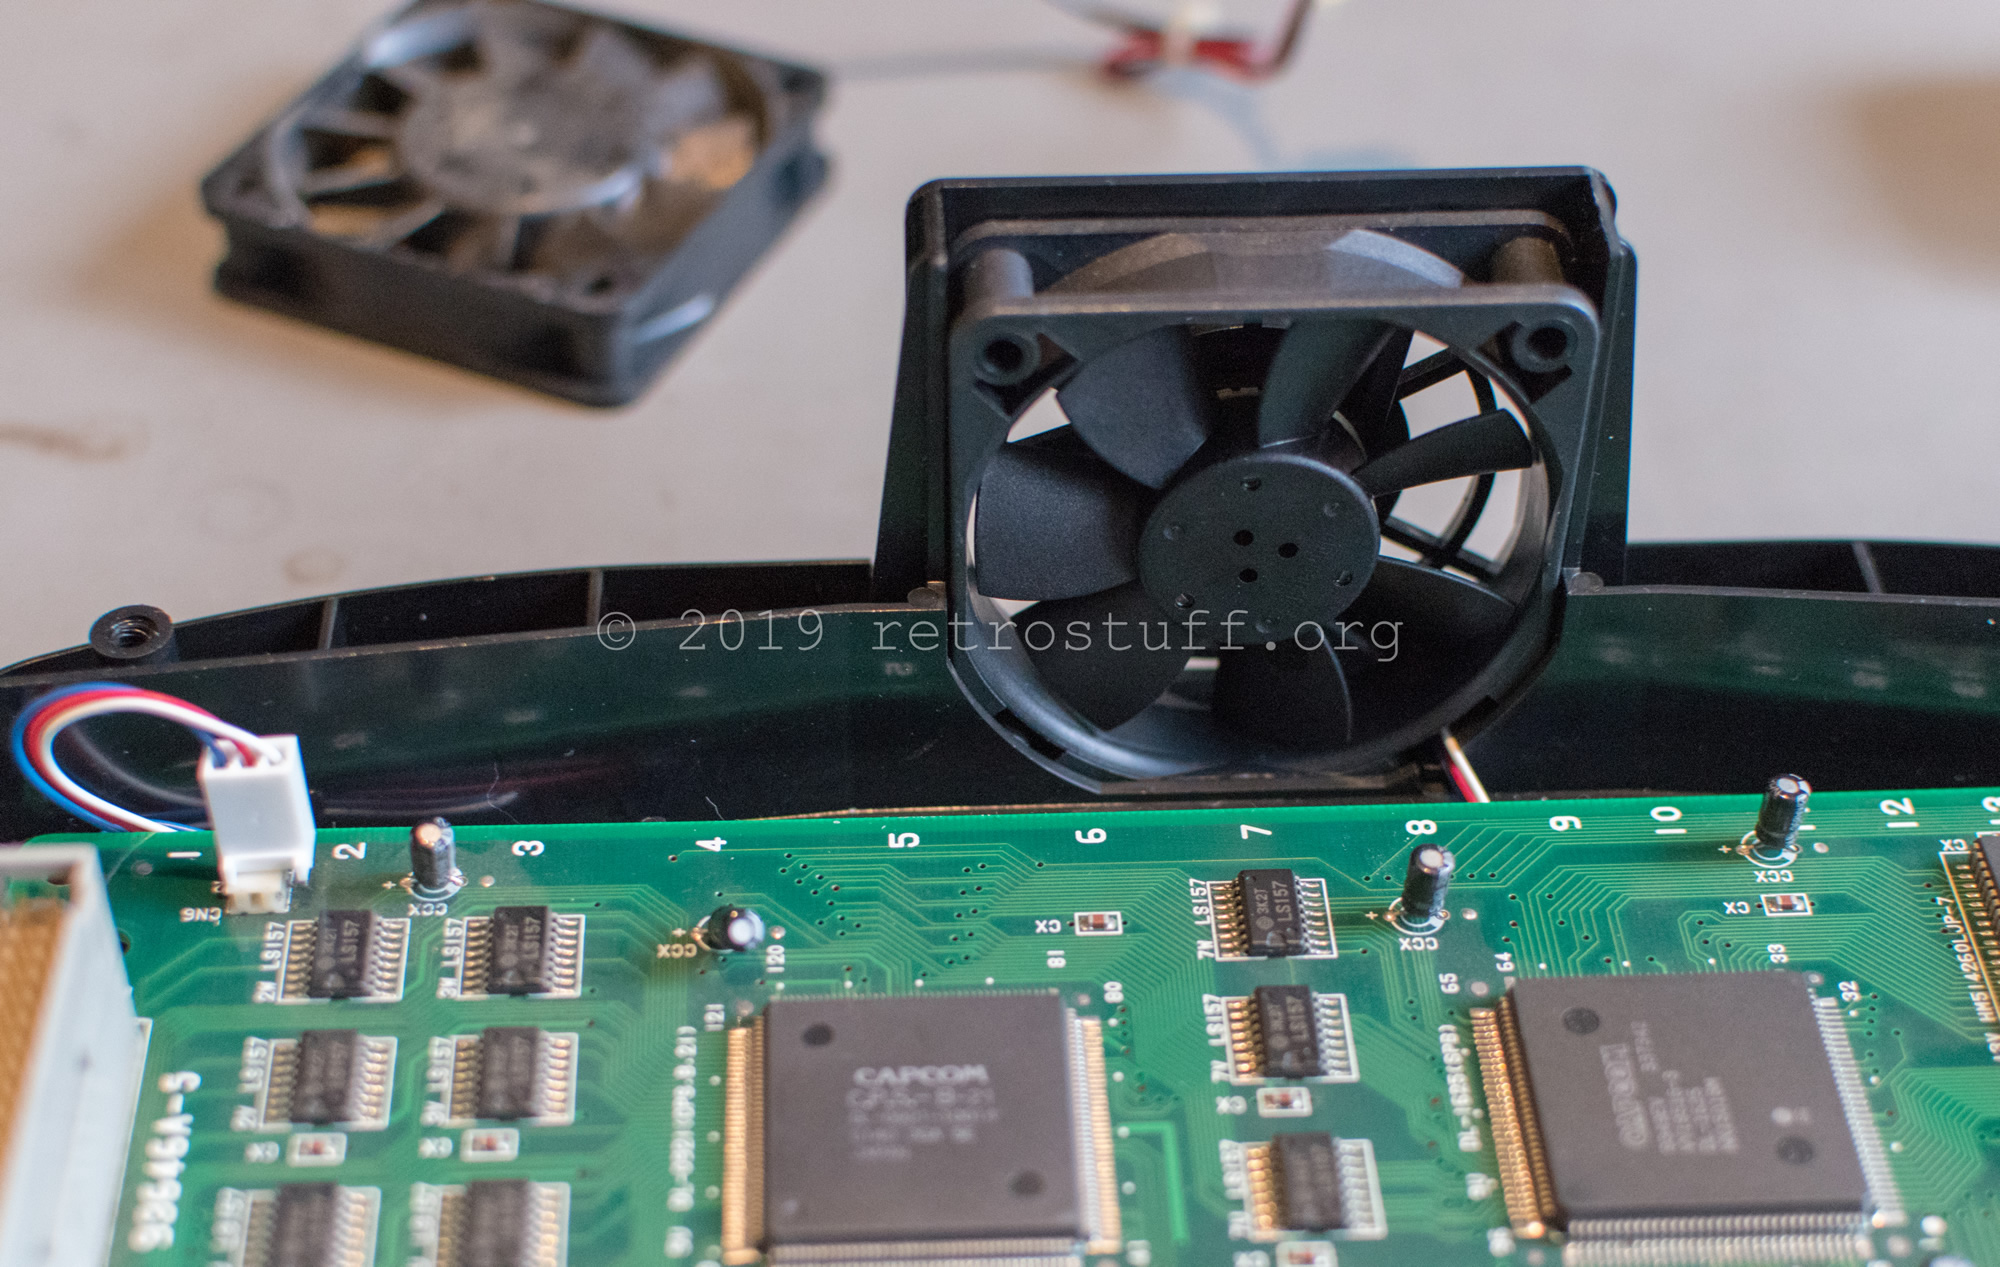
The 60 mm Papst 612 F/2 fan fits perfectly. Note that it comes with a 3-pin connector (blue +, red – and white tach signal). It will work fine when connected as pictured.
I started the repair in the beginning of 2018. Back then, there was no other alternative than ordering new buttons from Shapeways. Models of replacement buttons were released on Thingiverse shortly after.

B Board
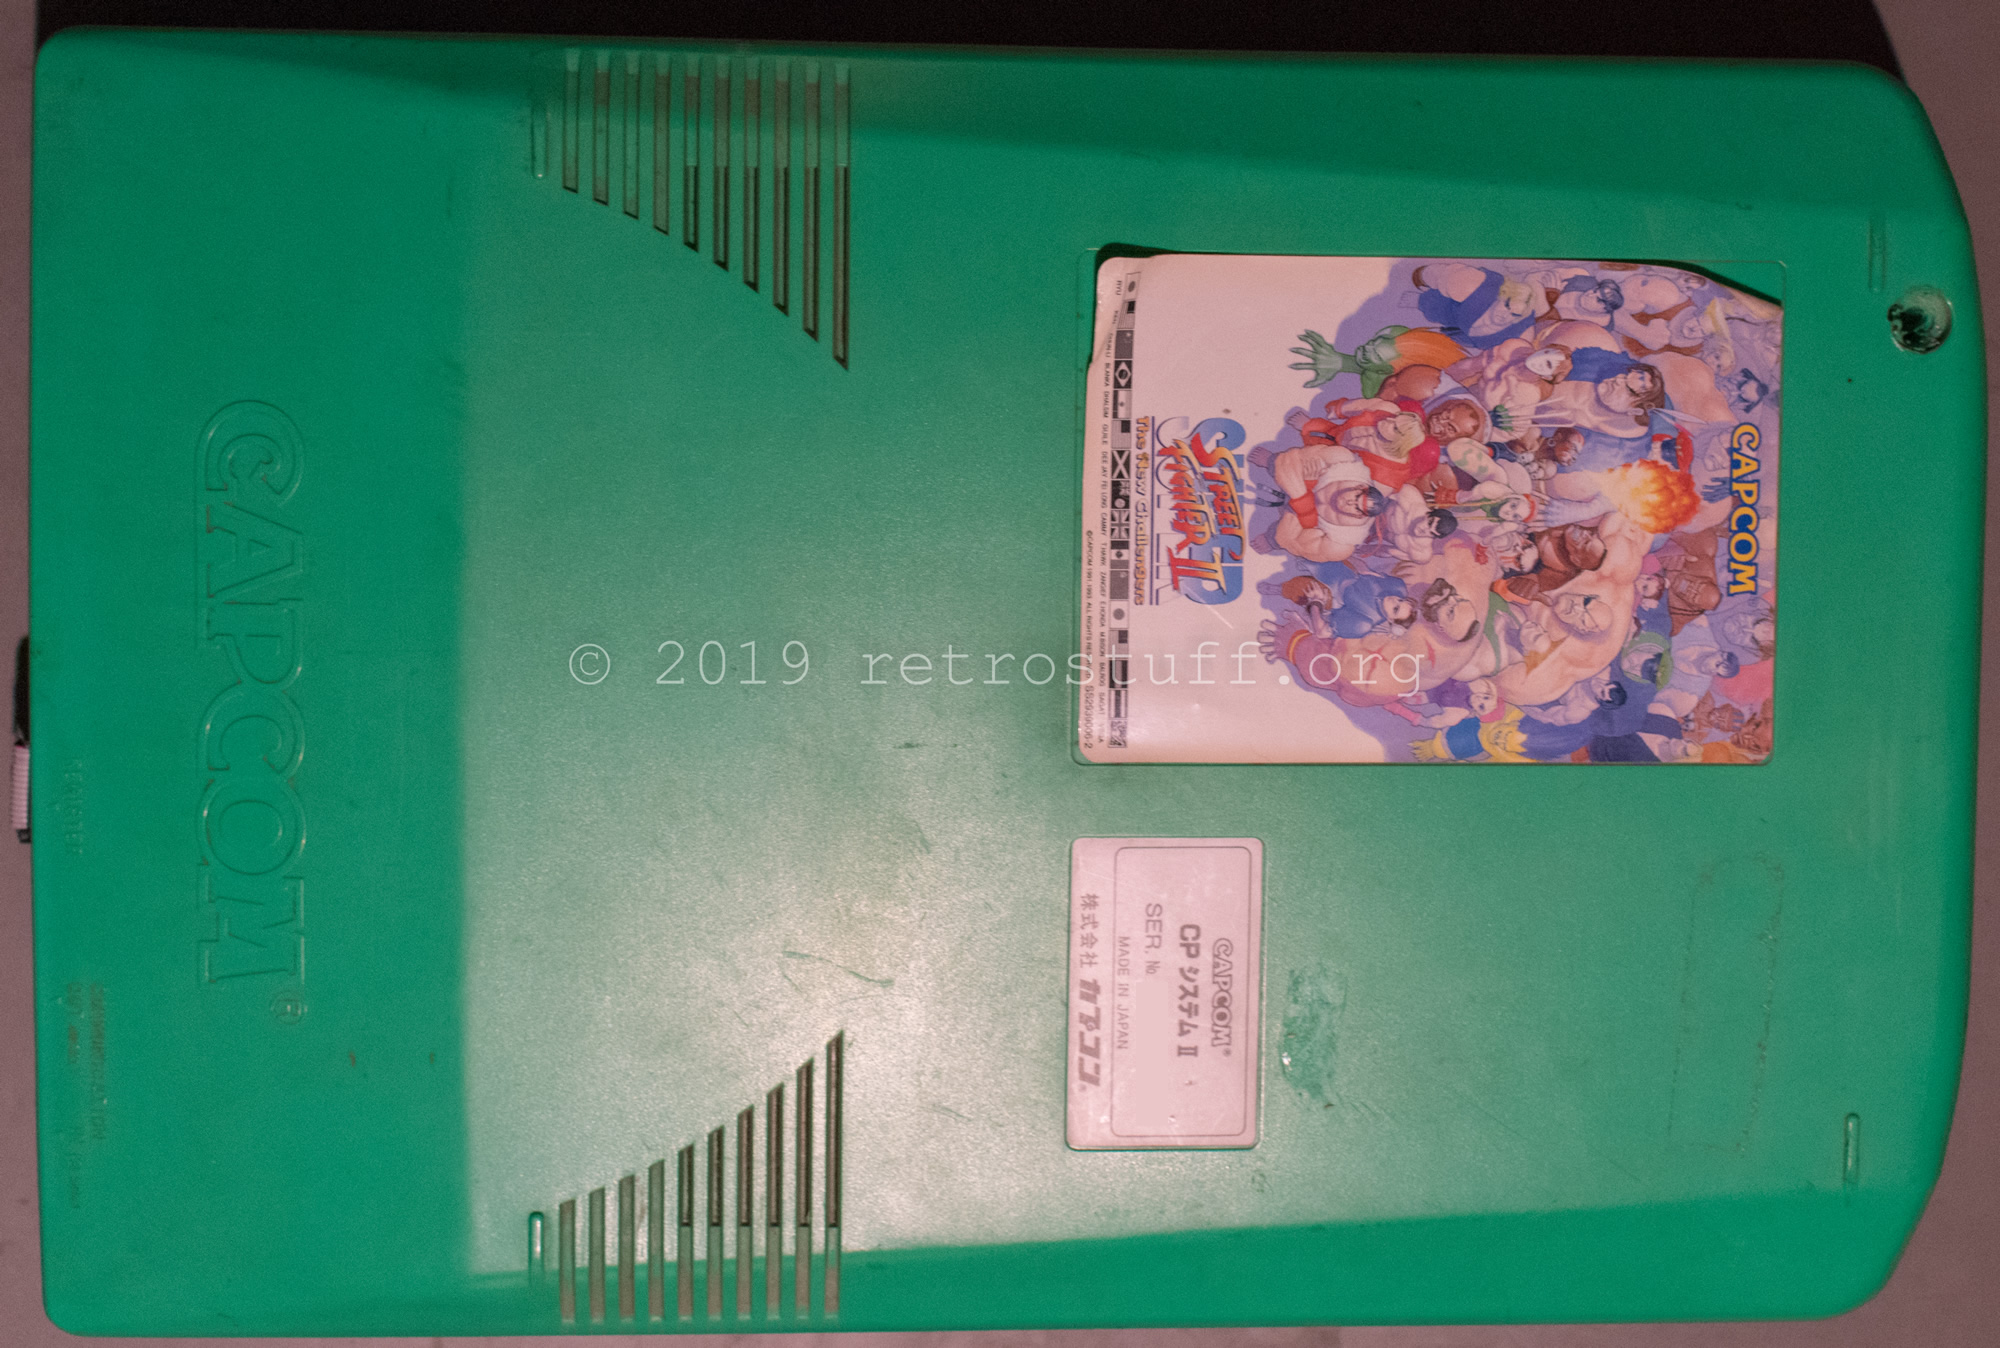
The most common problems of a B board: It doesn’t work at all and has a lot of dust. The first problem has already been taken care of by the previous owner by installing a Darksoft Multi Kit. That leaves me with cleaning, installing a new firmware with new features and adding some finishing touches.

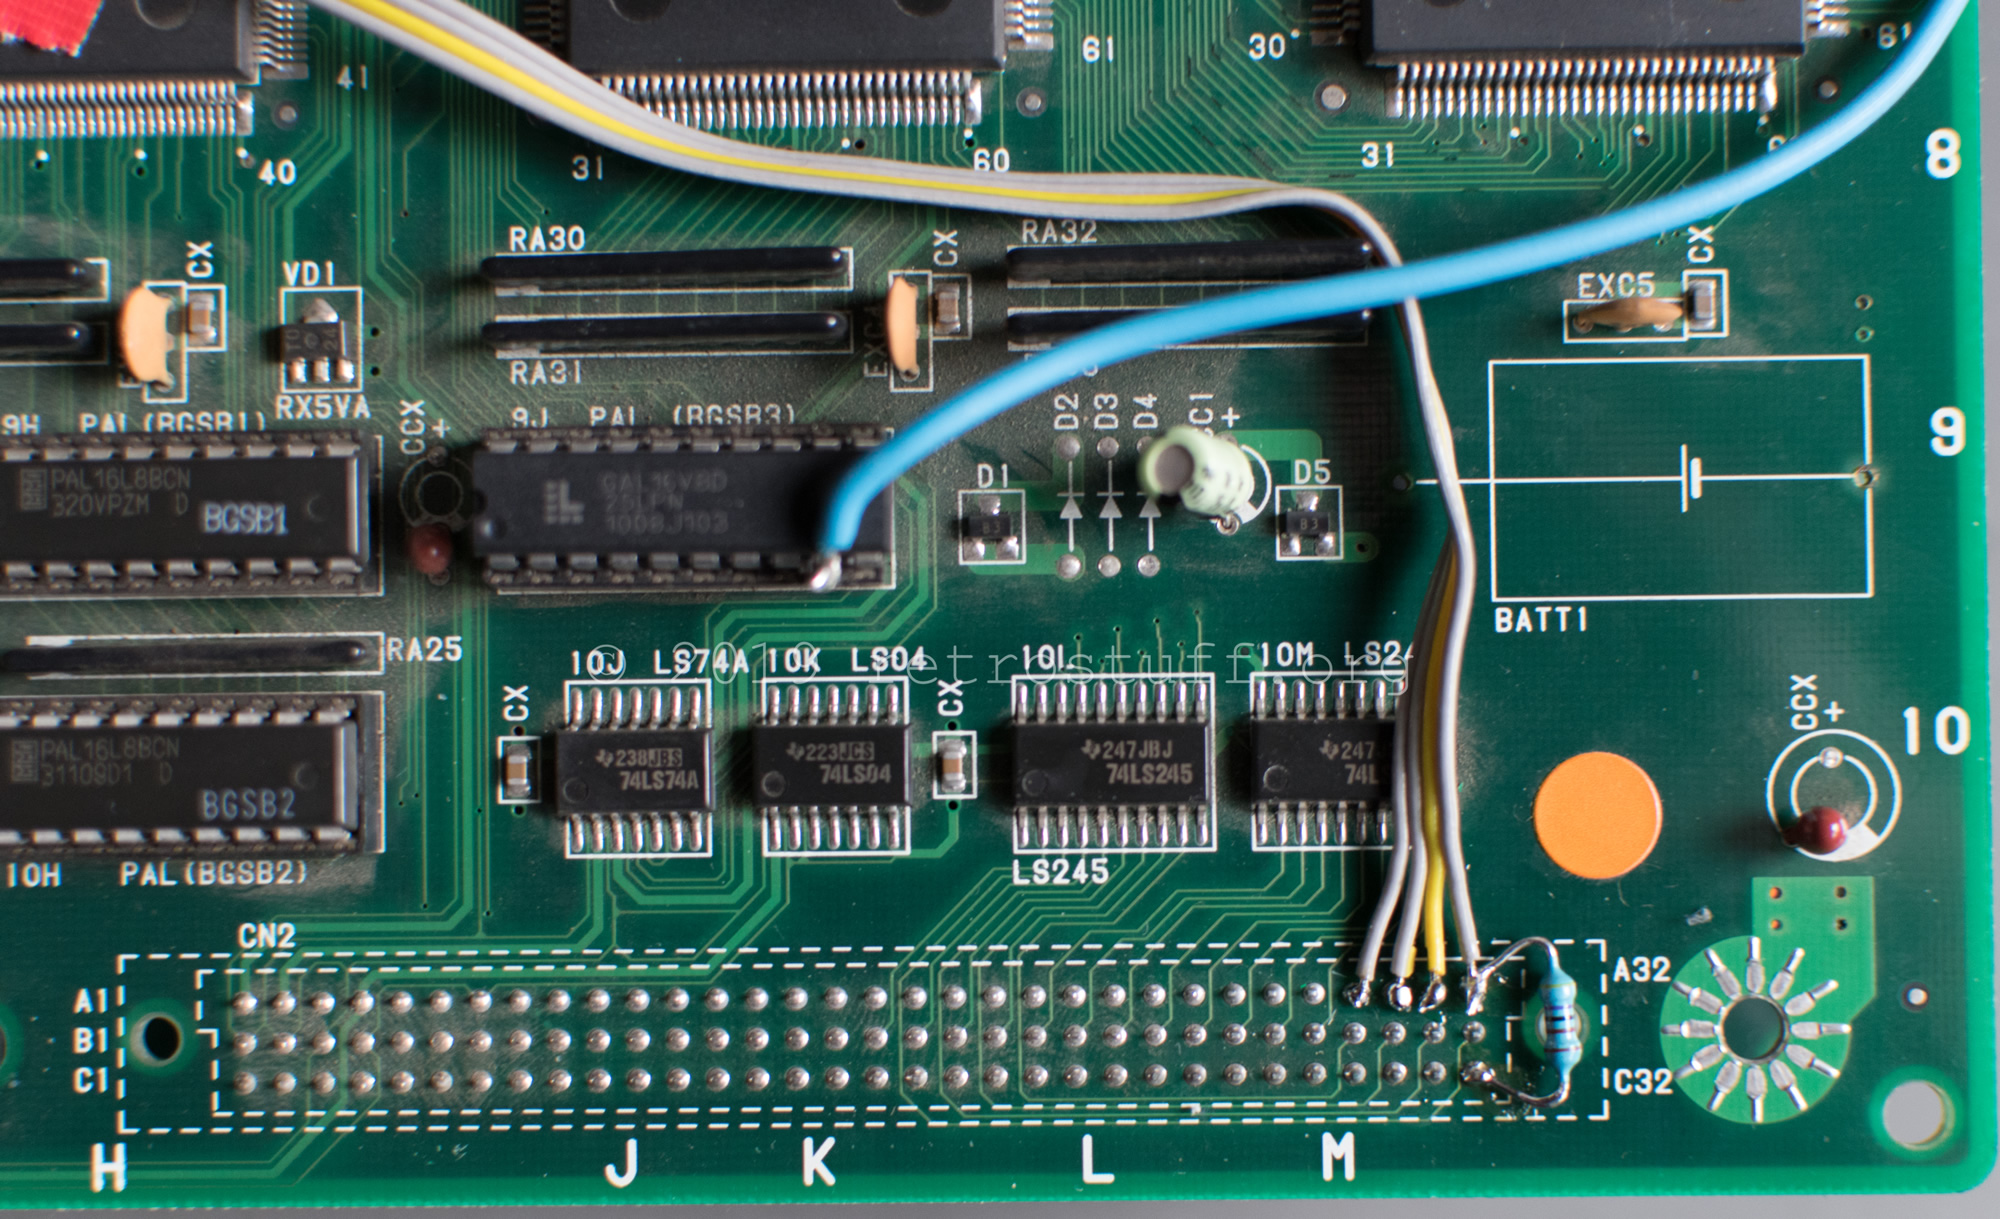
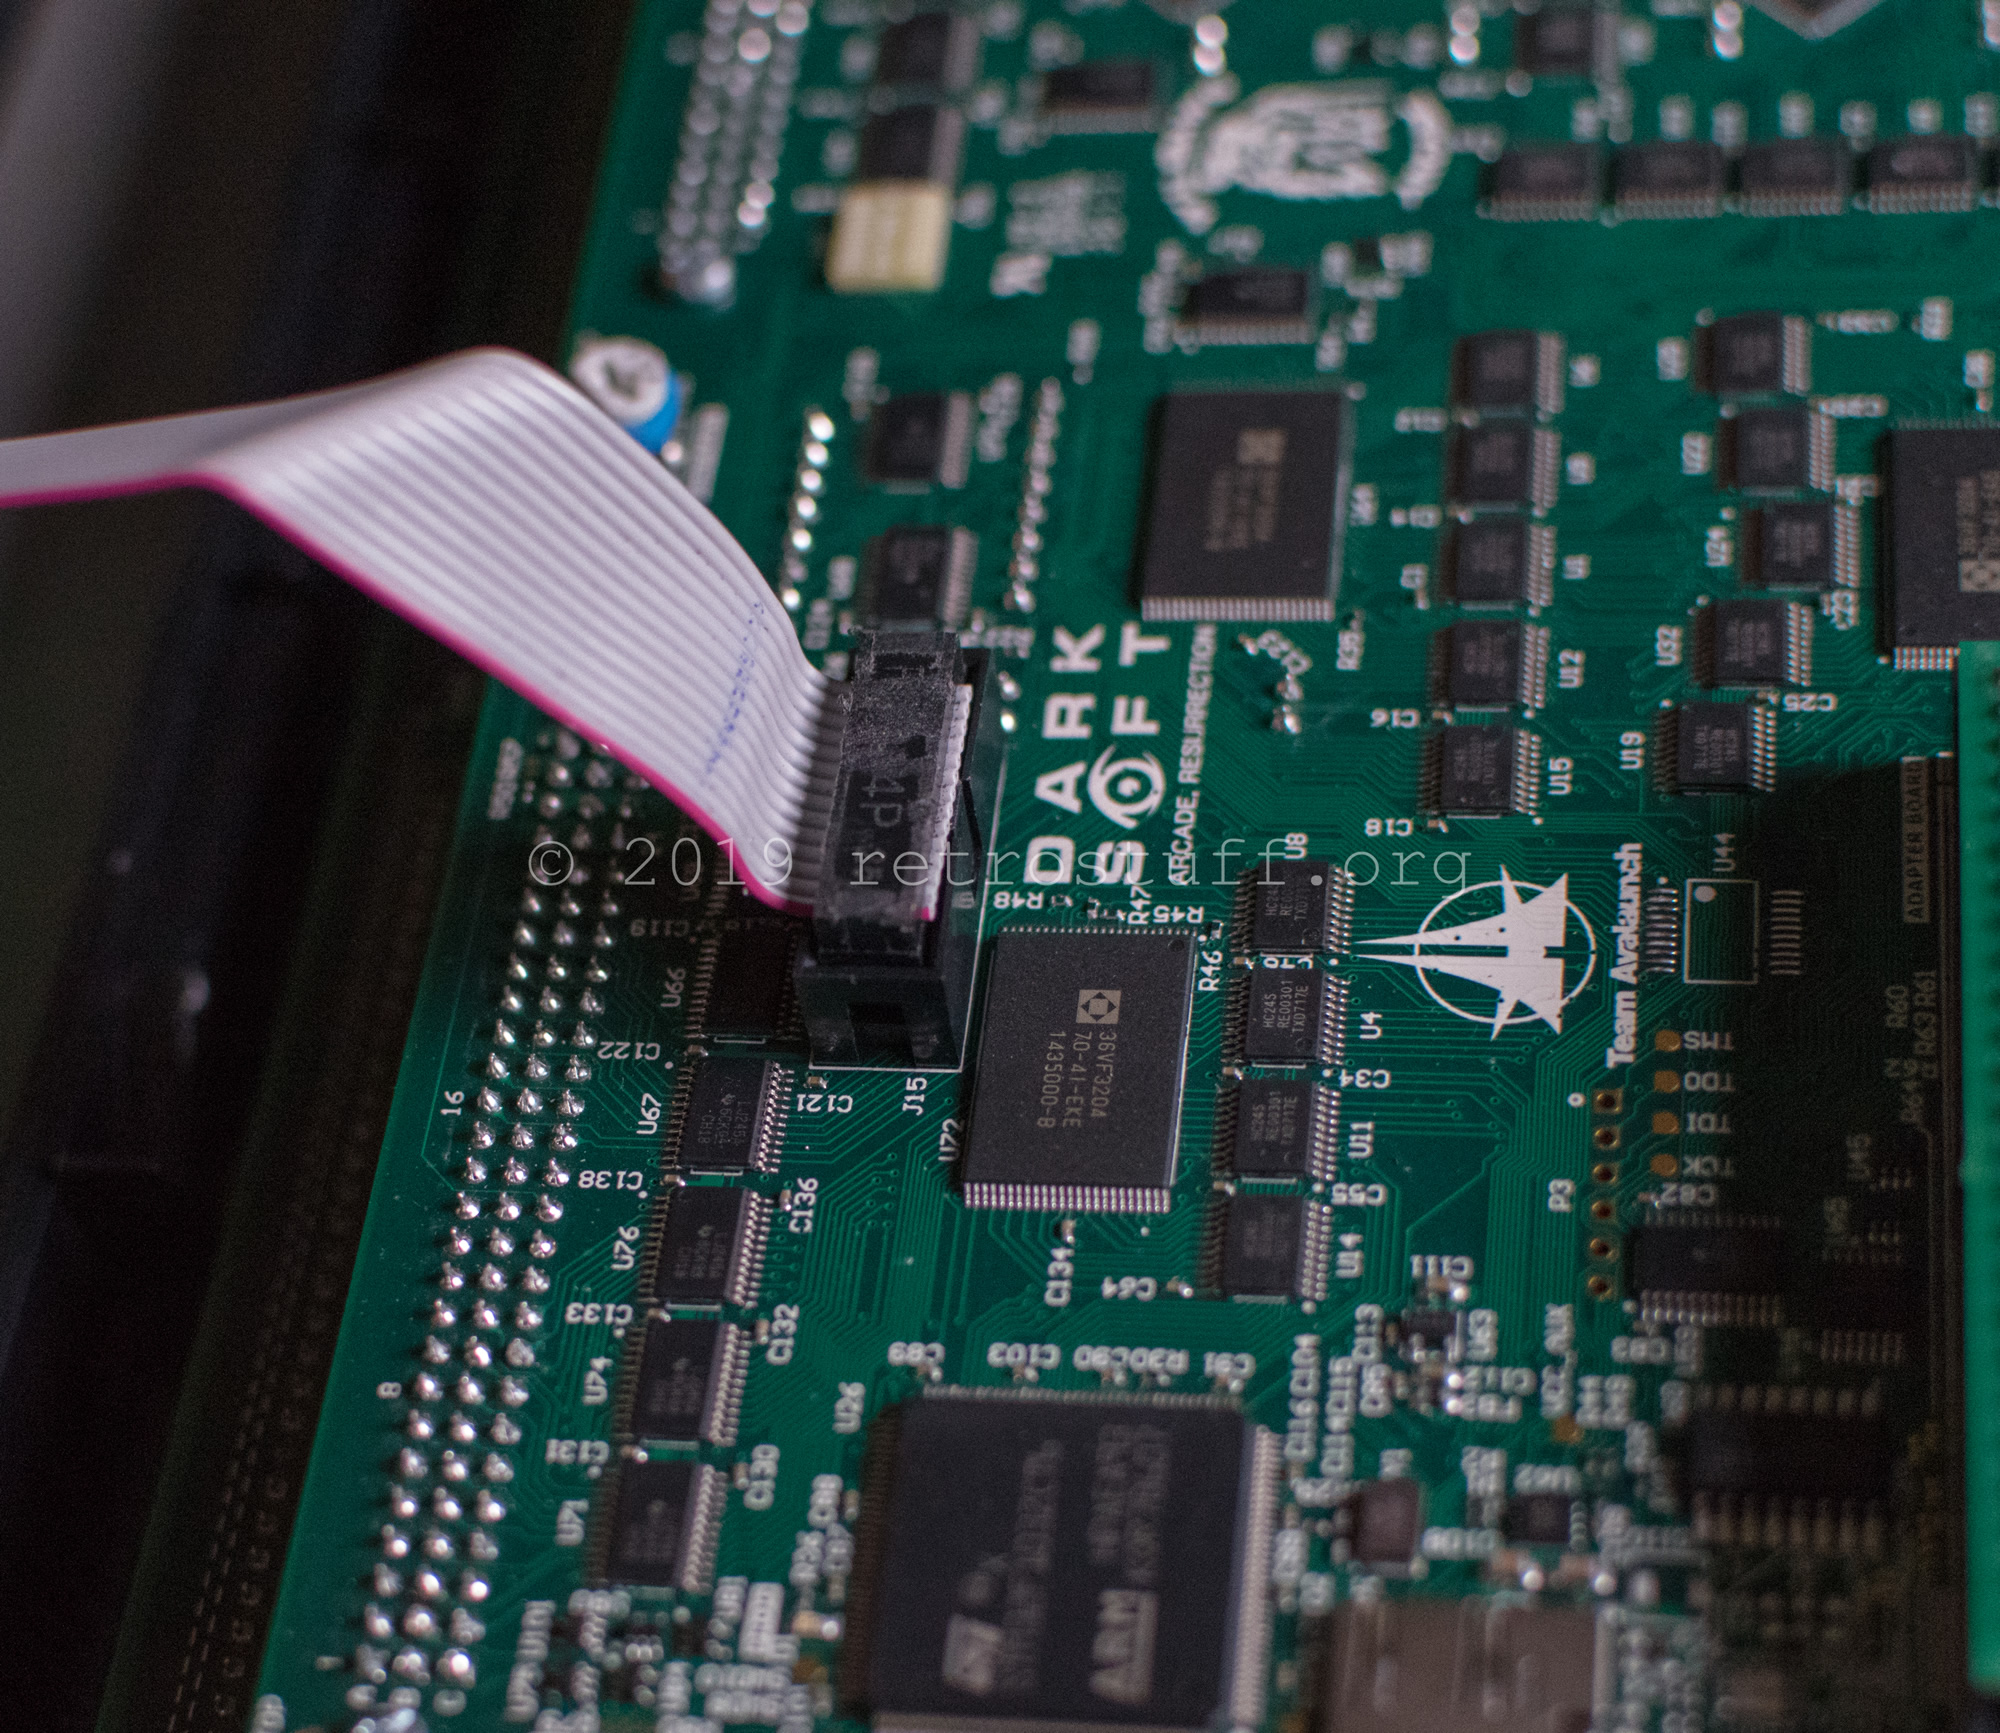
A new firmware that supports the writing of decryption keys has been released at the end of 2017. Detailed installation instructions can be found here. My B board was previously a Super Street Fighter II: The New Challengers (revision 93646B-3). I began with flashing the new firmware and then added the required wires to CN2. I also added a 4.7 kΩ resistor for more reliable programming.

After some final tests, I put everything back together so I could work on a custom SuperGun. Months later, I ran into strange errors. Games showed random visual artifacts or couldn’t be programmed at all. It turned out that this only happened when the top cover was closed, pushed against the display ribbon cable connector and thus caused pressure on the game board. I then removed the top clip of the connector, filed it down and rerouted the cable. There haven’t been any errors since then.

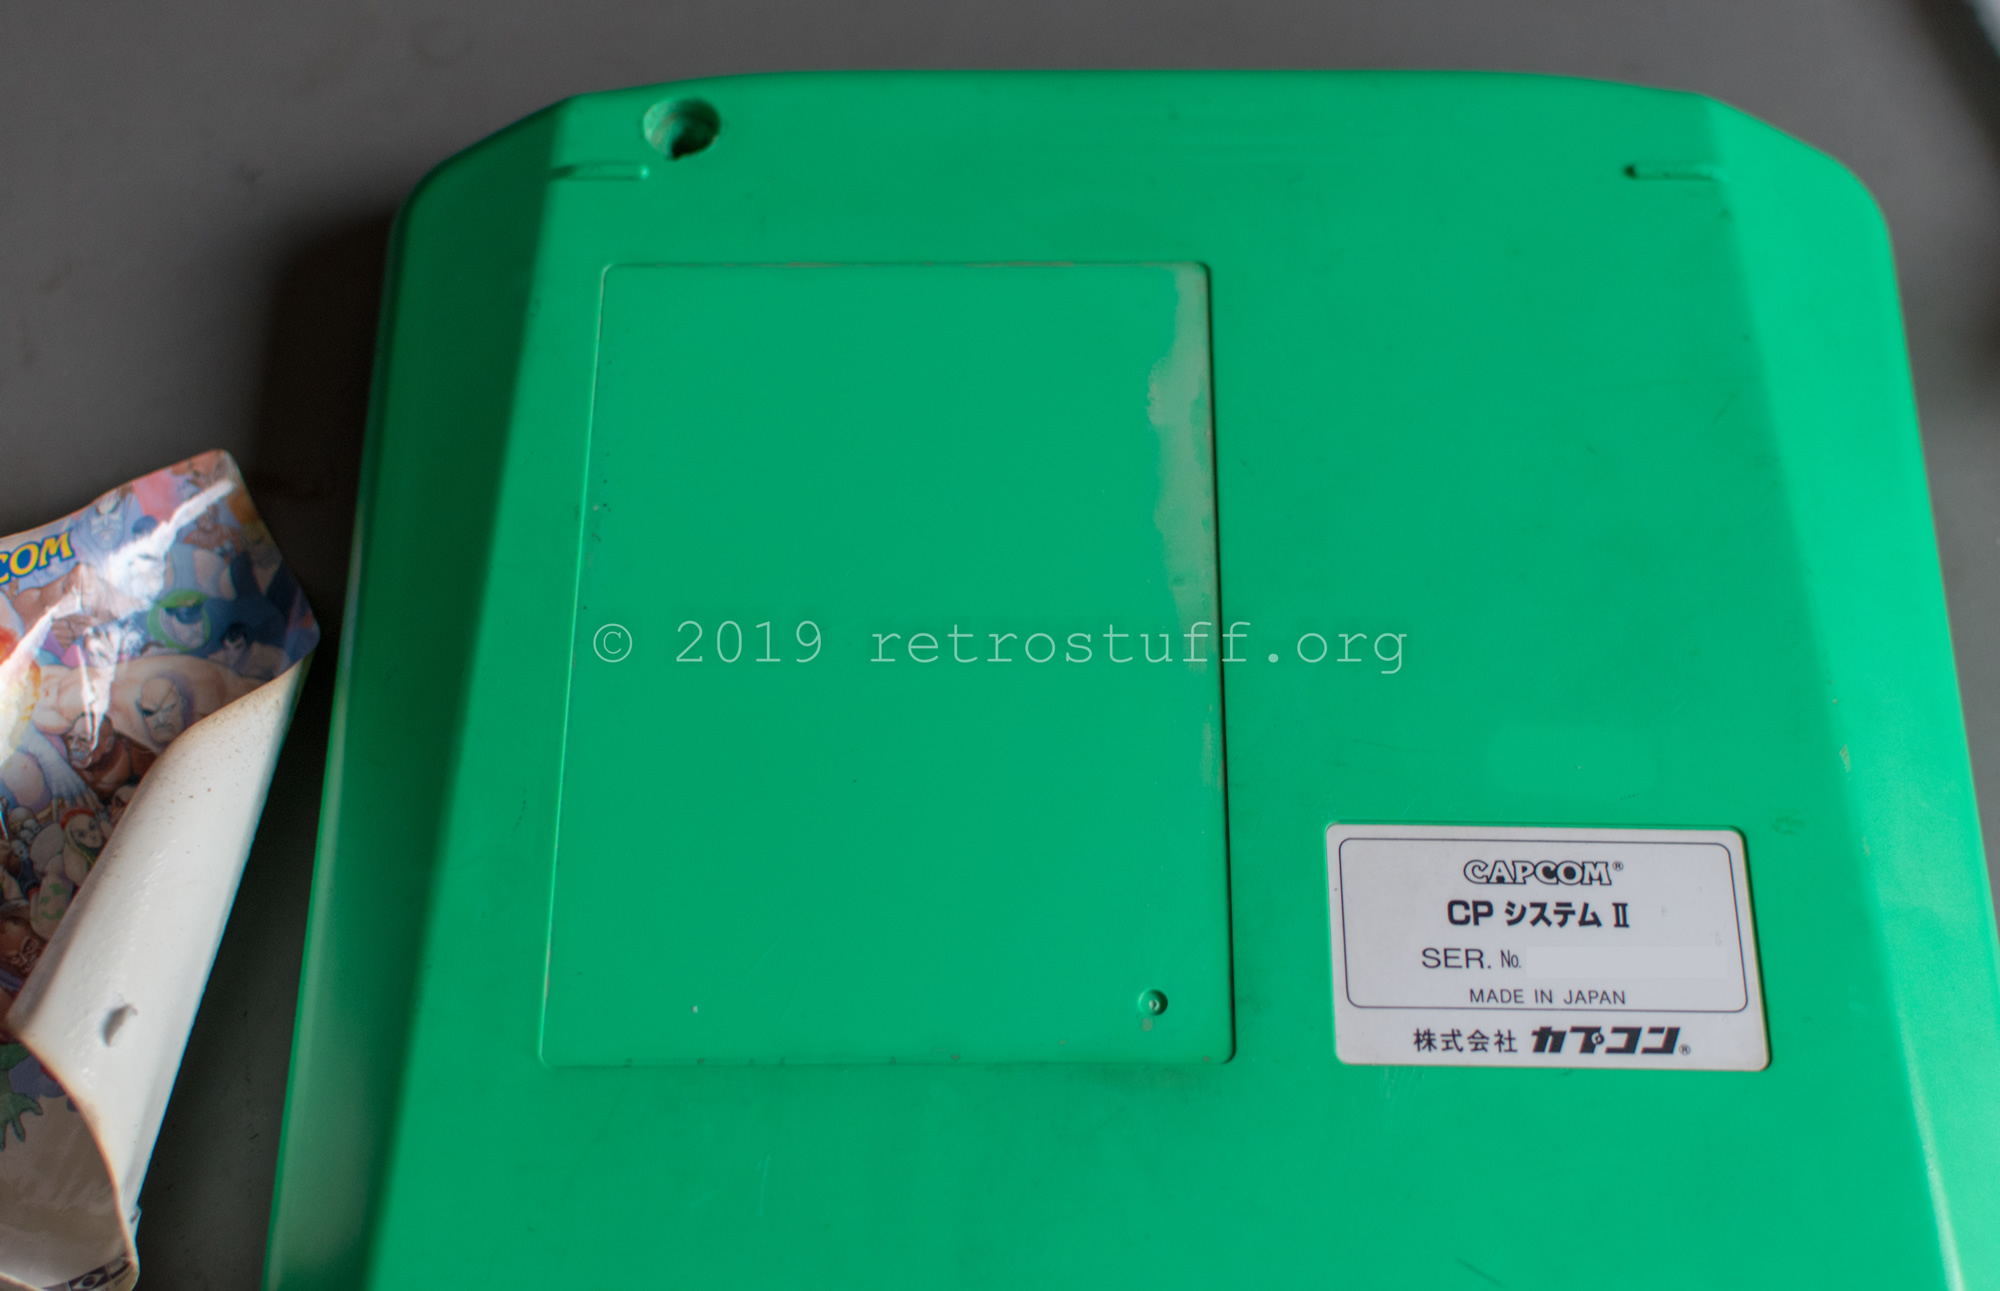
Some finishing touches: I removed the old, ugly game label and replaced it with the Darksoft vinyl sticker (see header picture).
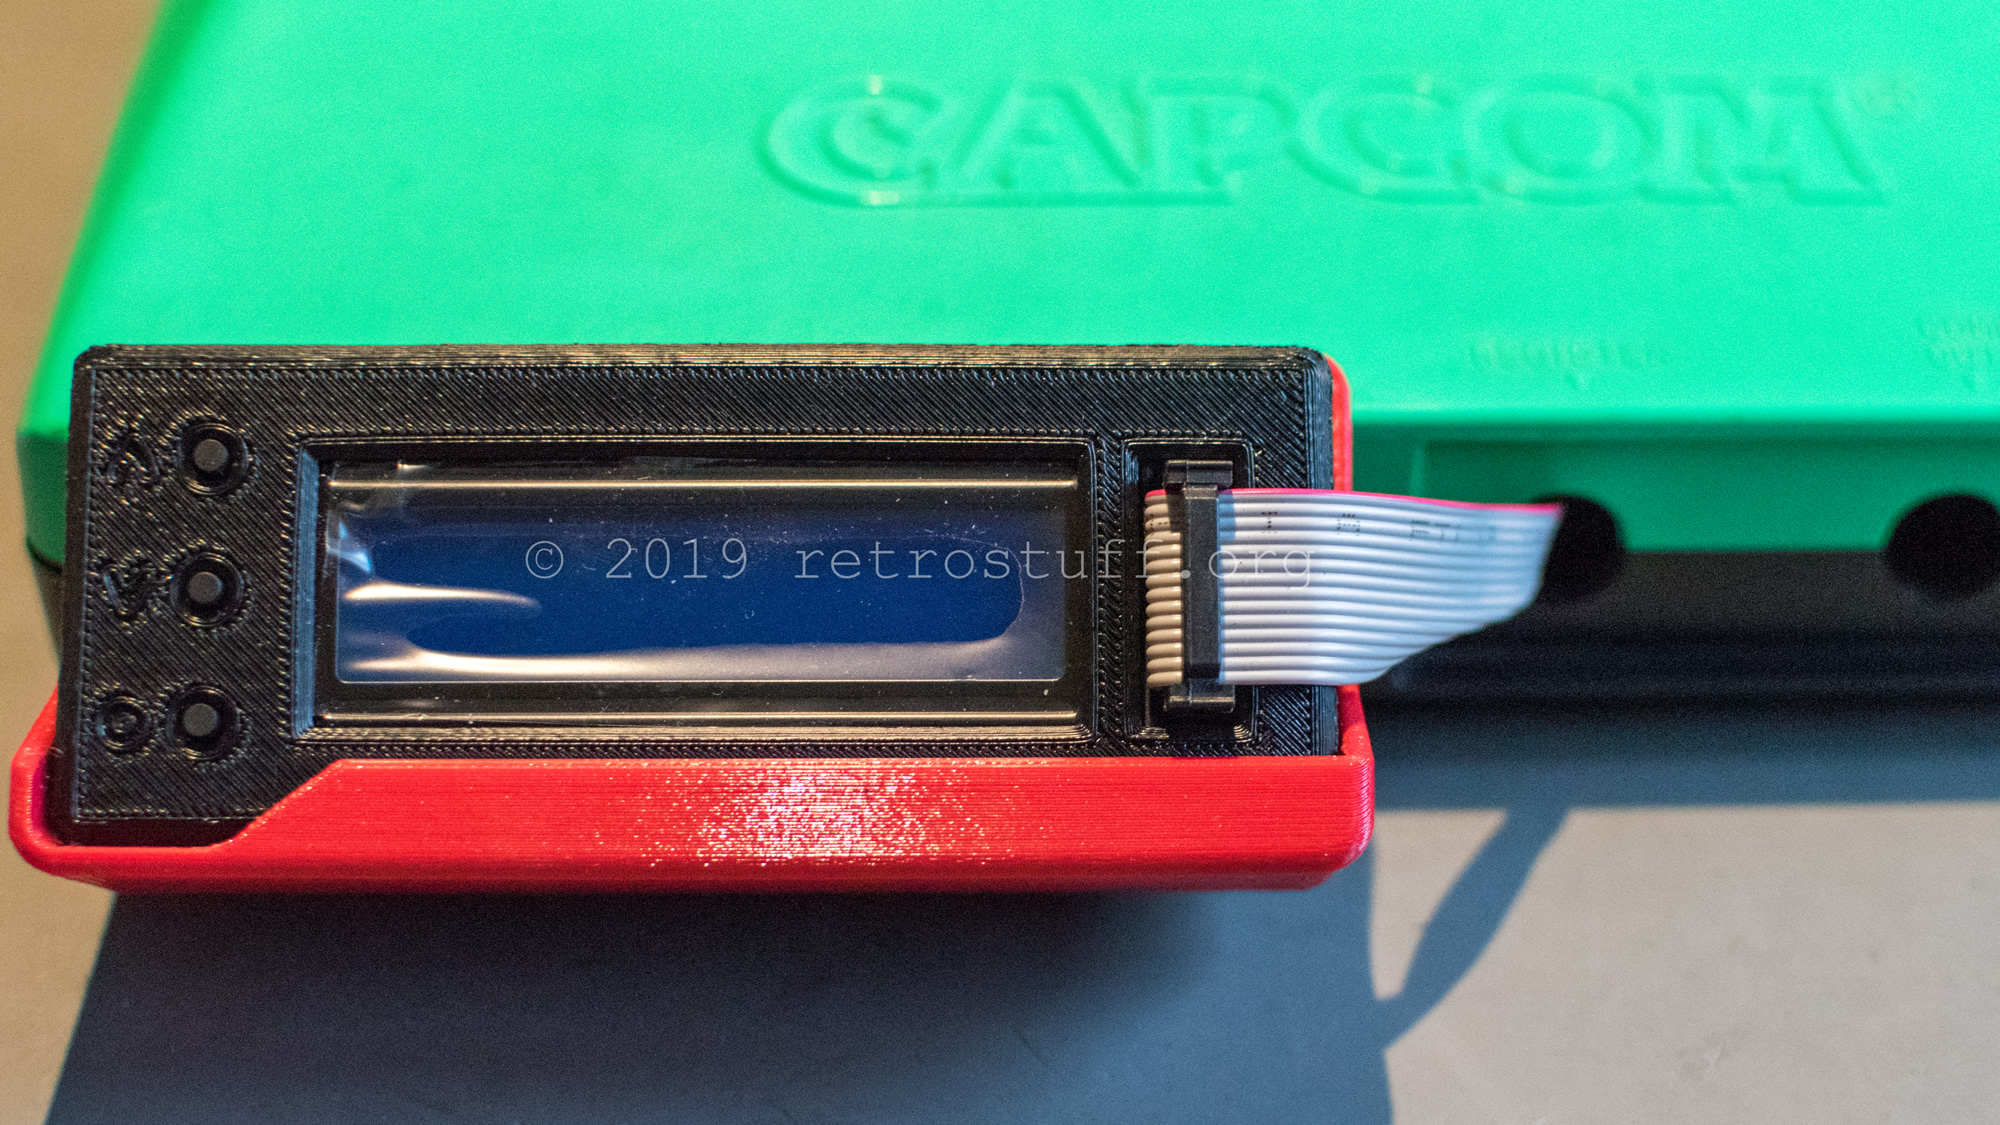
The LCD selector was put into this housing and attached to the B board with this holster.
My Capcom CPS2 at home project is still far from being complete. I’ve discarded the plans for a custom SuperGun in the meantime and will focus on adding a more sophisticated interface in the following months.

“Have you considered upgrading the fan to reduce the noise, or is the dust the main issue causing it to sound like a jet engine?”