In 2014, I bought two top-loading CD-i players, the Philips CDI550 and CDI450. While the Magnavox CDI550 pops up every now and then in the U.S., the Philips CDI550 is quite rare in Europe and I’ve only seen a single one in all these years.
It is no longer in my possession, but I took a series of pictures for comparison after I bought it and when replacing the Timekeeper chips. (The pictures were taken with a smartphone camera, so don’t expect too much.)
Comparison – outside
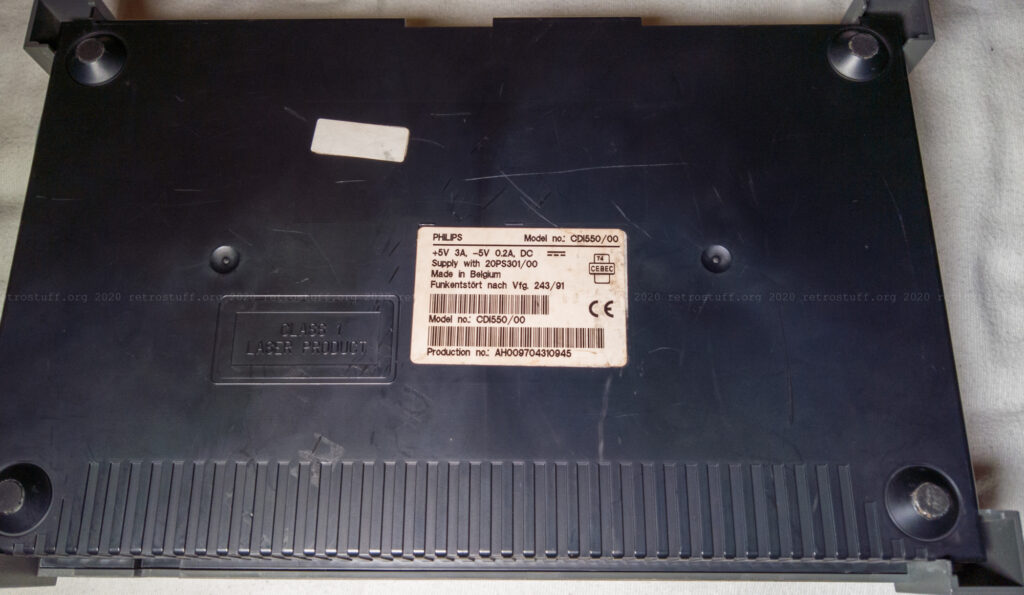
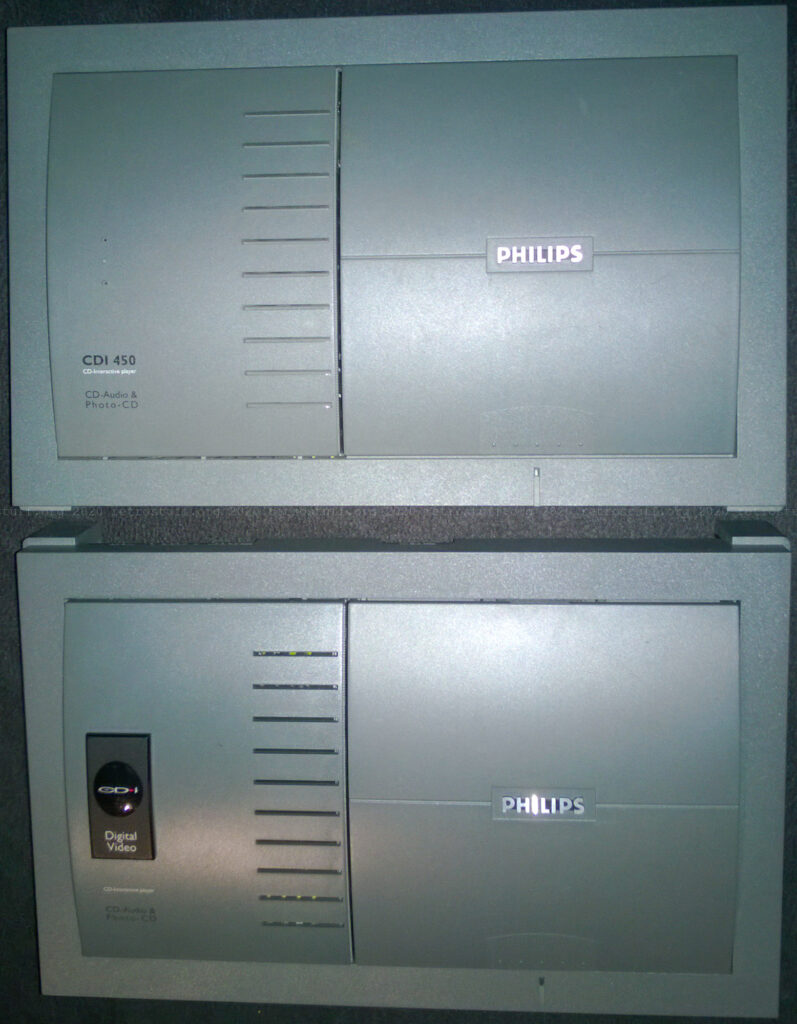
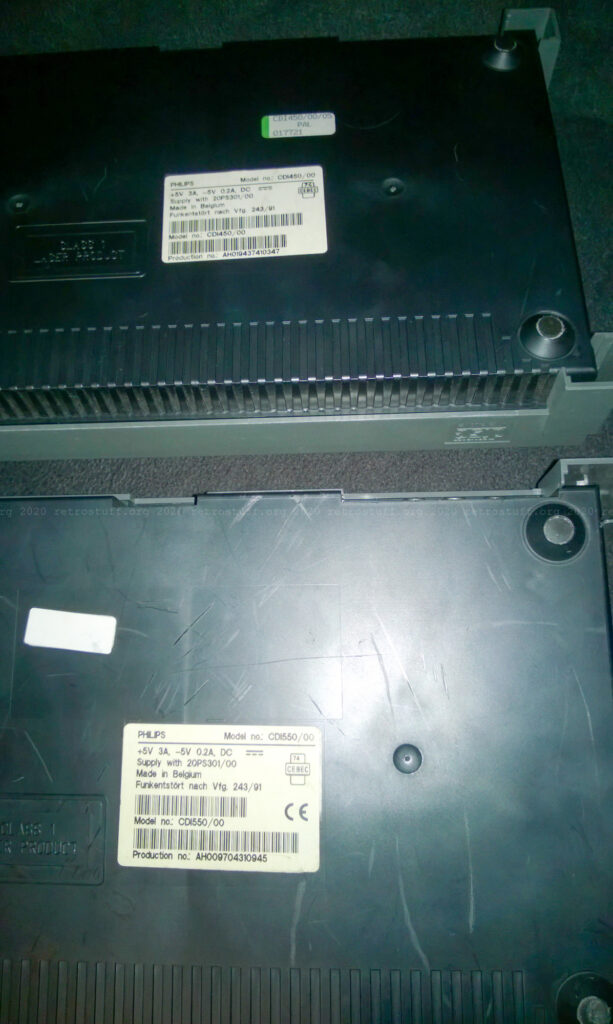
From the outside, there are only two visible differences: The print and badge on the DVC cover and the labels on the bottom:
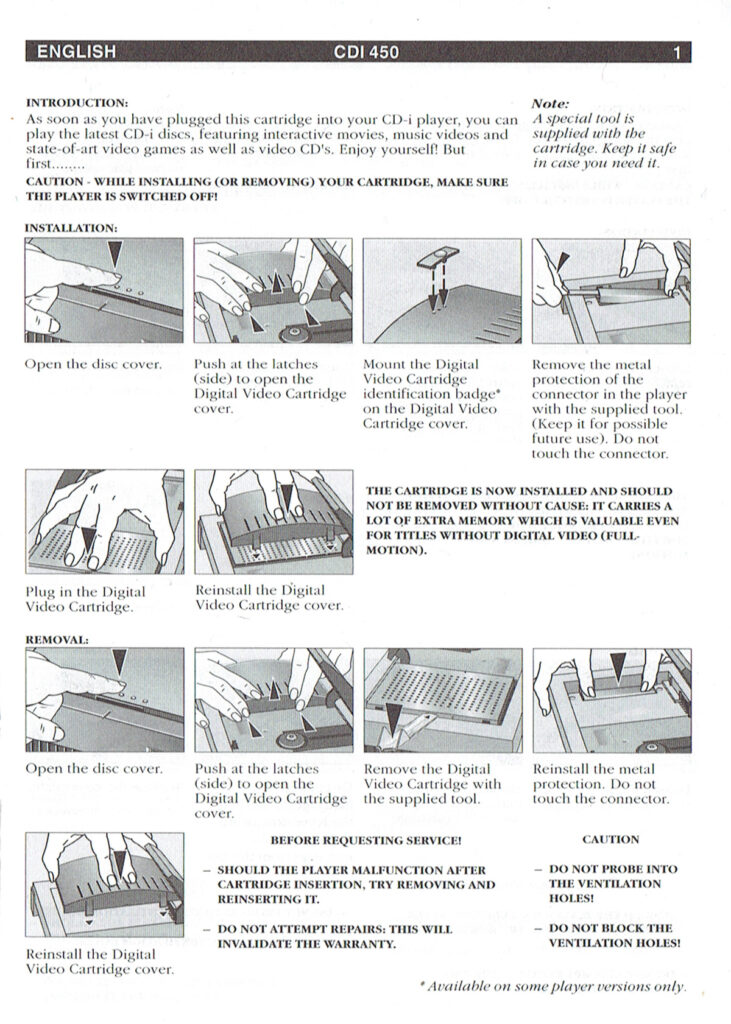
The CDI550 is actually a CDI450 with preinstalled DVC and a black “Digital Video Cartridge identification badge” on the cover. The manual of the 22ER9956 Digital Video Mini-Cartridge shows how to perform this upgrade on a CDI450. If you ever wondered why there are two holes in the DVC cover – this is where you mount the badge.
Inside the CDI550
I skipped documenting the CDM assembly and the metal cage/shield because they are always the same components.
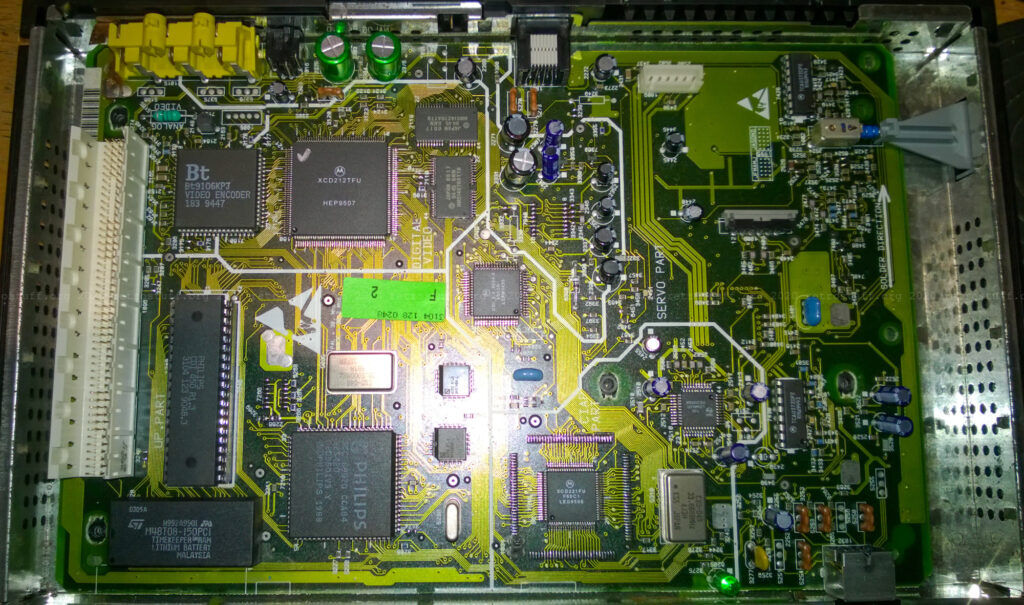
Let’s have a look at the mainboard of the CDI550:
Roboco is a feature reduced variant of the Mono III mainboard and is used in all top-loading consumer players.
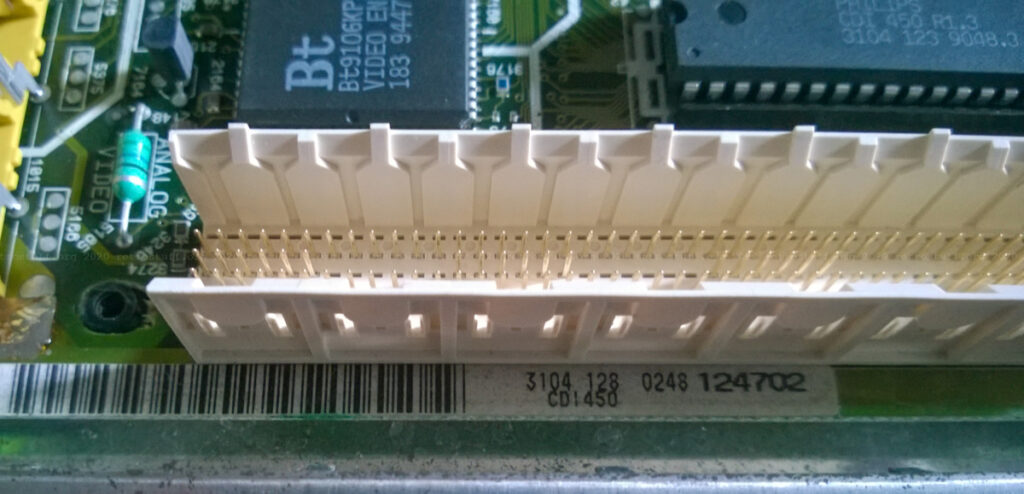
This one looks very familiar and like every other CDI450 unit that I’ve opened so far. Closer inspection of the barcode label and the system ROM reveals that, yes, this is really a CDI450 mainboard working inside:
Timekeeper replacement
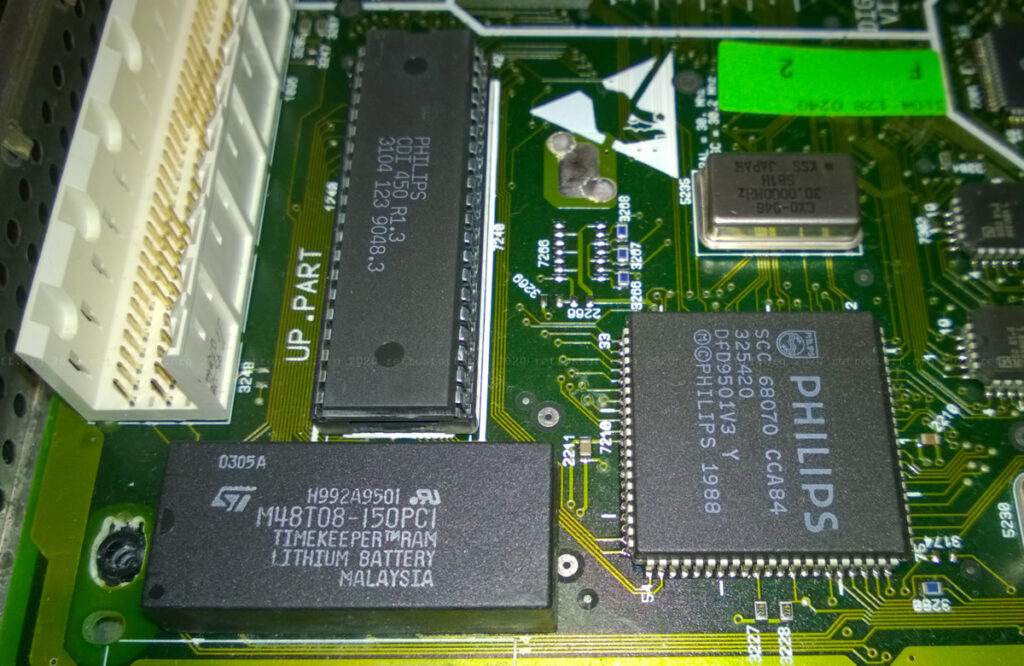
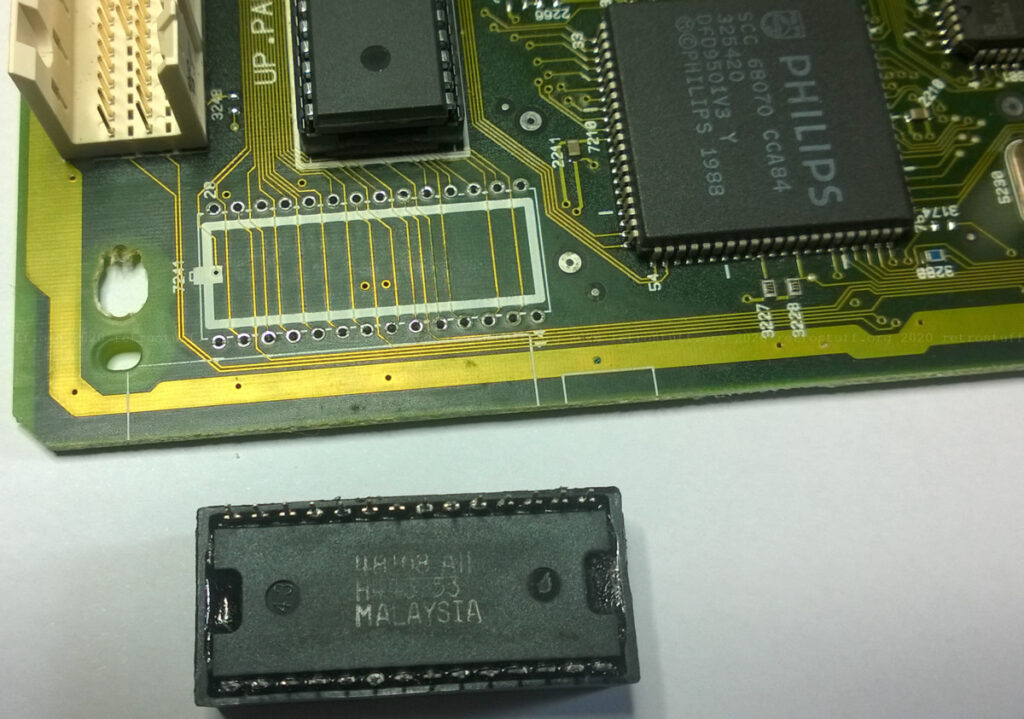
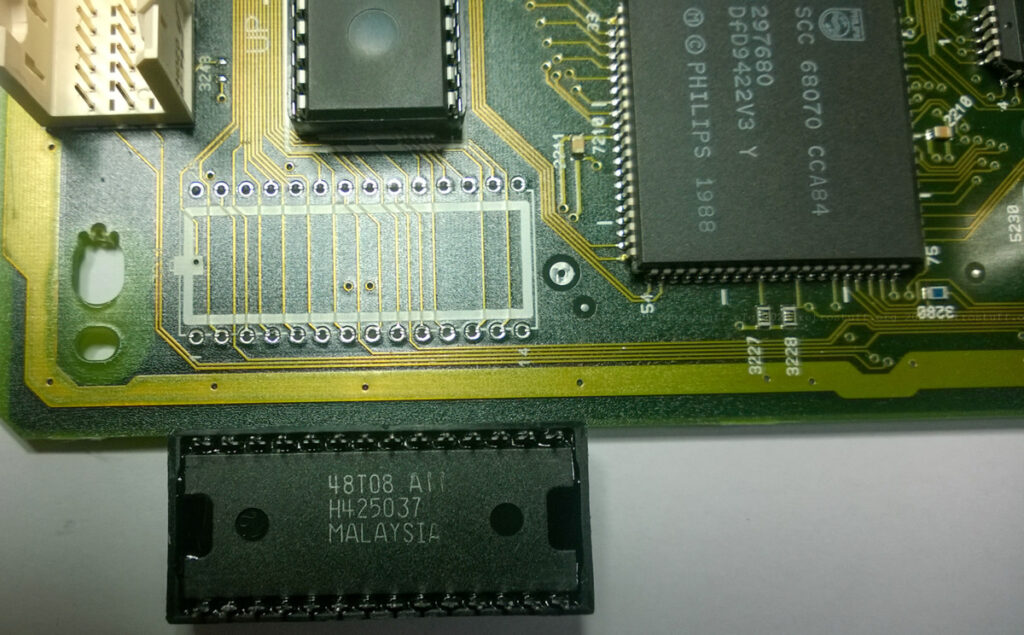
The NVRAM solution for this mainboard is a 8 KB Timekeeper by STMicroelectronics (M48T08-150PC1). They have already passed their best years and also these two can’t hold the saved data anymore.
I did what I always do, removed them with a powerful desoldering gun and a lot of patience because there are always one or more pins soldered from both sides.
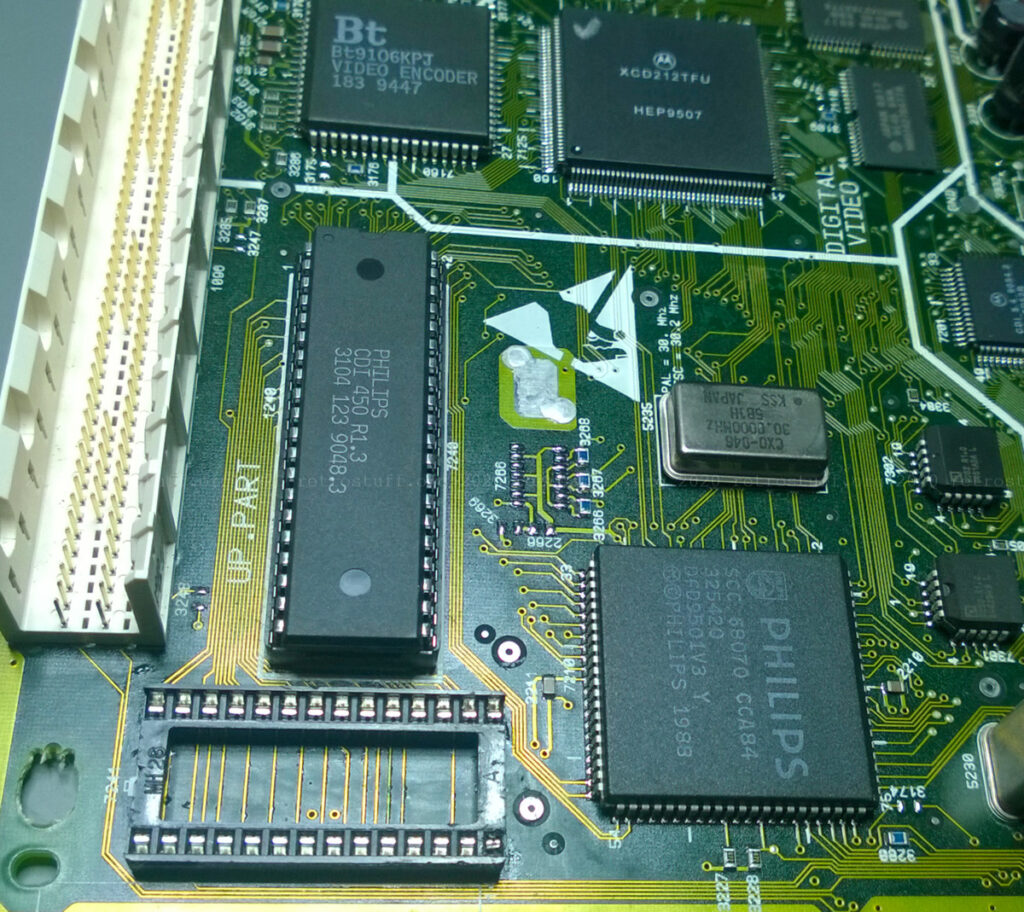
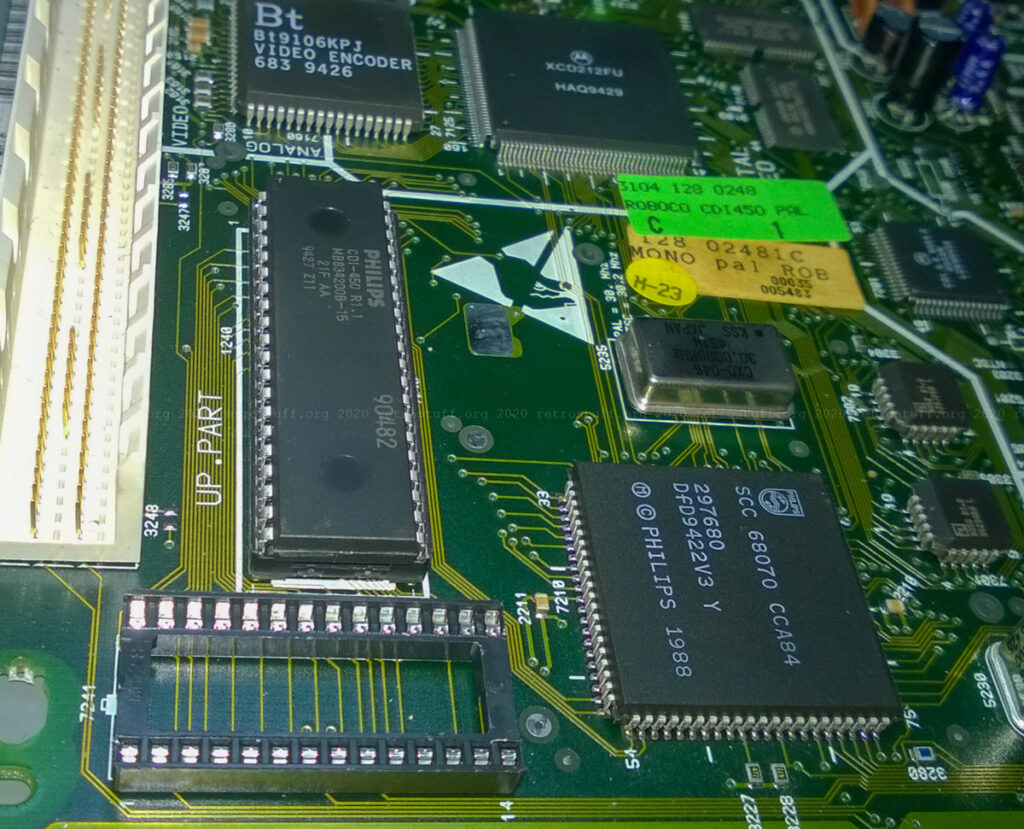
Then, I fitted a 28-pin IC socket to be prepared for future replacement of the chips. As these are top-loading players, chips in sockets will bump into the metal cage.
Comparison – Roboco mainboards
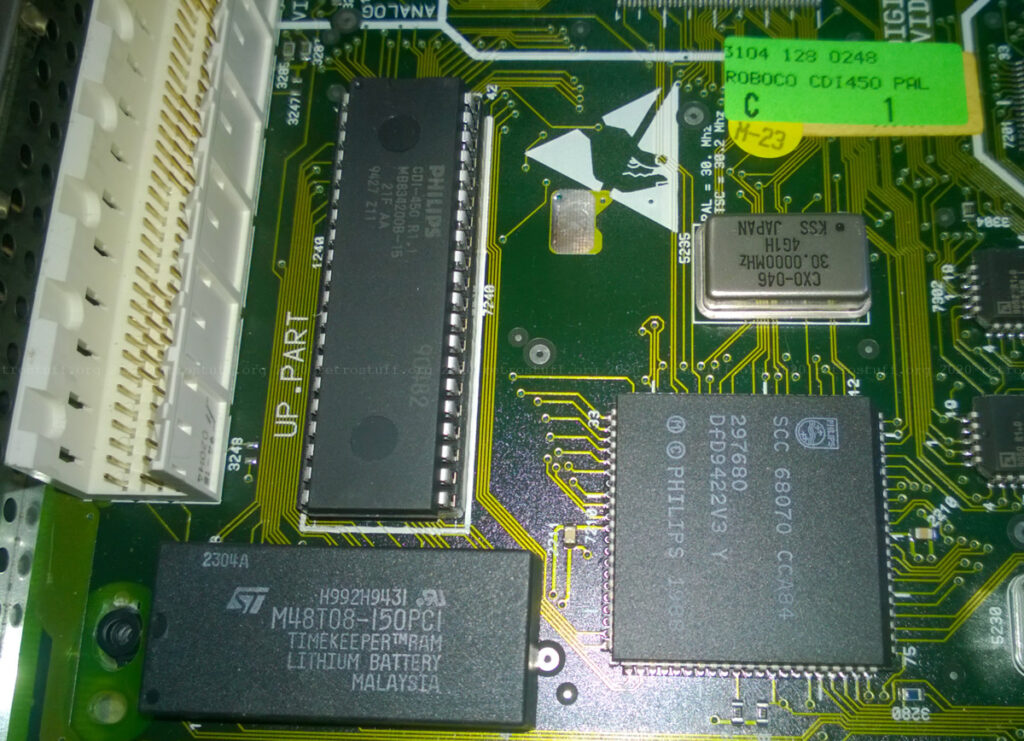
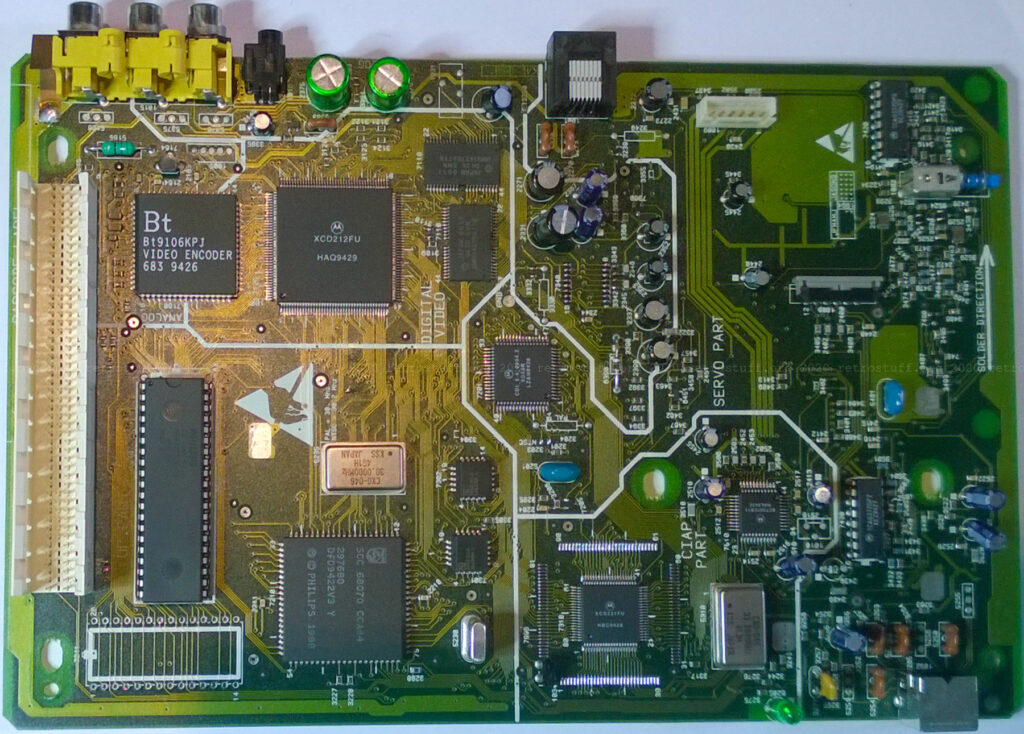
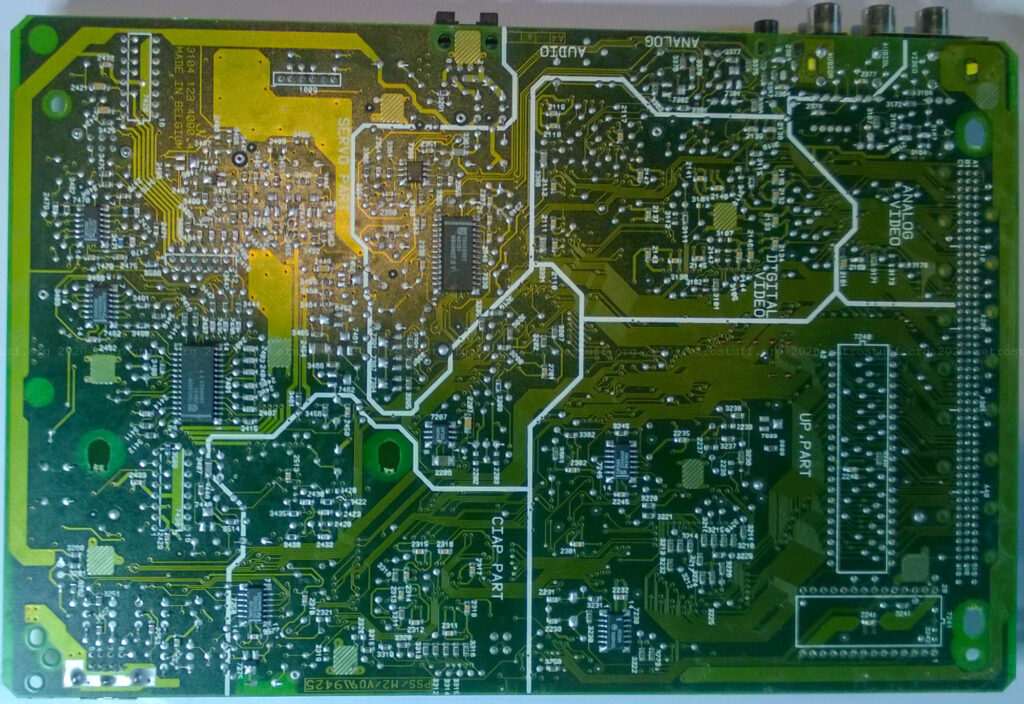
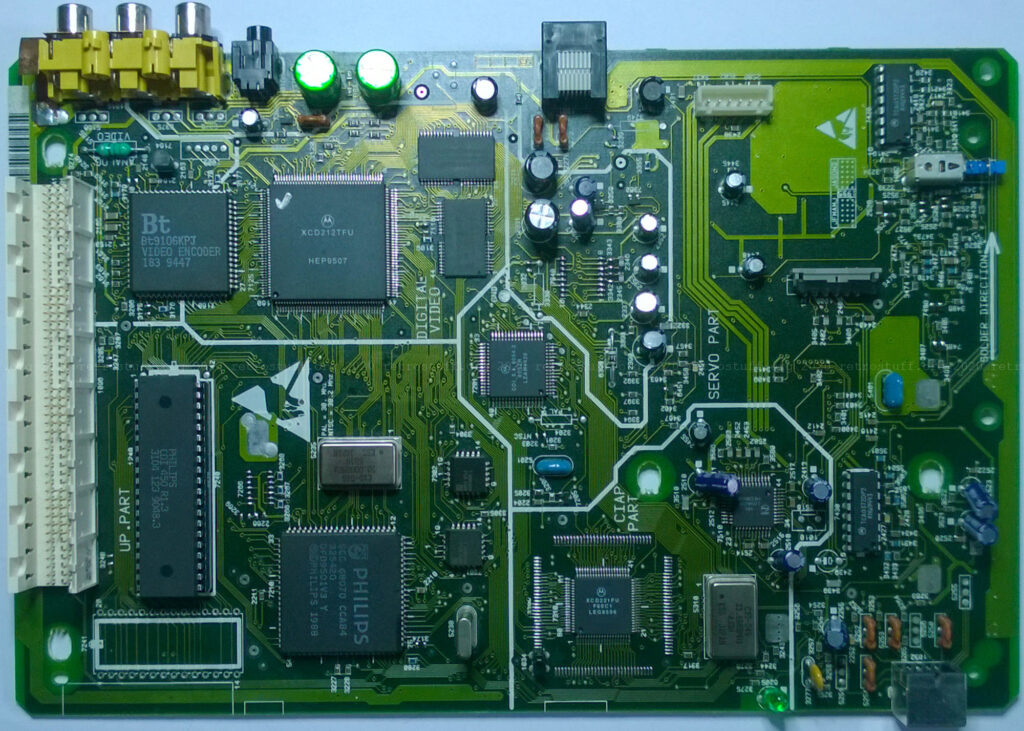
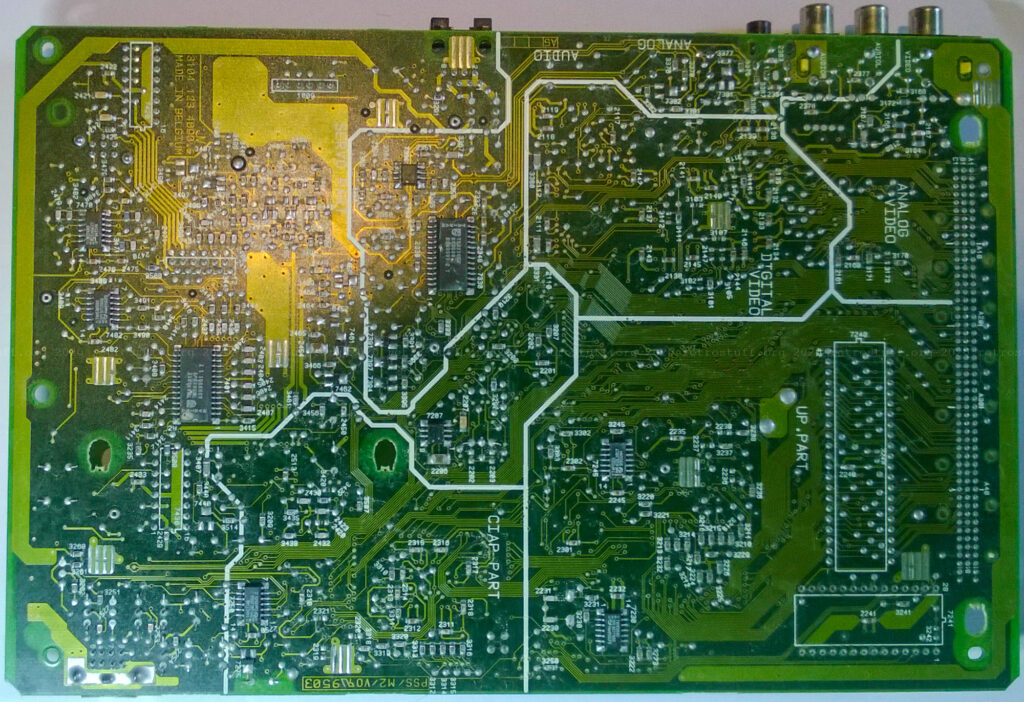
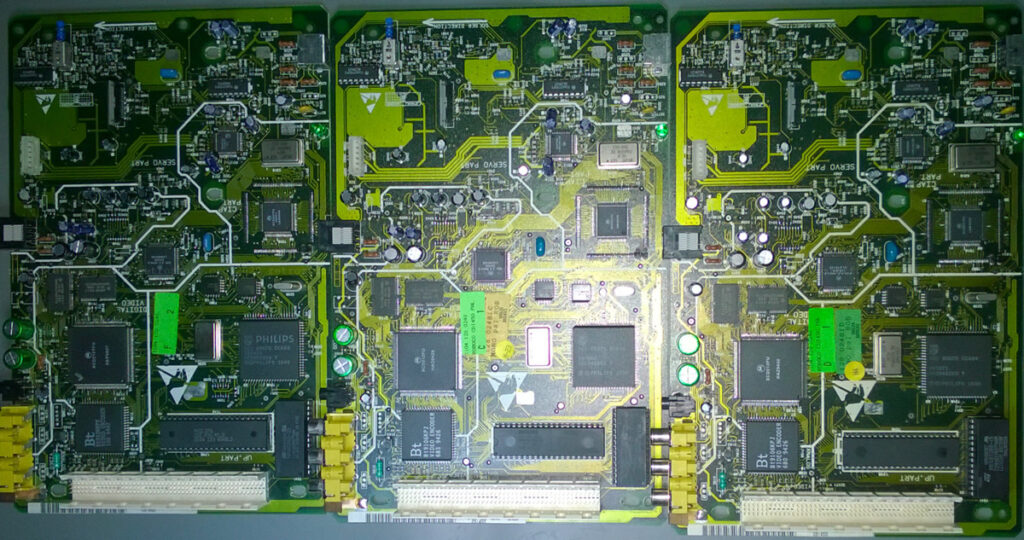
You have probably noticed it already: The two mainboards have subtle differences, even though both are PAL versions. The stickers have the same information (3104 128 0248 CDI450), so let’s look for something else. On the bottom we find these numbers: 3104 123 4090.6 (on the mainboard from the CDI550) and 3104 123 4090.4 (on the mainboard from the CDI450).
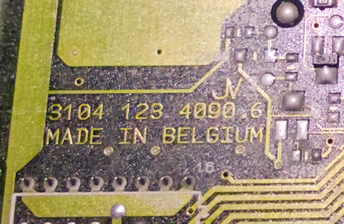
3104 123 4090.6 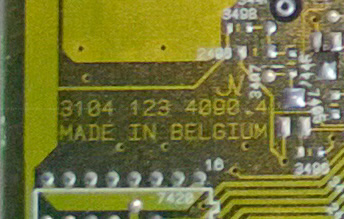
3104 123 4090.4
Revision 3104 123 4090.4
This revision is featured in the CDI 450/00/05/11/17 service manual.
Revision 3104 123 4090.6
This seems to be a newer revision with some minor differences. For example, you can find resistors/jumpers below the video encoder. The Roboco service manual doesn’t mention them, but you can find hints in the Mono IV service manuals: They define if “Calvin” or “Hobbes” is used. Between CPU and system ROM, there is also an unpopulated area for an IC and resistors/jumpers that is not mentioned in the service manual.
There is probably a lot more to discover when comparing the different PAL mainboards with each other or with the NTSC mainboards (e.g. to investigate the rumour that the video standard is hardwired and cannot be changed despite the PAL/NTSC jumpers). Update: The video standard can be changed.
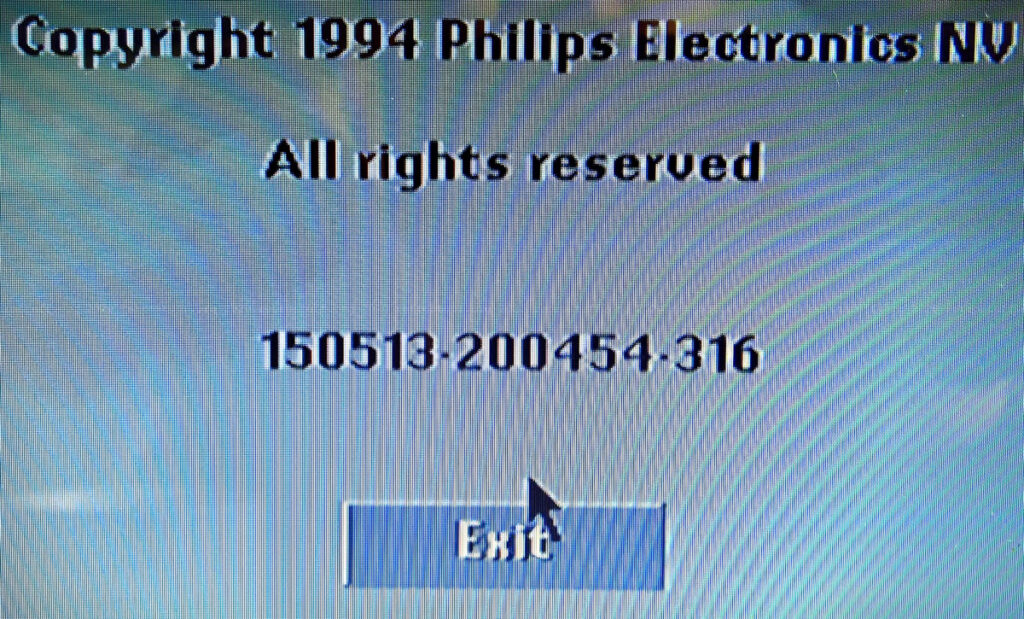
Another important detail: The system ROMs. On 3104 123 4090.4 there is a CDI 450 R1.1 ROM and on 3104 123 4090.6 a CDI 450 R1.3 ROM. I didn’t pay much attention to it back then, but here’s at least a photo of the copyright screen:
The ROM revisions need to be looked into to find out what has been changed. One thing is for sure: Even R1.3 does not support 32 KB NVRAM and an upgrade is only possible by patching the ROM.

Hi. In my case I used a dremmel to remove the battery from the timekeeper chip of my 450. I then soldered a couple of wires on the appropriate exposed contacts to a battery holder for easy future replacements. That said if I had known back then where to buy a replacement timekeeper chip then I would have probably done it your way.