Another quick mod – I ordered a Super CIC board by borti4938 along with the SD2SNES upgrade board from VideoGamePerfection. It’s time to upgrade my 2CHIP Super Famicom.
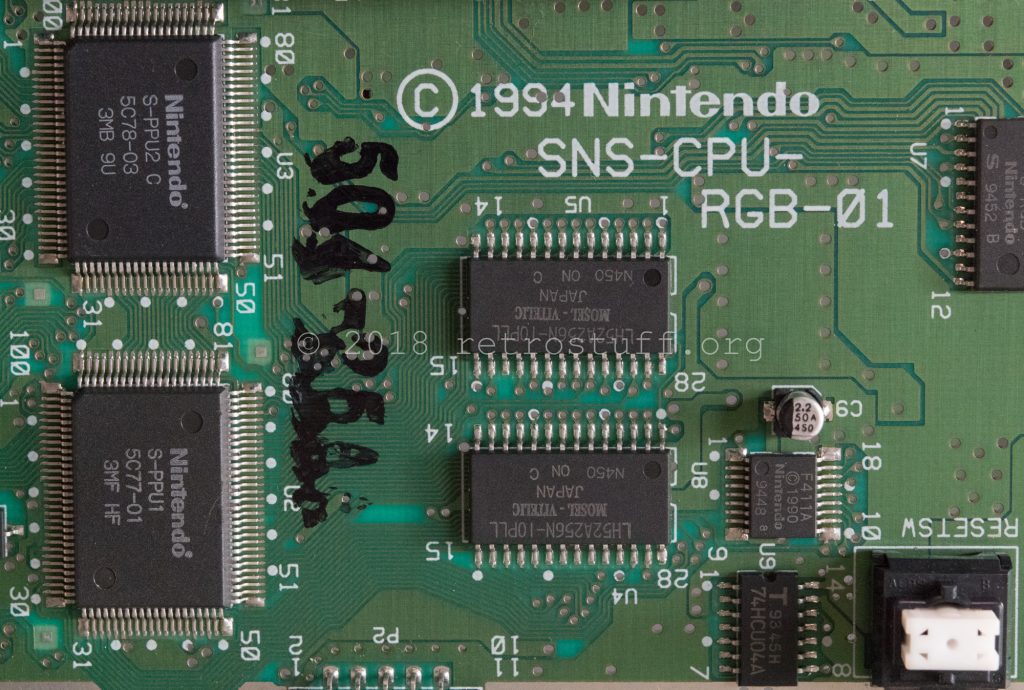
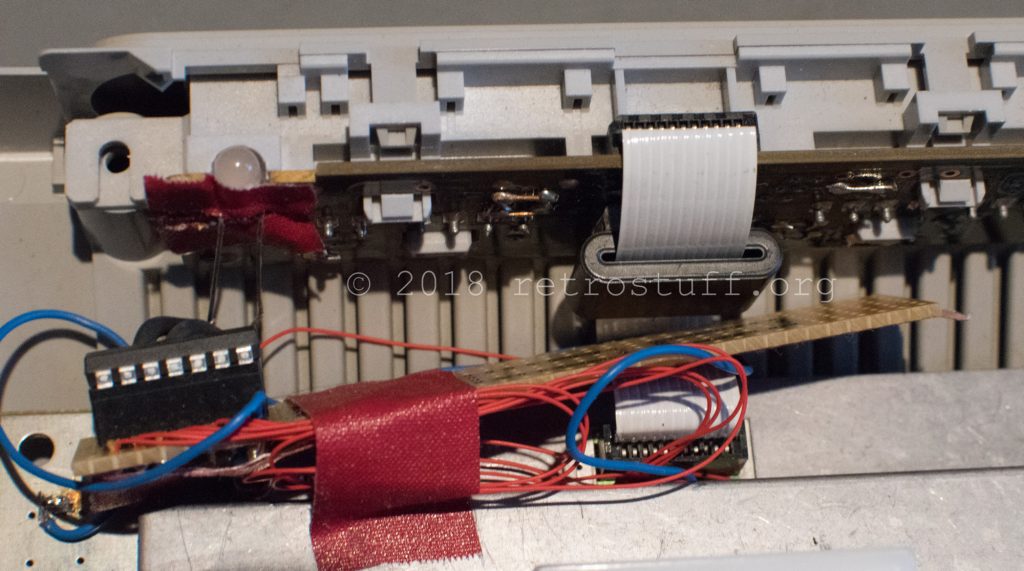
I already added a Super CIC to my PAL SNES a couple of years ago. Back then, there was no board available, so the modification was based on the works of Wolfsoft and mmmonkey. As you can see, this was a mess of many wires, and I don’t even want to look further at the PCB to see my dilettantish removal attempts of the CIC. I also wanted to upgrade it later to IGR and probably something else, hence the reserved free space on the stripboard, but I never finished it.
Preparation
Now the investment in professional equipment (and a lot of patience) paid off. I was able to leave almost no traces this time when removing the CIC and lifting the PPU legs.
For details please read the installation instructions and the FAQ. The IGR is already included and the manual can be read here.
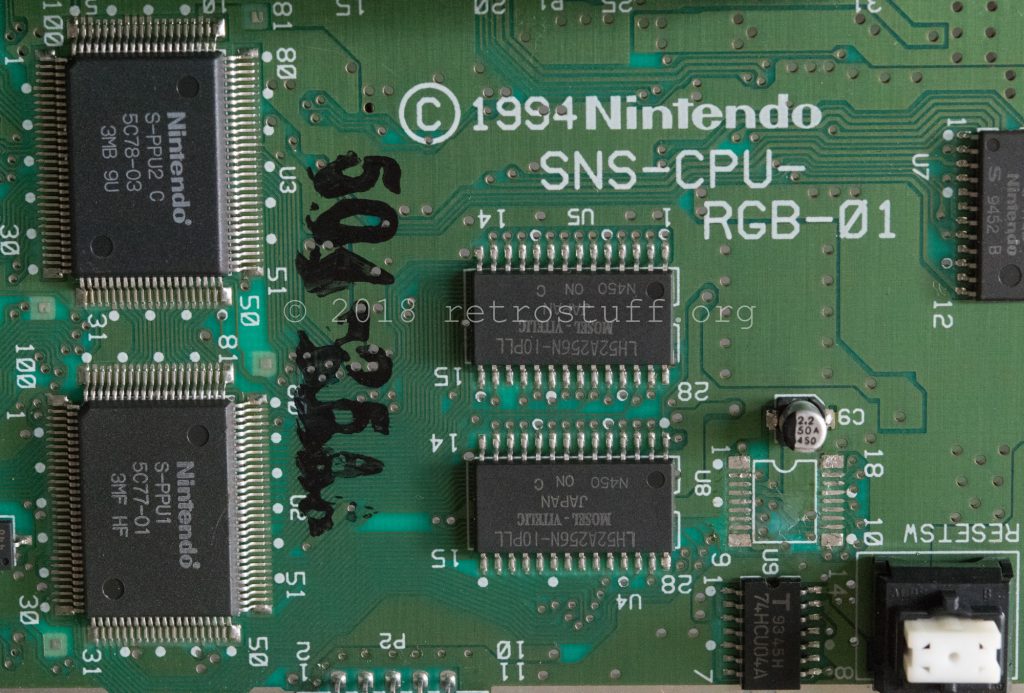
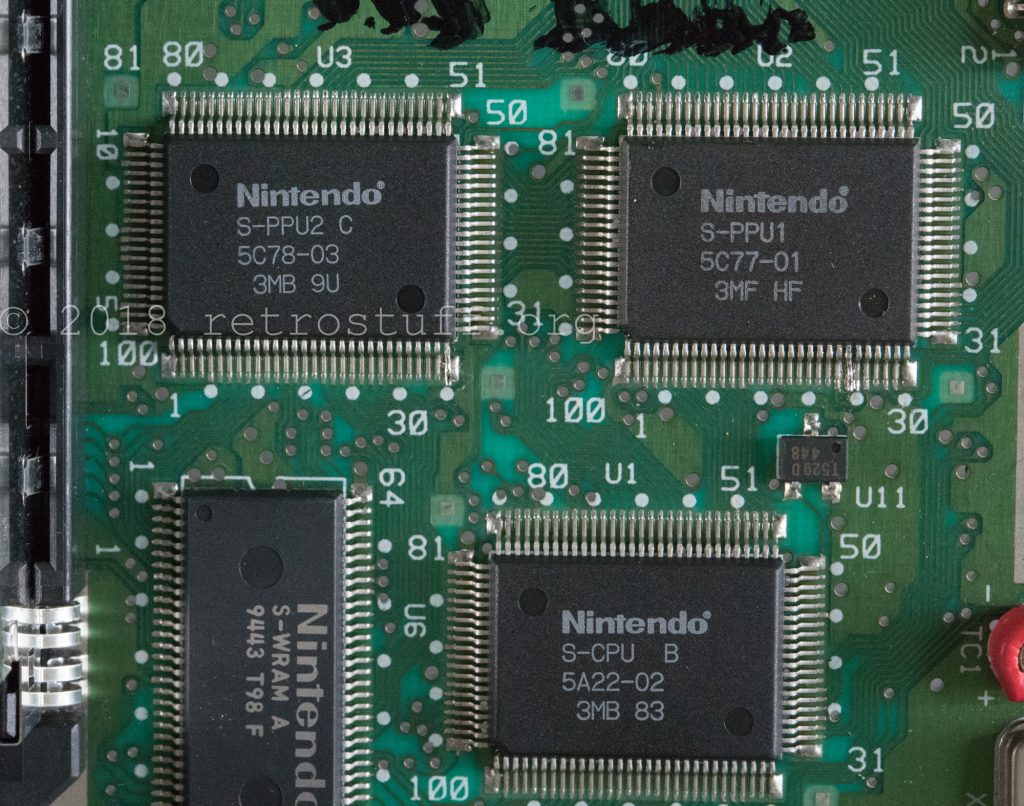
I connected the fragile PPU legs with Kynar wire and secured them with hot glue. Then I soldered CIC pads 8 and 10 to Kynar wire and threaded the 3 wires through the adjacent via holes.
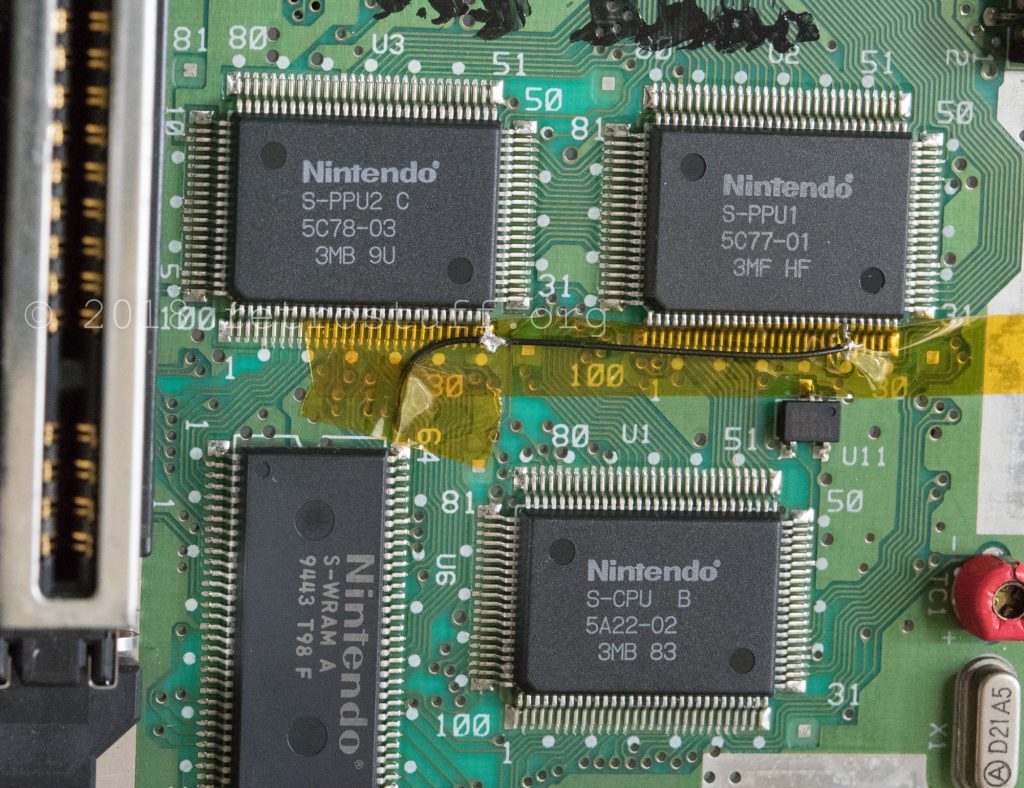
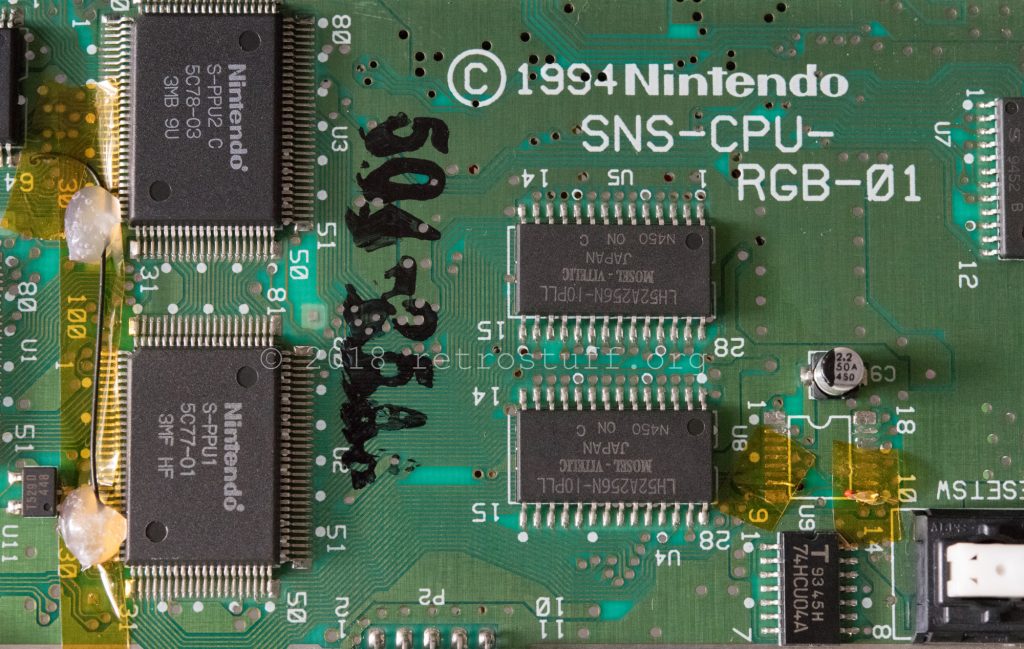
Installing the board
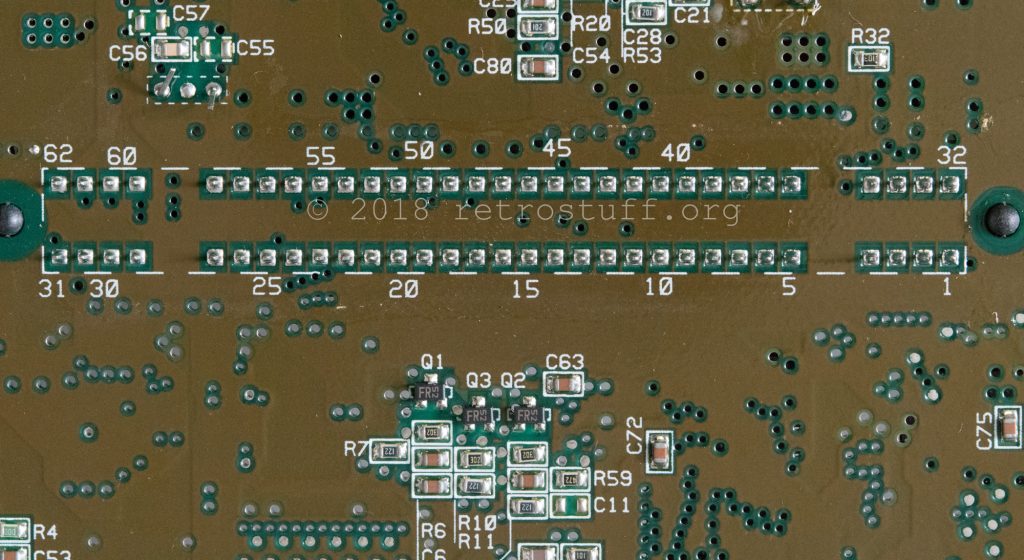
This is the target area, the cartridge port solder points on the back of the Super Famicom PCB:
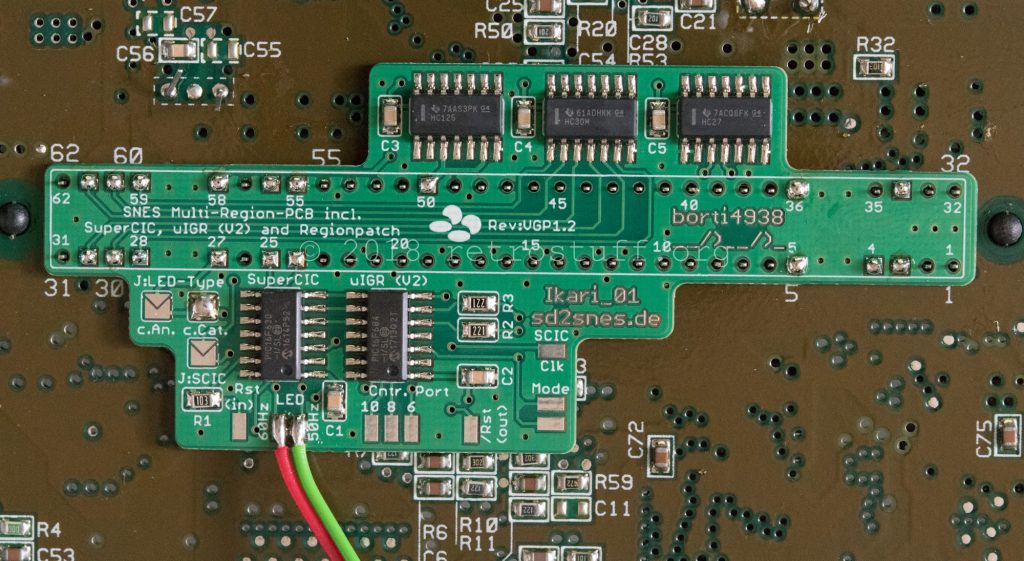
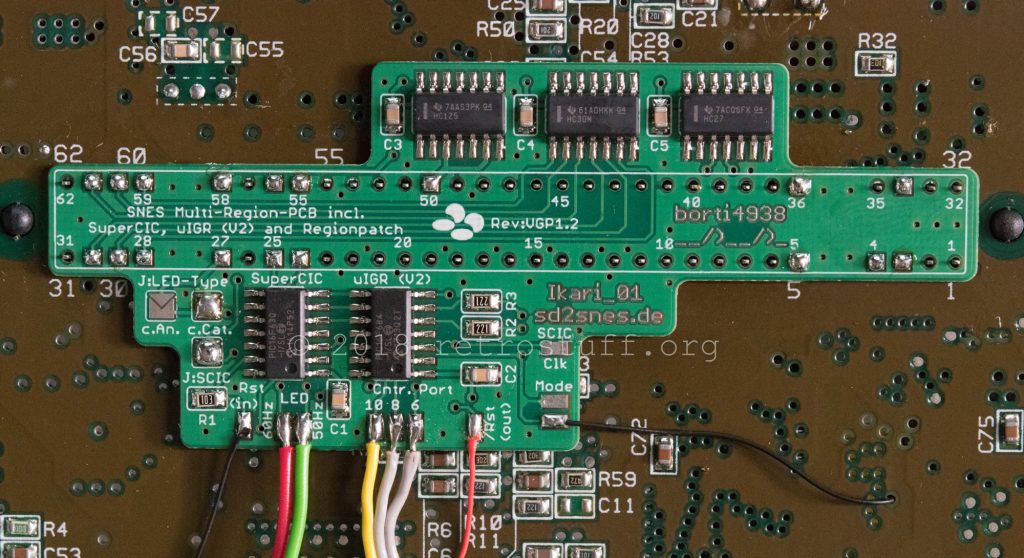
Super CIC board installed and Kynar wires connected. I also closed the J:SCIC Jumper. A wire to CIC pad 7 is only needed when problems occur, according to the instructions (SA-1 games don’t boot or Super CIC cannot go into pair mode).
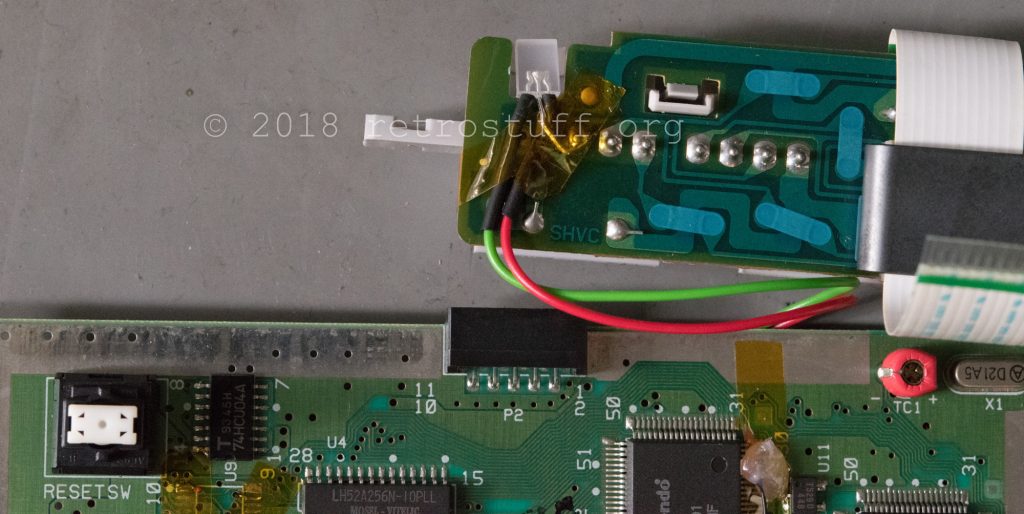
Final step: I replaced the red LED with a RG-LED (common cathode) on the controller PCB.

2 thoughts on “Super Famicom Super CIC Mod”