
This has been figured out and posted by TeamEurope in 2012 (link, link via link). Unfortunately, the original document has vanished from the WWW. I’ll try to recreate this tutorial here:
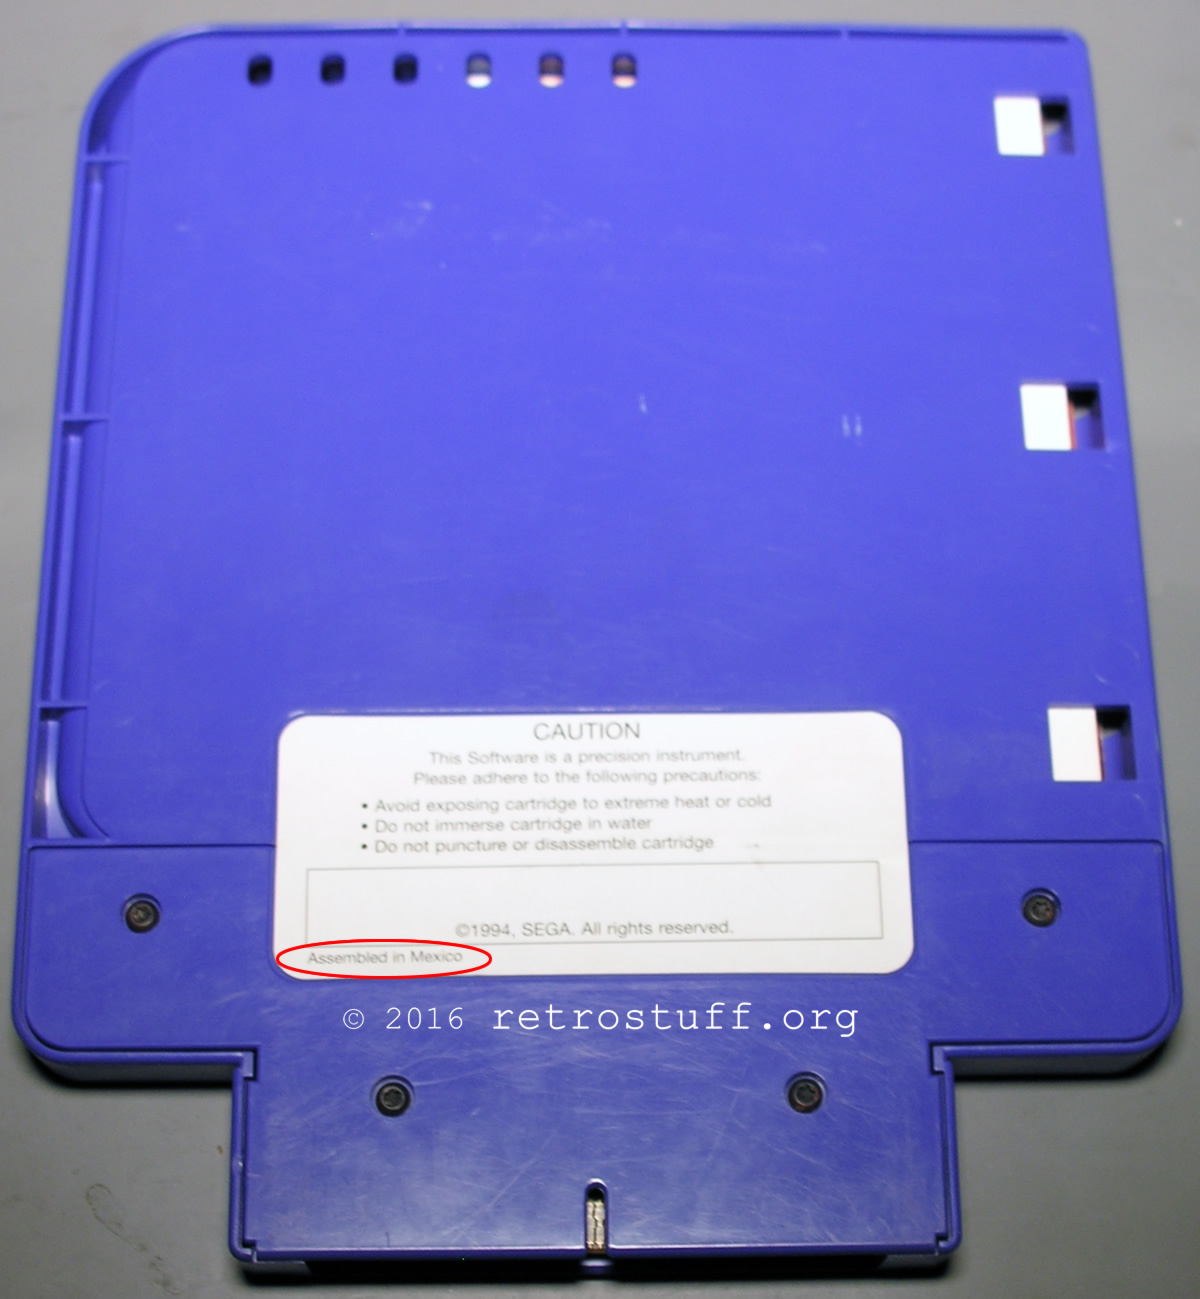
The original document suggested to use Sesame Street: Alphabet Avenue as donor cart and pointed out to use an „Assembled in Mexico“ cartridge. As you can see, a regular US cartridge won’t do the trick.
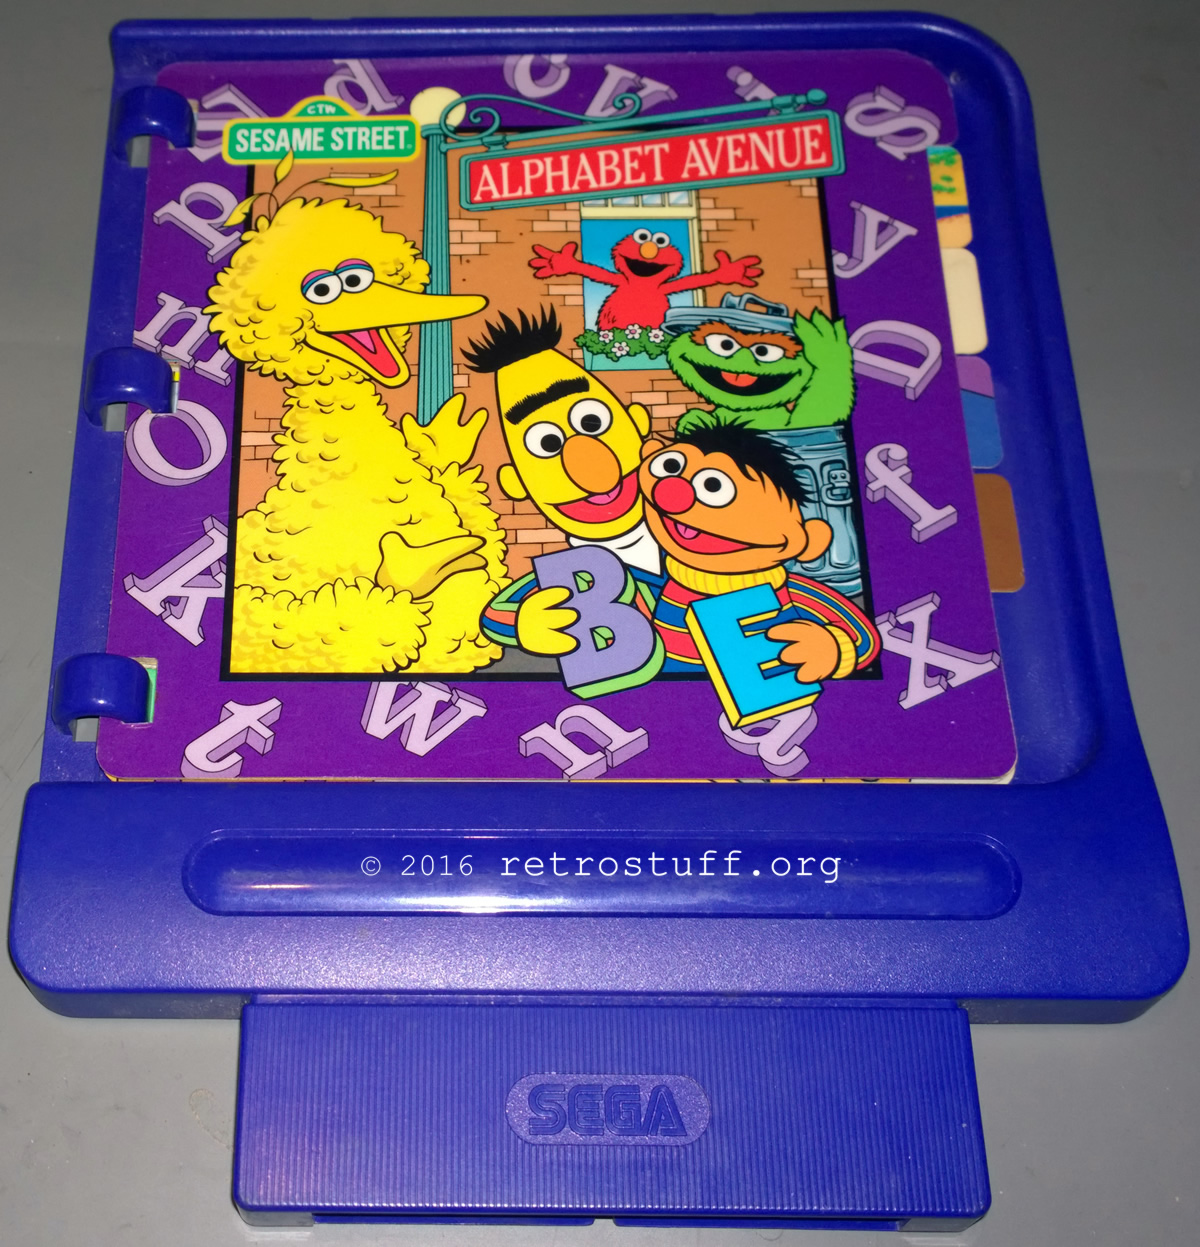
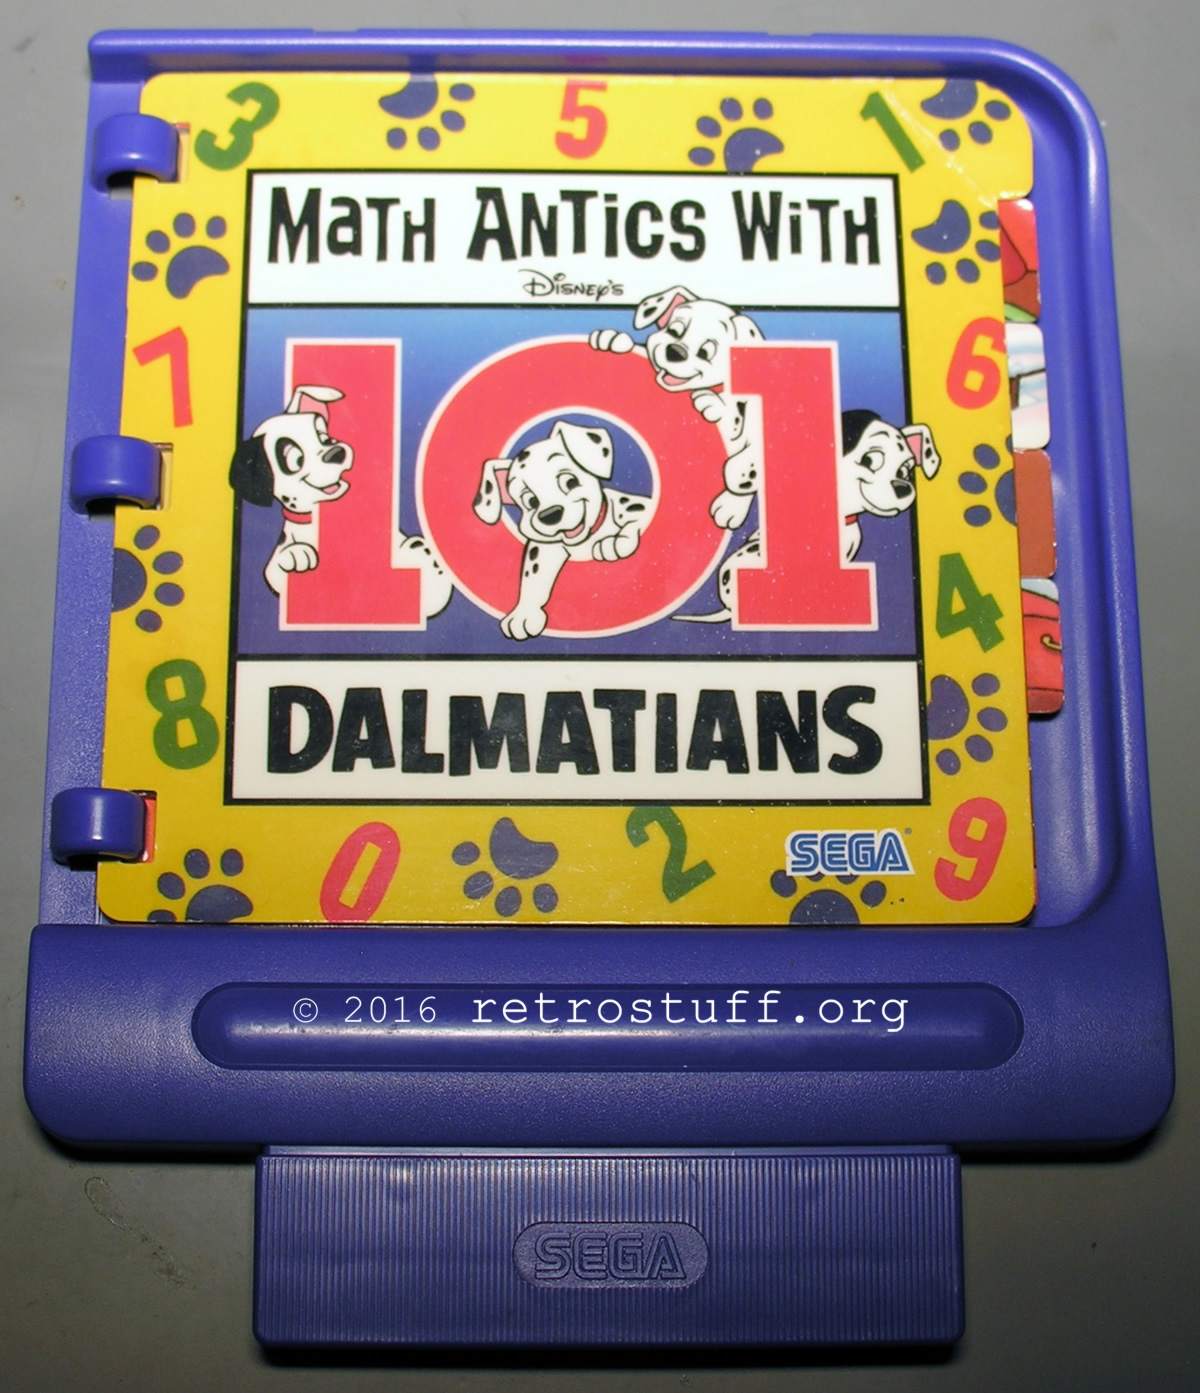
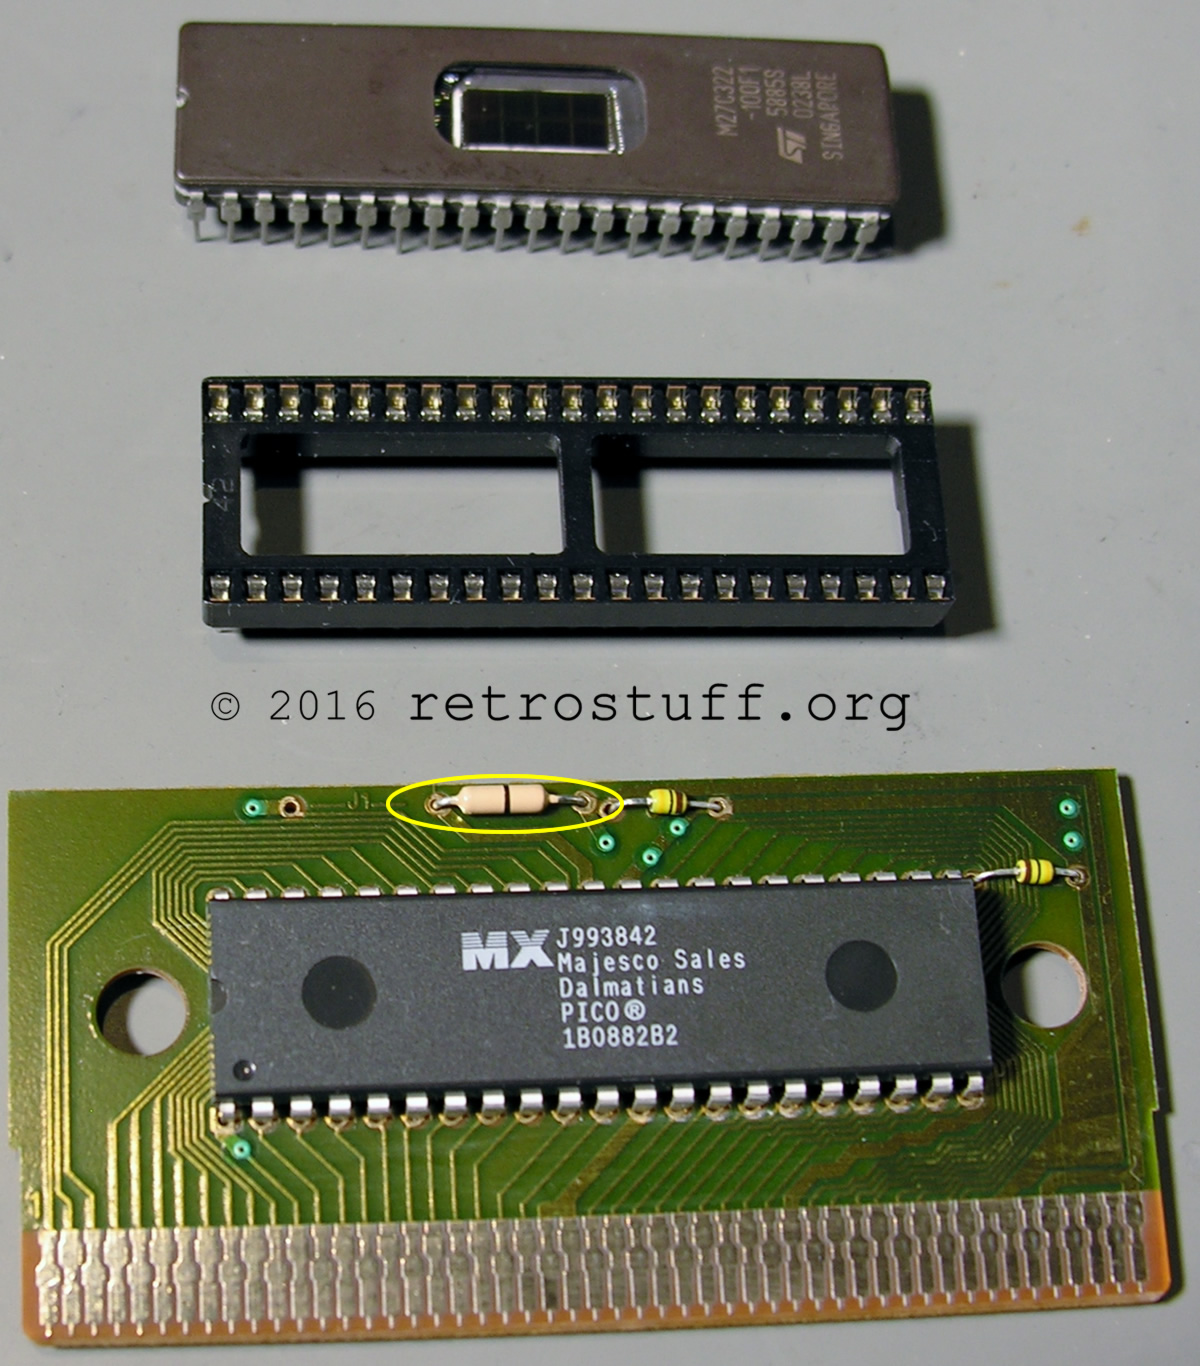
I’ve found that an alternative cart, Math Antics with Disney’s 101 Dalmatians, will work just fine (if assembled in Mexico).
Update: Found two more suitable carts.
Update 2: A new flash cart solution has been released.
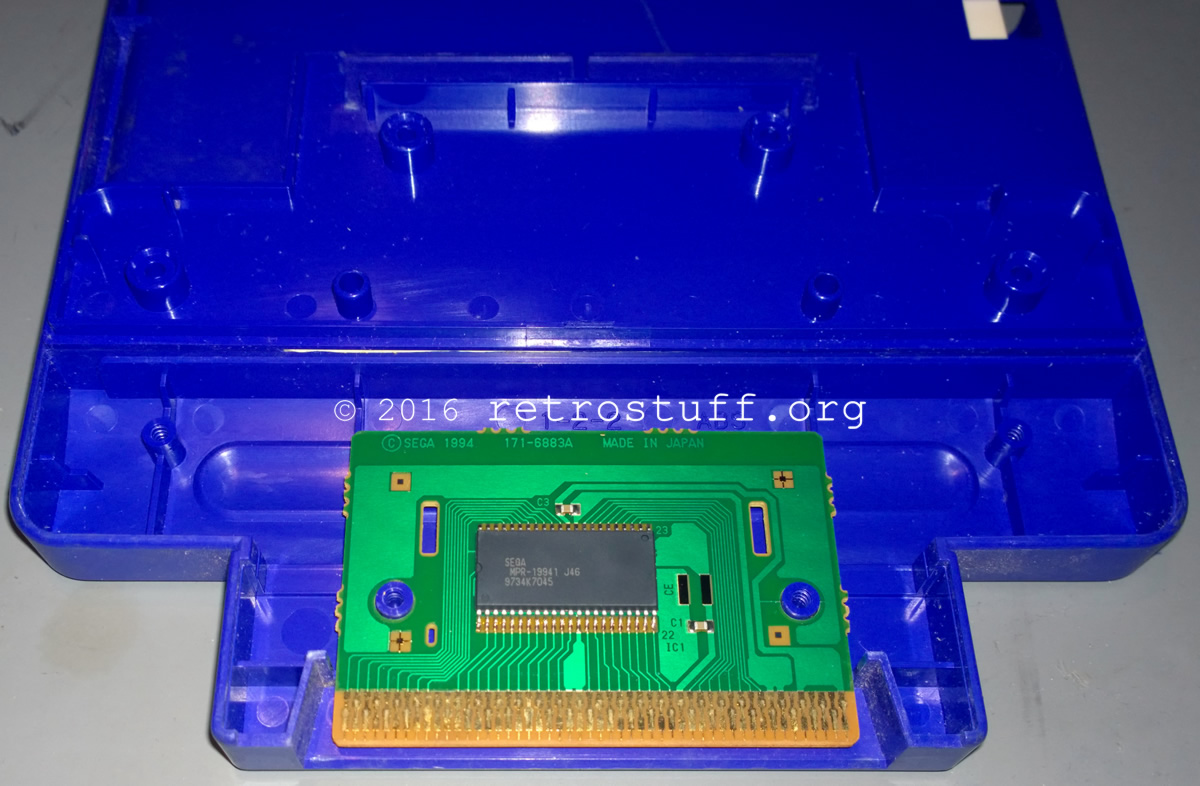
This cart needs some cleaning:
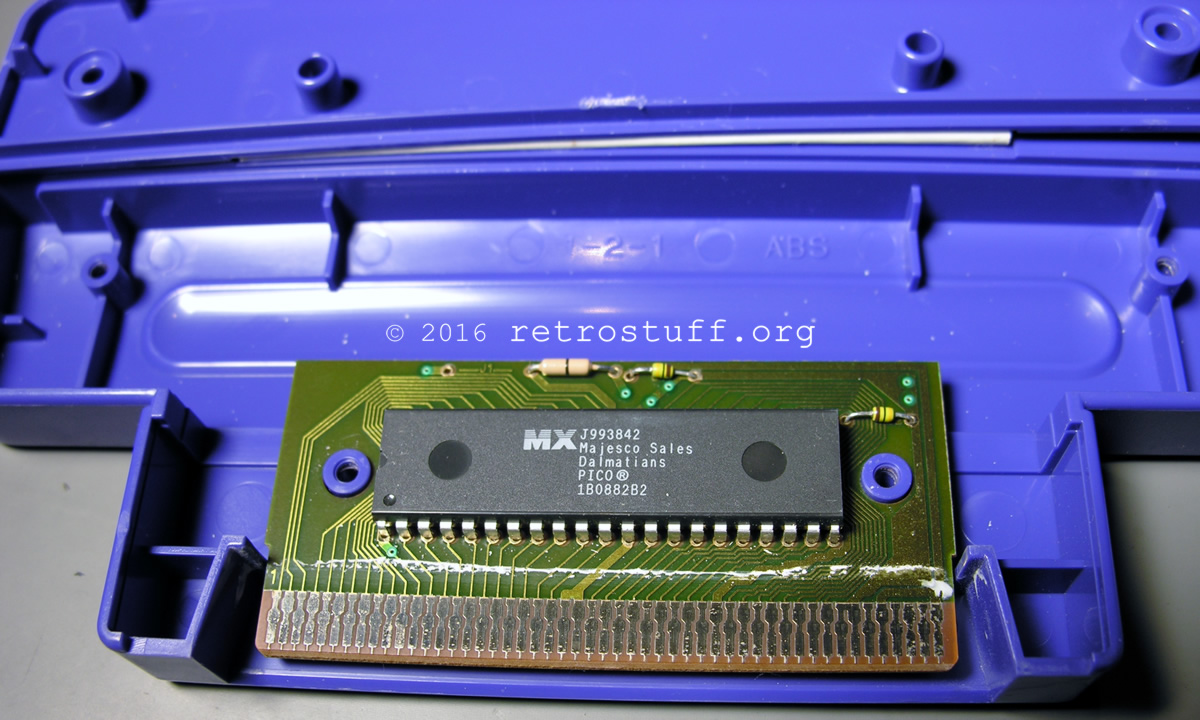
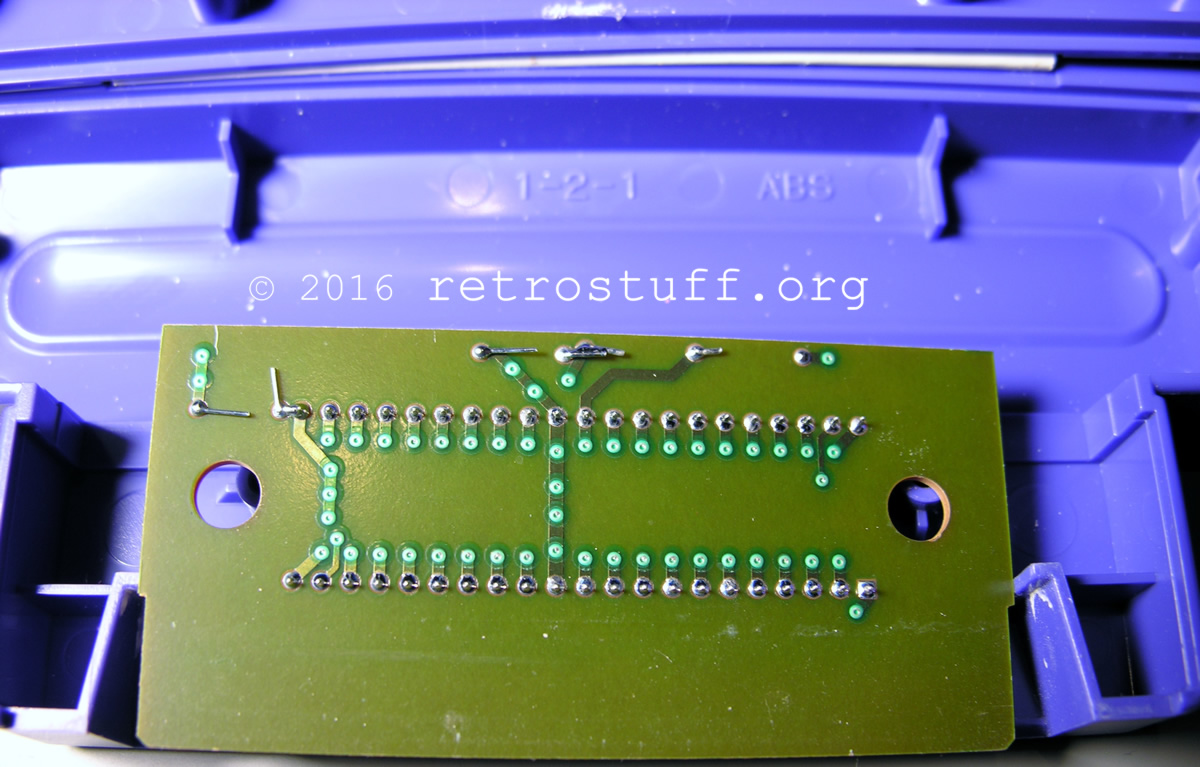
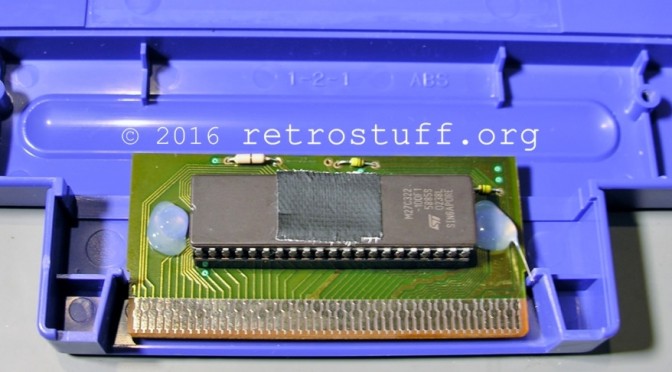
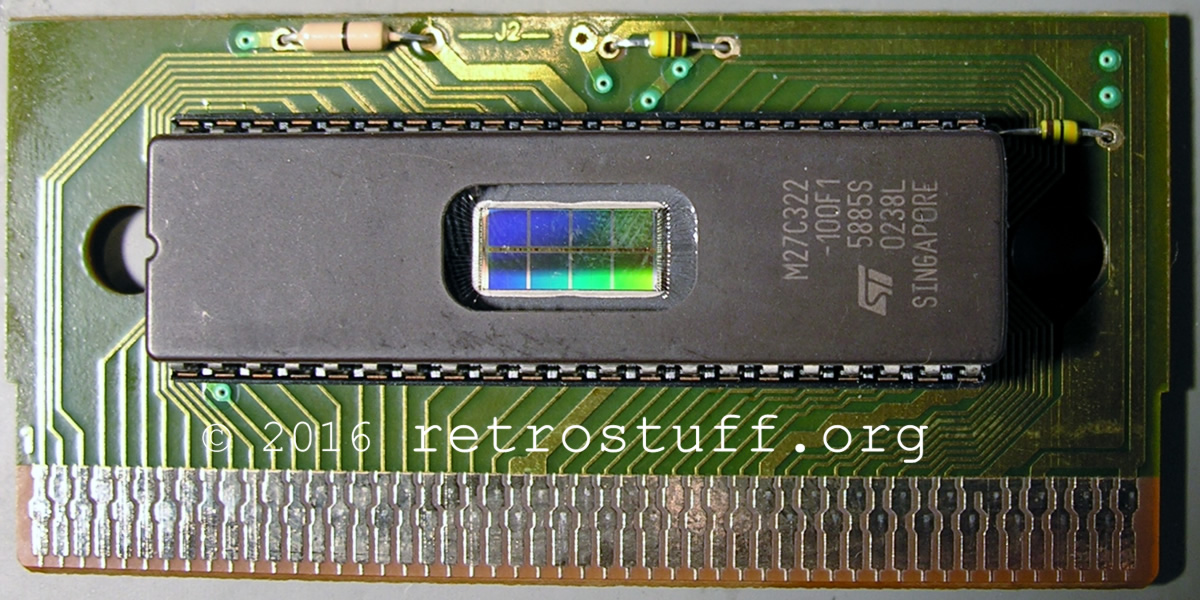
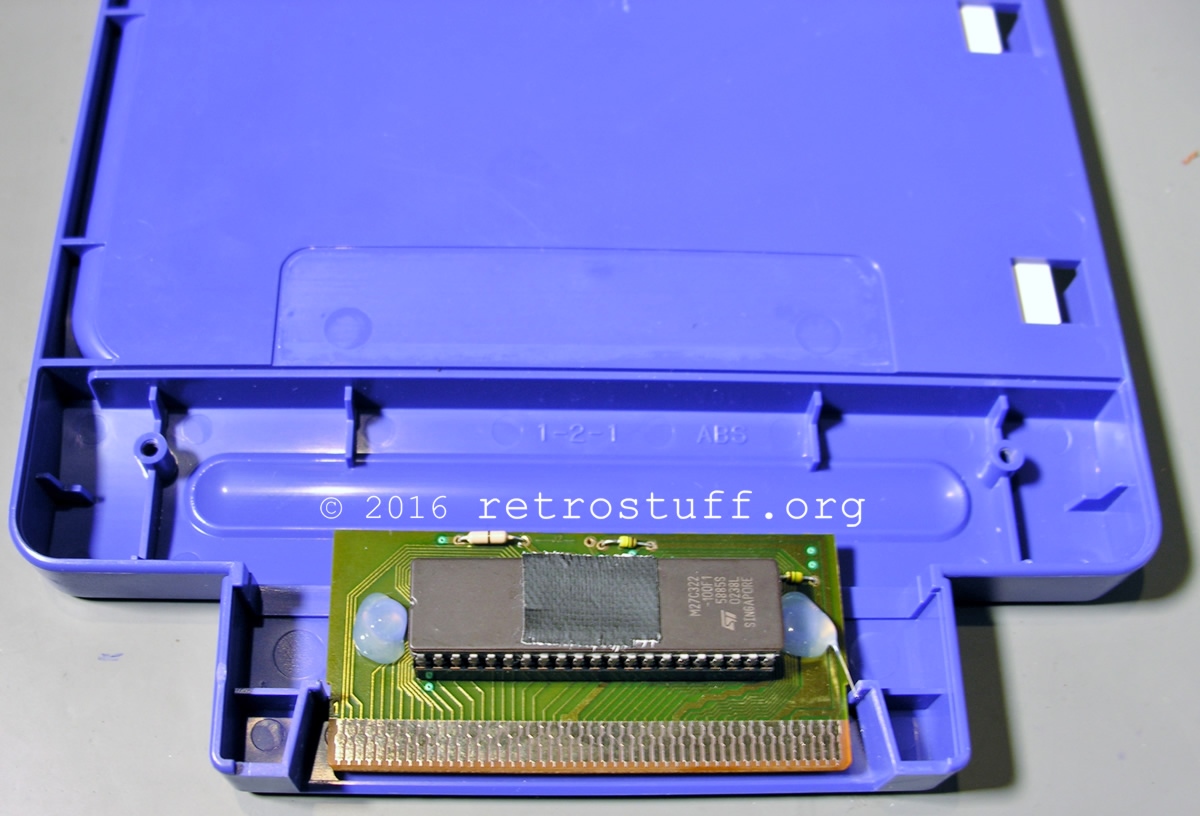
Remove the chip and replace it with a 42-pin socket and one or more M27C322 EPROMs, and move the resistor from J2 to J1.

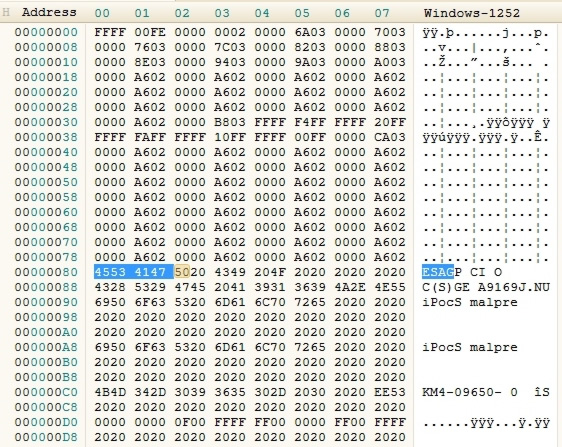
Before flashing a ROM file, make sure it is byte-swapped, i.e. the copyright info reads ESAG instead of SEGA.
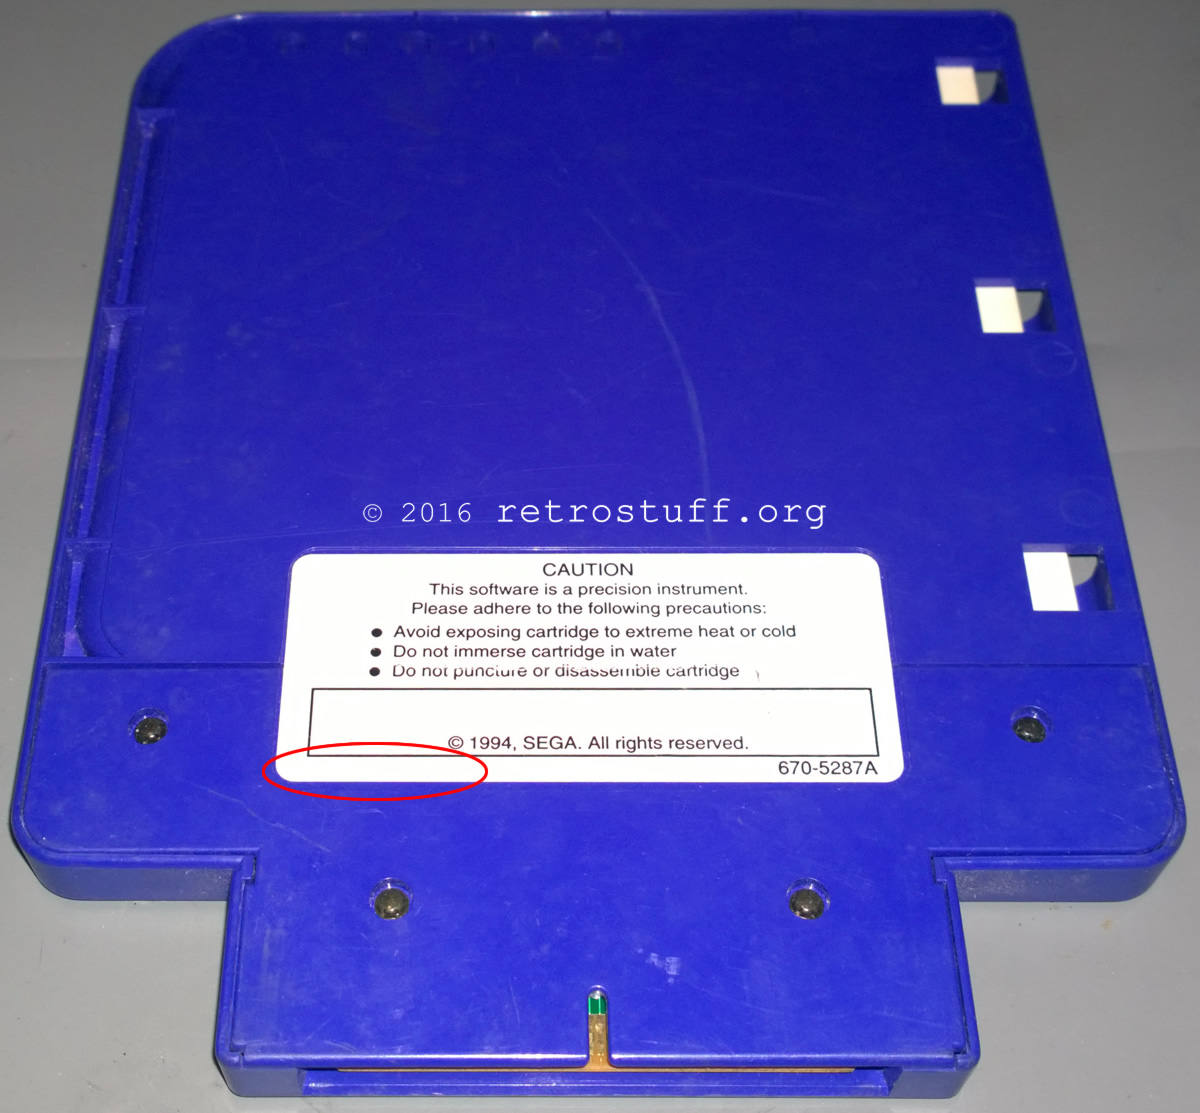
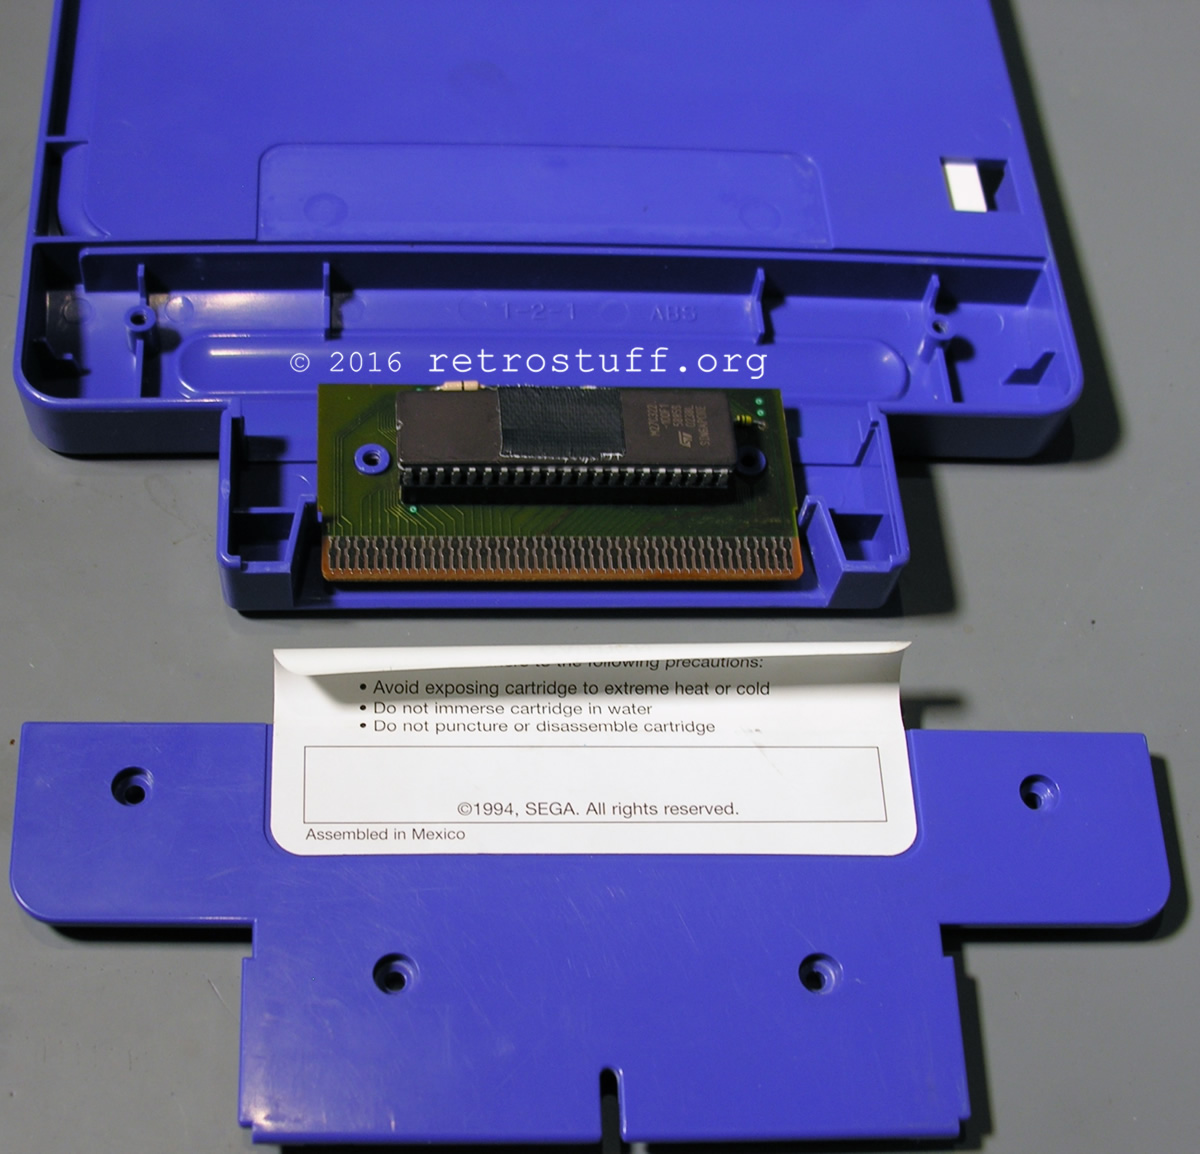
I’ve removed the back cover label with the help of a hair dryer and attached the PCB with hot glue for now (in the original document a hole was cut through the back cover).
As for the book pages, you’ll have to find them at the usual places (e.g. here or here) and print them out.
3 thoughts on “Sega Pico Flash Cart Tutorial”