
This is the second part of the follow-up to my article from 2013 and explains in detail how to back up and restore NVRAM data with CD-interlink. The other option, CD-i Link, and how to connect a Philips CD-i player to a modern Windows PC is covered in the first part. Make sure to follow the guide to set up the connection and the terminal program Tera Term.
CD-interlink (alternate spelling: CD-i’nterlink, CD-Interlink and CD-InterLink) is a program developed by Novaré International (and human interaction inc.) in 1994. It is dubbed The Complete CD-i File Manager and has some useful functions to view and manipulate single/multiple files in the NVRAM. Some functions require the connection to a terminal. At first sight, it seems to be easier to use for beginners because it has a graphical user interface that can be operated with a CD-i controller. Don’t get fooled by this though, because file transfers are actually more complicated to set up than with cdilink.
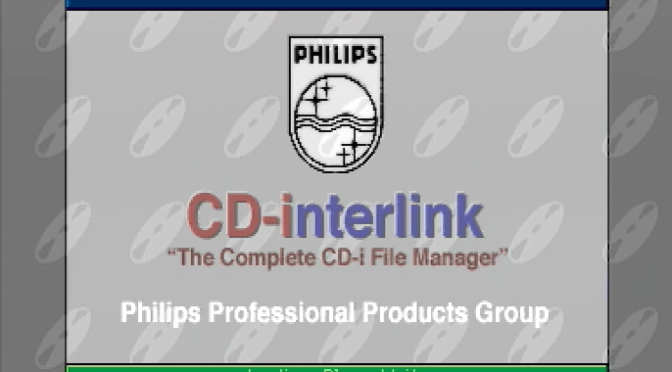
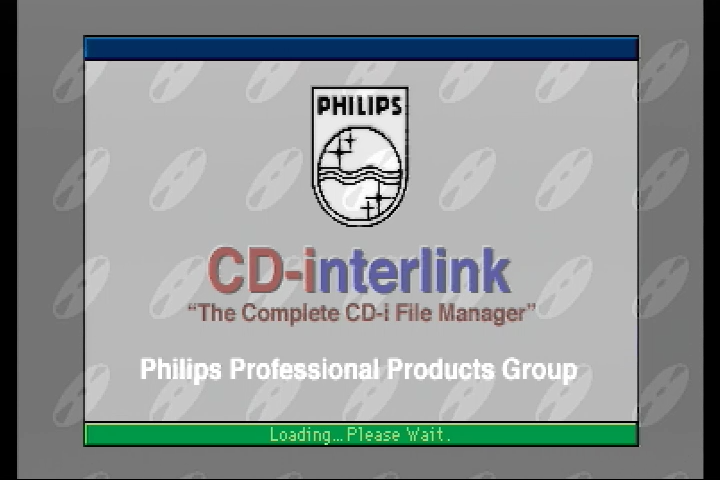
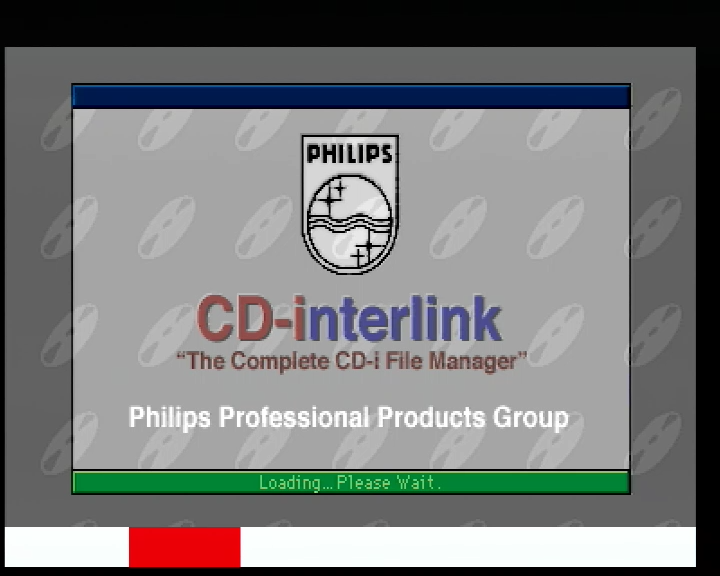
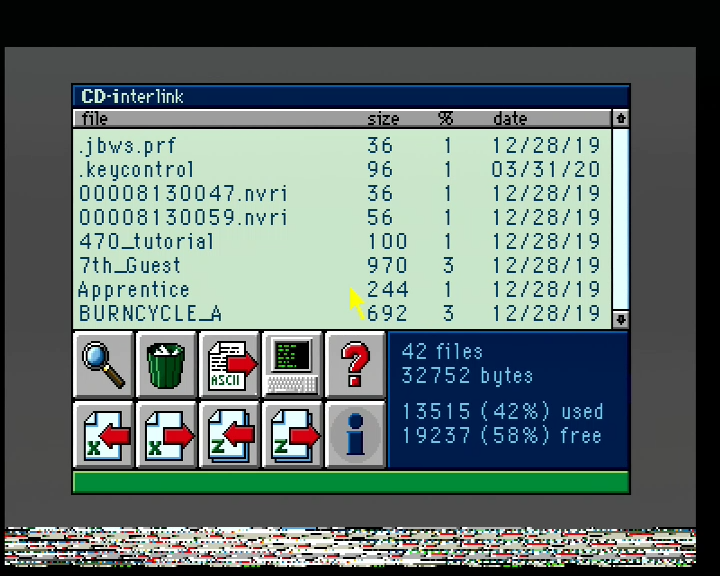
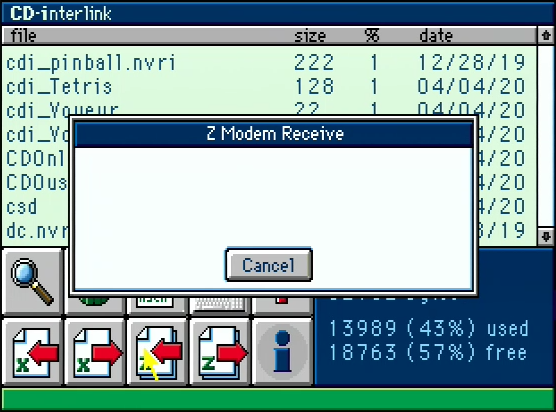
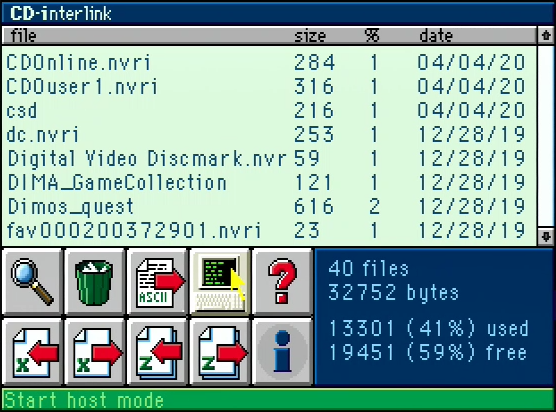
These are unedited screen grabs of the loading screen and the main window. NTSC/60 Hz on the left, PAL/50 Hz on the right. On 50 Hz players, the lower part of the screen is filled with garbage. This doesn’t affect the functionality of the program though.
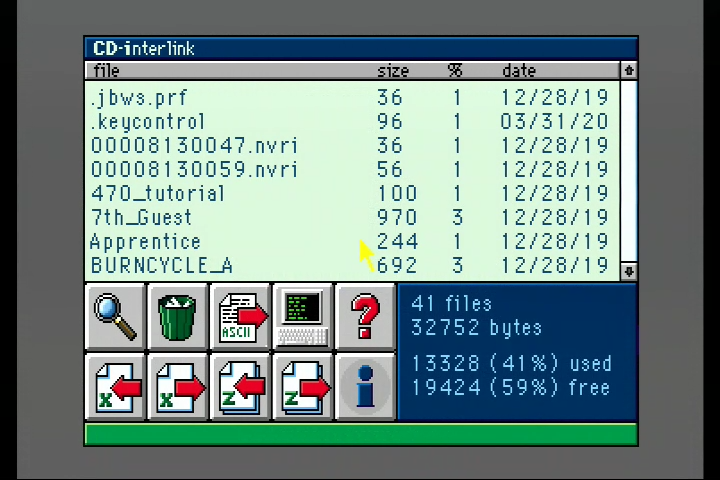
I edited the following screen grabs to show only the main window.
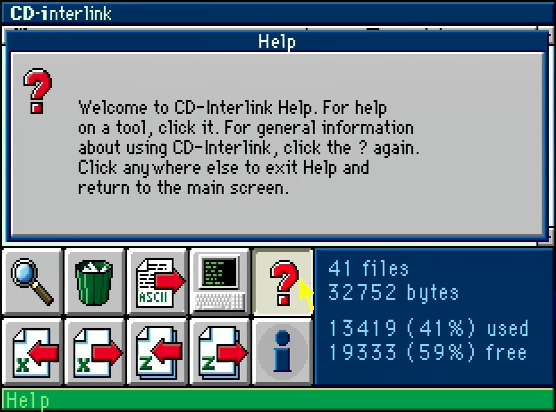
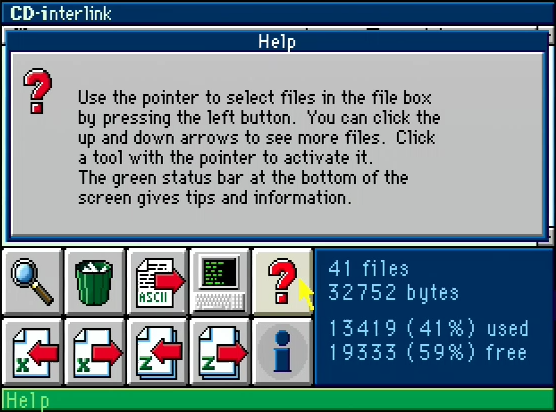
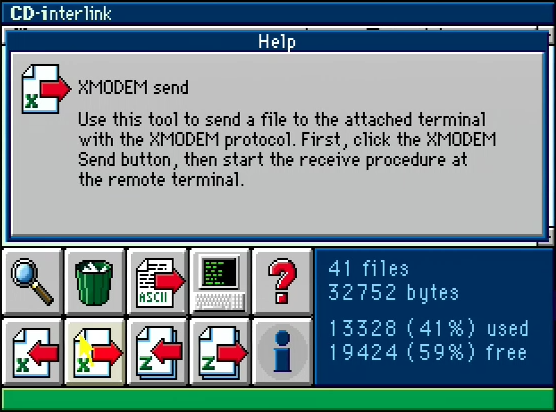
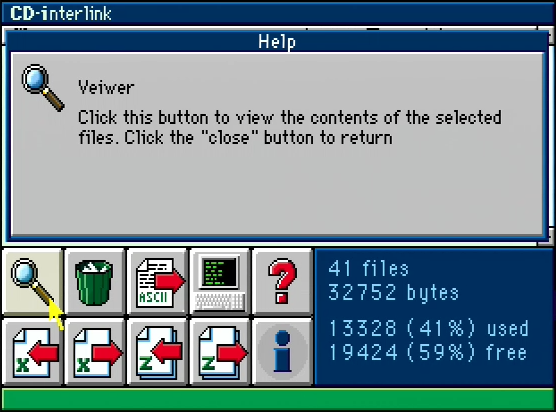
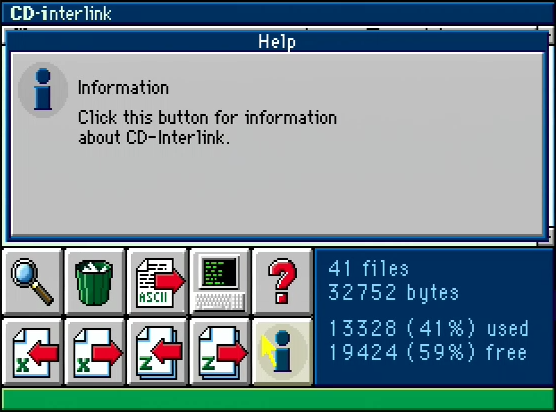
Help
This button displays basic help for all functions/tools. I will show these help messages along with the tools below.
ZMODEM
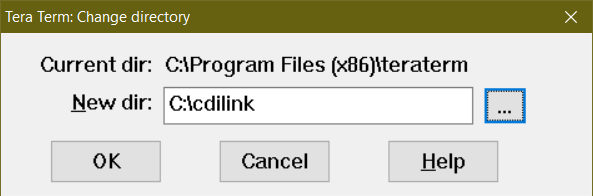
ZMODEM is the protocol of choice to transfer files with a Windows PC. But first, the Tera Term settings need some tweaking. Assuming that you have installed it on a PC with Windows 10 x64, the default installation directory is C:\Program Files (x86)\teraterm. This is also the default directory for all file transfers. However, Tera Term is not permitted to place the received files into that folder, so Windows redirects them to the VirtualStore location (e.g. C:\Users\[your user name]\AppData\Local\VirtualStore\Program Files (x86)\teraterm). To avoid this, you can change the default directory with the File -> Change directory… menu item. (You have to do this every time you run Tera Term.)
To save this setting permanently, edit the file TERATERM.INI in the default installation directory with a text editor. Locate the key FileDir and change its value to a directory that is easier to access, e.g. C:\cdilink.
; Default directory for file transfers
FileDir=C:\cdilink
While we are here, search for the key ZmodemAuto and change its value to on to automatically accept all ZMODEM transfers that are initiated in CD-interlink.
; ZMODEM auto receive
ZmodemAuto=on
Save the INI file and start Tera Term. You may want to select the Change directory… menu item again to see if the change to the INI file was successful.
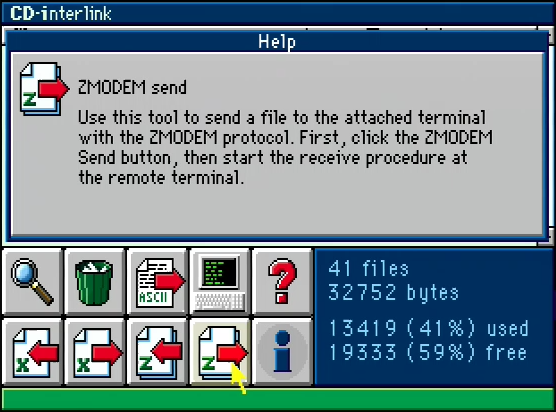
ZMODEM send
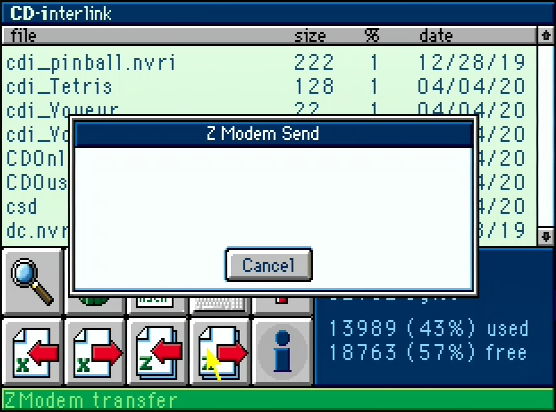
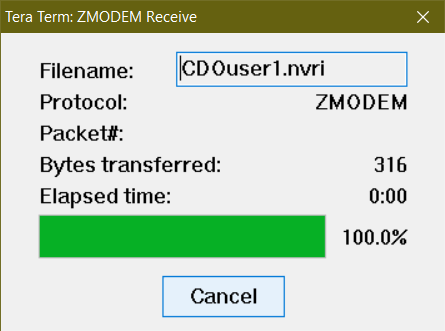
This tool will send/upload data to the connected host computer. Select one or more files and press the ZMODEM send button. If you have set up Tera Term as described above, it will automatically accept the transfer and place the files in the specified directory.

ZMODEM receive
This tool will receive/download data to the NVRAM of the CD-i player. Press the ZMODEM receive button to wait for the transfer.

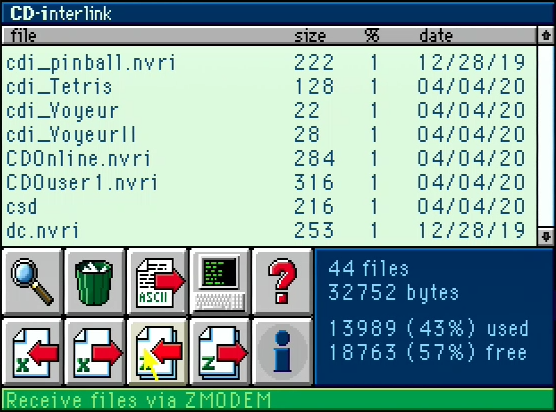
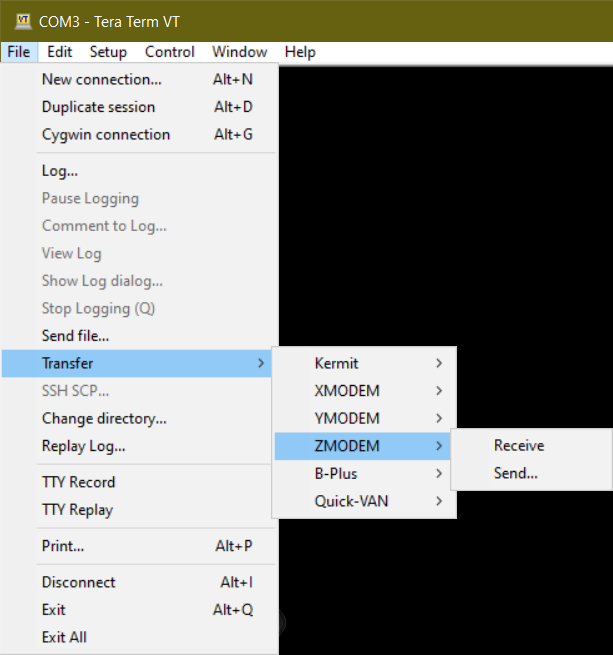
In Tera Term, open the file picker with the File -> Transfer -> ZMODEM -> Send… menu item and select one or more files to transfer.
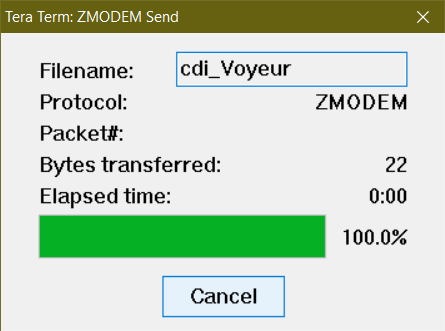
The selected files will be sent to the CD-i player. Caution: Files with the same name will be overwritten without confirmation.
XMODEM
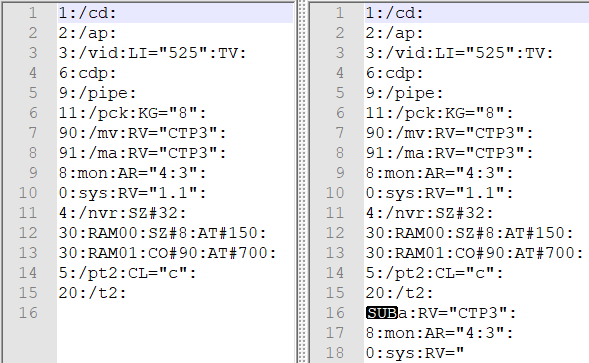
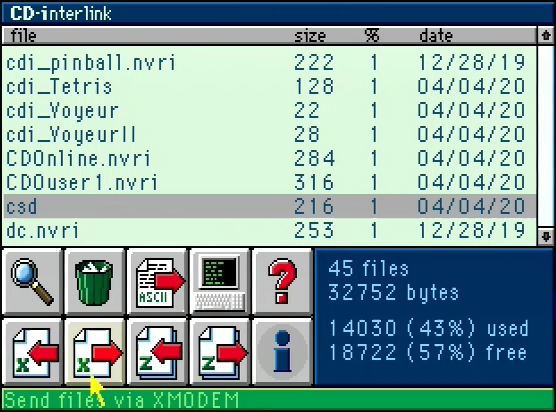
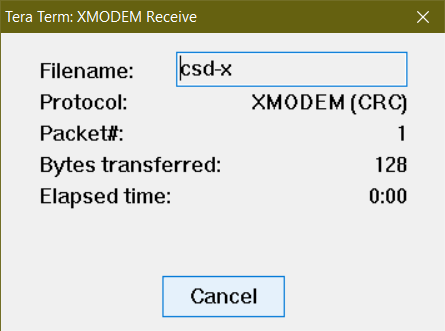
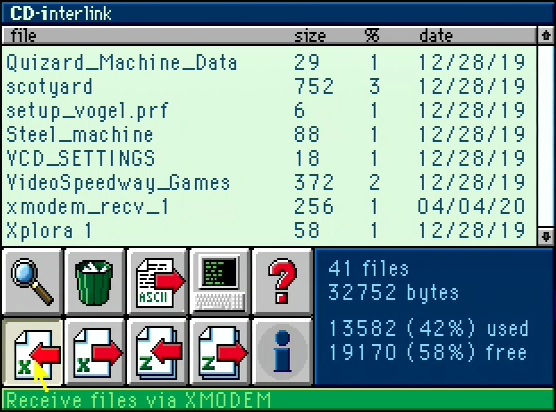
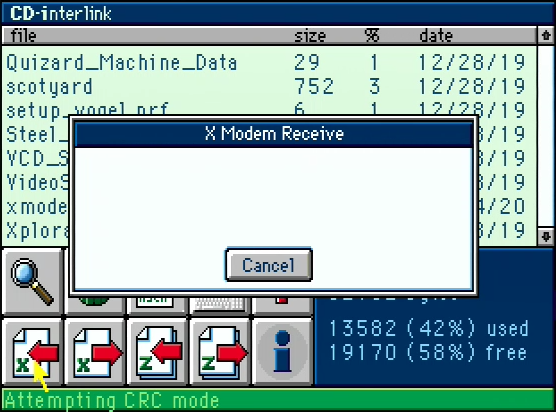
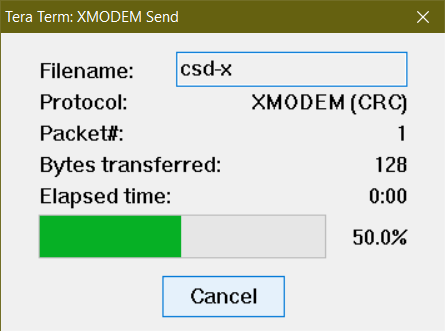
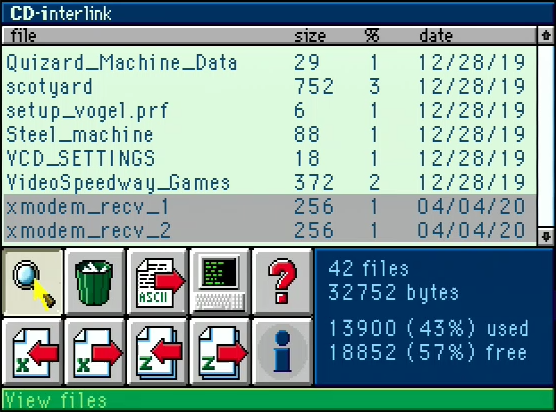
I don’t recommend to use the tools XMODEM send and XMODEM receive. The XMODEM protocol has several drawbacks: It transmits neither the file name nor the file size; the file size has to be a multiple of 128 bytes and only single files can be sent. This means that you will have to enter a file name for every upload to the PC and that data will be appended to each file until the size is a multiple of 128 bytes. Downloads to the CD-i player will automatically be renamed to xmodem_recv_xx (xx being an incrementing value). Have a look at the file CSD (Configuration Status Descriptor); on the left is a transfer via ZMODEM and on the right via XMODEM protocol.
For the sake of completeness, this is how the XMODEM file transfers look on both ends:


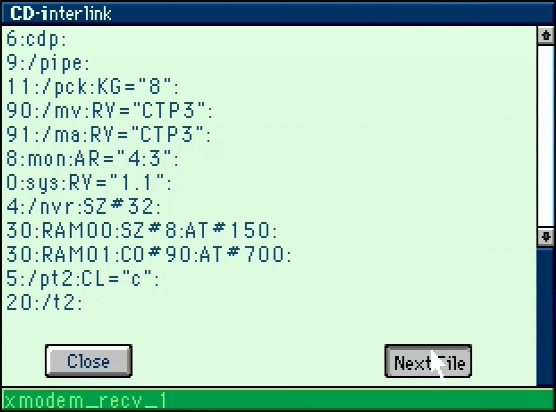
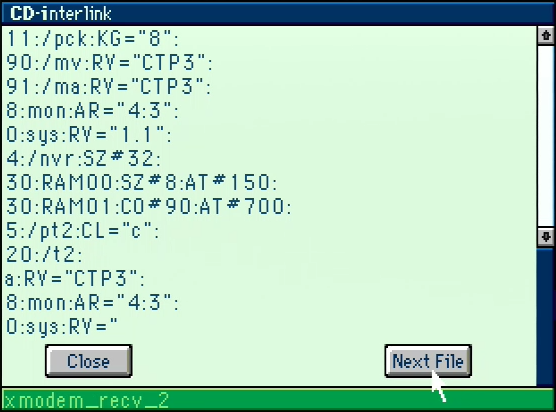
Viewer / View files
The Viewer displays the contents of one or more selected files. The button Next File will switch to the next file or close the viewer when you have reached the last selected file. Let’s have a look at the two versions of the CSD file that we received back via XMODEM protocol:
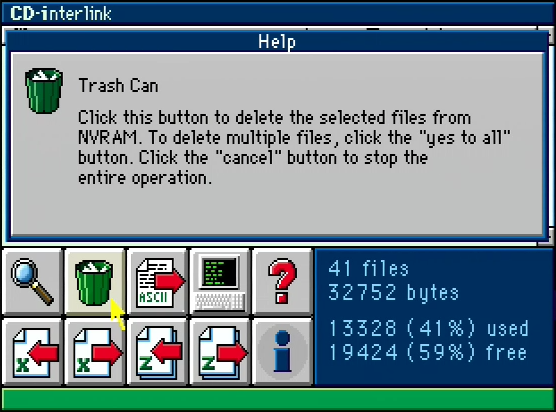
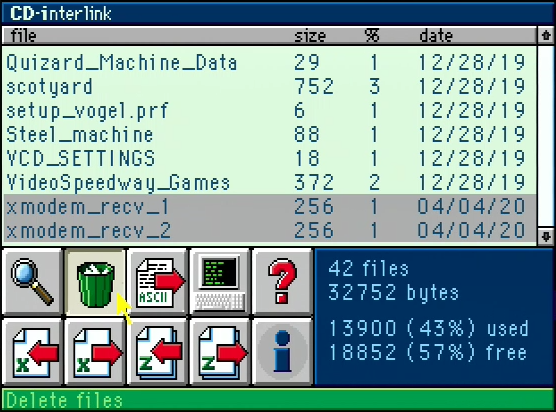
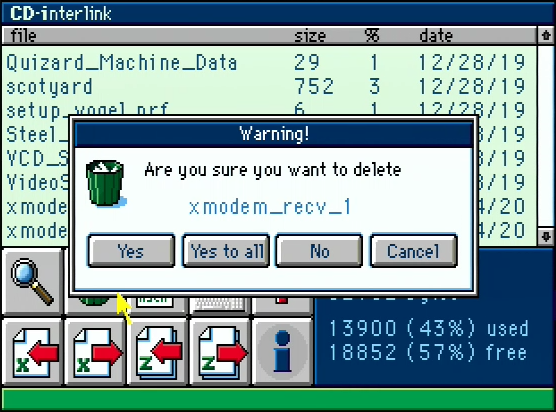
Trash Can / Delete files
The Trash Can deletes one or more selected files after confirmation. (It does not recognize if a file is read-only; after the confirmation it is still there.)
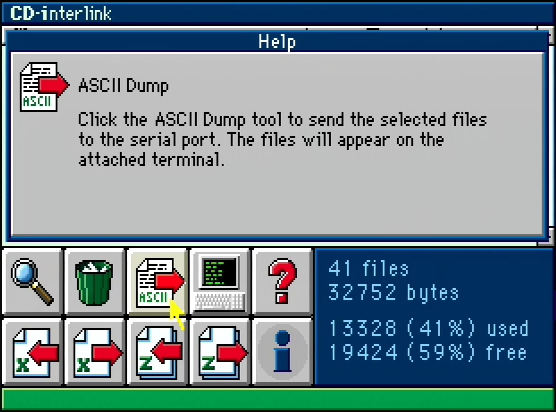
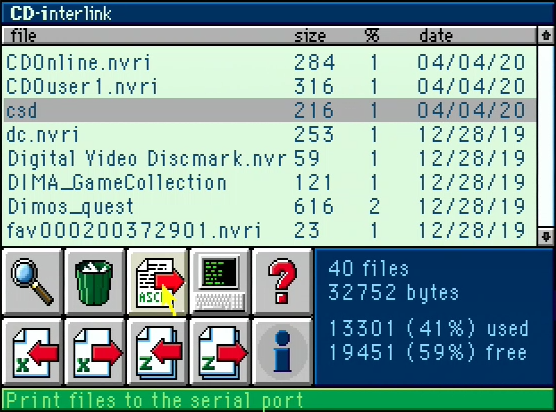
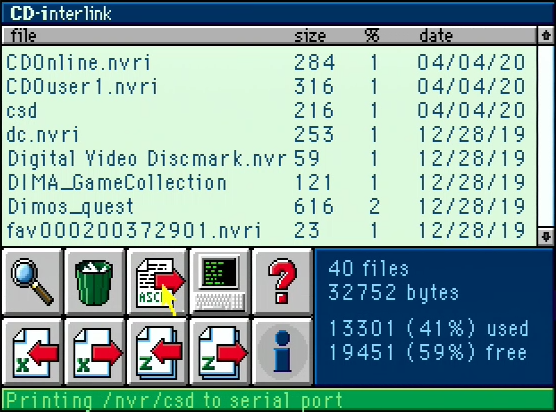
ASCII Dump / Print files to the serial port
The ASCII Dump tool sends one or more selected files to the serial port. The contents will be displayed on the terminal.

Host Mode / Start host mode
The CD-interlink Host Mode allows you to execute commands from the terminal. This is similar to the interactive mode of CD-i Link.
These are the available commands:
- attr – displays the attributes of a file
- cmds – displays a list of commands (see picture below)
- copy – copies a file
- del – deletes a file
- dir – displays the content of a directory
- list – displays the content of a file
- help – this is no real help; it just tells what cmds and exit do
- rename – renames a file
- xs – sends a file via XMODEM protocol
- zr – receives a file via ZMODEM protocol
- zs – sends a file via ZMODEM protocol
- exit – exits the host mode


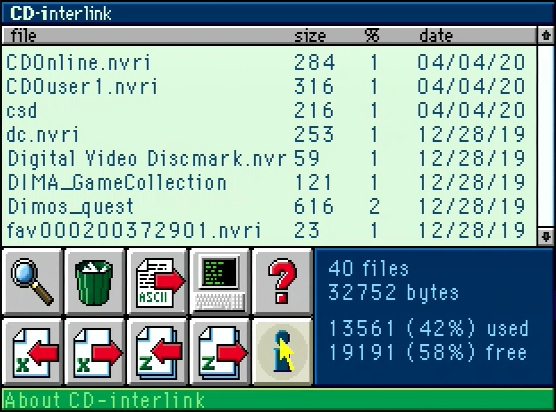
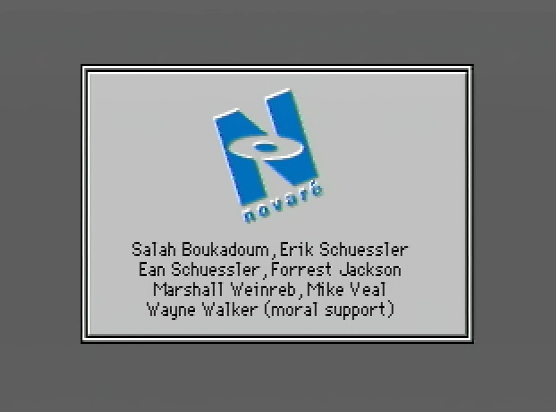
Information / About CD-interlink
This displays the credits for CD-interlink.

Curious to find more information about this program, I searched the Wayback Machine for the website of the developers. The only reference to CD-interlink that I have found is on a later version of the website. It is very cryptic and says:
Novaré made it evolve. Philips used CD-interlink to simplify data retrieval from its CDi player. We’ve linked the CD-ROM to your file system and an SQL server, which will change your CD drive from a “playback machine” to “an active window onto the corporate enterprise.”
4 thoughts on “Back Up and Restore NVRAM Data With CD-interlink”