Last weekend, marqs has released a new firmware for the CPS2 Digital AV Interface. The new firmware enables changing the output resolution with the Volume – and + buttons. The current functions of these buttons (scanlines and vertical offset adjustment) have been removed.
When I installed the AV interface last year, I wasn’t very happy about the 8 missing lines in the default 1920×1080 resolution. I was hoping to have a 1920×1200 Line5x format one day, similar to the OSSC. This is now reality: By pressing Volume +, I can change this video output to this format.
Update (2020-10-23): A new firmware with an OSD and more settings and features has been released.
There are some more new resolutions (RetroRGB explains how/when to use them):
240p_CRT (for 15kHz CRTs and capture)
480p_CRT (for 31kHz CRTs)
720p (CEA)
1080p (CEA, vertical 4x)
1080p (CEA, vertical 5x) [default]
1920×1200 (CVT-RB)
1920×1440 (CVT-RB)
Firmware update
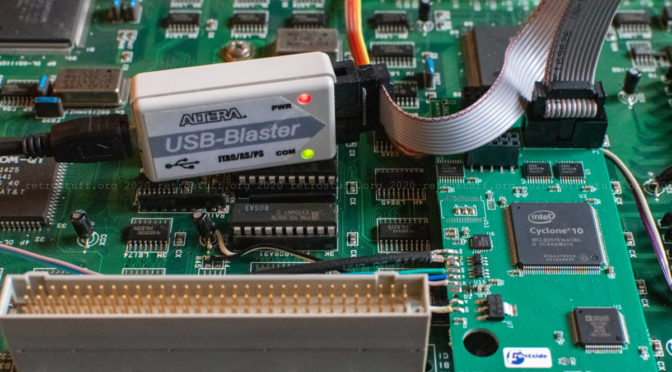
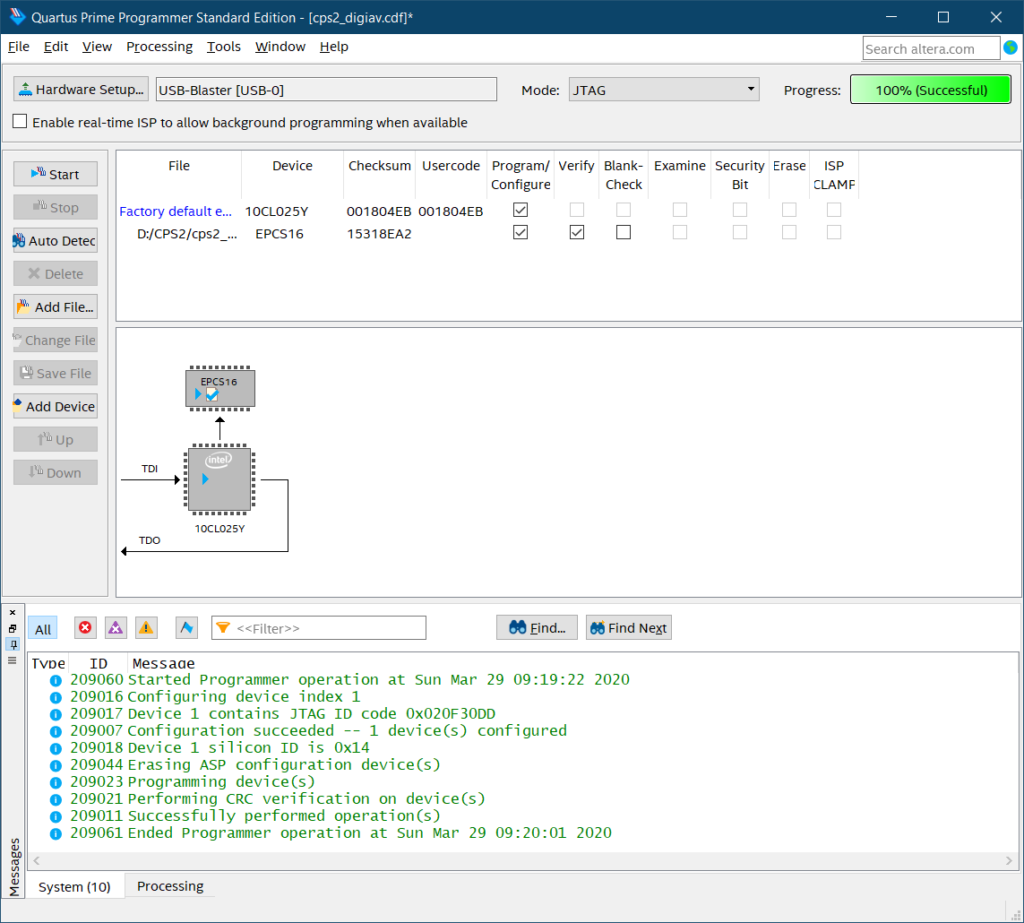
Updating the firmware takes less than a minute and is basically the same procedure as updating an OSSC via JTAG. The required programmer hardware is a USB Blaster (or clone) and the Quartus Prime Lite software by Altera/Intel. Additional help can be found in this thread.
- Connect the programmer to the PC and make sure that the drivers are installed (check device manager).
- Remove the CPS2 B board and open up the A board.
- Connect the programmer to the JTAG socket of the digital AV interface board.
- Connect a power source to the CPS2 A board and turn it on.
- Start the programmer software and select the hardware (Hardware Setup…).
- Load file cps2_digiav.jic and place the checkmarks to Program and Verify as shown in the screenshot.
- Press Start
Sample pictures
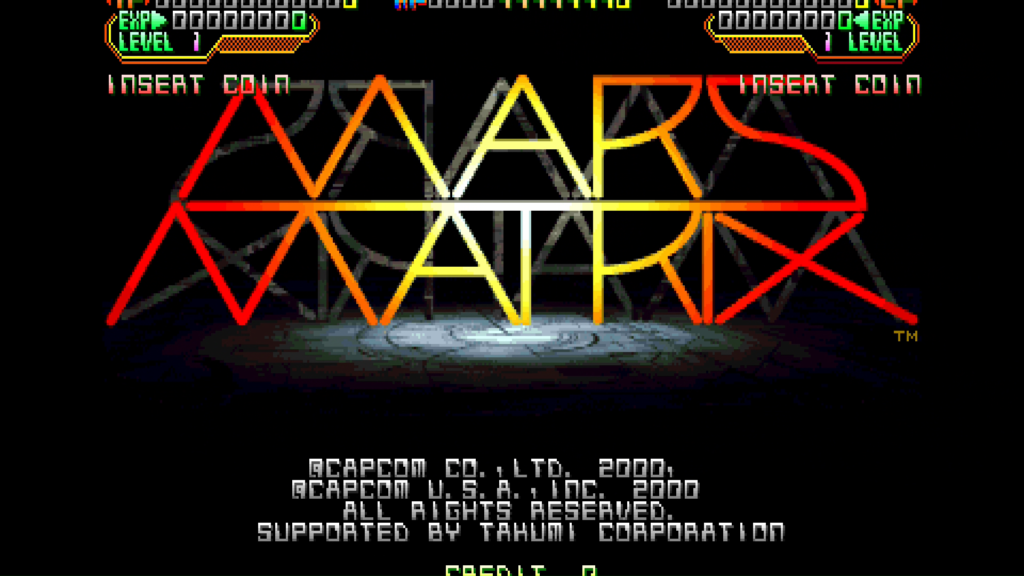
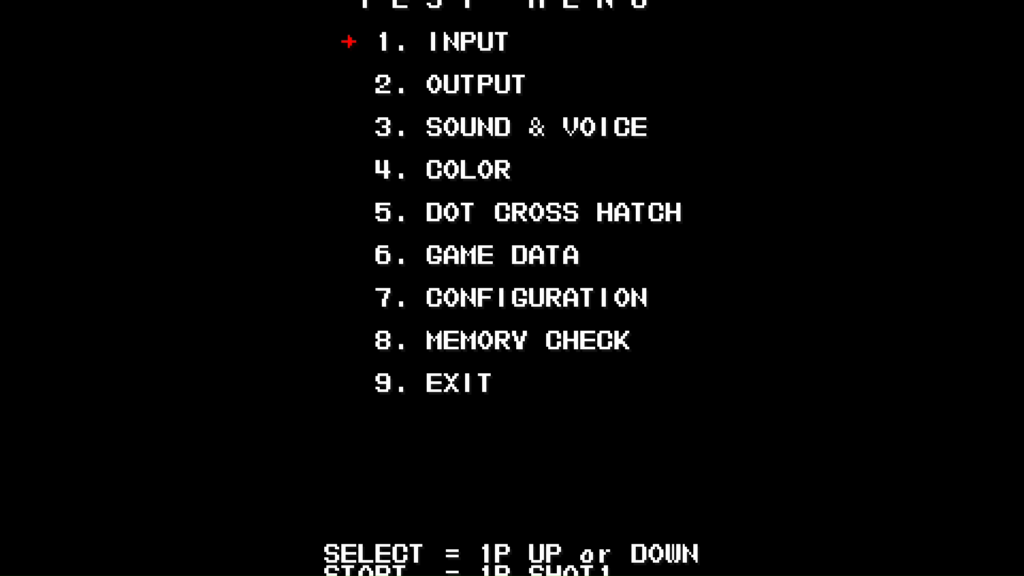
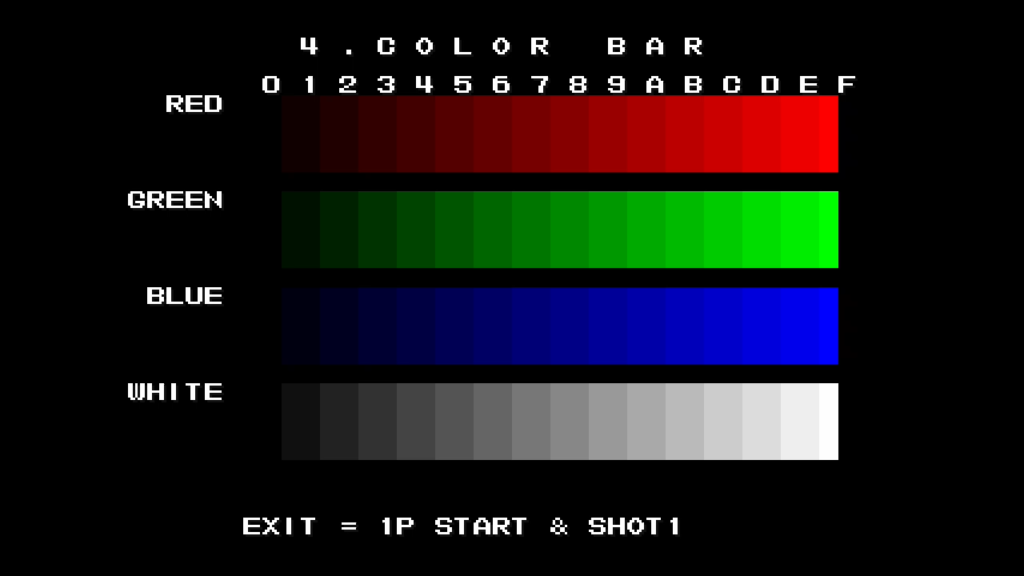
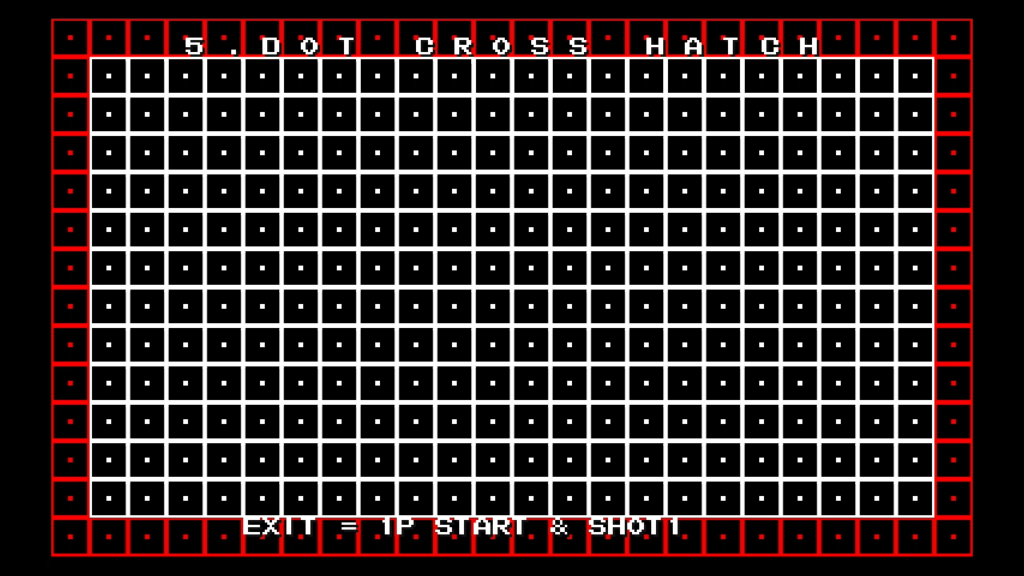
After updating the firmware, I recorded these samples with an Avermedia Game Capture HD II. Out of the 7 resolutions mentioned above, it can only record 1080p and 720p.

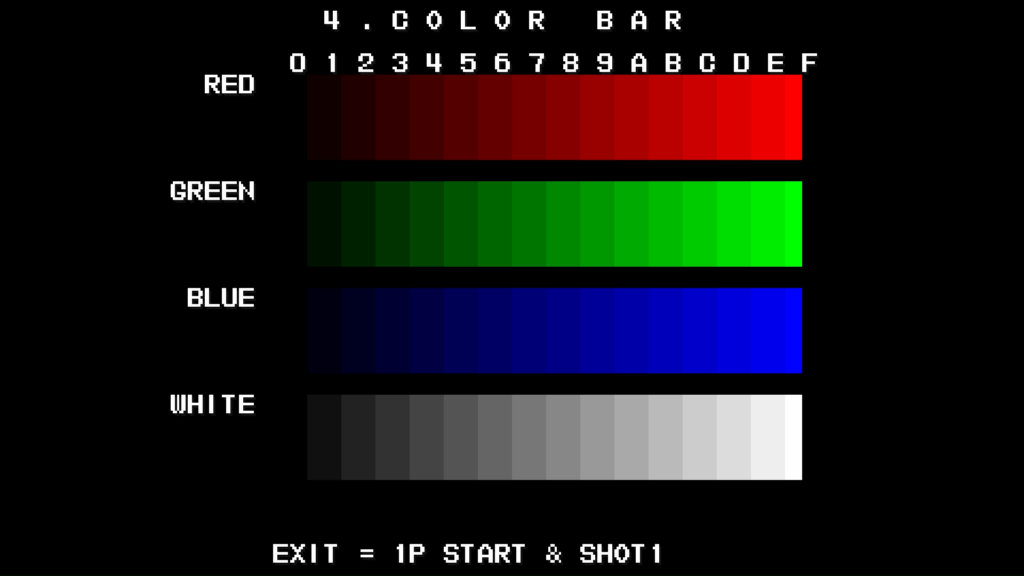
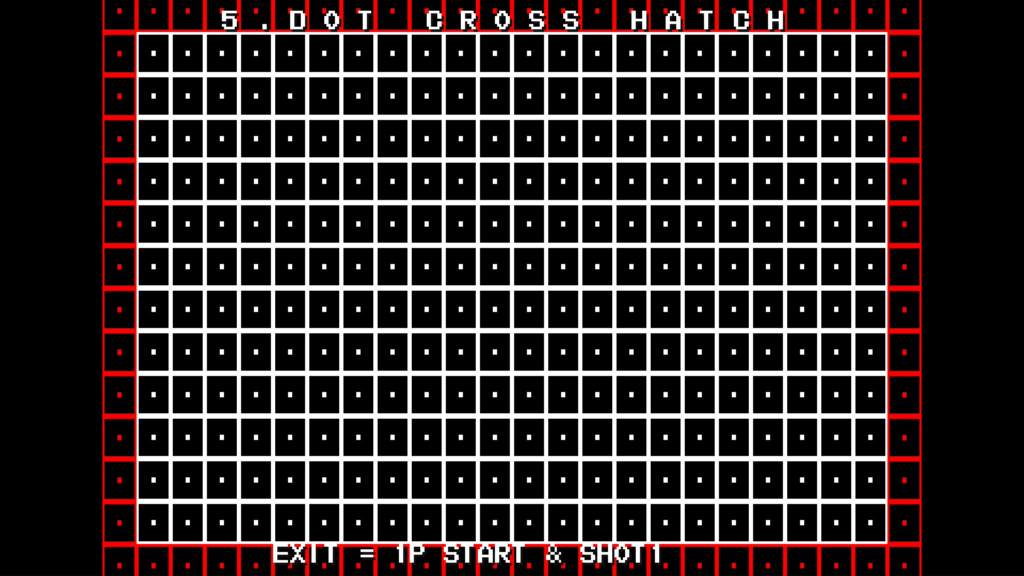
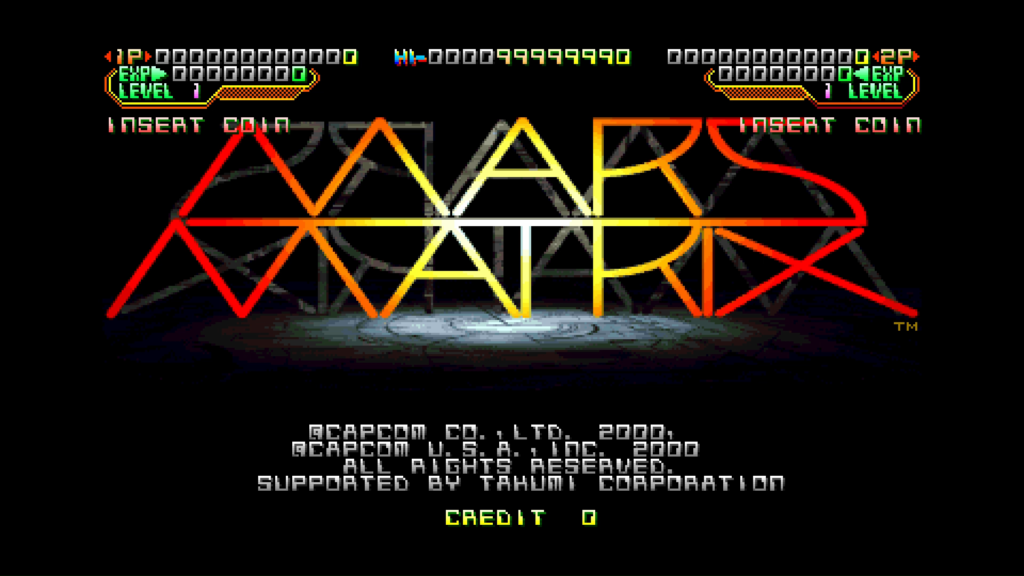
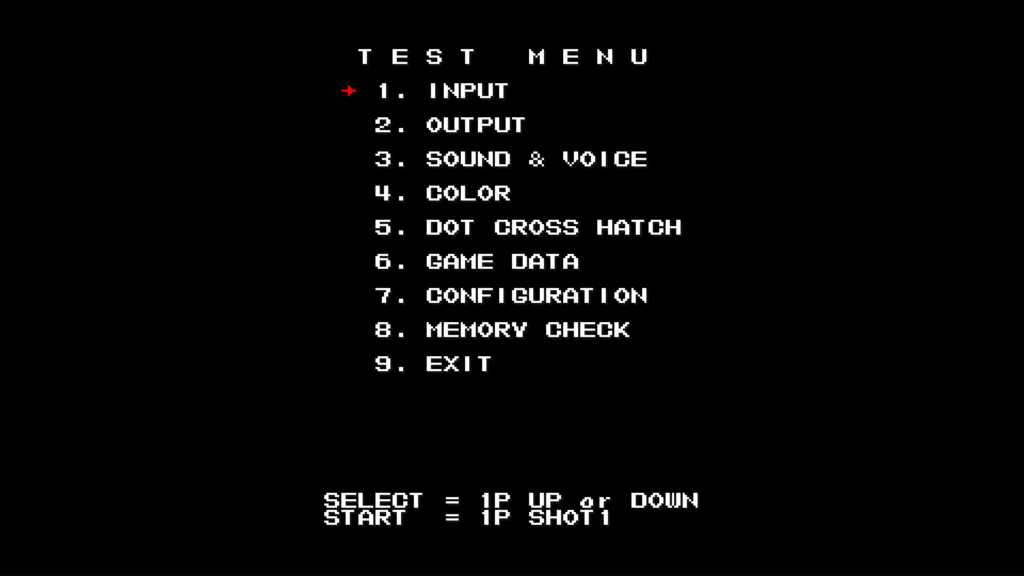
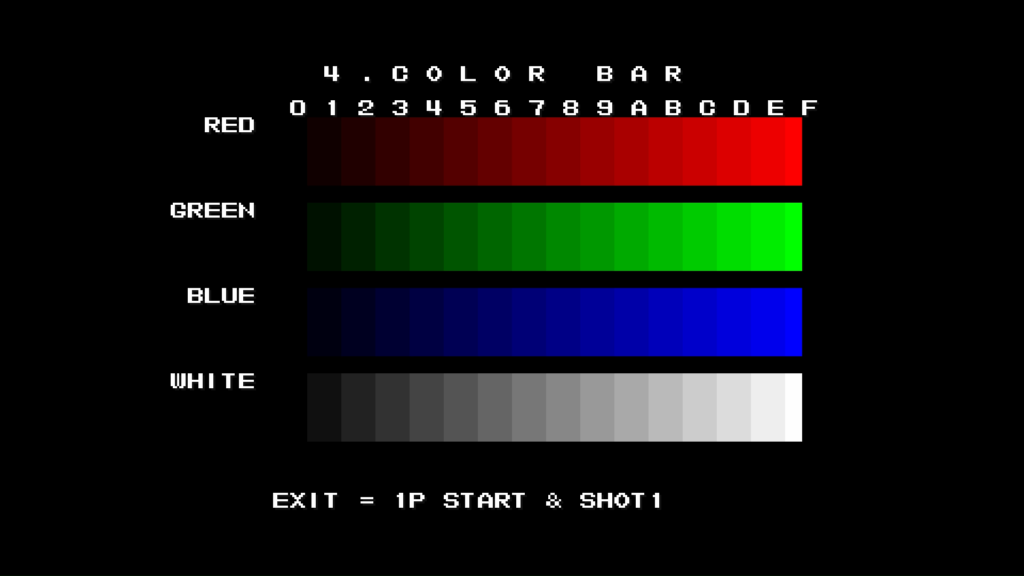
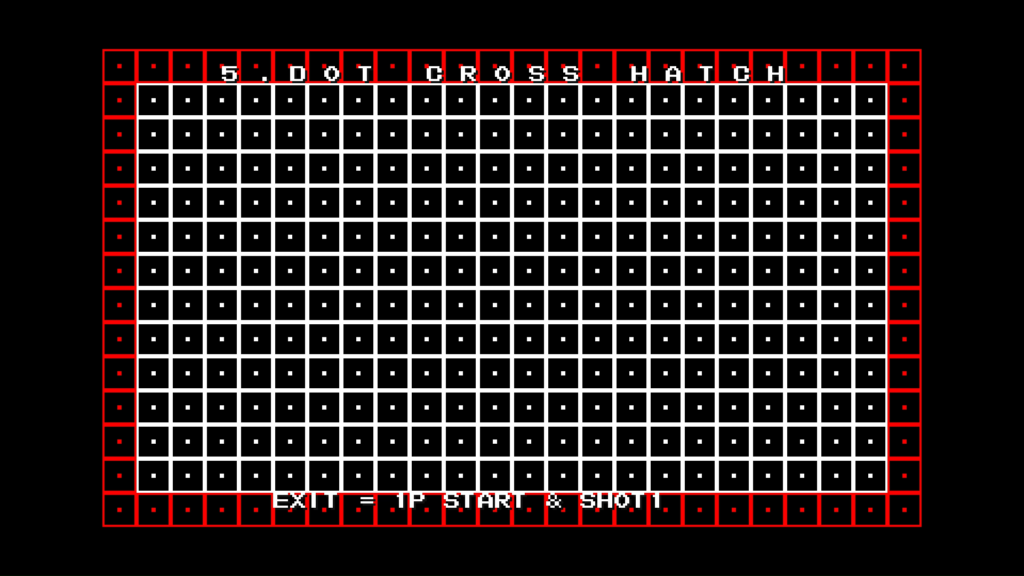
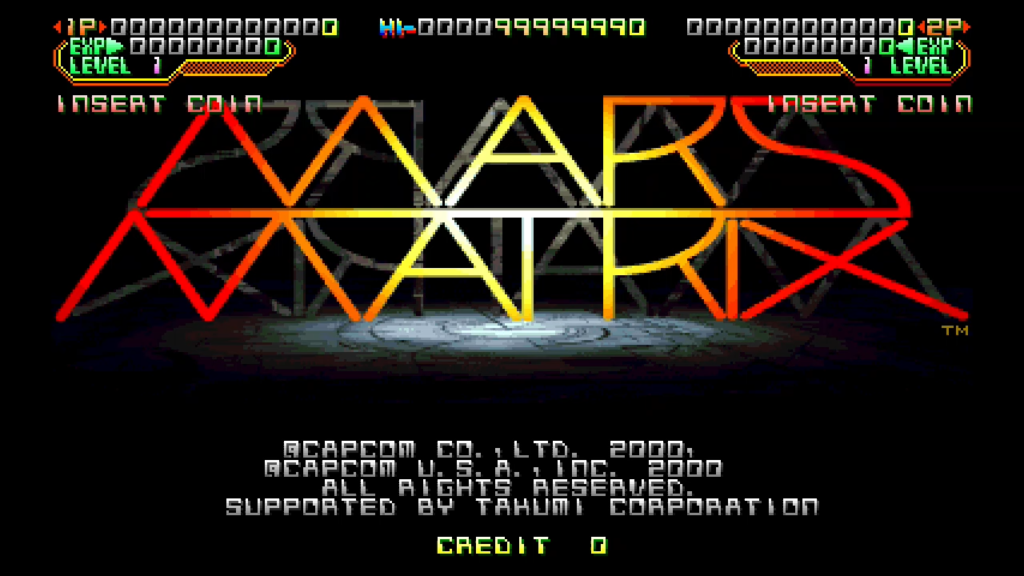
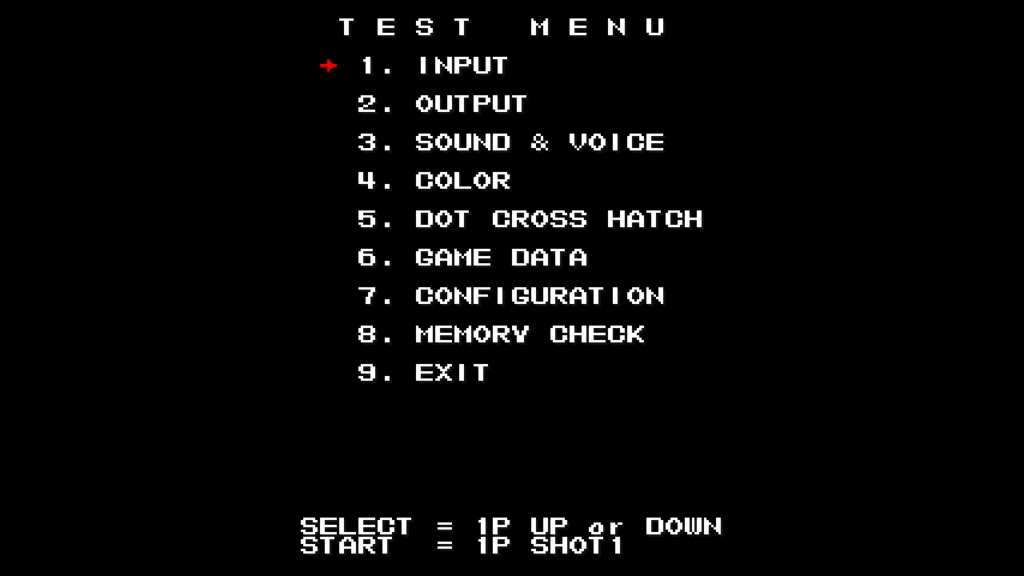
2 thoughts on “Capcom CPS2 Digital AV Interface Firmware Update”