
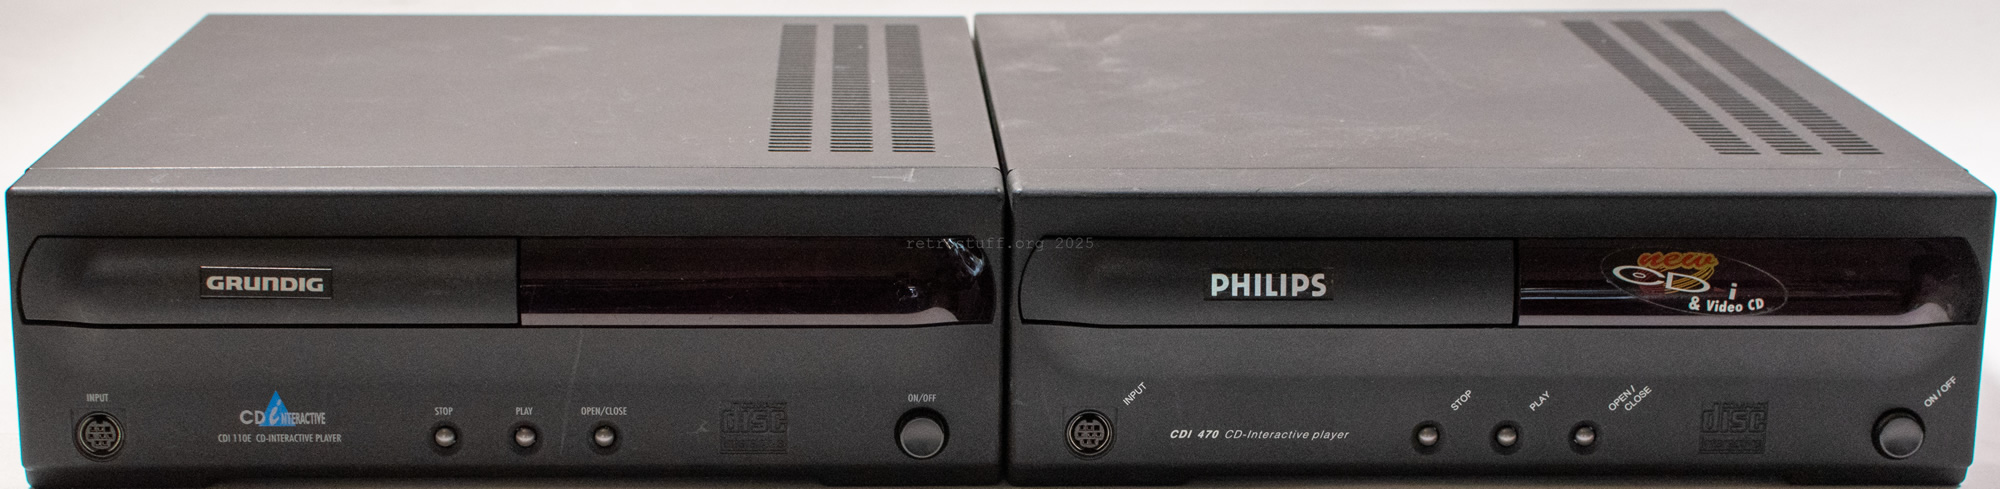
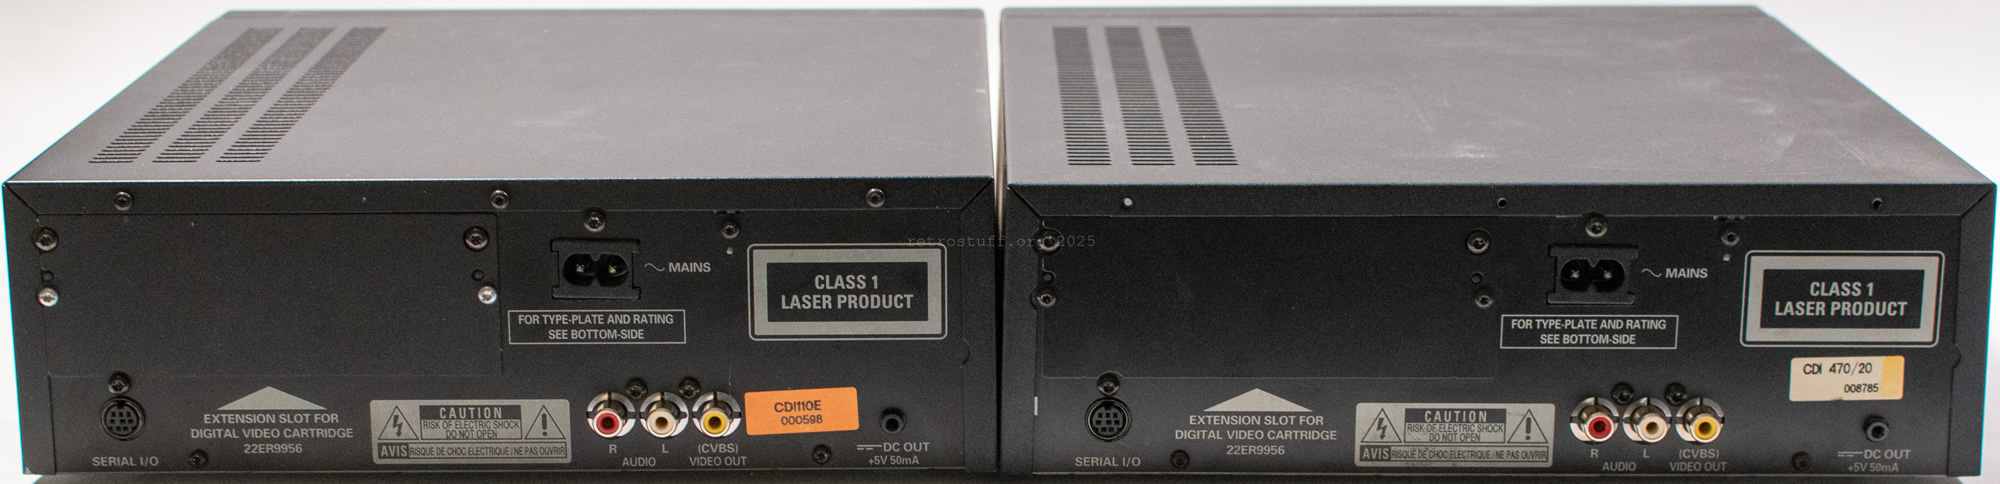
The Grundig CDI 110E is the latest addition to my ever growing family of CD-i players. It is an OEM version of the Philips CDI 470, which it also looks like – if it weren’t for the brand badge, logo and lettering that distinguish them. There are a few other differences, which I will address in this article. Apart from that, it suffers from the usual problems such as a faulty Timekeeper, failure to read discs and a noisy disc tray. Fixing these problems is also covered in this article.
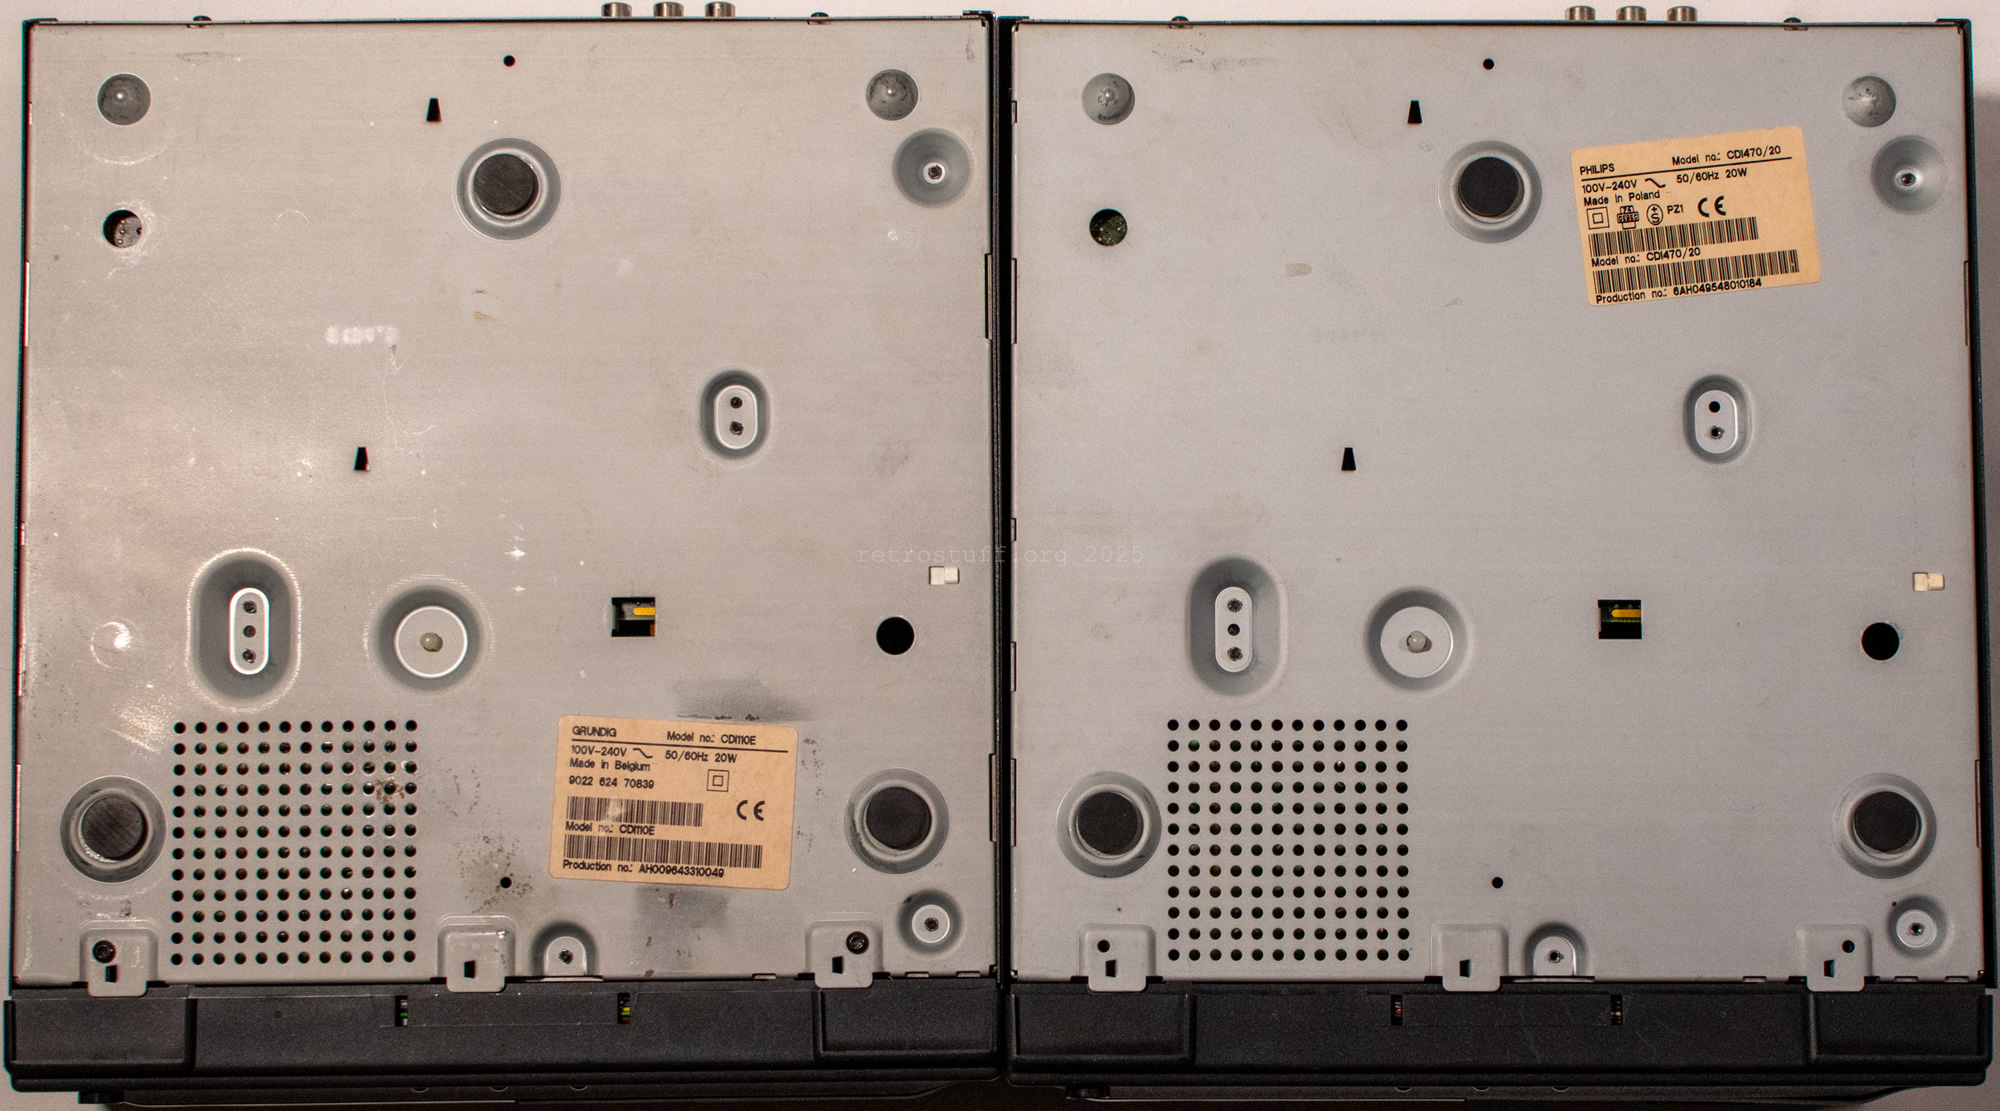
The labels show that the CDI 110E was manufactured in calendar week 43 of 1996 at the Philips optical storage production plant in Hasselt, Belgium (AH 00 9643…). This was about a year later than a standard CDI 470. The CDI 110E was not the only CD-i player under the Grundig brand name, which makes sense given that Philips was their largest shareholder at the time and controlled the business. However, it was not the only OEM version of a 470 either. The following entries are from The Interactive Engineer Volume 5, Number 5, September/October 1996:
∆220F5/80, /82(CDI100V Grunding Germany) ,
/83(Grunding Spain) , /85, /97

∆470/00, /01, /05, /06(Brasil), /11, /17(Magnavox
USA), /20(=/00+DVC), /80(CDI4000SBR),
/81(TL2000 Talilaser), /82(brandless)
Remarkable here is the misspelled brand name on the 220 models and the fact that there is no trace of Grundig on the 470 models. We only see /80 for the SBR CDI 4000 and /81 for the TaliLaser TL 2000, as well as /82 for a brandless OEM model.
It is not yet known which slash number belongs to the CDI 110E. However, I will return to this topic briefly when we get to the system ROM.
Player shell
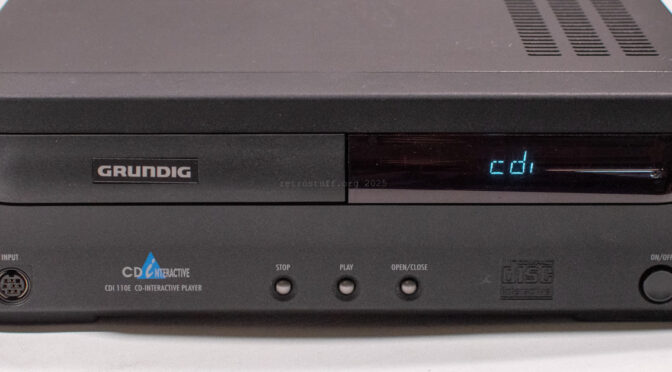
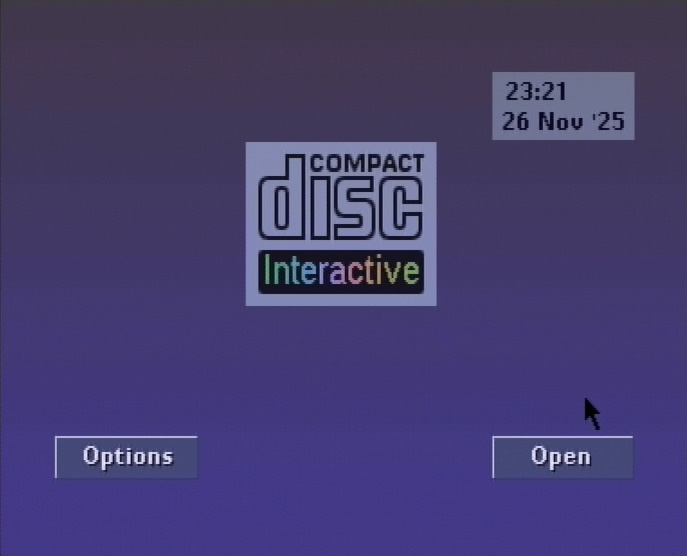
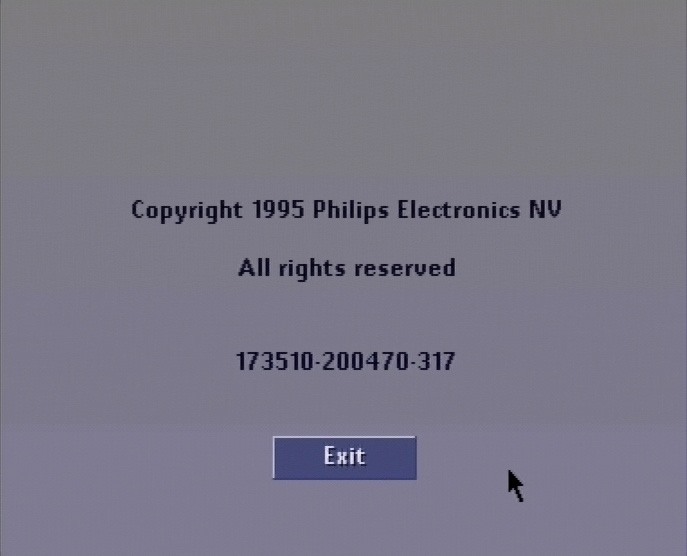
The player shell is similar to that of the standard Philips 470 players, but there are a few minor differences: there is no brand logo, and the copyright screen indicates the system ROM ID 73 R1.0. In this article from CD-i Fan, you will find out how to read the information on the copyright screen.
System ROM
ID 73 proved to be a BRANDLESS system ROM – matching the player shell without a brand logo.
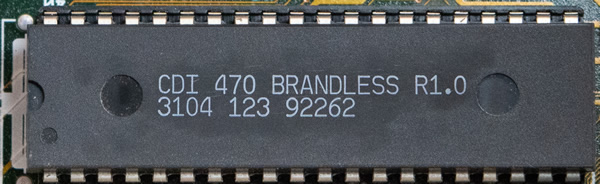
And now we can return to the topic of determining the slash number: remember /82 for brandless OEM? It is possible that the 110E is actually a 470/82. However, this would slightly contradict the TaliLaser TL200 (470/81), which has exactly the same brandless ROM (ID 73 R1.0). The SBR CDI 4000 (470/80), on the other hand, has a regular Philips CDI 470 ROM (ID 70 R1.1).
Another possibility is to follow the slash number pattern of the 220/80: /82 for Grundig Germany and /83 for Grundig Spain. Since this 110E comes from Spain, it could be a 470/83. However, this is pure speculation, as the list in The Interactive Engineer is incomplete and has already been proven to be partially incorrect. This issue therefore remains a mystery for the time being, until an updated list is found.
Before we take a closer look at the inside of the player, let’s briefly return to the system ROM. The low-level test confirms the ROM ID and release number. (Ignore “MONO III” etc. in the menu – Philips never bothered to change this for any of the 470 system ROMs I have seen so far. The first time “MONO-4” was mentioned was in an ID 77 R1.6 (for CDI 490) that I found in a 470/85 – another model missing from the list.)
                CD-I MONO III BOARD low level test    REL. 1.5
                ----------------------------------    --------

                Press any key to test receiver
                Receiver o.k., you pressed:   20

                Initializing VDSC REGS

        0. Exit Low level test
        1. Writing to a default RAM address
        2. ROM parity check
        3. Nvram test (8K)
        4. Dram test
        5. CIAP test
        6. IKAT-CD7 test
        7. Clock Calibration
        8. Chip Select test
        9. VDSC test


        Make your Selection: 2


-         ROM ID: 73
- Release Number: 10
-       CheckSum: 00009C68
Here is a list of all modules and checksums for your information:
  Addr     Size      Owner    Perm Type Revs  Ed #  Crc   Module name
-------- -------- ----------- ---- ---- ---- ----- ------ ------------
00003c72    26740     0.0     0555 Sys  a000   170 53c8f5 kernel
0000a4e6    18082    10.48    0555 Trap c00a     6 5f673d cio
0000eb88     2992     0.0     0555 Data 8020     1 191a59 FONT8X8
0000f738     2270     0.0     0555 Fman a000    35 d6a976 pipeman
00010016     5592     0.0     0555 Fman a000    17 63023d nrf
000115ee     3012     0.0     0555 Fman a00b    37 e5d0ab ucm
000121b2     4506     0.0     0555 Fman a003    98 000a1b cdfm
0001334c     1934     0.0     0555 Fman a000    31 b41f17 scf
00013ada     7798     1.0     0555 Trap c001    13 46c5dc math
00015950      256     0.0     0113 Data 8000     1 1b61fb copyright
00015a50      338     0.0     0555 Sys  8000    25 c6369a init
00015ba2      422     0.0     0555 Prog 8000    13 f455cb sysgo
00015d48      120     0.0     0555 Desc 8000     6 7fc9e7 t2
00015dc0     1598     0.0     0555 Driv a024    18 1355e6 u68070
000163fe      550     0.0     0555 Sys  a000     2 b29131 sgstom
00016624      136     0.0     0555 Desc 8000     1 129ccc tim070
000166ac      276     0.0     0555 Driv a006     3 629926 tim070driv
000167c0      118     0.0     0555 Desc 8000     2 da7d37 nil
00016836      172     0.0     0555 Driv a000     1 407f81 null
000168e2      102     0.0     0555 Desc 8000     2 cf450e pipe
00016948      774     0.0     0555 Driv a001     7 e18b45 nvdrv
00016c4e       94     0.0     0555 Desc 8000     1 e9b44e nvr
00016cac    66726     0.0     0555 Driv a000    56 b796ad video
00027152      130     0.0     0555 Desc 8000     1 2b1084 vid
000271d4      130     0.0     0555 Desc 8000     1 cda6c2 vd1
00027256      134     0.0     0555 Desc 8000     1 6a23ec vdk
000272dc      198     0.0     0555 Desc 8003     1 768a50 cd
000273a2      198     0.0     0555 Desc 8003     1 5b1577 ap
00027468    20398     0.0     0555 Driv a001     5 3f4f21 ciapdriv
0002c416      176     0.0     0003 Data 8003     1 ffd446 ciap15_mc0
0002c4c6     2128     0.0     0003 Data 8003     1 edea3f ciap15_mc1
0002cd16     2128     0.0     0003 Data 8003     1 469772 ciap15_mc2
0002d566     1096     0.0     0555 Driv a000     1 bb2e1e pt1driv
0002d9ae     1096     0.0     0555 Driv a000     1 b74d06 pt2driv
0002ddf6      130     0.0     0555 Desc 8000     1 c58b76 pt1
0002de78      130     0.0     0555 Desc 8000     1 83fd6b pt2
0002defa      130     0.0     0555 Desc 8000     1 03f94b ptr
0002df7c      340     0.0     0555 Driv a000     4 795968 ckeydriv
0002e0d0      132     0.0     0555 Desc 8000     1 be68f9 ckey
0002e154     2942     0.0     0555 Driv a000    12 6a484e pckdriv
0002ecd2      134     0.0     0555 Desc 8000     1 2b04e1 pck
0002ed58     1520     0.0     0555 Driv a000     1 5ef36c kb1driv
0002f348      134     0.0     0555 Desc 8000     1 9f9850 kb1
0002f3ce     1724     0.0     0555 Driv a000     4 8f3ebb sldriv
0002fa8a      136     0.0     0555 Desc 8000     1 3cc602 slave
0002fb12     1256     0.0     0555 Driv a008     4 7a0a60 hobdriv
0002fffa      132     0.0     0555 Desc 8000     1 cfae1e hobbes
0003007e       82     0.0     0555 Subr a000     2 249379 cdivolset
000300d0      176     0.0     0777 5    8001     1 60c3ff csd_450
00030180     5760     0.0     0555 Sys  8000    33 9f32ed csdinit
00031800     7508     0.0     0555 Prog 8000    24 e86f08 config
00033554     5172     0.0     0555 Prog 8000    16 a87c15 launcher
00034988    16104     0.0     0555 Prog 8000     9 d2838a sv
00038870    27232     0.0     0555 Prog 8000     9 d6c899 play
0003f2d0    17154     0.0     0555 Prog 8000     8 746ebe ps_bck
000435d2    33520     0.0     0113 Data 8000     1 971142 ps_data2
0004b8c2   111278     0.0     0555 Prog 8000    22 2f2e89 ps
00066b70    66816     0.0     0113 Data 8000     1 1b80ce ps_data
00077070     5626     0.0     0777 Data 8000     1 ad4606 font1.ft
0007866a     6510     0.0     0777 Data 8000     1 de7574 font3.ft
00079fd8    22310     0.0     0555 Prog 8000     8 cafcc8 cdgr

    File             Addr    Size    Type             Description
------------------ -------- ------ ------------------ ------------
cdi110e.rom 00000000   512K cdi110e10.rom      Grundig CD-i 110E system ROM 1.0
cdi110e.rom 00000000   512K cdi110e.mdl        Grundig CD-i 110E player
cdi110e.rom 00000000   512K mono4.brd          Mono-IV board
cdi110e.rom 00000000   512K cdi110e10.tag      {512K} ID: 73 Rel: 10 Sum: 9C68
cdi110e.rom 00000000   512K cdi110e10.crc      CRC: A070F6E5
cdi110e.rom 00000000   512K cdi110e10.md5      MD5: 572928FA4048FB4B050EF4A0E461AE48
DVC cage
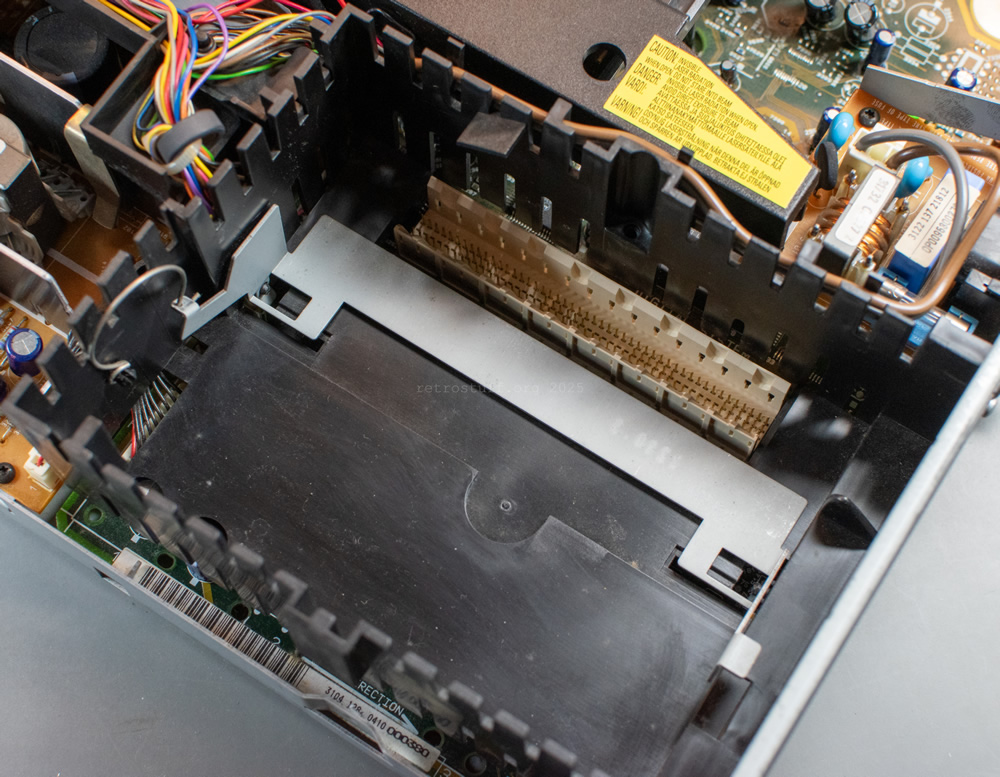
To access the mainboard with the system ROM, I first had to remove the DVC cage. However, this did not contain a DVC, but something I had never seen before: an eject mechanism that allowed a DVC to be removed without tools. When I first published the photos, someone contacted me and said that this eject mechanism was also used in other models but couldn’t remember which ones. I assume that these can only be models that were originally sold without DVC, e.g. 470/00 or 470/17. Prior to this, I had mainly worked with 470/20 (with factory-installed DVC), which would explain why I had never seen this mechanism before.


Mainboard
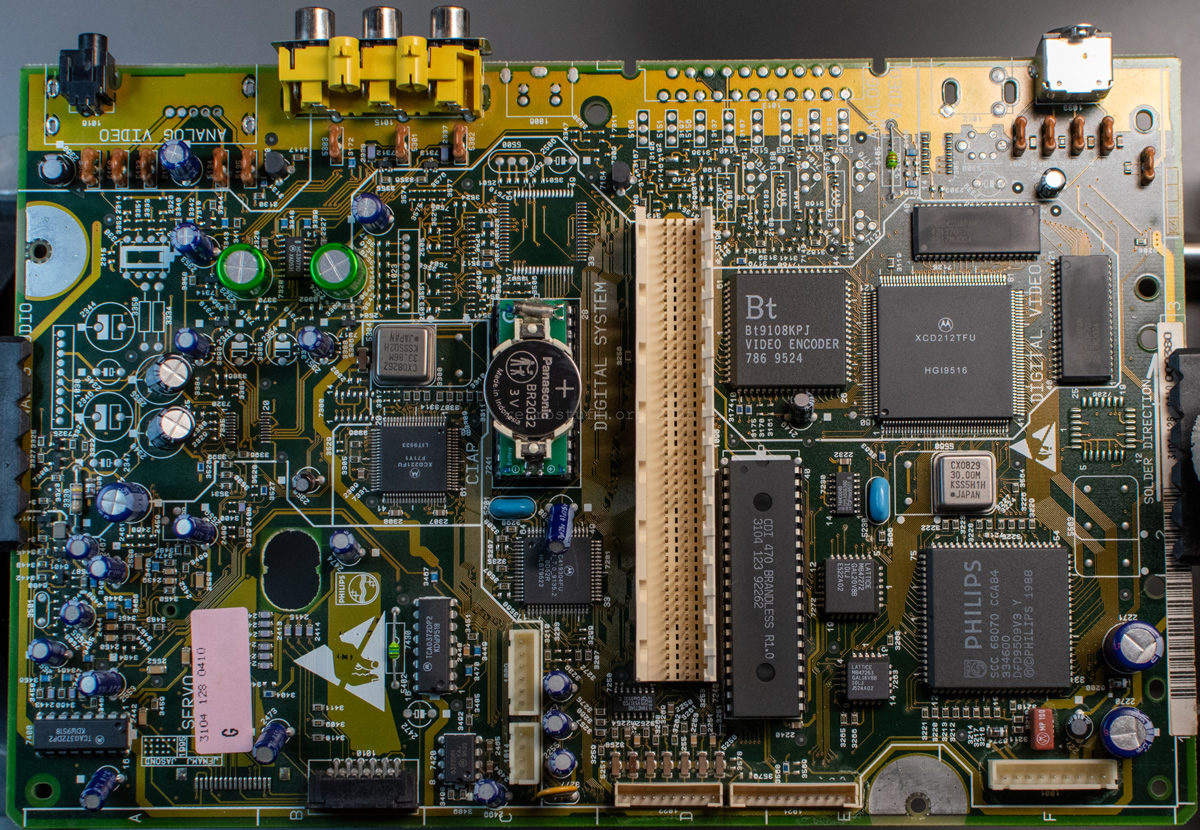
At first glance, a typical Mono IV mainboard for small CD-i players.
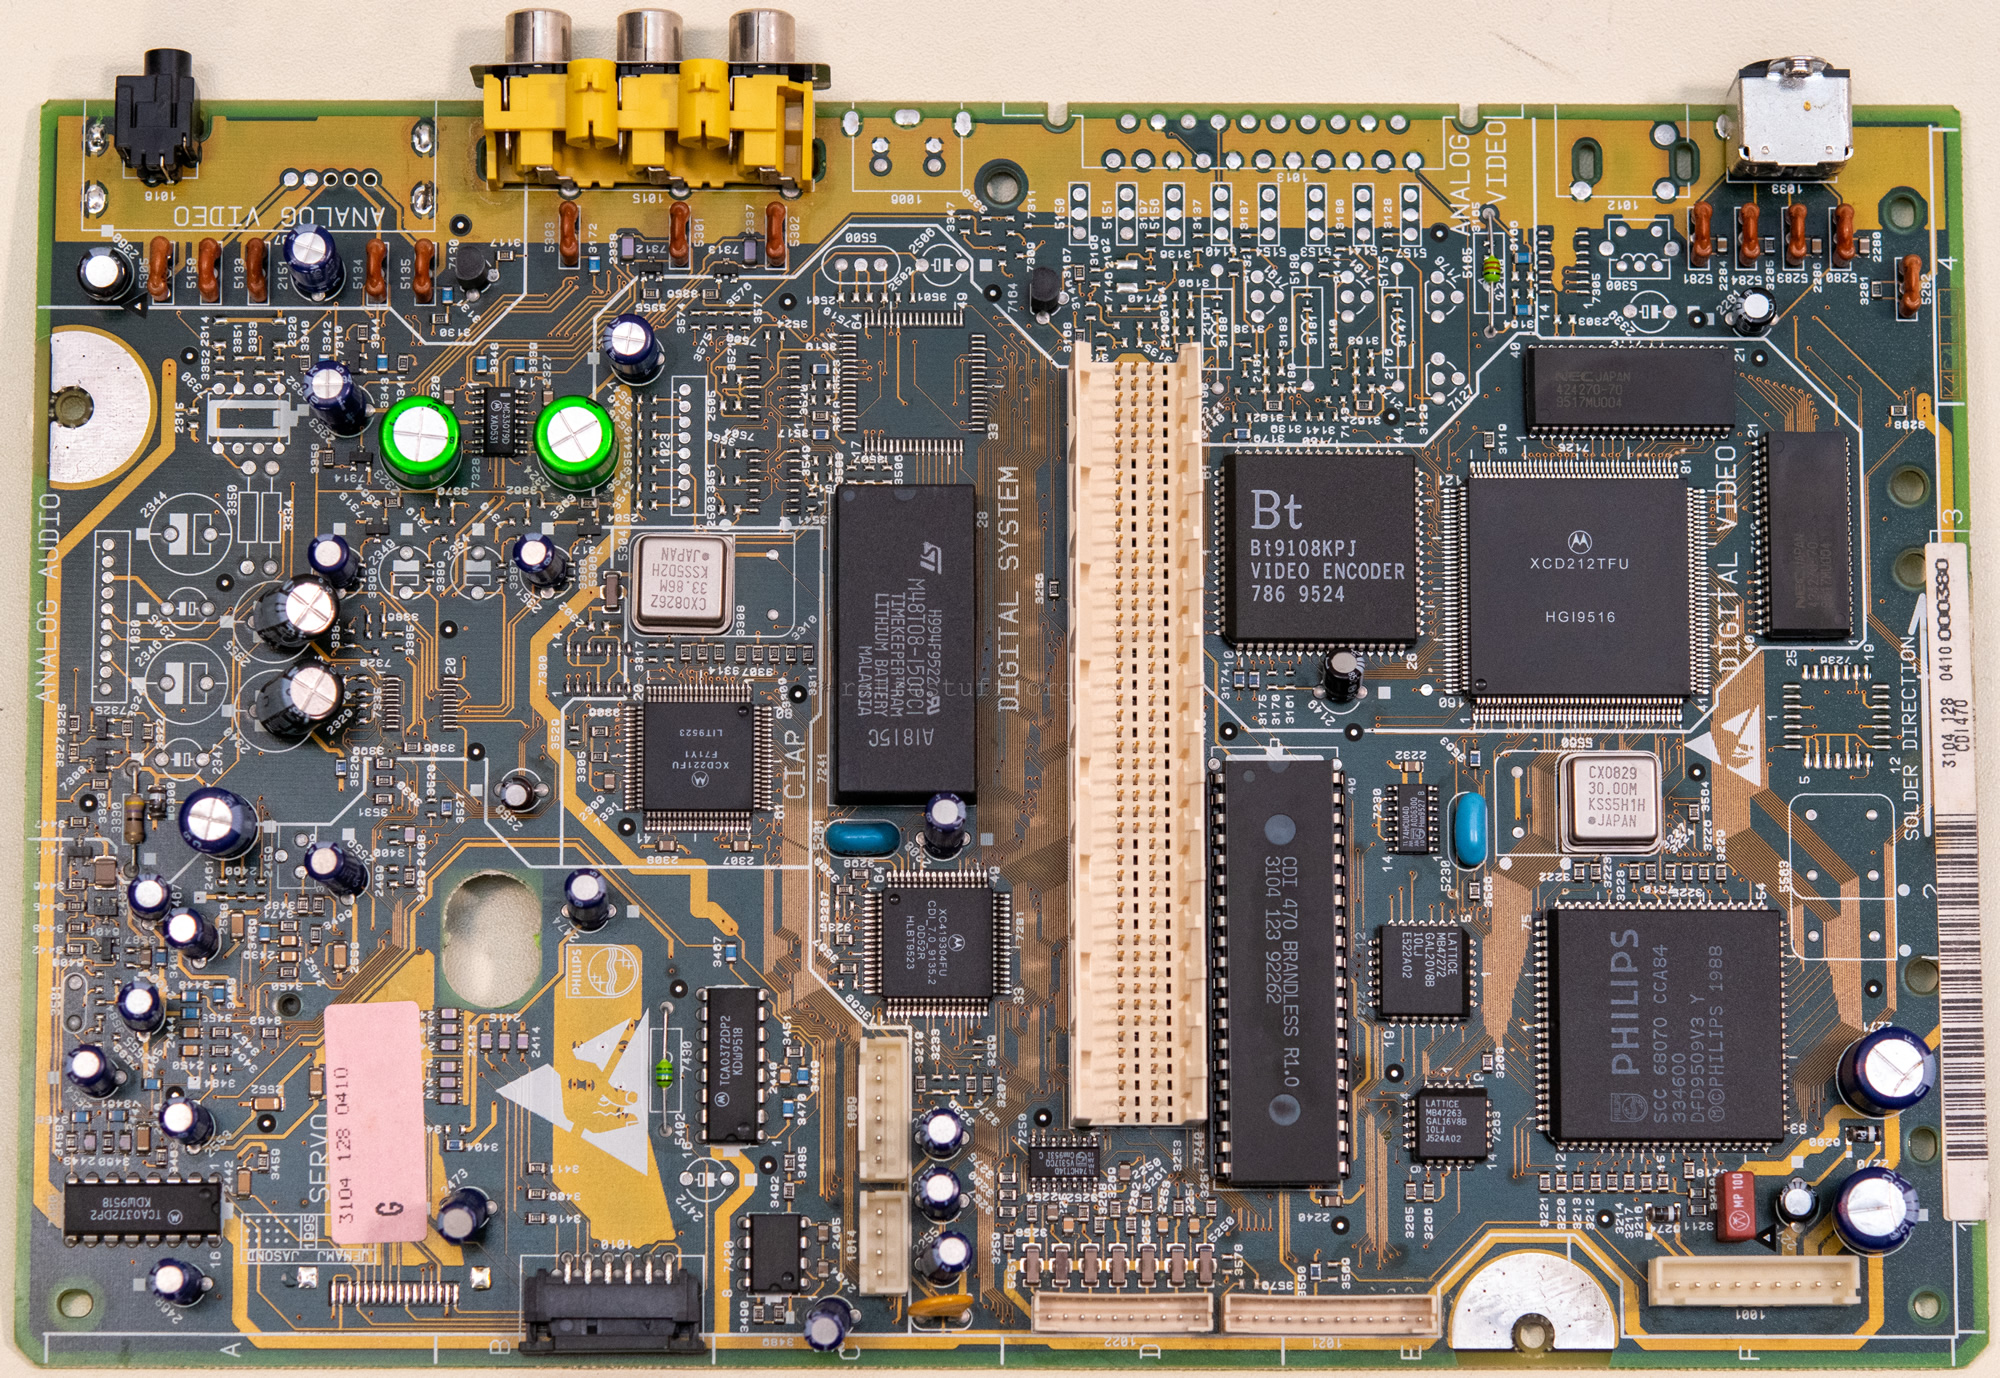

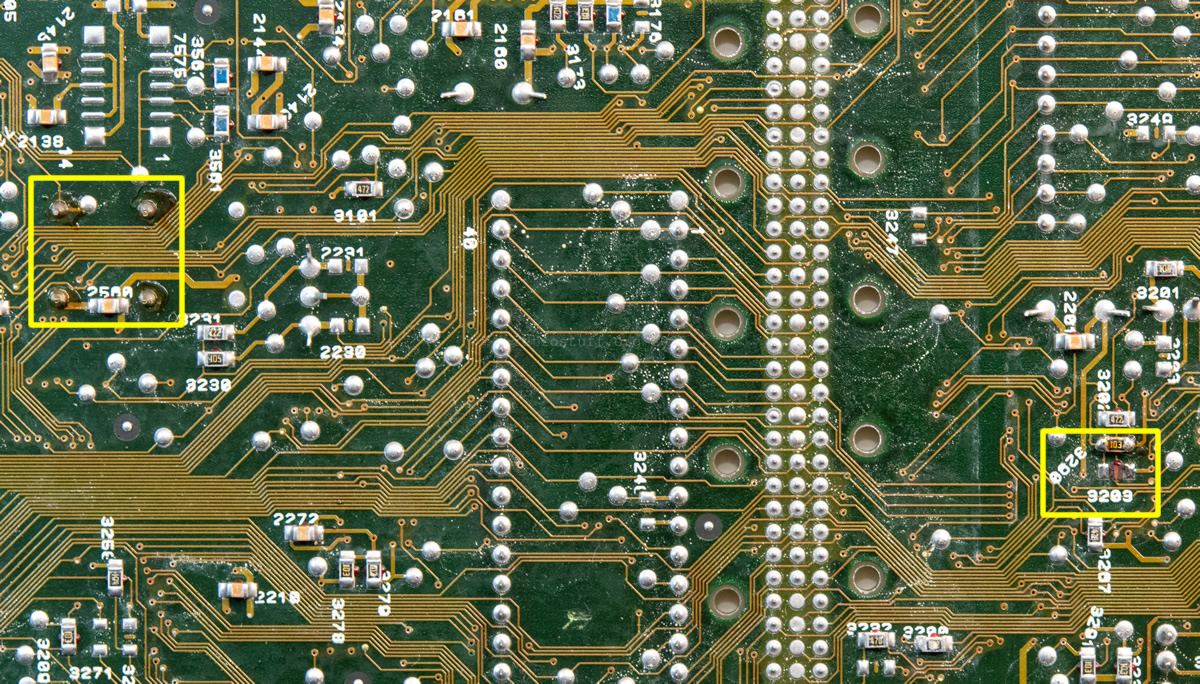
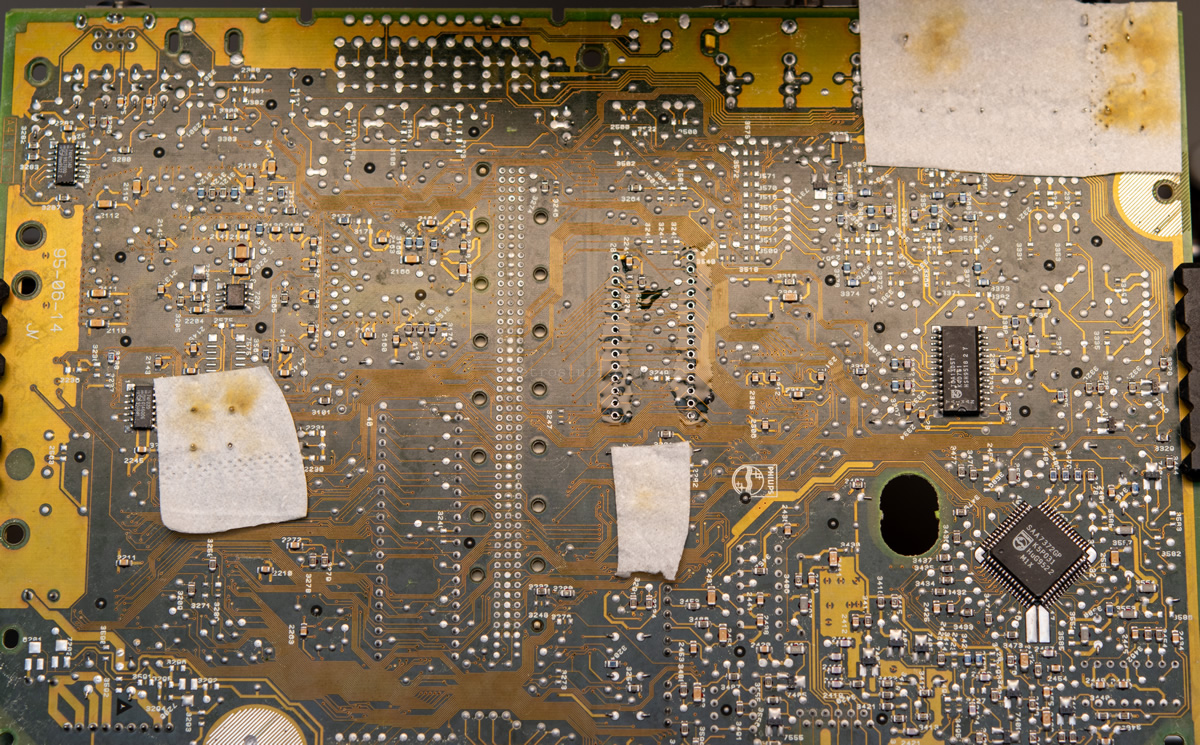
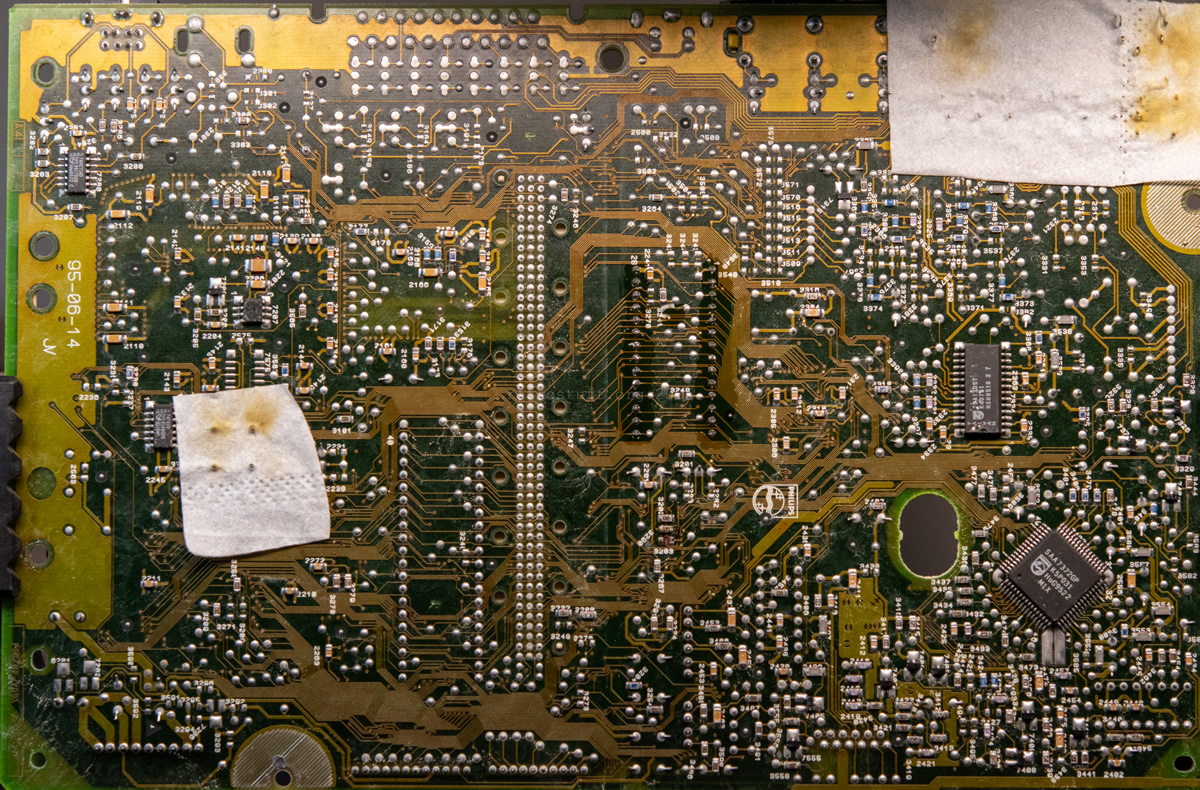
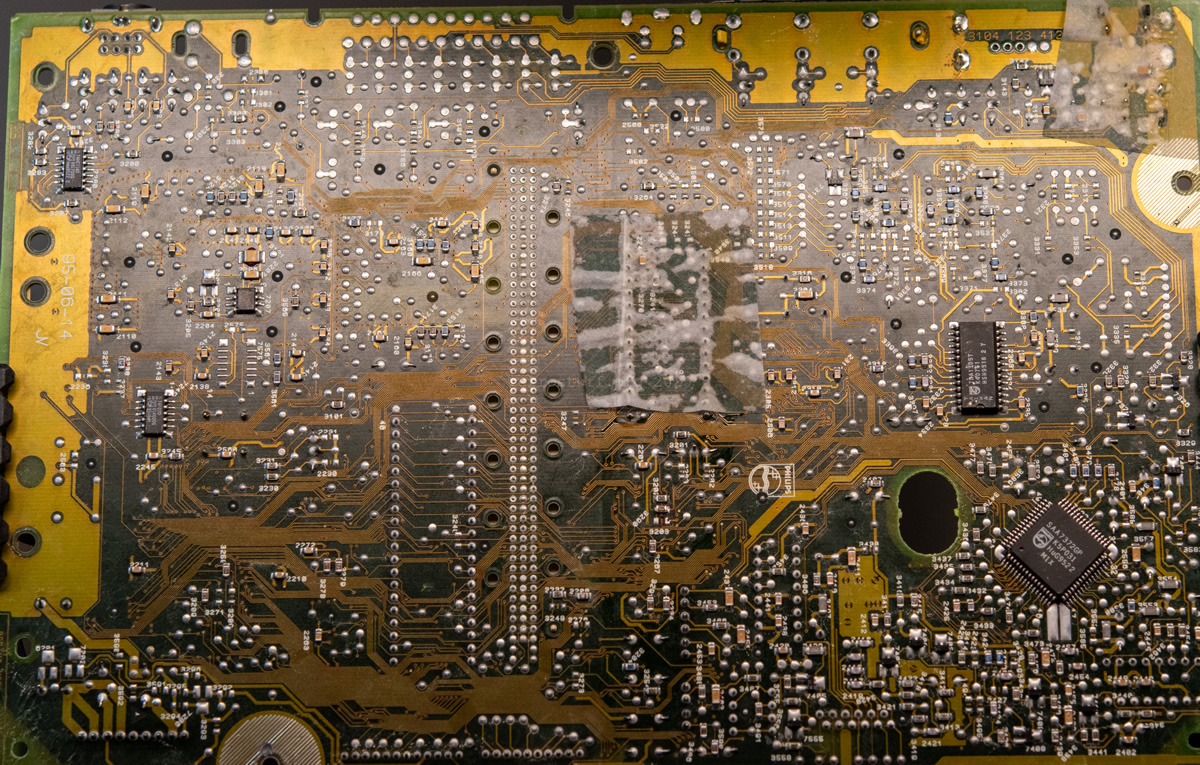
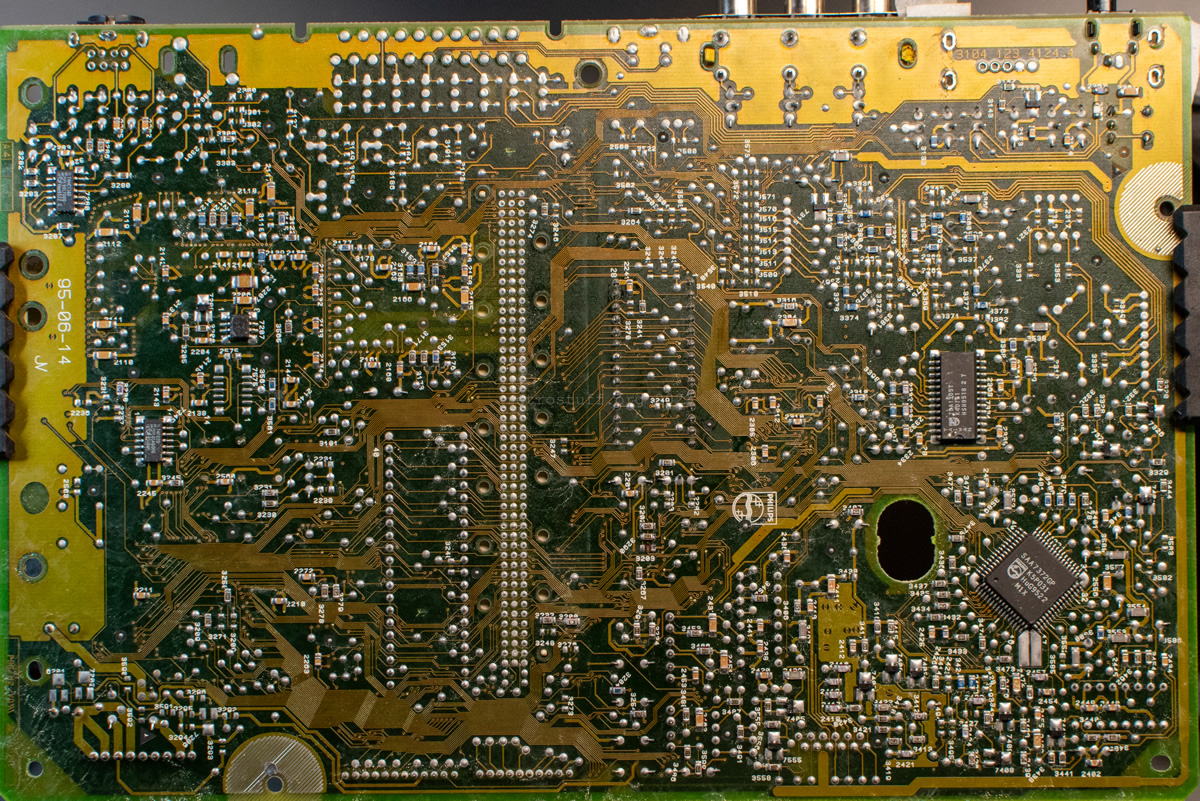
However, there are traces of previous rework on the back, and the solder joints are somewhat rough. It must have been a 470/17 (US) before: the crystal oscillator was replaced and resistor 3203 was moved to 3290 (see 50/60 Hz modification). In addition, the internal RF modulator was removed and replaced with the circuit and connector for an external RF modulator.

Since I had to replace the Timekeeper anyway, I decided to clean up the previous rework as well.

I replaced the Timekeeper with a 28-pin IC socket and a reworked MK48T08B with CabriDIY’s PCB. Everything you need to know about this topic can be found in this article.
This concludes all work on the mainboard. I reassembled everything and turned my attention to the next issue.
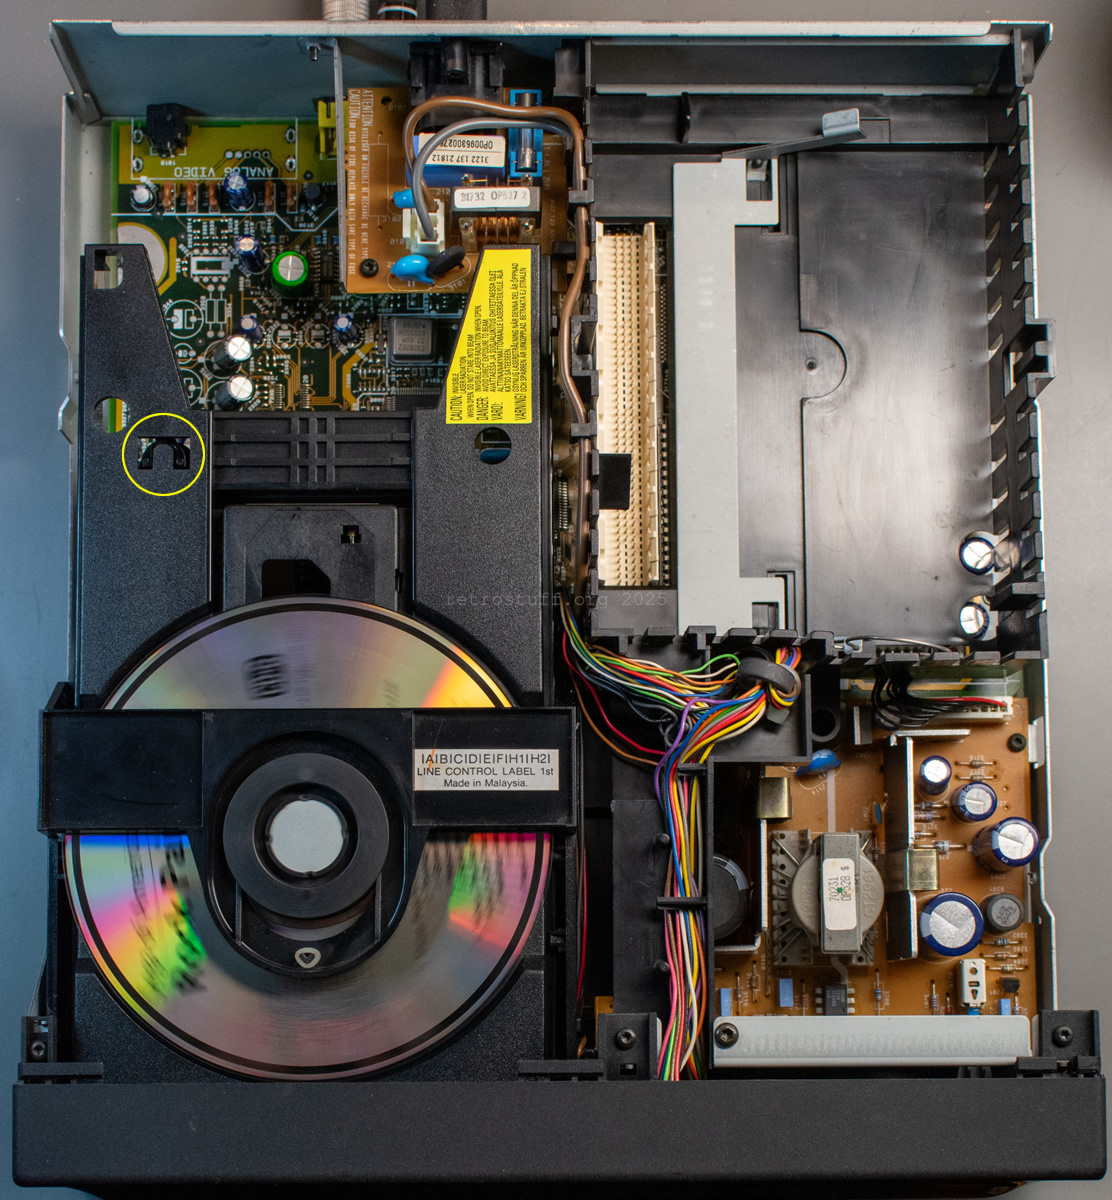
Tray loader
Since writing the article Philips CDI470 Diagnosis and Repair almost six years ago, I have handled many CD-i players with similar problems and have been able to simplify some of the repair steps. Nevertheless, it is advisable to read this article to understand the basics.
First, I unlocked the tray by pressing the plastic spring marked with an arrow (also explained here) and then removed the entire tray loader from the player. Then, I cleaned out the old grease and renewed it where needed. Especially on the spindles marked with circles, which are responsible for the screaming noise when opening the tray. I also lifted the turntable, as it was pressed down and the disc couldn’t spin anymore.
Then I ran out of time for that day and reassembled everything without thoroughly analysing the CDM. A final test in the Service Shell confirmed that the laser cannot see the disc, so there must be something wrong with the laser. It couldn’t be the height of the turntable, as this had already been adjusted.

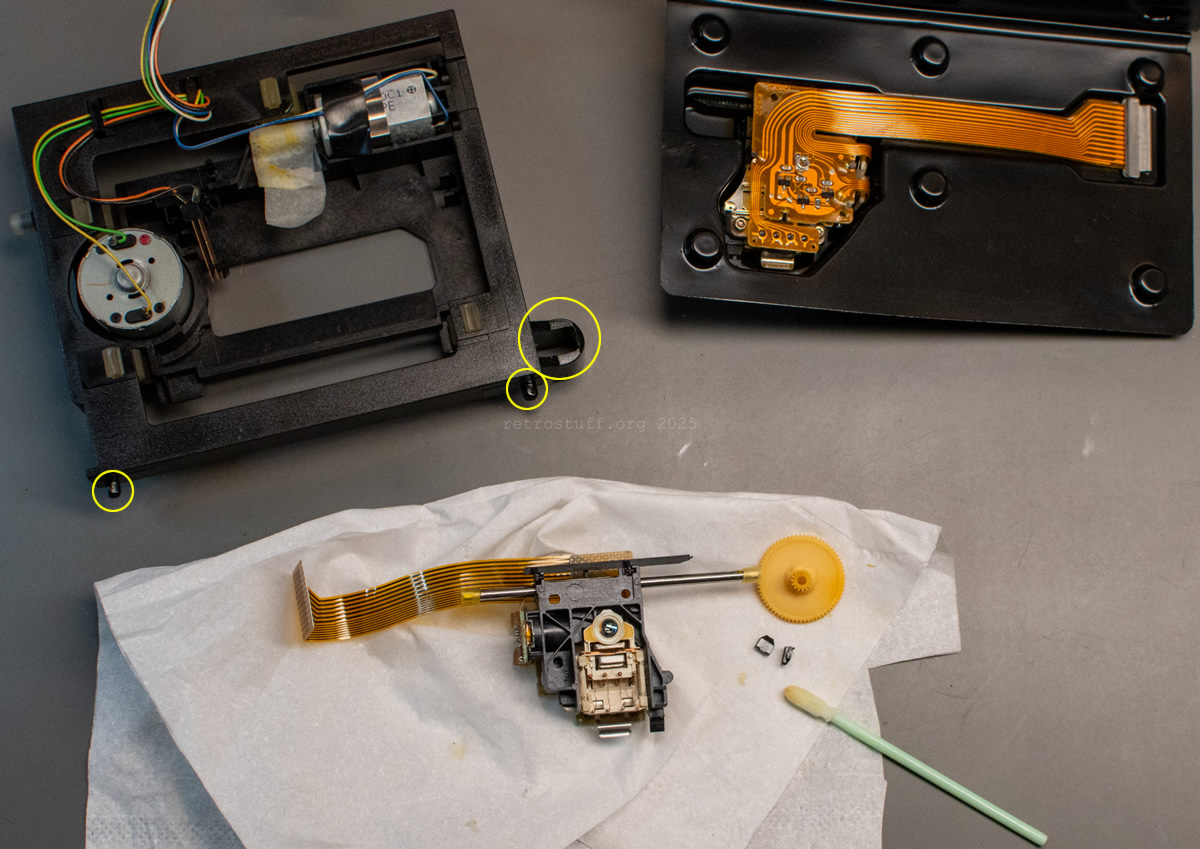
CDM
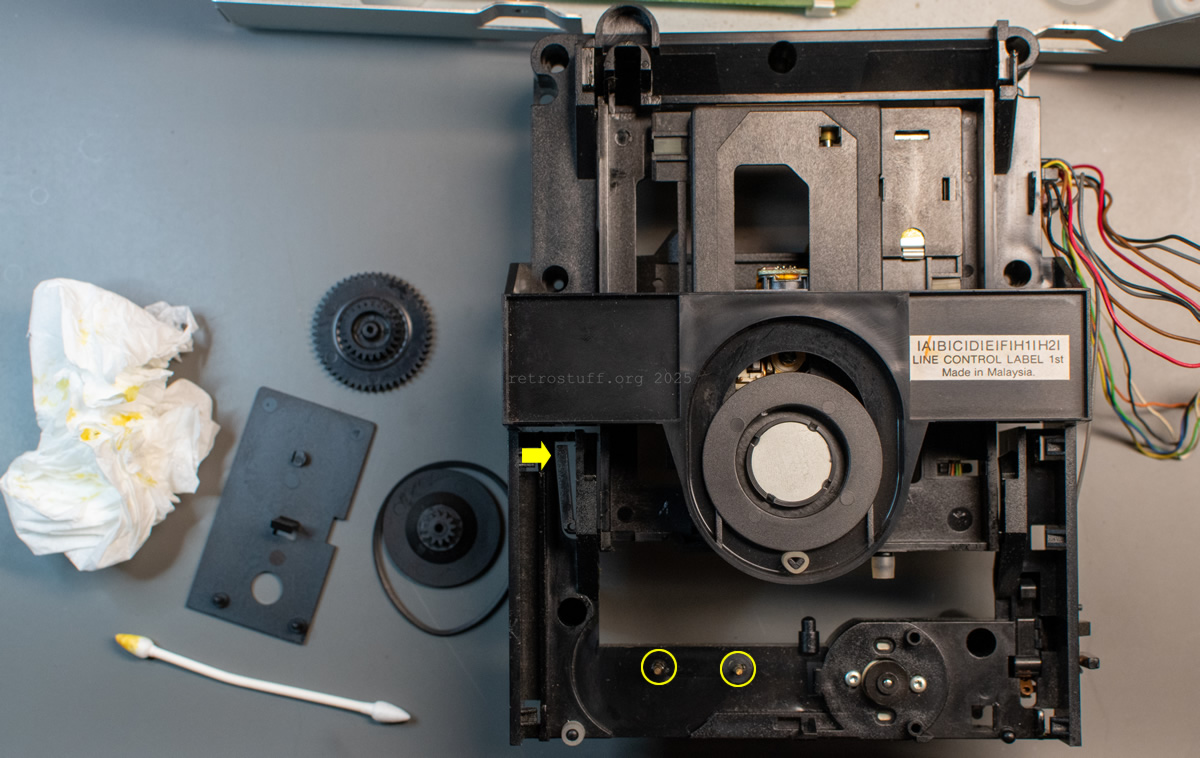
A few days later, I found time to take a closer look at the CD mechanism. It is a CDM 12.1, which is very similar to the model featured in this repair guide. I removed the tray and tray loader again, unhooked the cables and then slid out the sub-chassis. Even though previous repair guides recommend removing the four suspensions (see also Motor repair), this is not actually necessary if you know how to access the CDM.
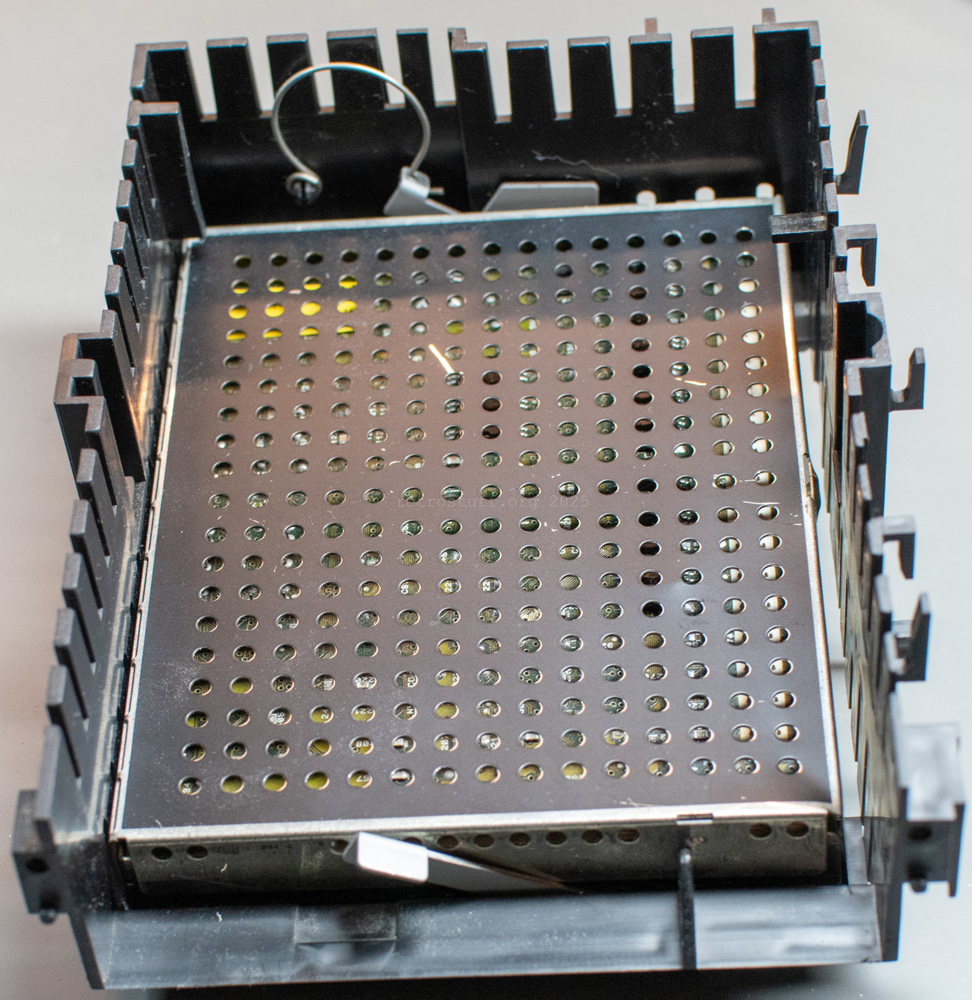
Next is a photo of the sub-chassis with the CDM and laser sledge removed. The worm gear of the sledge motor is wrapped in an IPA-soaked wipe to remove the old grease. Note the plastic pins marked with small circles (there are two more on the opposite side): these must also be cleaned and regreased after cleaning the CDM. The large circle marks an important area: this is where the tray pushes against the sub-chassis to lift it when the tray is almost closed. This area must also be cleaned and greased, otherwise the tray will get stuck later and cannot close properly on its own.
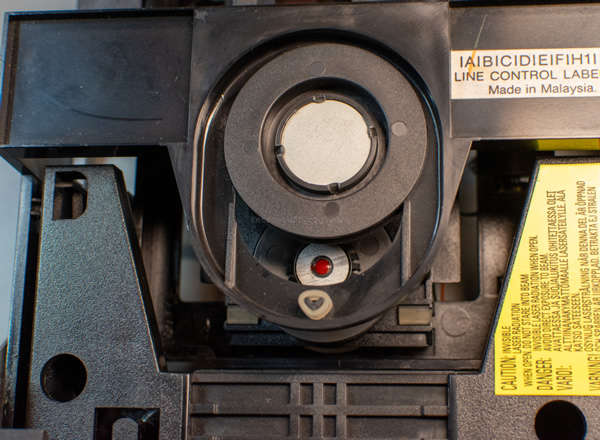
After cleaning everything, I installed a new laser sledge, greased it and reassembled the CDM. As a final test, I held the sub-chassis in my hand and started the Service Shell again. This time, it recognised the disc and performed all subsequent steps without error.

Then I reassembled the tray loader and checked the height of the turntable one last time. As a finishing touch, I put a drop of UV lacquer on the spindle.
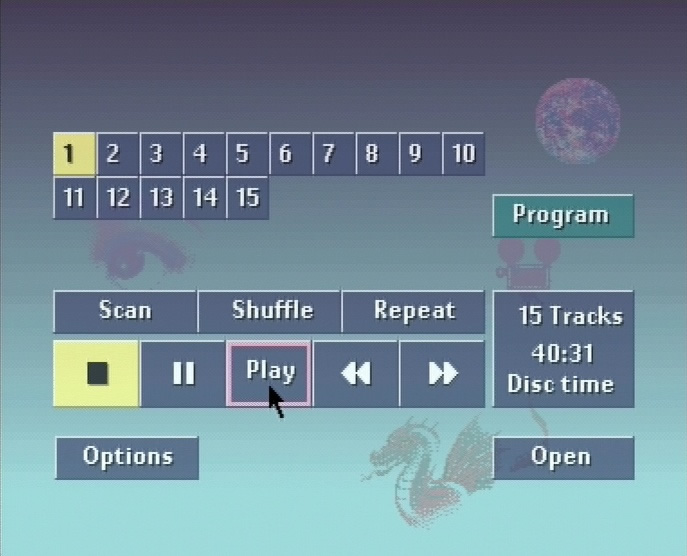
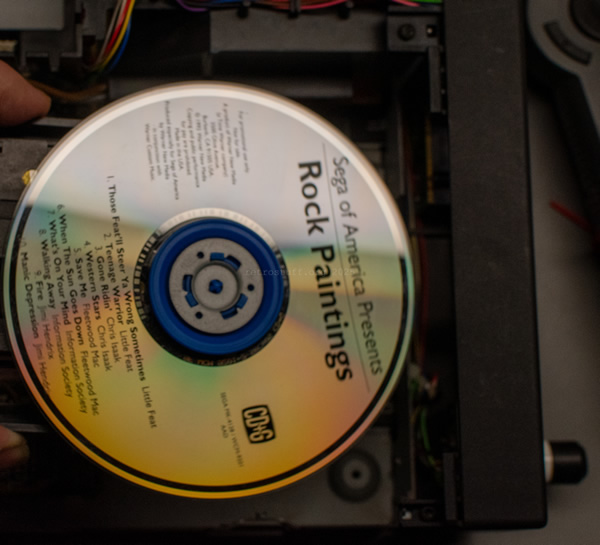
Final test
After that, all that remained was to perform a final test. CD+G discs are ideal for this, as you can not only hear errors, but also see them if data from the subchannels cannot be read correctly. I usually play a disc on repeat in shuffle mode for a while.
In the photo, I have also marked the point where the tray and the sub-chassis touch.
This concludes the article Grundig CDI 110E Information and Repair.