
This modification adds switchless NESRGB and IGR (in-game routines / in-game reset) to a Nintendo AV Famicom.
A first look at the opened AV Famicom and the NESRGB kit. There is still a lot to be assembled. The installation guide for the AV Famicom can be found here.
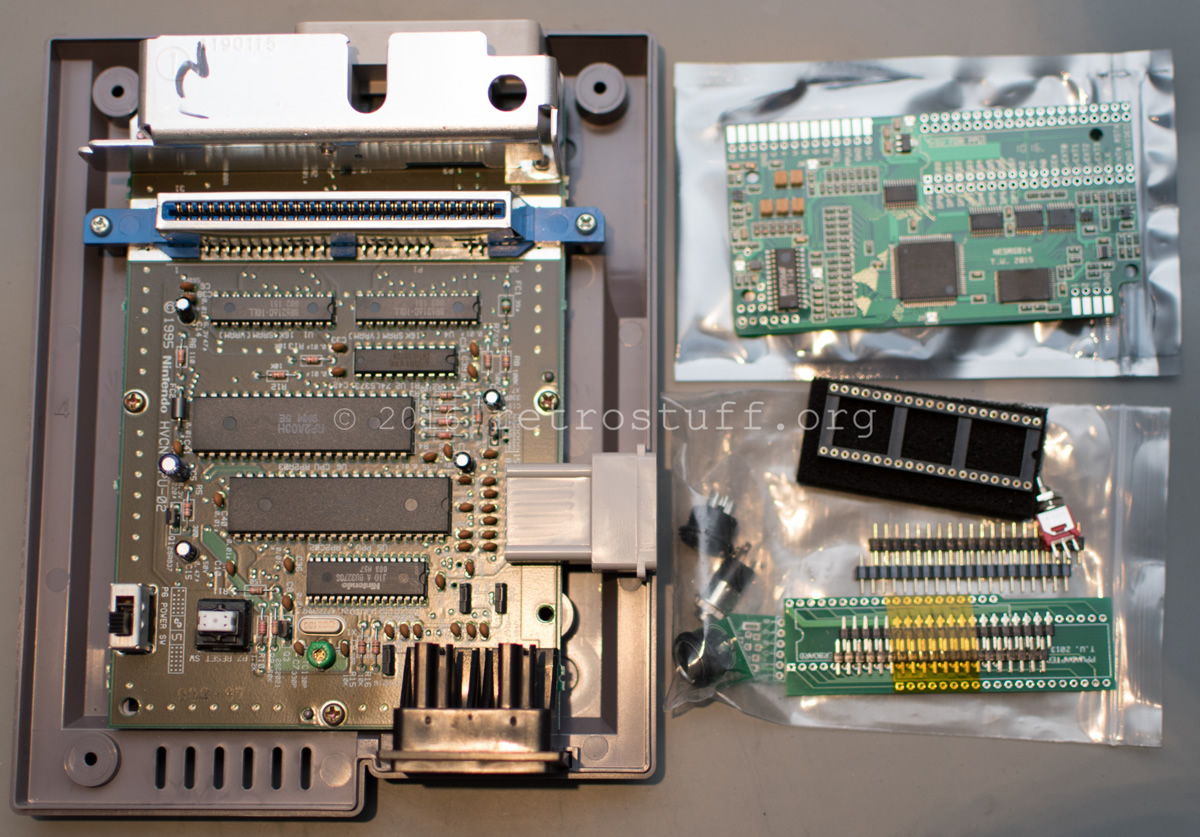
The desoldered PPU – this is a difficult part as some of the pins are soldered on both sides. Even with a soldering gun it takes quite a while. Also note capacitor C5 that will be in the way of the NESRGB – better replace it with a new one that has longer legs.

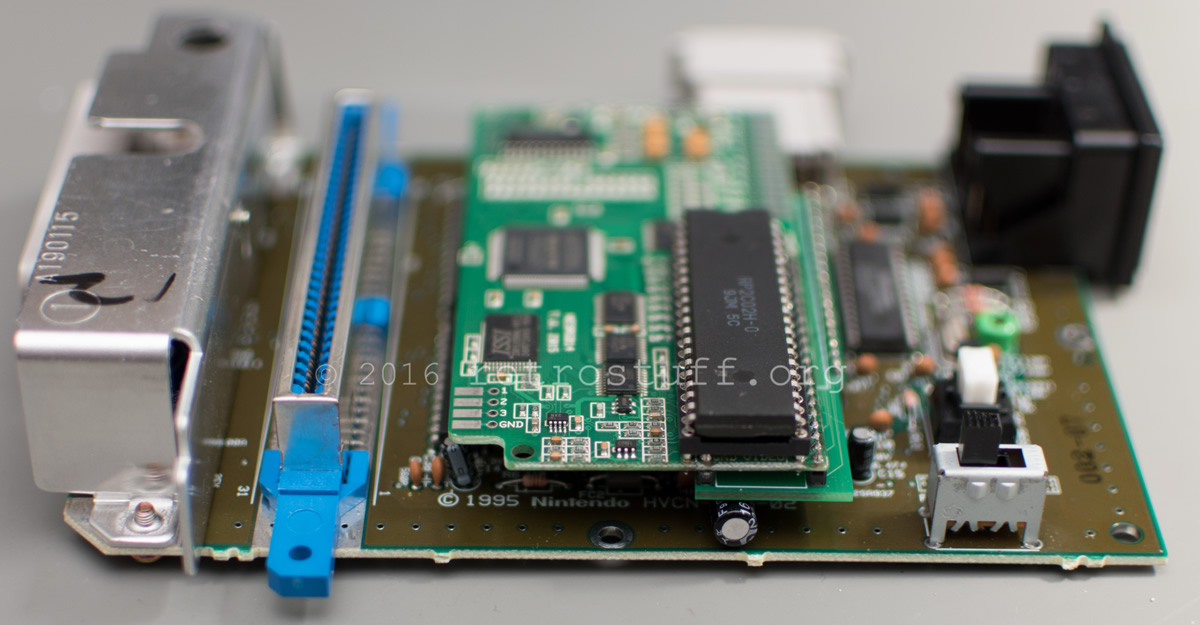
The fully assembled NESRGB kit, ready to be plugged into the new socket.
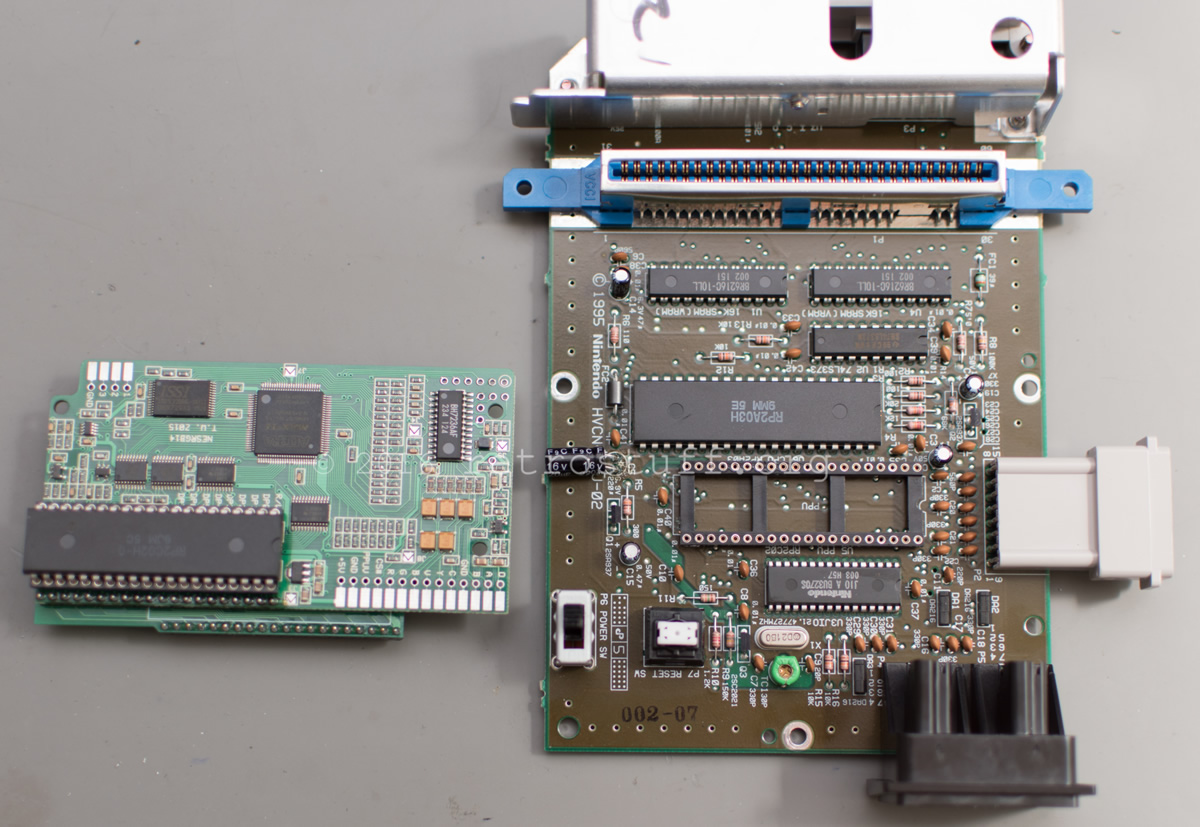

The capacitor C5 is now lying under the NESRGB.
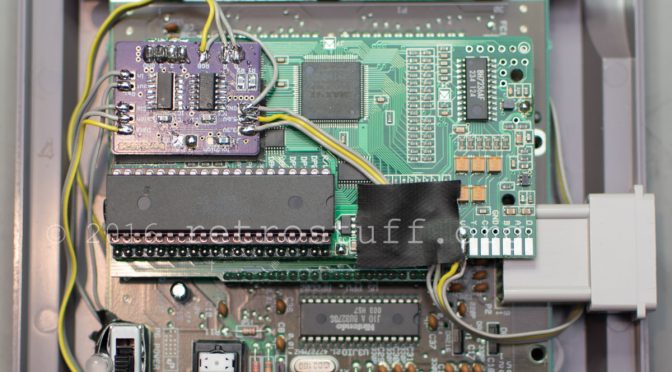
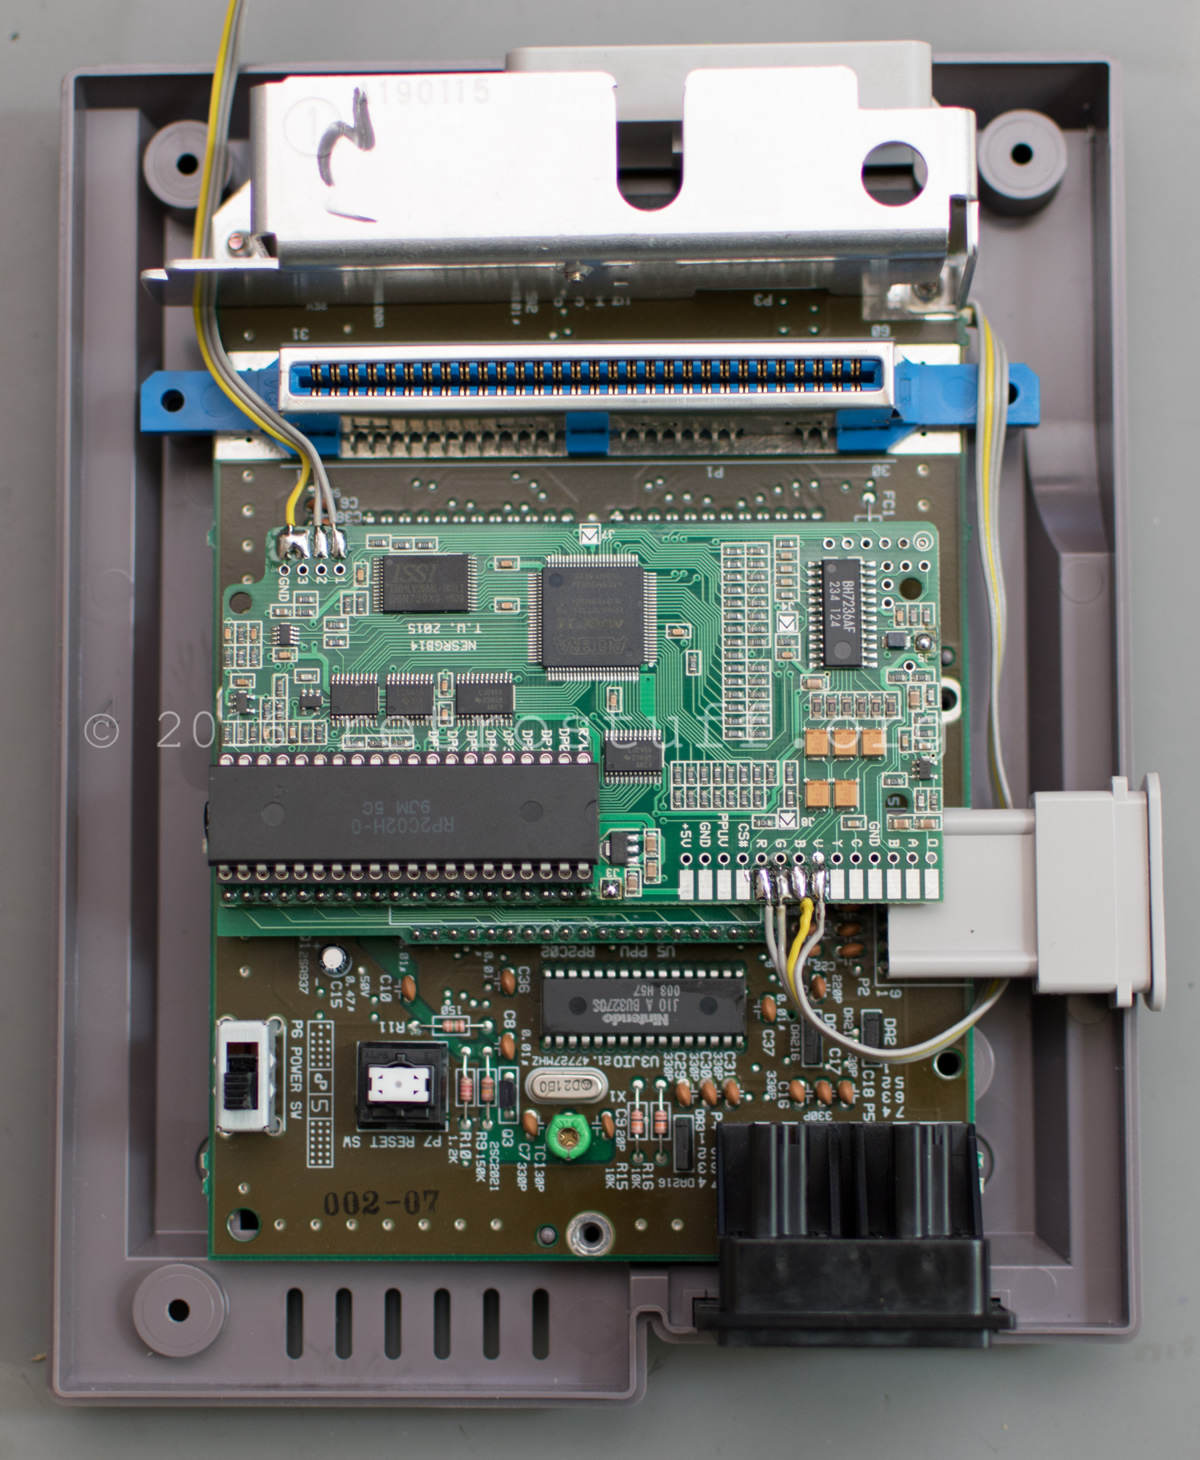
Add wires to the palette switch and to the MultiAV port.
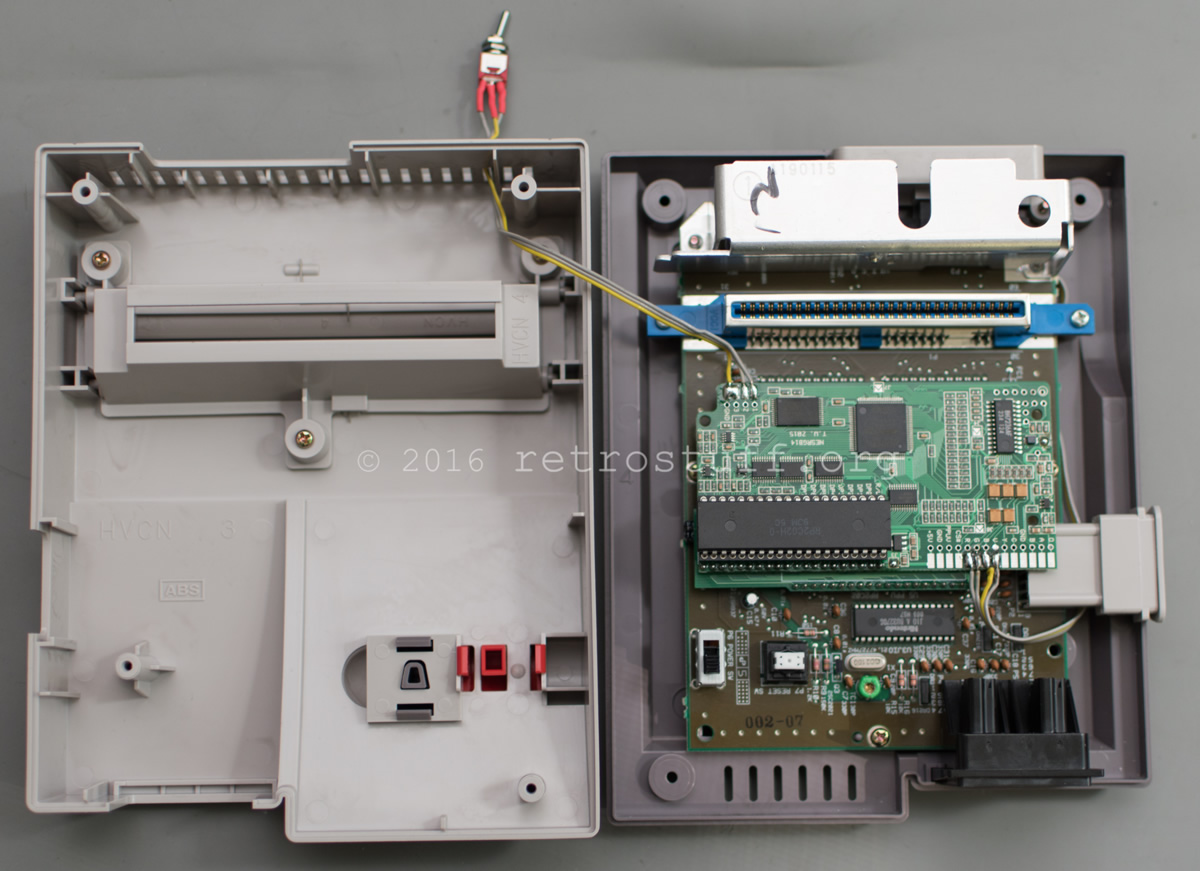
The first step of the modification is done: The palette can be selected with an external switch.
NES IGR for NESRGB
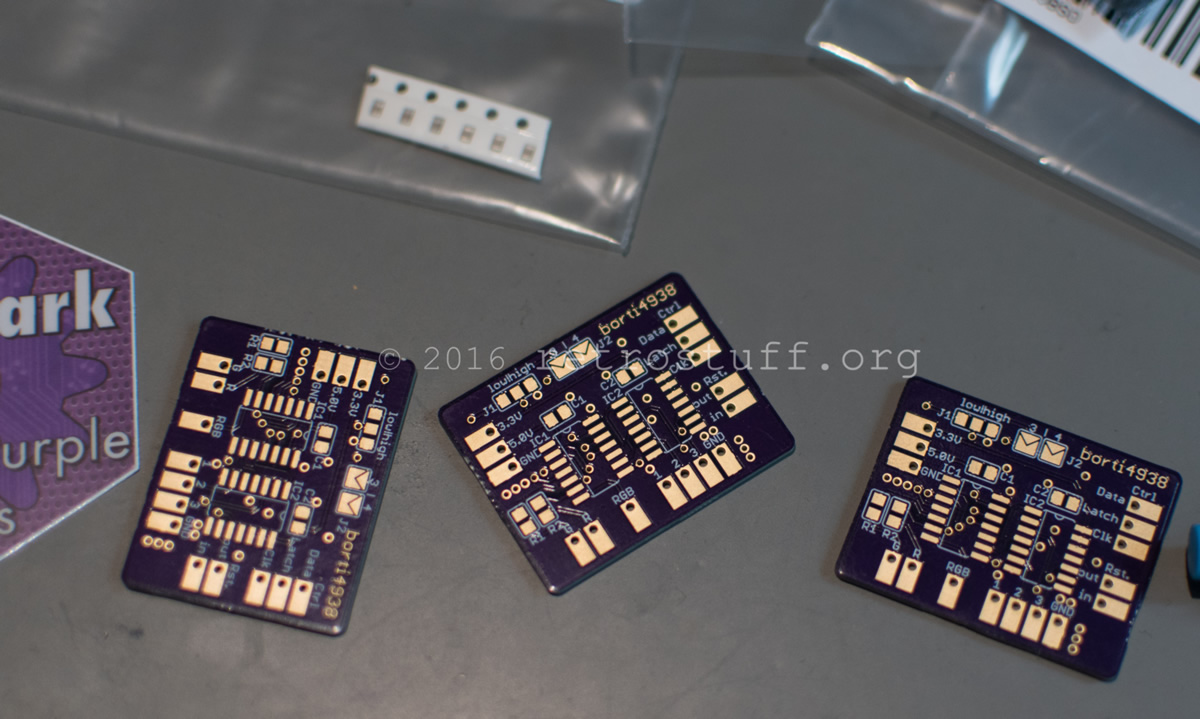
For the switchless part we’ll need a daughter board: The NESRGB-IGR (or NES IGR for NESRGB) by borti4938. The repository was removed in the meantime, but parts of it can still be accessed via Wayback Machine.
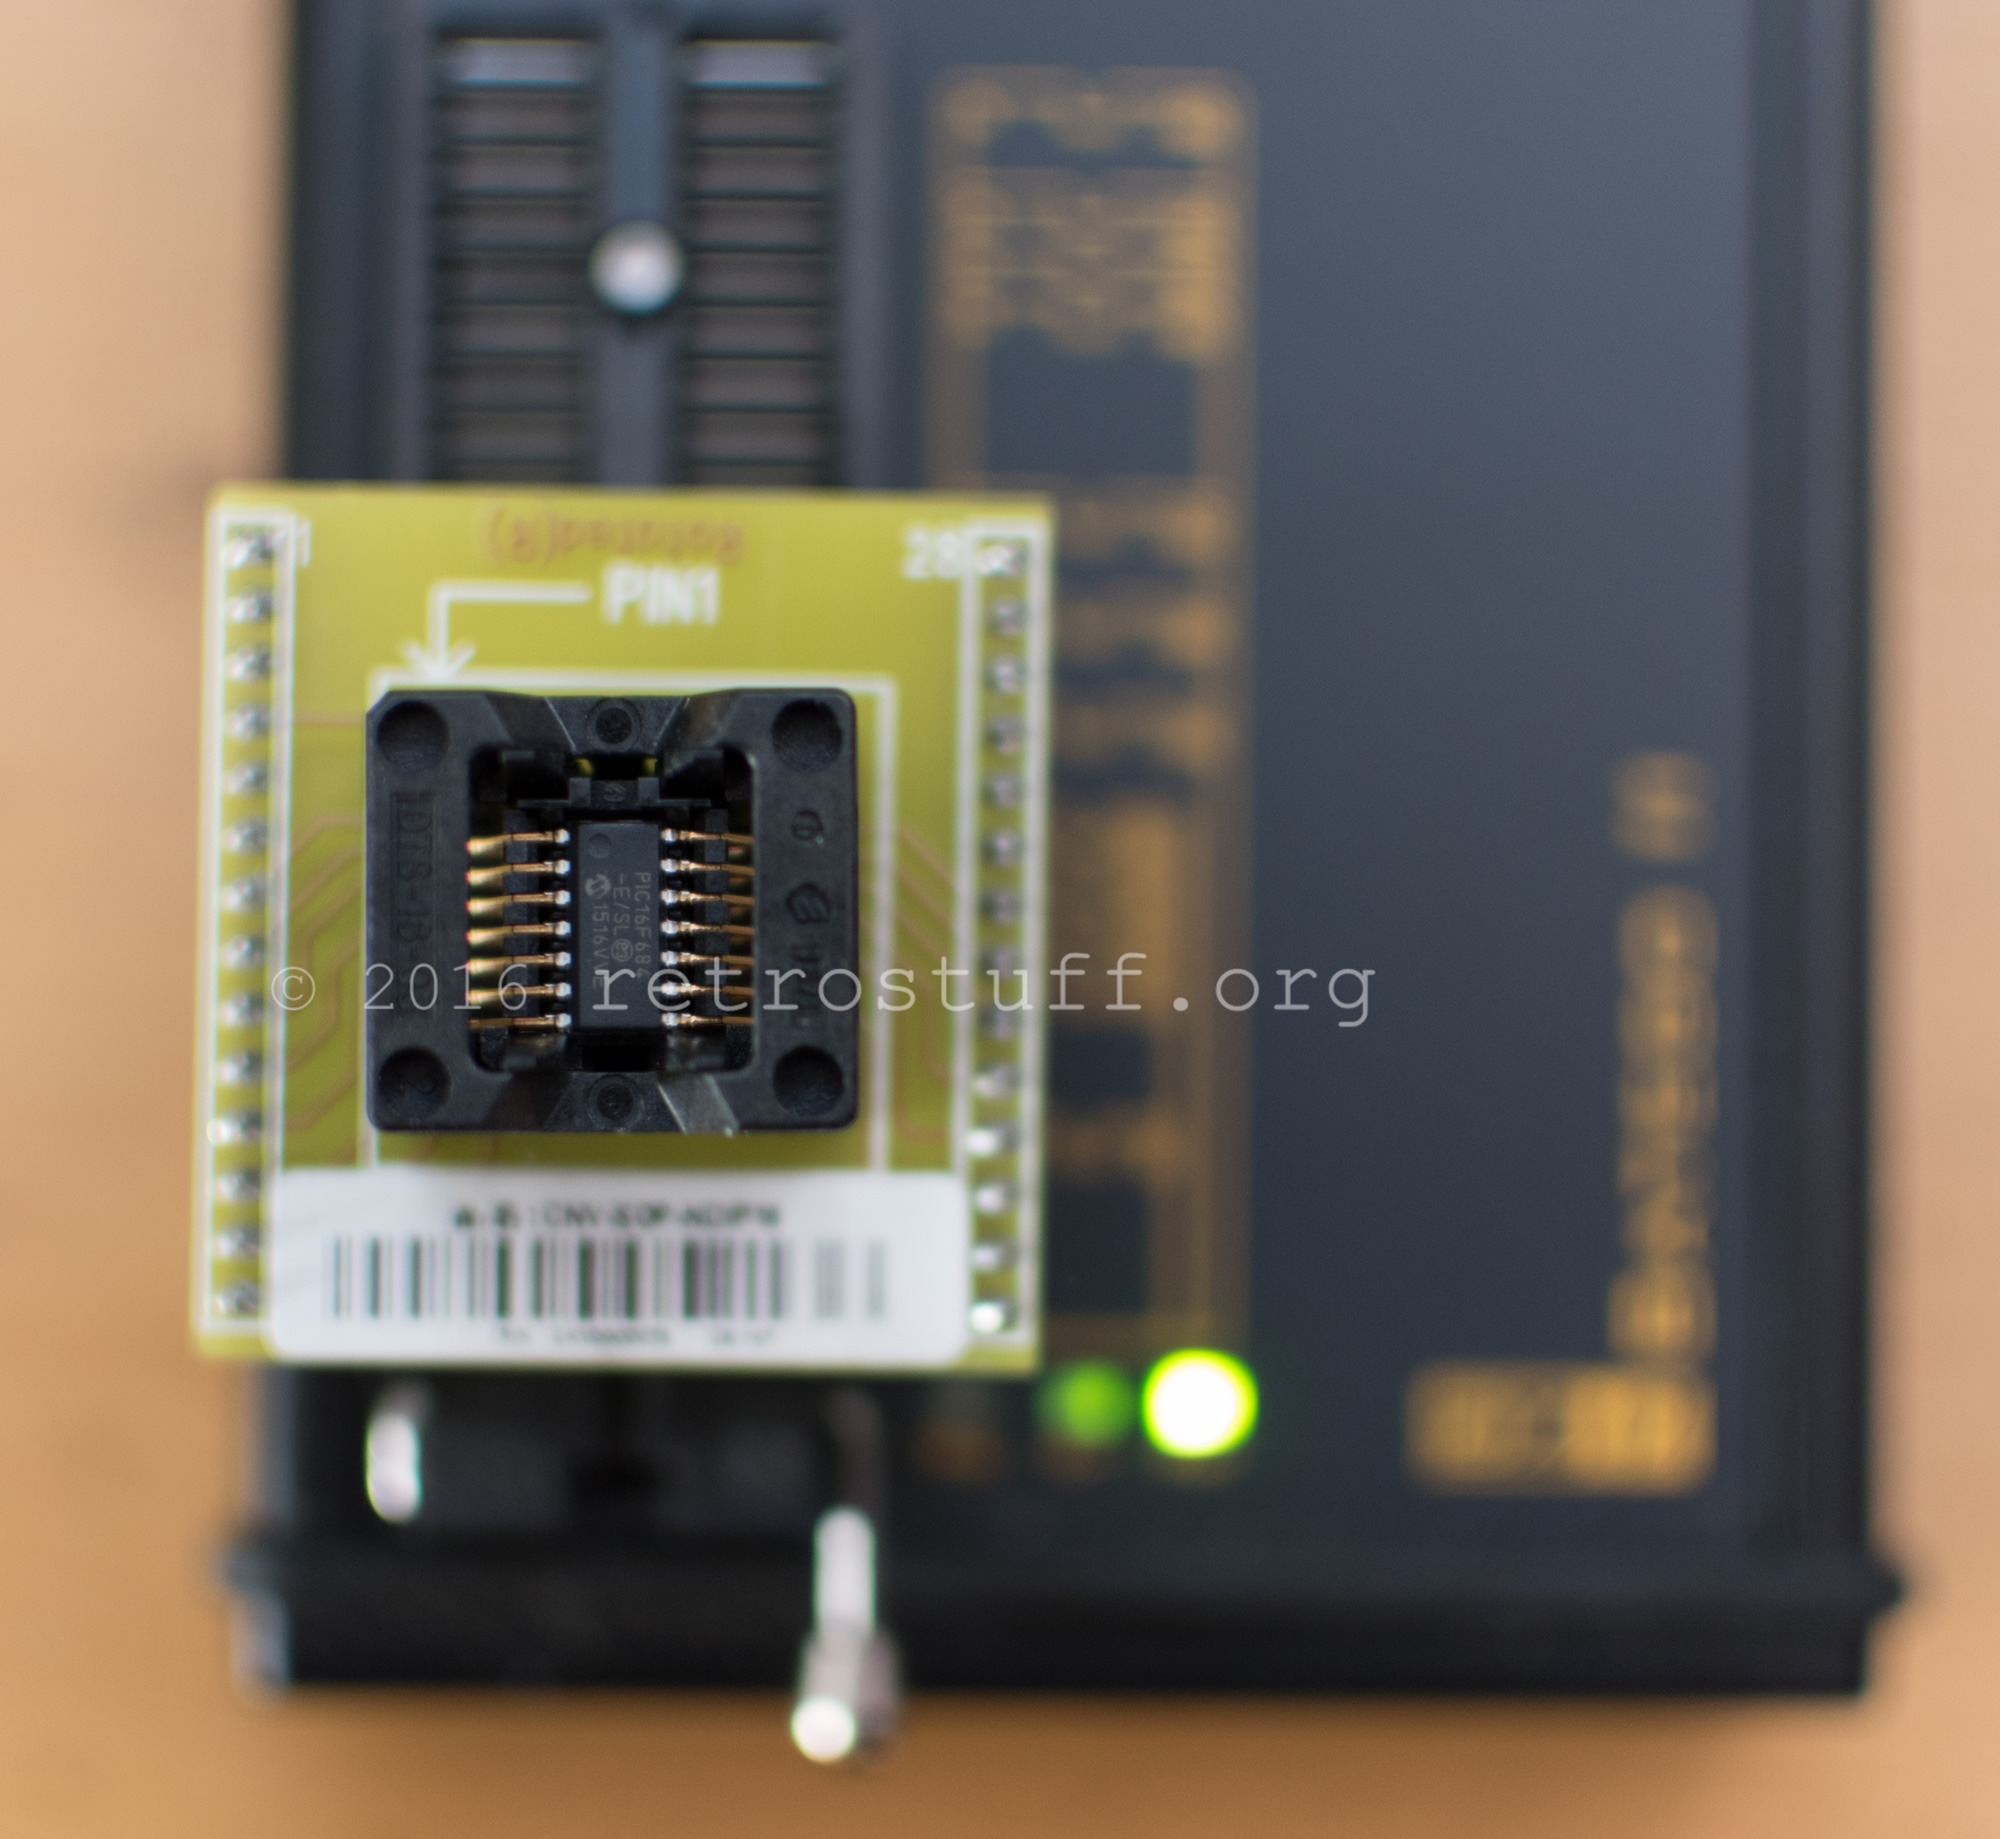
The firmware for the PIC can be found in a copy of the repository that is luckily still online. I went for the nesrgb_igr_684_var_led.hex variant because I wasn’t sure if I wanted to use a LED with common anode or common cathode.
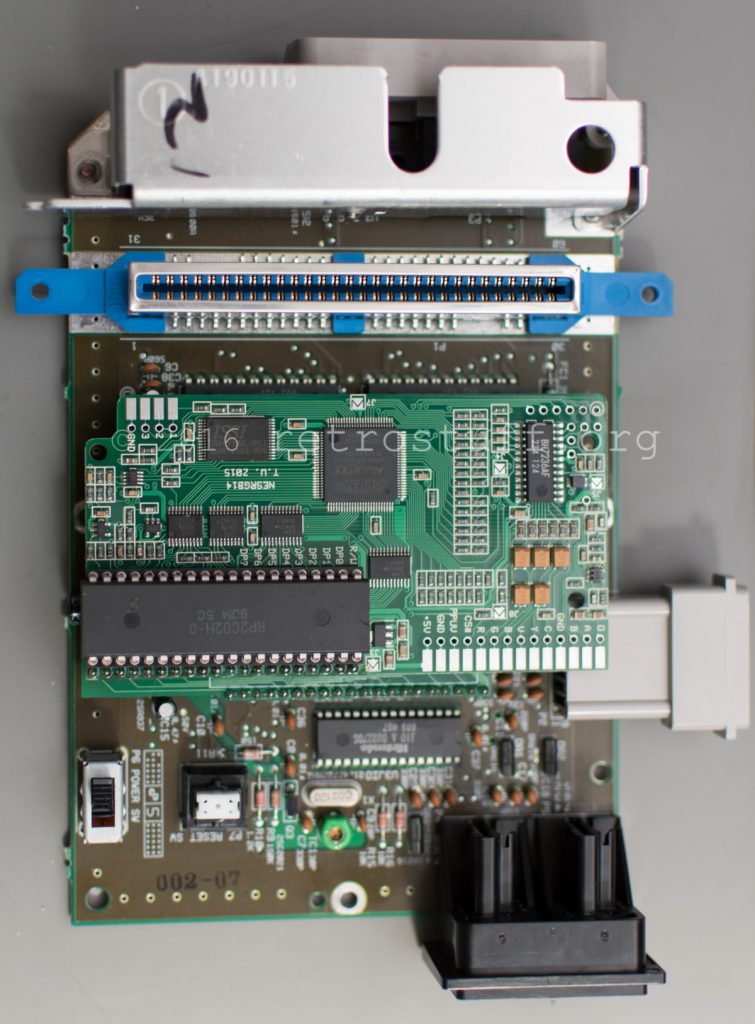
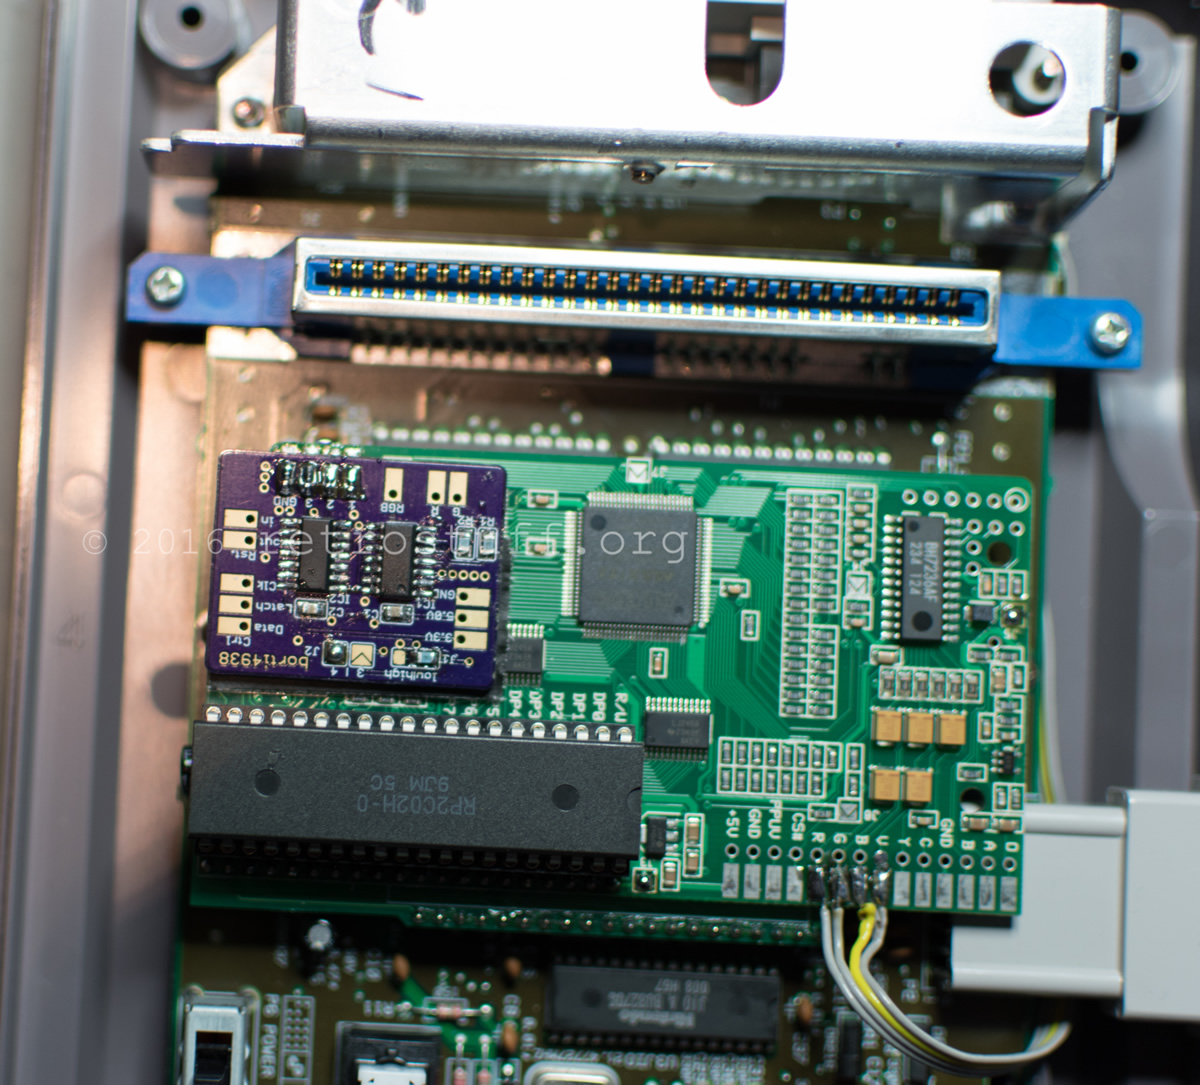
The daughter board can be attached directly to the NESRGB using a pin header.
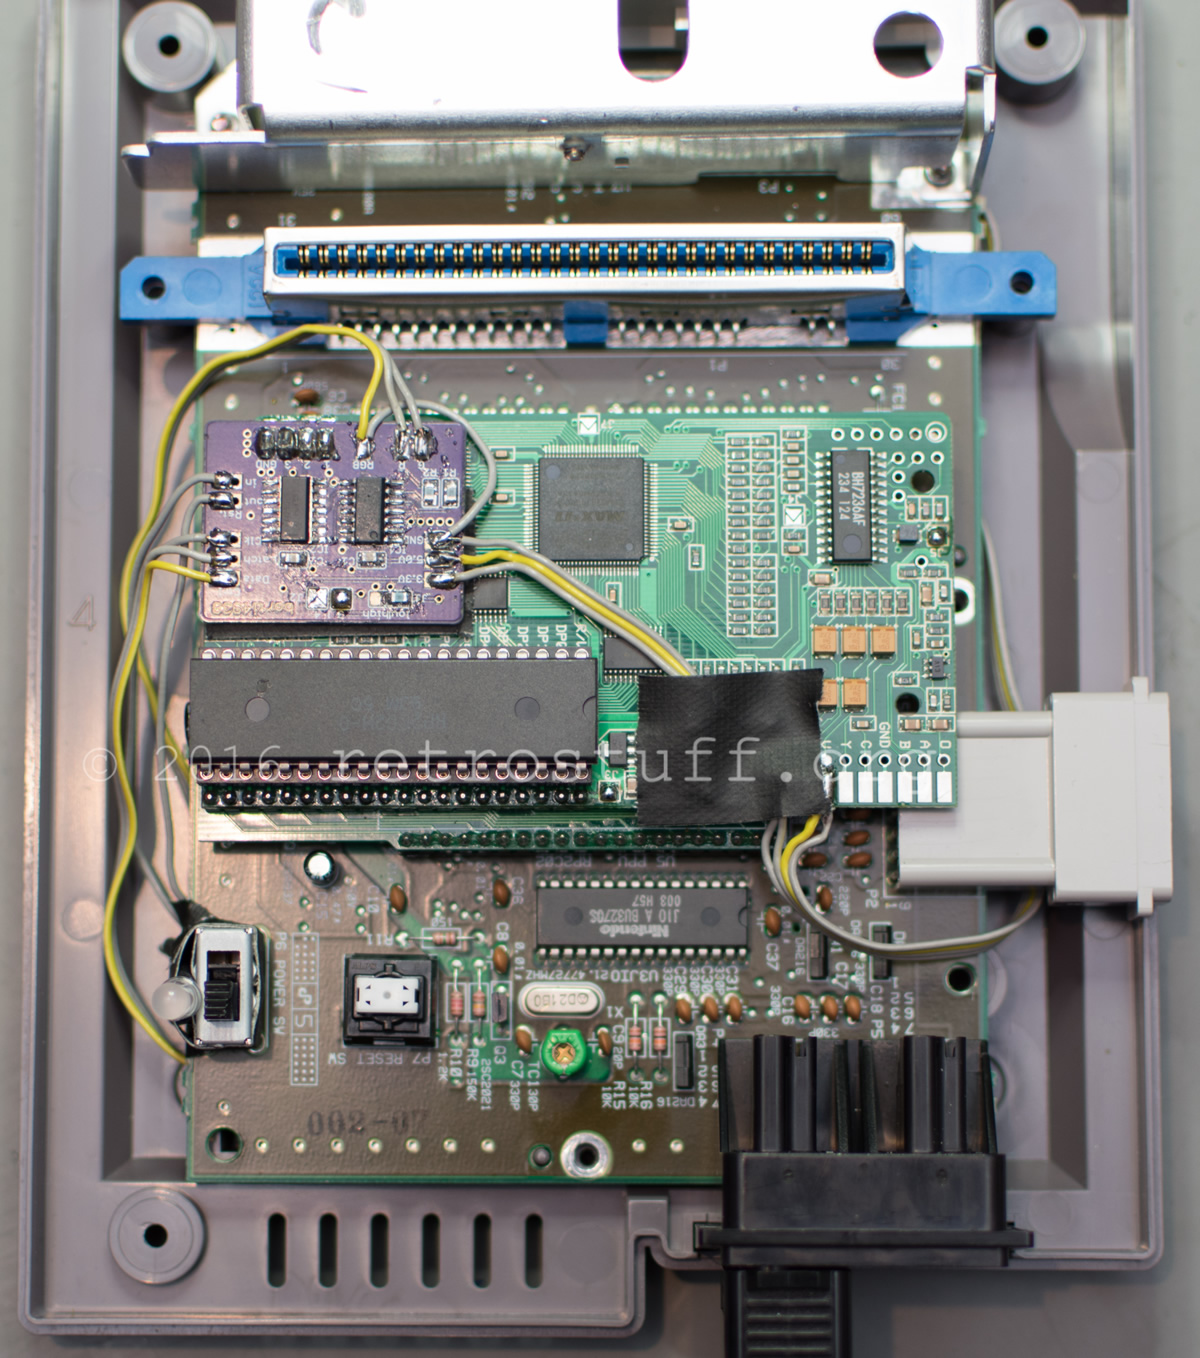
A few more wires to intercept the reset and controller signals.


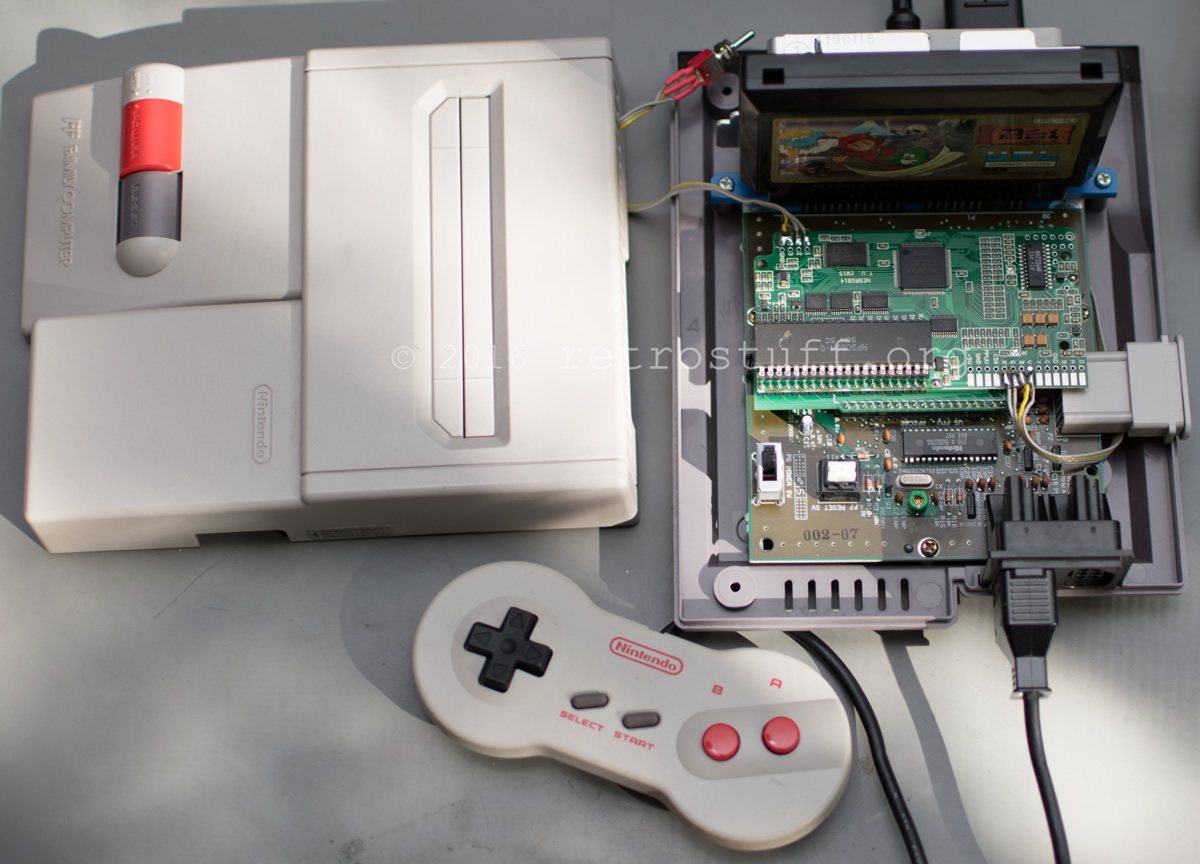
Final test:

You can place the LED next to the power switch. When the casing is closed, you will see a dim glow through the switch.
One thought on “Switchless NESRGB for AV Famicom”