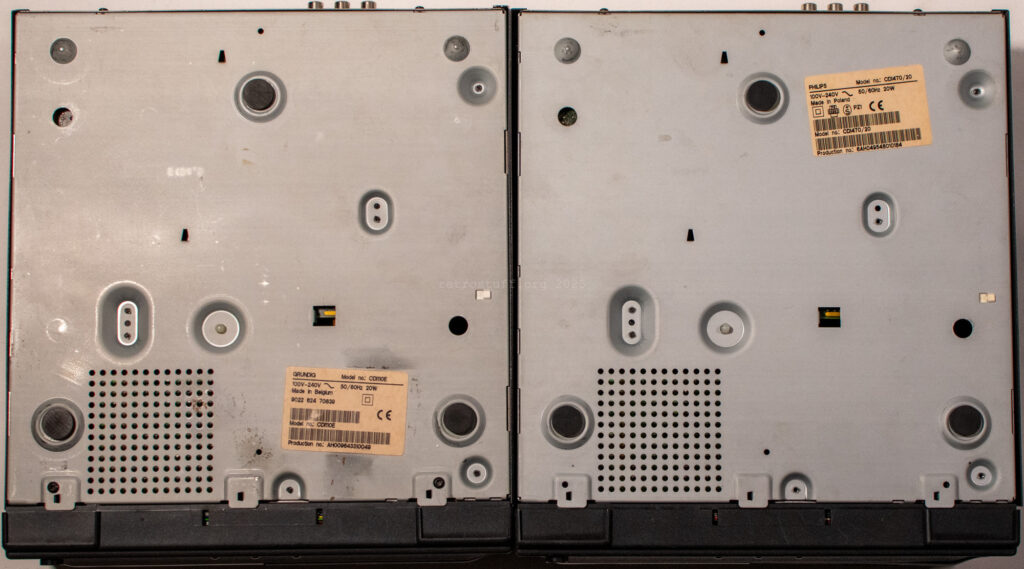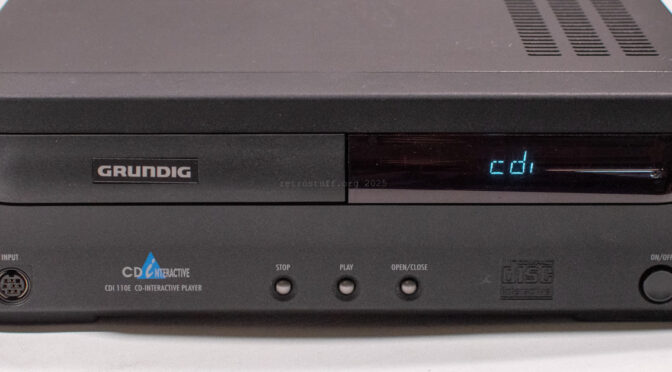
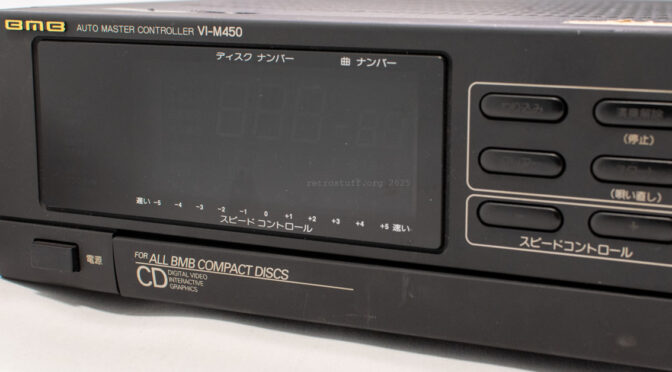
Master controller for Nikkodo / BMB CD karaoke systems. Like the BMB CDI-M1500 master controllers, it is similar to the Philips CDI 181 MultiMedia Controller (JNMS). The mainboards of these units were made by Kyocera. They all lack optical disc drives and require additional units (e.g. CDI 180 for JNMS and CDI-A1500 for BMB).
So far, four different hardware generations have been found, and there may be more. The hardware has evolved from being very similar to JNMS to something that hasn’t been seen in other CD-i players. This fourth generation moves away from Philips/Kyocera mainboards even more: Some components of the analogue video section have been moved to a separate PCB, and a Gate Array DVC (GMPEG) chipset has been added to the mainboard.
I use the first character of the CDI-M1500 serial numbers to identify different mainboards/generations. For the VI-M450, only one generation is currently known.
Continue reading Nikkodo / BMB Auto Master Controller VI-M450 →
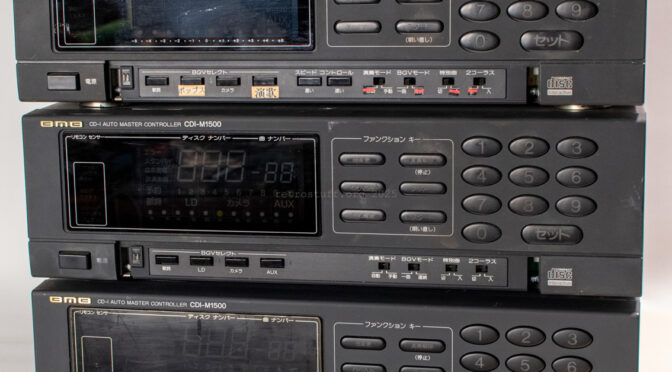
Master controller for Nikkodo / BMB CD-i karaoke systems. They are similar to the Philips CDI 181 MultiMedia Controller (JNMS). The mainboards of these units were made by Kyocera. They all lack optical disc drives and require additional units (e.g. CDI 180 for JNMS and CDI-A1500 for BMB).
So far, three different hardware generations have been found, and there may be more. The hardware has evolved from being very similar to JNMS to something that hasn’t been seen in other CD-i players. To identify different mainboards/generations, I use the first character of the serial number:
Be sure to visit all of these pages, as the units are quite different and various amounts of work have been carried out on them.
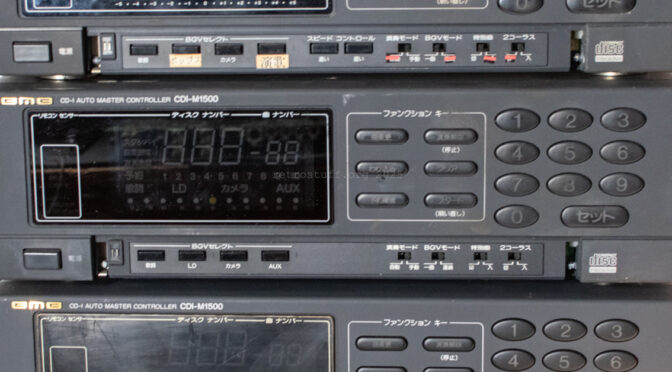
Master controller for Nikkodo / BMB CD-i karaoke systems. It is similar to the Philips CDI 181 MultiMedia Controller (JNMS). The mainboards of these units were made by Kyocera. They all lack optical disc drives and require additional units (e.g. CDI 180 for JNMS and CDI-A1500 for BMB).
So far, four different hardware generations have been found, and there may be more. The hardware has evolved from being very similar to JNMS to something that hasn’t been seen in other CD-i players. To identify different CDI-M1500 mainboards/generations, I use the first character of the serial number:
Continue reading Nikkodo / BMB CD-I Auto Master Controller CDI-M1500 (L) →
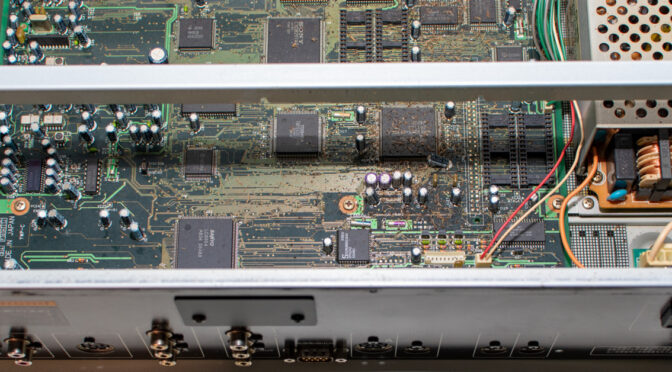
Master controller for Nikkodo / BMB CD-i karaoke systems. It is similar to the Philips CDI 181 MultiMedia Controller (JNMS). The mainboards of these units were made by Kyocera. They all lack optical disc drives and require additional units (e.g. CDI 180 for JNMS and CDI-A1500 for BMB).
So far, four different hardware generations have been found, and there may be more. The hardware has evolved from being very similar to JNMS to something that hasn’t been seen in other CD-i players. To identify different CDI-M1500 mainboards/generations, I use the first character of the serial number:
Continue reading Nikkodo / BMB CD-I Auto Master Controller CDI-M1500 (V) →
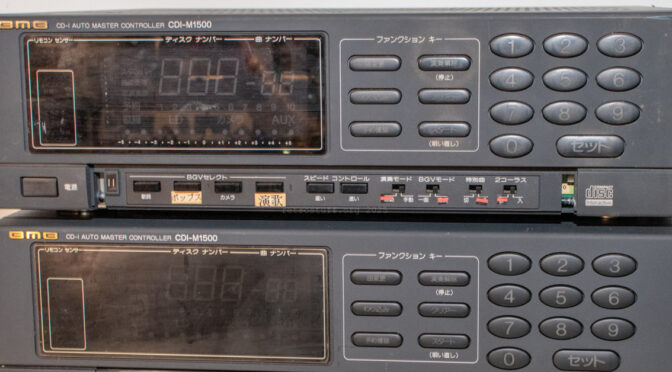
Master controller for Nikkodo / BMB CD-i karaoke systems. It is similar to the Philips CDI 181 MultiMedia Controller (JNMS). The mainboards of these units were made by Kyocera. They all lack optical disc drives and require additional units (e.g. CDI 180 for JNMS and CDI-A1500 for BMB).
So far, four different hardware generations have been found, and there may be more. The hardware has evolved from being very similar to JNMS to something that hasn’t been seen in other CD-i players. To identify different CDI-M1500 mainboards/generations, I use the first character of the serial number:
Continue reading Nikkodo / BMB CD-I Auto Master Controller CDI-M1500 (A) →
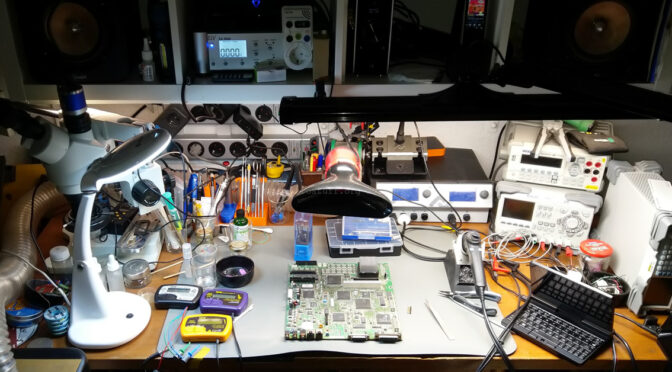
As it took longer and longer to finish my articles due to too many projects, I have now decided to introduce the WIP Pages. These pages contain photos of the disassembly and all the information I have found out so far about a particular device or project. For example, components, markings and pinouts.
The first WIP Page is about the Philips CDI 370 portable CD-i player. More will follow soon.
In addition, the structure of the main menu has not been revised for 13 years. To make it easier to find certain static pages and information without having to use the search or tag cloud, the first menu is now called Information. In this menu you will find
More static pages and menu items will follow.
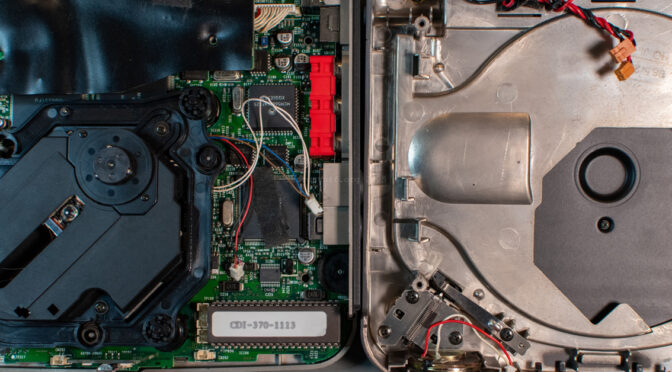
Defects: Partially dismantled, screws missing, power supply missing. Unit has been used for parts to repair another unit. Display does not work.
Continue reading Philips CDI 370 Portable CD-i Player →

WIP pages with disassembly and detail photos, and all the information I have found so far about a particular unit or project. For example components, markings and pinouts. Basically all the work I have done over the years that has not been published in a proper article due to lack of time.
These pages will stay here for as long as it takes and then, who knows, maybe I’ll make progress and they’ll become proper articles one day.
If you can’t find what you’re looking on this page, make sure to also check these pages / posts:
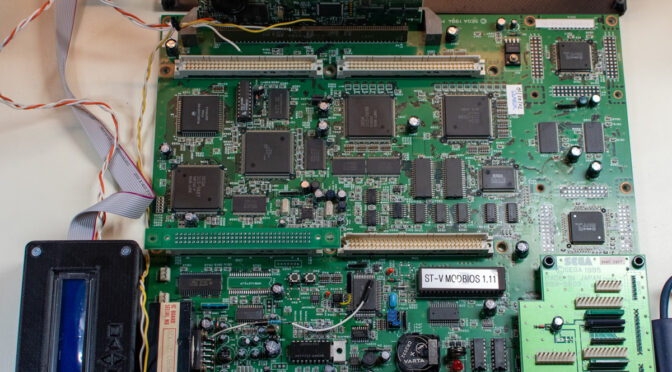
I bought a Sega Titan Video (ST-V) mainboard and a Darksoft multi-cart along with a CPS2 in 2018 for use at home. I’ve rarely used it, and everything I’ve done with it hasn’t been documented here. This is about to change as it seems I have opened Pandora’s box after testing a SuperGun with it.
Introduction
The Sega Titan Video, more commonly known as Sega ST-V or STV is an arcade system based on the Sega Saturn. Not only based on, but actually having the same specifications, which makes it a low-cost arcade system (Nicole Express commented on this here). A lot of information about this system can be found in the usual places, such as Sega Retro, System 16, Arcade Otaku Wiki and most importantly the Arcade-Project Forums which turned out to be an invaluable source over the years to get this thing running. You will find many links to threads of this forum in this article.
Continue reading Sega Titan Video (ST-V) at Home →


