
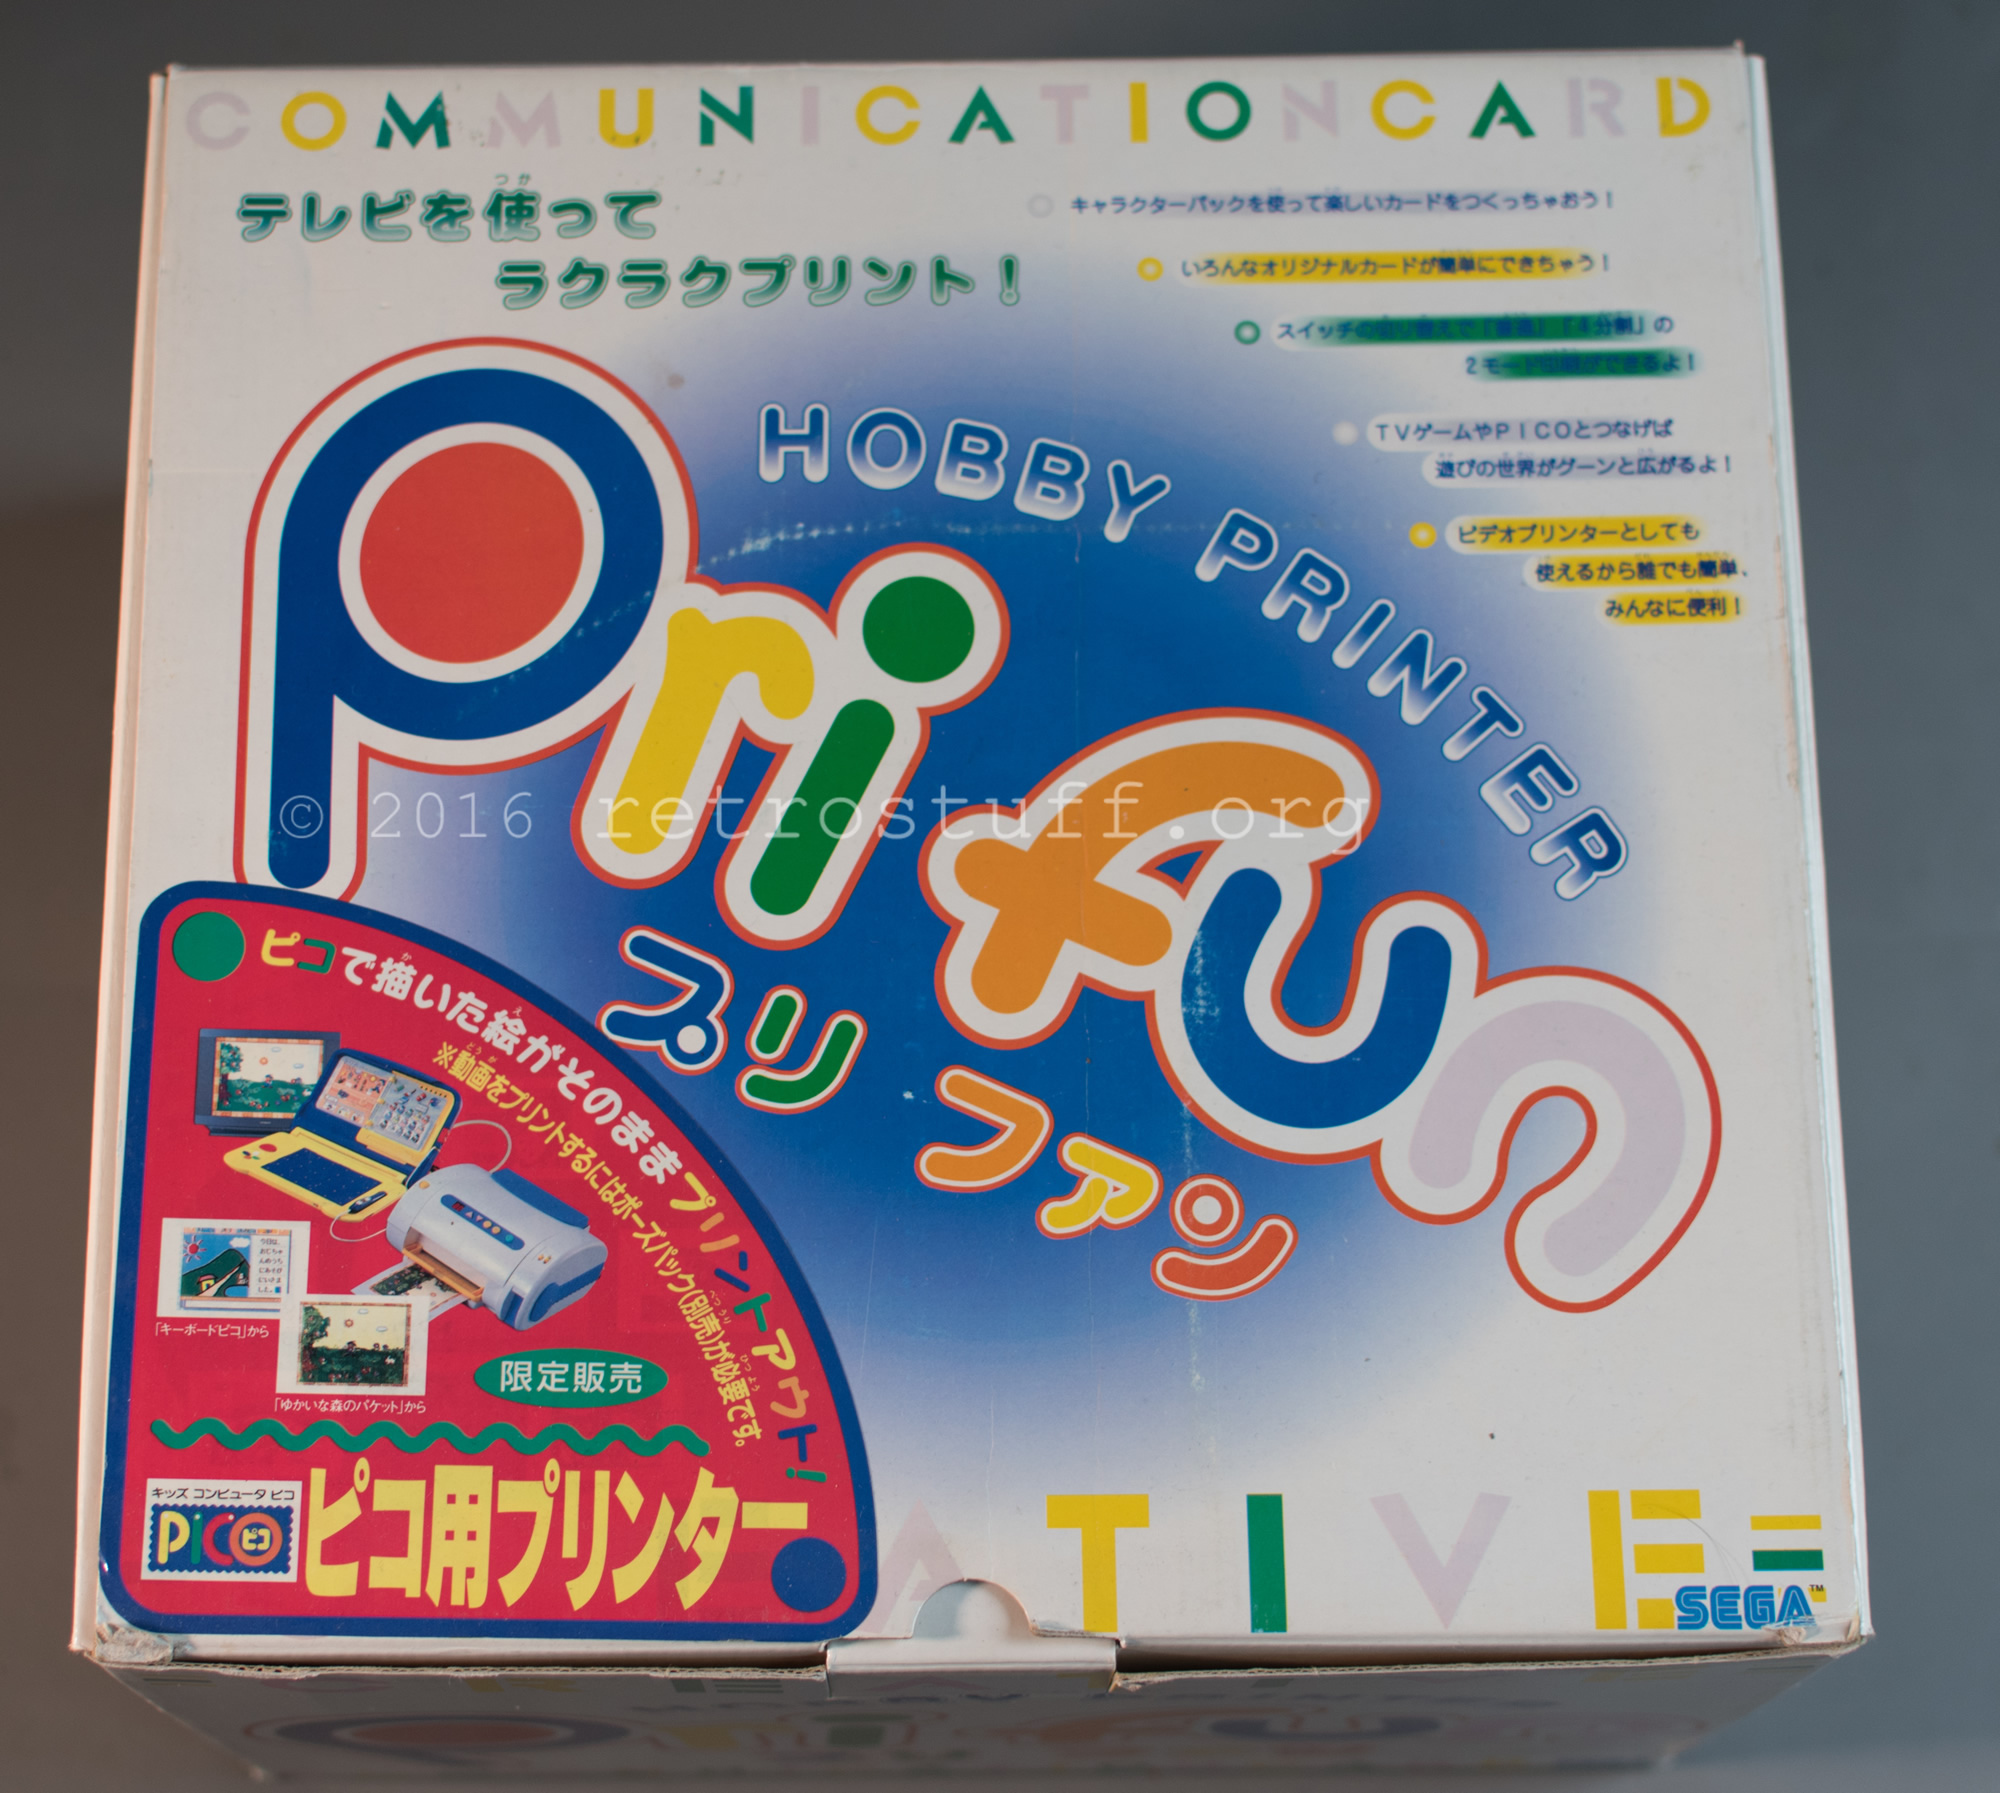
Today, I’m finally testing the Sega Pri Fun printer that I bought 4-5 years ago. Back then, it was still sealed.
The printer was marketed by Sega in 1995 as an add-on for the Pico and Saturn game consoles. You won’t find much information about it on the WWW except a small article at Sega Retro and a commercial on YouTube.
Contents
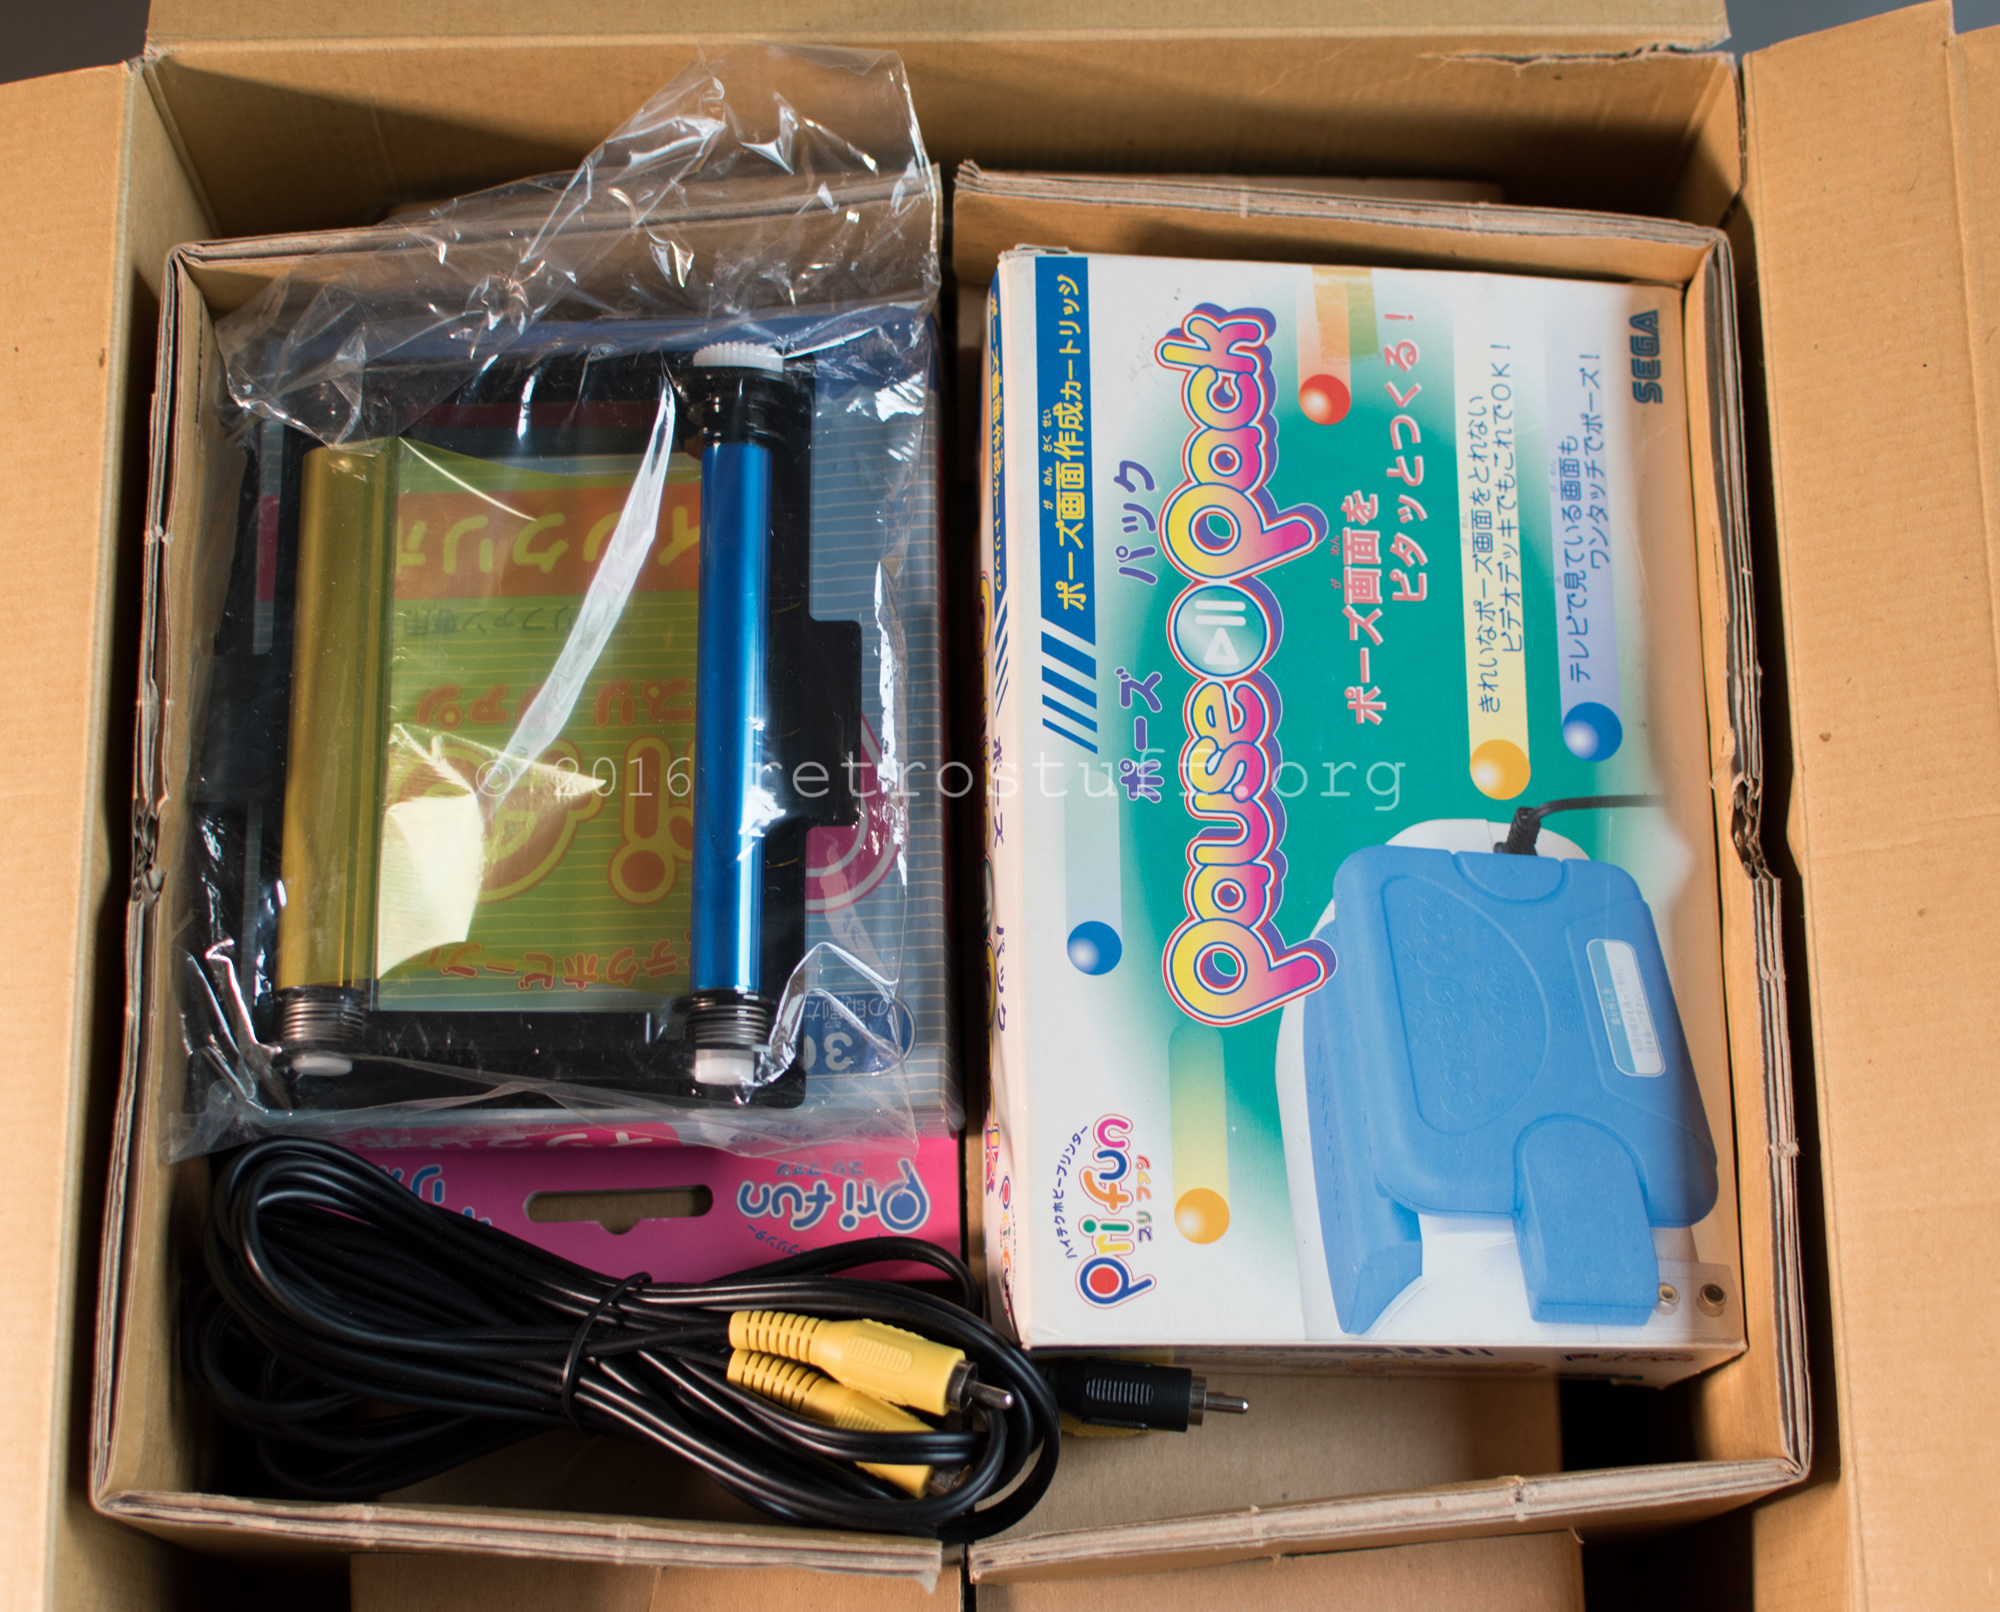
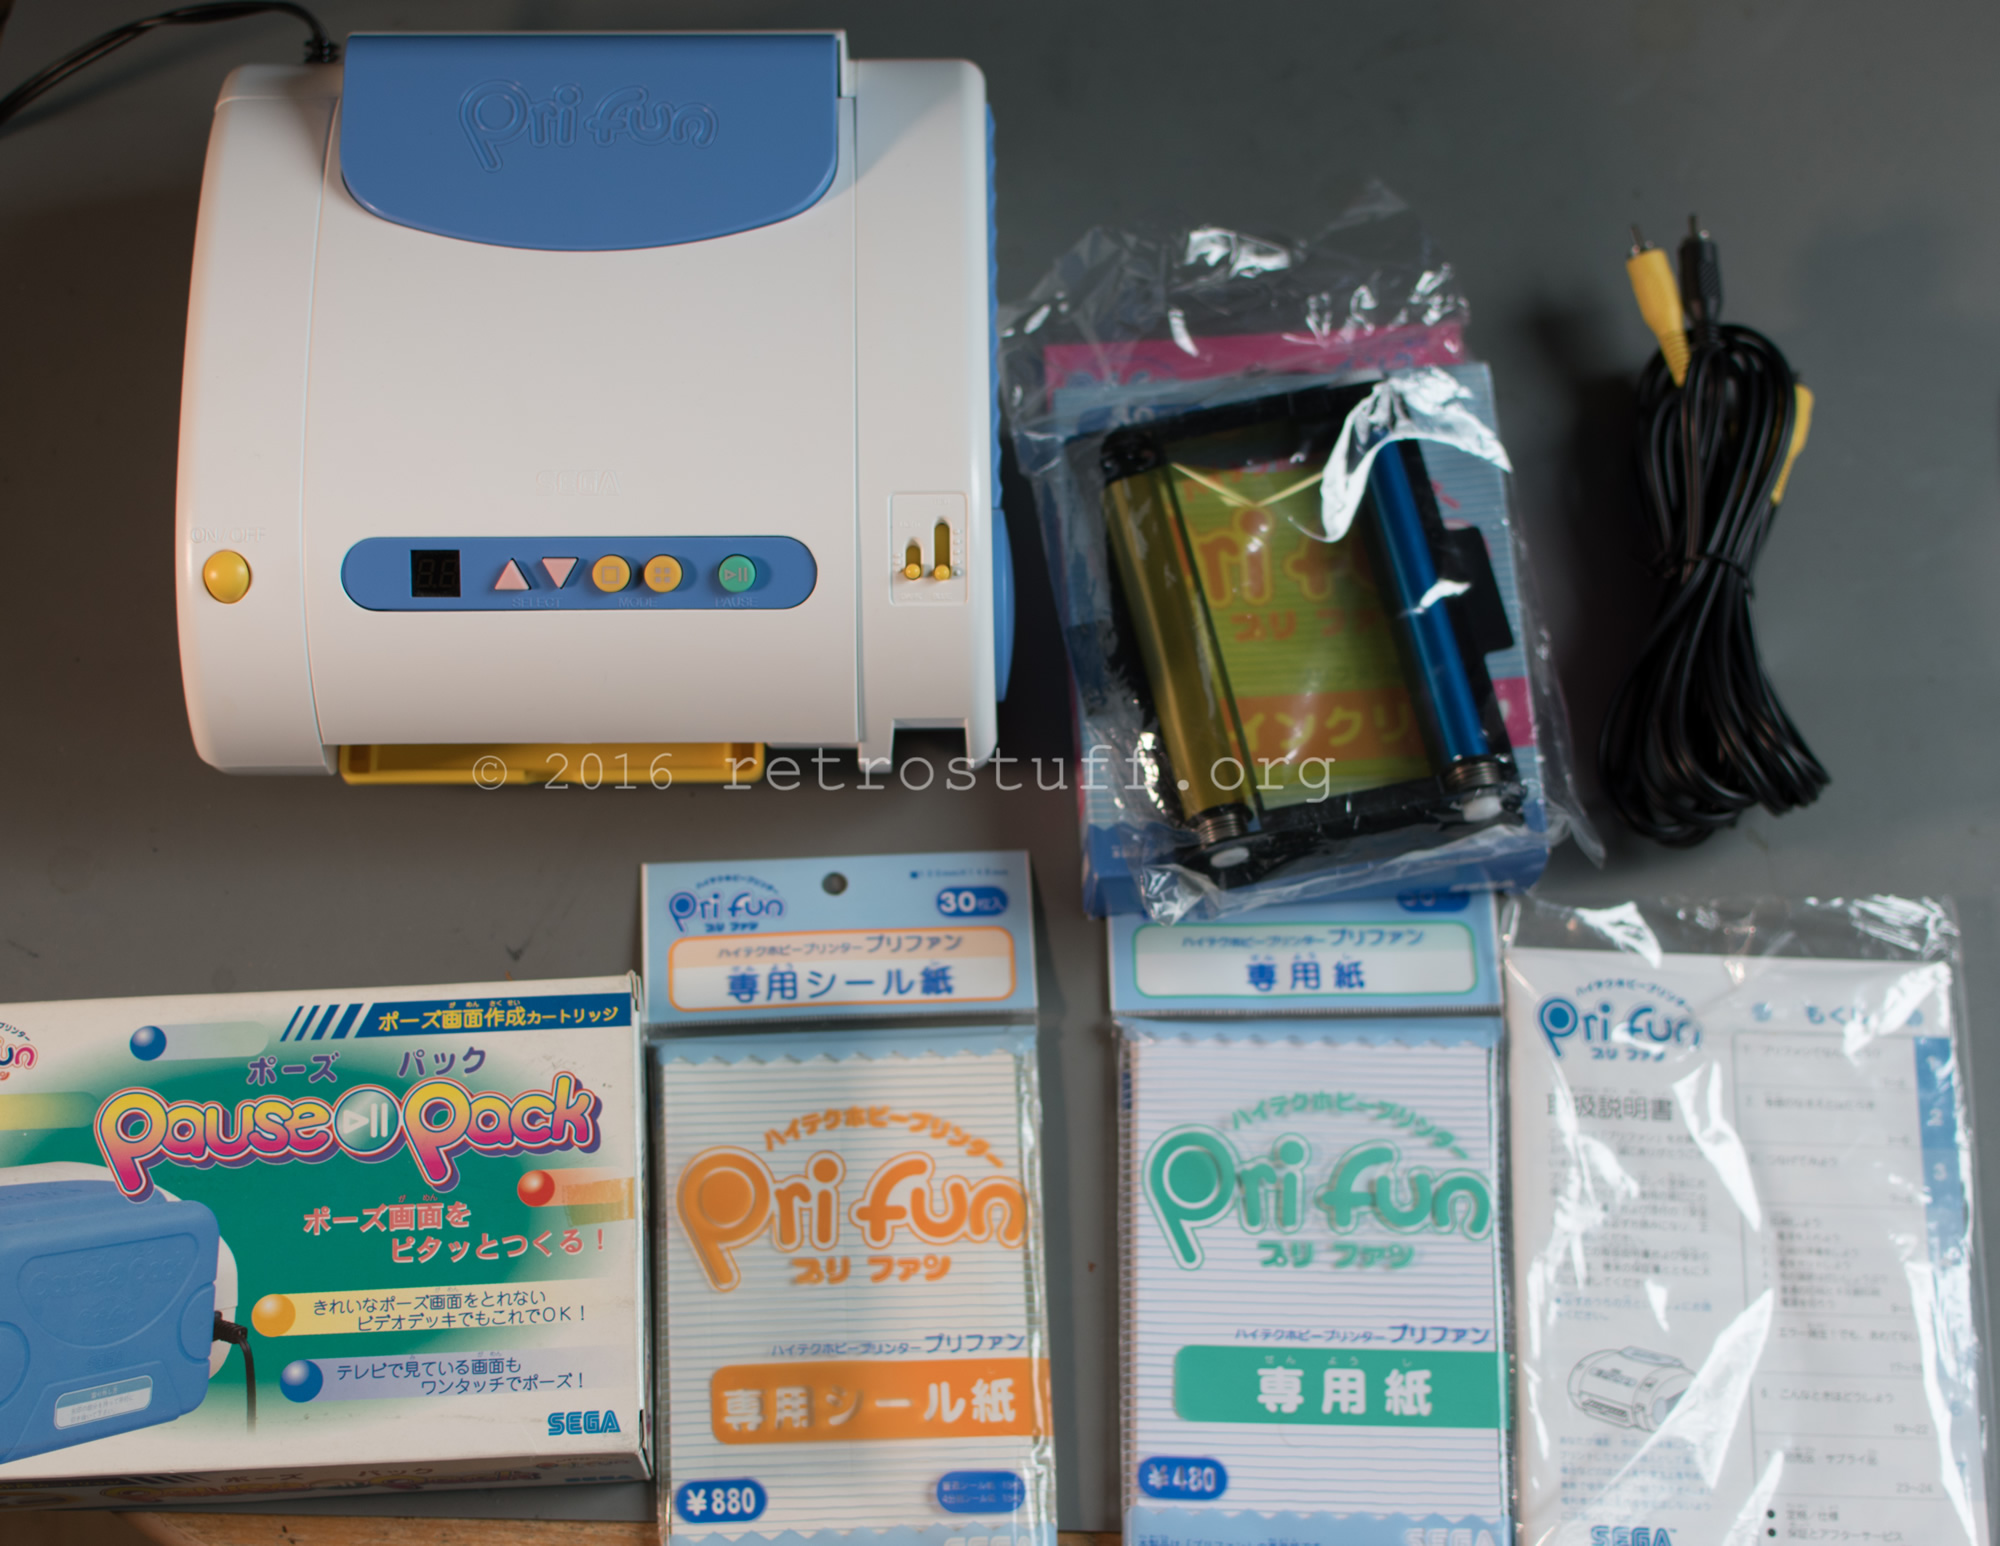
In the package is the Pri Fun printer, two ink ribbon cartridges for 30 prints each, a video cable, the pause pack with manual, 30 stickers (15 full page and 15 4x stickers), 30 pages and a manual pack (user manual, safety manual, cleaning manual + cleaning swab and warranty card).
There is a slot in the lower right corner for an extension cartridge. I assume it’s called Character Pack and contains various stamps to be superimposed on the video (don’t have it and can’t test it).
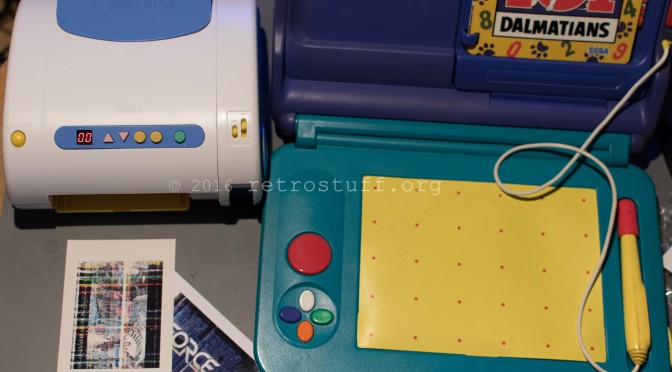
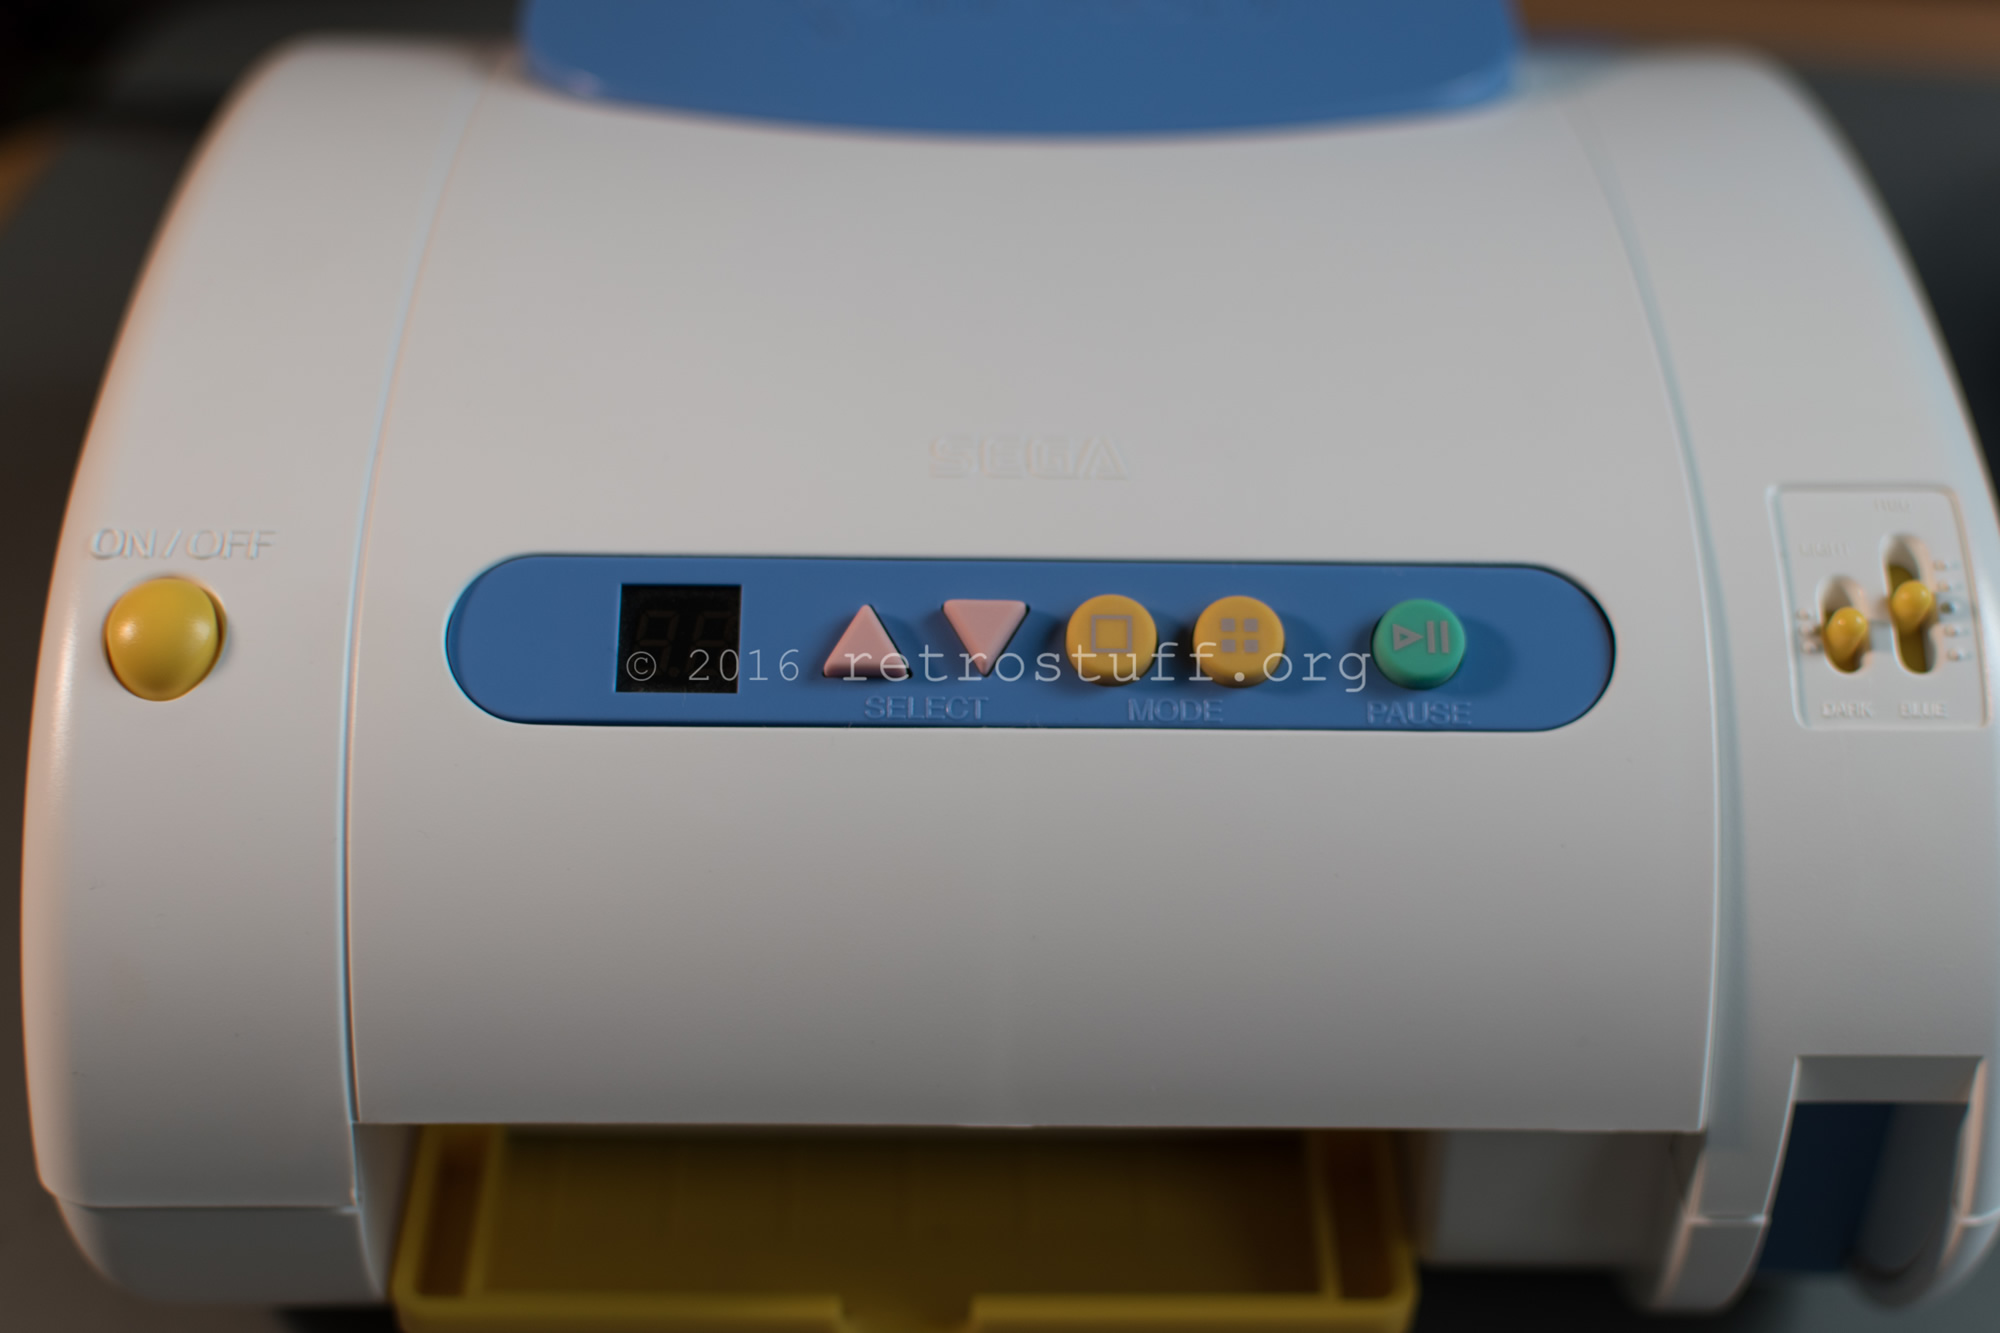
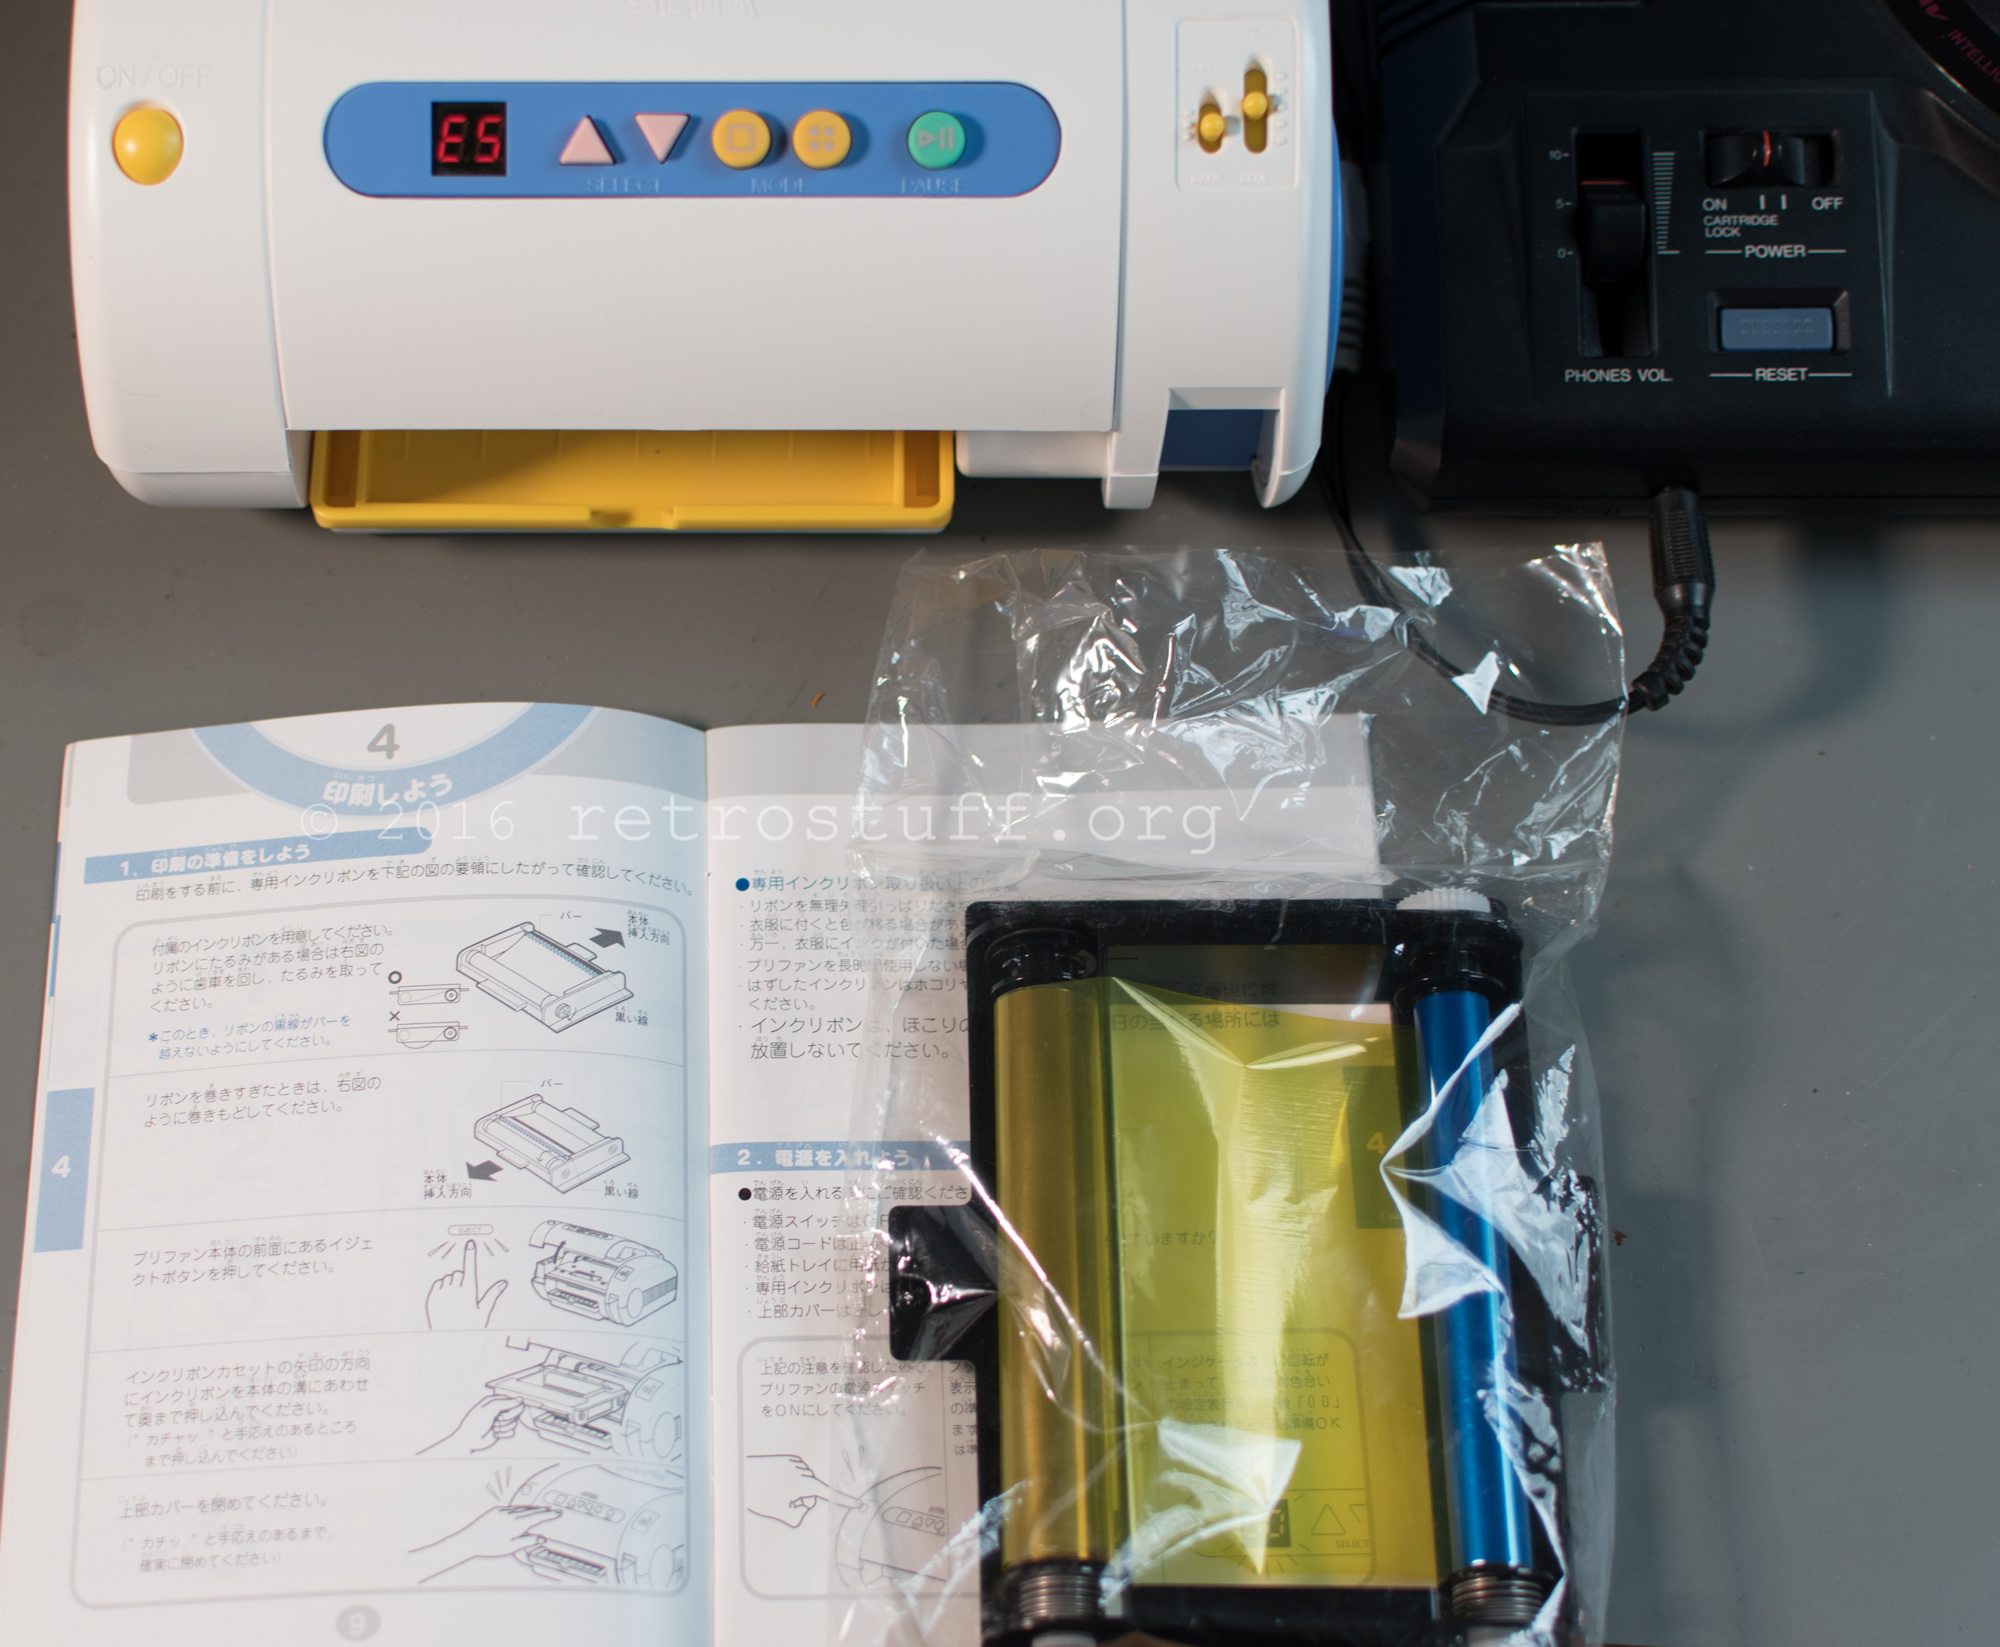
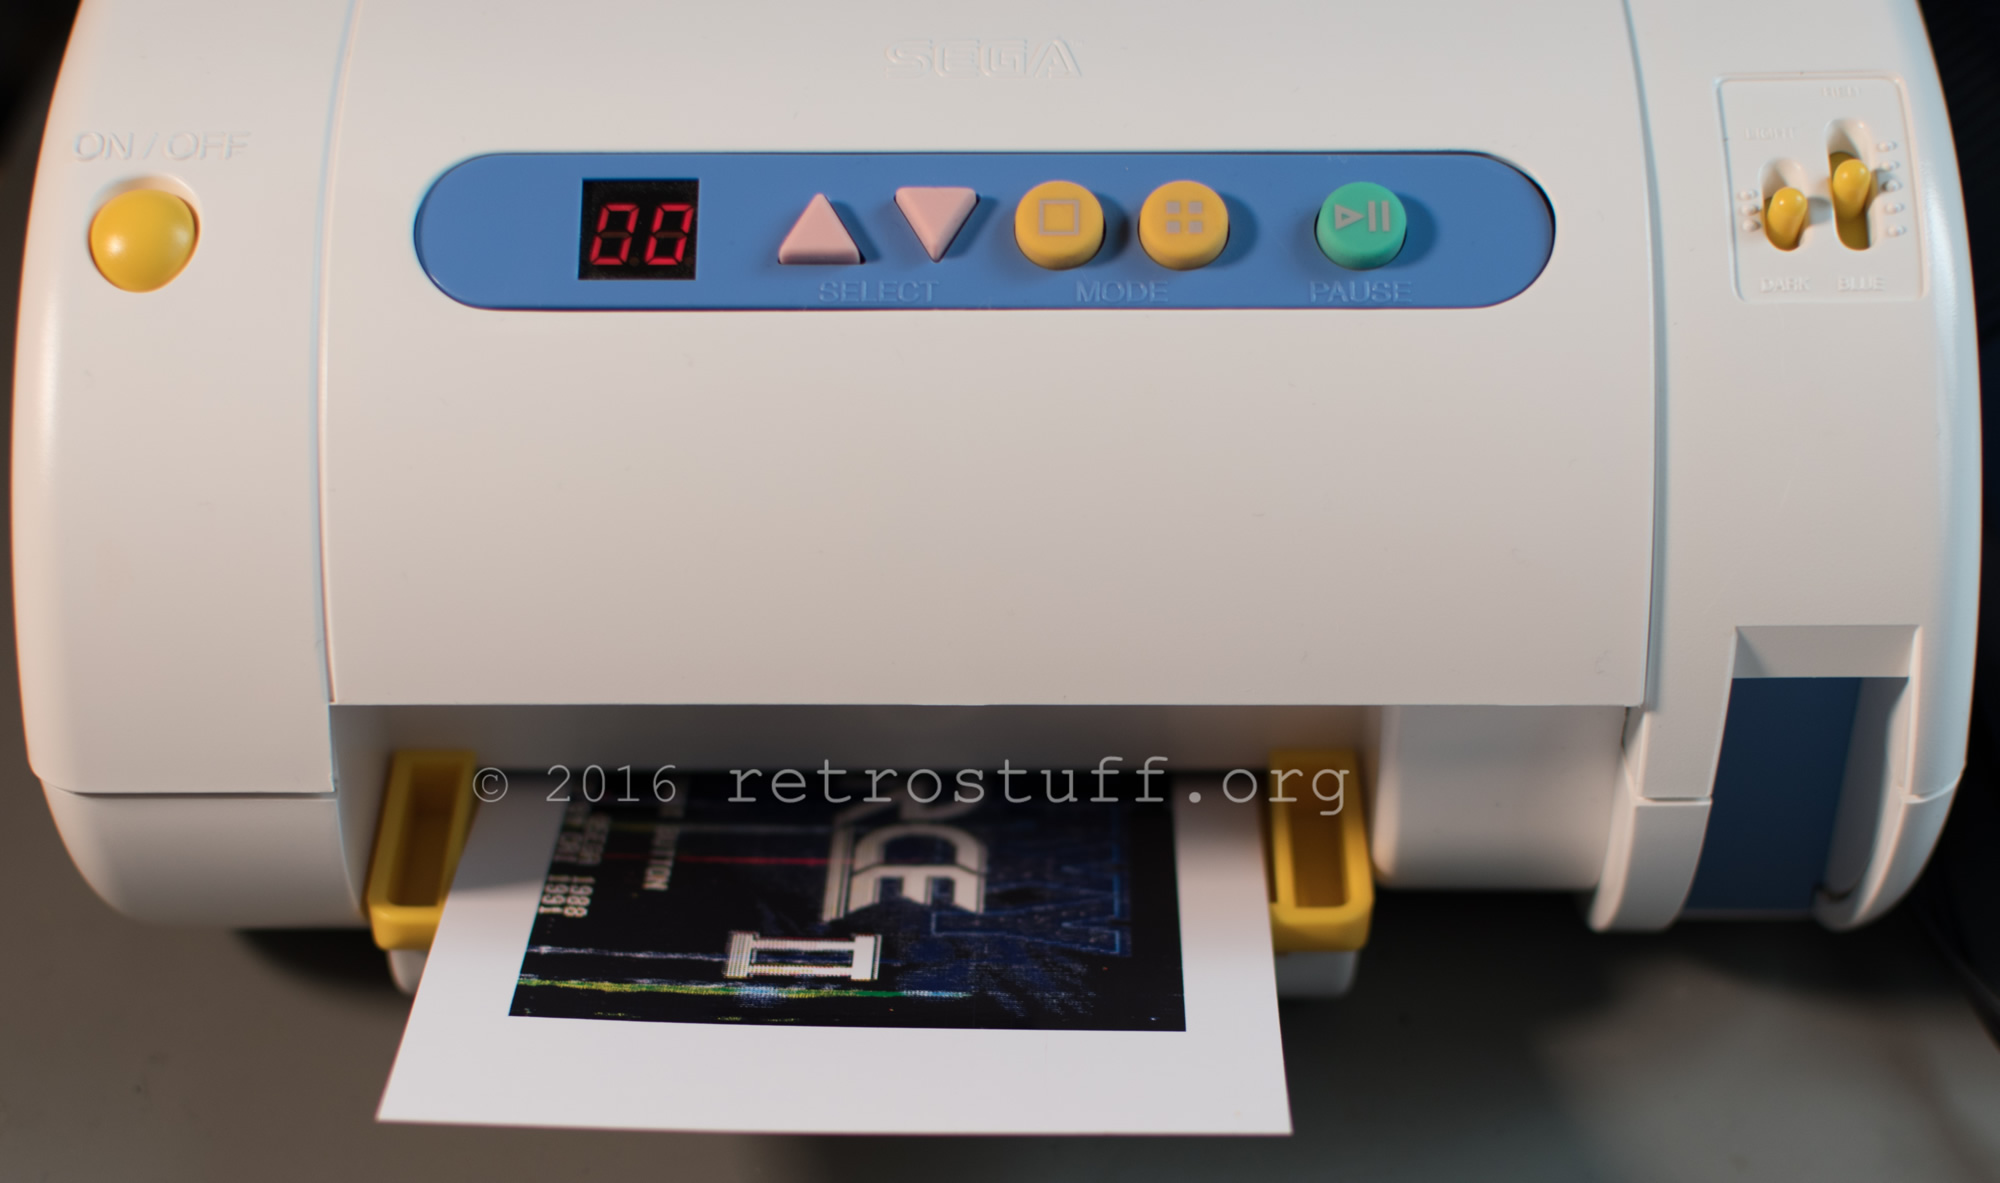
Controls from left to right: Power Switch, two-digit LED display, up/down Select (my guess is that these are for the Character Pack), Mode full page and 4x page, Pause/Play button (for the Pause Pack), a 3-step switch light to dark and a potentiometer red to blue (5 marks).
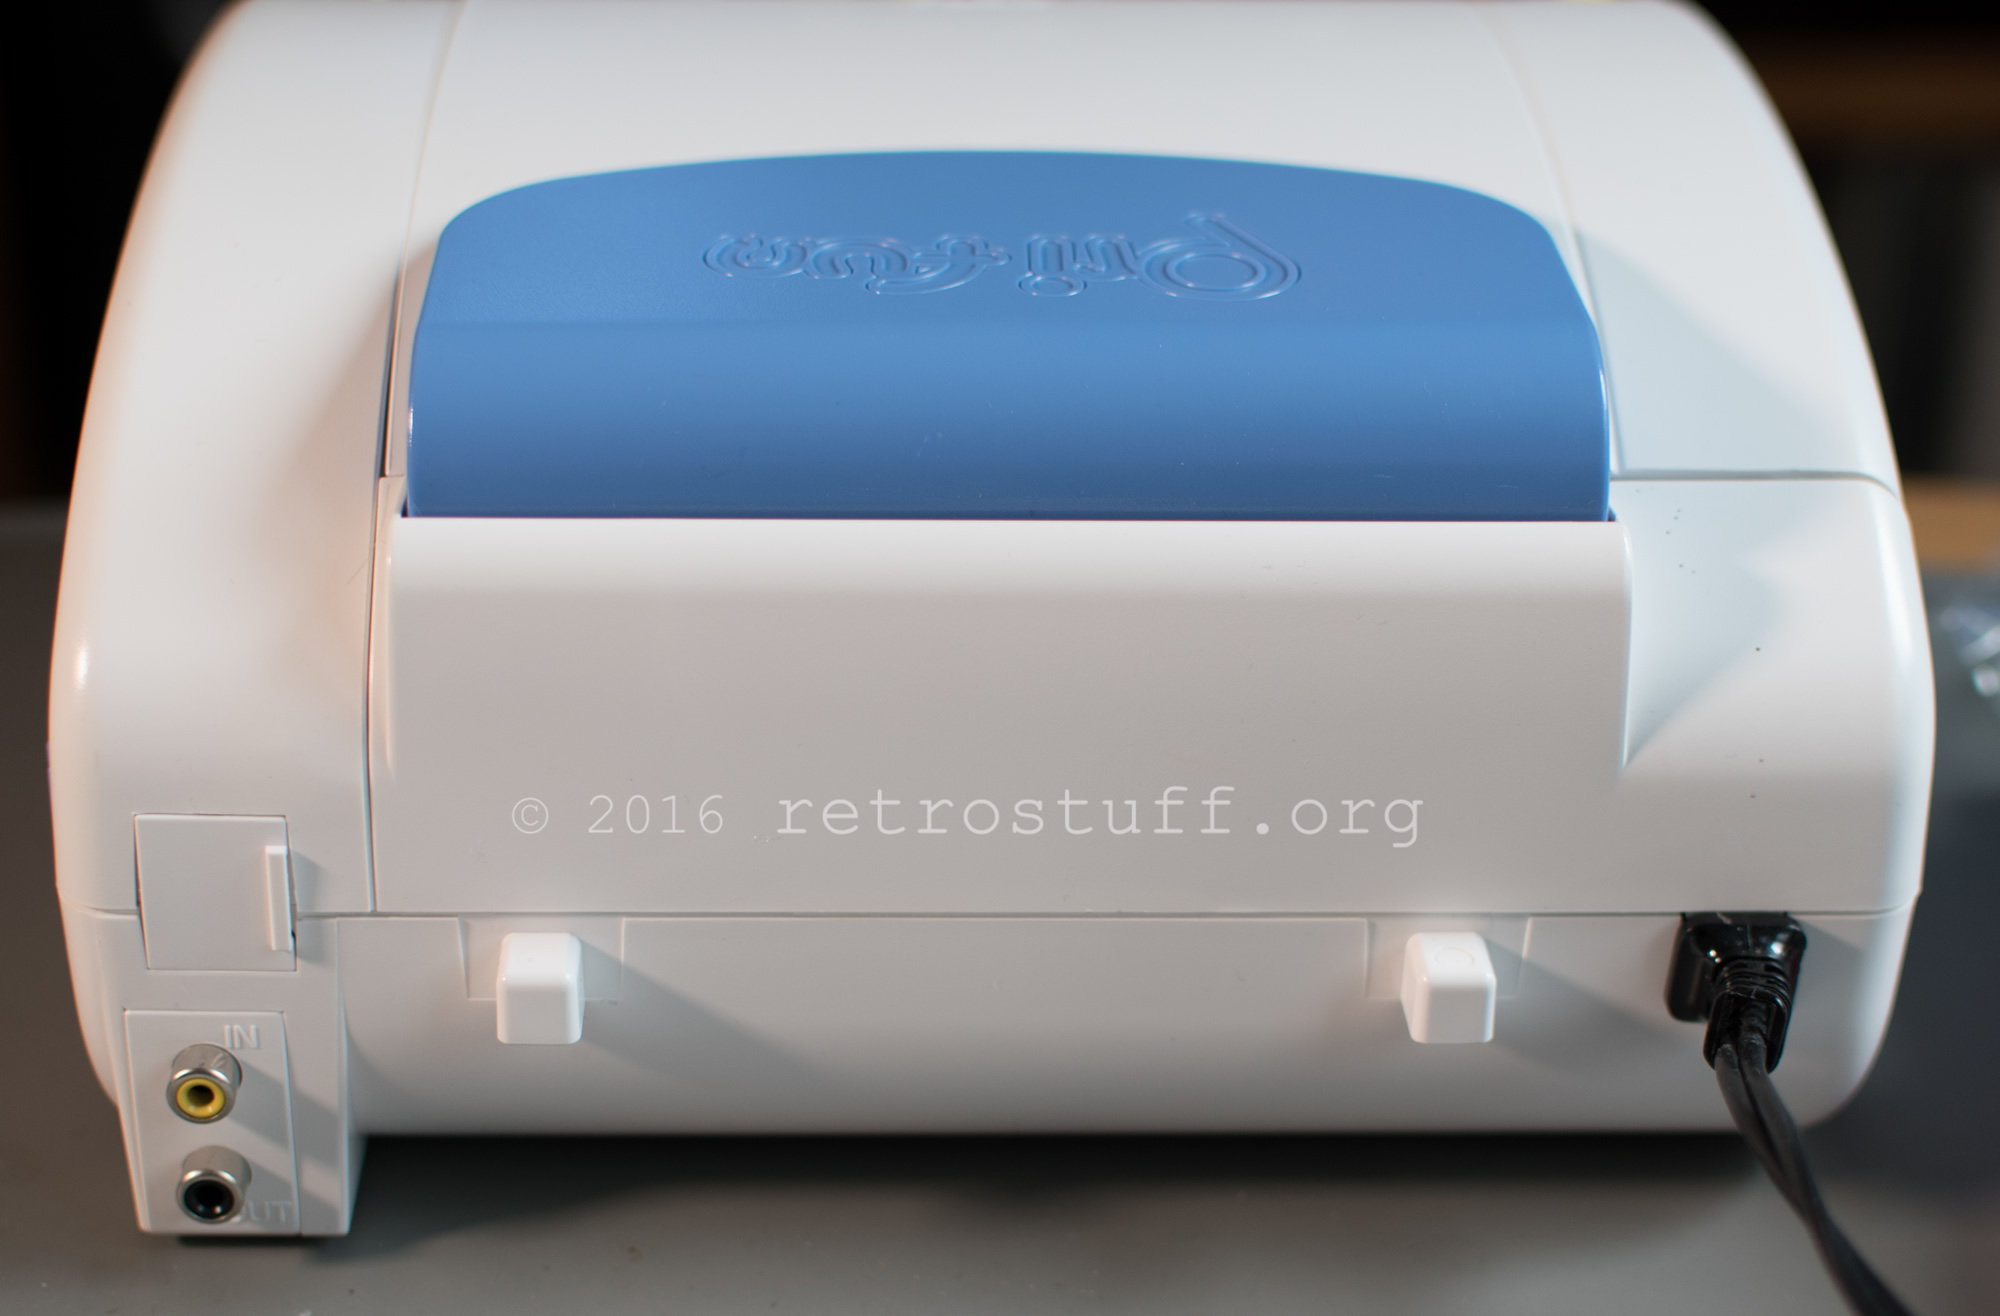
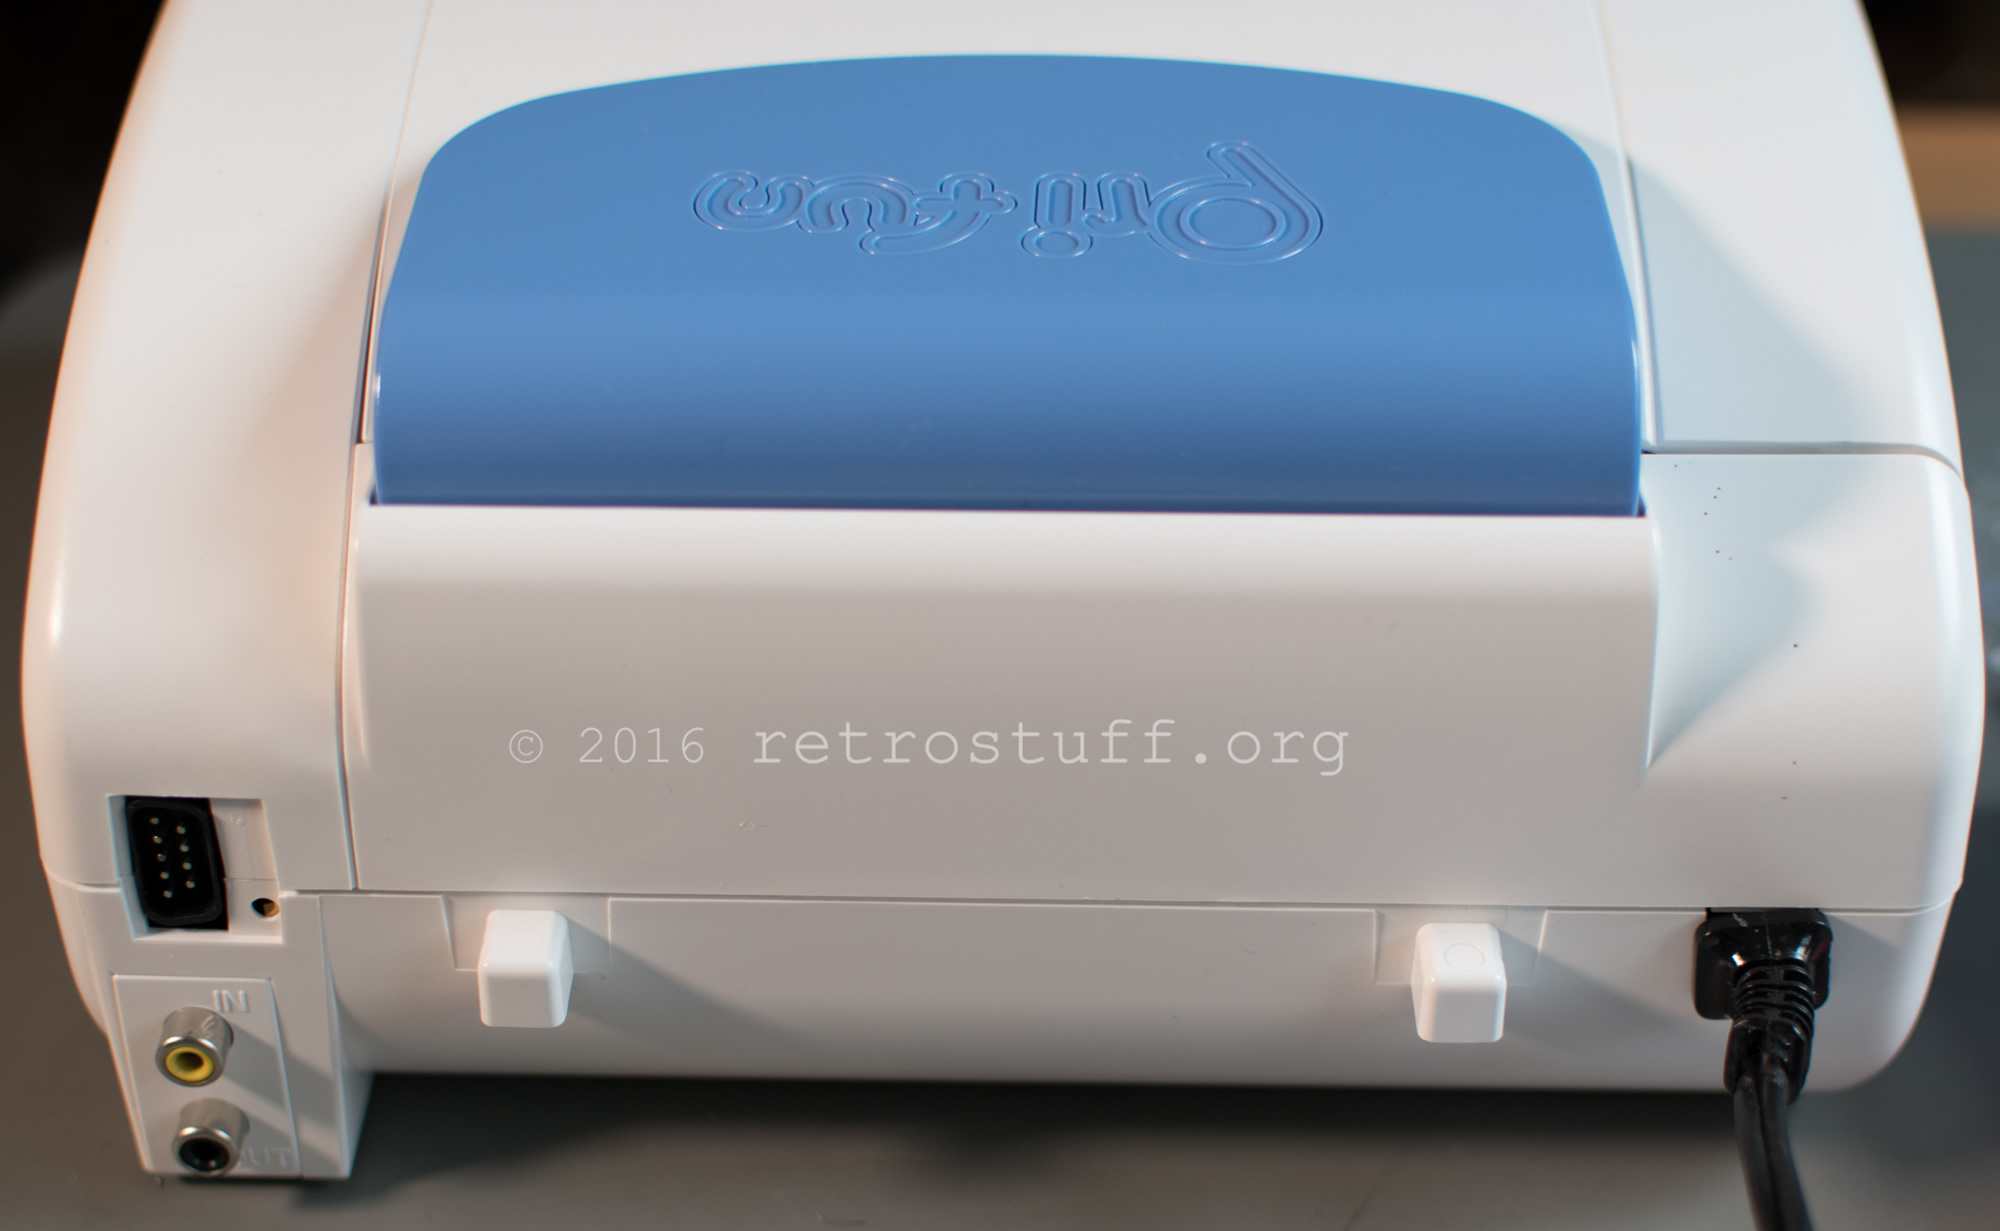
On the back there are video in and out connectors and a connector for the Pause Pack above (hidden).
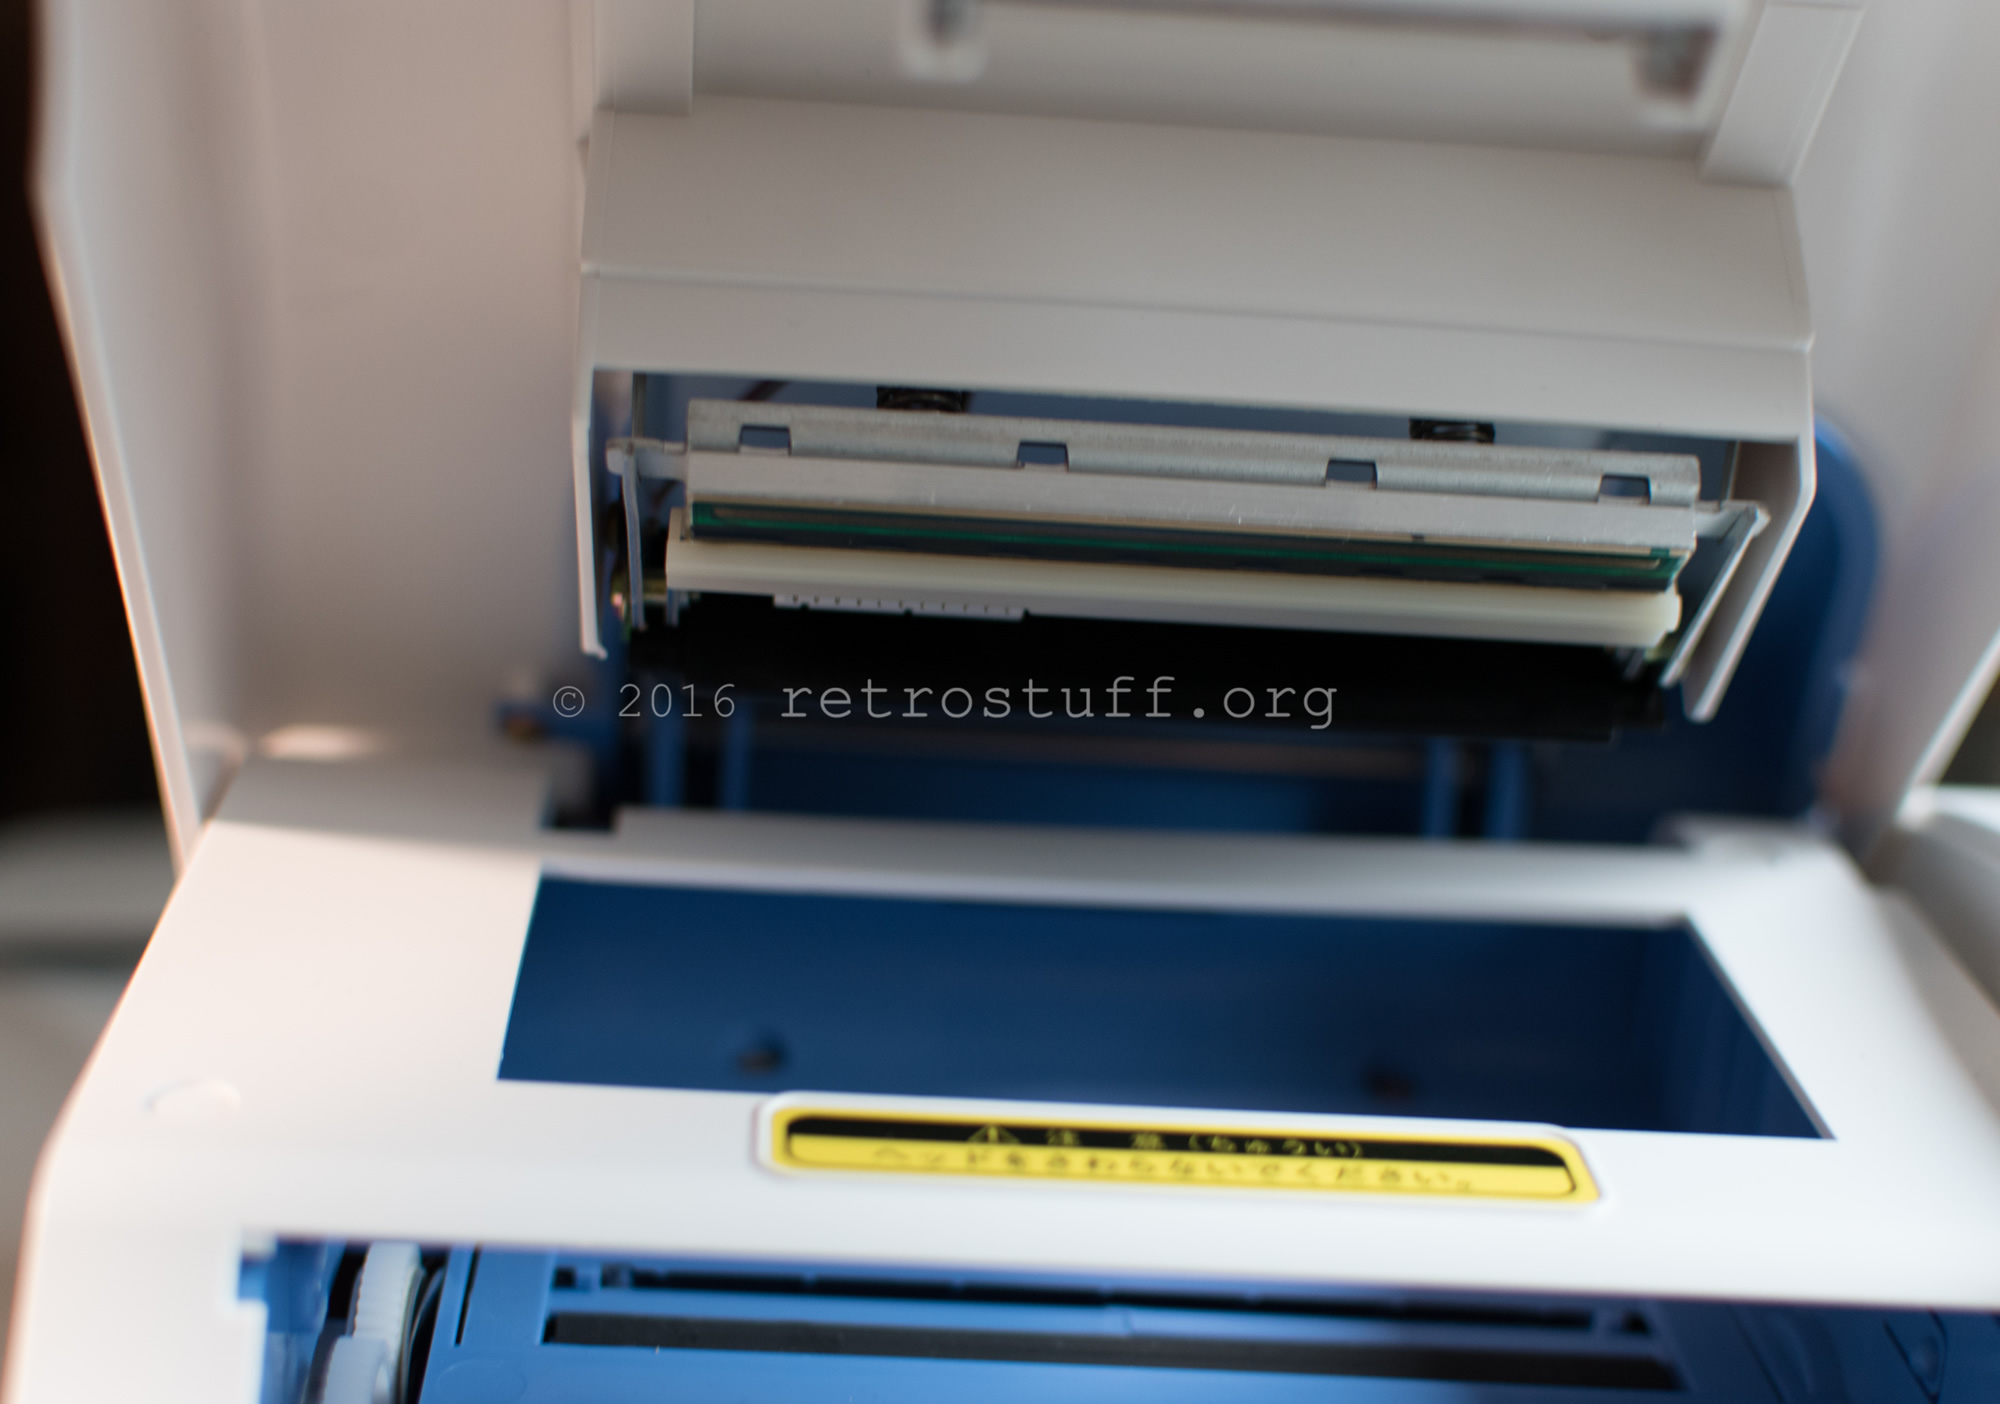
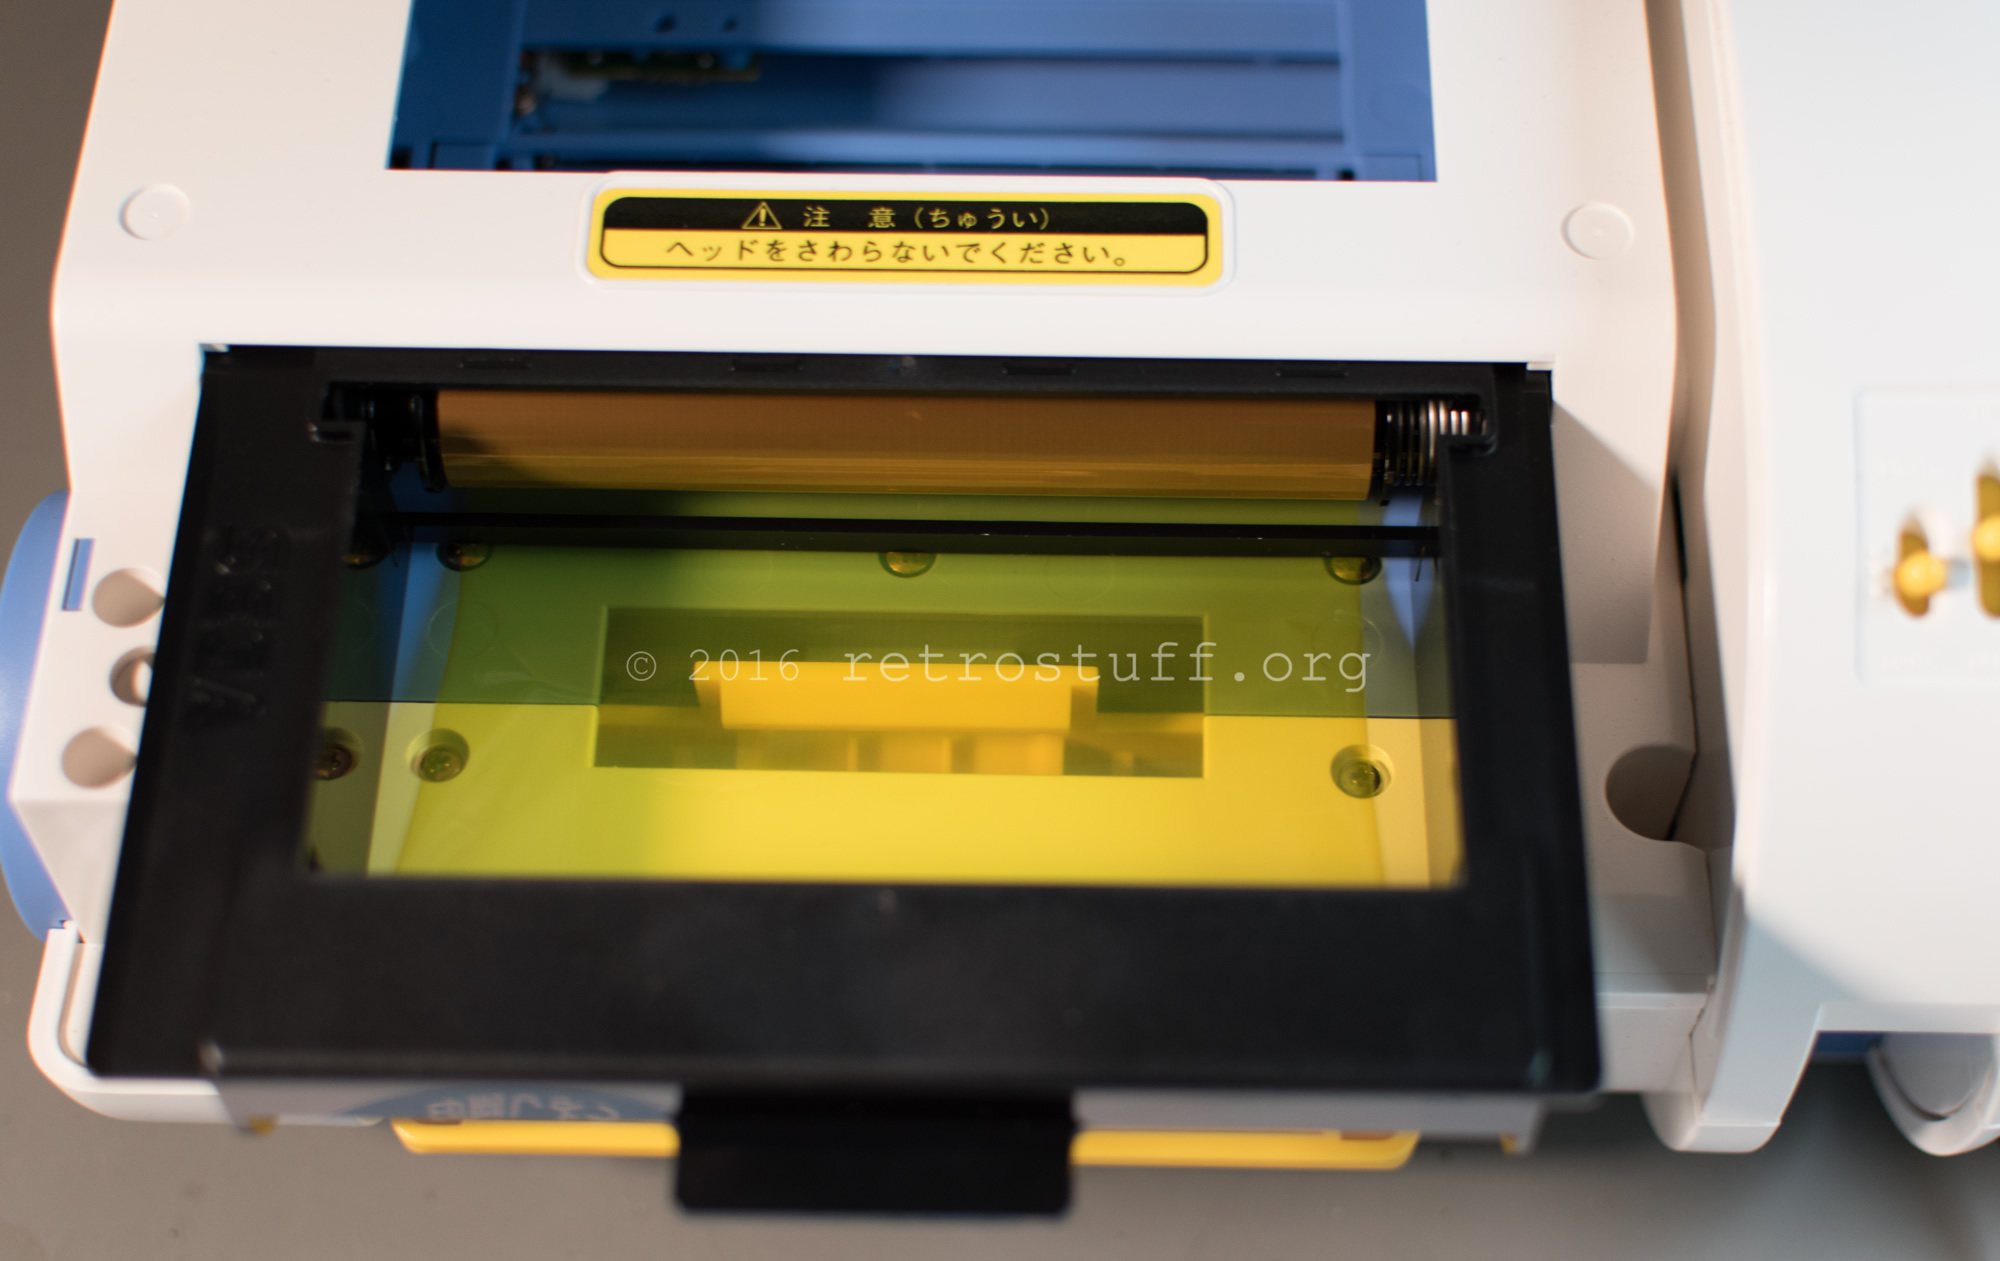
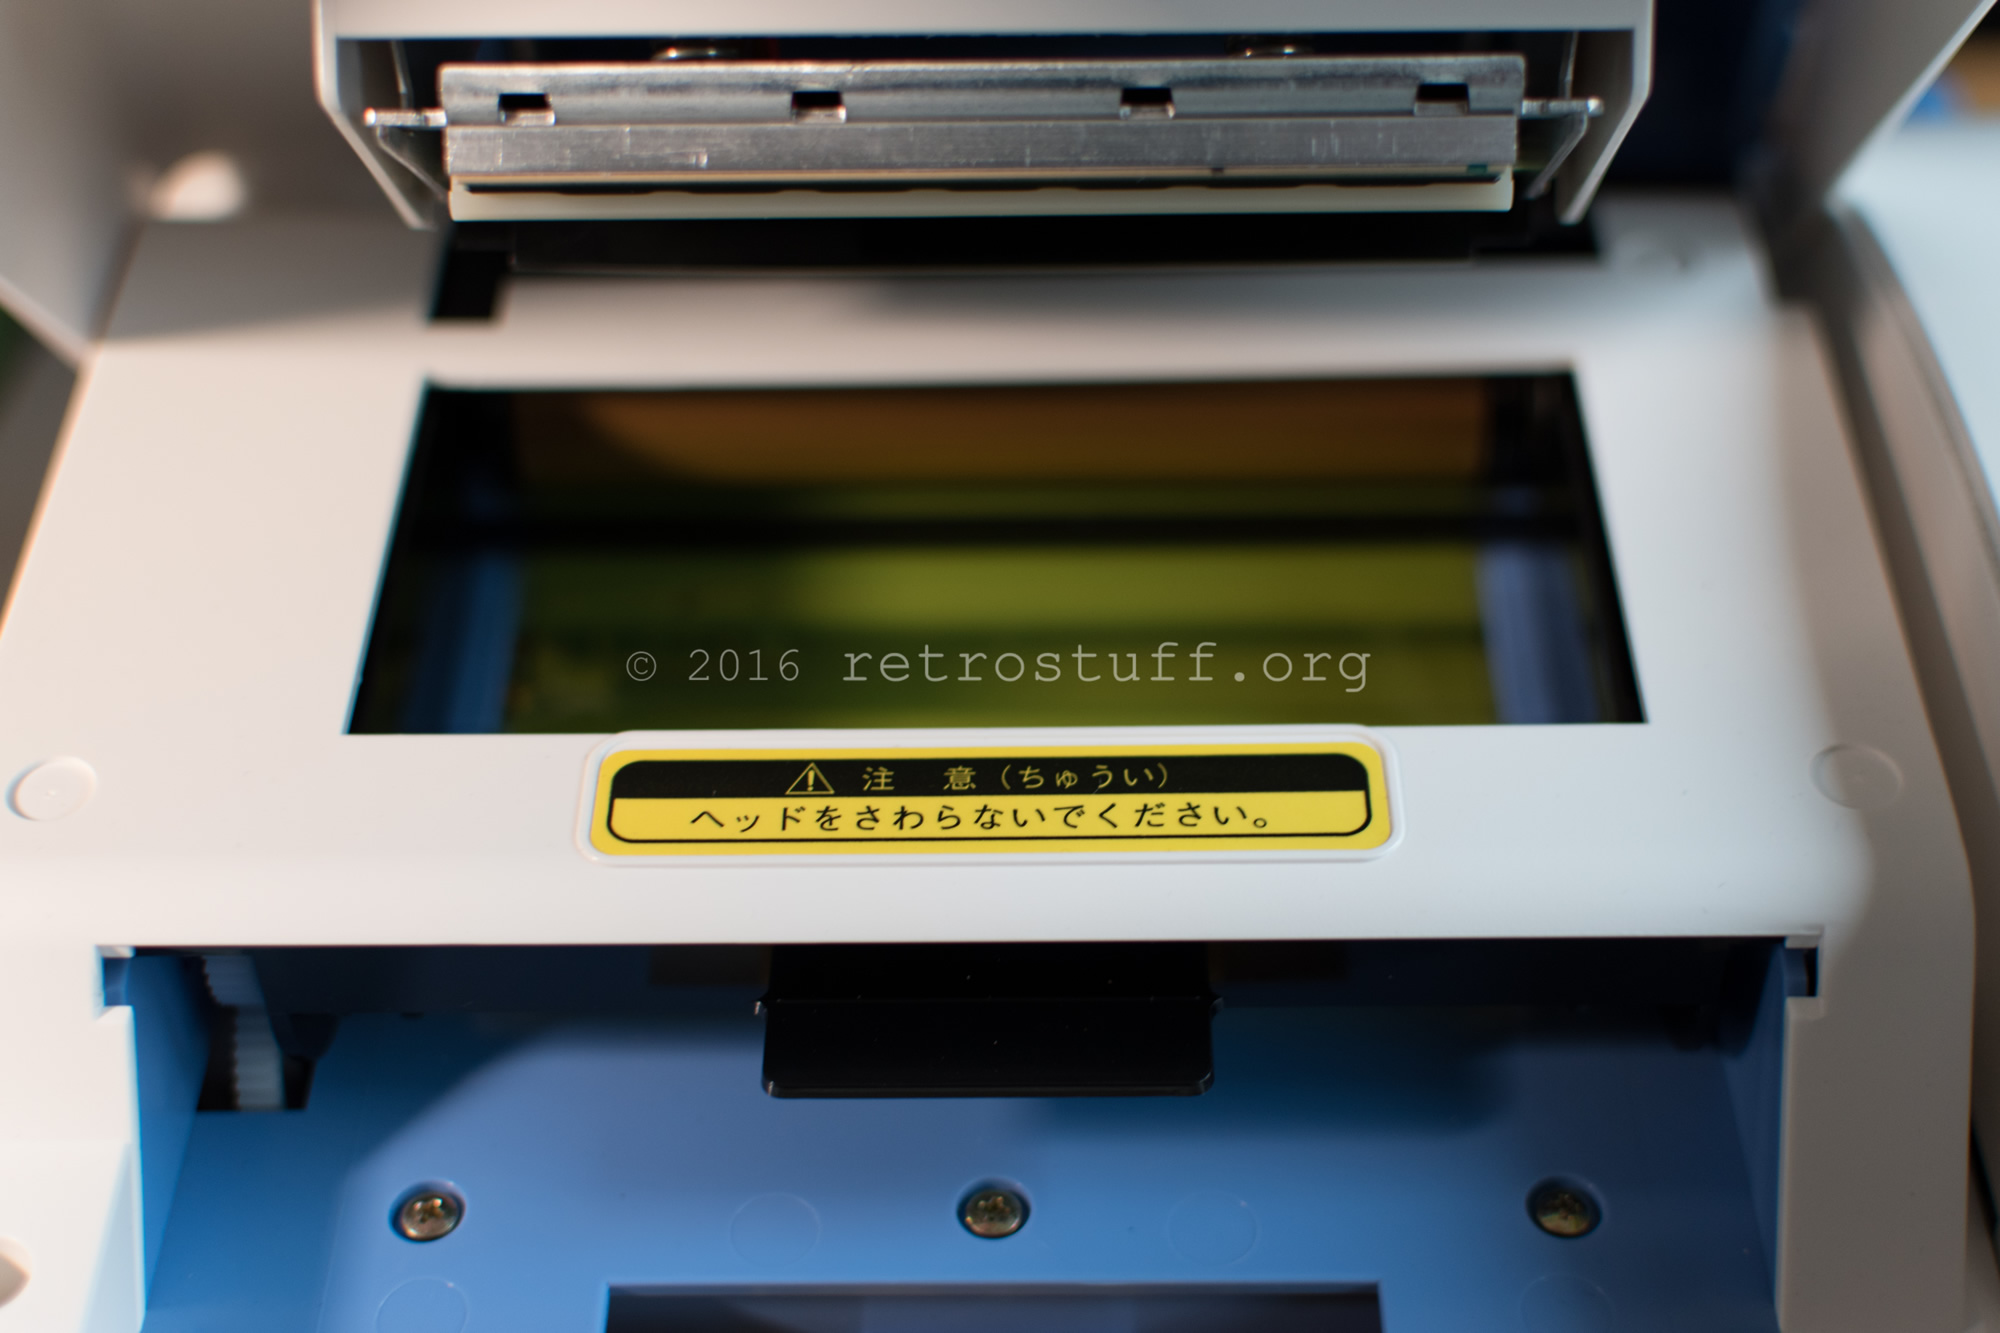
The hood can be opened with the Eject button on the front:
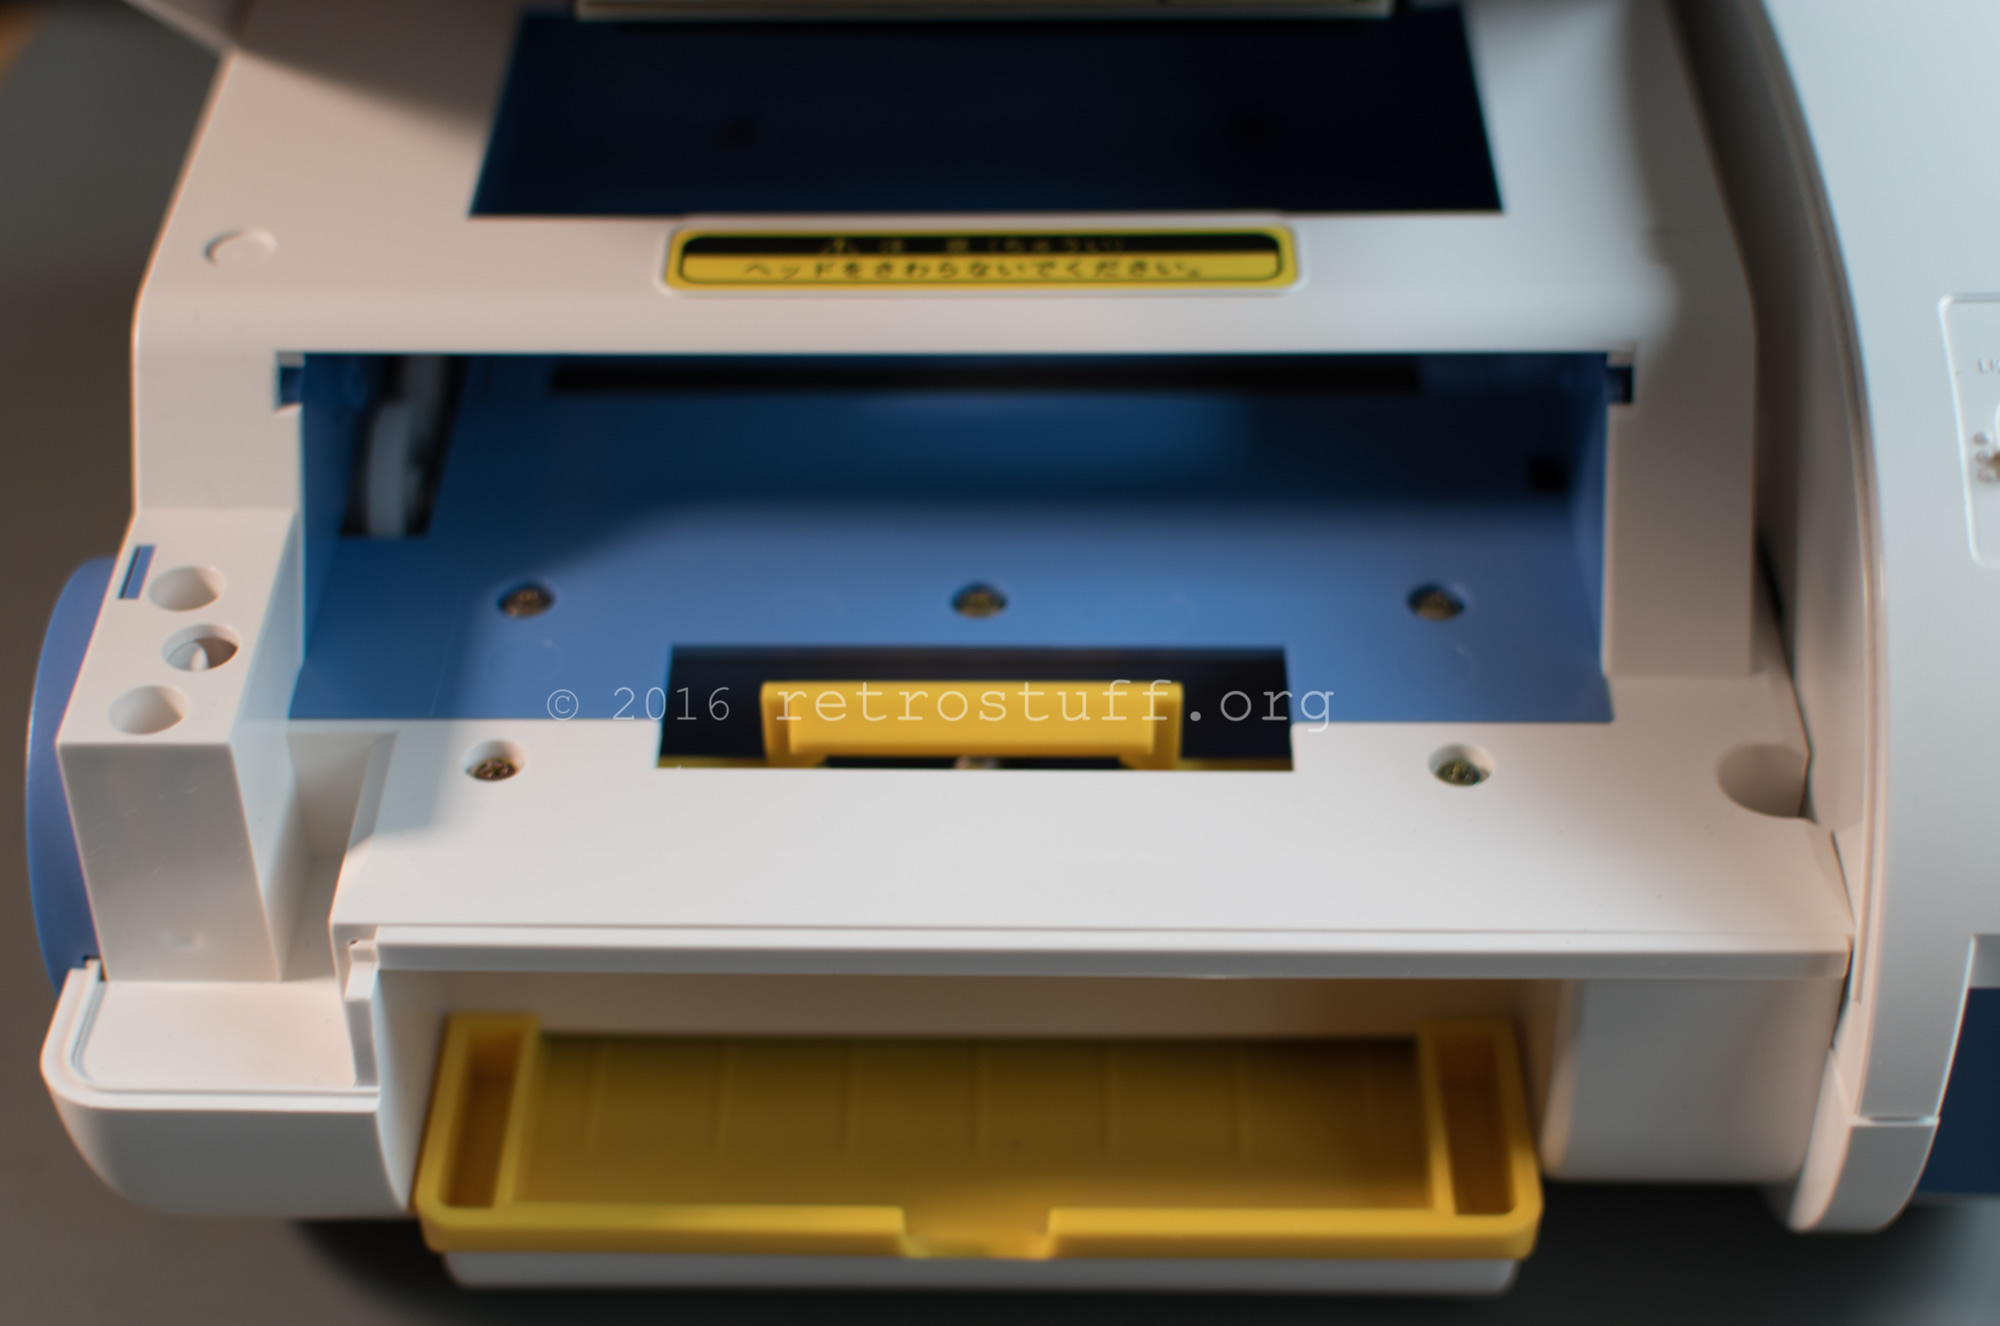
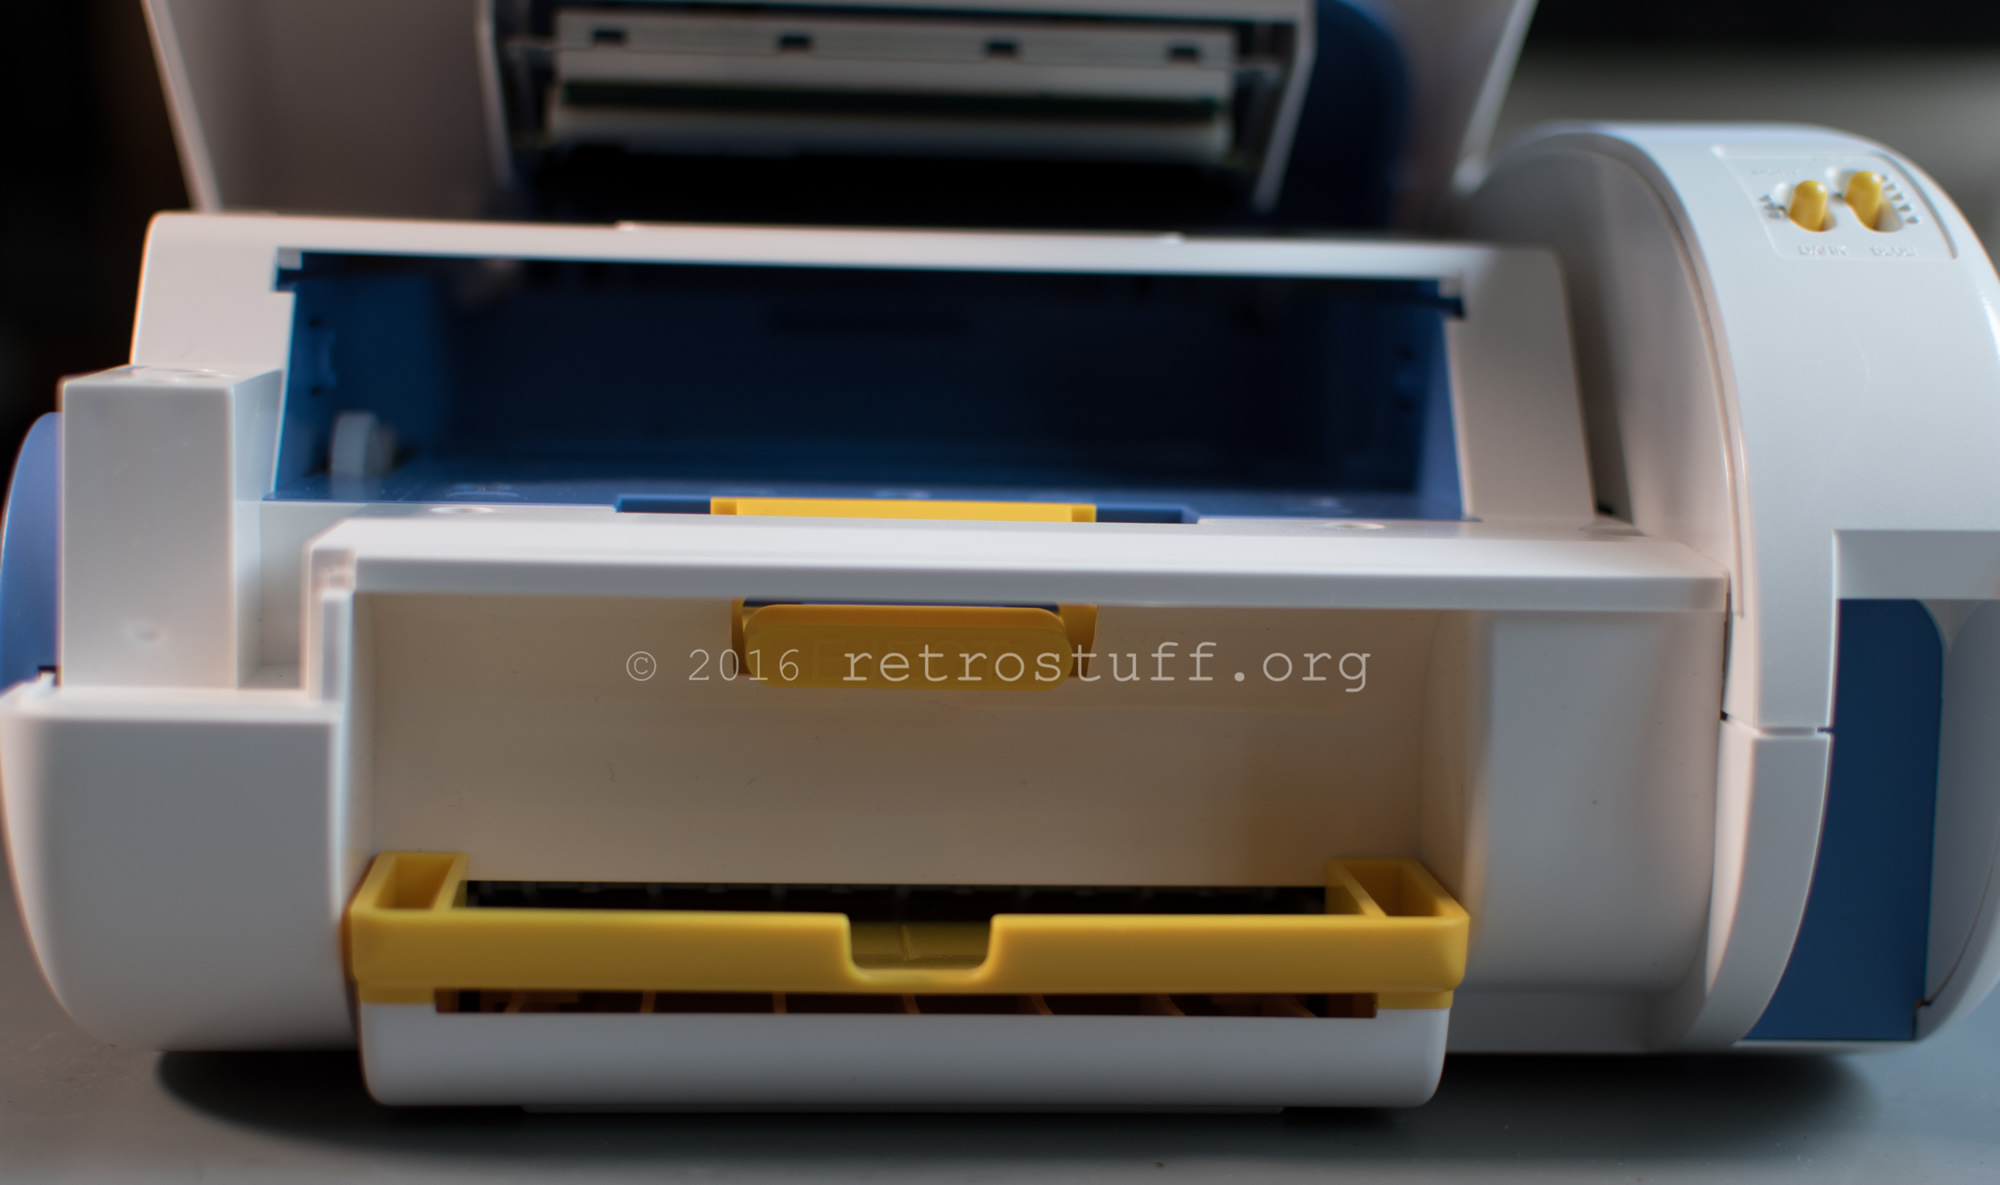
This is the printer head:
To function, the printer needs an ink ribbon cartridge and and paper/stickers. I highly doubt that I will find more of these accessory materials ever, so my printer will be limited to 60 prints…
First print
The video connector accepts composite video only and I don’t have those cables for Pico and Saturn – I’ll use a first generation Mega Drive instead. Upon powering up, the printer greets me with error E5 – saying it needs an ink ribbon cartridge:
Insert the cartrige…

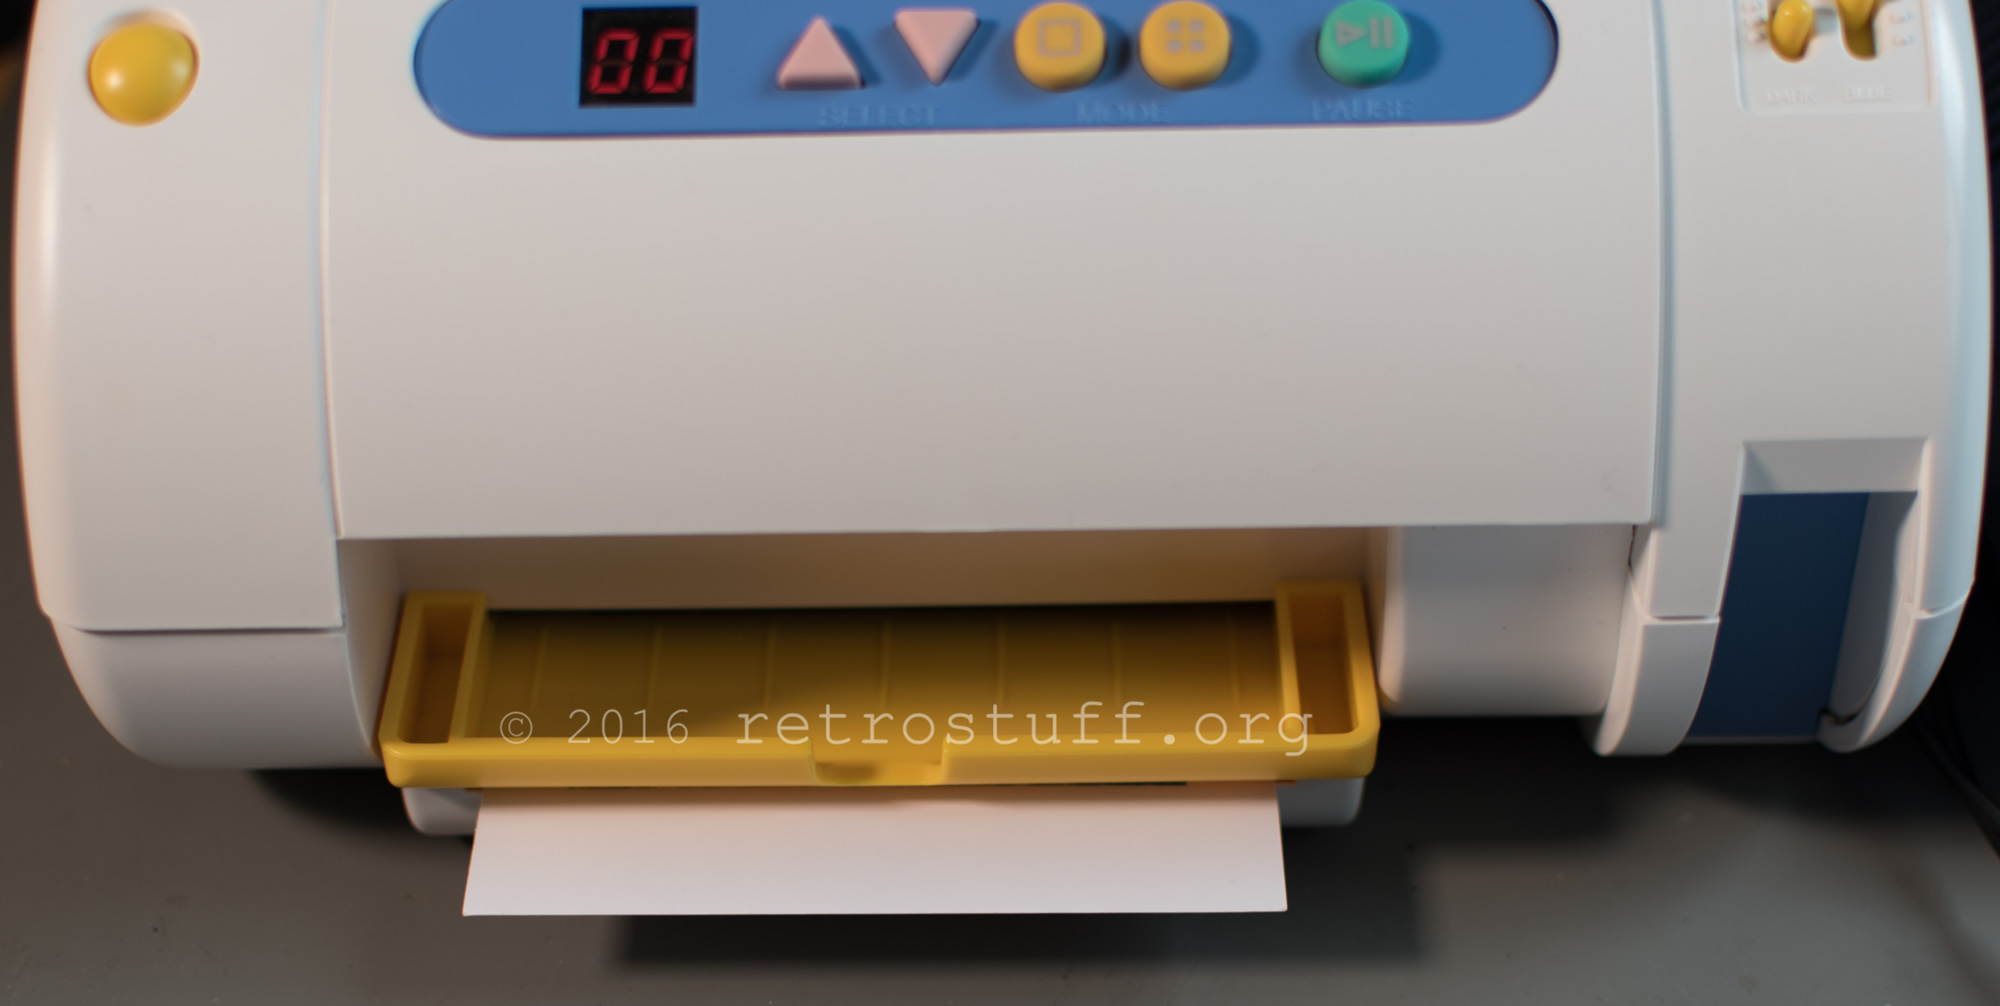
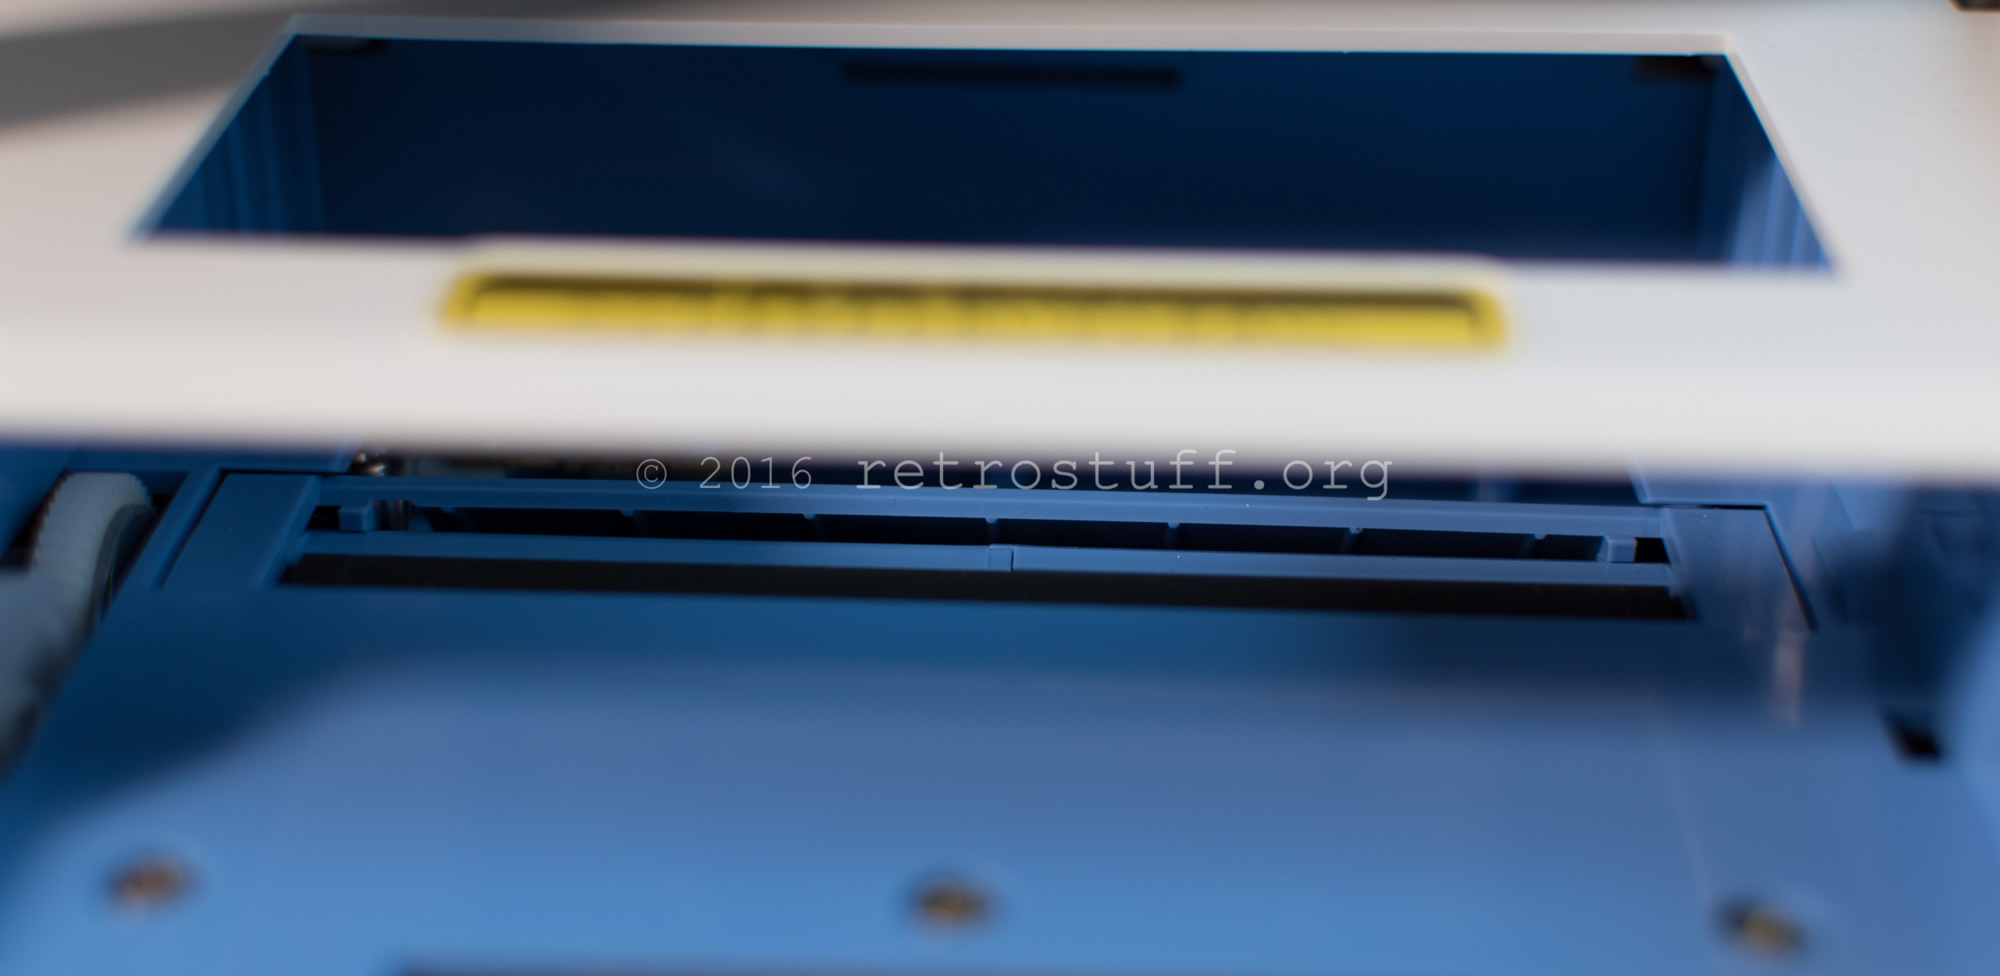
…and insert the paper:
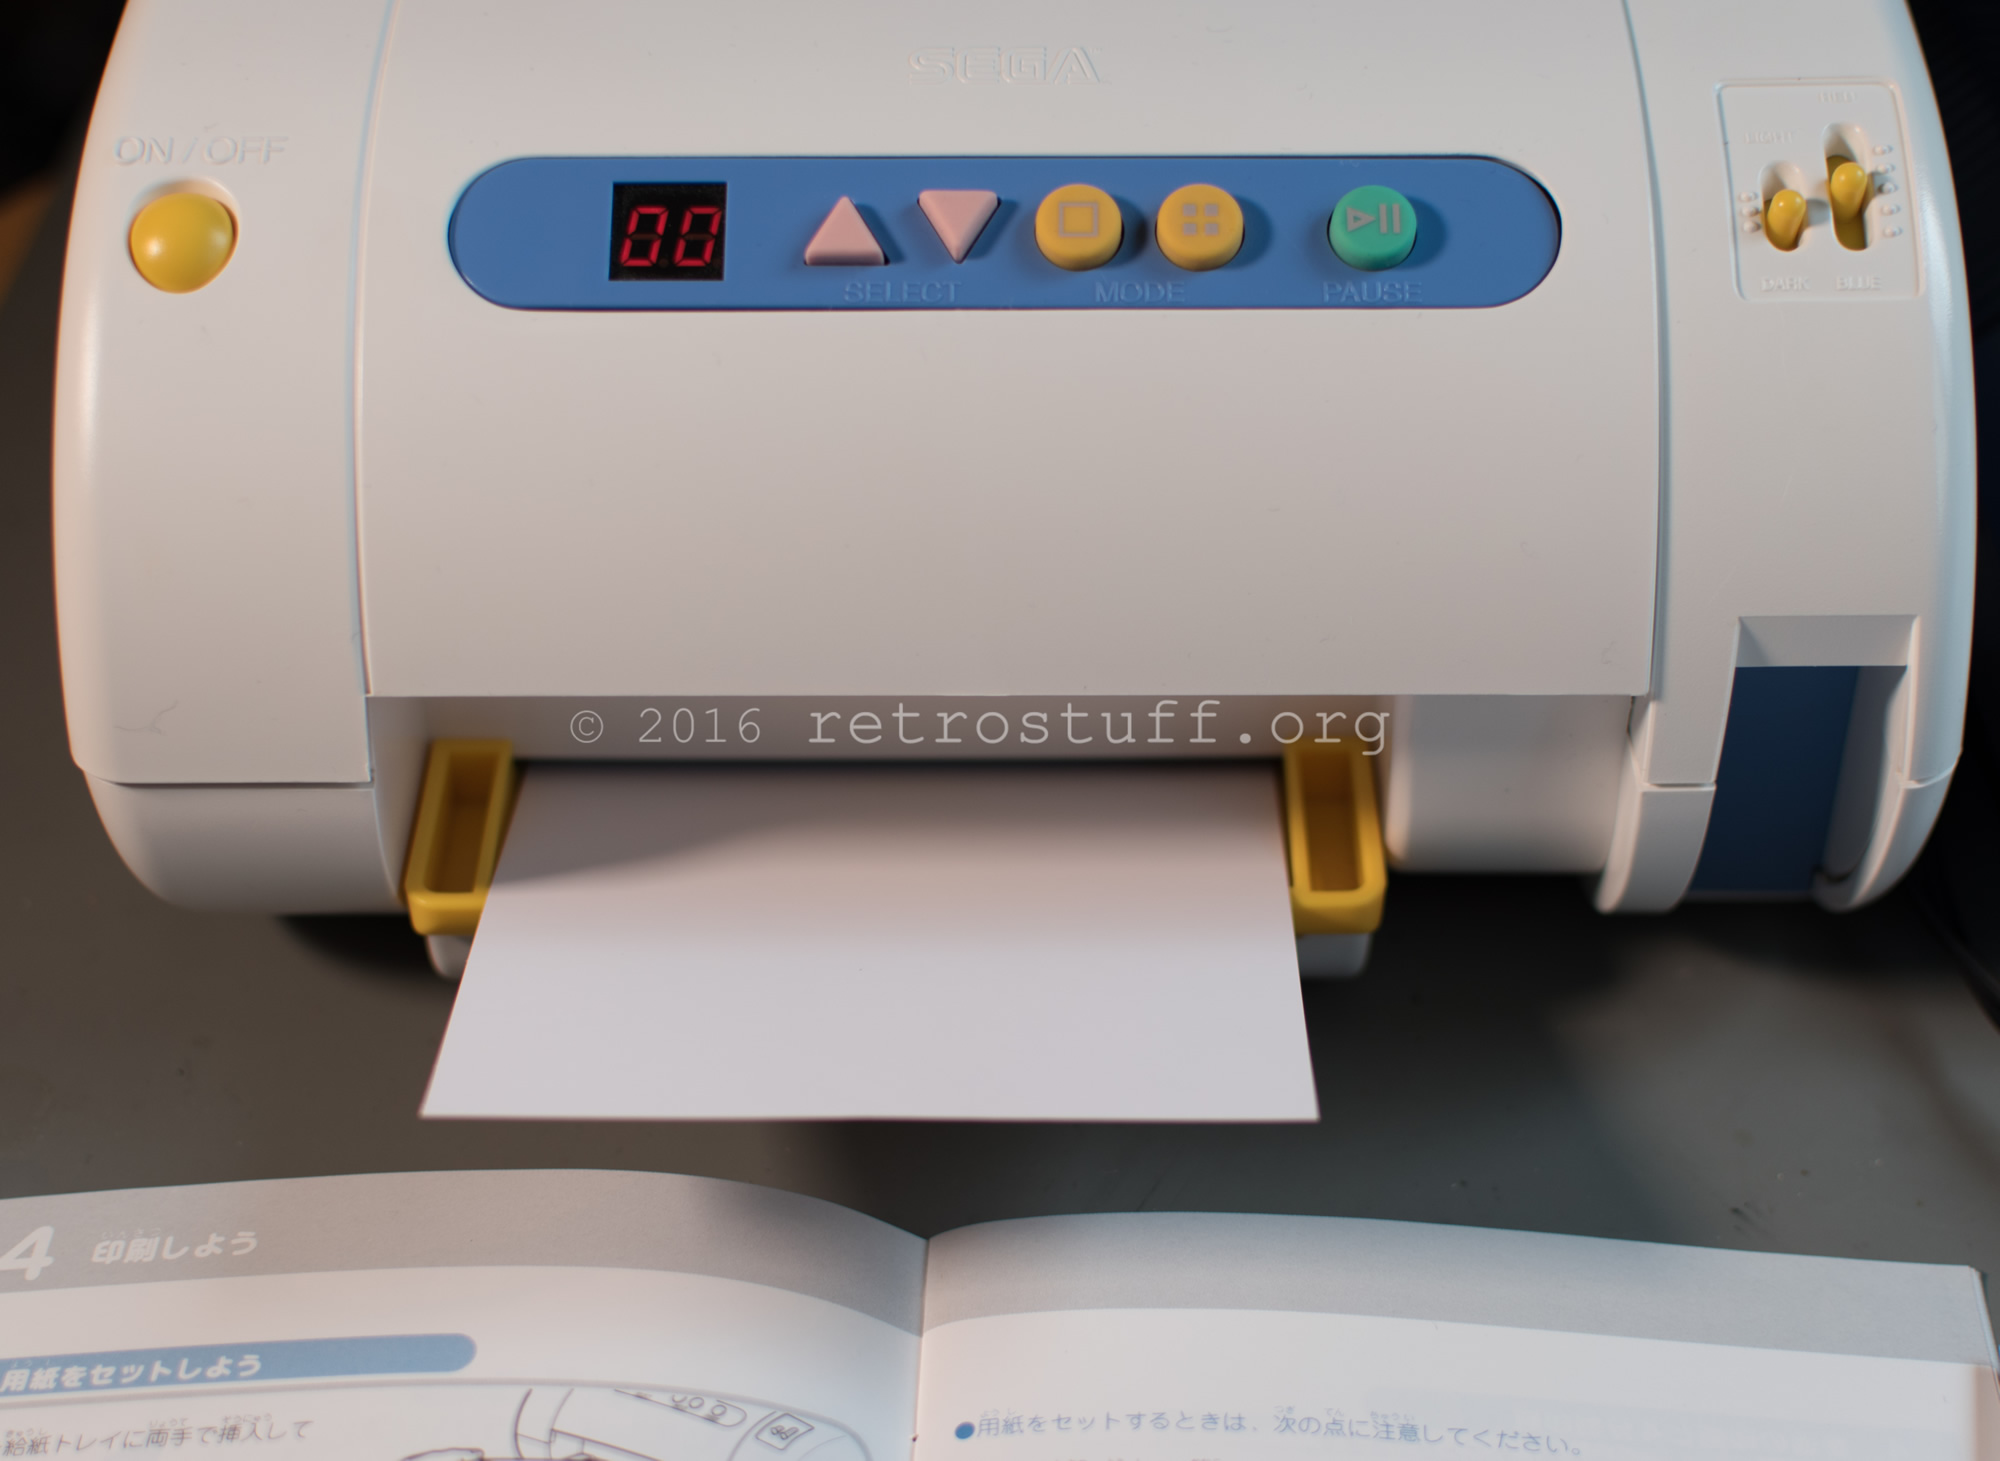
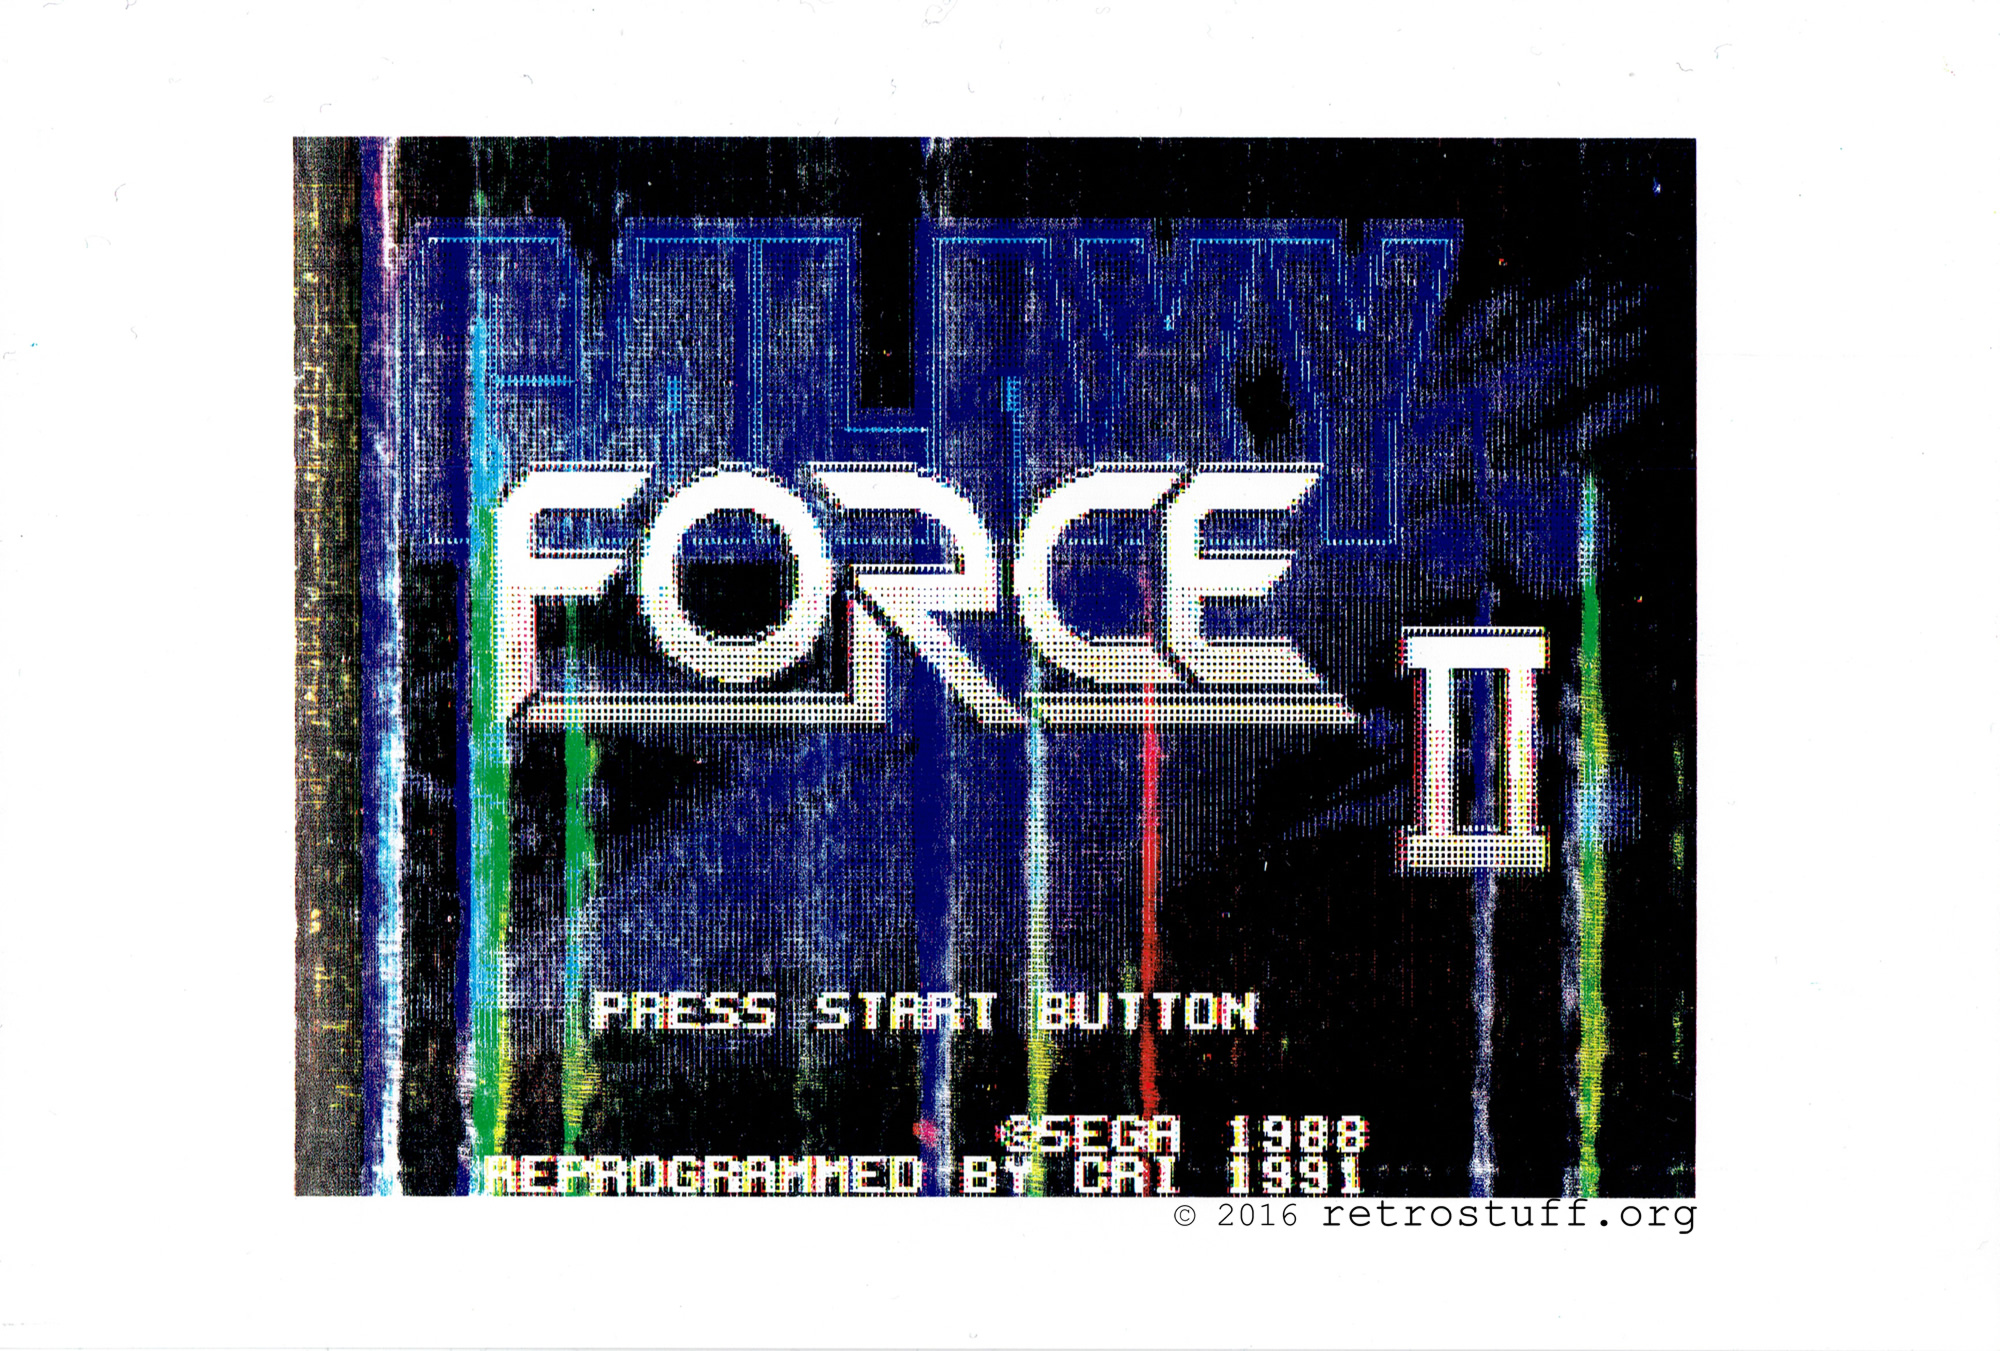
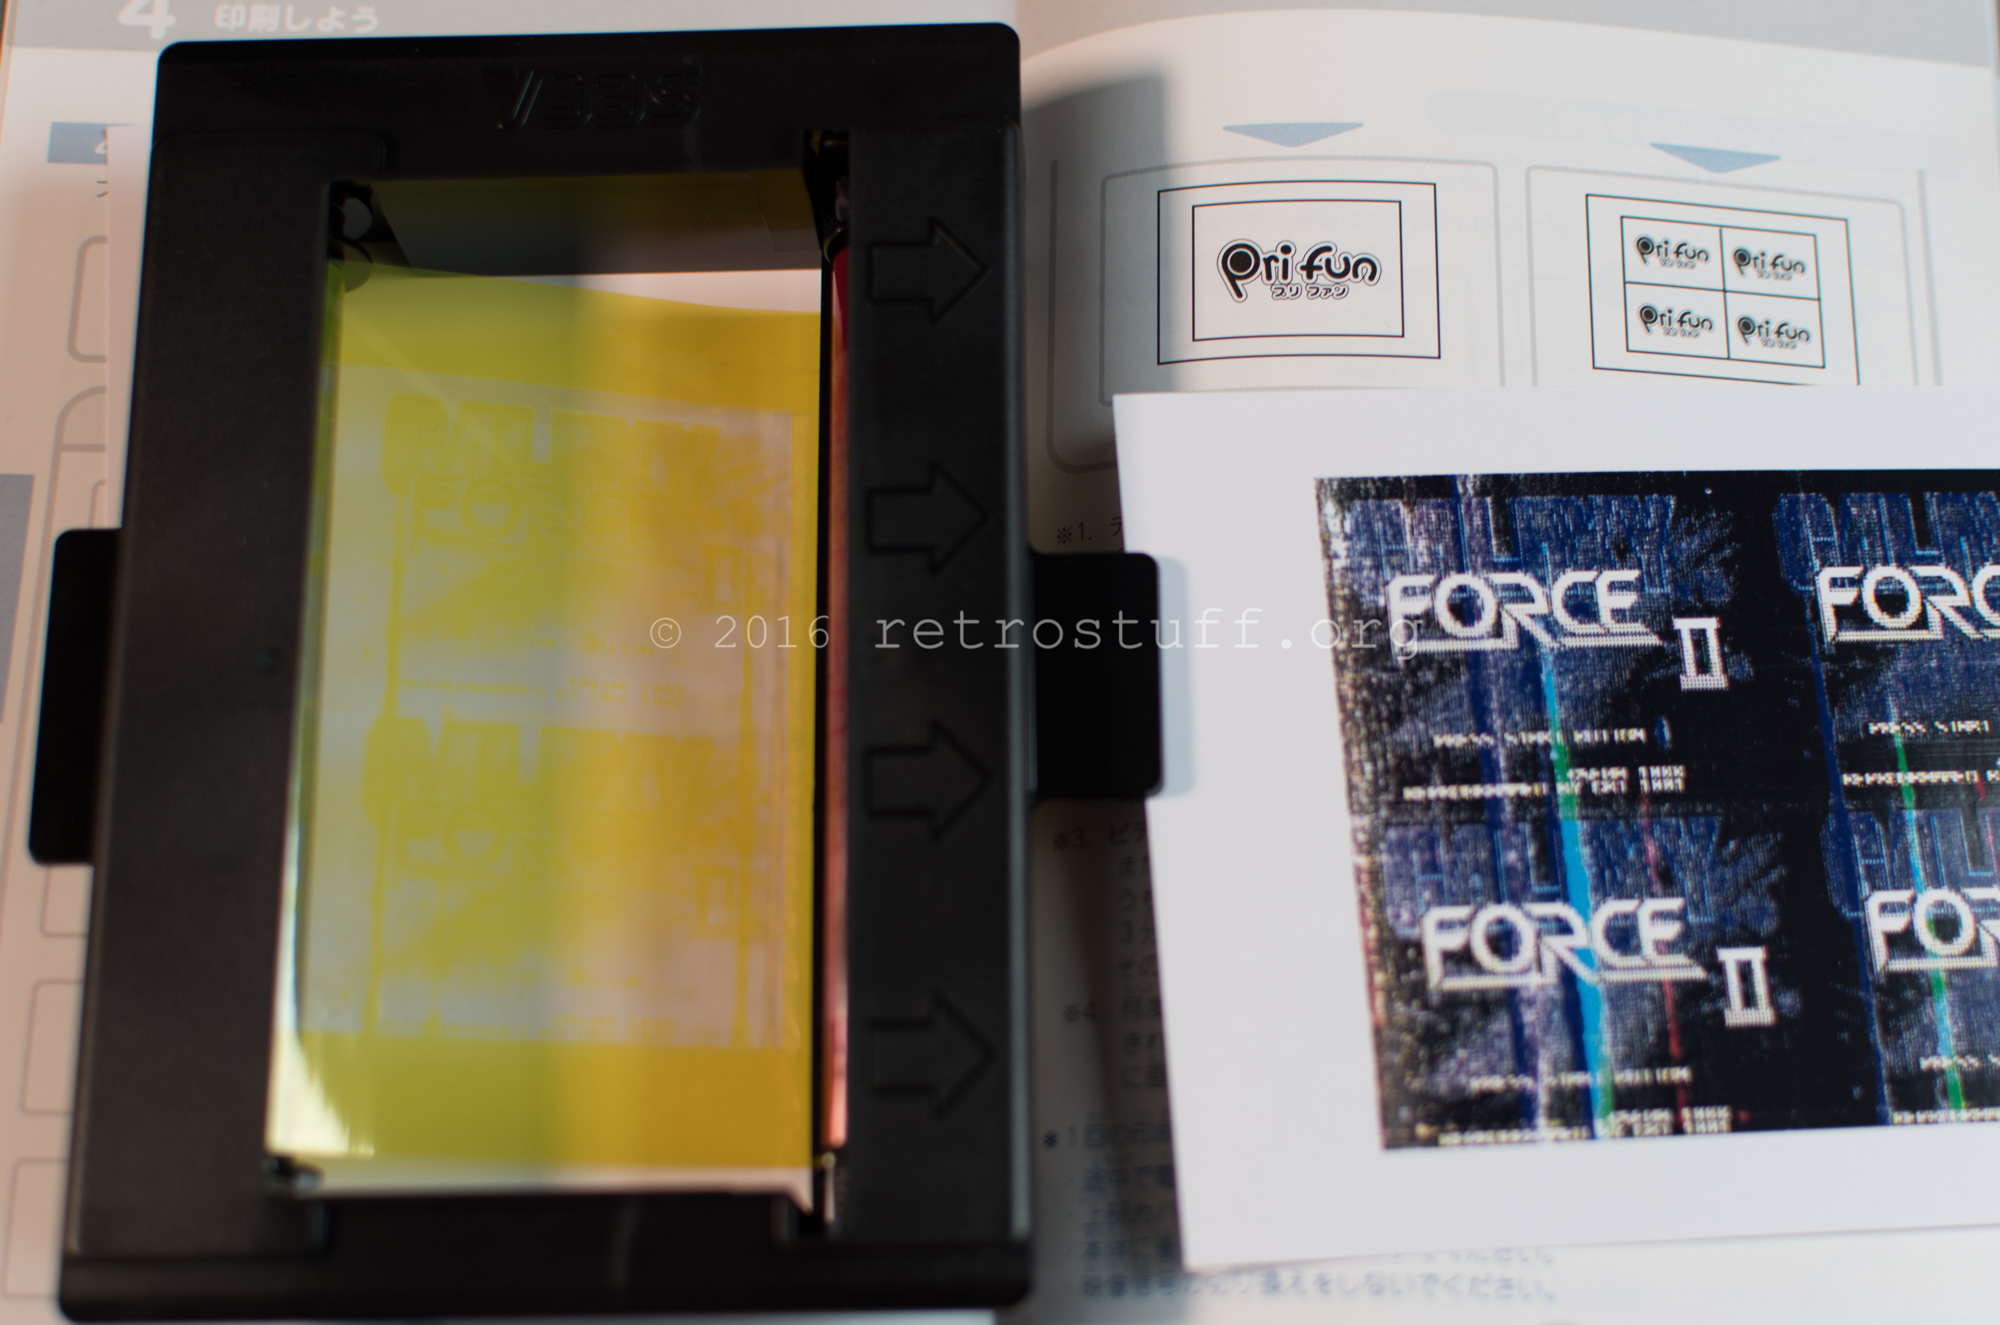
While printing, the LED counts down from 30 to 00, and the paper is being moved back and forth three times to print cyan, magenta and yellow. The whole process takes about two minutes. When done, the page is being extracted below the tray:
This is my first print of Galaxy Force II:
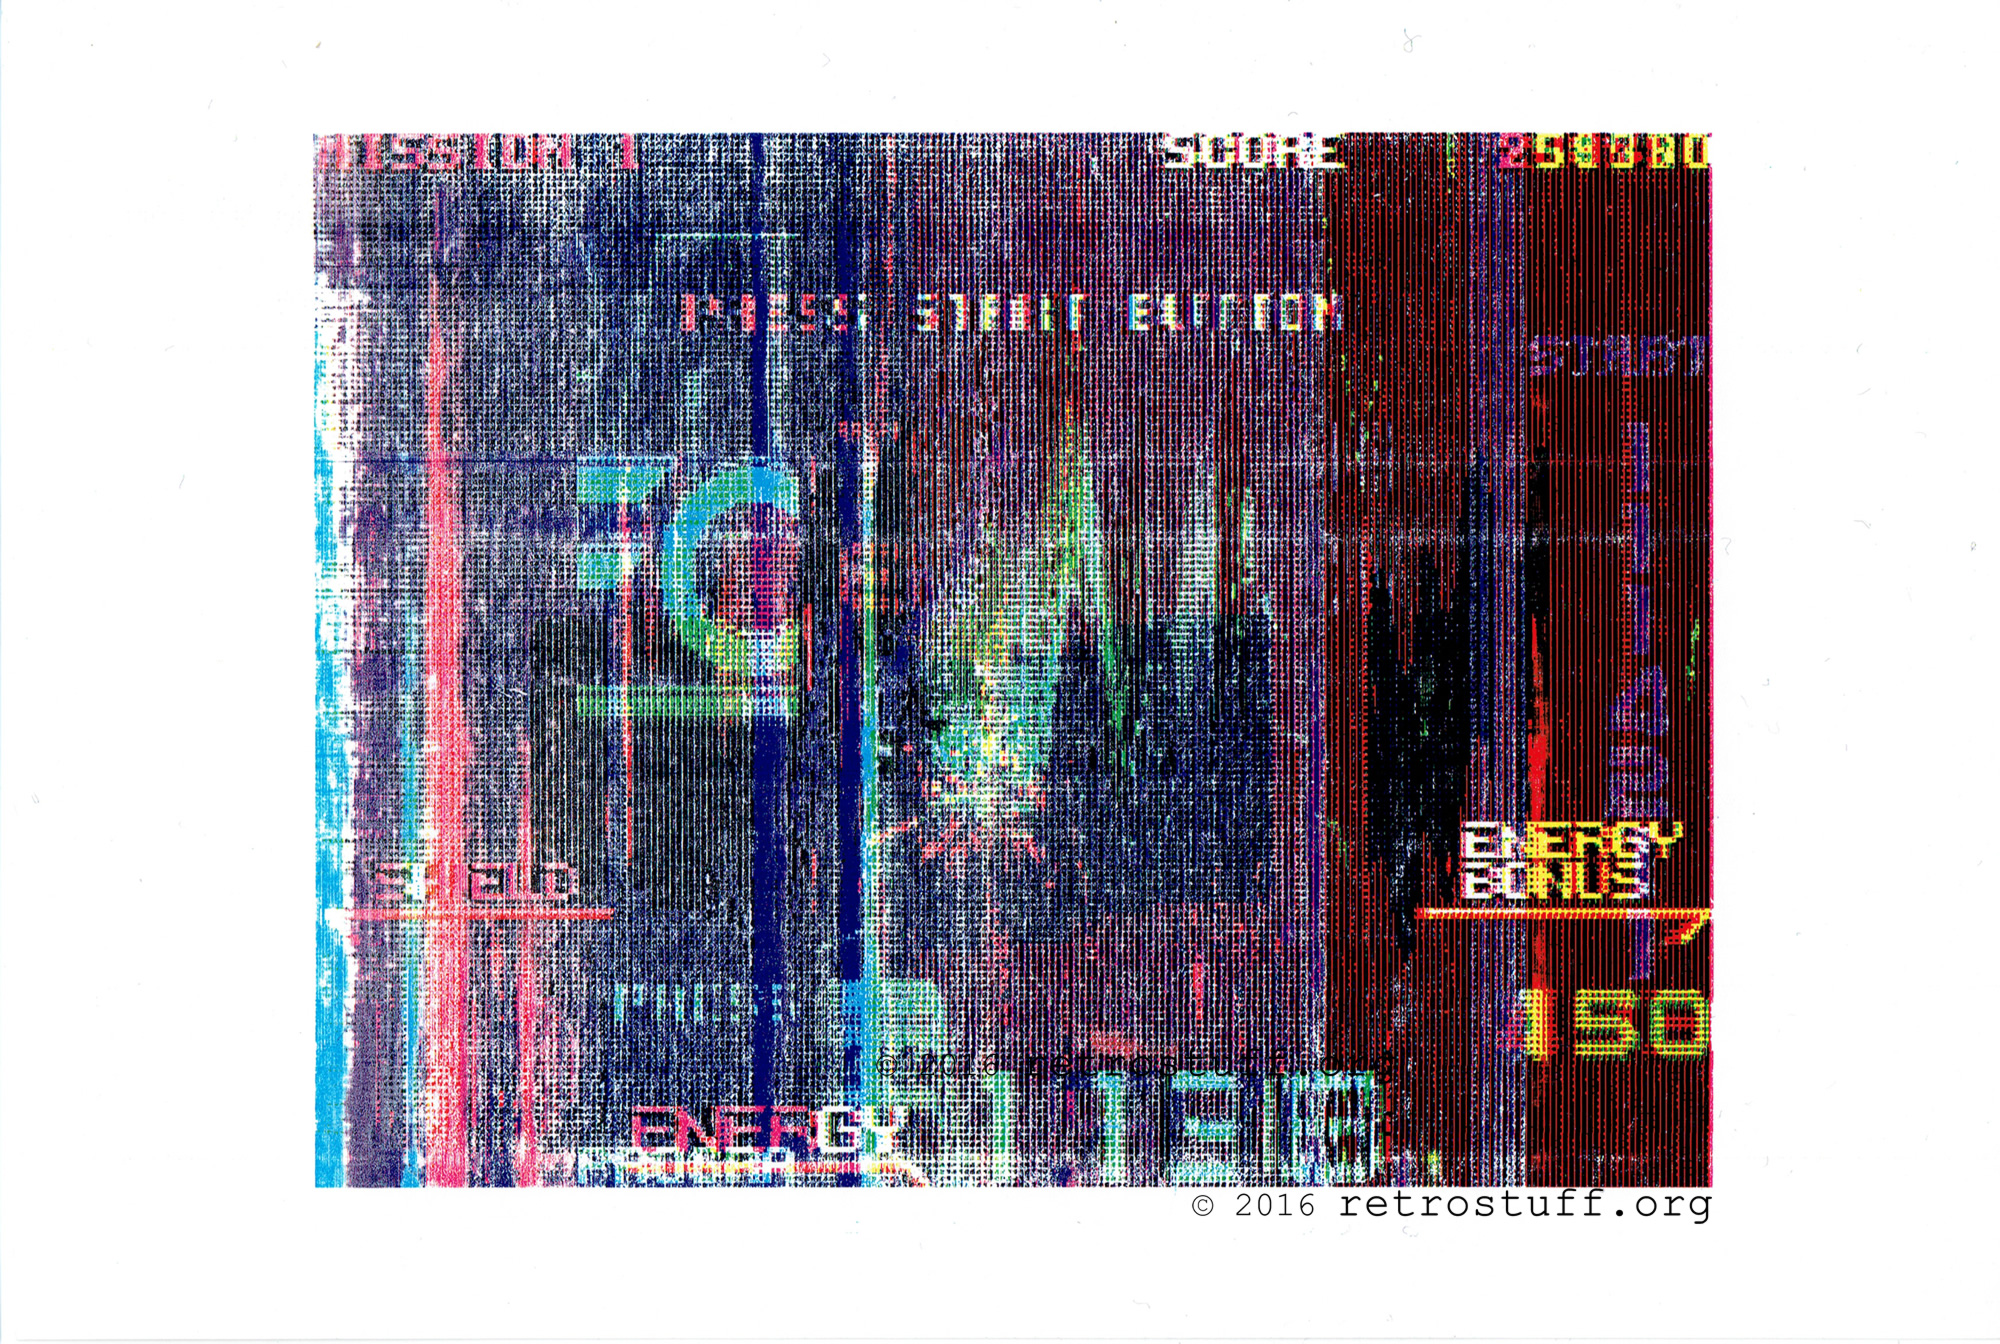
The Pause Pack
As you can see, this print shows many overlapping screens of the game – seems it is useless when the picture is moving. Luckily, the Pause Pack to freeze the screen was included:
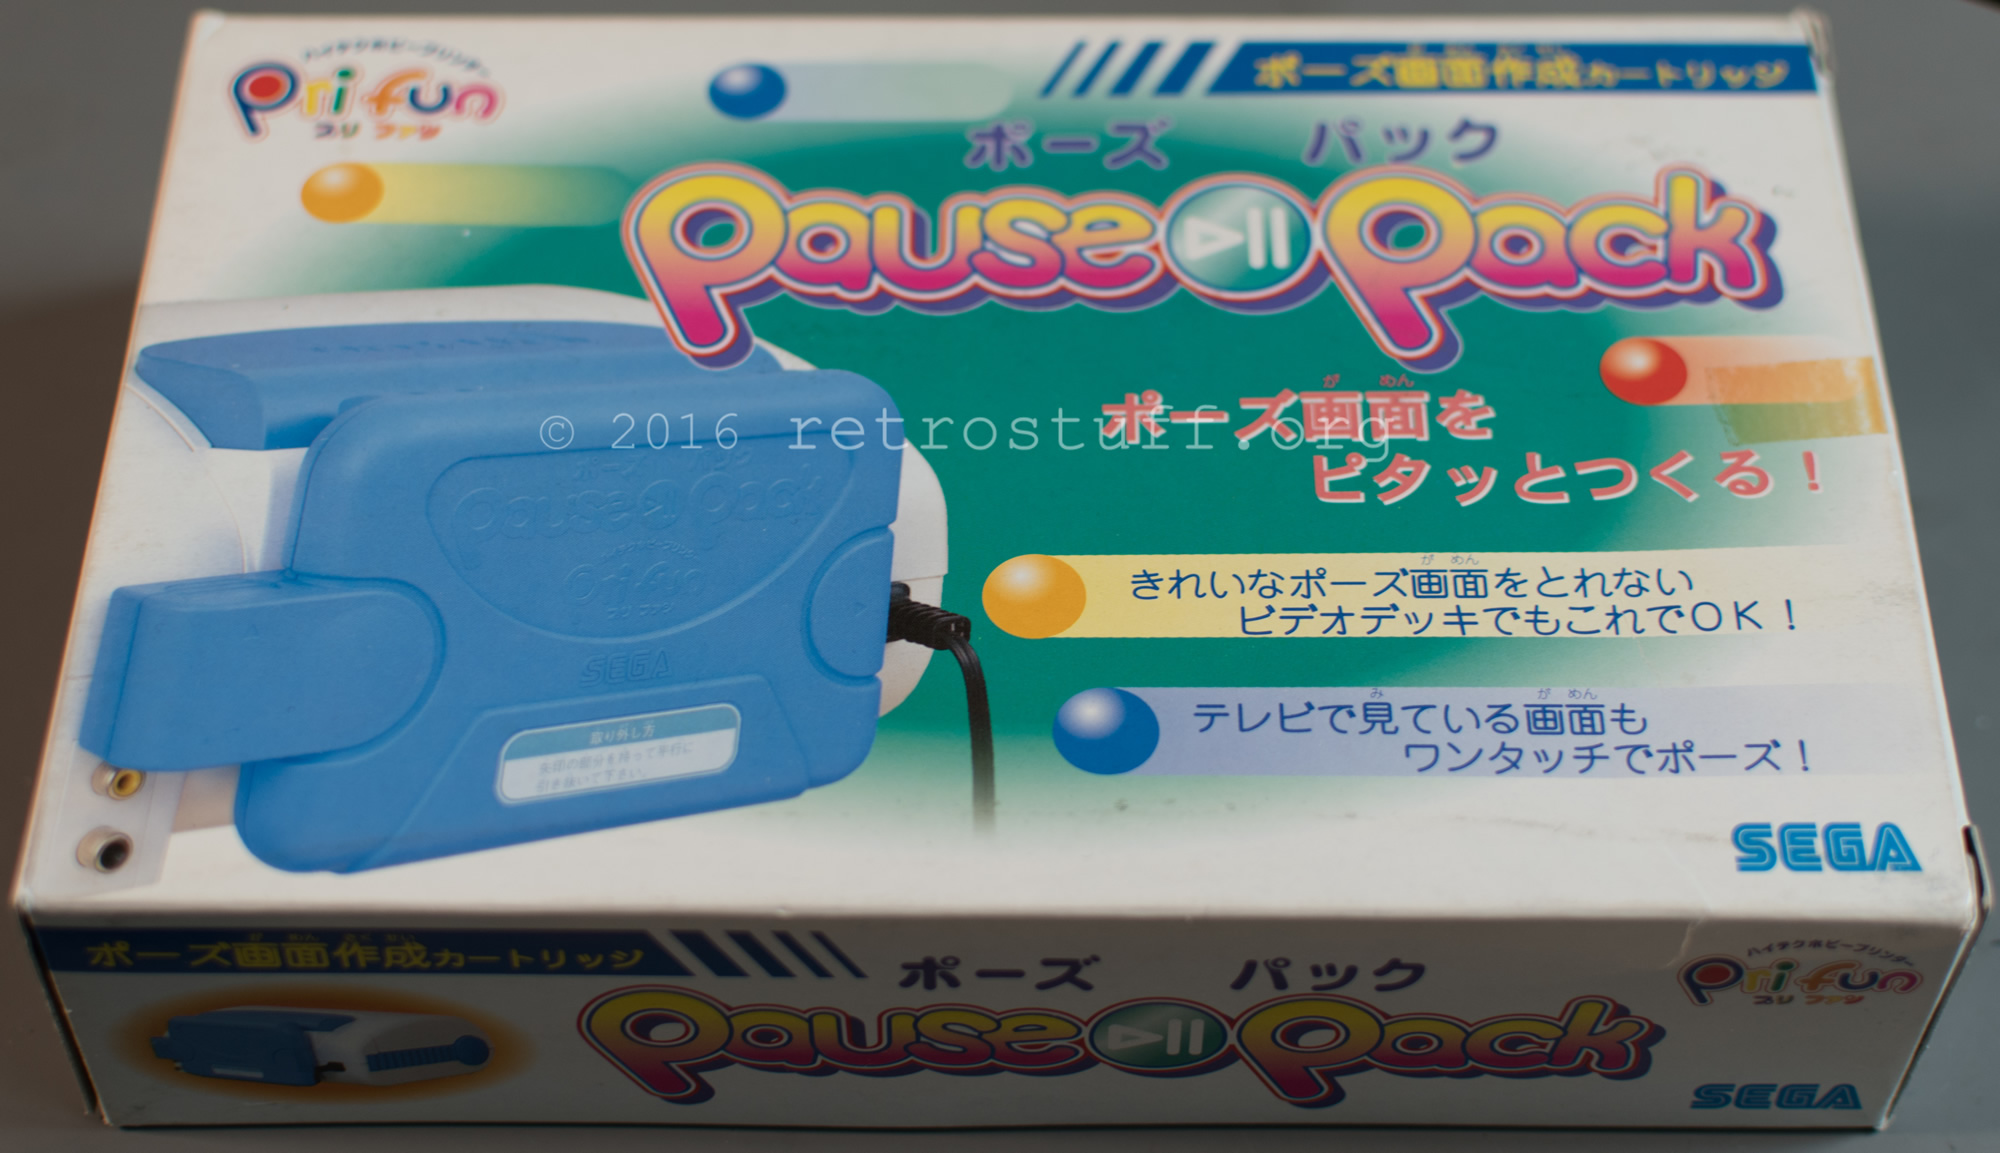

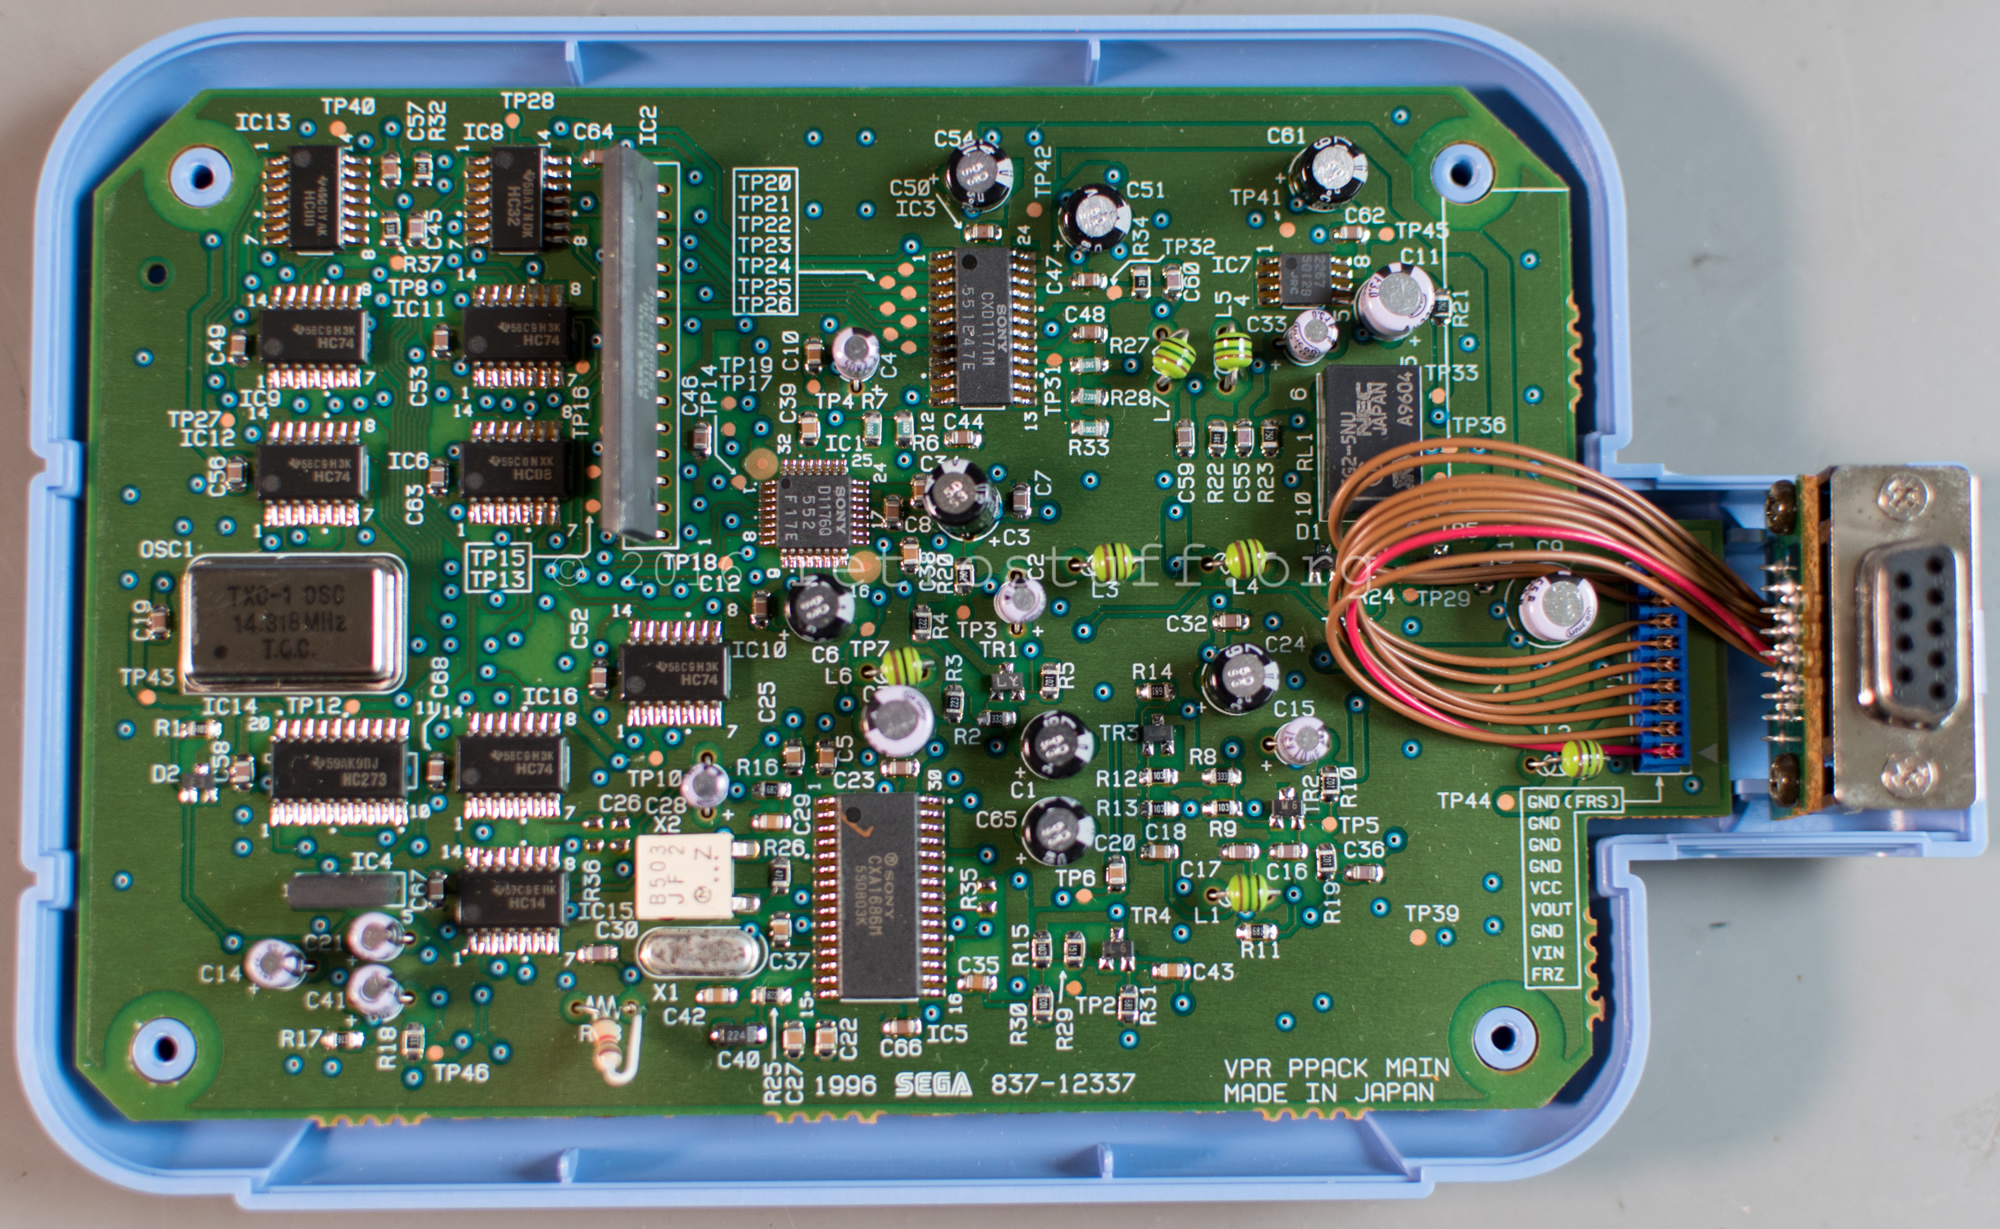
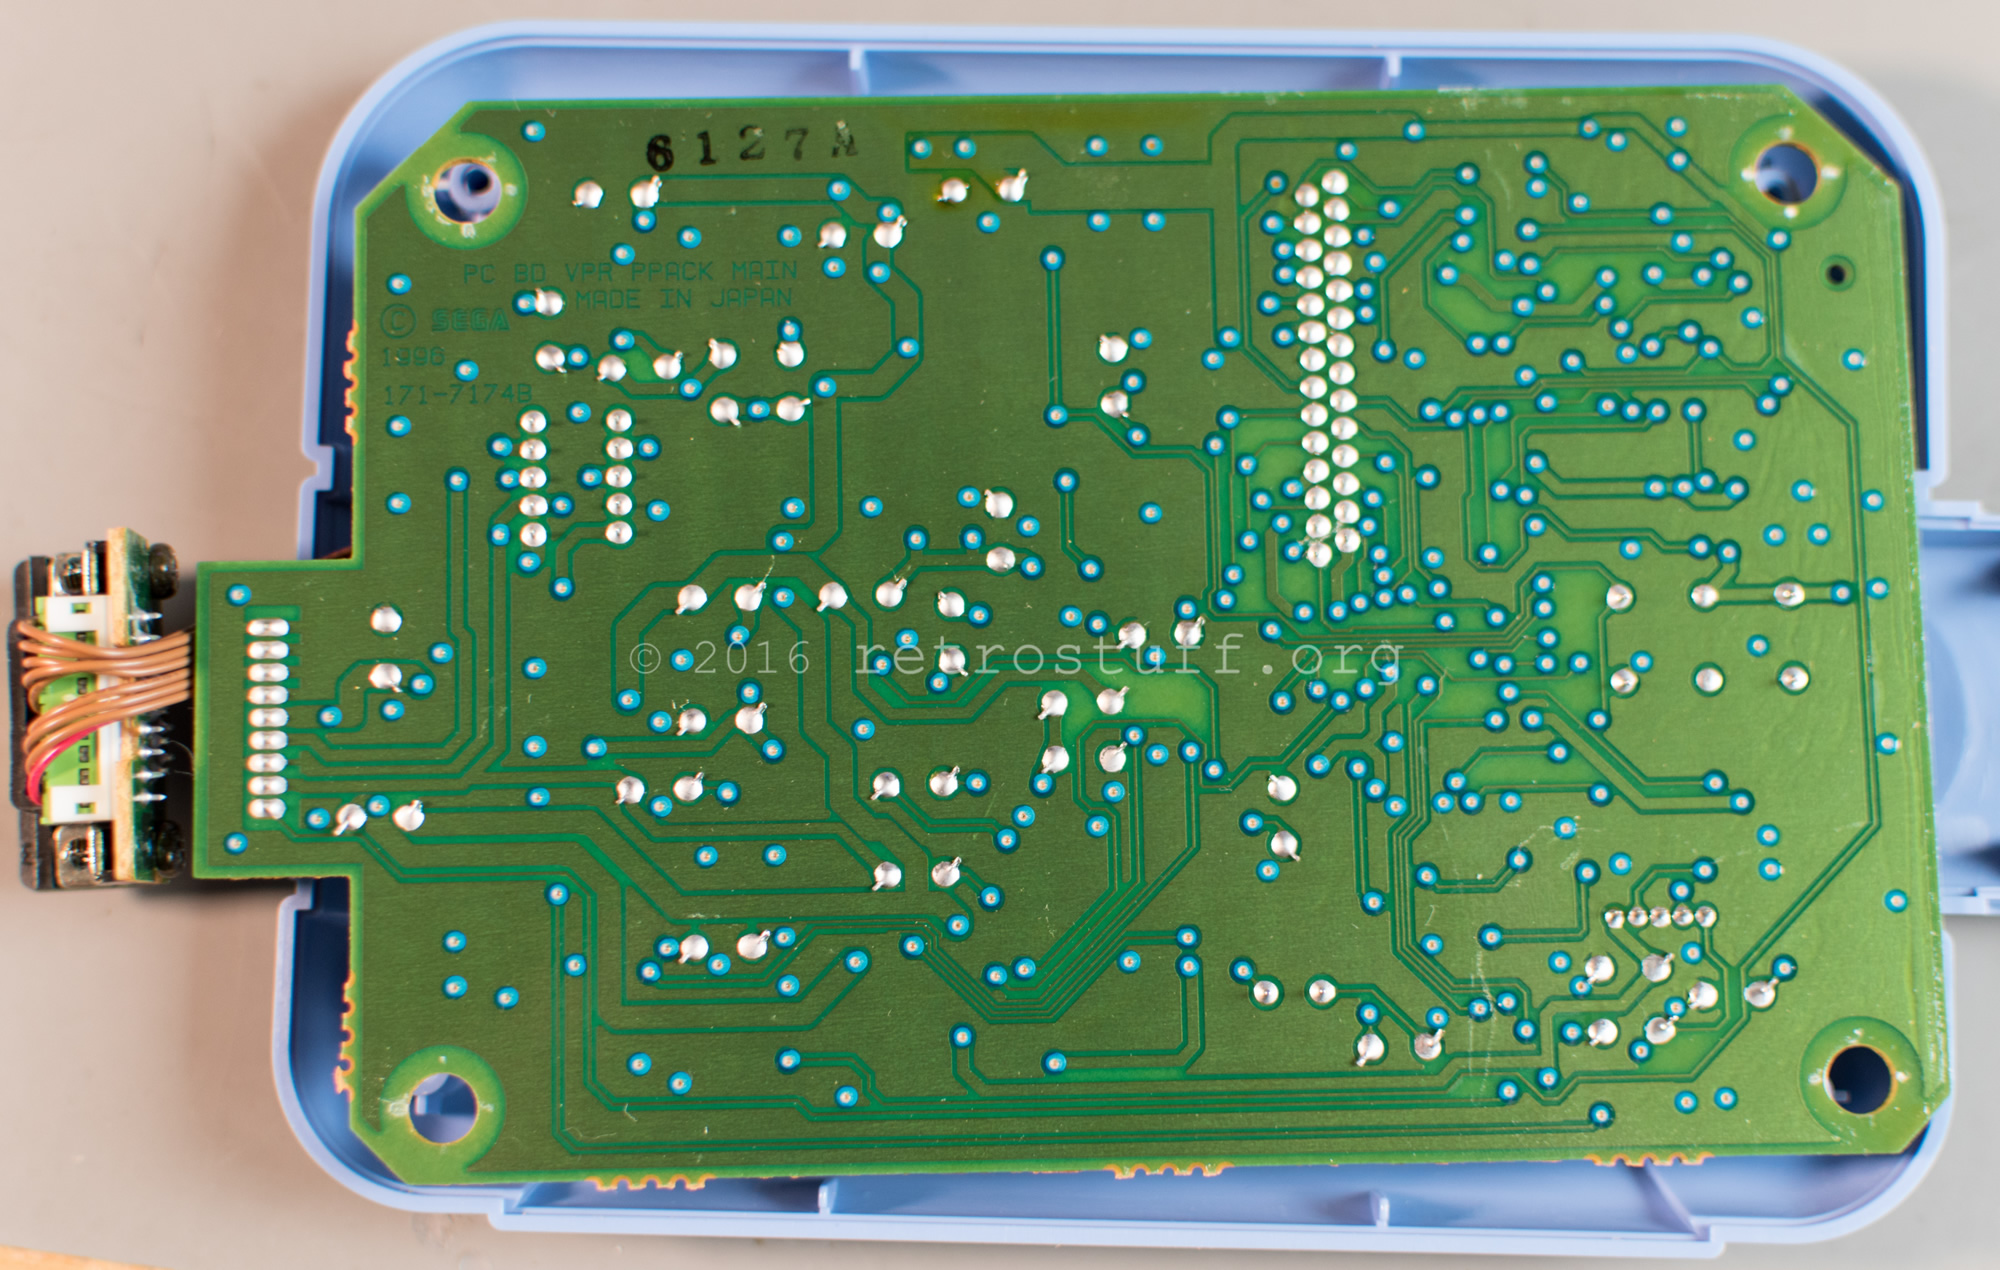
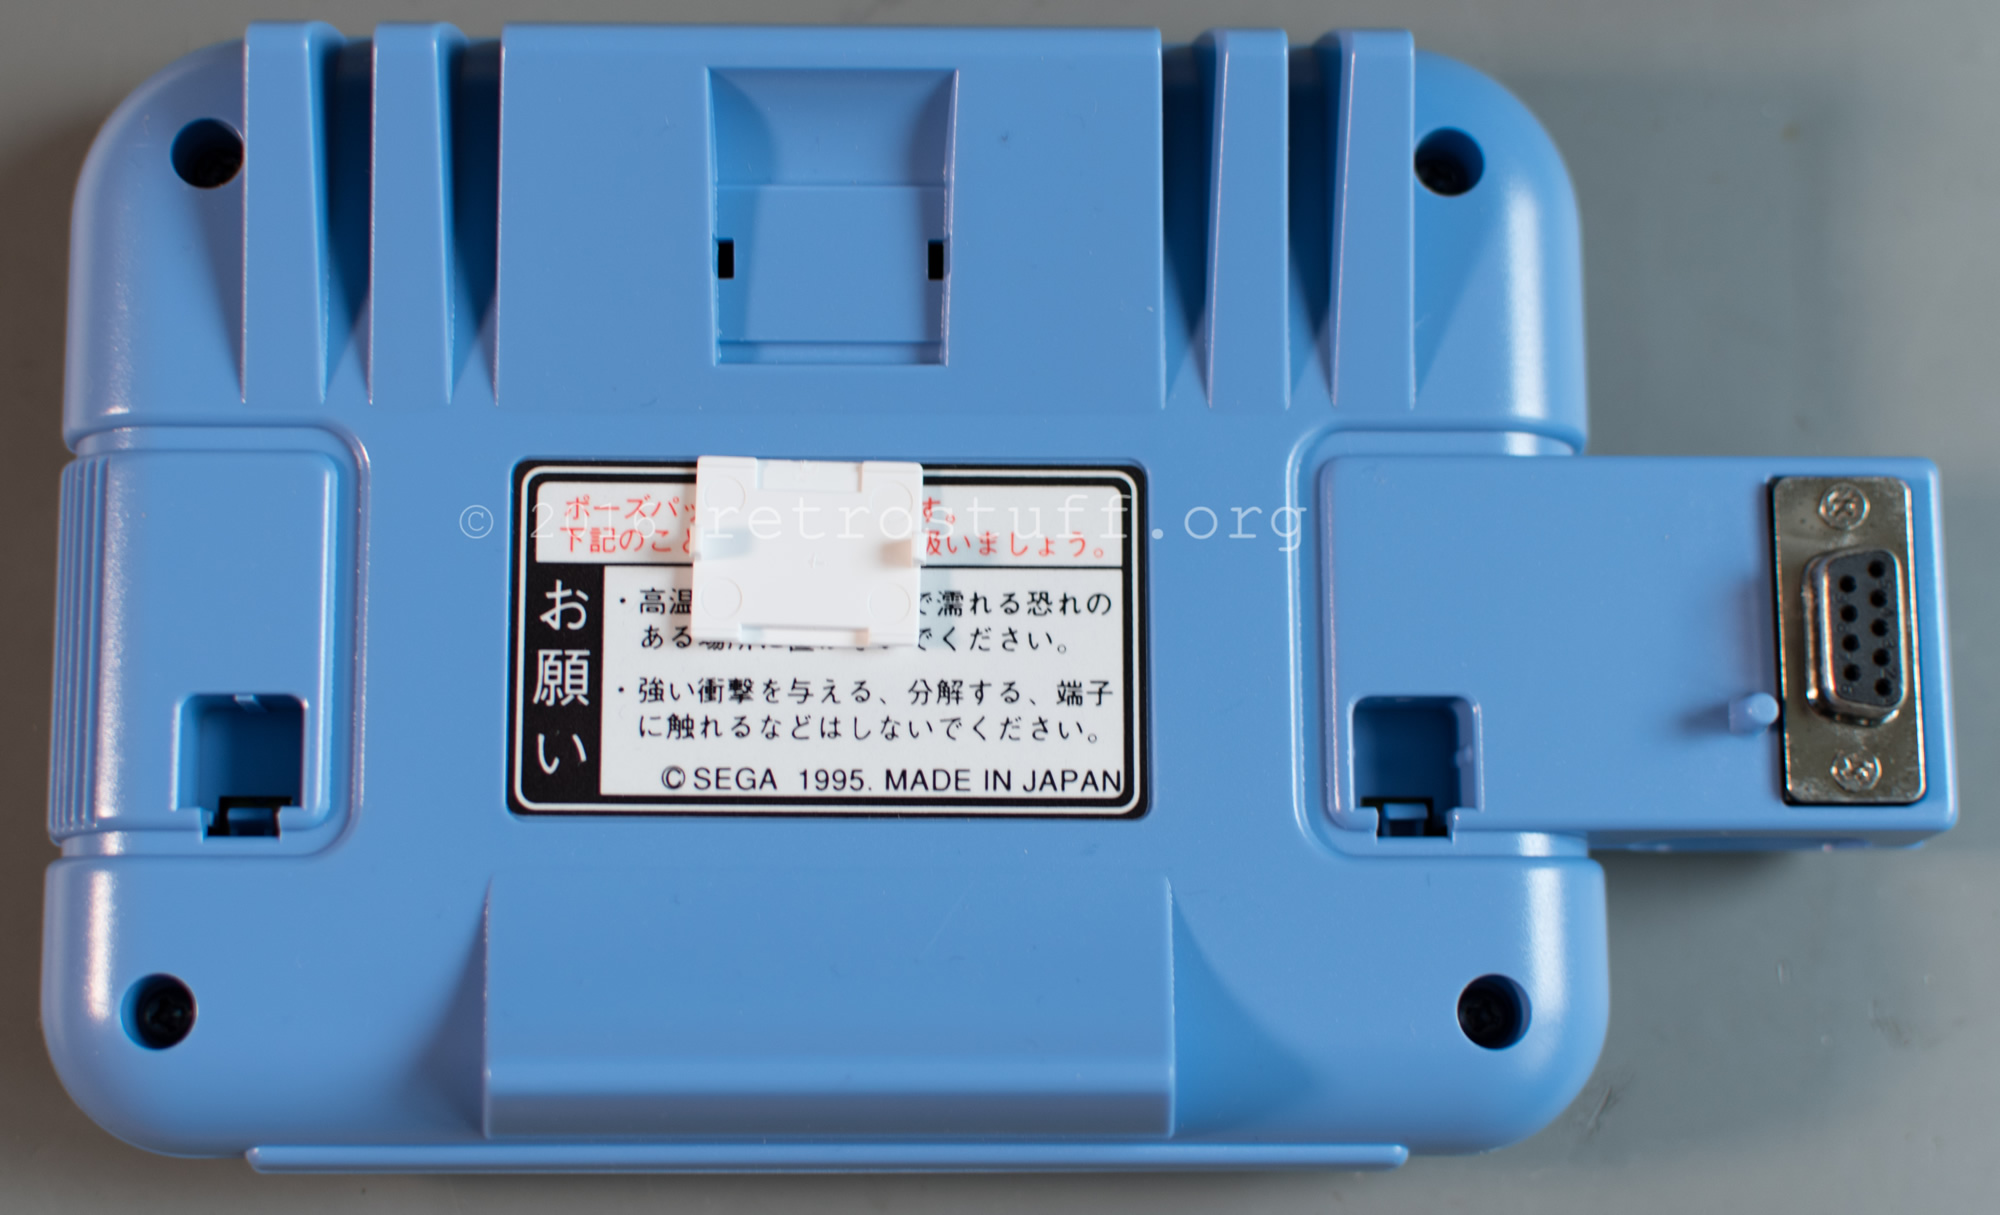
Inside the Pause Pack:
The cover of the connector can be stored in the cartridge – very convenient:

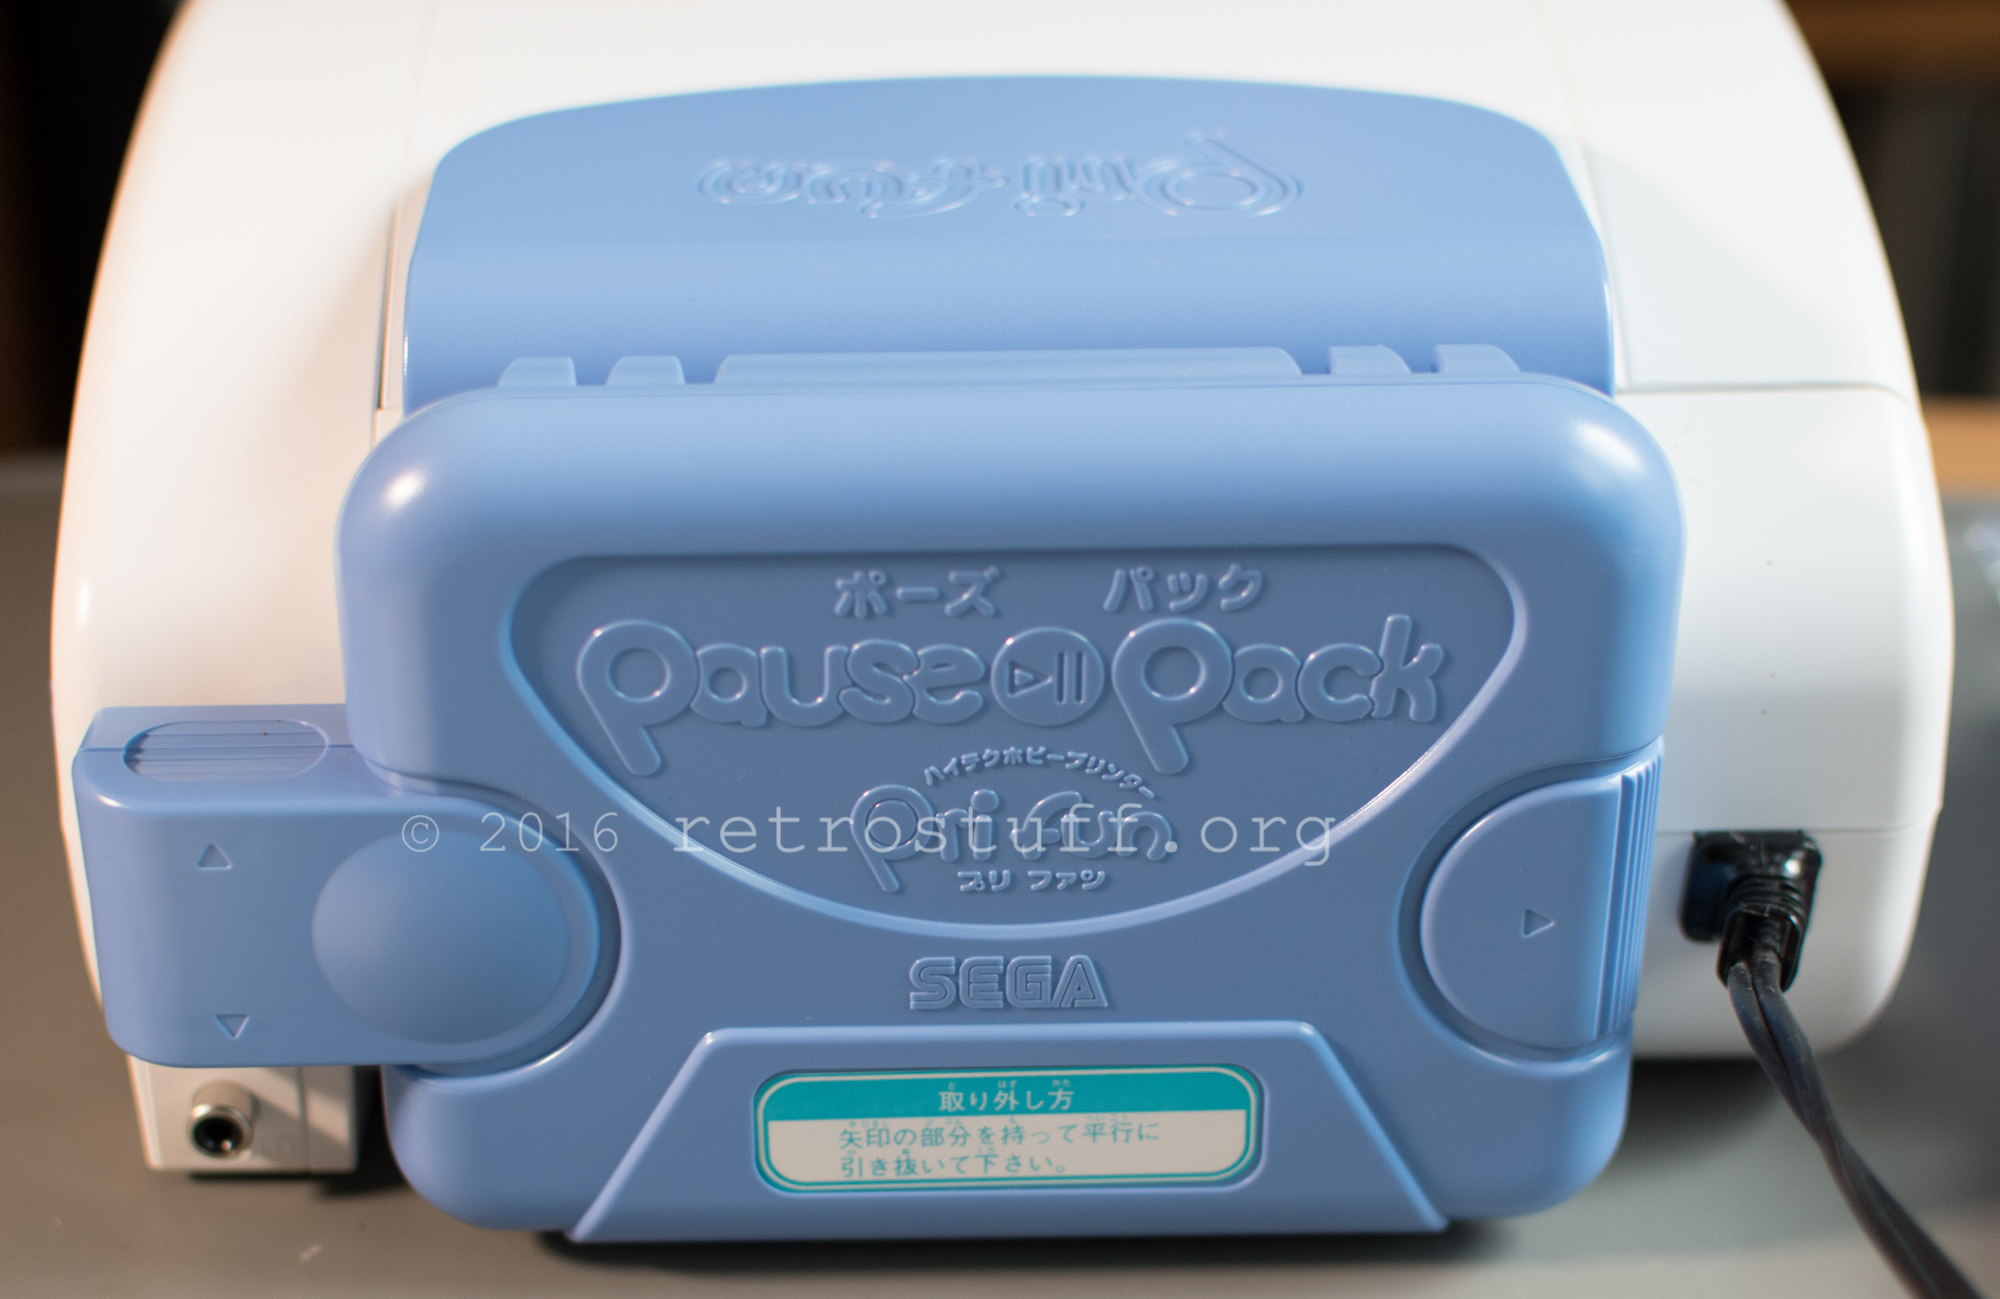
Pause Pack attached to the printer:
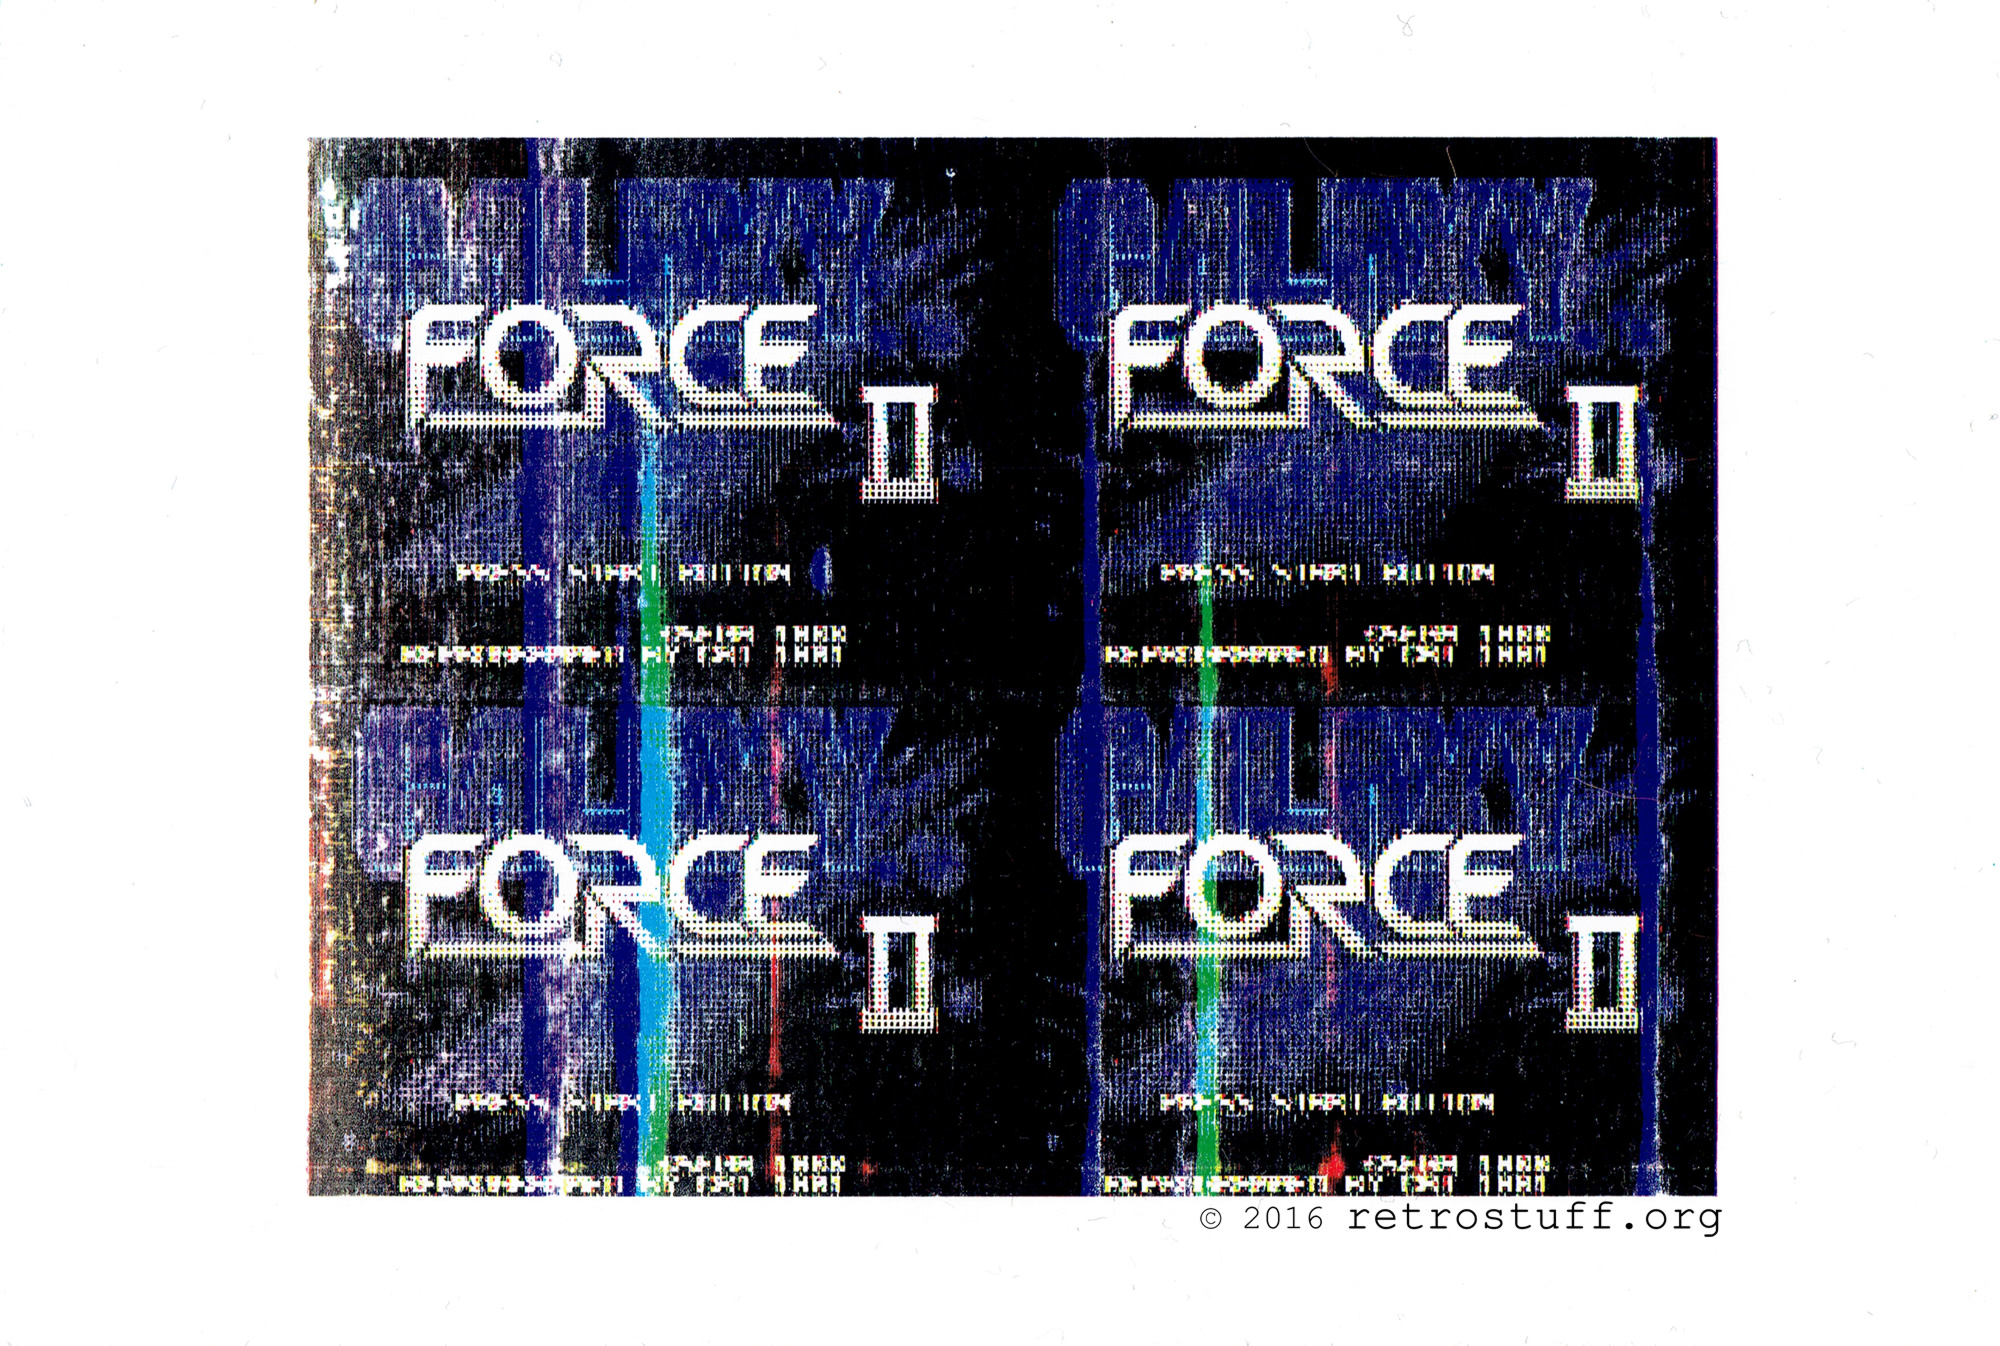
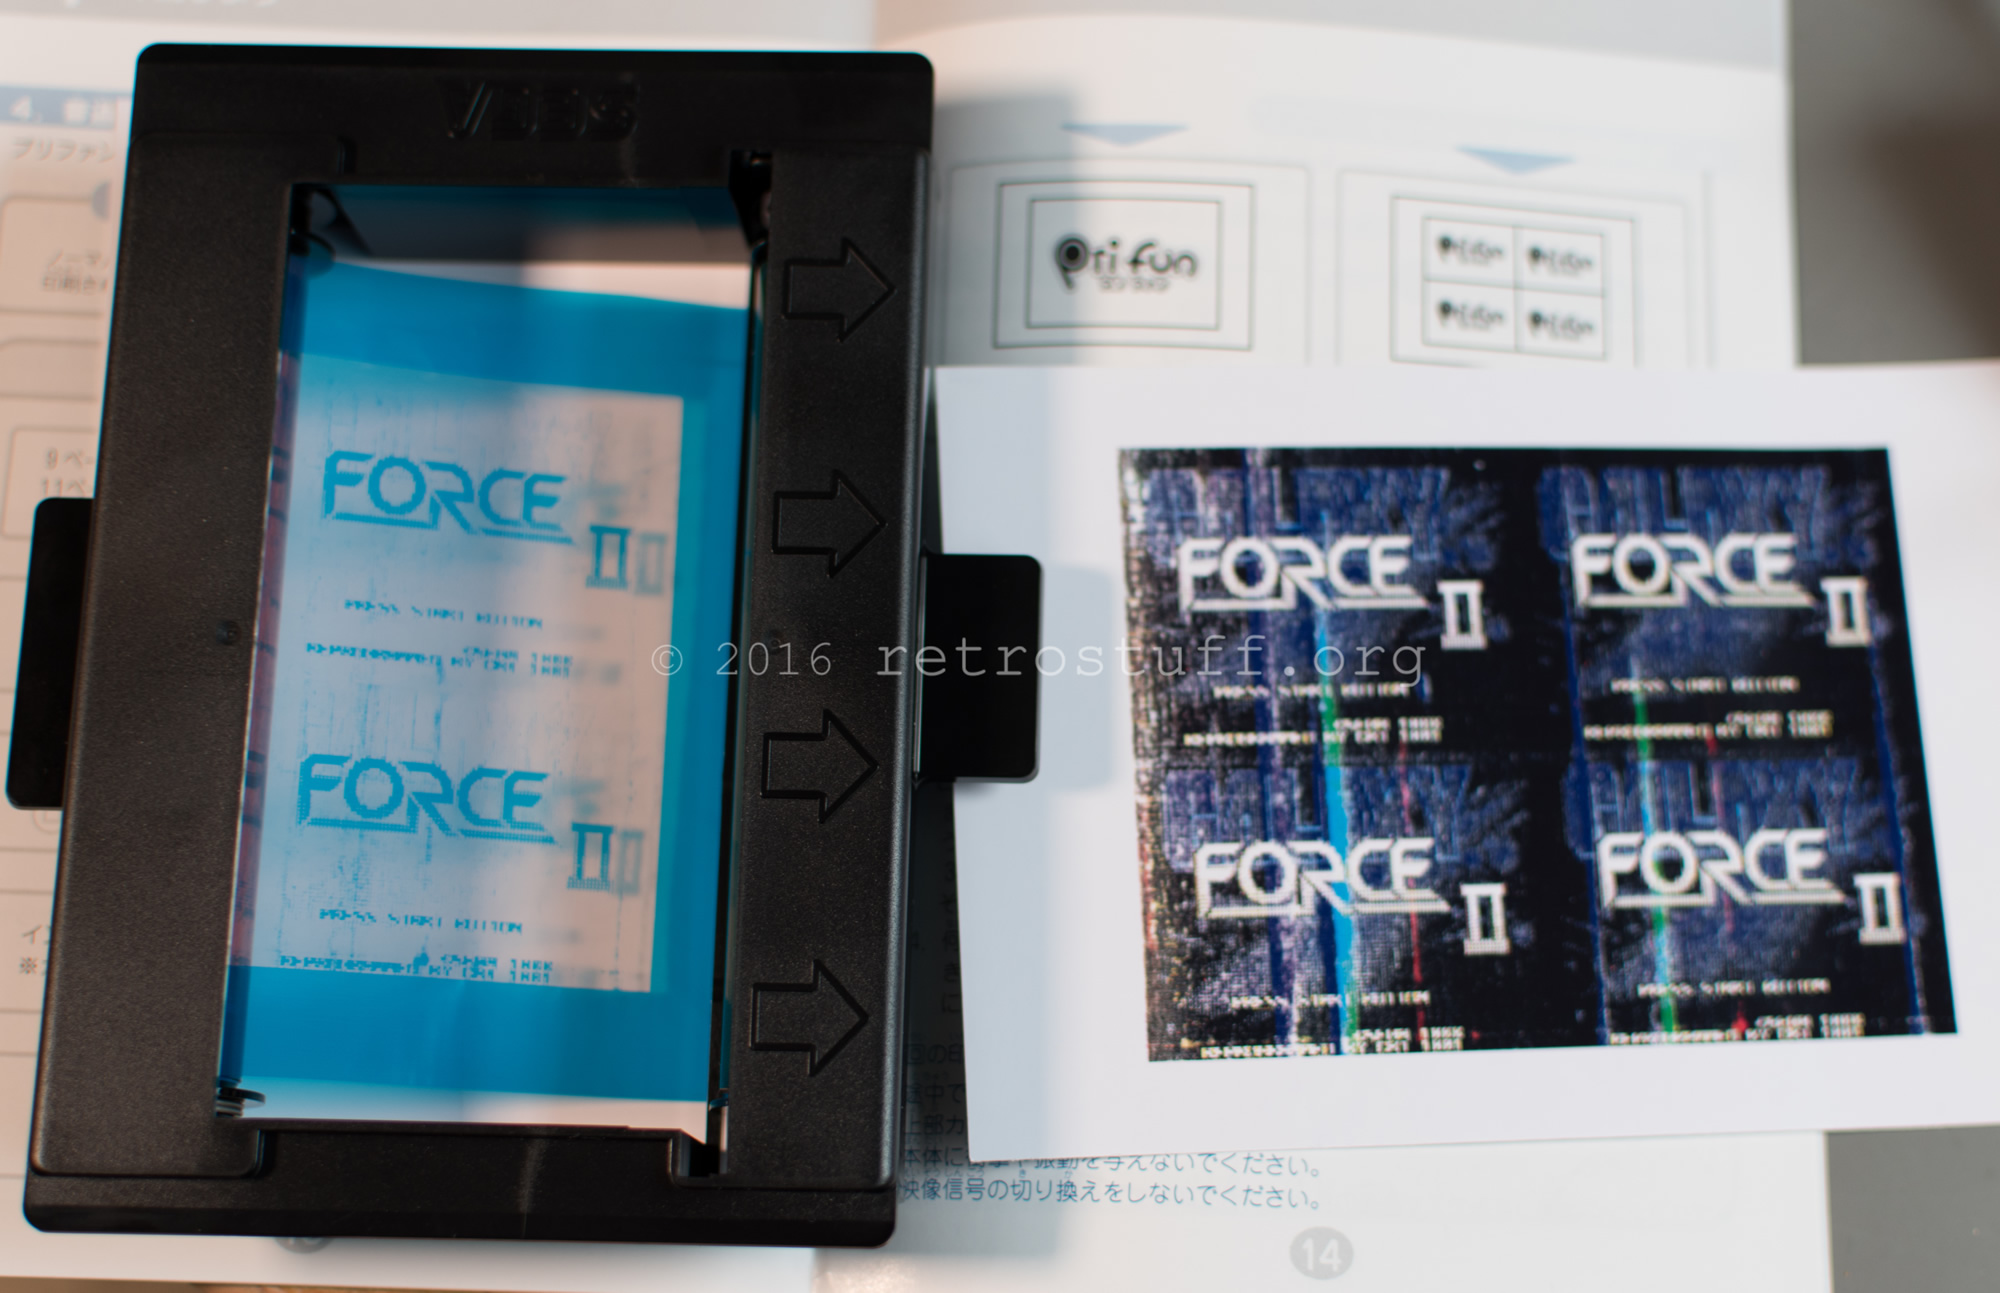
Let’s see what we get now after pushing the Pause button:
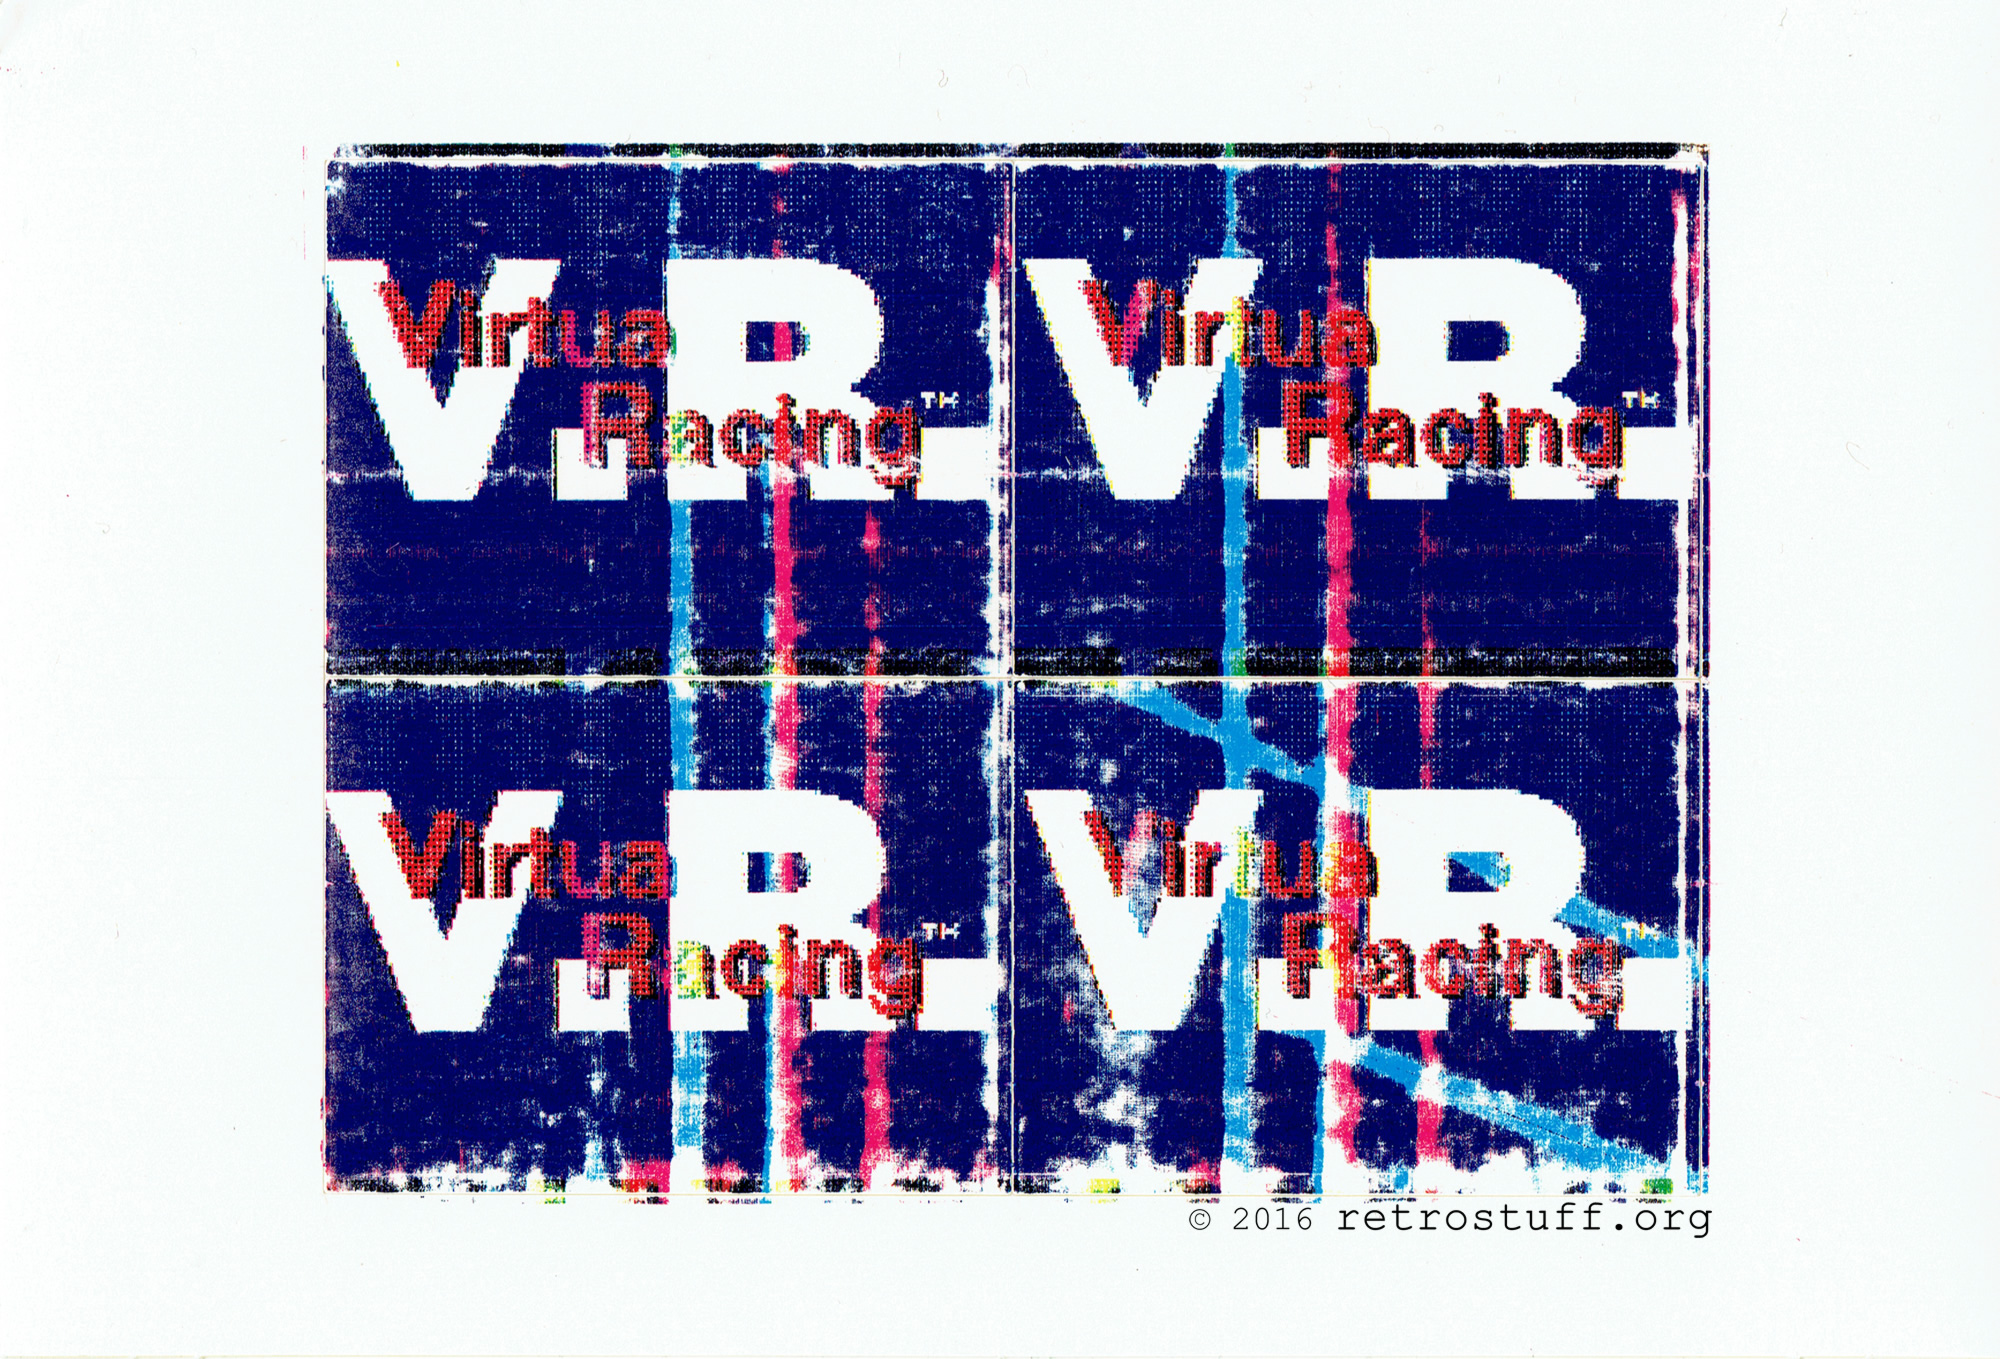
And the same picture in 4x mode:
How does it work?
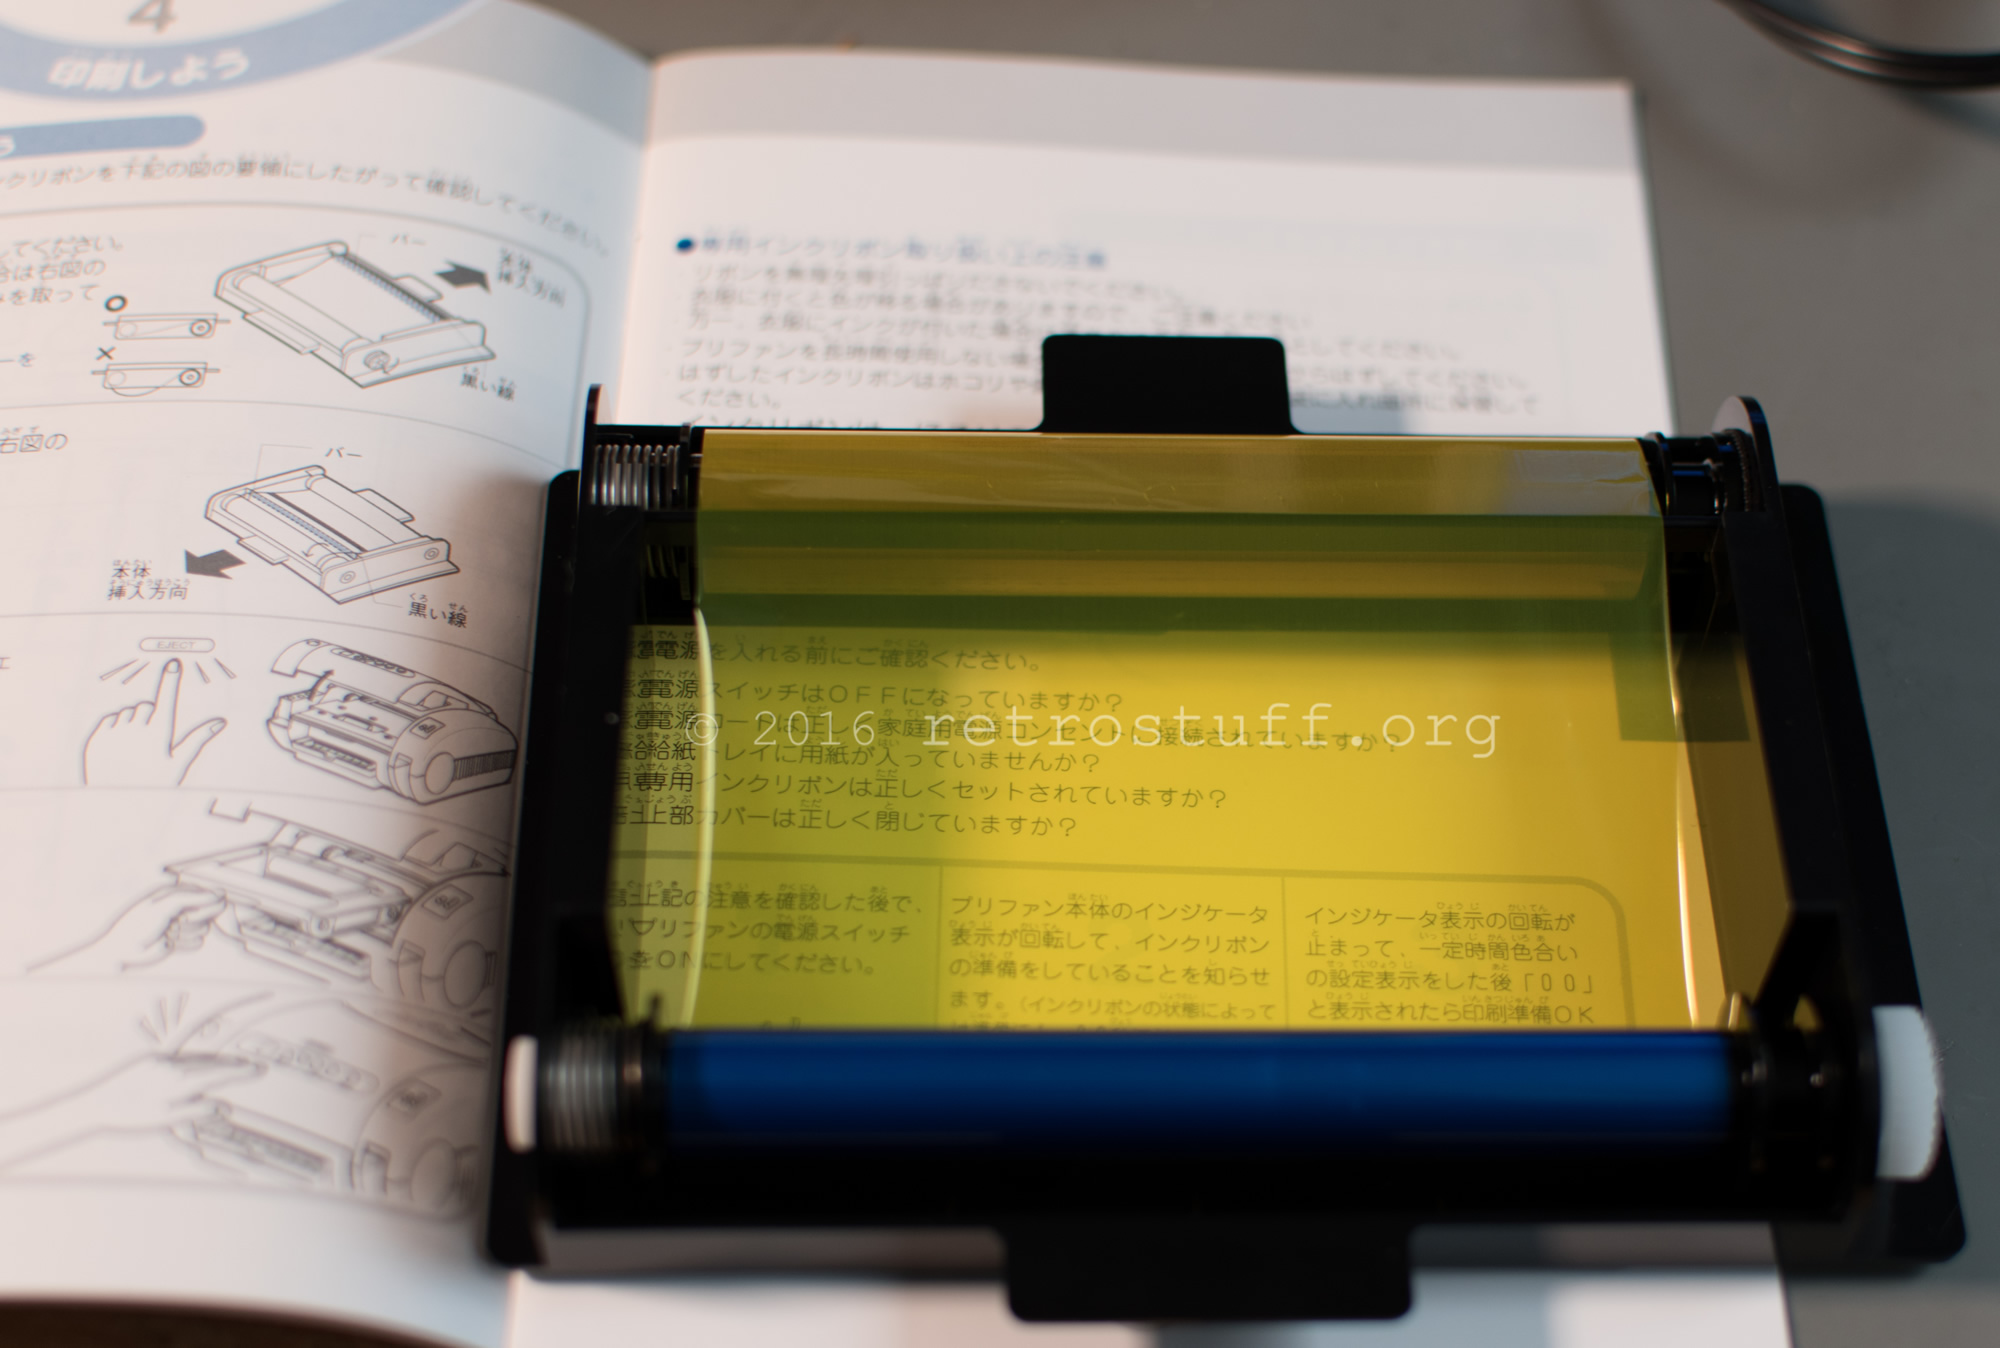
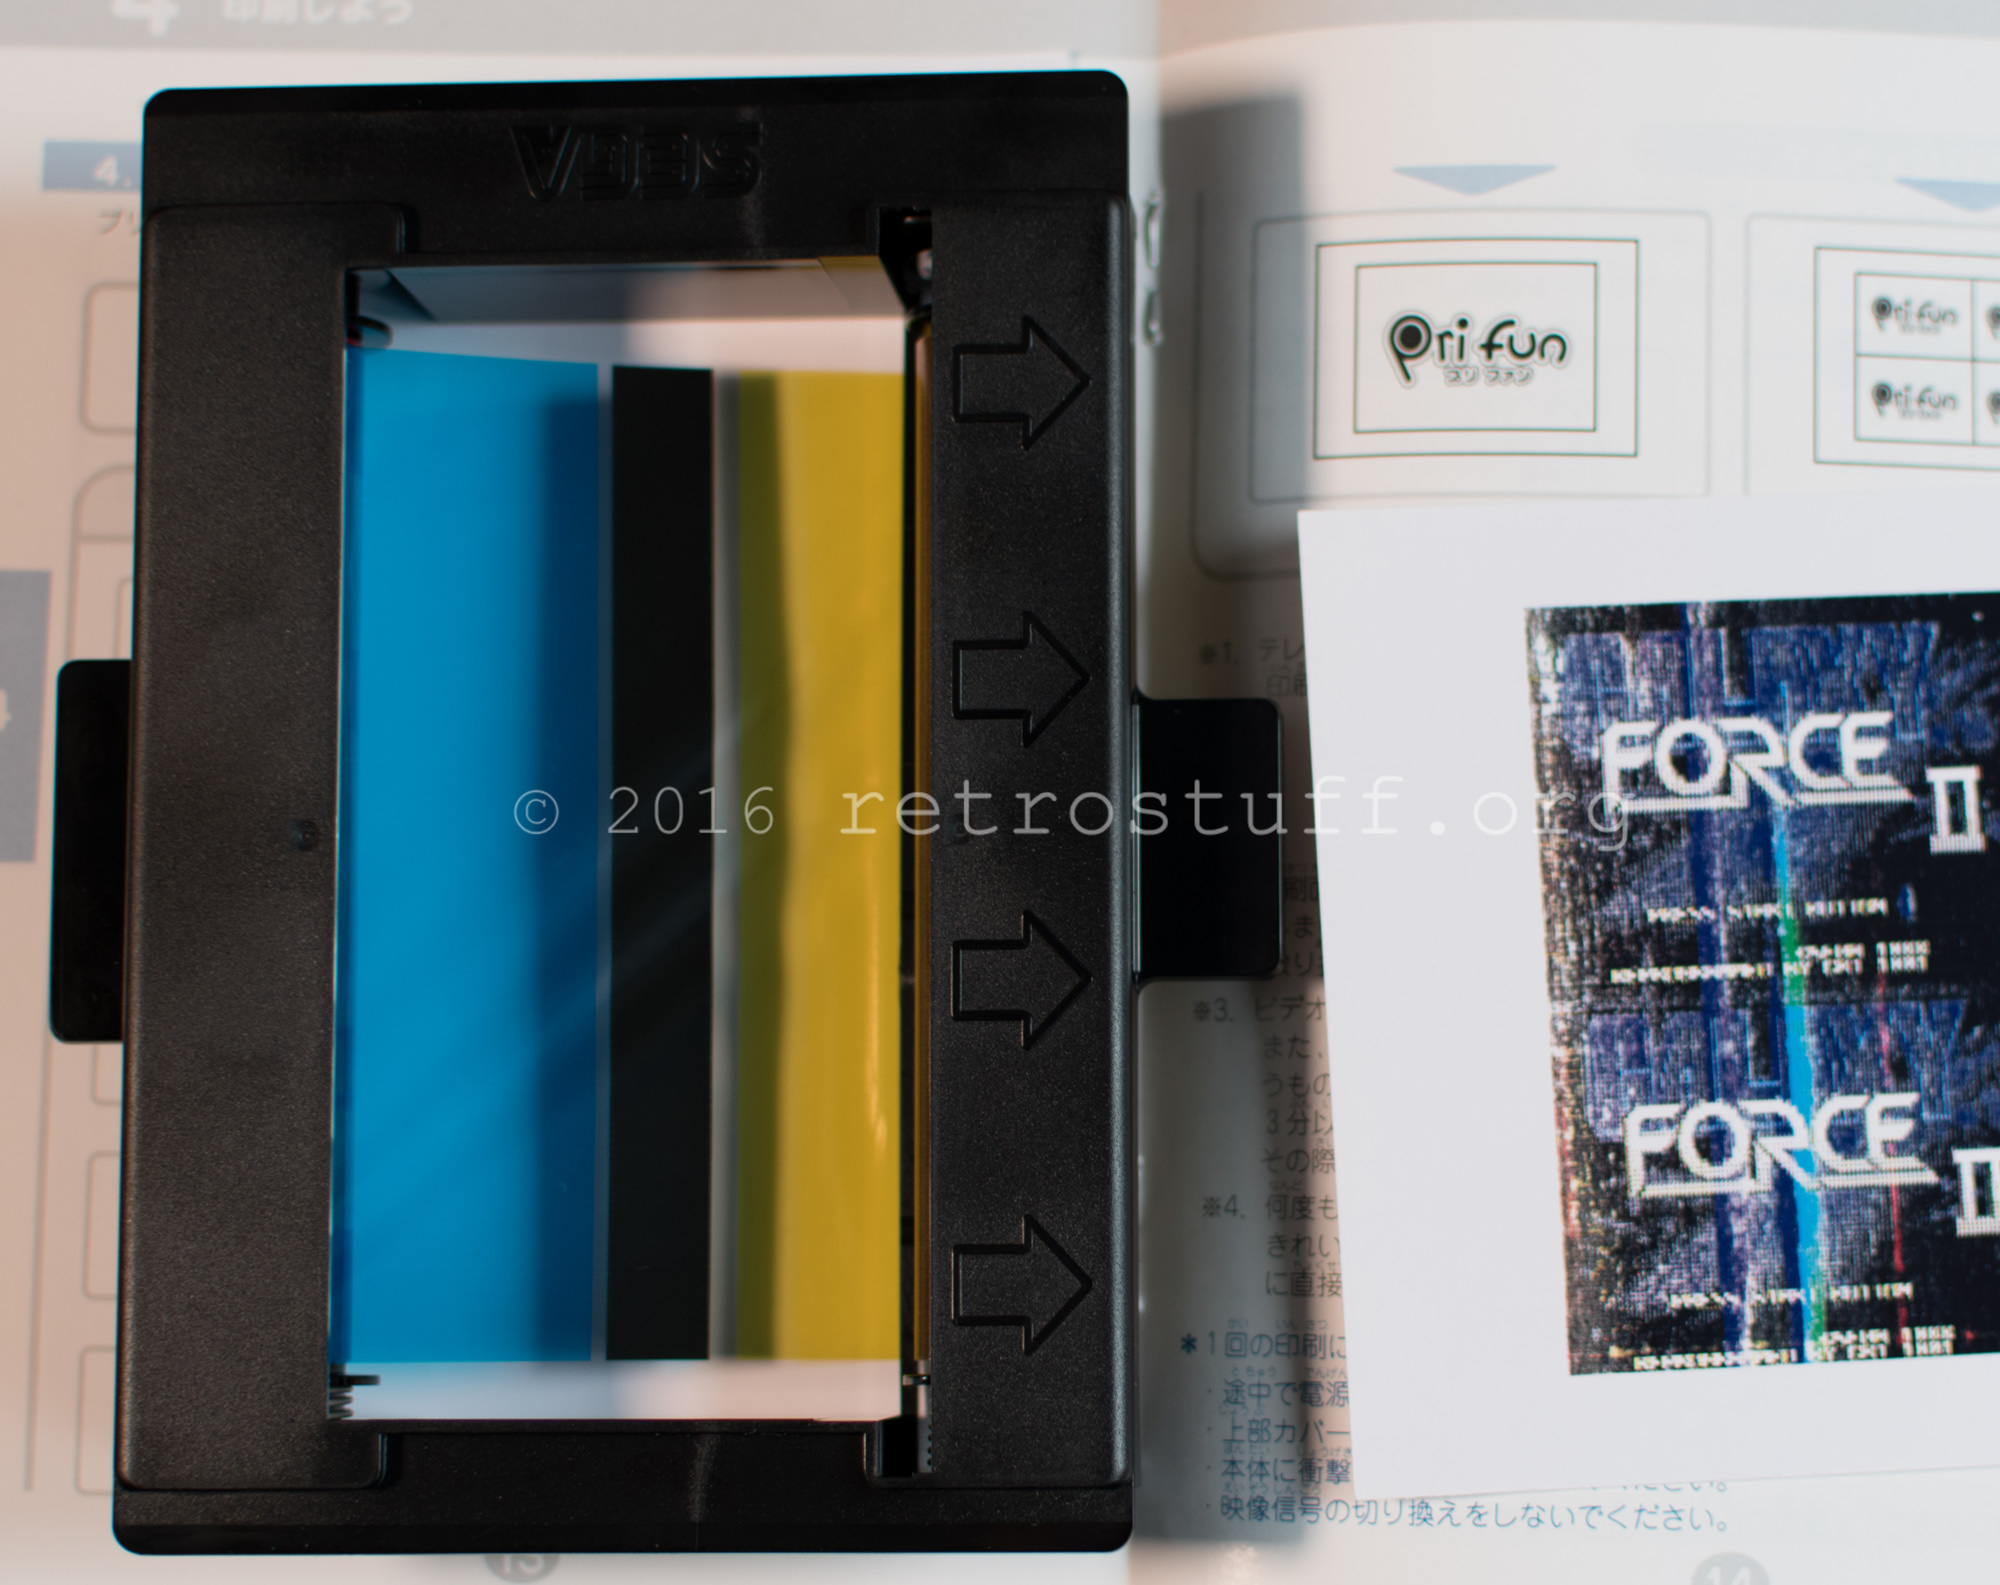
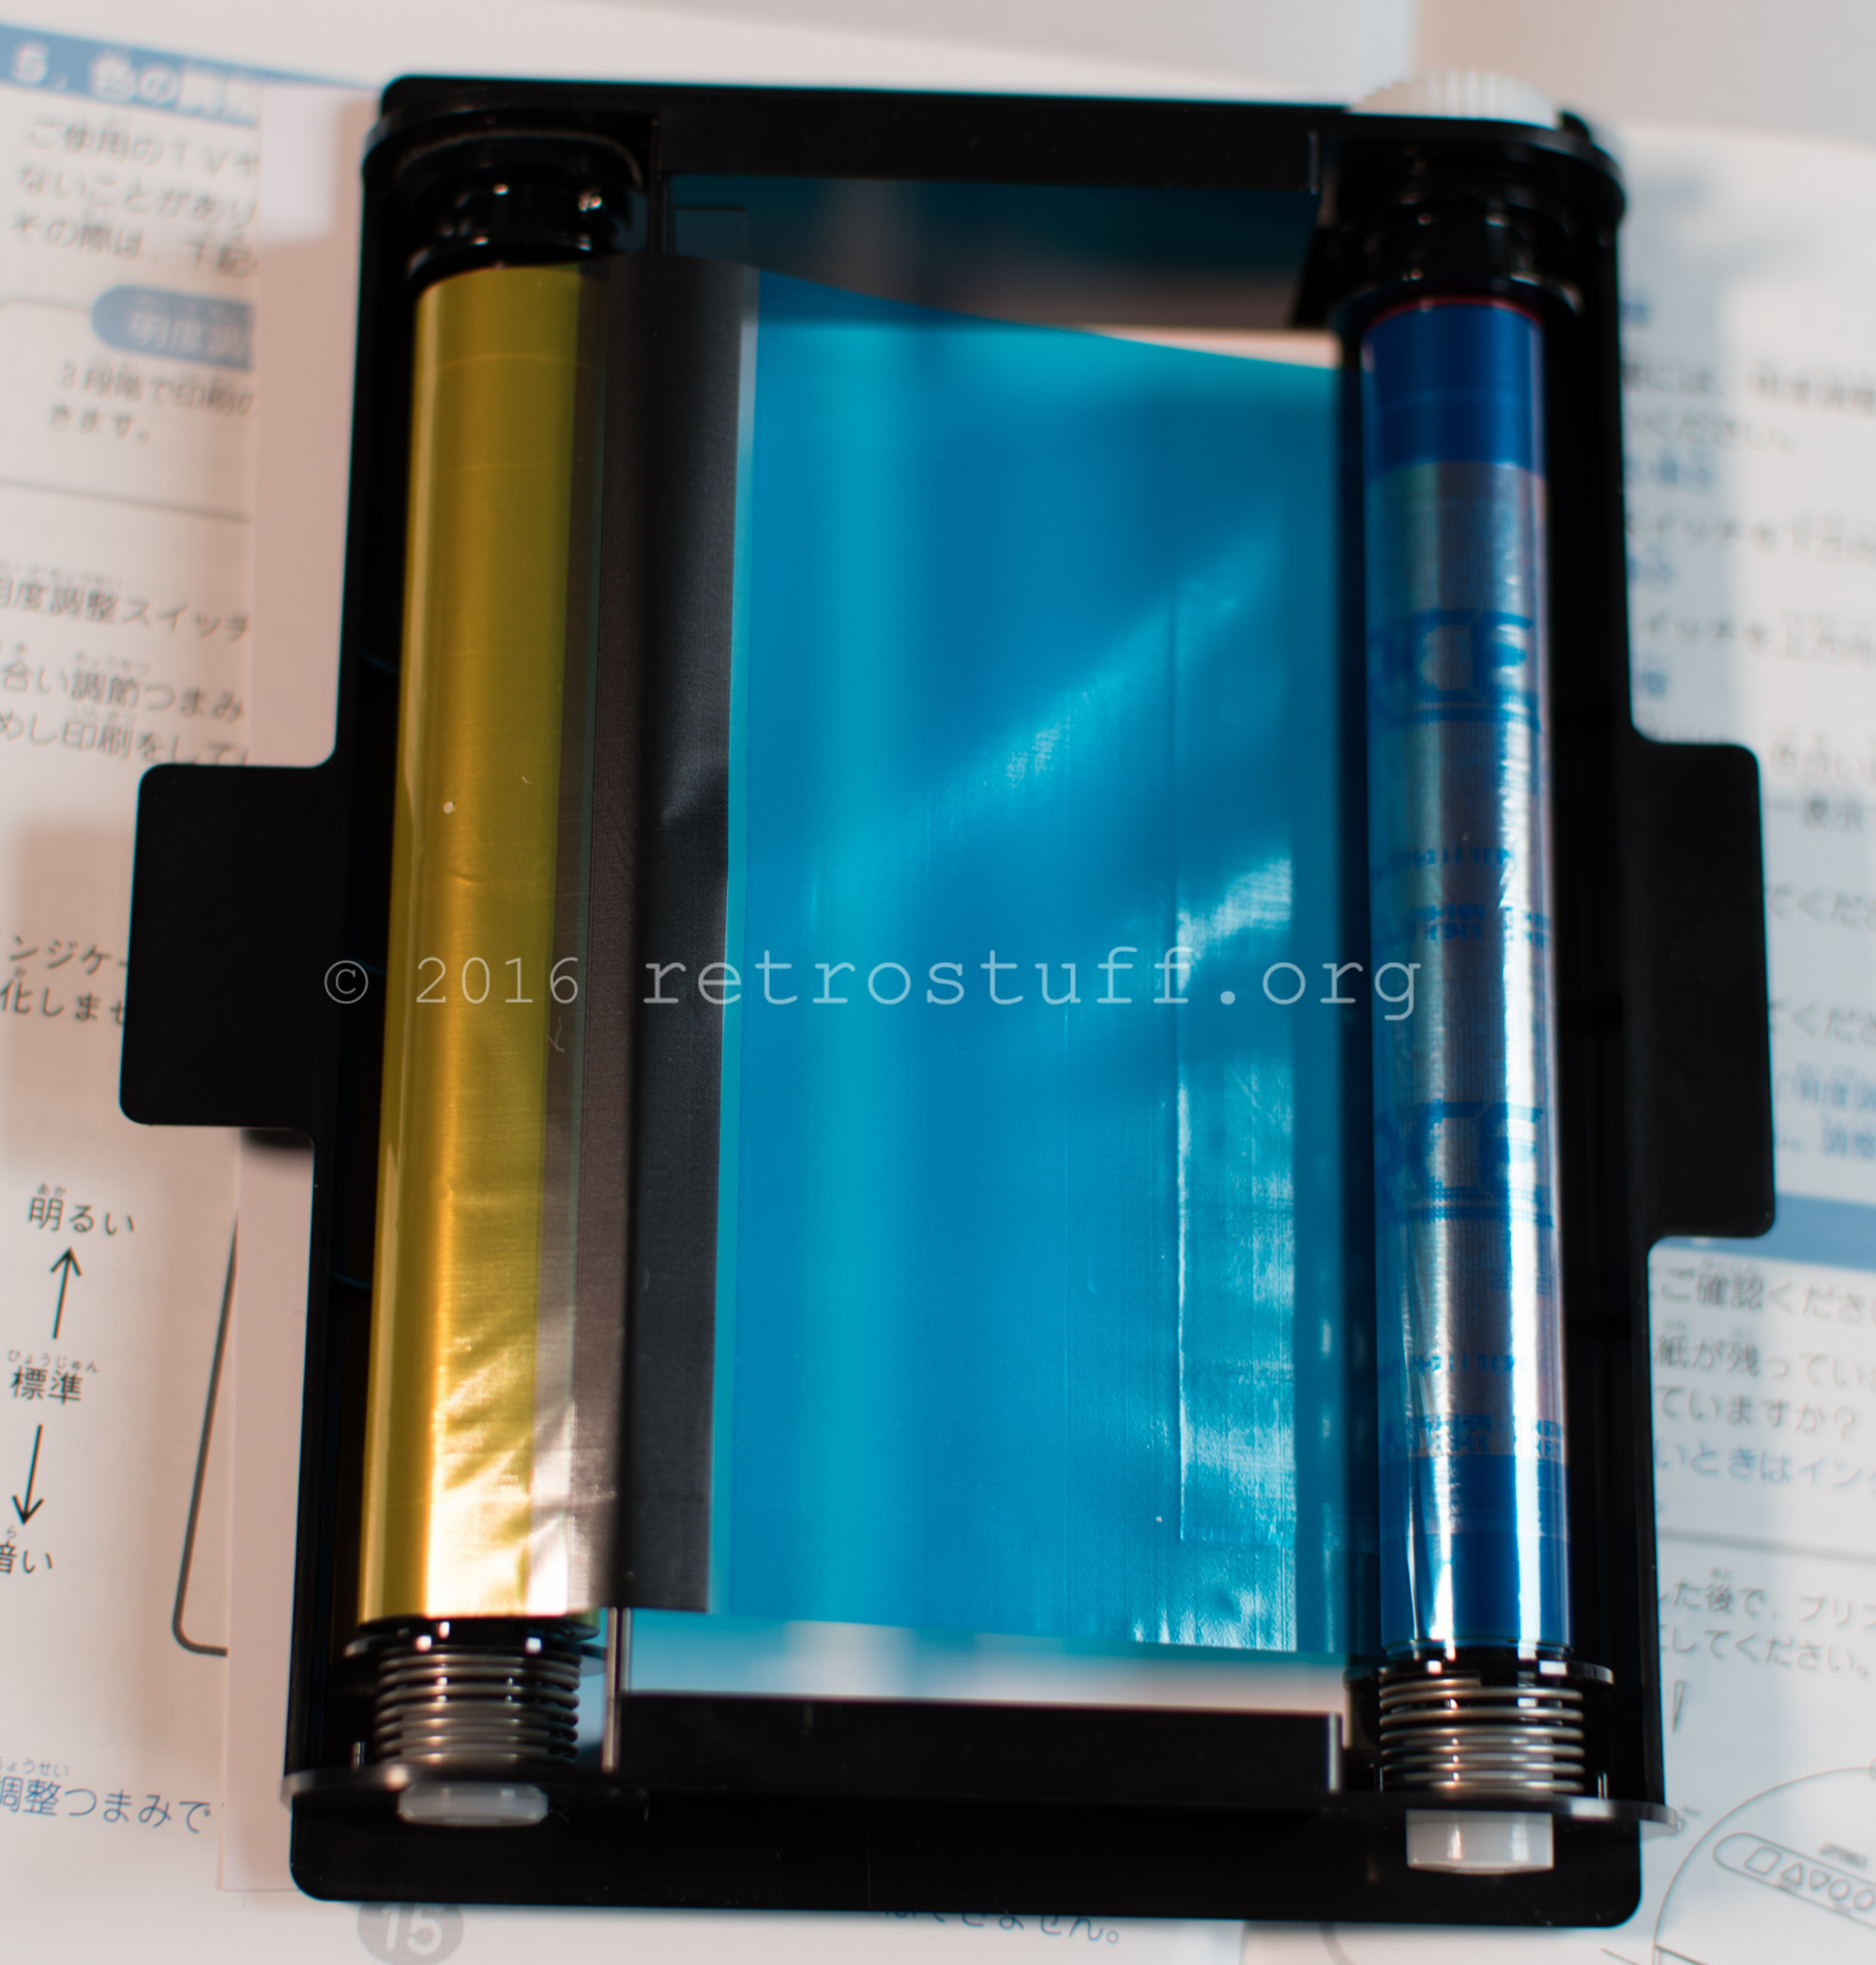
To understand the printing process, I turned back the wheel of the ink ribbon cartridge. This is how the film looks for the three colours cyan, magenta and yellow:
There is a black marker strip—my guess is that is it magnetic—so the printer can distinguish between what has been used and then scroll forward to the next free space:
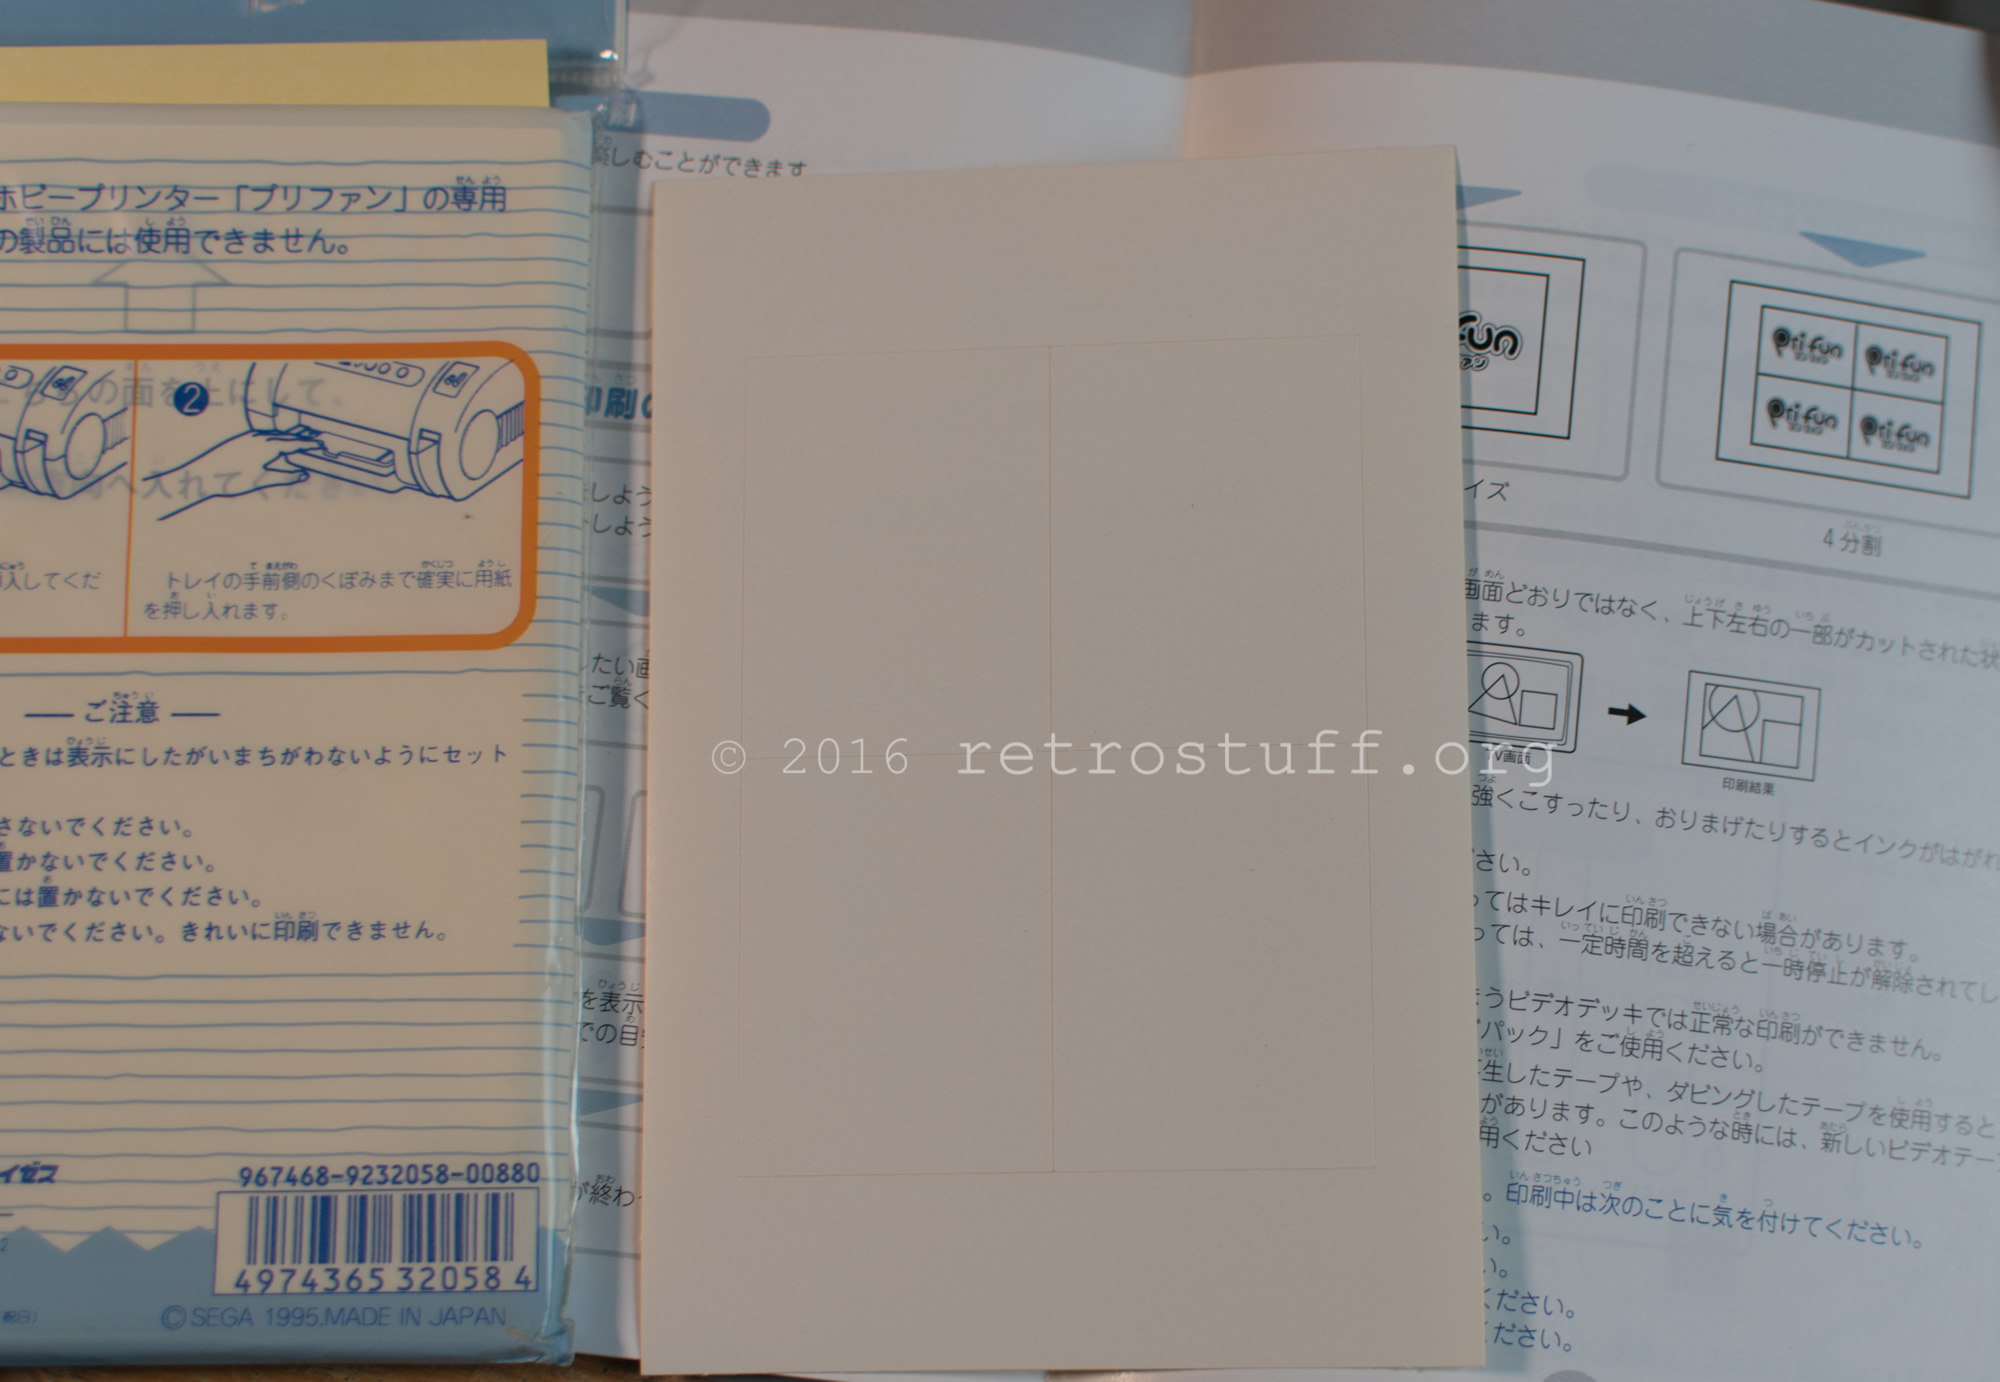
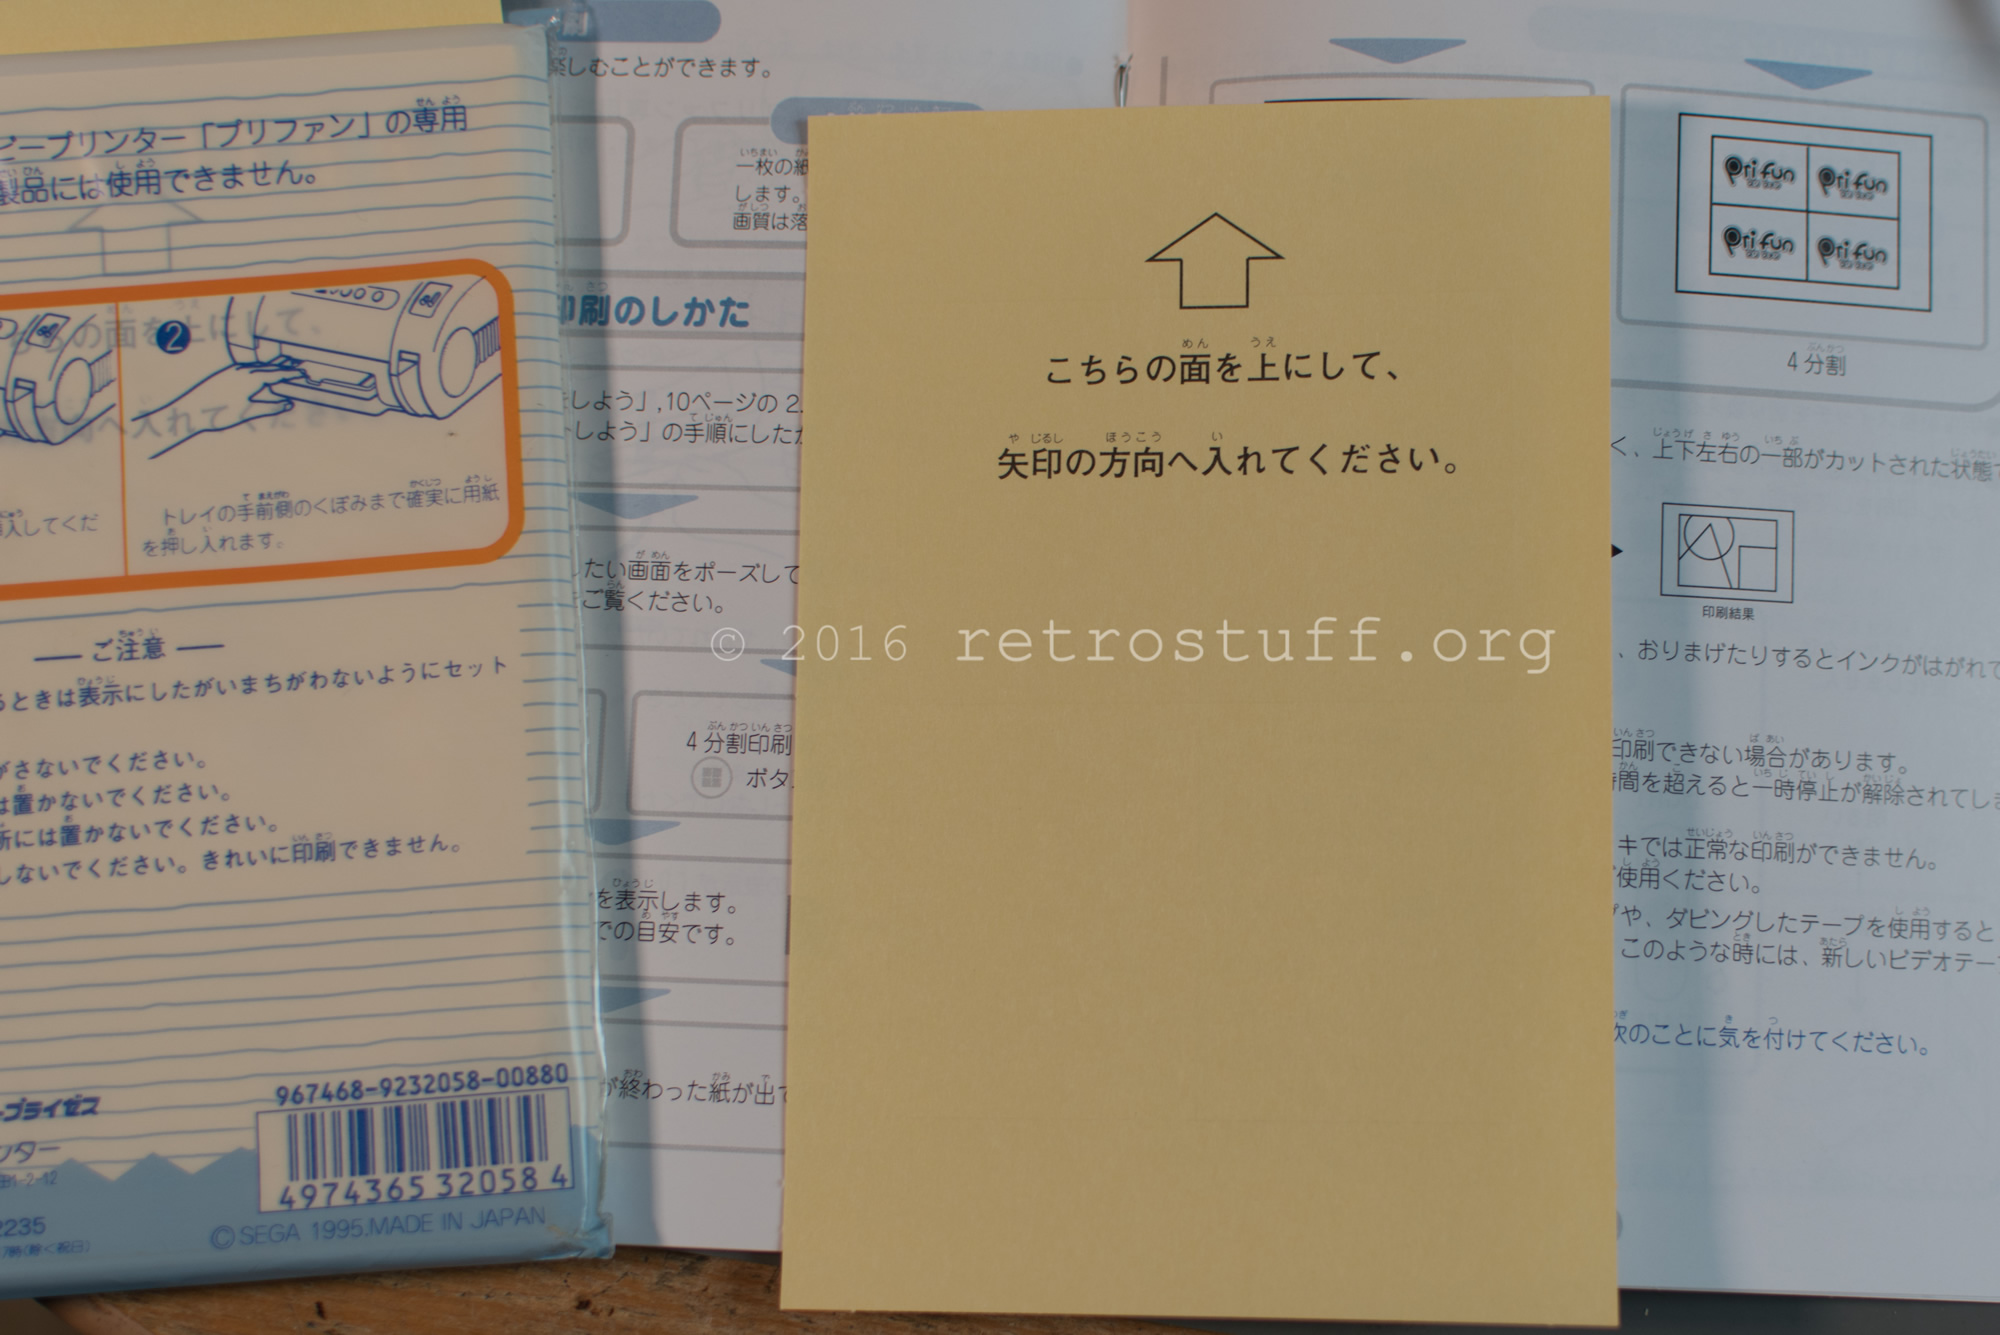
The normal paper can be printed on both sides. This doesn’t apply to the sticker paper (obviously), so it has directions on how to feed it into the printer:
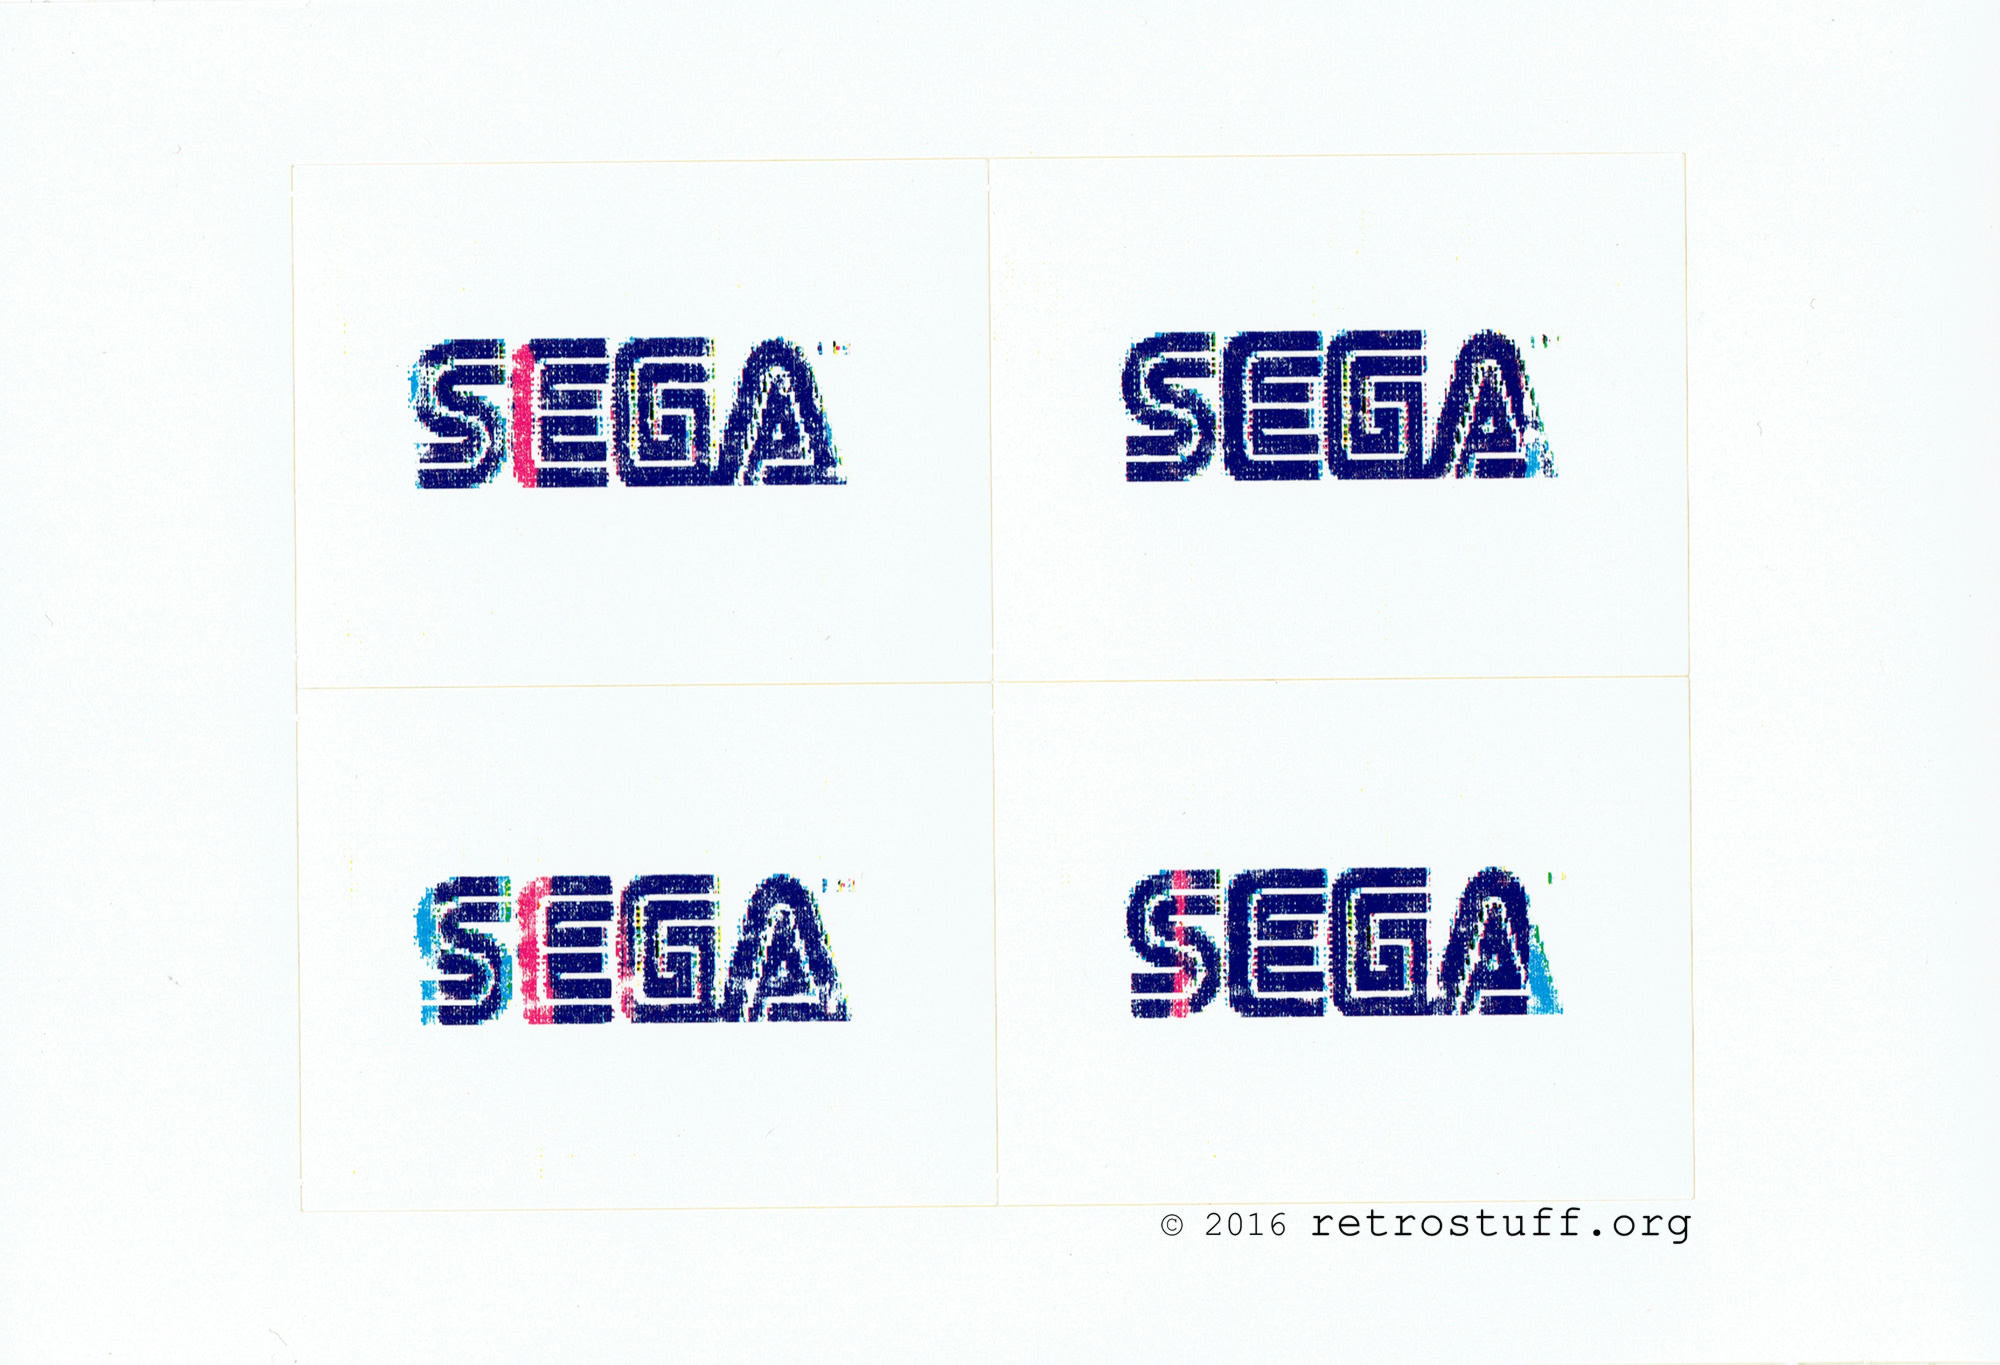
My first set of stickers:
Cleaning
It seems that the quality is getting worse and worse. Just have a look at this LaserDisc print (can you guess the movie?):

The cleaning manual recommends cleaning the printing head and the areas next to the rubber drum:

The swab contains 99% isopropyl alcohol, so I’m not going to tear it open. I used my own supply instead, to clean the indicated areas:


Looks a little bit better, doesn’t it? I still think that the decaying rubber drum is causing the problems. The thicker the paper (e.g. stickers), the bigger the problems with the prints.

That was a PAL Sonic in NTSC/J mode. By the way, in PAL mode it looks really cool and psychedelic (e.g. turquoise Sonic), but the Pause Pack doesn’t work this way and outputs this instead:

Everything considered, this peripheral is much better than the GameBoy Printer and Camera, as it produces real cool Sega stickers:
Resources
For your reference, I scanned all the manuals:
User manual
Safety manual
Warranty card
Cleaning manual
Pause Pack manual
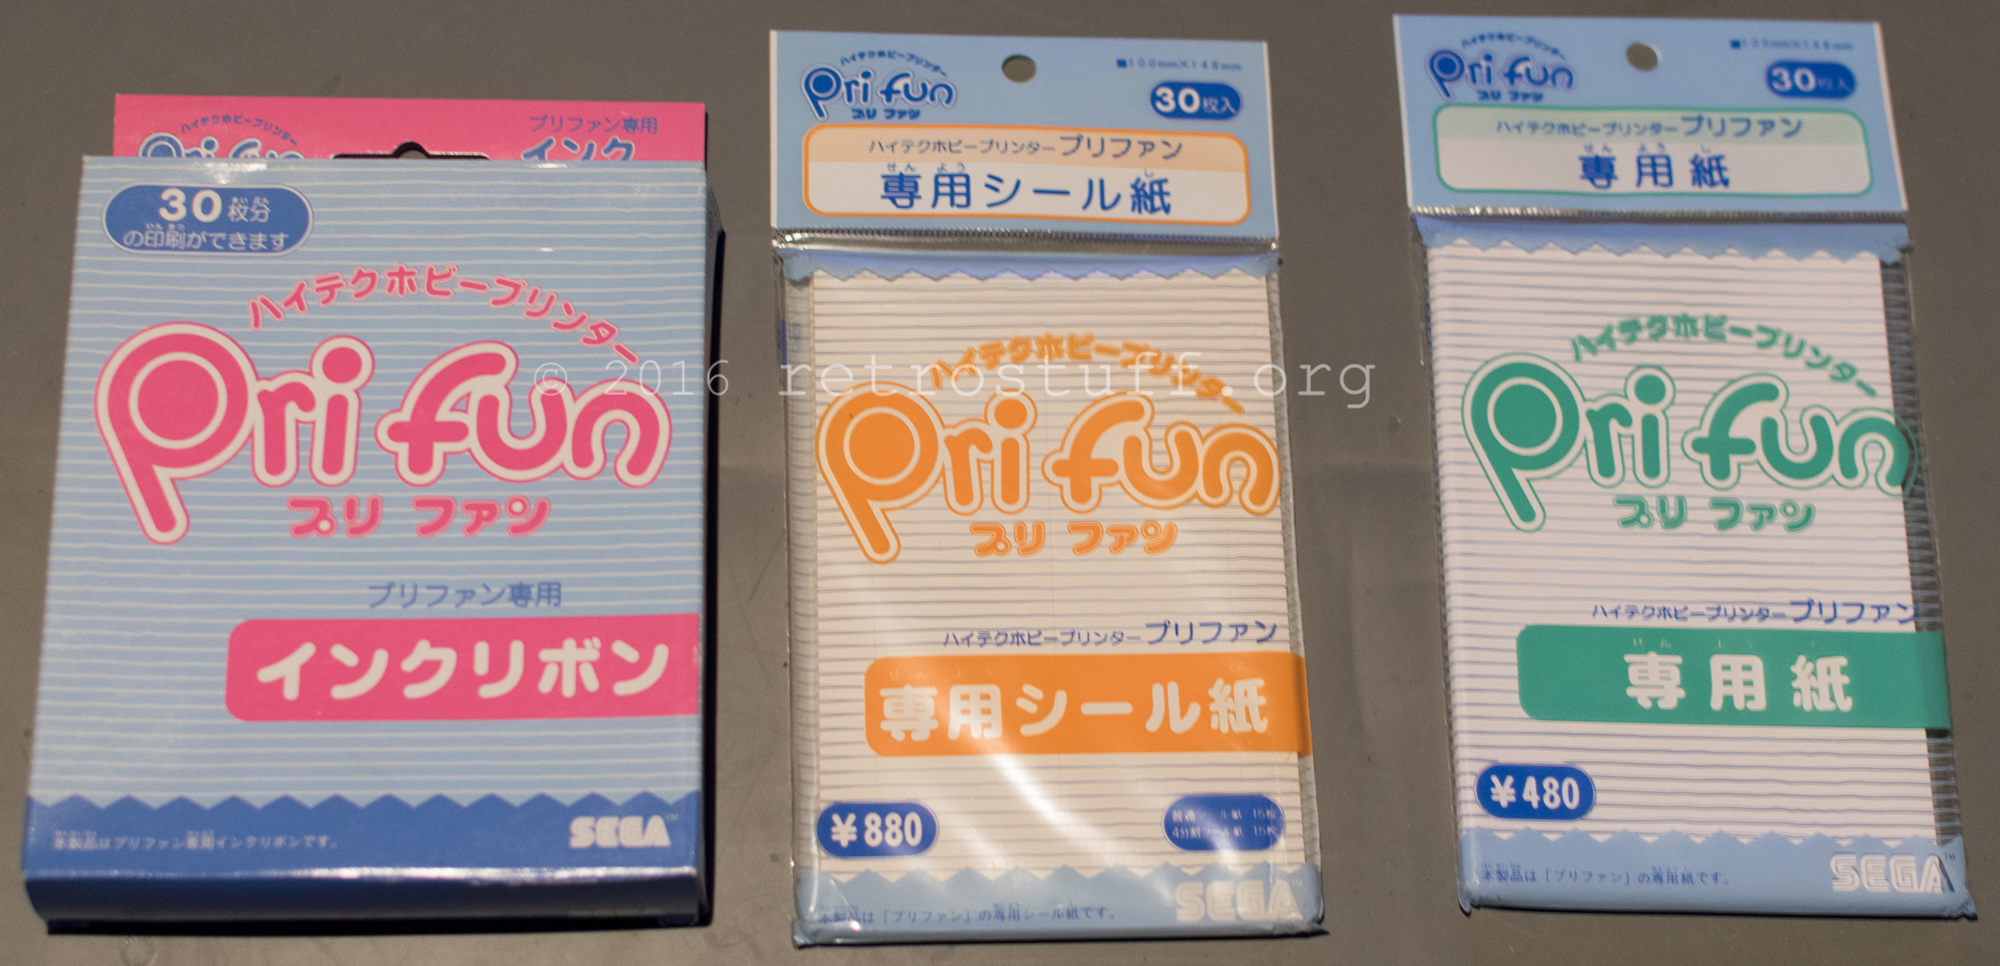
Ink ribbon package
Paper package
Sticker package
Great post! But whatever I do I still have E5 on my printer. Ive changed cartridge…. Etc… Any idea?
Tnx
E5 means that you have to insert a cartridge and close the door.
There must be some kind of switch to detect that. Unfortunately, I don’t have that printer anymore and can’t have a look at it.
Thank you very much for that great and very interesting review of rare device.
Good luck